
I want to try out juggling again. Before I buy a set of balls and spend money on a hobby I might not pursue in the future I made my own juggling balls to try it out first. If I keep up with a steady training schedule and can keep them in the air for a minute, then I might buy myself a professional set one day.
When I was a teenager I did this and managed to get up to maybe 5 or 6 throws before I gave up. What I am about to show you is how we made our juggling balls back then in crafting class. (Yes, in the early 90's we still had crafting at school)
For juggling (especially practice) you do not want to use balls that bounce, but rather absorb the impact energy. That way, if they fall they just plump down and stay there and do not do any damage bouncing around, and they are much easier to handle.
![]()
Materials
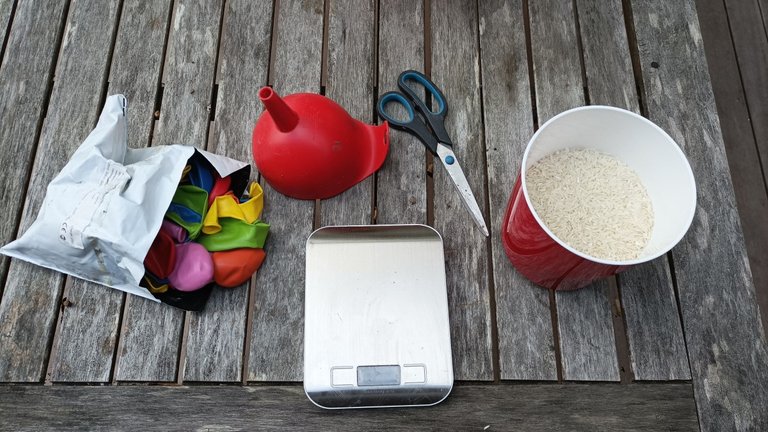
- balloons (all the same size, 3 or 4 per ball and have some in reserve in case you tear up one or two)
- rice (or similar dry material, don't use sand! it will corrode the ballons from the inside and then you have a mess a few weeks later) 90g to 150g per ball (3 or 5 ounce) and some spare
- funnel (to get the rice into the balloons so make it at least medium size, the bigger the better)
- scissors (to cut the balloons)
- scale (we need to check that all the balls have the same weight)
![]()
Preparing the balloons
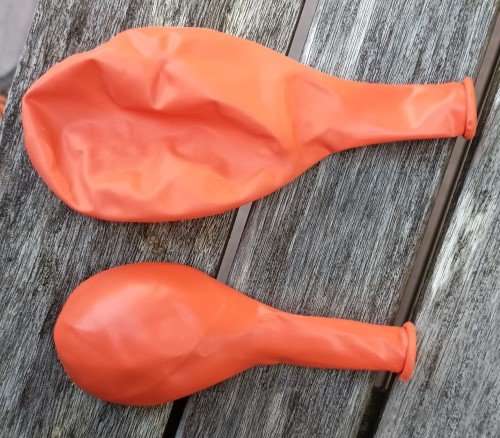
For each ball you need to blow up one balloon to stretch it out. Do this two or three times. Blow them up to half their size and while holding the nozzle shut, knead them around a few times between your hands.
Be sure to have as dry a mouth as possible or better yet use an air-pump. A tiny bit of moisture inside is no problem for the rice to absorb without festering.
![]()
Fill them up
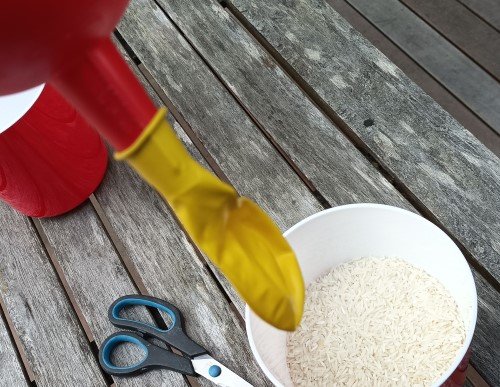
Pull the nozzle onto the funnel and fill them up with rice. Might have to gently shake them down or bump on the table to get it all in there.
Depending on the size of your hands you want to aim for ~90 to 150 grams or 3 to 5 ounce.
Check the weight with the scale while the balloon is not attached to the funnel to get it as accurate as possible.
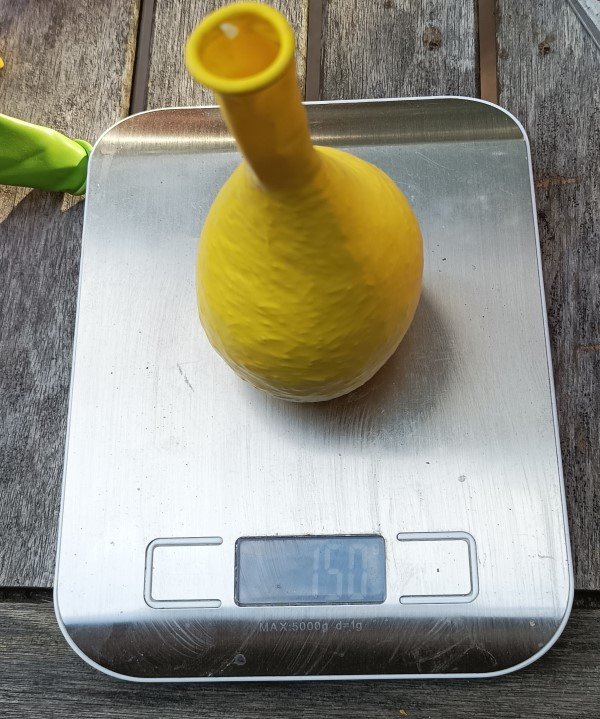
All your balloons have to get to the same weight.
Some scales are not as accurate in the lower range as in the upper range. If you have such a scale, put a fixed weight on it beforehand and weigh from there.
![]()
Cut off the nozzle
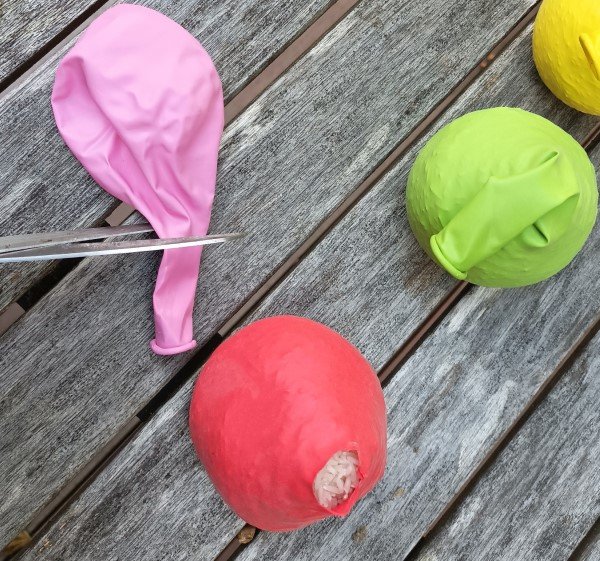
After getting the correct weight for all balloons, cut off the nozzle carefully so the rice does not spill out.
![]()
Apply second layer
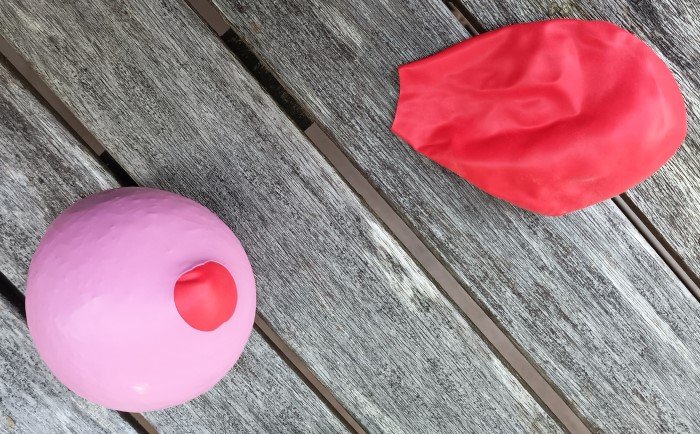
Here comes the tricky part. Cut off the nozzle of another balloon and stretch it with your fingers to pull it over the filled balloon. The filled balloon is on the table with the opening on top so the second layer balloon can be pulled over to cover the opening.
Once that is done no rice can spill out anymore. But we also have some superfluous air trapped in there.
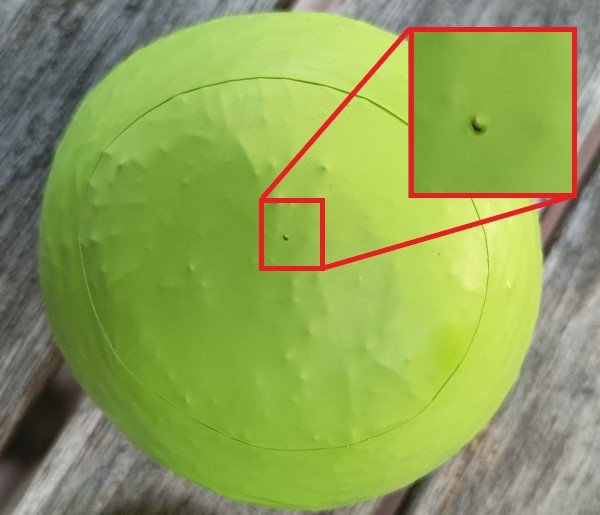
If that is the case, we need to let it out. We turn the balloon so we get the opening of the second layer. This is where only one layer, the first balloon, is between the rice and the rest of the world. Cut a tiny little hole in there so we can let out some air
Now we can gently knead the ball a little bit to convince the air that there's a better place to be.
![]()
Apply other layers
After the air is out, we can repeat this process two or three more times, always pulling the next layer in a way to cover the opening of the previous one.
I applied four layers in total.
Do it carefully and slowly so you don't trap any addition air pockets in the layers. The last layer (and to be save the second to last as well) should not need to be poked for air release as that might cause the balloon to tear up one day.
![]()
Start juggling
Now you can start practicing. I got to 5-6 throws pretty quickly again but now I need to practice daily and steadily without giving up to get over that tipping point and beyond the initial excitement.

When (or if?) I get to a minute one day, I might post a video :-)
![]()
Enjoy the crafting and I would love to see pictures or videos of you juggling with your DIY juggling balls.
All pictures are my own. Well, besides the hive logo, that belongs to all of us.
