
Hello to the entire Hive Diy community, welcome to my blog made with love! 💗 In this DIY section we are back with anime themed hair clips. This time, we will be making the butterflies of the sister of the insect pillar Kanae Kocho from the new season of the Kimetsu No Yaiba: Heading to the Blacksmith Village anime. If you make them, it will take approximately 25 minutes. Anyway, the materials to be used and the step-by-step are as follows
¡Hola a toda la comunidad de Hive Diy! ¡Bienvenidos a mi blog hecho con amor!💗 En esta sección de DIY volvemos con las pinzas para cabello con temática anime. Esta vez, haremos las mariposas de la hermana del pilar insecto Kanae Kocho de la nueva temporada del anime de Kimetsu No Yaiba: Rumbo a la aldea de los herreros. Si las haces, demorarás aproximadamente 25 minutos. En fin, los materiales a utilizar y el paso a paso son los siguientes:

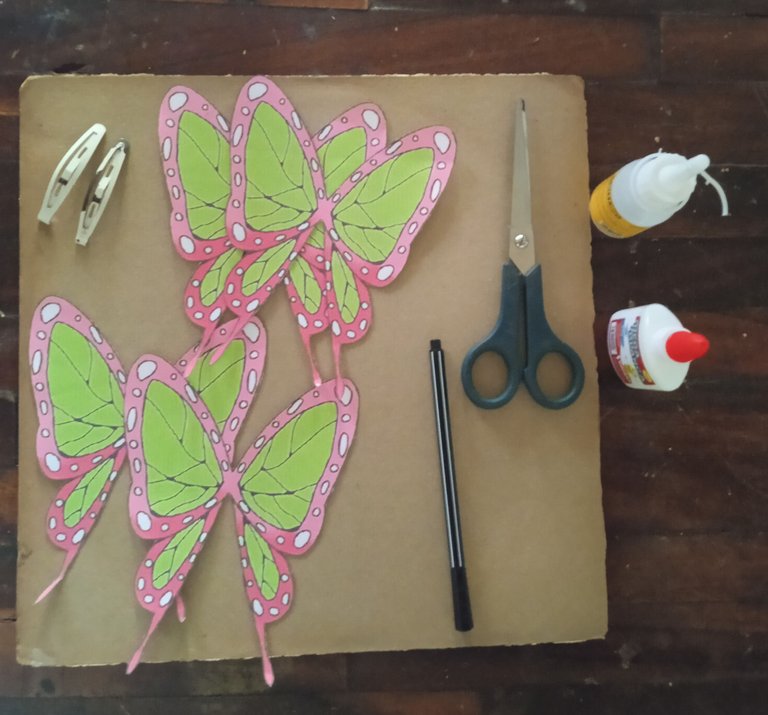
🦋✯¸.•´¨*•✿ Materials to be used✿•*¨`•.¸✯🦋
*•✿ Materials to be used✿•*¨`•.¸✯🦋
| - Scissor | - Tijera | |
|---|---|---|
| -White school glue | - Pega blanca escolar | |
| - Hot or cold silicon | - Silicón caliente o frío | |
| - Hair Clips (x2) | - Pinzas para el cabello (x2) | |
| - Cardboard | - Cartón | |
| - Prints with the butterfly attached below | - Impresiones con la mariposa que adjuntare a continuación | |
| - Black marker | - Marcador negro |
🦋✯¸.•´¨*•✿ Butterfly template✿•*¨`•.¸✯🦋
*•✿ Butterfly template✿•*¨`•.¸✯🦋 
•✿Link to the template with better quality✿•
•✿Link to the template with better quality✿•
🦋✯¸.•´¨*•✿ STEP BY STEP✿•*¨`•.¸✯🦋
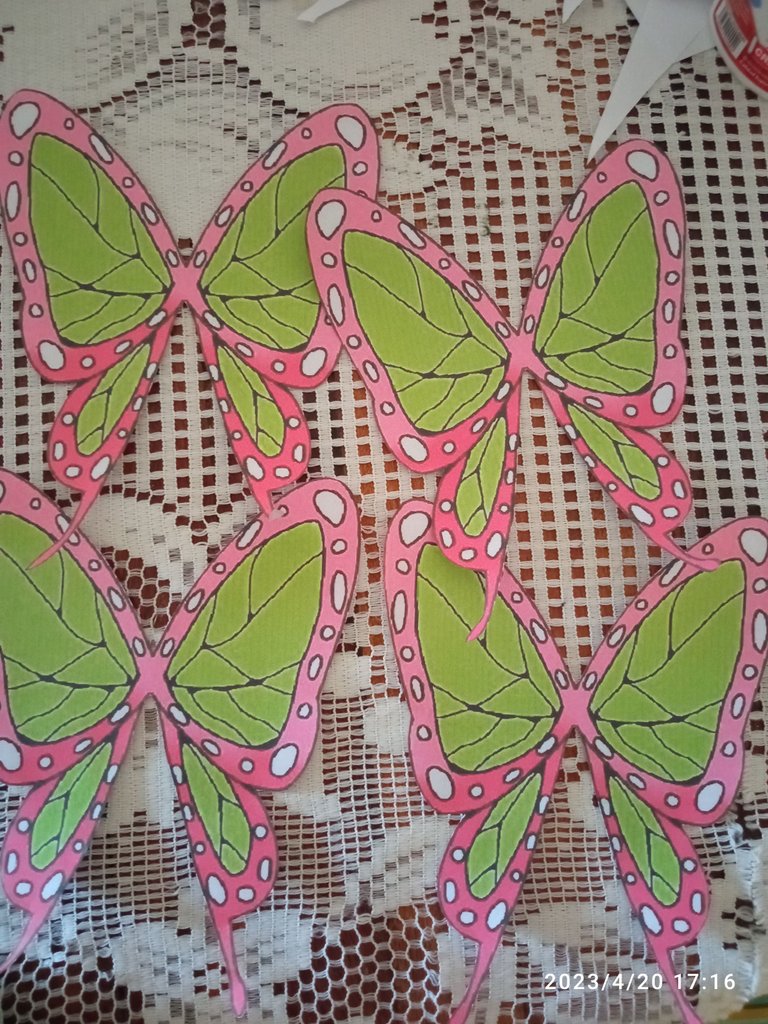
*•✿ STEP BY STEP✿•*¨`•.¸✯🦋 🦋As in the previous DIY, we are going to print the butterfly that I attached above two (2) times on letter size sheets, that is, two butterflies will be placed on each sheet which would be four (4) butterflies in total. Once the butterflies are printed, they will be cut out by following the black borders that they have, but without cutting them. After the butterflies are cut out as accurately as possible, apply a thin and uniform layer of cold silicone to the butterfly templates and then glue them on the cardboard. They can be carefully and carefully applied with your hands or a card to make it stick better.
🦋 Como en el DIY anterior, vamos a imprimir la mariposa que adjunte anteriormente dos (2) veces en hojas tamaño carta, es decir, colocaran dos mariposas por cada hoja que serian cuatro (4) mariposas en total. Ya impresas, se recortaran guiándonos por los bordes negros que tienen aunque sin recortarlos. Luego de que esté recortada lo más preciso que puedan se le aplicará una capa fina y uniforme de silicón frío a las plantillas de las mariposas para a continuación pegarlas en el cartón. Pueden pasarle las manos o una tarjeta para que se adhiera mejor y con mucho cuidado de que no lo vayan a romper.
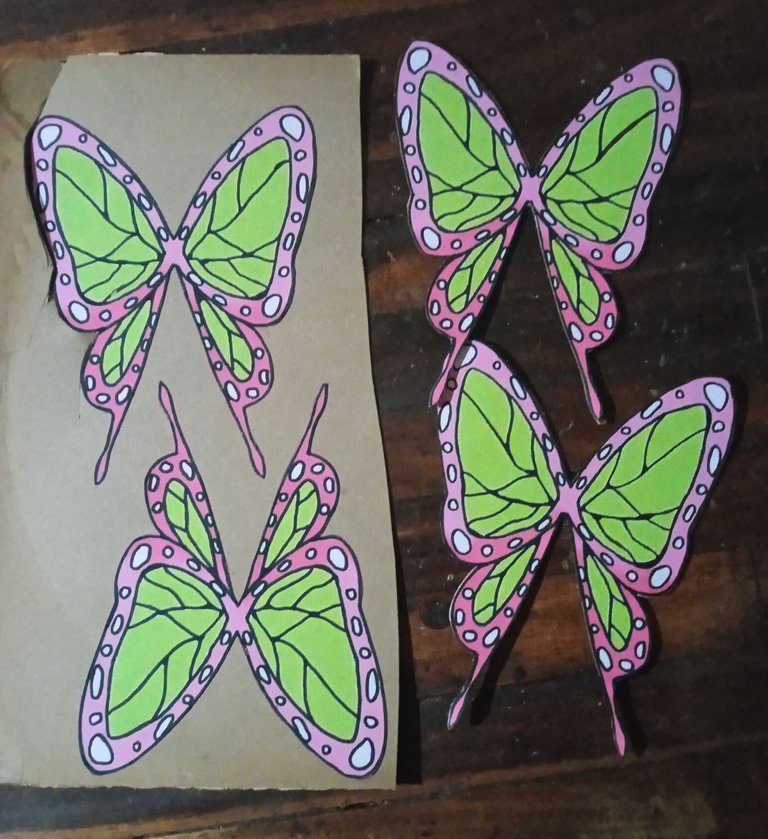
🦋 Once the butterfly is glued and dry on the cardboard, we cut it out following the black line as a guide and we do the same with the other butterfly templates we printed.
🦋 Seguidamente, de que esté la mariposa pegada y seca en el cartón, pasamos a recortarla siguiendo de igual forma de guía la línea negra y así hacemos con las demás plantillas de mariposa que imprimimos.
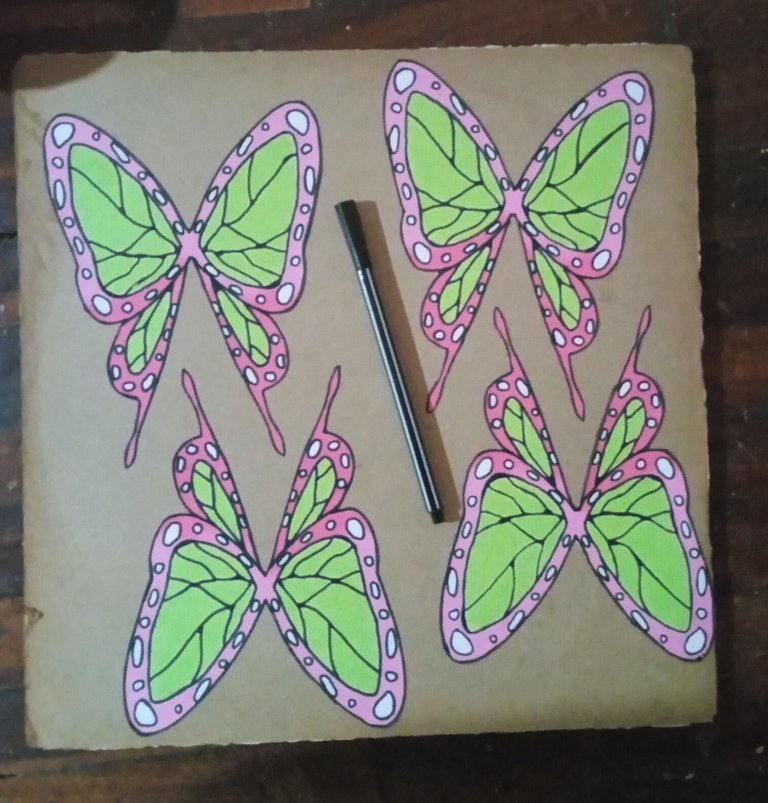
🦋 Once we have the four parts ready, it's time to put them together with cold silicone and check if they fit both in front and behind the butterfly template. A tip I can give you is that if you cut a little of the black line (or leave white lines visible) with a black marker you can cover those little details so that the butterflies look prettier and with a better finish. Finish by hot gluing the pins on the side that looks prettiest to you with hot silicone and that's it!
🦋 Ya que tengamos las cuatro partes listas, tocará juntarlas con silicón al frío verificando si calzan tanto por delante como por detrás de la plantilla de mariposa. Un tip que les puedo dar es que si recortan un poco de la línea negra (o dejan a la vista líneas blancas) con una marcador negro pueden cubrir esos detallitos para que las maripositas quedes más bonitas y con un mejor acabado. Finalizan pegándole con silicón caliente las pincitas por el lado que les parezca mas bonito y ¡Listo!
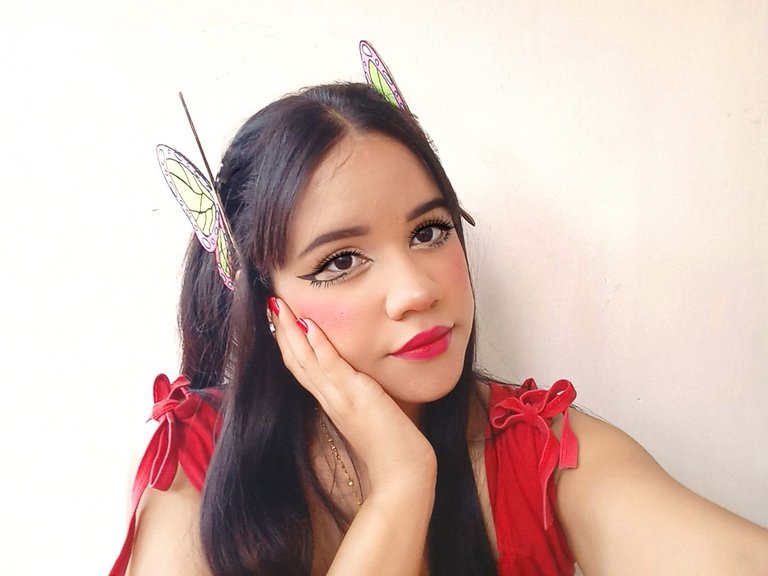
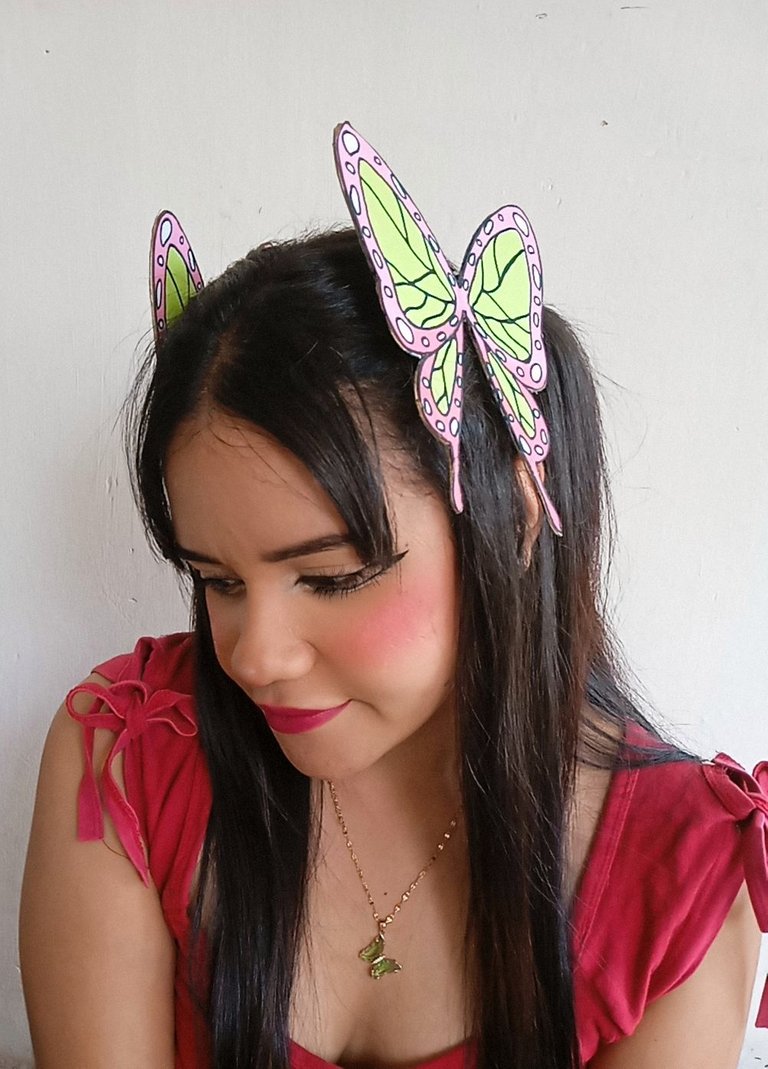
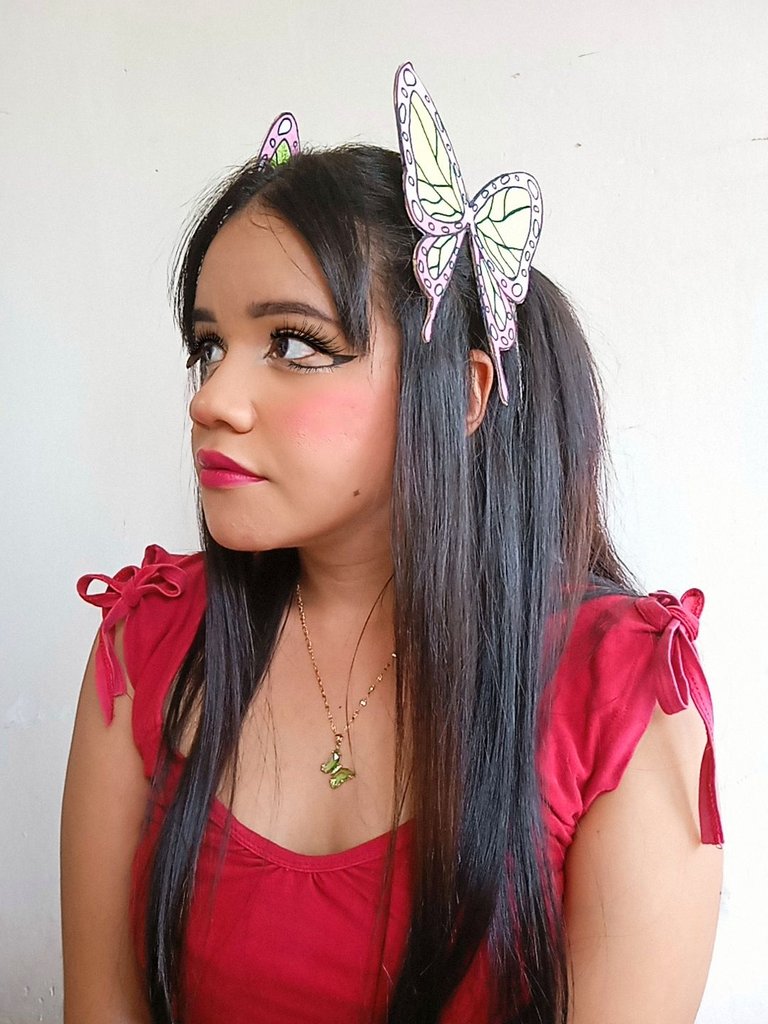
✯¸.•´¨*•✿ Result ✿•*¨`•.¸✯
*•✿ Result ✿•*¨`•.¸✯
"Once you decide to defeat a demon, defeat it. Once you decide to win, win. Win, whatever it takes."
✧・゚: ✧・゚:🦋💗✧・゚: ✧・゚:
✧・゚: ✧・゚:🦋💗✧・゚: ✧・゚:
✧・゚: ✧・゚:🦋💗✧・゚: ✧・゚:
¡Muchas gracias por llegar hasta aquí! Espero que te halla gustado mi post y espero que hagas estos hermosos clips de mariposita🦋. ¡Nos vemos en una próxima oportunidad!.

📲 Todas las fotografías fueron tomadas con un teléfono Xiaomi Redmi 9