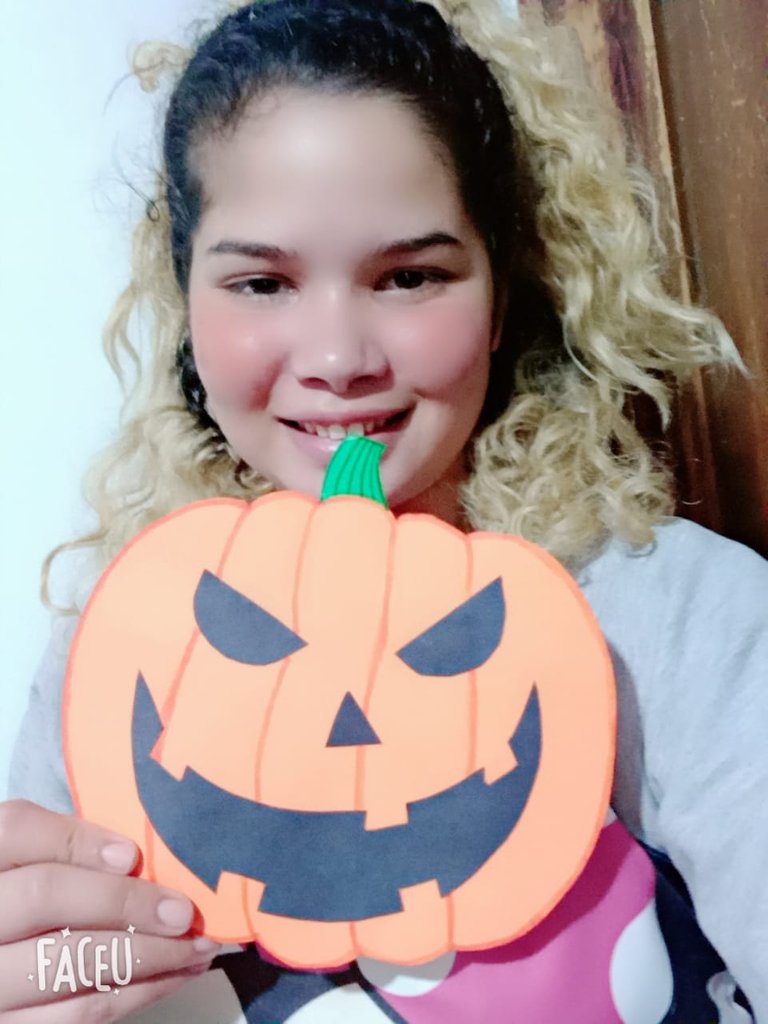
Hola, hola que tal mis amantes de la creatividad, un abrazo gigante a todos los integrantes de la comunidad HIVE DIY, hoy por aquí su amiga @gemahernandez para compartirles la elaboración de una terrorífica calabaza embrujada hecha con solo tres materiales.
Hello, hello my creativity lovers, a giant hug to all the members of the HIVE DIY community, today your friend @gemahernandez is here to share with you the elaboration of a terrifying haunted pumpkin made with only three materials.
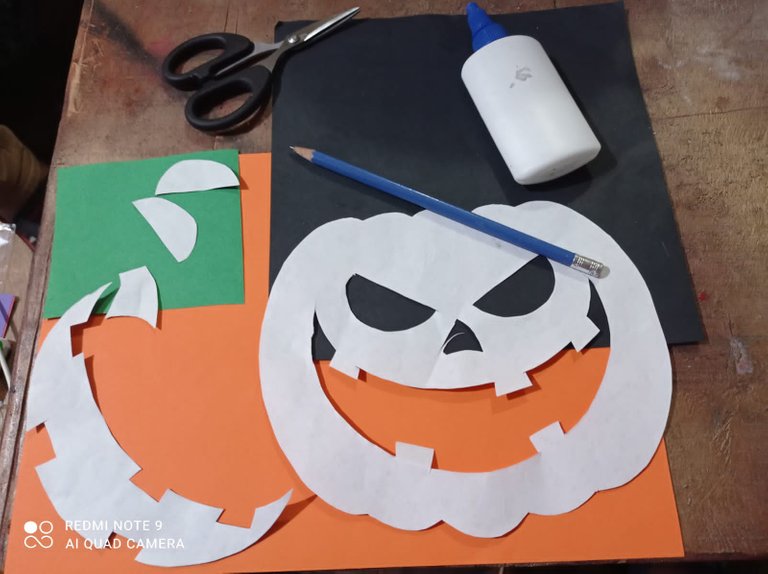
MATERIALES:
- Cartulina de color: naranja, negro y verde.
- Marcadores de color: verde y naranja.
- Pegamento o cola blanca.
- Moldes de una calabaza.
- Tijeras.
- Lápiz
MATERIALS:
- Colored cardboard: orange, black and green.
- Colored markers: green and orange.
- Glue or white glue.
- Pumpkin molds.
- Scissors.
- Pencil
PROCEDURES:
Paso 1:
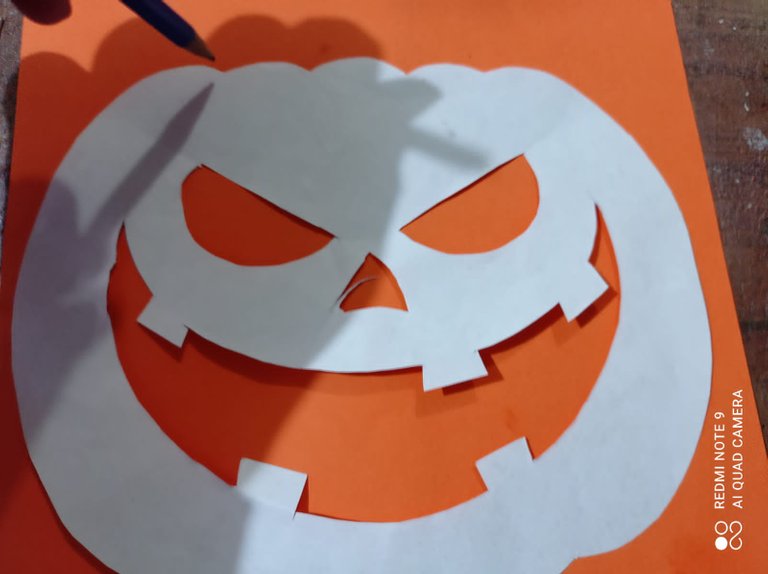
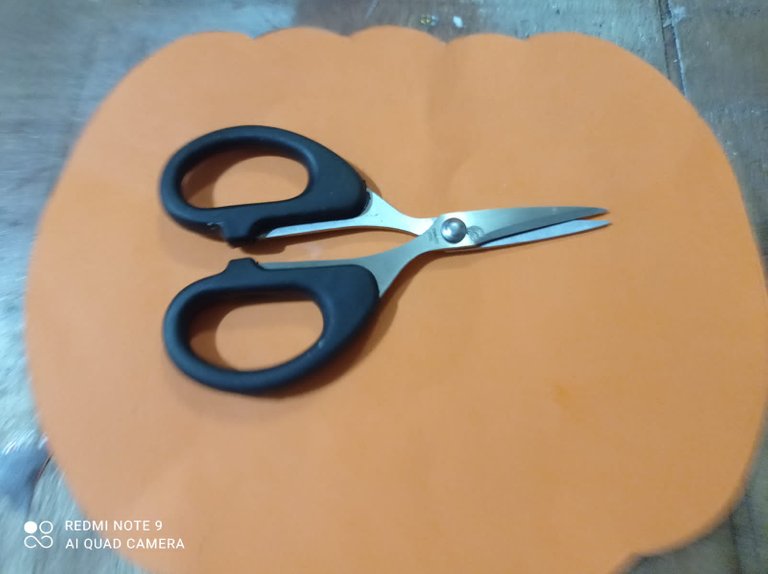
Empezamos colocando el molde de calabaza sobre la cartulina de color naranja, marcamos y cortamos.
Step 1:
Start by placing the pumpkin mold on the orange cardboard, mark and cut.
Paso 2:
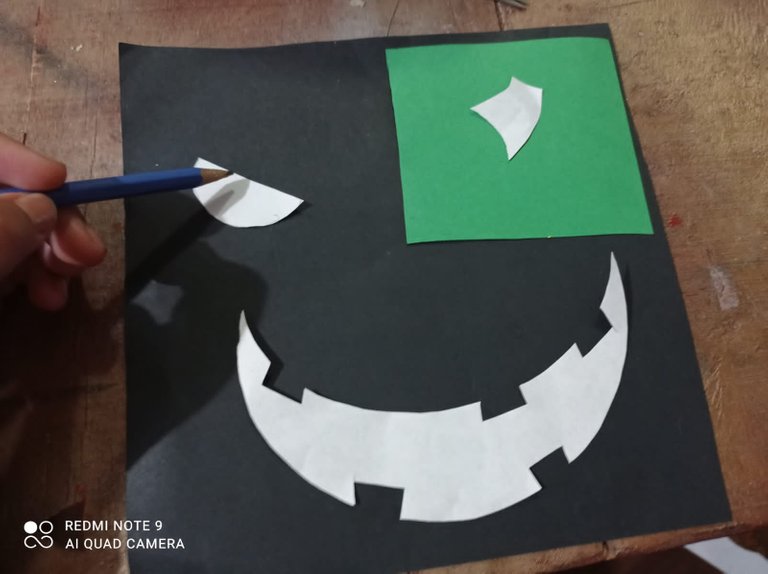
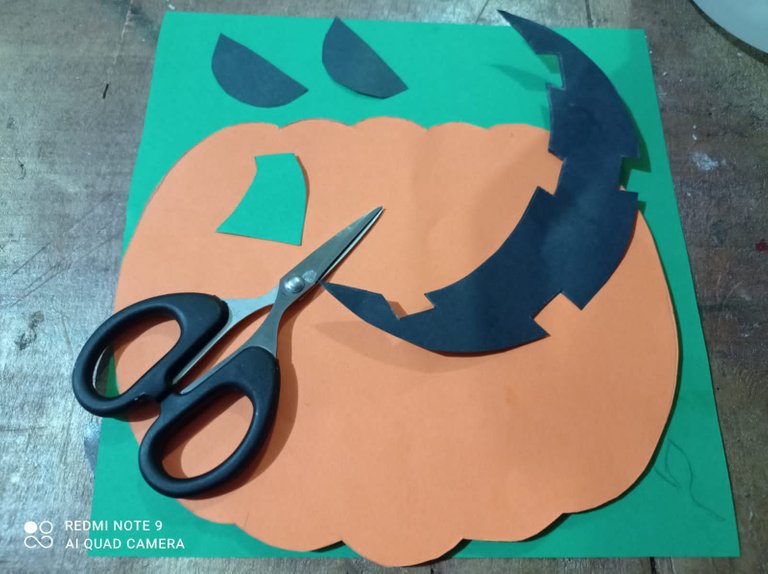
Seguimos colocando el molde de ojos, nariz, y boca sobre la cartulina negra, marcamos y recortamos, el molde del pedúnculo lo colocamos sobre la cartulina verde, marcamos y recortamos.
Step 2:
We continue placing the mold of the eyes, nose and mouth on the black cardboard, mark and cut out, the mold of the peduncle we place it on the green cardboard, mark and cut out.
Paso 3:
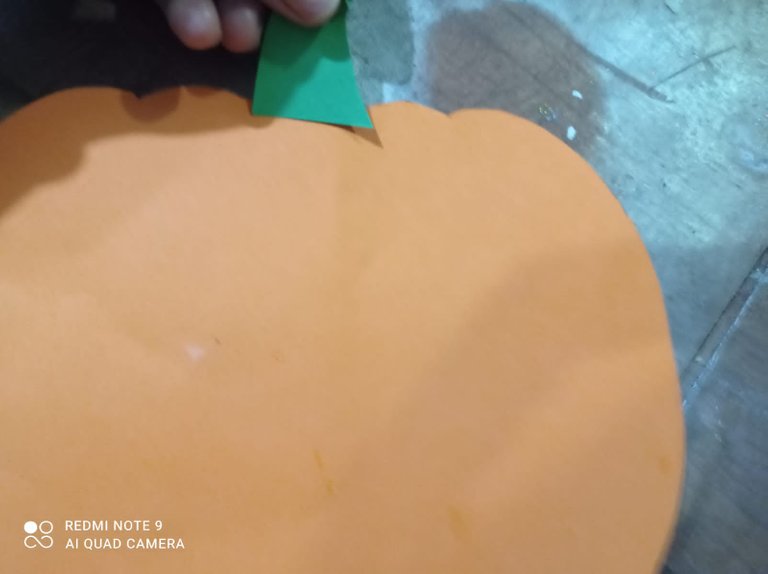
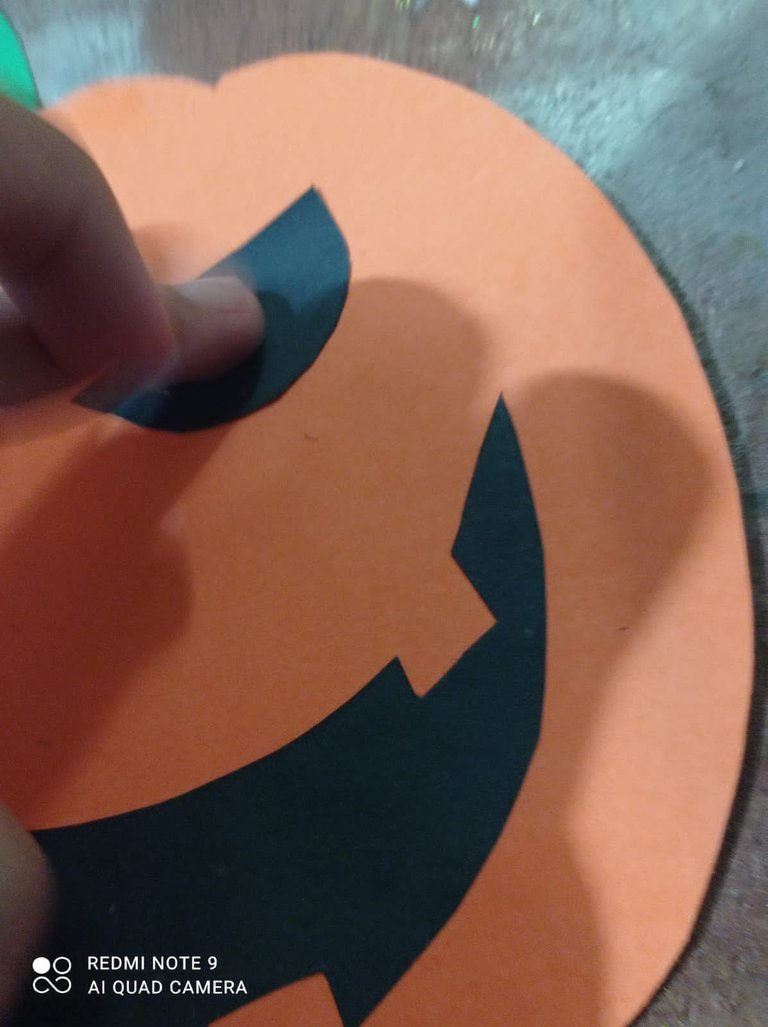
Después echamos pega blanca en el pedúnculo y lo pegamos en la parte superior de la calabaza, y así vamos pegando cada parte de la calabaza.
Step 3:
Then we put white glue on the peduncle and glue it on the top of the pumpkin, and so we glue each part of the pumpkin.

Paso 4:
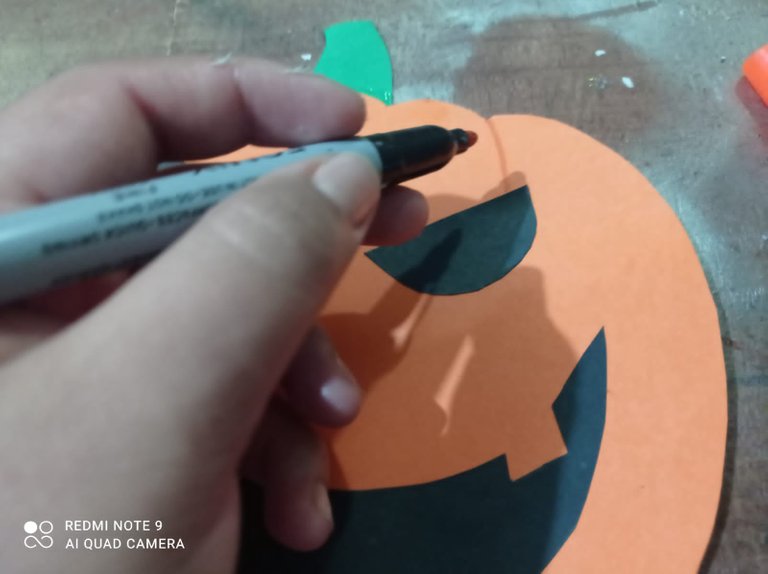
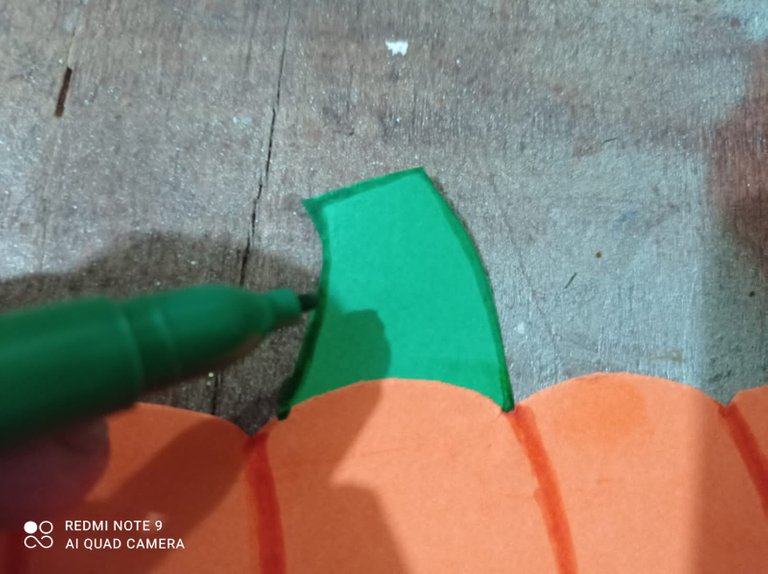
Para finalizar le hacemos unas líneas a la calabaza con el marcador naranja, y al pedúnculo con el marcador verde.
Step 4:
To finish we make some lines to the pumpkin with the orange marker, and to the peduncle with the green marker..
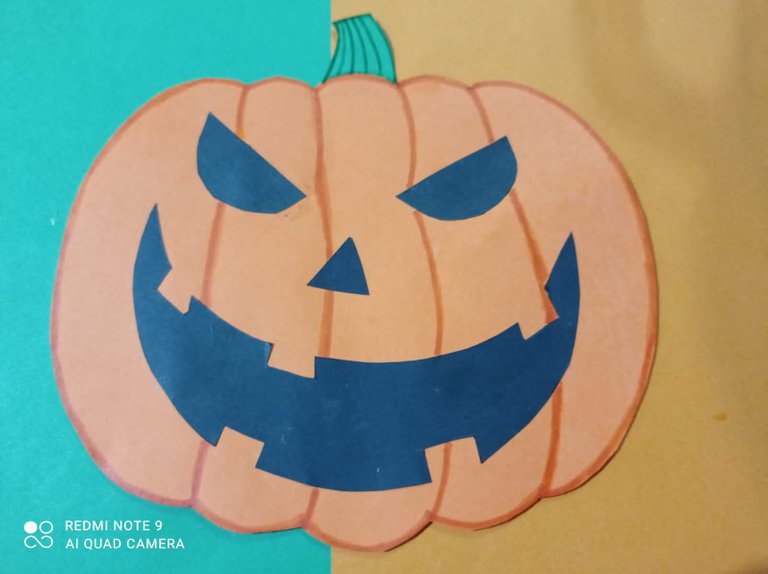
Here I show you how this terrifying haunted pumpkin turned out.
Gracias por leerme, saludos Hasta el próximo post.
Recuerda seguirme👍
Thanks for reading me, greetings until the next post.
Remember to follow me👍