Hola, hola que tal a toda la comunidad de HIVE DIY, espero y confío en Dios que hayan tenido un día lleno de sus ricas bendiciones, me llena de alegría poder participar en este encantador y original concurso que mi tía y amiga @kathelopez77, me invitó, este concurso está moderado por nuestra amiga @equipodelta, querida amiga de verdad que este concurso fue muy ingenioso de su parte ya que en este concurso explote toda mi creatividad.
Hello, hello howdy to all the HIVE DIY community, I hope and trust in God that you have had a day full of your rich blessings, it fills me with joy to participate in this lovely and original contest that my aunt and friend @kathelopez77, invited me, this contest is moderated by our friend @equipodelta, dear friend really this contest was very ingenious on her part because in this contest I exploited all my creativity.

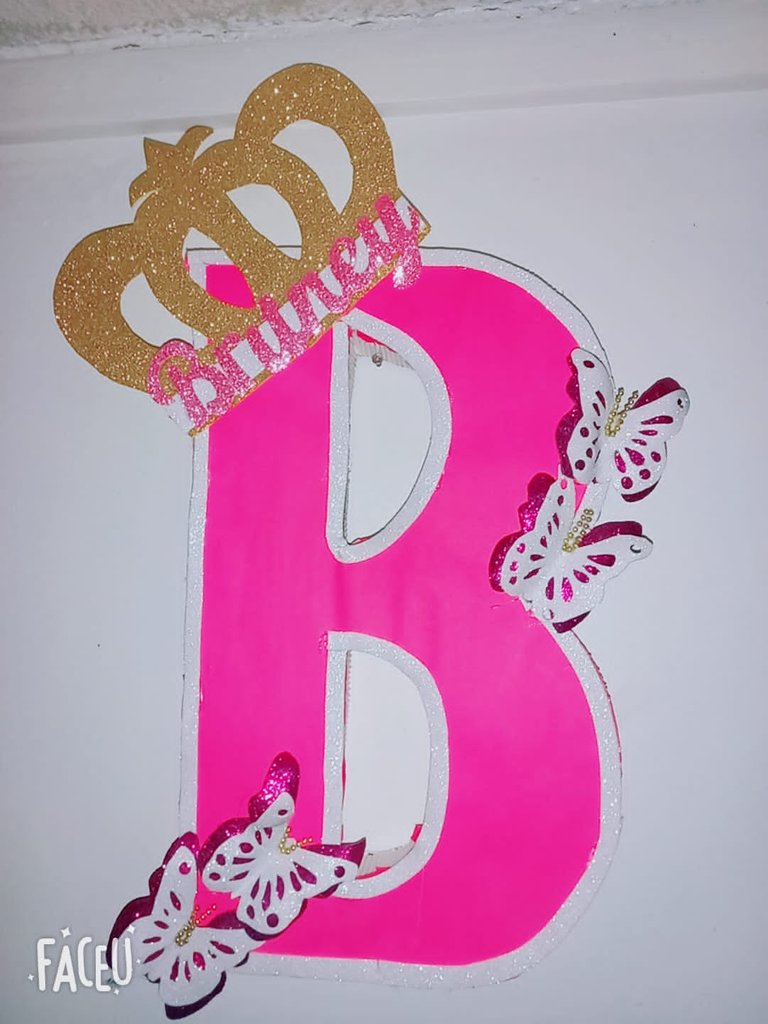
I chose the letter "B" mainly because it is the initial of my name (Britney) and also because a few weeks ago I wanted to decorate my room and I took advantage of this opportunity offered by the contest "decorated letters".

También quiero invitar a mi amiga @rodnellys de formar parte de este increíble concurso.
I also want to invite my friend @rodnellys to be part of this amazing contest.

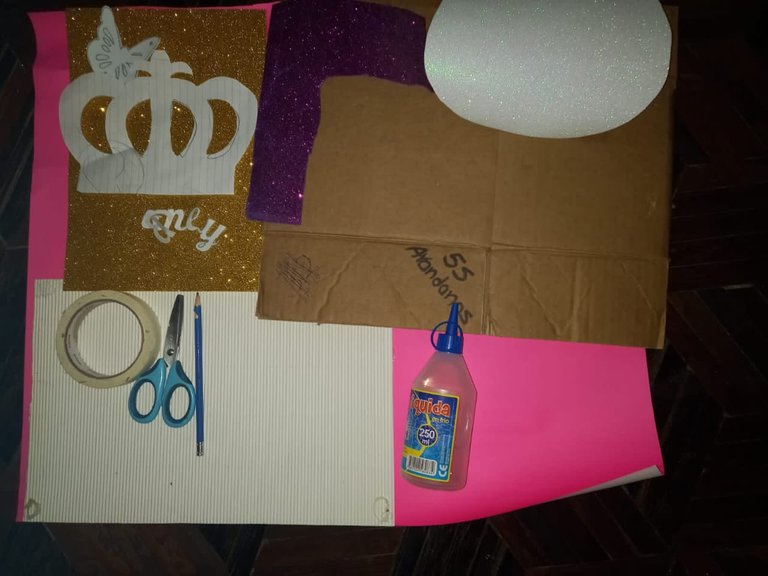
Materiales:
- Cartón.
- Molde de letra "B".
- Foami de color morado, blanco, rosado y dorado.
- Cartulina corrugada de color blanco..
- papel de color fucsia.
- Silicón líquido.
- Tijeras.
- Cúter.
- Perla corrida de color dorado.
- Lápiz.
- Cinta adhesiva de papel.
- Moldes de corona, mariposa y de el nombre "Britney".
Materials:
- Cardboard.
- Letter "B" mold.
- Purple, white, pink and gold Foami.
- Corrugated cardboard of white color.
- Fuchsia colored paper.
- Liquid silicone.
- Scissors.
- Cutter.
- Gold colored bead.
- Pencil.
- Paper tape.
- Crown, butterfly and "Britney" molds.
Procedures:

Paso 1:
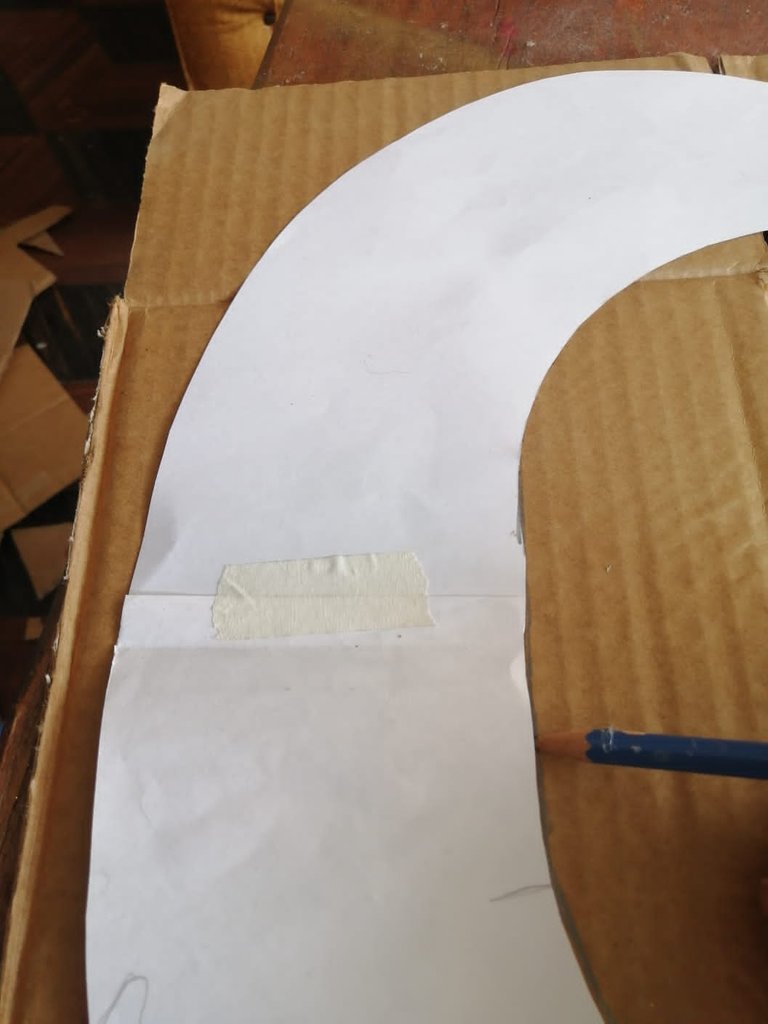
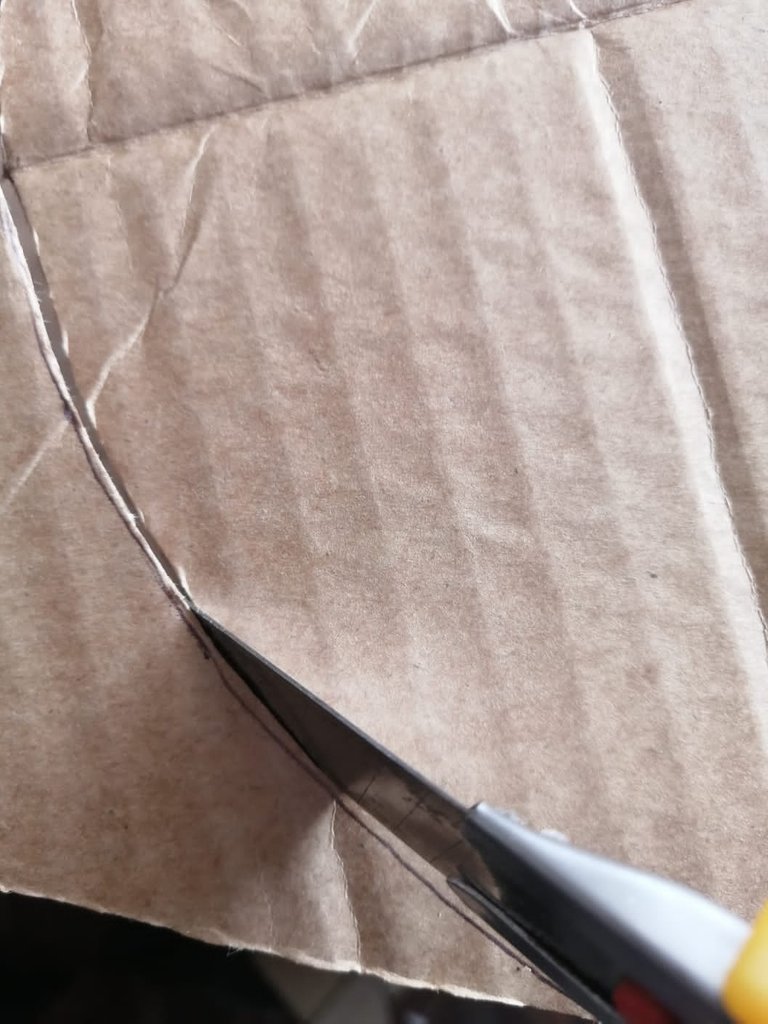
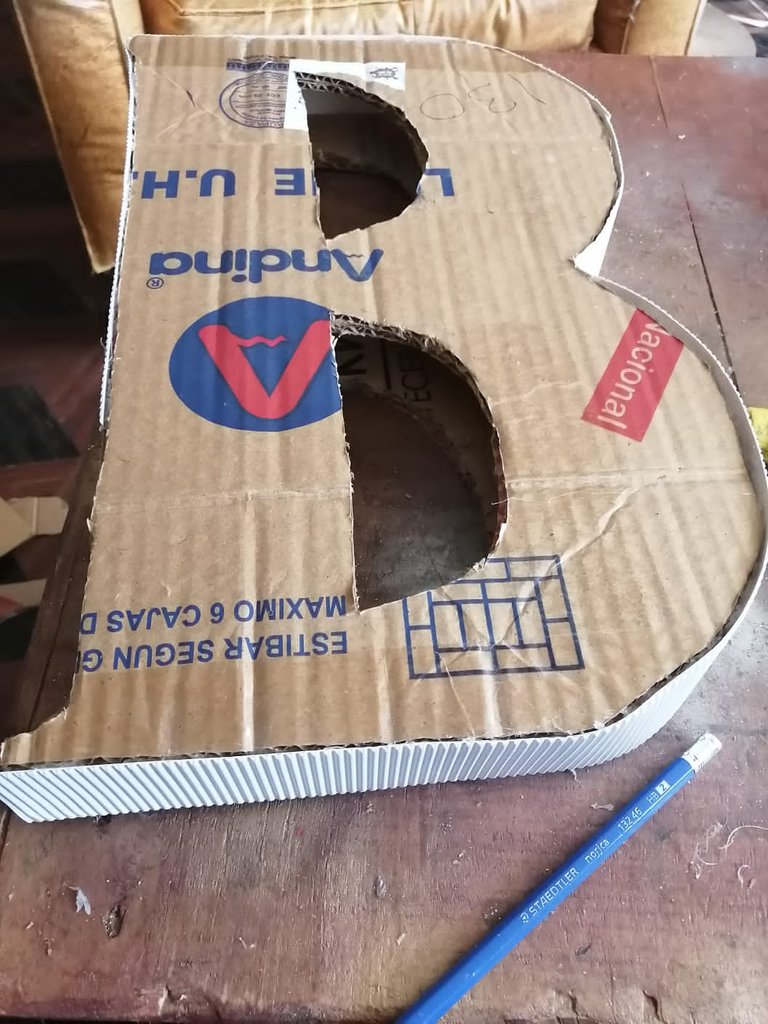
Comenzamos colocando el molde de la letra sobre el cartón marcamos y recortamos.
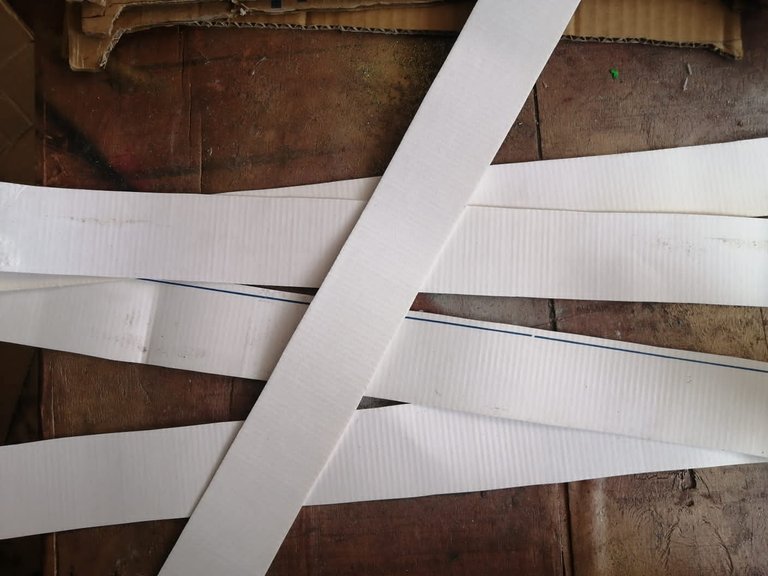
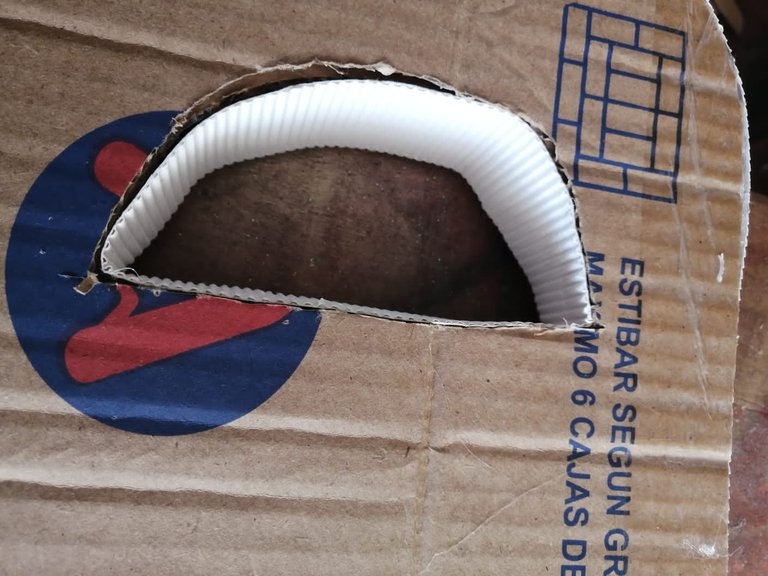
• Además hacemos unas tiras de cartulina corrugada con 8cm de ancho y 32cm de largo y pegamos por todo el borde de la letra.
Step 1:
We start by placing the mold of the letter on the cardboard, mark it and cut it out.
- We also make strips of corrugated cardboard 8cm wide and 32cm long and glue around the edge of the letter.
Paso 2:
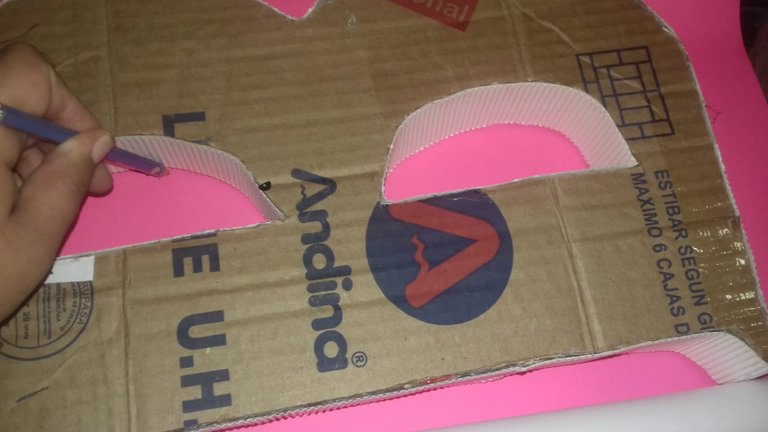
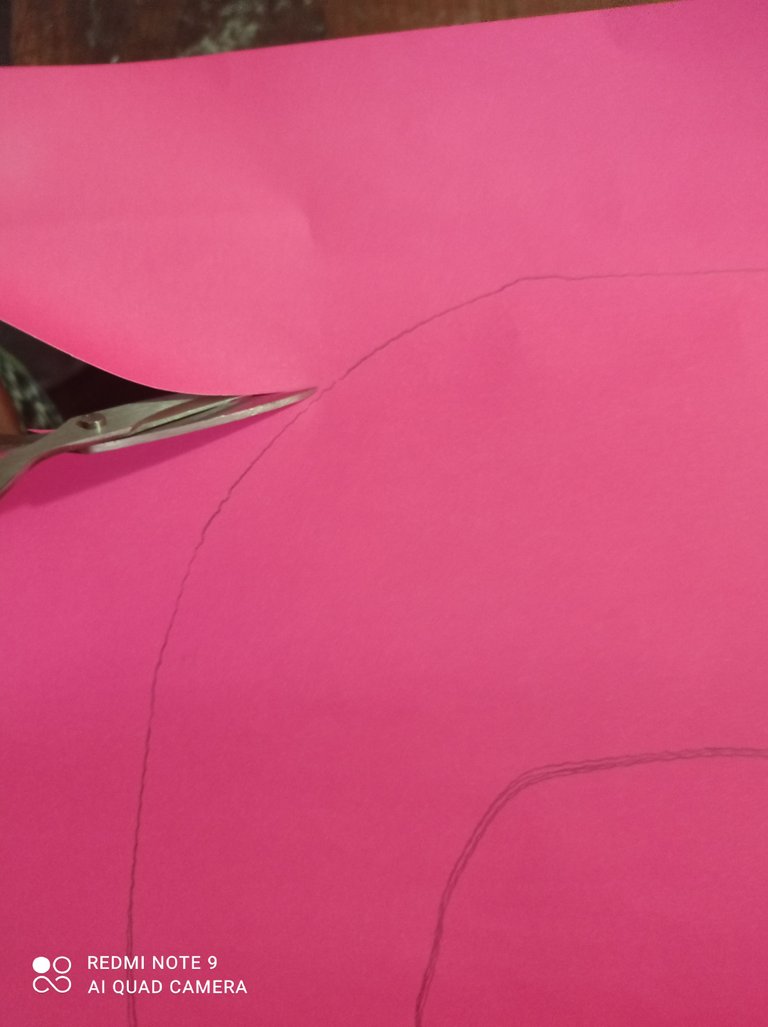
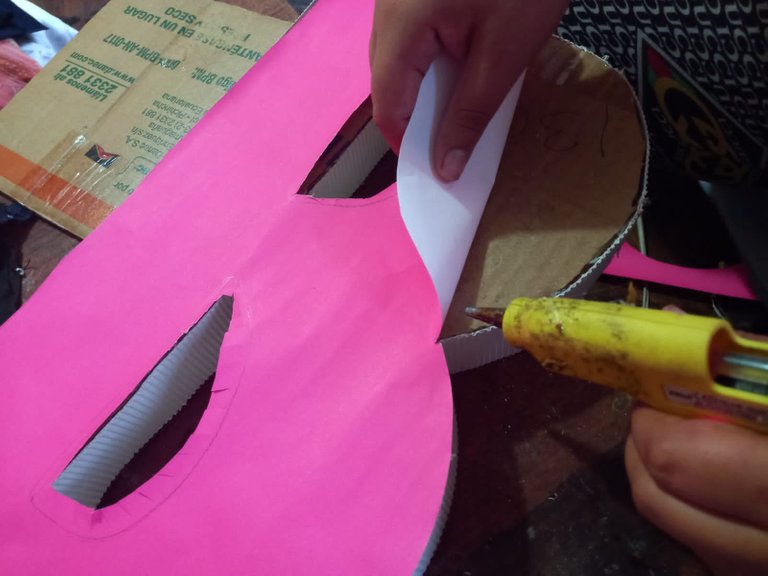
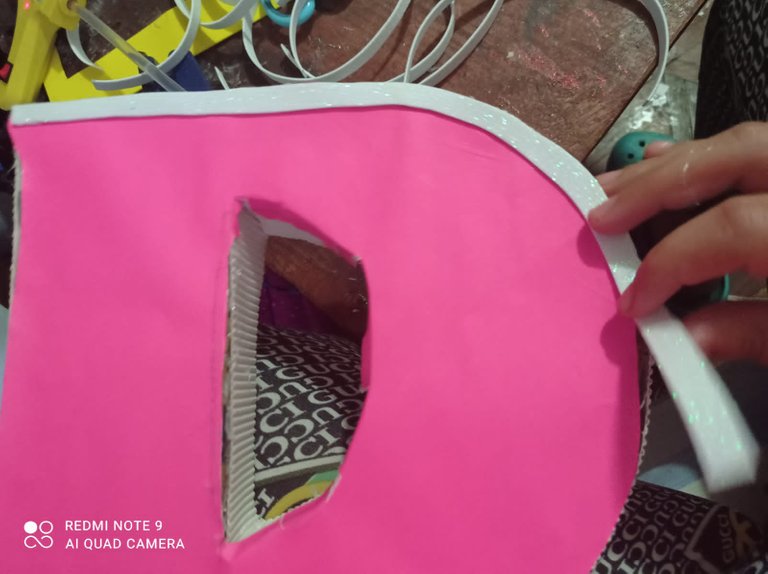
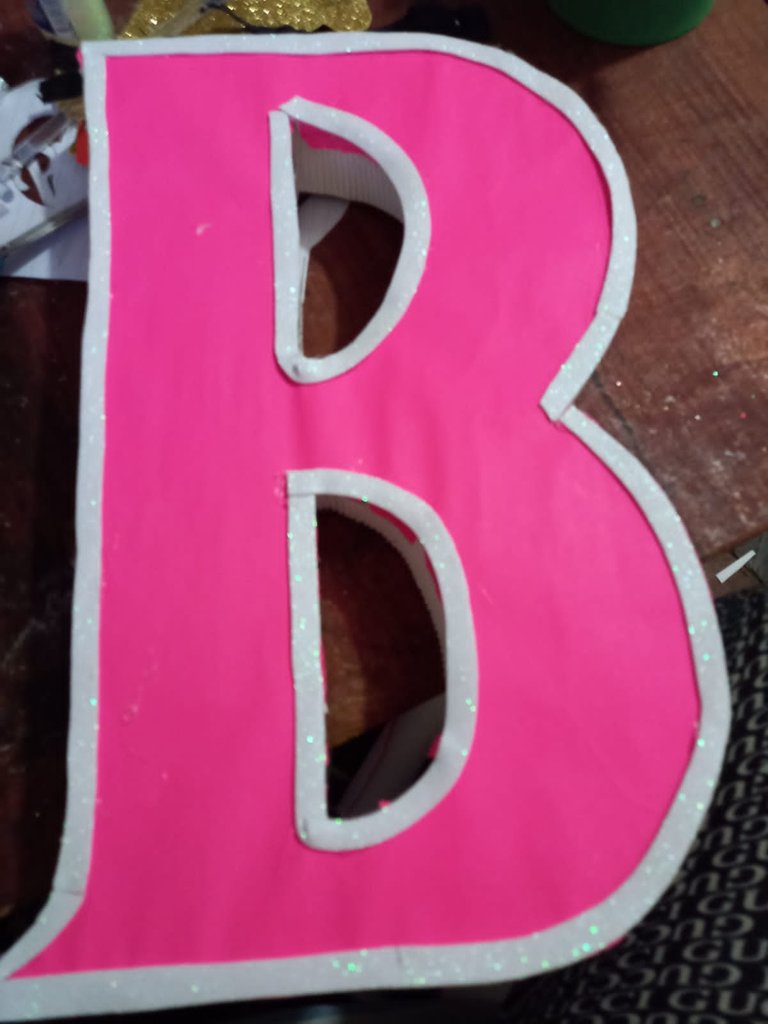
Después colocamos la letra sobre el papel de color fucsia, marcamos, recortamos y pegamos para forrar toda la letra de ambas parte.
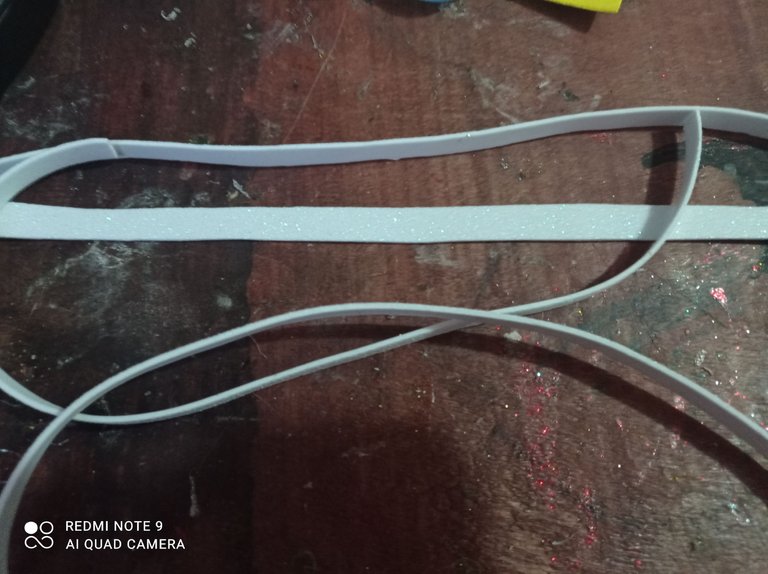
- También hacemos varias tiras de foami de color blanco con 1cm de ancho y 30cm de largo para pegar por todo le borde de la letra .
Step 2:
Then we place the letter on the fuchsia colored paper, mark, cut and glue to cover the entire letter on both sides.
- We also make several strips of white foami 1cm wide and 30cm long to glue around the edge of the letter.
Paso 3:
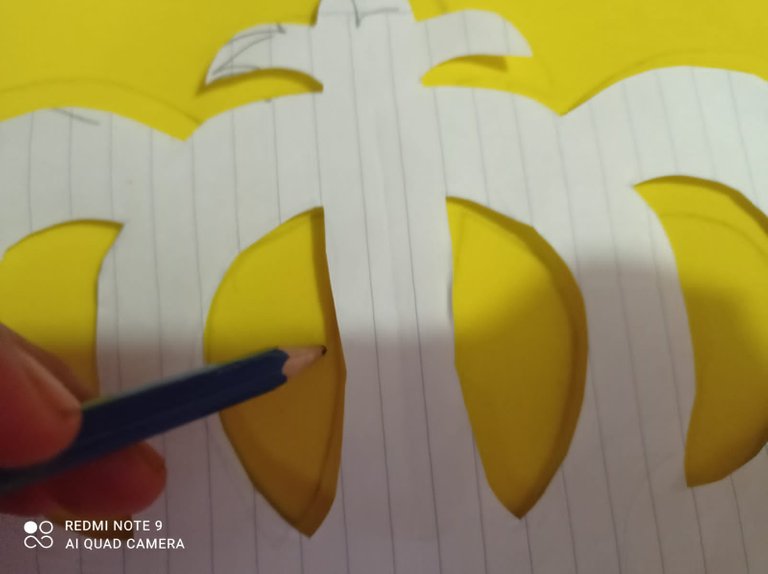
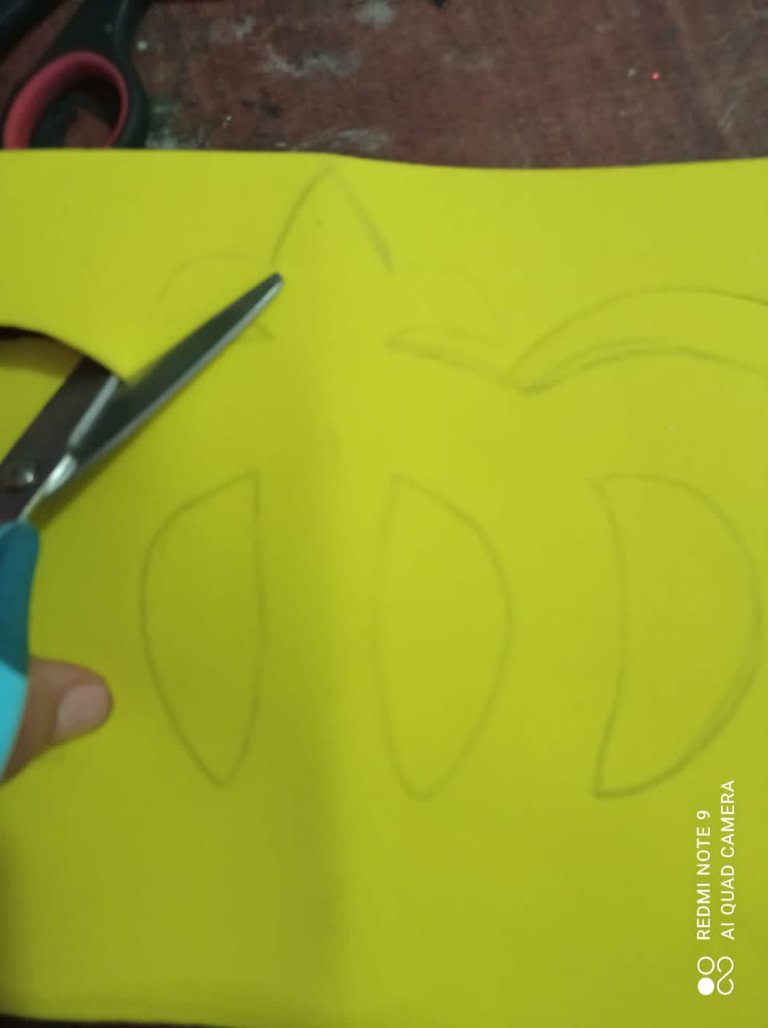
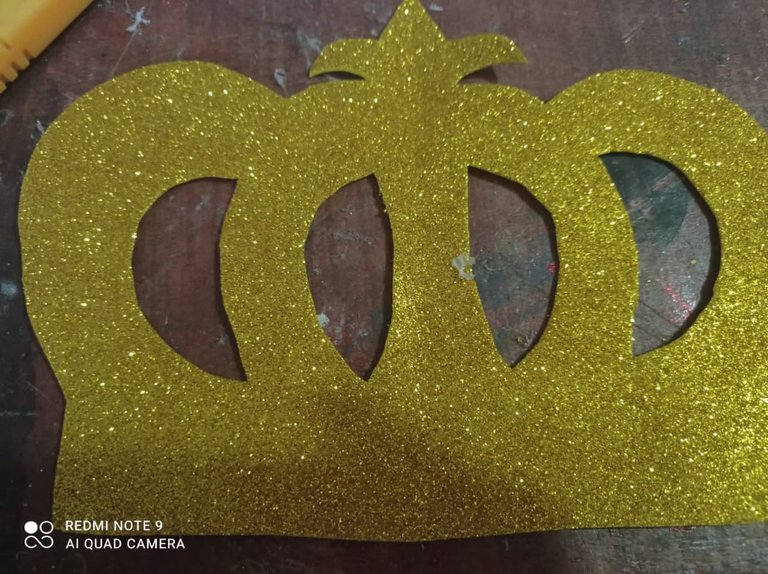
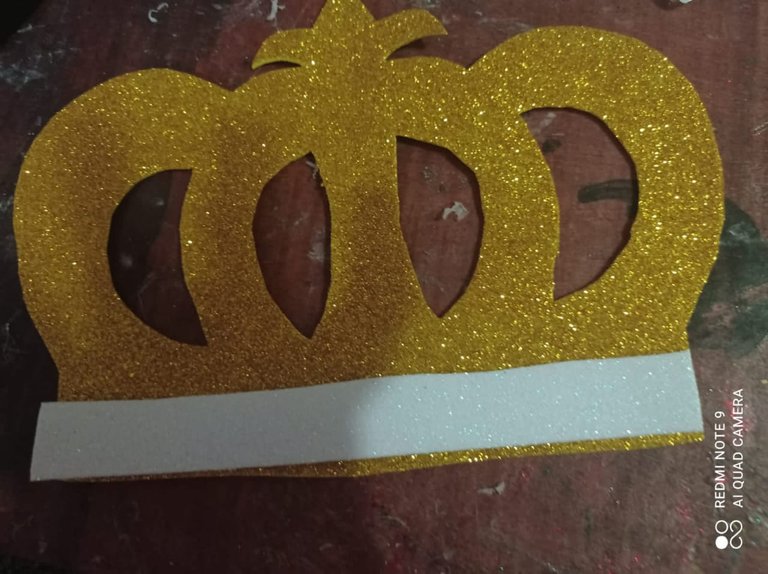
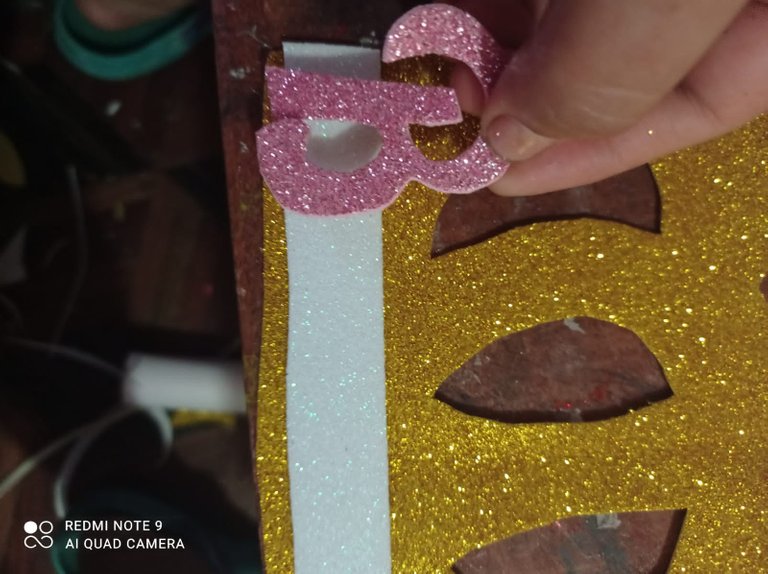
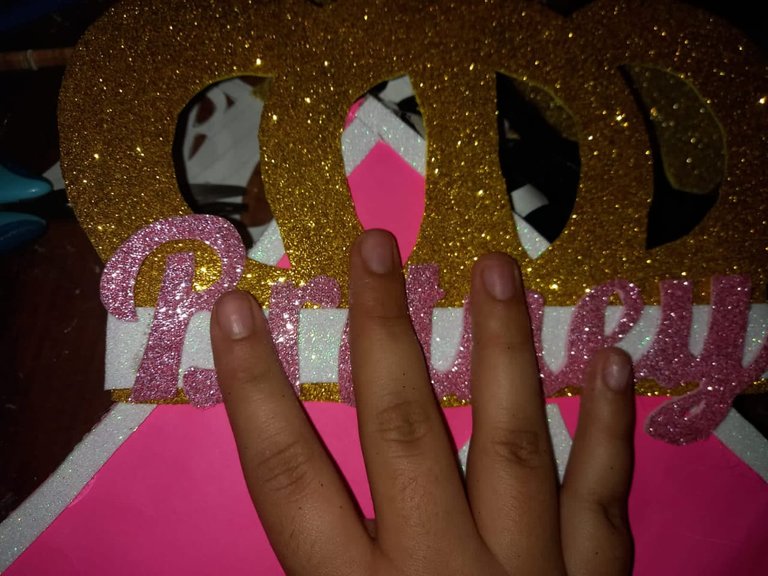
Luego colocamos el molde de corona sobre el foami de color dorado, marcamos y recortamos, y le pegamos una tira de foami blanco en la parte inferior de la corona.
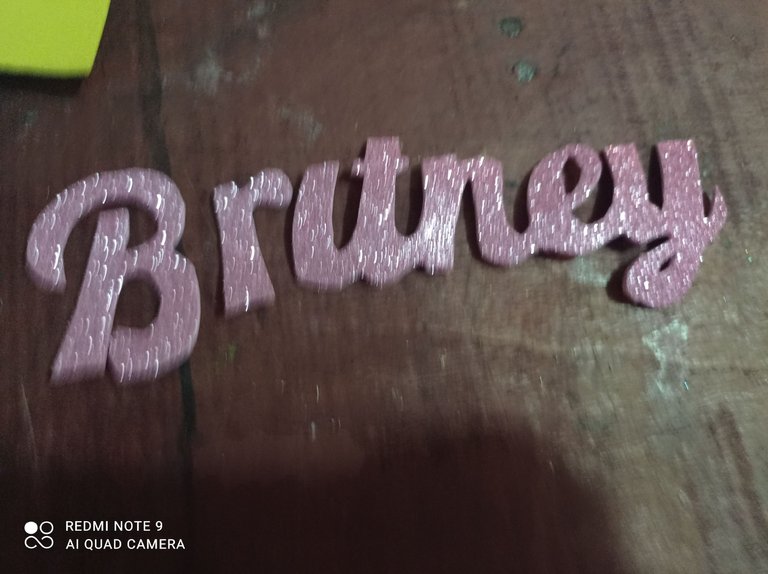
- Ahora hacemos el mismo procedimiento con el molde del nombre en el foami de color rosado, cuando el nombre ya este sacado lo pegamos en la parte inferior de la corona sobre la tira blanca.
Step 3:
Then place the wreath mold on the gold colored foami, mark and cut it out, and glue a strip of white foami on the bottom of the wreath.
- Now we do the same procedure with the mold of the name on the pink foami, when the name is already cut out we glue it on the bottom of the wreath on the white strip.
Paso 4:
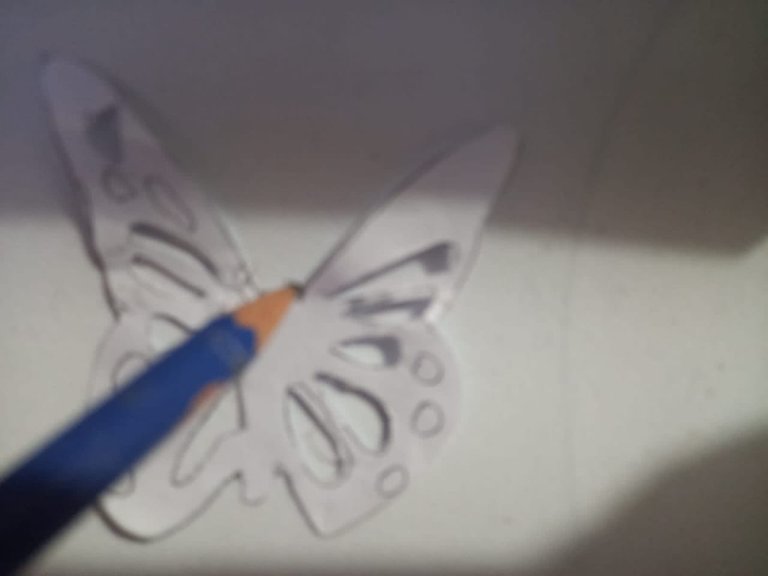
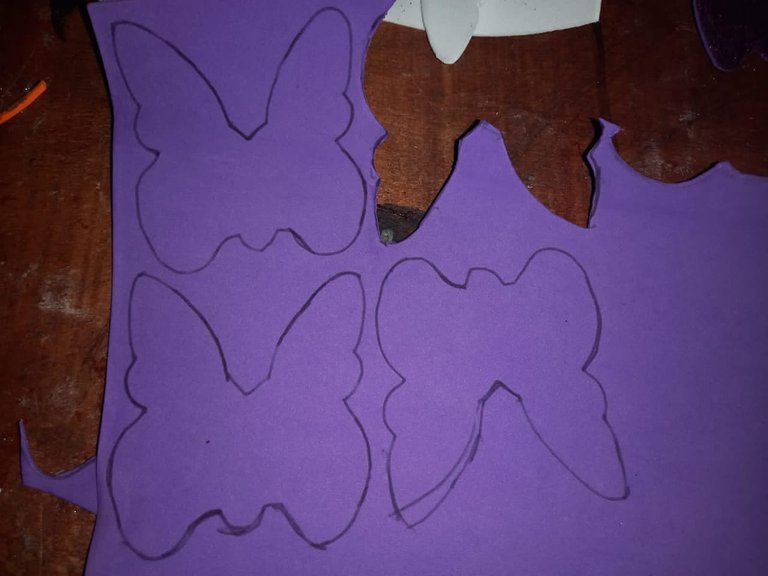
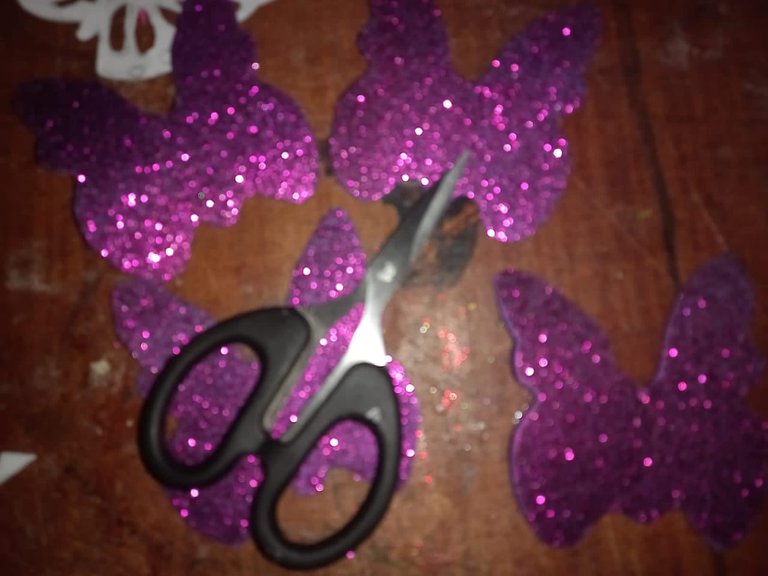
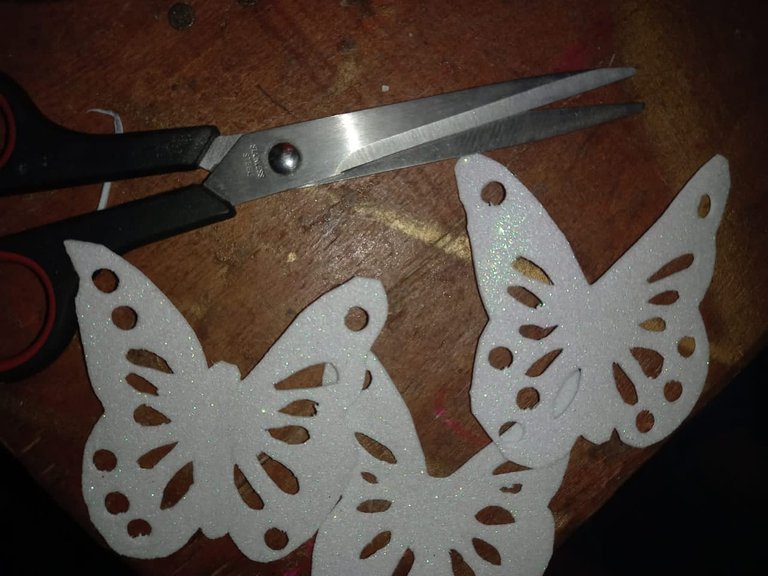
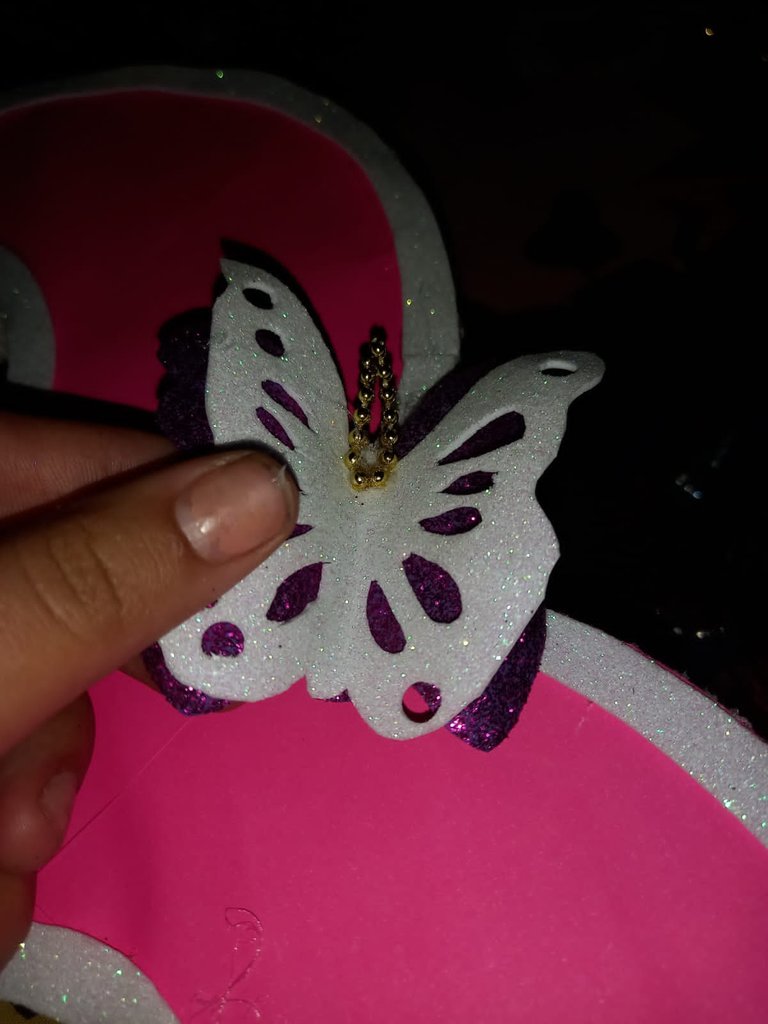
Hecho esto colocamos sobre el foami blanco y morado los moldes de las mariposas, marcamos y recortamos.
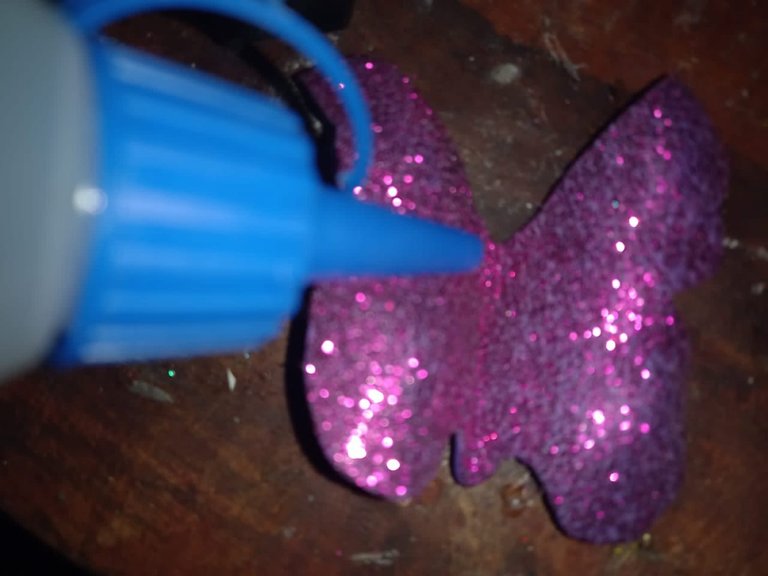
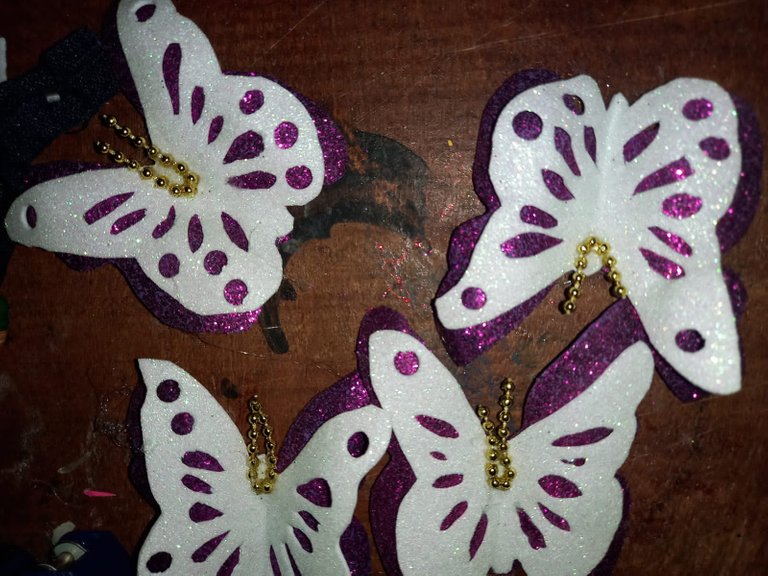
- agregamos silicón líquido y pegamos la mariposa blanca sobre la morada y le pegamos las perlas corridas como las antenas de las mismas.
Step 4:
Once this is done, place the butterfly molds on the white and purple foami, mark and cut them out.
- Add liquid silicone and glue the white butterfly on the purple one and glue the pearls as the antennae of the butterflies.

Paso 5:
Ya para culminar pegamos la corona en la parte superior de la letra, y las mariposas las pegamos en los laterales de la letra.
Step 5:
To finish we glue the crown on the top of the letter, and the butterflies we glue them on the sides of the letter.
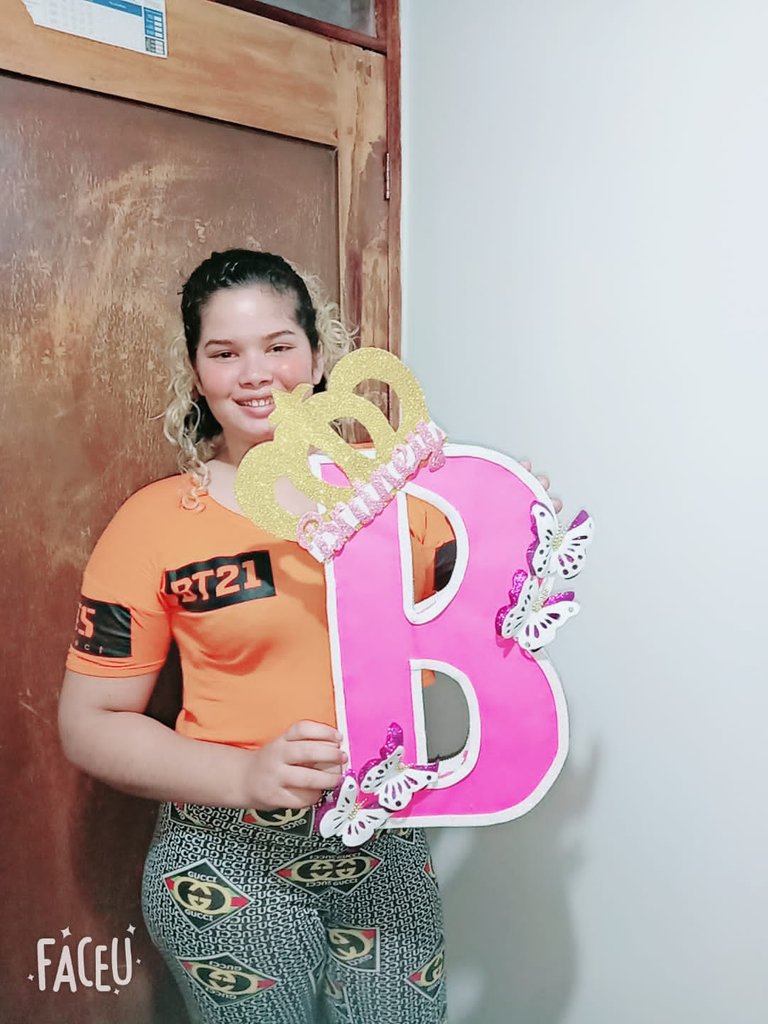
Here is the final result
