Hola , hola .. Están listos ?
Hello, hello... Are you ready ?
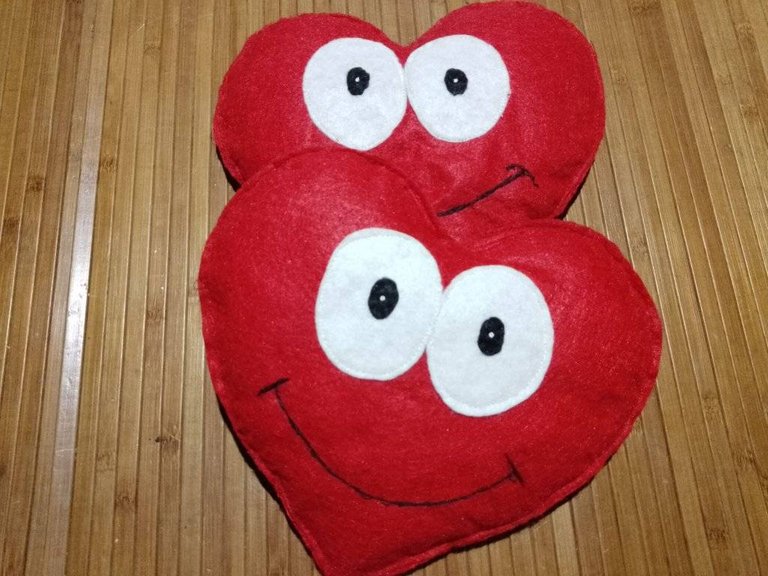
I am very excited about this post because I will teach you how to make a heart-shaped cushion, ideal for the Day of love and friendship or for any important date, it is super easy to make and the best thing is that you can also make them to sell and start your own business
.jpg)
The nicest thing is that you can also put it in a bag with chocolates or some candy, with a ribbon, a balloon and a card and ready, it will look great, SO GET TO WORK !
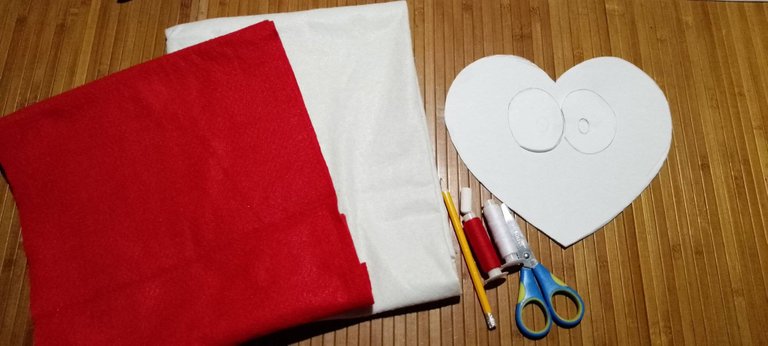

MATERIALES :
1 Pliego de fieltro color rojo
1 Pliego de fieltro color blanco
Moldes
1 Tijera
Hilos para coser : Rojo , blanco y negro
1 Tiza blanca . si tienes color color también puedes usarla
1 Lápiz
Pintura al frio blanca .
Guata para rellenar , si no tiene puedes usar otro tipo de relleno

MATERIALS :
1 sheet of red felt
1 sheet of white felt
Molds
1 scissors
Sewing threads: red, white and black.
1 White chalk. If you have colored chalk, you can also use it.
1 Pencil
White cold paint .
Wadding for stuffing, if you don't have it you can use another type of stuffing.
PASO A PASO
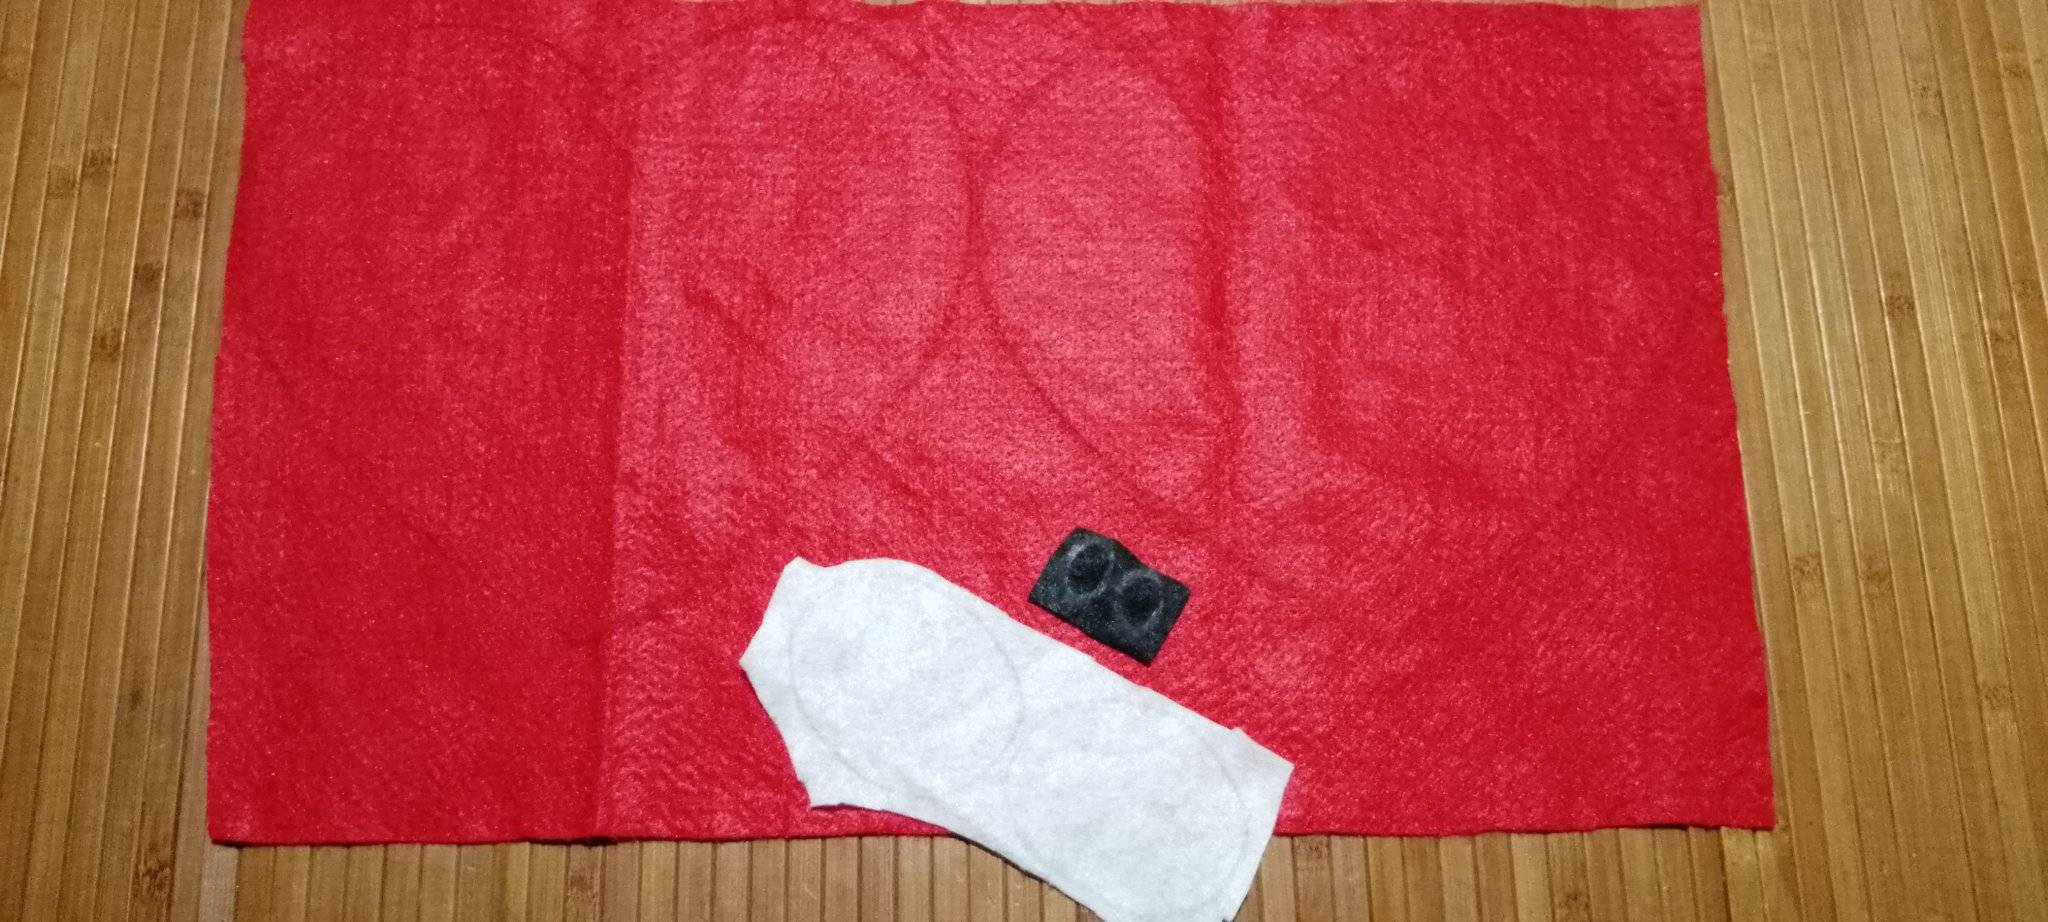
1-Pasar con el lápiz los moldes al fieltro, 2 corazones en el rojo, el blanco para los 2 ojos y el negro para los 2 circulo que van dentro.
1-Pass with the pencil the molds to the felt, 2 hearts in the red, the white for the 2 eyes and the black for the 2 circles that go inside.
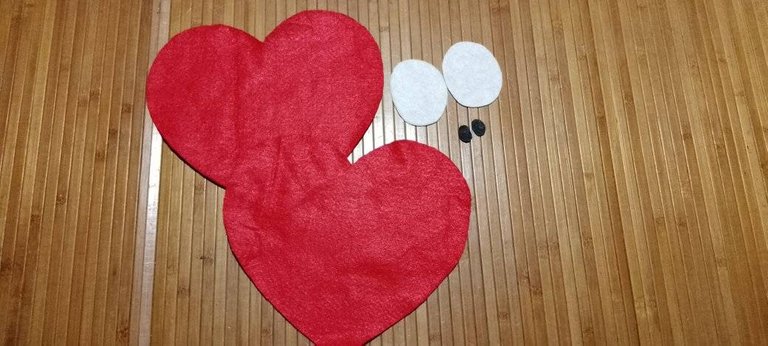
2- Recortalos por los bordes, te quedara algo asi 👇
2- Trim the edges, you will be left with something like this
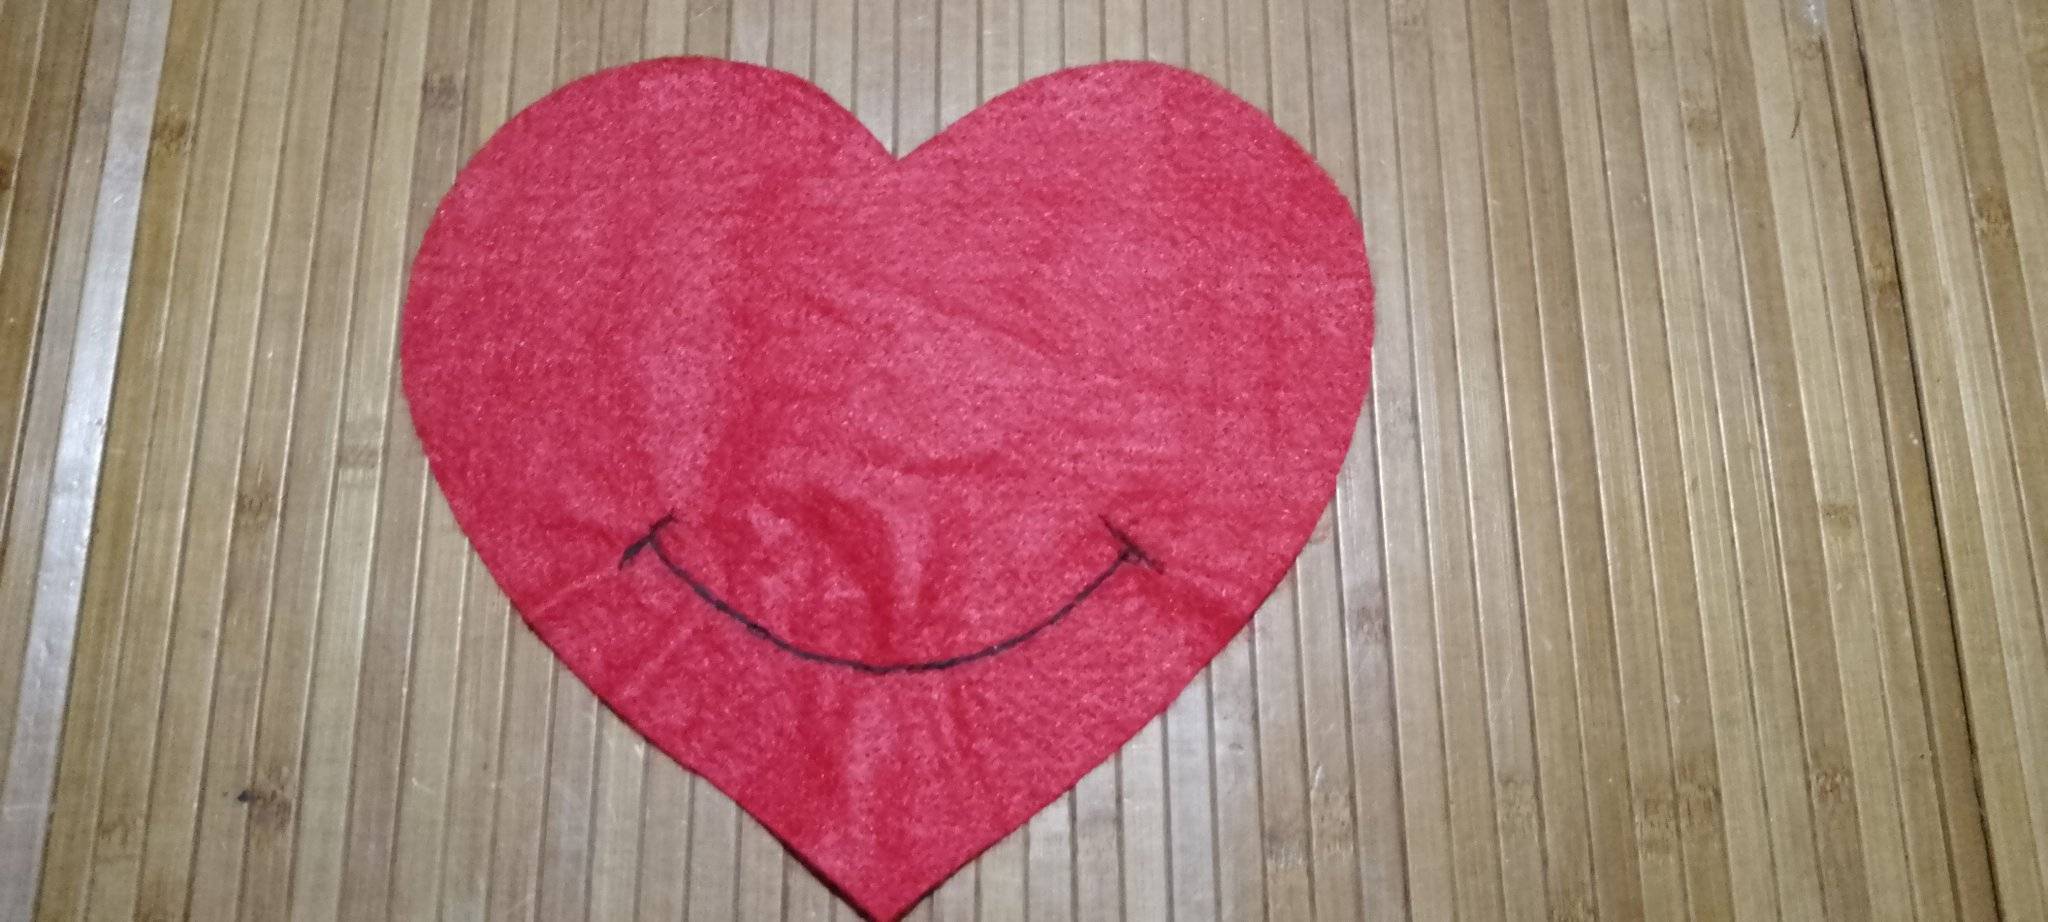
3- Dibuja una sonrisa con el lápiz, en uno de los corazones para que se vea mas lindo, luego debes coserlo , quedará algo así .👇
Draw a smile with the pencil on one of the hearts to make it look nicer, then sew it, it will look something like this 👇.
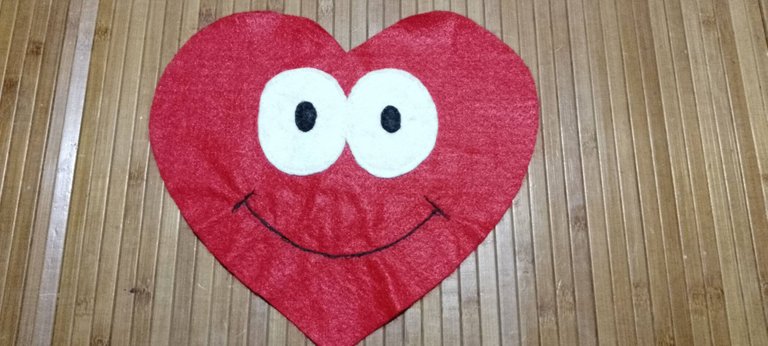
4-Ahora coloca las piezas que faltan en el corazón para ordenarlas y empezarlos a coser .
4-Now place the missing pieces in the heart to arrange them in order and start sewing.
5- Unir las 2 piezas de corazones y empezarlos a coser dejando una pequeña abertura para poderlo rellenar.
5- Join the 2 pieces of hearts and start sewing them together leaving a small opening to be able to fill it.
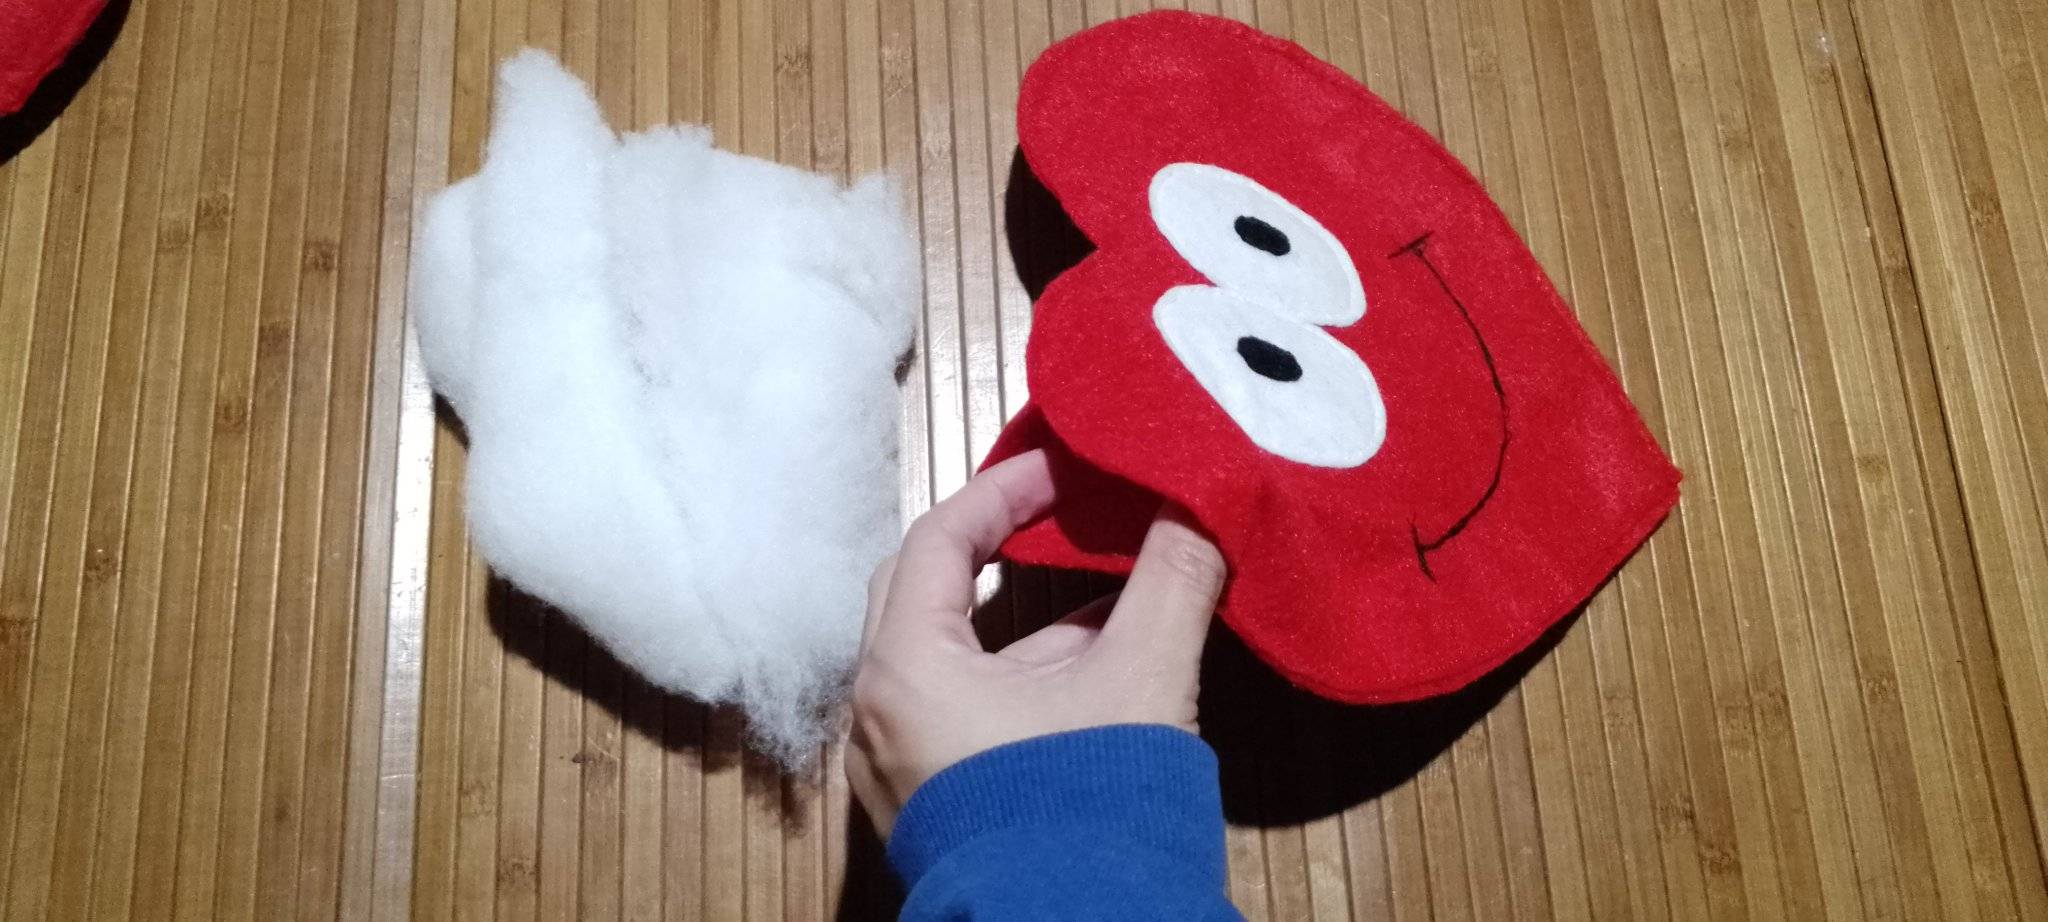
6-Luego que ya lo tengas listo y relleno, corta los hilos que le pueden quedar sobrando .
6-After you have it ready and stuffed, cut the threads that may be left over.
7- Ahora con la pintura blanca realiza un puntico en la parte negra del ojo y LISTO !
7- Now with the white paint make a dot in the black part of the eye and READY !
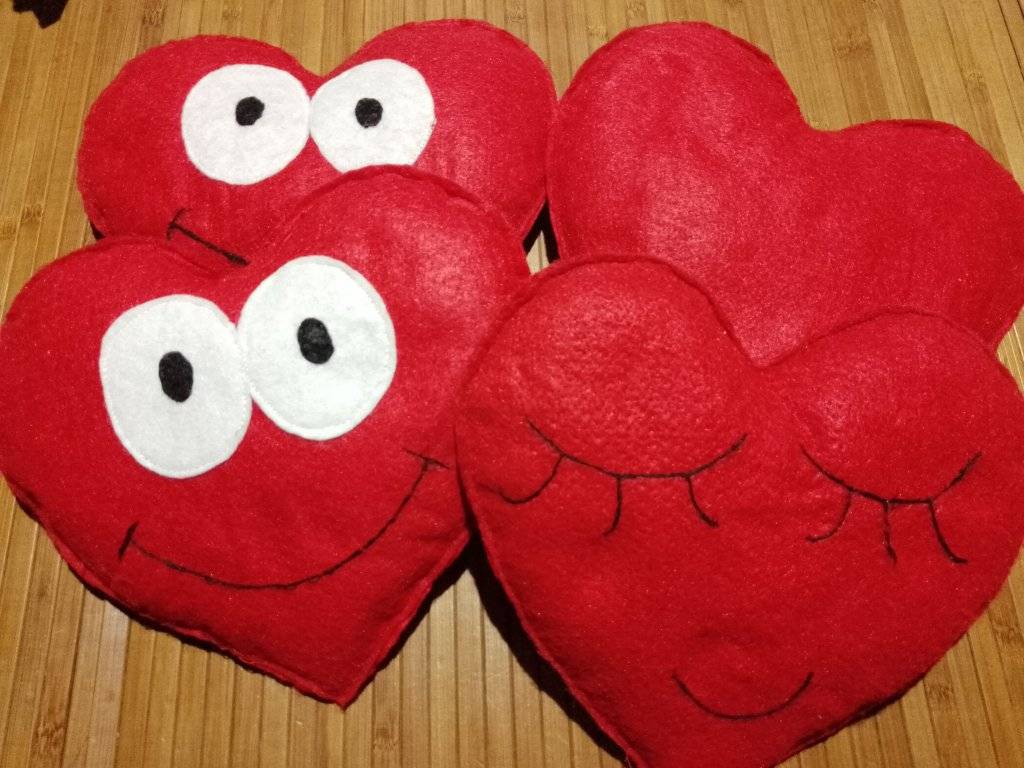
Les cuento que realice varios modelos, tambien puedes colocarle las caras que desees o incluso dejarlo asi solito.
I made several models, you can also place the faces you want or even leave it alone.
Remember that everything you imagine you can make it come true .I hope you liked it , if you want me to make more crafts like this let me know in the comments.
Fotografías y textos de mi autoría .

