Almost all of us have some pending object at home to fix or repair, in my case it's one of the kitchen chairs that was left without its seat a long time ago because the material broke, we took the seat to an upholsterer to fix it and it turned out that he closed his workshop and we never got the seat back and the chair has been like that for a long time.
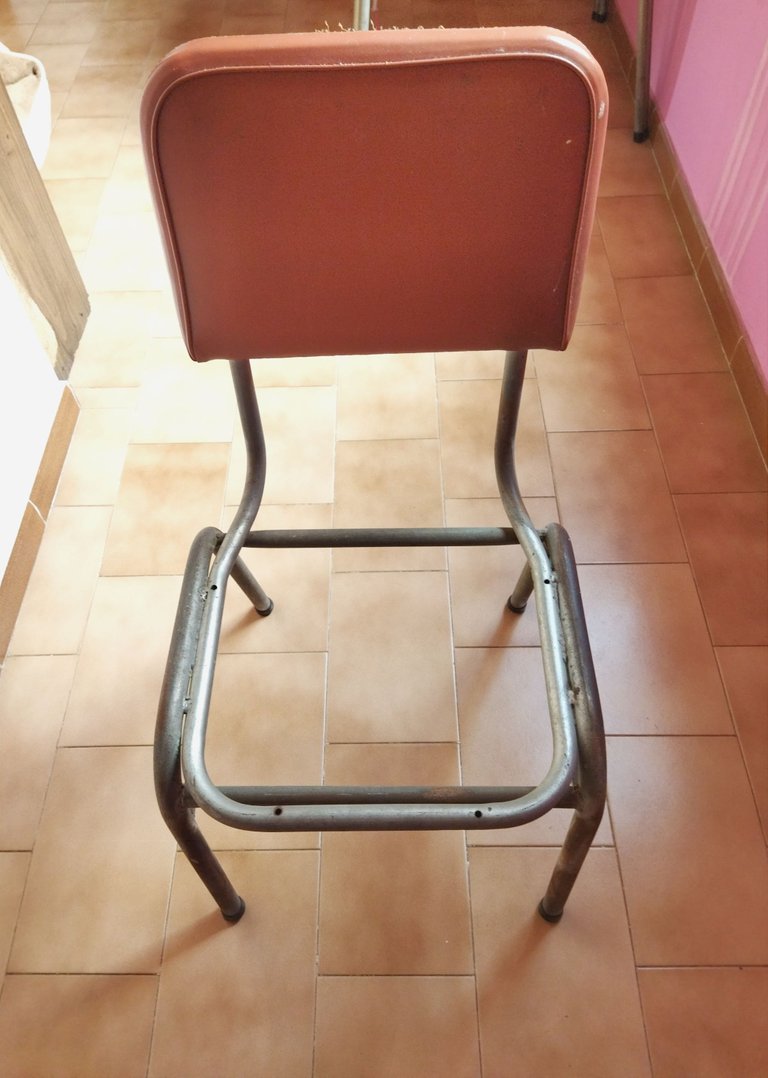
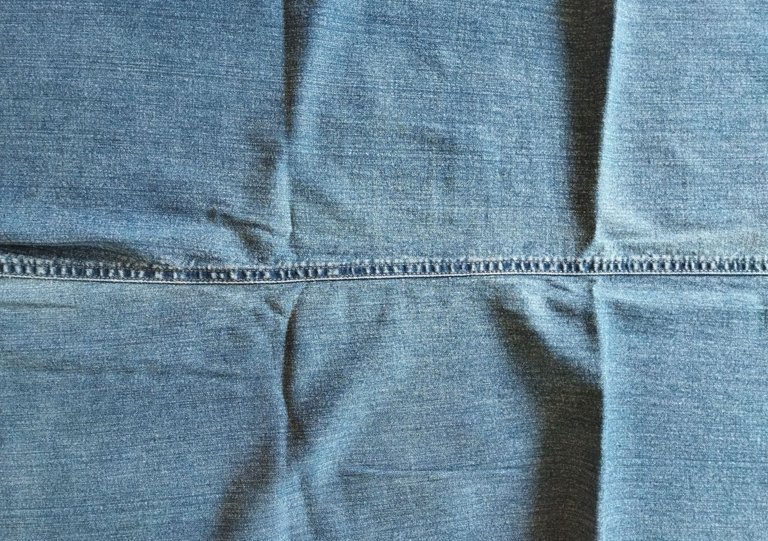
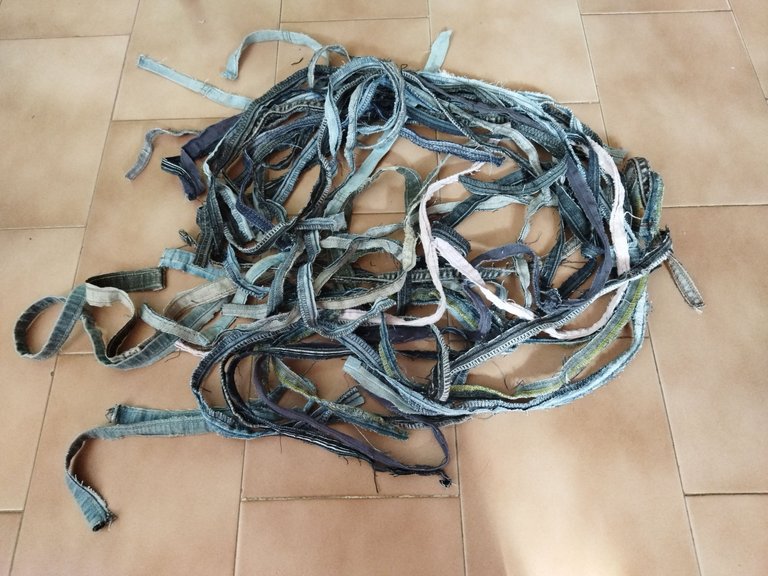
Trato de reciclar y reutilizar todo lo que puedo, ropa, cartones, botellas, etc. así que hoy les enseñaré cómo hacer un asiento para una silla utilizando tiras de jean. Estas tiras las he ido guardando de pantalones viejos que dejé de usar. Sólo necesitan dos materiales, una silla que no tenga asiento y tiras de jean sacadas de pantalones.
I try to recycle and reuse everything I can, clothes, cardboard, bottles, etc. so today I'm going to show you how to make a seat for a chair using jean strips. I have been saving these strips from old pants that I stopped using. You only need two materials, a chair that doesn't have a seat and strips of jean taken from pants.
El proceso es muy sencillo y rápido y el resultado fabuloso. Manos a la obra.
The process is very simple and fast and the result is fabulous. Let's do it.
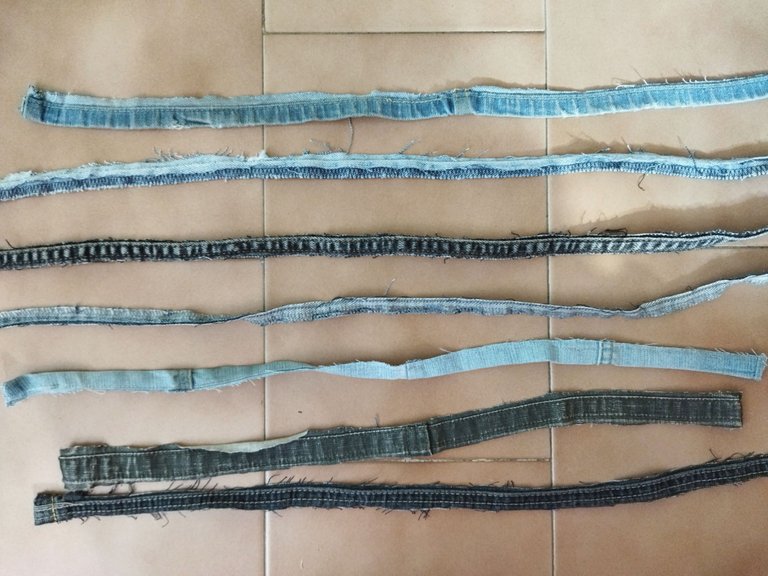
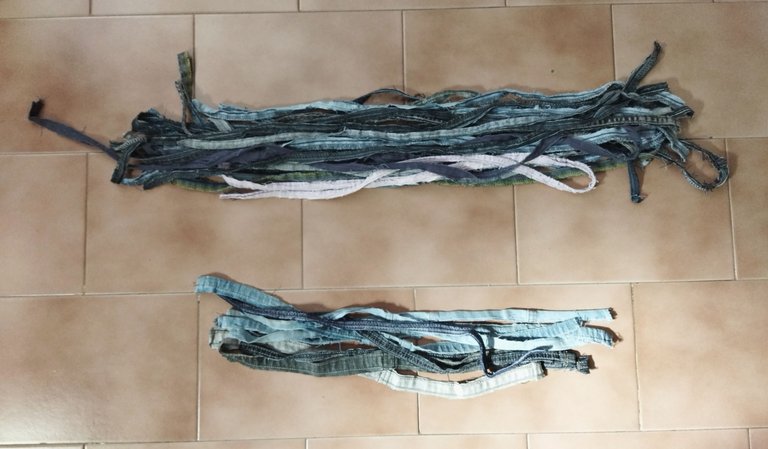
Paso 1: luego de limpiar bien la silla vamos a separar las tiras en dos, las que irán de forma horizontal en el asiento y las que lo harán de manera vertical, es importante que las tiras sean unos 10 centímetros más largas por cada extremo del marco del asiento ya que al finalizar tenemos que amarrarlas.
Step 1: after cleaning the chair well we're going to separate the strips into two, those that will go horizontally on the seat and those that will go vertically, important, the strips must be about 10 centimeters longer at each end of the frame of the seat since at the end we have to tie them.
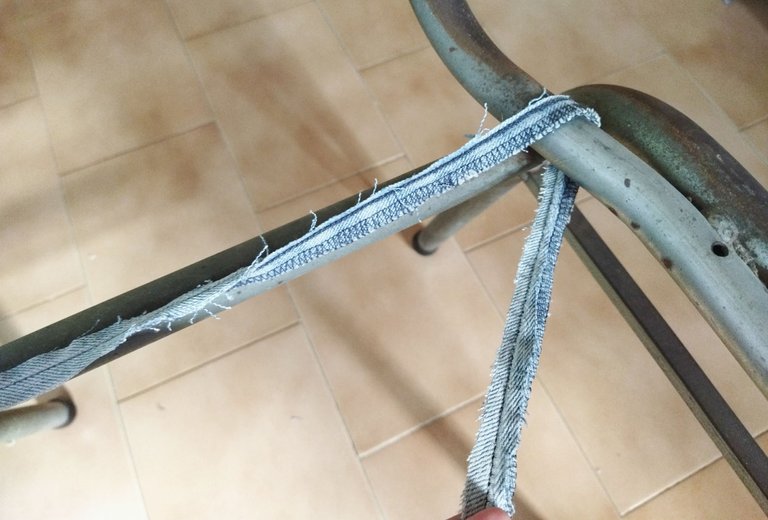
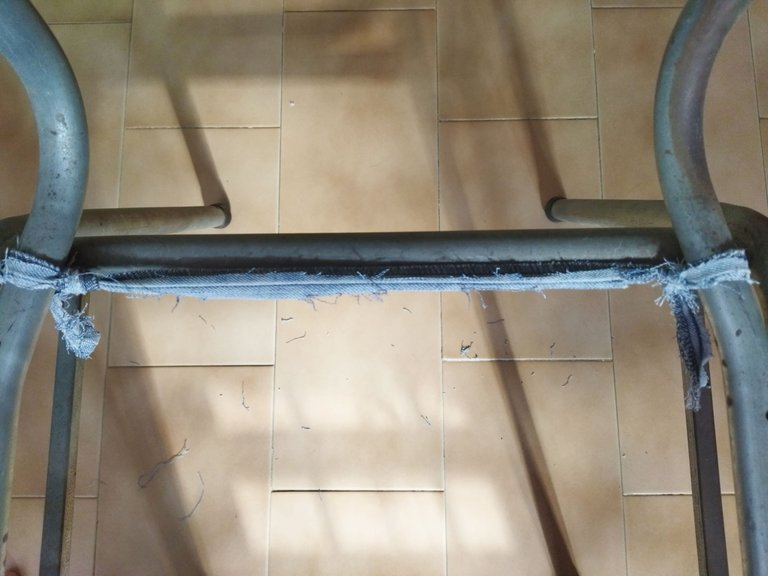
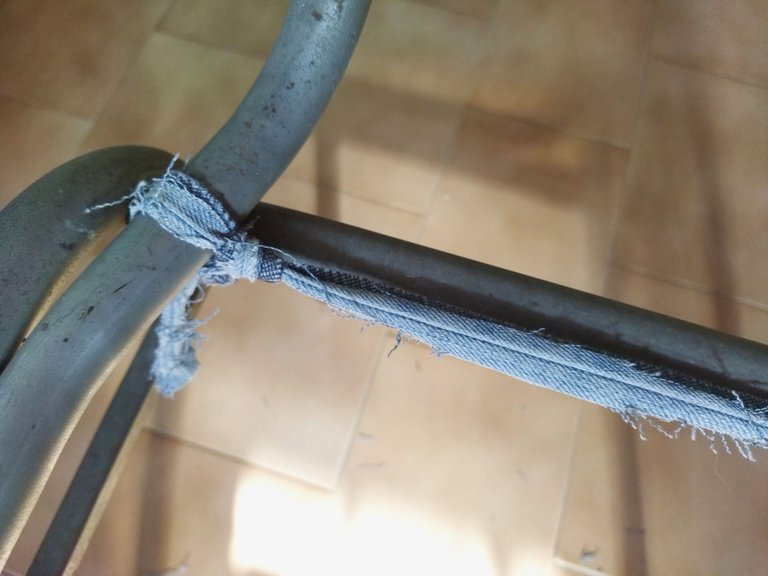
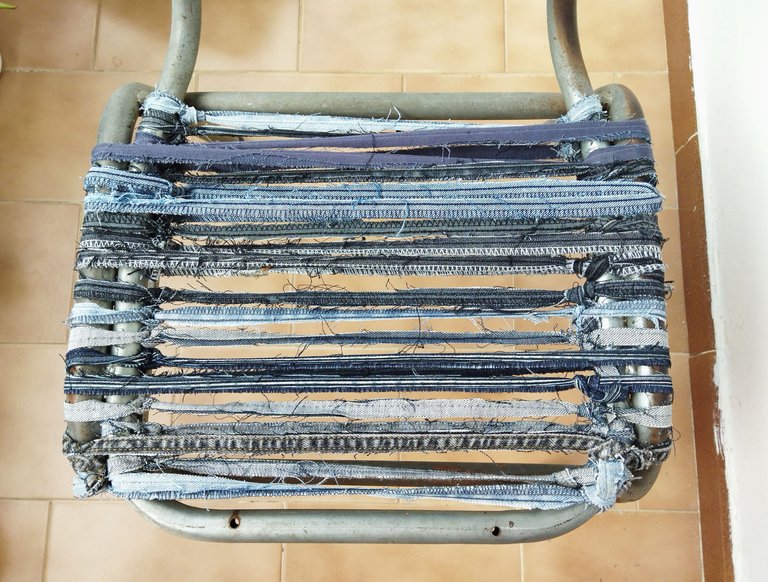
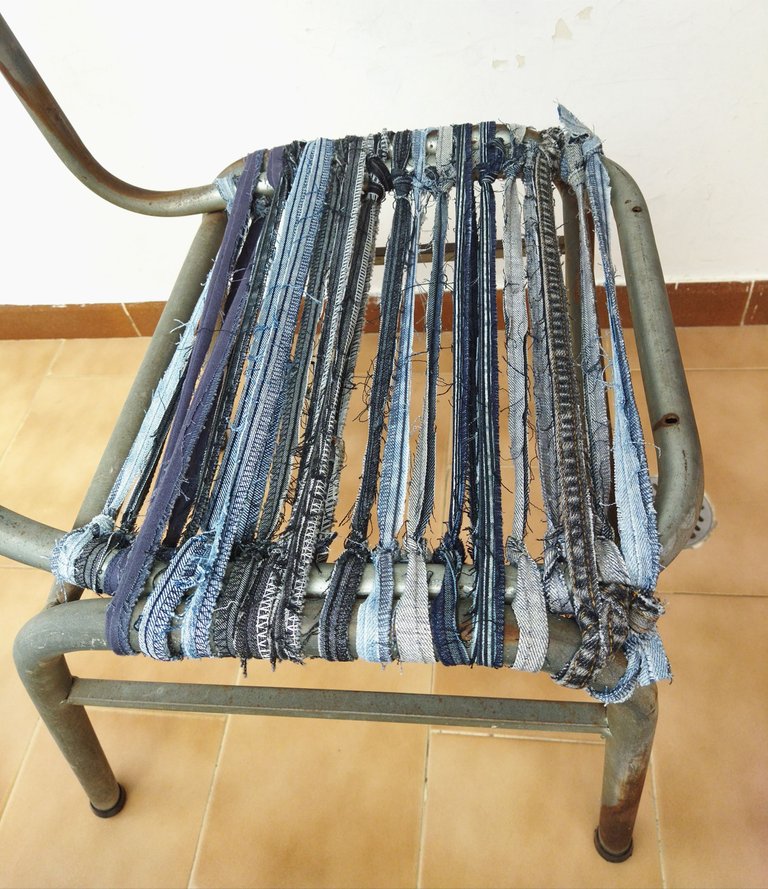
Paso 2: a continuación vamos a amarrar a la silla la primera tira que irá horizontalmente en el asiento estirándola bien para que quede firme. Cuando vayamos a amarrar la segunda tira pasamos el sobrante de la primera tira por el nudo de la segunda para darle más resistencia. Seguimos hasta lograr cubrir todo el asiento con las tiras horizontales.
Step 2: next we are going to tie the first strip that will go horizontally on the seat to the chair, stretching it well so that it's firm. When we go to tie the second strip we pass the excess of the first strip through the knot of the second to give it more resistance. We continue until we cover the entire seat with the horizontal strips.
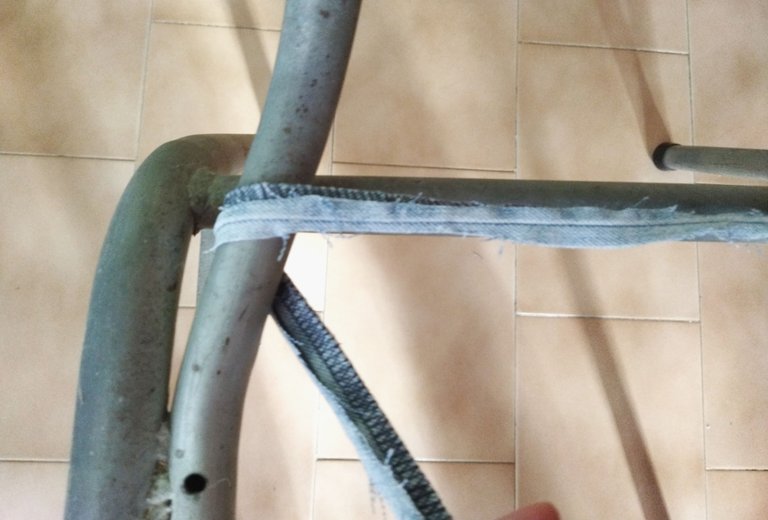
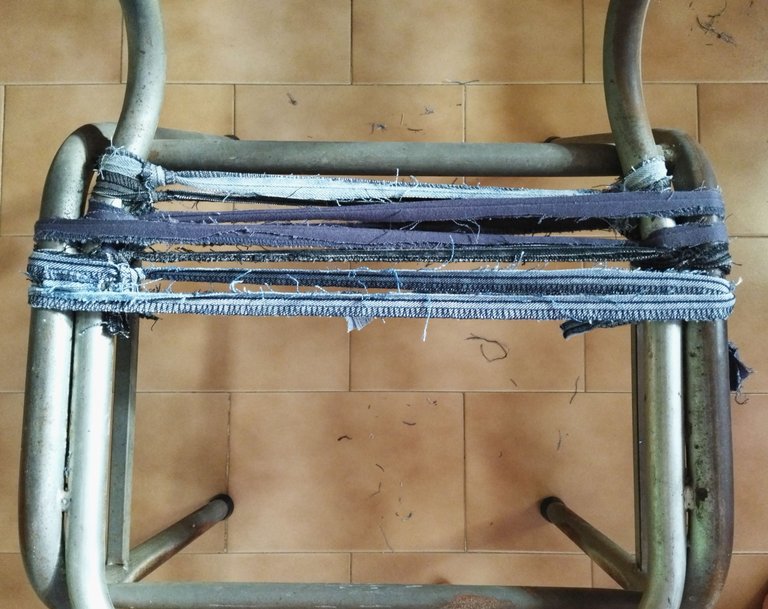
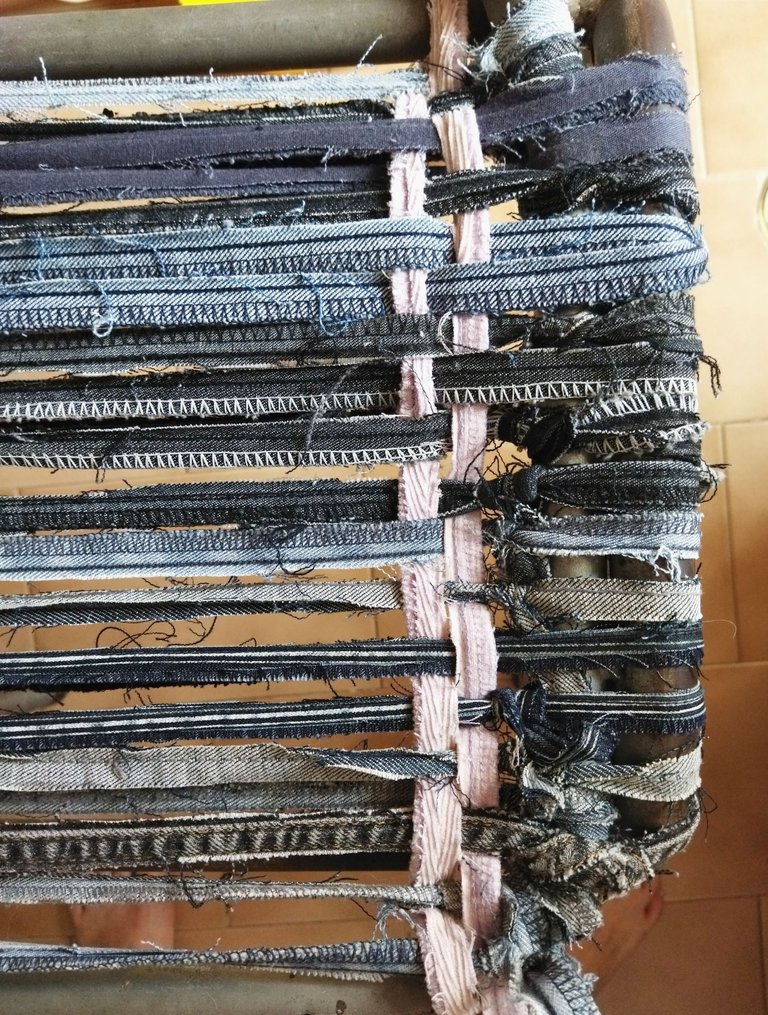
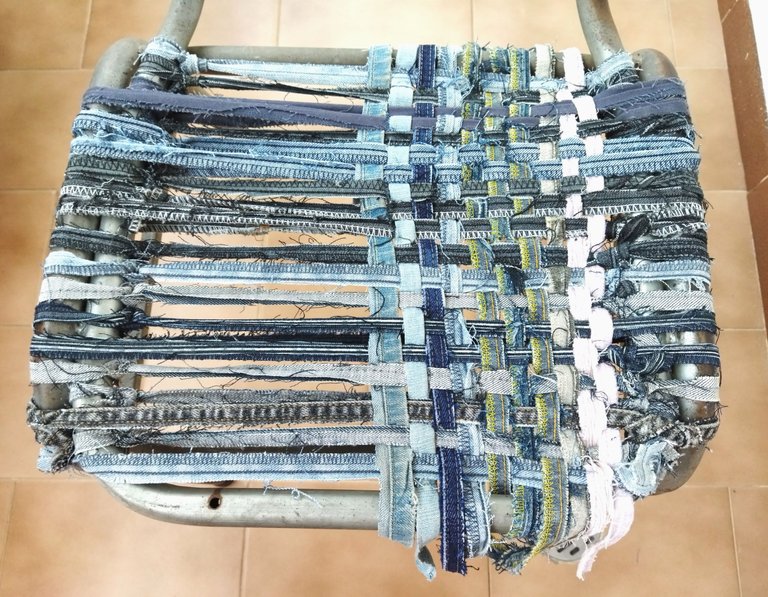
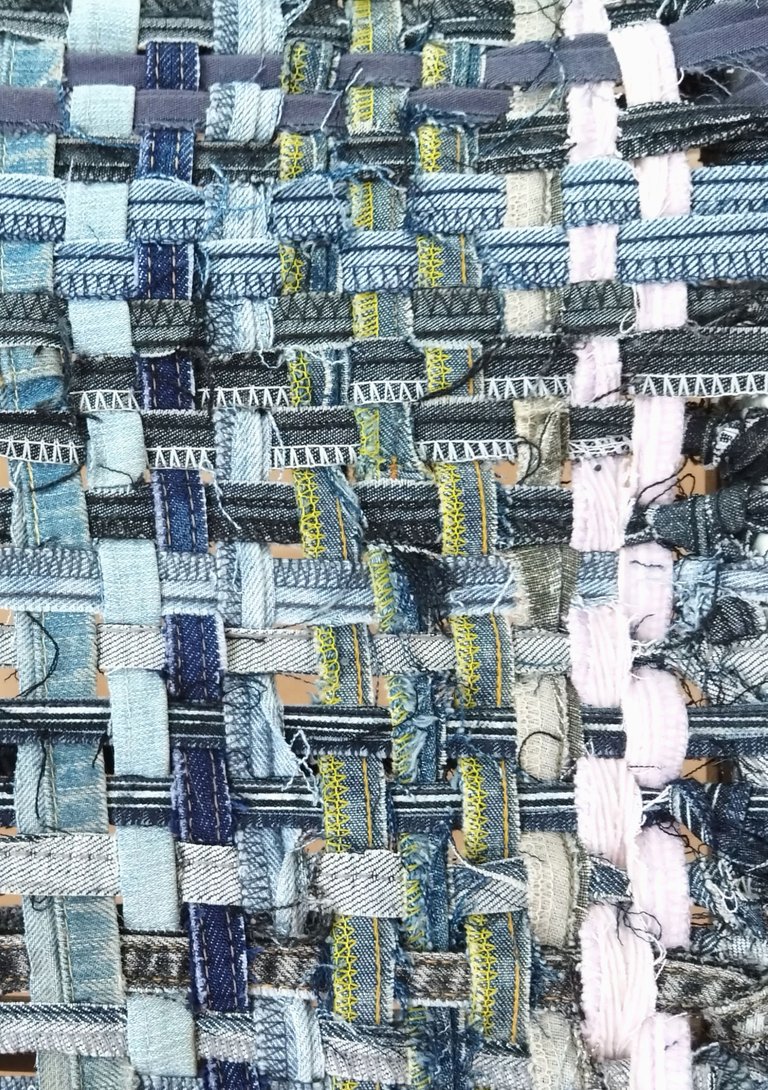
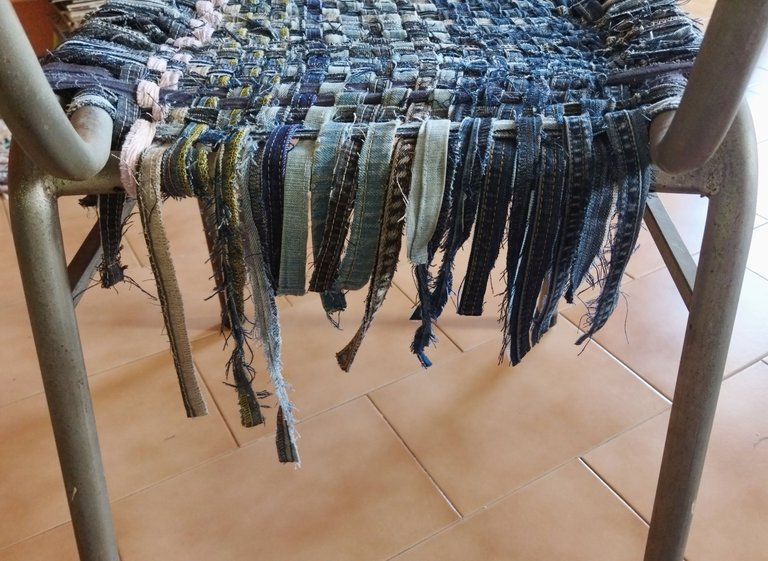
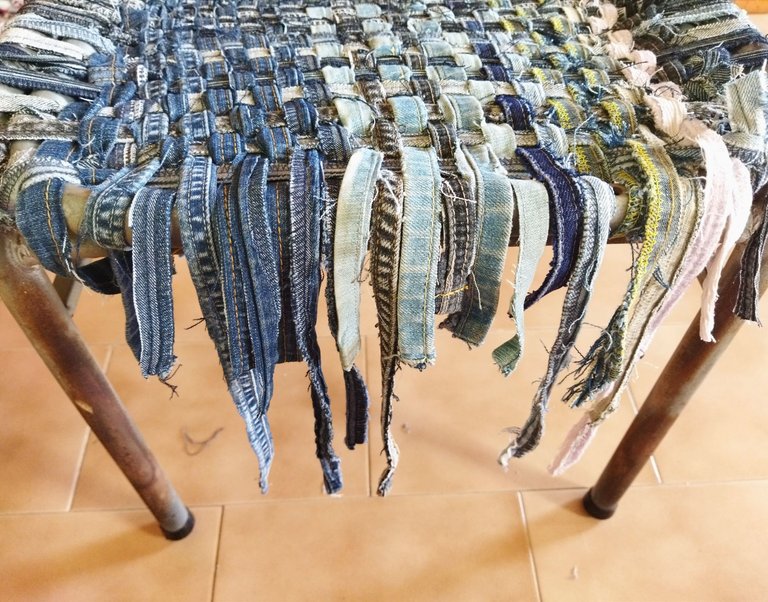
Paso 3: ahora vamos a realizar el tejido o entrelazado que le dará más firmeza y resistencia a nuestro asiento y por supuesto lo hará verse más bonito. Tomamos una tira de jean y la vamos a ir pasando entre las tiras horizontales alternándola de manera que quede una línea arriba y otra abajo hasta llegar al otro extremo. Es algo muy sencillo. Es importante ir empujando las tiras para que no queden vacíos.
Step 3: now we're going to make the design or interlacing that will give our seat more firmness and resistance and of course it will make it look more beautiful. We take a strip of jean and we're going to pass it between the horizontal strips alternating it so that there is one line above and one below until we reach the other end. It's something very simple. It's important to push the strips so that there are no empty spaces.
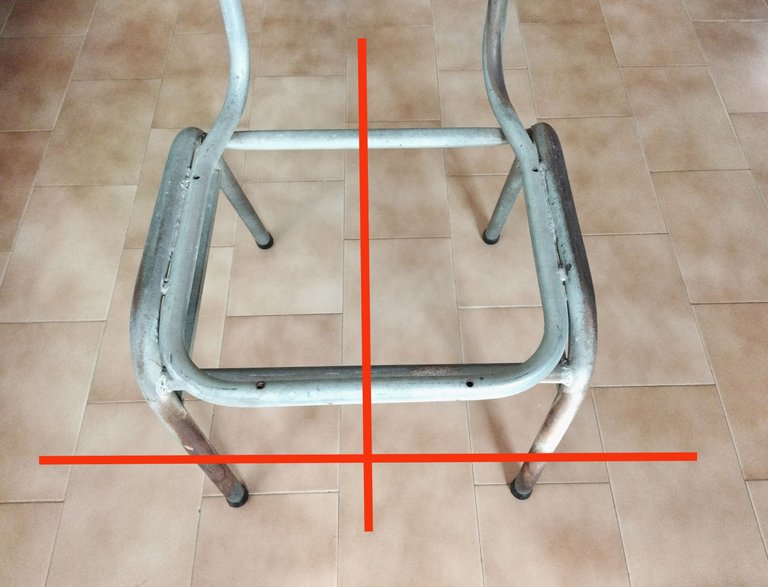
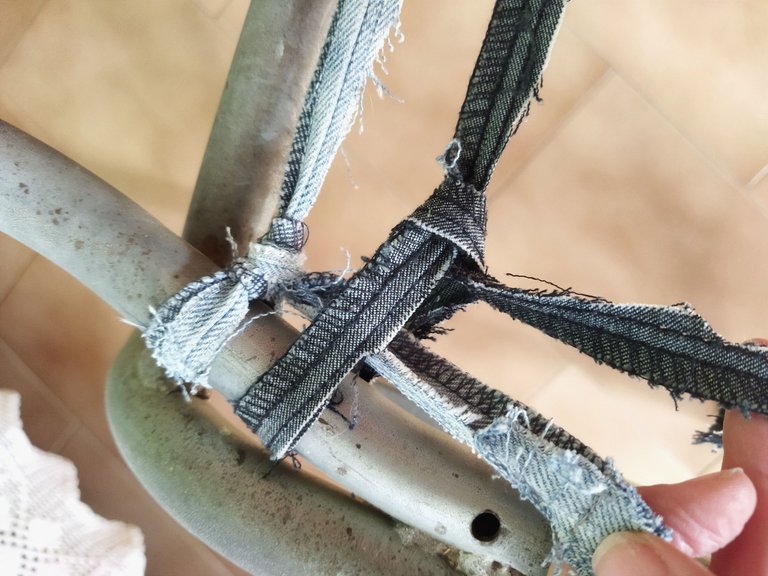
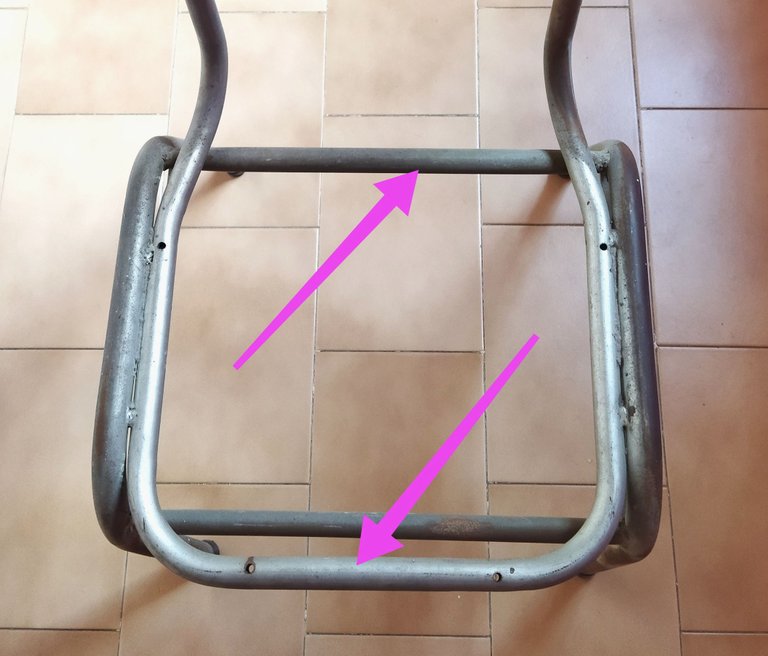
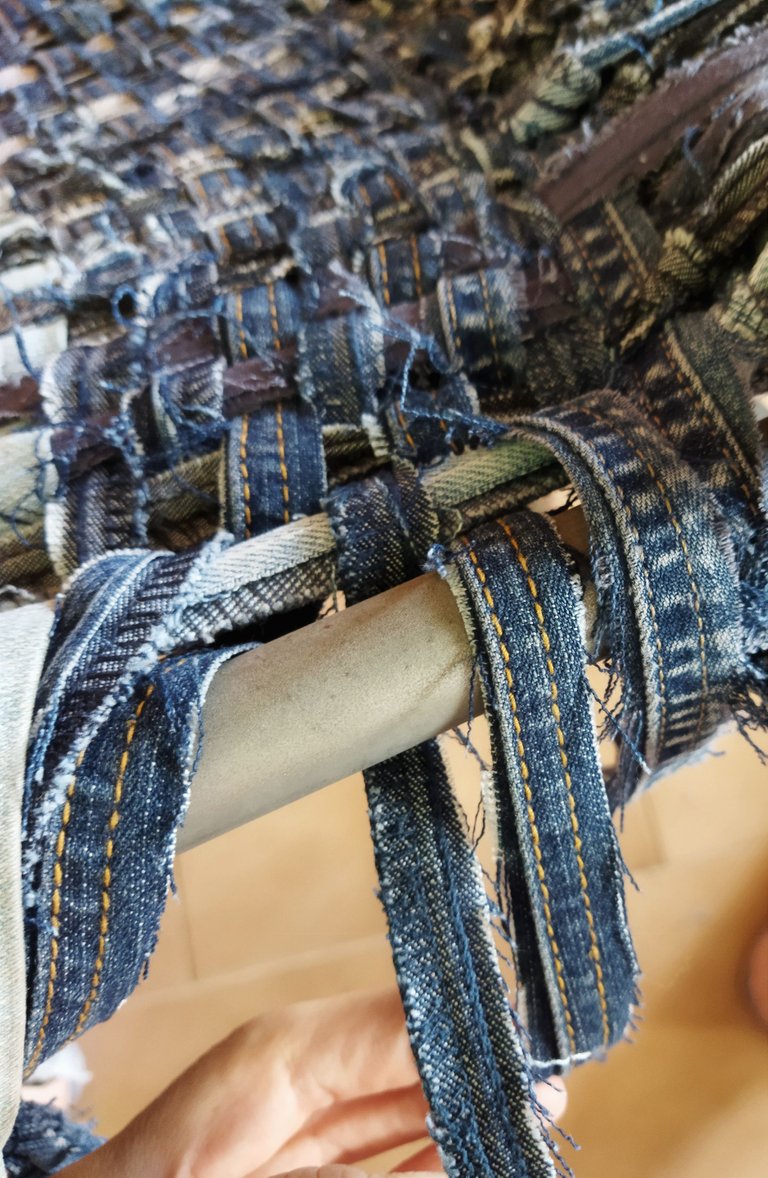
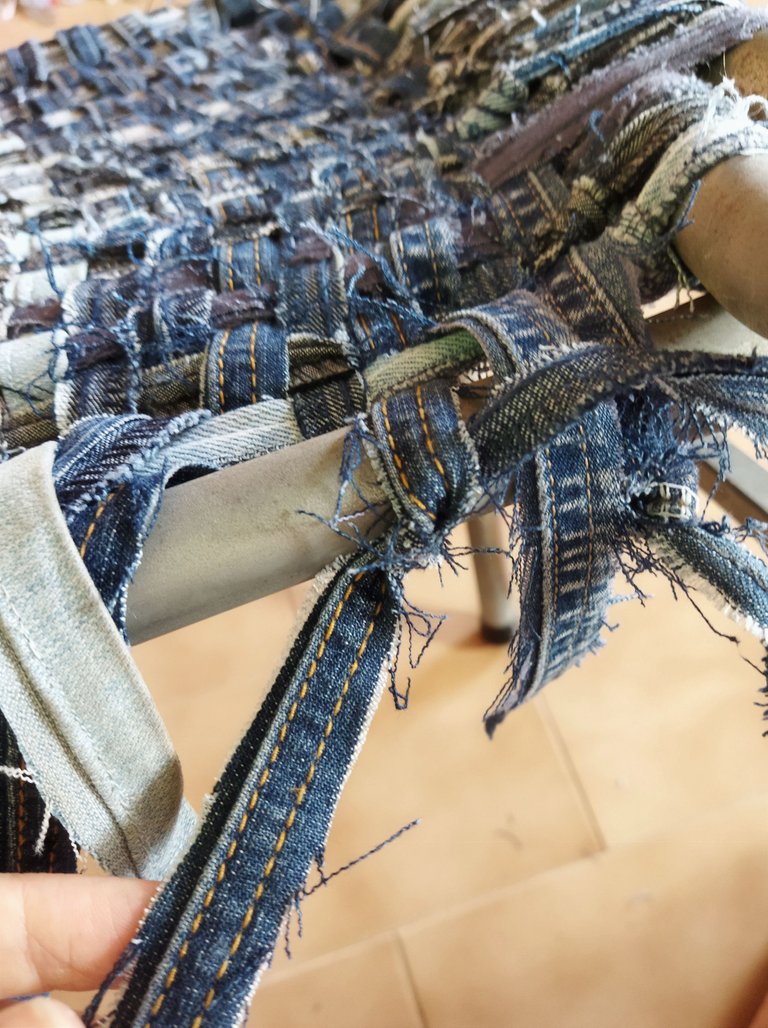
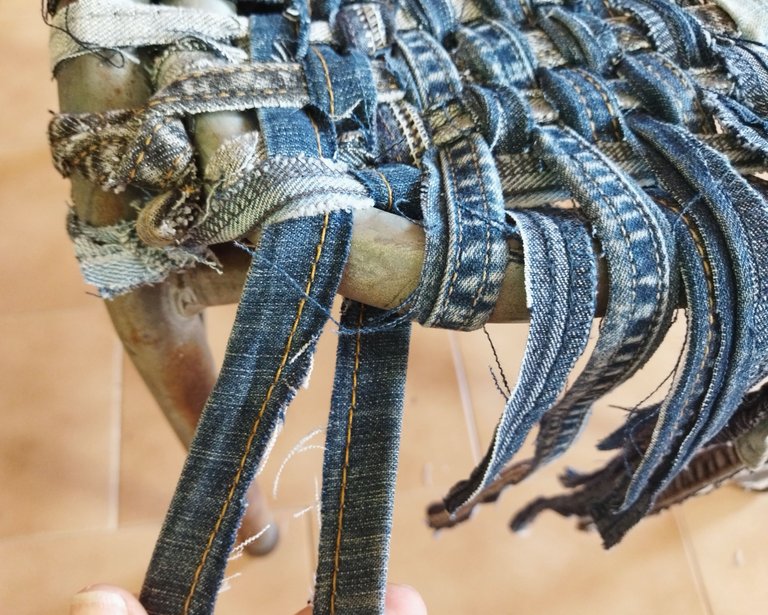
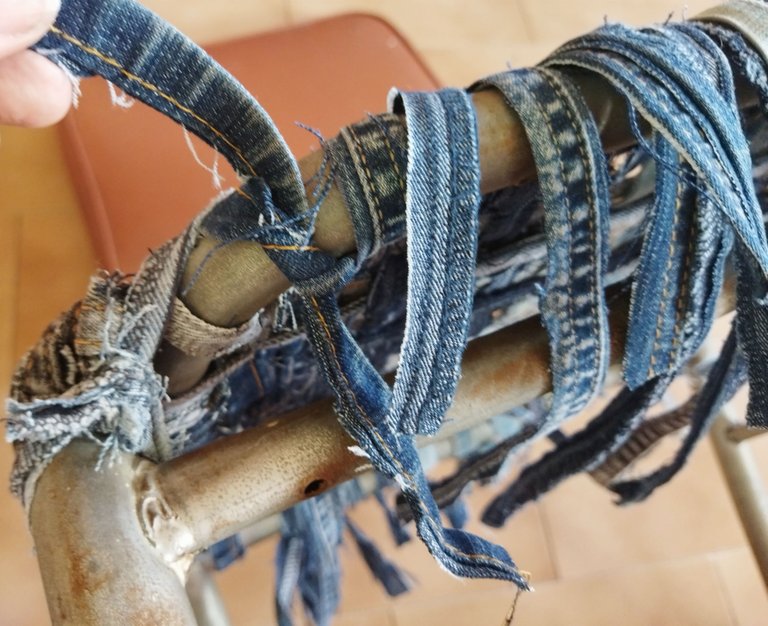
Paso 4: una vez que el tejido esté terminado vamos a amarrar las tiras verticales, el marco del asiento de mi silla es completo, o sea, tiene forma de cuadrado así que utilicé esa barra para amarrar las tiras. Para hacerlo (y siguiendo el patrón del tejido de una arriba, una abajo), van a pasar la tira que quedó arriba por debajo de la barra y la van a anudar con la tira de al lado que esta por arriba. Esto reforzará el amarre ya que estará sostenido por la barra.
Step 4: once the design is finished we're going to tie the vertical strips, the seat frame of my chair is complete, that is, it has a square shape so I used that bar to tie the strips. To do it (and following the weaving pattern of one above, one below), you're going to pass the strip that was left above under the bar and you're going to tie it with the strip next to it that is above. This will reinforce the lashing as it will be supported by the bar.
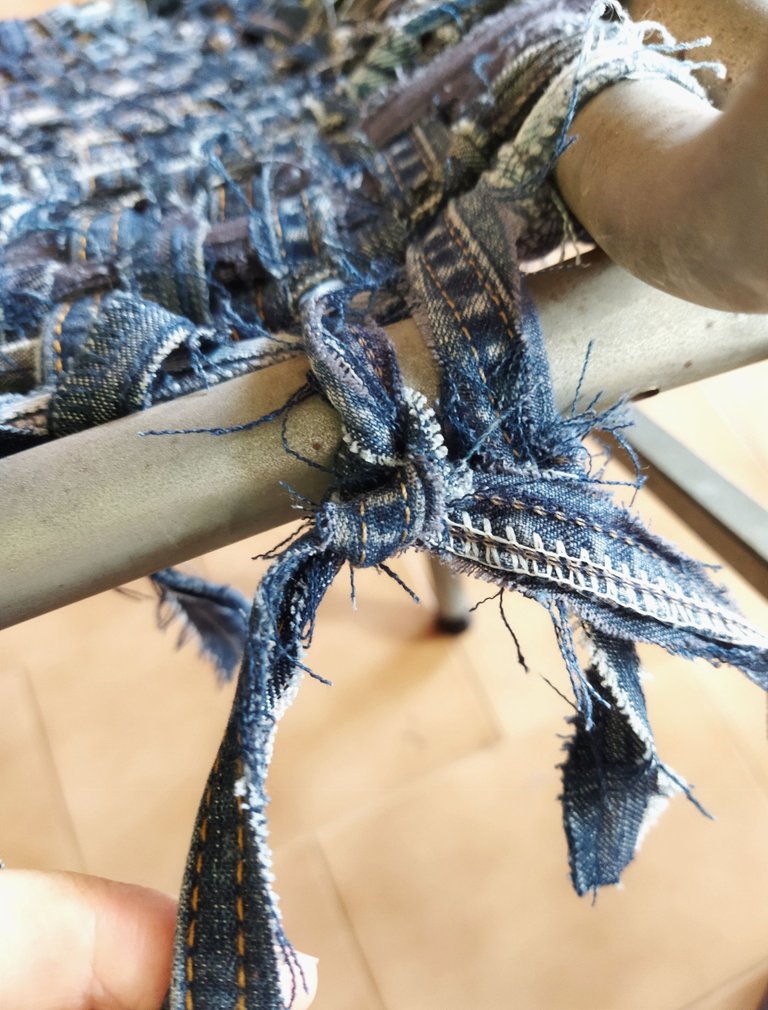
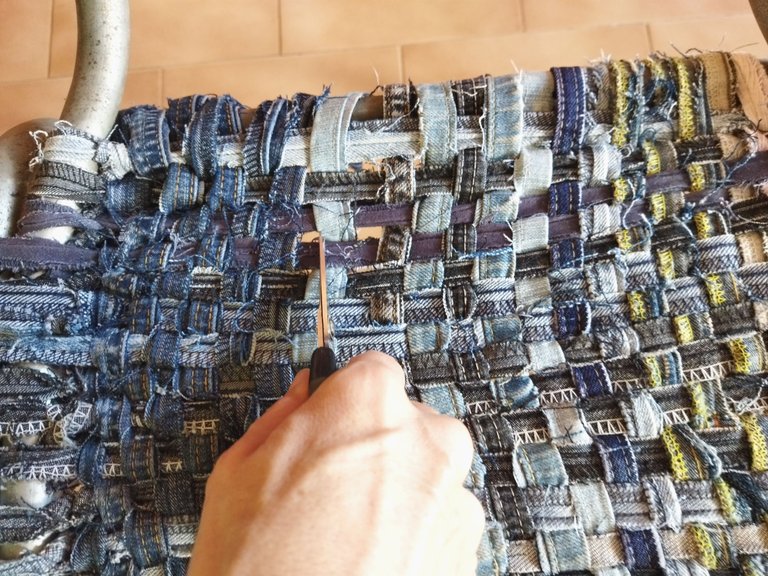
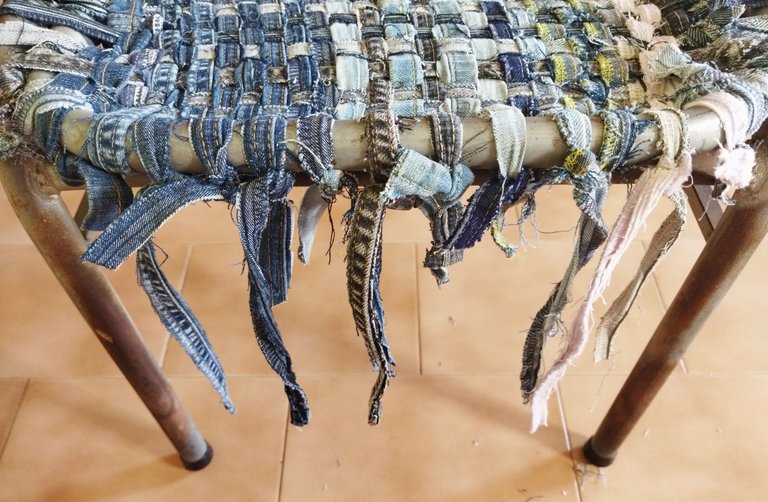
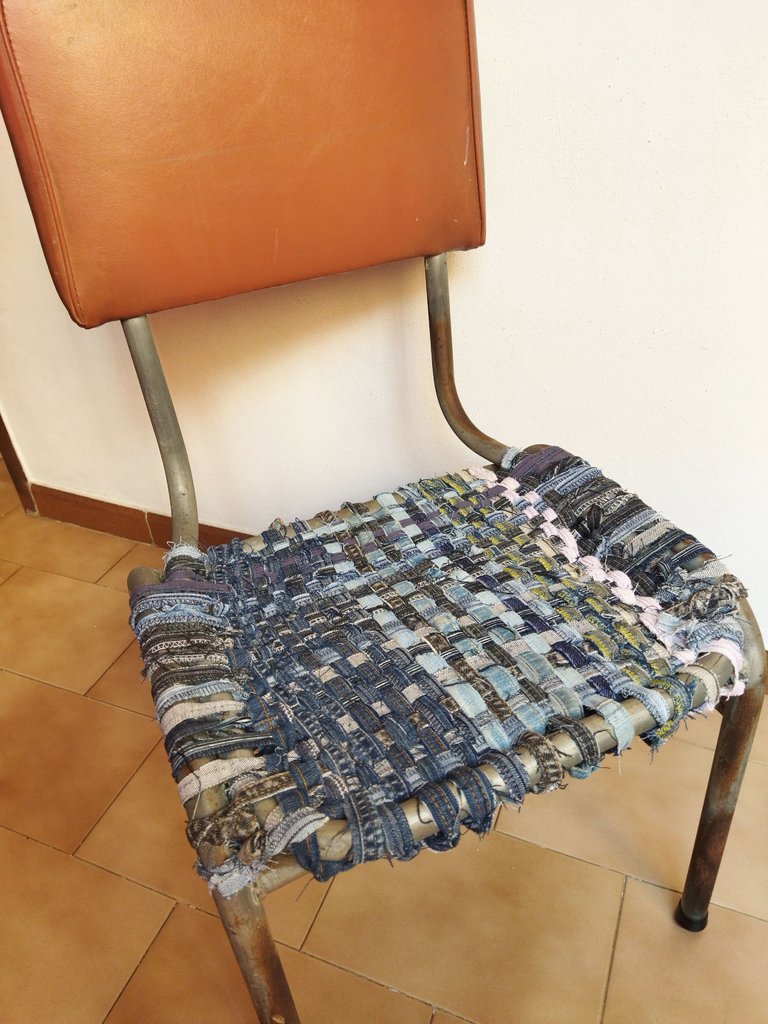
Paso 5: el último paso es esconder por debajo el sobrante de las tiras para darle un aspecto más ordenado pero esto dependerá del estilo que le quieran dar y del gusto de cada quien. Yo no recorté el sobrante de las tiras para poder reajustarlas cuando sea necesario.
Step 5: the last step is to hide the excess of the strips underneath to give it a more organized appearance, but this will depend on the style you want to give it and the taste of each person. I didn't cut the excess of the strips in case I have to readjust them when necessary.
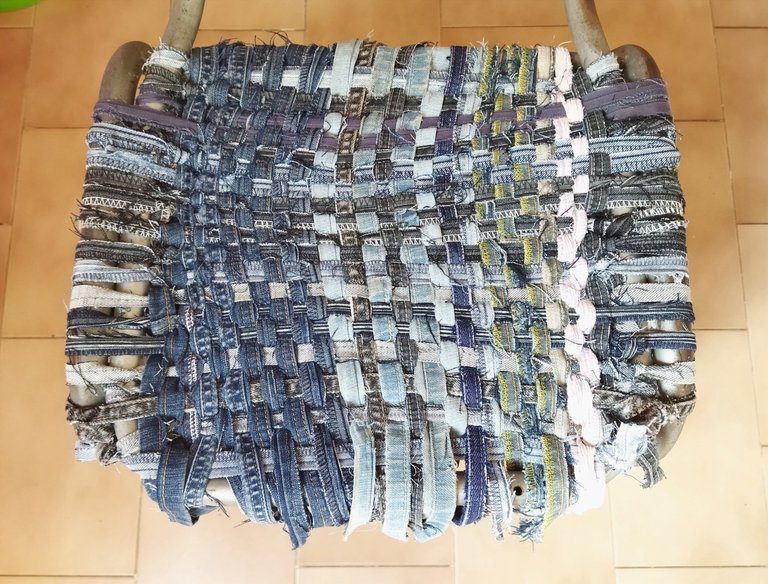
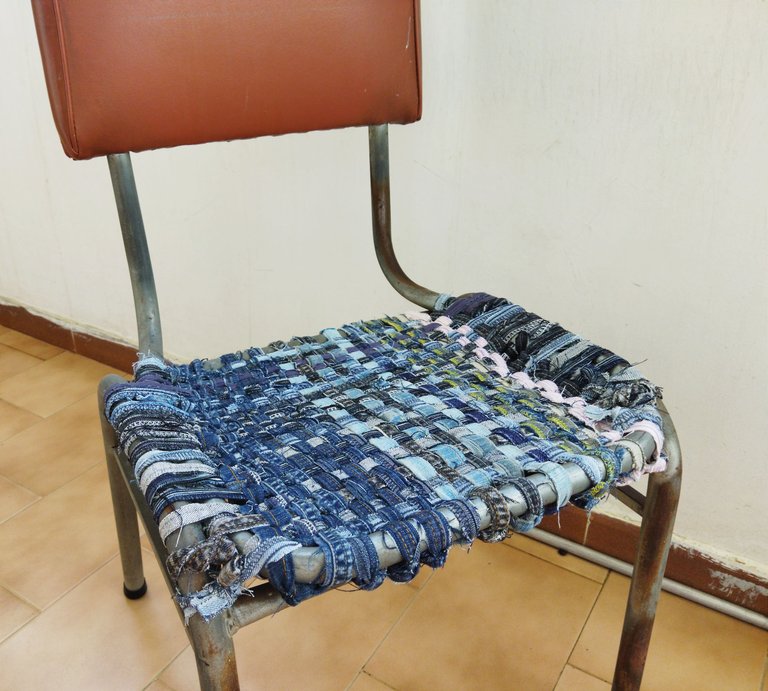
Y así es como se ve la silla con su nuevo asiento. Me gusta el estilo rústico, fuerte y a la vez moderno que le da el jean a esta silla. Si la quieren más acolchada pueden hacer aparte una pequeña almohada con tiras de jean y la ponen sobre la silla cuando se vayan a sentar.
And this is what the chair looks like with its new seat. I like the rustic, strong and at the same time modern style that jean gives to this chair. If you want it more padded you can make a small pillow out of jean strips and put it on the chair when you go to sit down.
Reciclar y reutilizar lo que ya no usamos o no nos gusta no solo ayudará a reducir la contaminación y ahorrar dinero sino que también nos permite explorar la creatividad para realizar piezas originales que embellezcan nuestra casa y espacios. Espero que les haya gustado esta propuesta y les haya sido útil. Anímense y denle vida a esa silla olvidada 😉.
Recycling and reusing what we no longer use or don't like anymore will not only help reduce pollution and save money, but also allows us to explore creativity to make original pieces that beautify our home and spaces. I hope you liked this proposal has been useful to you. Dare to do it and give life to that forgotten chair 😉.
Gracias por leer, compartir, apoyar, votar y comentar.
Hasta la próxima.
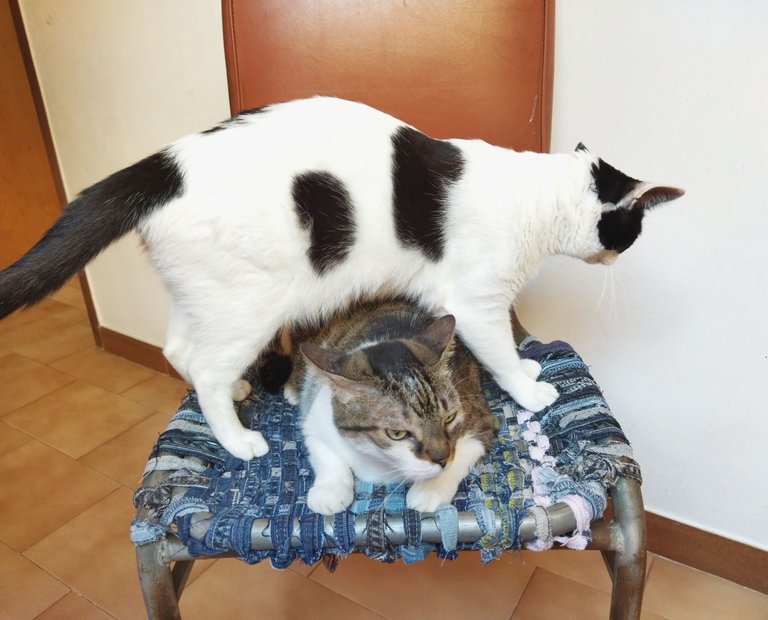
¡Miau!
Thanks for read, share, vote and comment.
Until next post.
Meow!