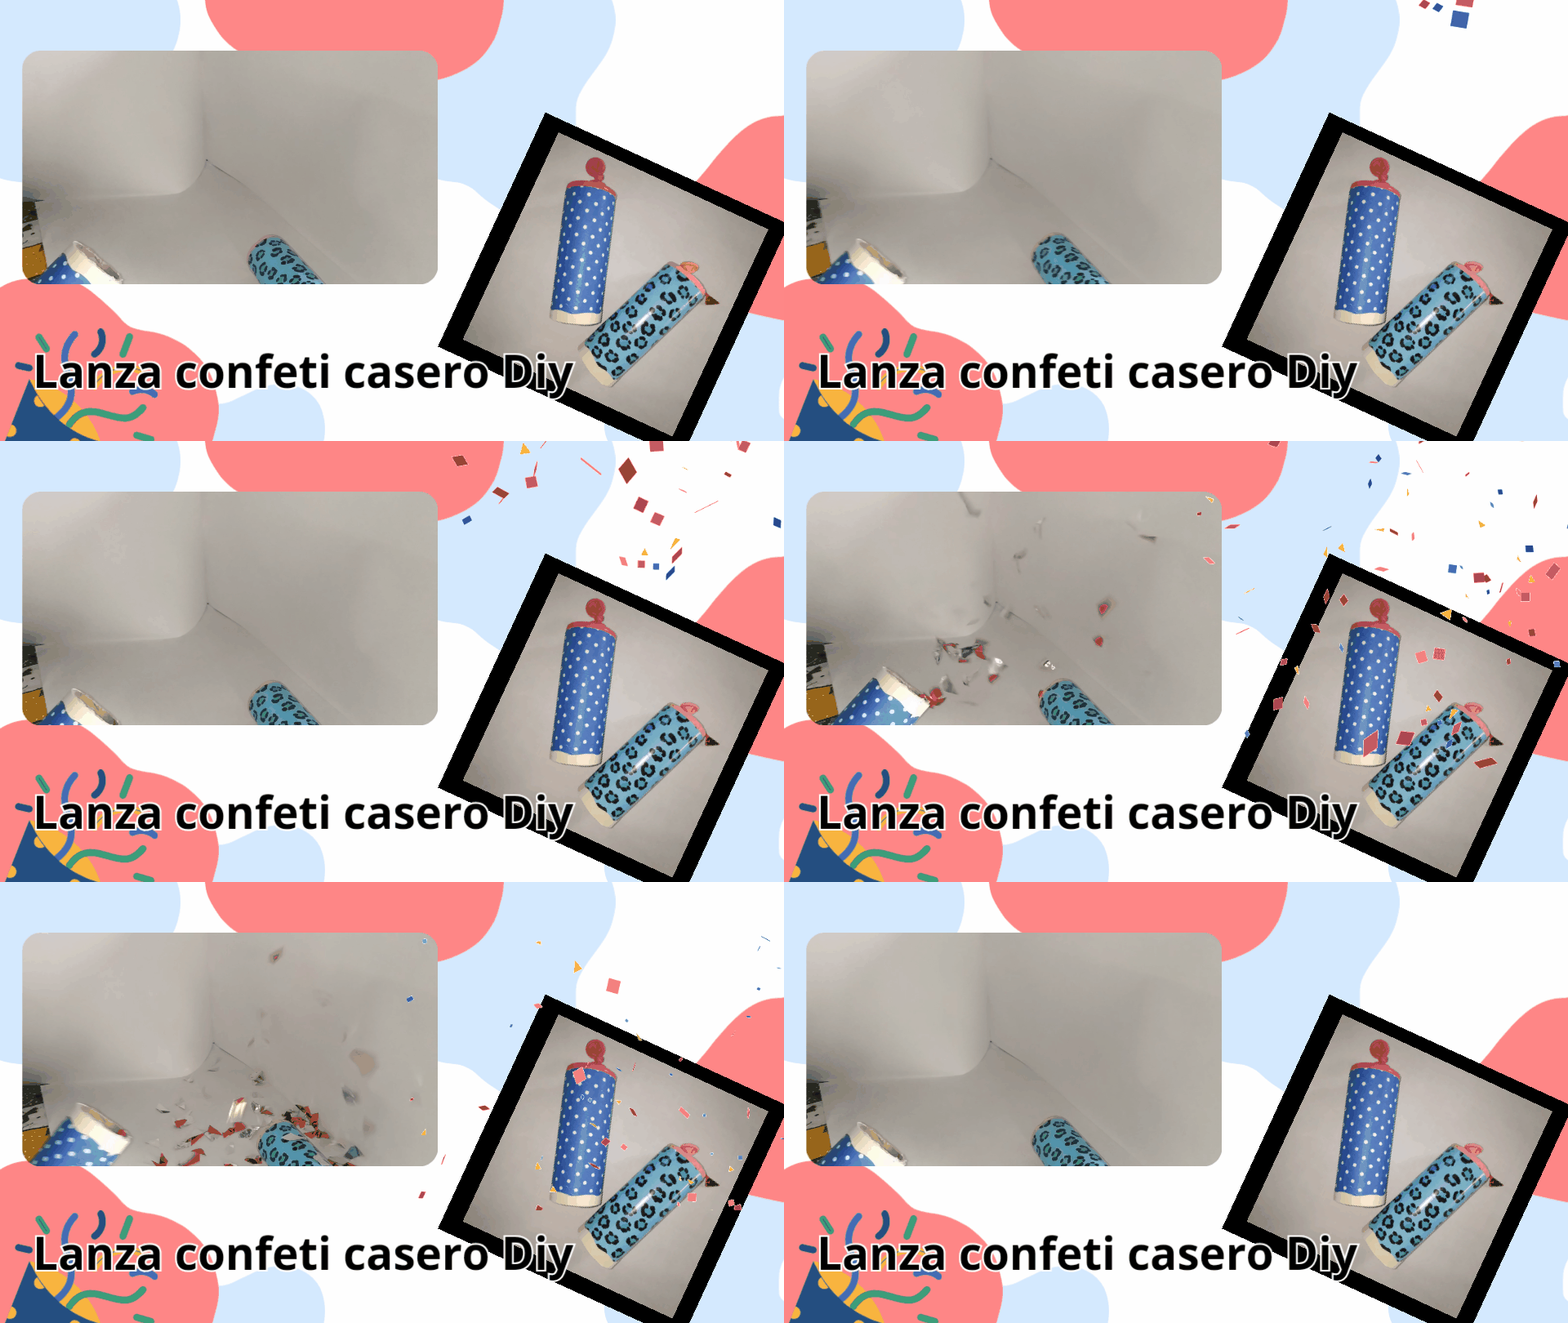
Editado en Canva || Edited in canva
🔺 🔹 🔺 ESPAÑOL 🔺🔹🔺
¿Cómo están mis queridos amigos de Hive? Feliz viernes para todos.
El día de hoy quiero enseñarles cómo elaborar un bonito lanza confeti casero, una idea muy creativa y genial que puedes hacer con muy pocos materiales, y que además simula muy bien a uno original.
Los lanza confeti, también llamados cañones de confeti, son instrumentos que se usa en fiestas, celebraciones o cumpleaños, expulsan su contenido (papelillo o confeti) para crear un ambiente muy festivo, colorido y alegre; ellos tienen forma cilíndrica, y los podemos conseguir en tiendas online o físicas que vendan materiales para fiestas.

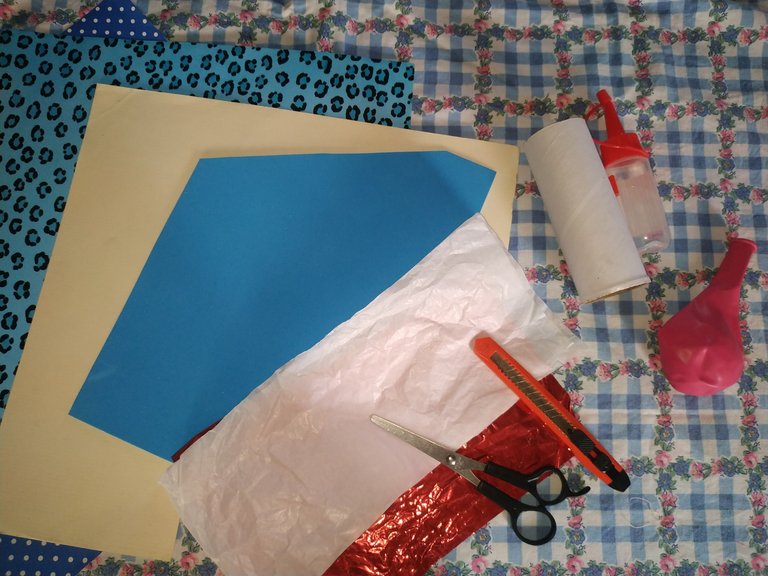
- Un tubo de cartón.
- Globo.
- Silicón frio.
- Cinta pegante.
- Cartulinas de colores.
- Papel metálico.
- Papel seda.
- Tijeras.

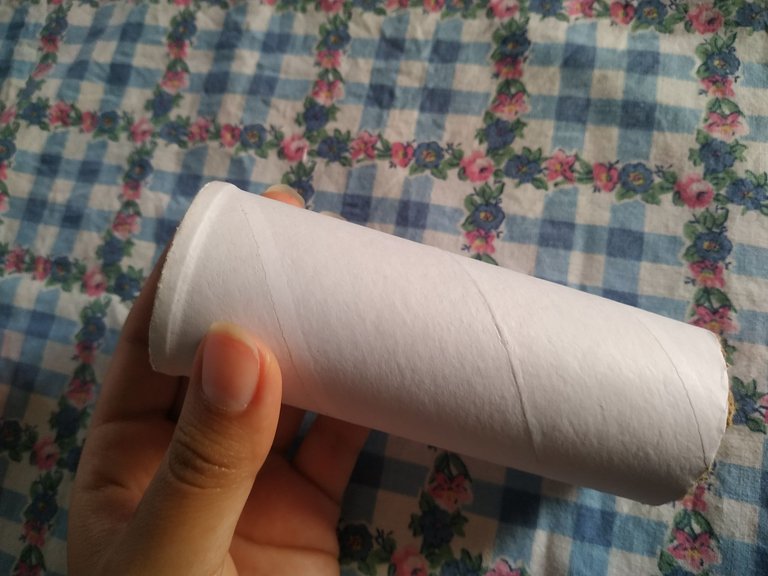
Para hacer el cuerpo del instrumento debemos utilizar un cilindro de cartón, puedes buscar el cartón del papel de baño o papel de cocina, en mi caso, utilicé un cilindro de papel de cocina y lo corté de 12cm de largo.

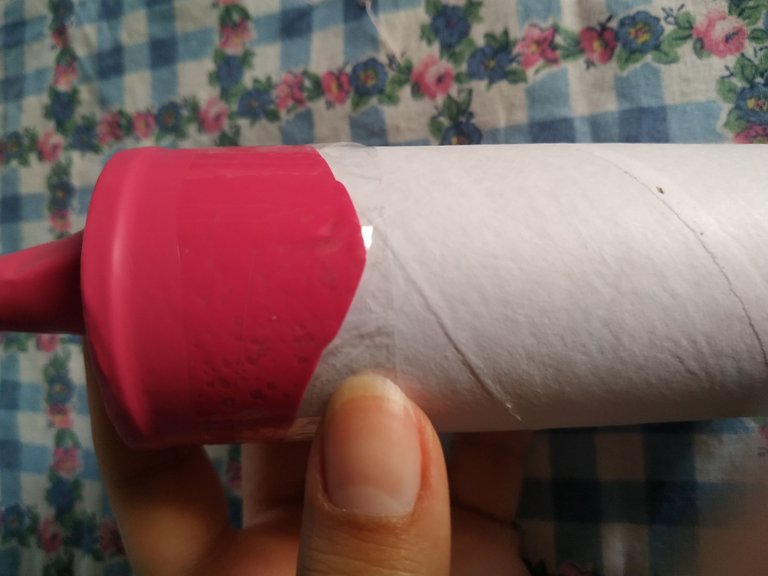
Vamos a tomar un globo y lo vamos a cortar a la mitad, utilizaremos la parte que tiene la boquilla.
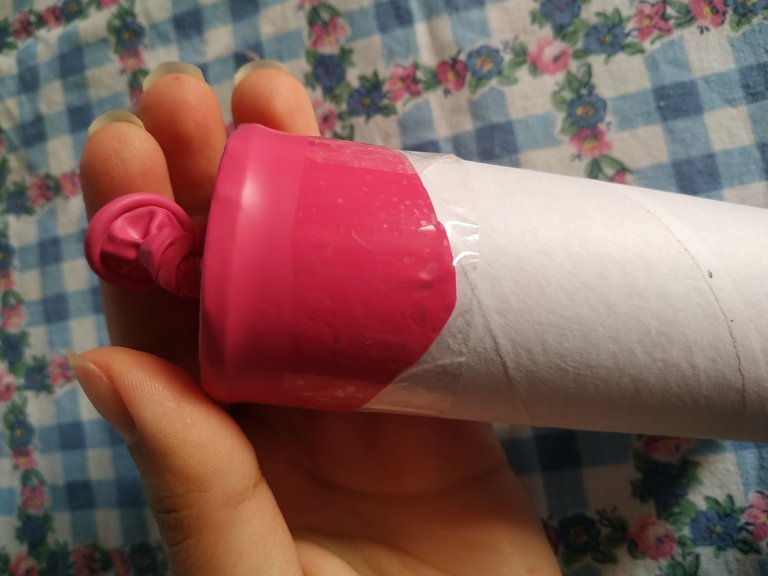
La misma la vamos a colocar en uno de las caras planas del cilindro, es decir, uno de los laterales. Vamos a pegarla al cartón con cinta pegante y continuamos haciendo un nudo a la boquilla del globo.

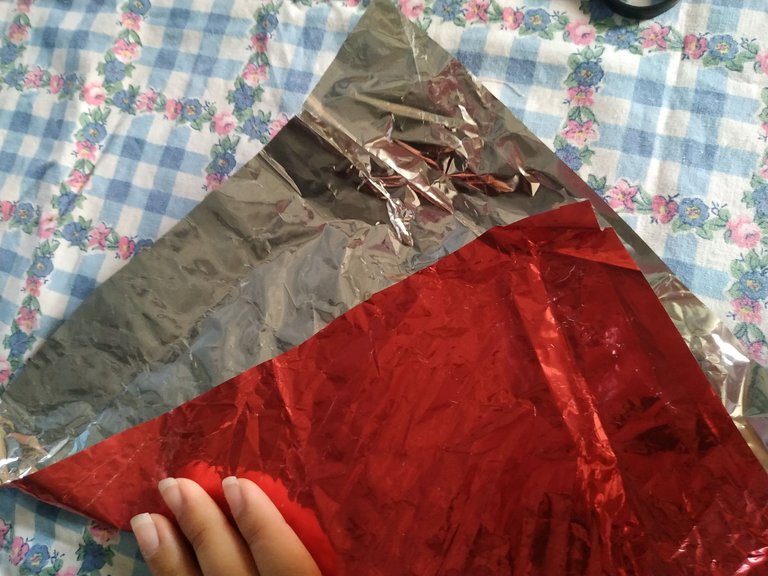
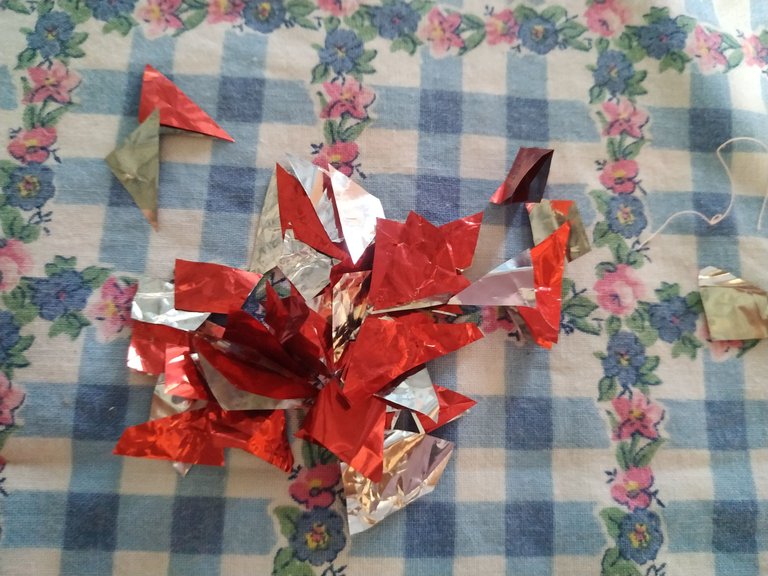
Para hacer el confeti, debemos recortar el papel metalizado, puedes hacer la forma que quieras, círculos, cuadrados, triángulos, incluso existen máquinas para cortar pequeñas formas que puedes usar.
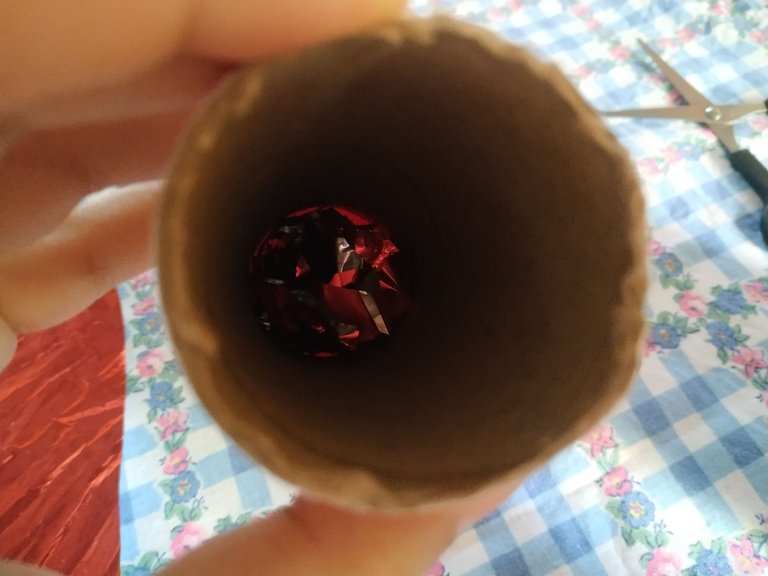
Cuando tengamos listos los cortes, introducimos dentro del cilindro el confeti que acabamos de hacer.


Sellamos la otra cara con un cuadrado de papel seda y pegamos a los lados con cinta pegante.
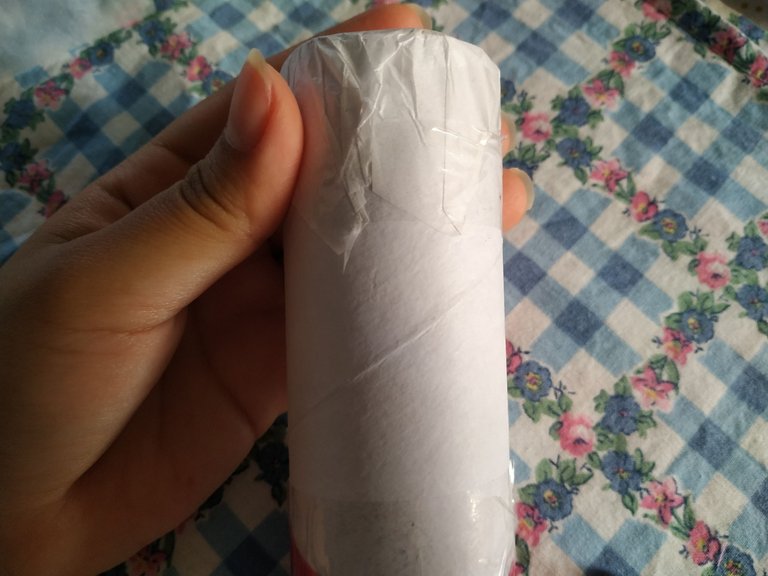

Hasta este punto ya tendremos listo el dispositivo, es decir ya se puede usar y funcionaria perfecta, pero la idea es que quede también con buena presencia y que cuando lo vayamos a usar sea muy bonito a la vista. Es por eso que vamos a decorarlo, para ello utilicé cartulinas con estampados.
Recortamos un rectángulo de 11 cm de ancho por 15 cm de largo, colocamos silicón en el cilindro y procedemos a situar la cartulina y cubrirlo por completo.
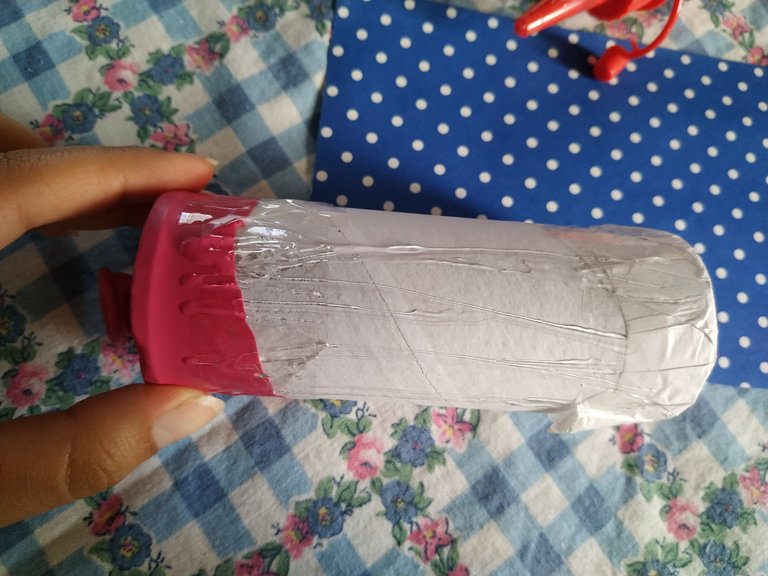
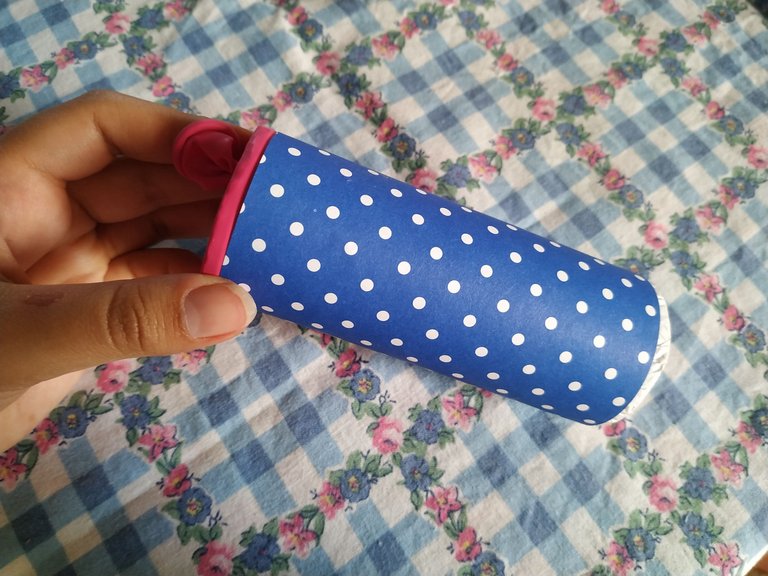

Recortamos con cartulina color beige una tira con ondas y pegamos.
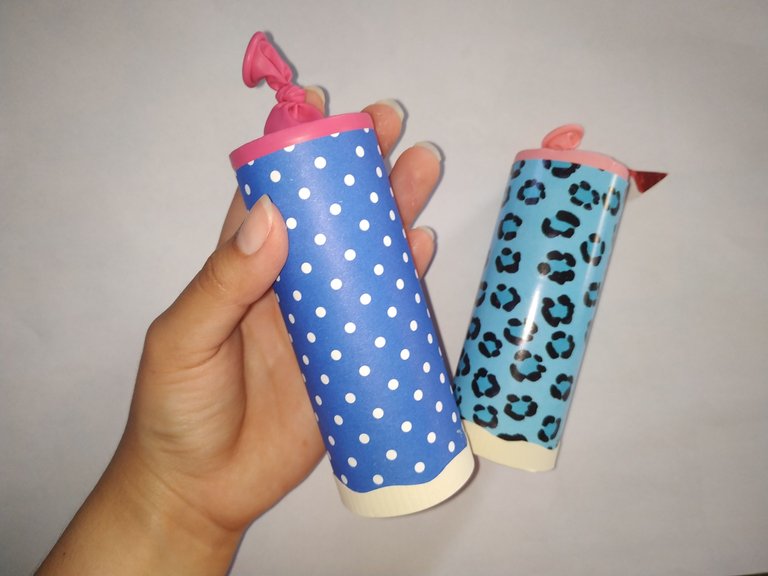
Ya con esto tendremos listo este bonito y divertido lanza confeti hecho a mano.
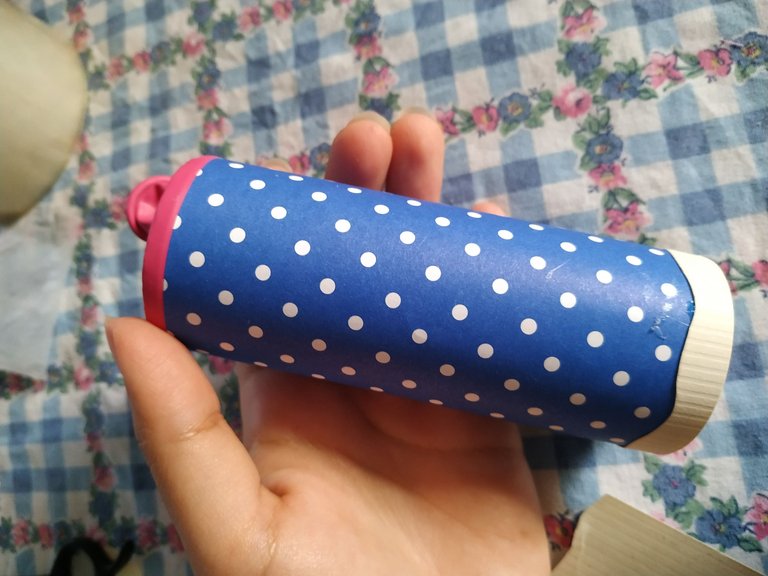

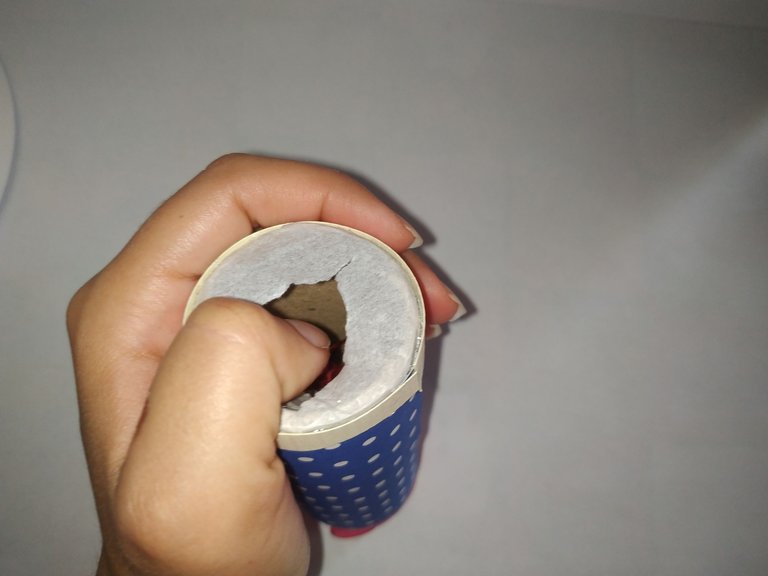
Para poder utilizarlo se debe romper la cara que tiene el papel seda, luego halamos con fuerza la parte que tiene la boquilla del globo y cuando la soltemos, saldrán volando los pequeños confetis que elaboramos.
Espero les haya gustado la manualidad que les comparto el día de hoy y les sirva para hacerla en cualquier momento. Que tengan un buen día y noche.

🔺 🔹 🔺 ENGLISH 🔺🔹🔺
How are you my dear Hive friends? Happy Friday to all of you.
Today I want to show you how to make a nice homemade confetti launcher, a very creative and great idea that you can do with very few materials, and also simulates very well to an original one.
The confetti launchers, also called confetti cannons, are instruments used at parties, celebrations or birthdays, expel its contents (paper or confetti) to create a very festive, colorful and cheerful atmosphere; they have a cylindrical shape, and we can get them in online stores or physical stores that sell party supplies.

- Cardboard tube.
- Balloon.
- Cold silicone.
- Glue tape.
- Colored cardboard.
- Metallic paper.
- Tissue paper.
- Scissors.


To make the body of the instrument we must use a cardboard cylinder, you can look for the cardboard of the toilet paper or kitchen paper, in my case, I used a cylinder of kitchen paper and cut it 12cm long.


We are going to take a balloon and cut it in half, we will use the part with the nozzle.
We are going to place it on one of the flat sides of the cylinder, that is, one of the sides. We are going to glue it to the cardboard with adhesive tape and continue by tying a knot to the balloon nozzle.


To make the confetti, we must cut the metallic paper, you can make the shape you want, circles, squares, triangles, there are even machines to cut small shapes that you can use.
When we have the cuts ready, we introduce inside the cylinder the confetti we just made.


Seal the other side with a square of tissue paper and tape the sides with masking tape.


Up to this point we will have the device ready, that is, it can be used and it would work perfectly, but the idea is that it is also with good presence and that when we are going to use it, it will be very nice to look at. That is why we are going to decorate it, for this I used cardboard with prints.
We cut a rectangle 11 cm wide by 15 cm long, put silicone on the cylinder and proceed to place the cardboard and cover it completely.


Cut out a strip with waves with beige cardboard and glue.
With this we will have ready this beautiful and fun handmade confetti launcher.


In order to use it, we must break the face of the tissue paper, then we pull the part with the balloon nozzle and when we release it, the small confetti we made will fly out.
I hope you liked the craft that I share with you today and that it will be useful for you to do it at any time. Have a nice day and night.



Editado en Canva || Edited in canva
Fotos tomadas de mi teléfono Xiaomi Redmi Note 6 Pro || Photos taken from my Xiaomi Redmi Note 6 Pro phone.
Fuente del editor de imágenes y separadores || Image editor source and separators