Almost everything in and out of a cocoanut is useful, from the main cocoanut to the shells and then the husk all are useful and serve a good purpose for us.
Greetings everyone and welcome to my blog. How are you all enjoying your weekend? Mine has been great and because it's creative Sunday am excited to share my love for art, craft, DIY, and creating a Hut with cocoanut Husks.
A few weeks ago my good neighbour who travelled to the eastern part of my country Nigeria come back with a lot of goodies and she gifted me some of them including a cocoanut still in its Husks.
This made me excited because it had been a long time since I saw a cocoanut still in its husks. As a blogger with a creative touch in me, I made sure I created something with it.
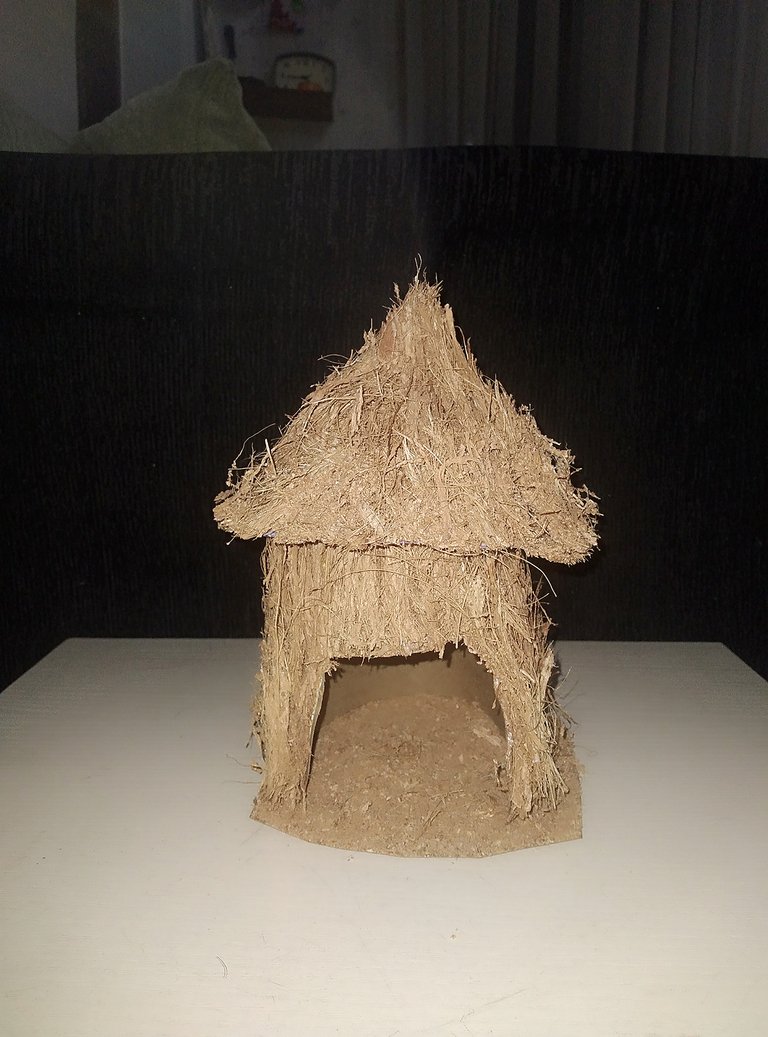
Today I present to you the process of making a Hut with cocoanut husk Fibre.
LIST OF ITEMS USED FOR THE MAKING
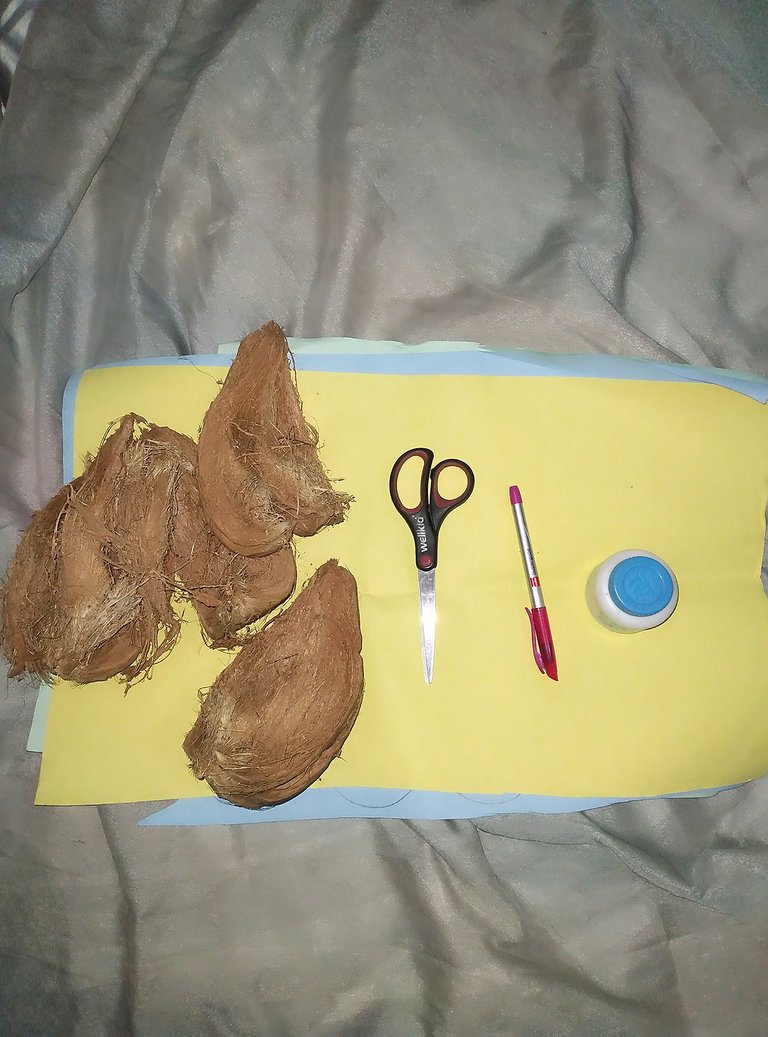
- Cocoanut Husks
- Cardboard Paper (Brown or anyone available)
- Top Bond Gum
- Pencil
- Scissors
THE MAKING

After removing the Husk fibre from the cocoanut I got a tray to shred the husk fibre from the hardback until I got enough to use for my hut.
THE BODY OF THE HUT

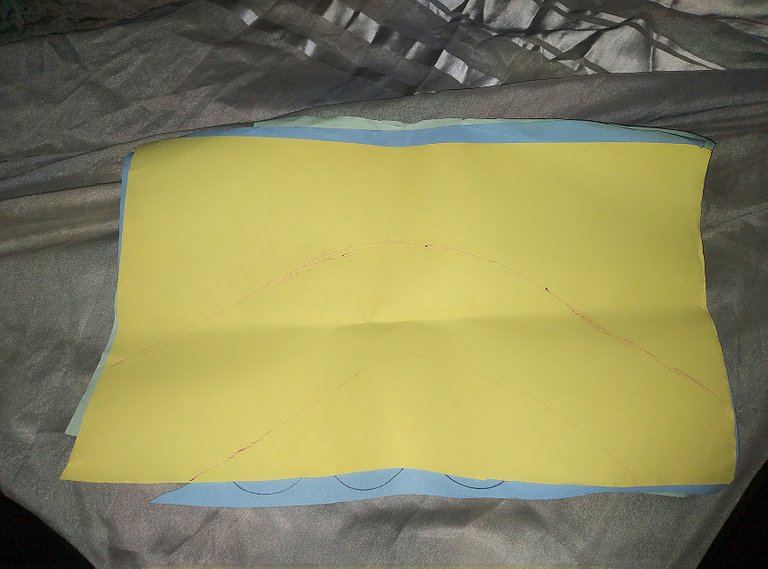
I got a piece of cardboard paper folded into two halves, take a measurement of 14 inches, draw two bend lines of that length on it then, cut them out with my scissors.
Draw a U shape from the middle of the paper down to the end, cut out the U shape, then Apply your glue on the cardboard paper and gum them together this makes the body of your hut hard to stand on its own.
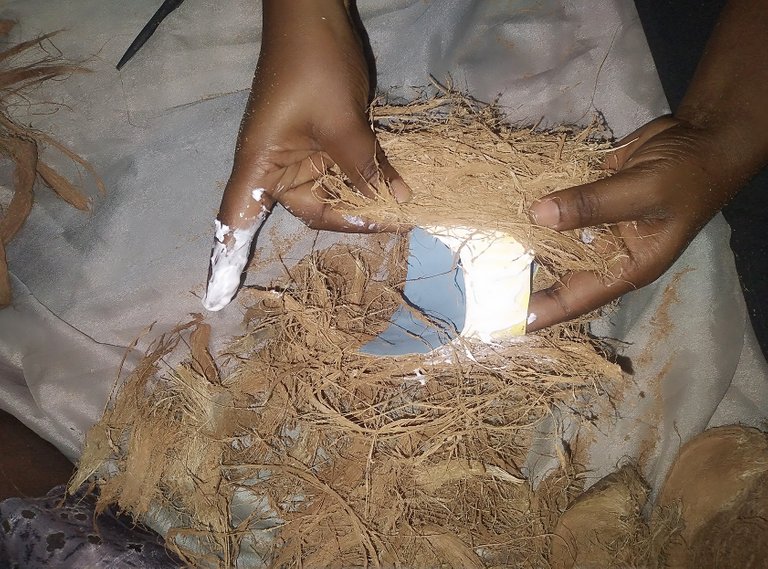

Apply the glue on the cardboard paper again and immediately stick the cocoanut husk fibre with the help of the glue on the paper. After applying the husk fibre allow it to dry properly for some hours before you cut out the Husk fibre to suit the shape of the cardboard paper.
THE ROOF
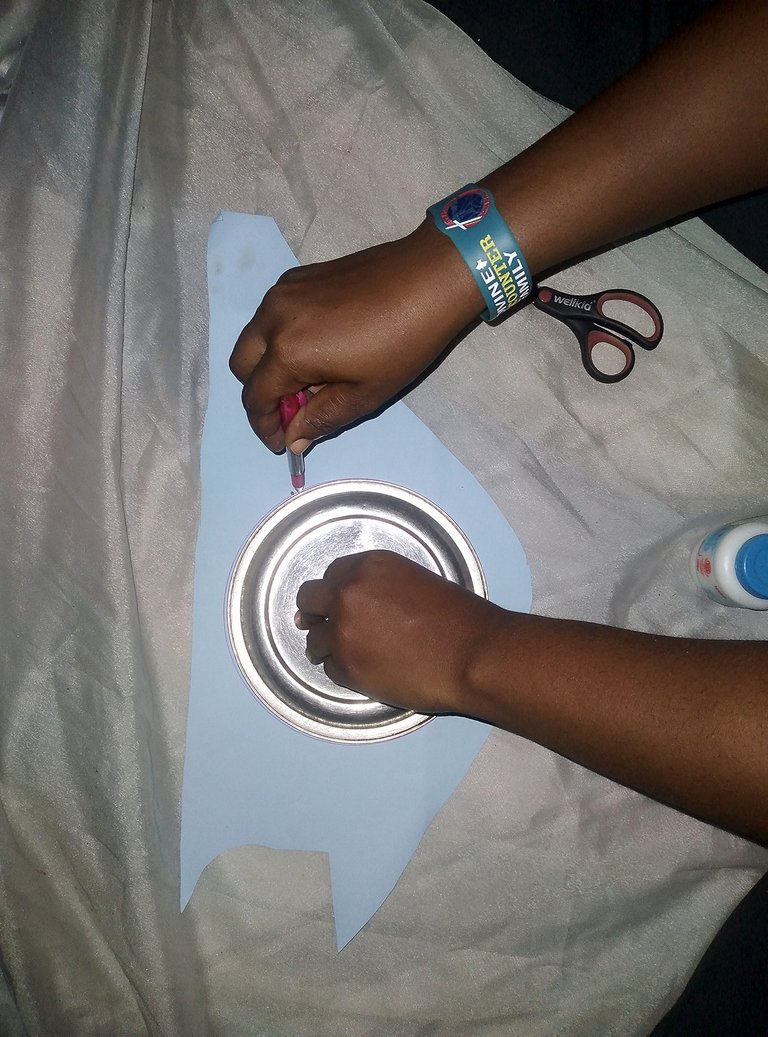
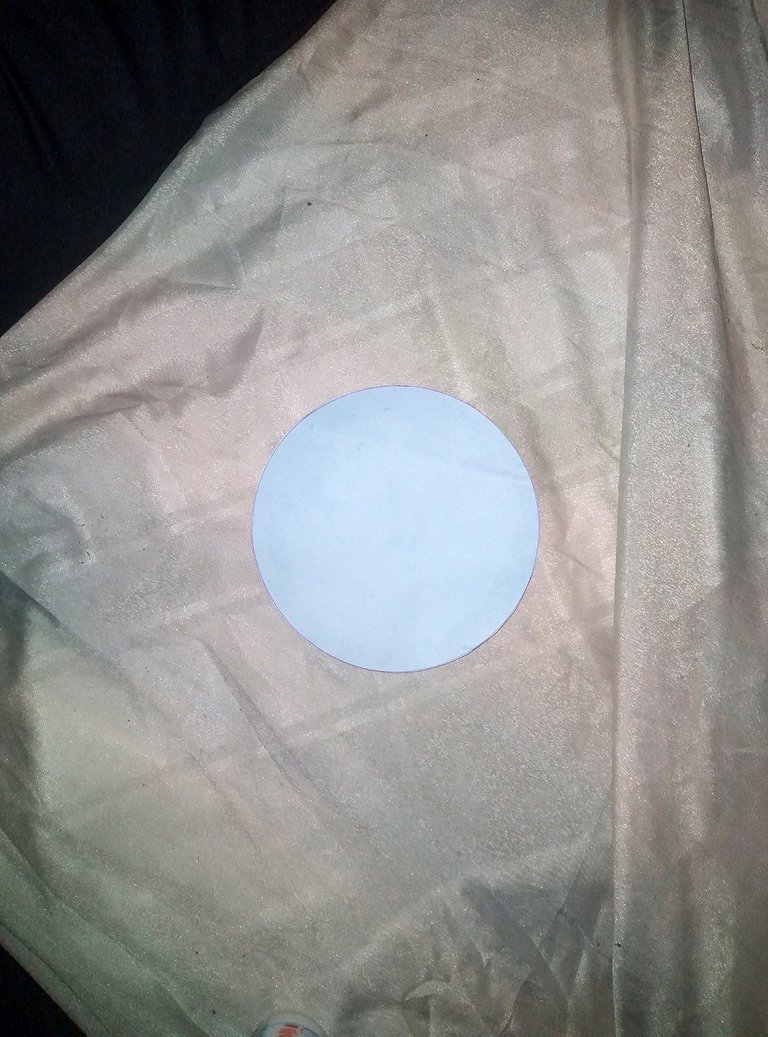
Get a round object that can make a circle of about 7Inches long, cut out the circle shape on the cardboard, at the middle of the circle-shaped cardboard mark it and draw a line down out of the circle.
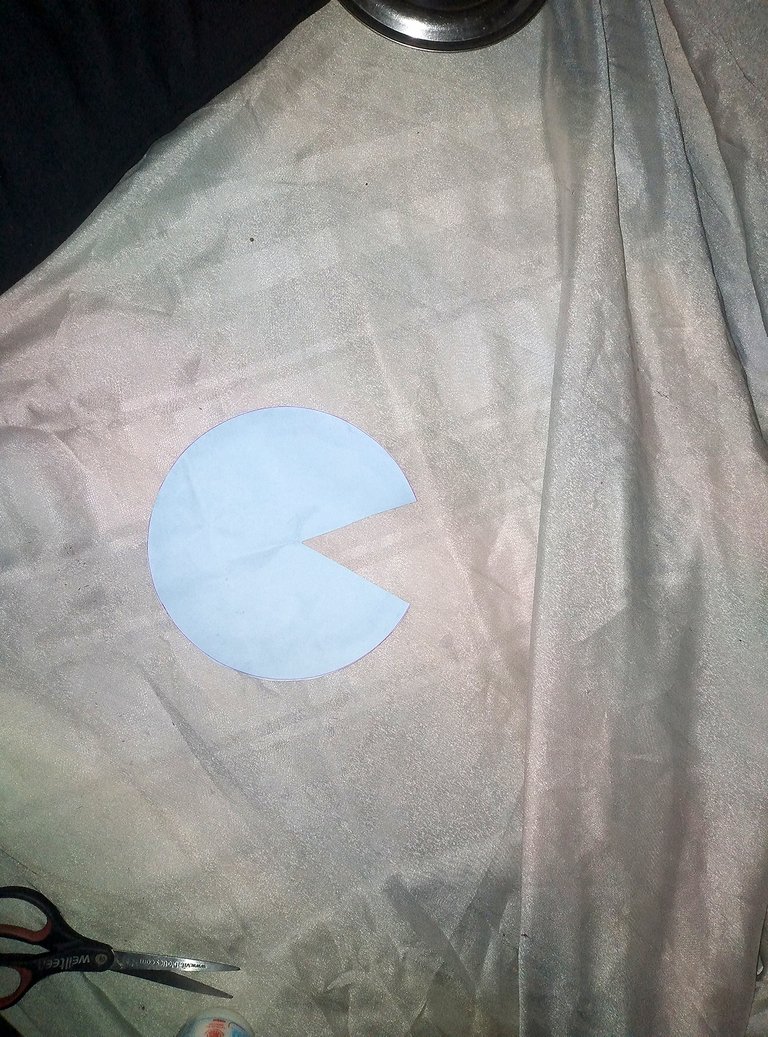
Draw another line down from the middle it would give you a V shape of 2 inches, cut the V shape out and join the circle shape back with the glue. Allow to dry and then apply the glue on the body of your cone-shaped paper and stick the cocoanut husk fibre horizontally on it.
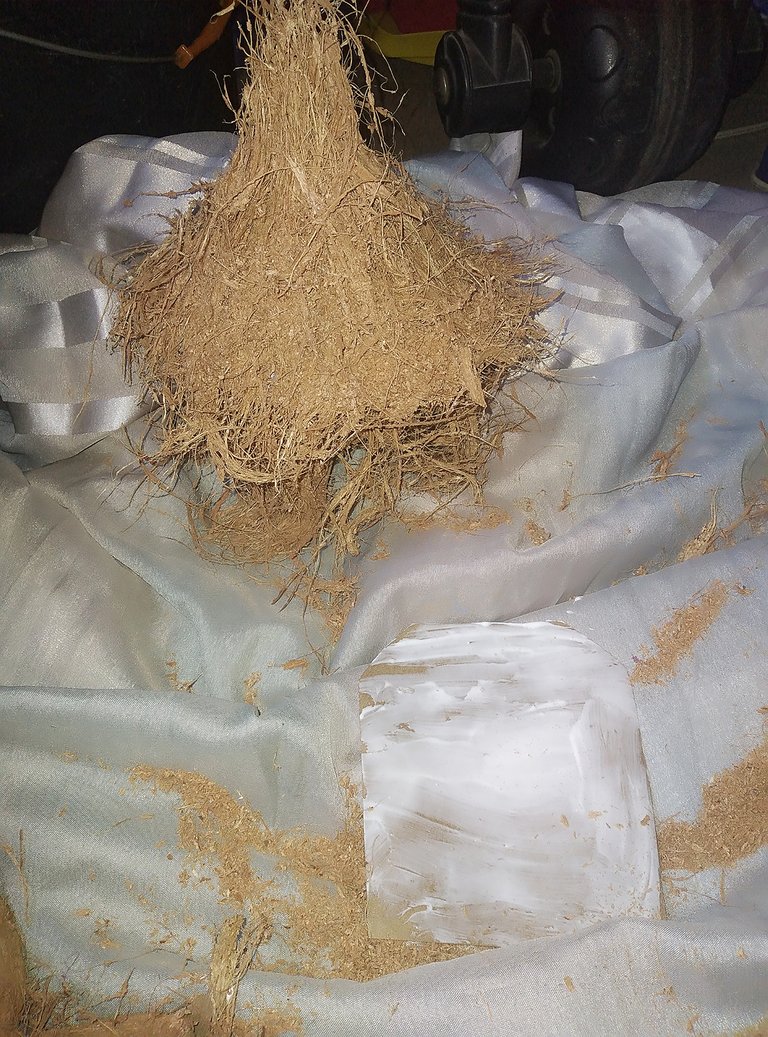
Stick enough to give it a full look. after which trim out the rough part to give it a nice and beautiful look.
PLACE THEM TOGETHER
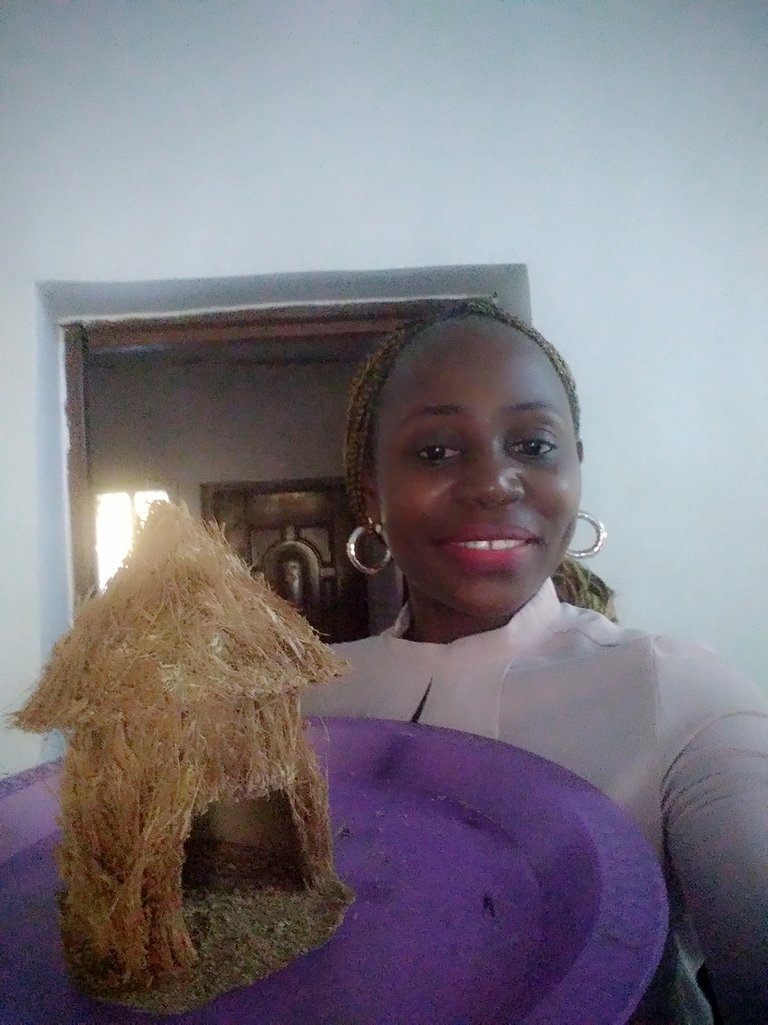
After sticking the cocoanut husk fibre on the cardboard paper and trim out to give it a good shape, I place the roof and the body together, I also got a brown paper cut to size the floor of my hut and put some glue and put the sandy fibre on it to serve as the floor, I place the hut on it and there you have your Hut made of Cocoanut Husk.
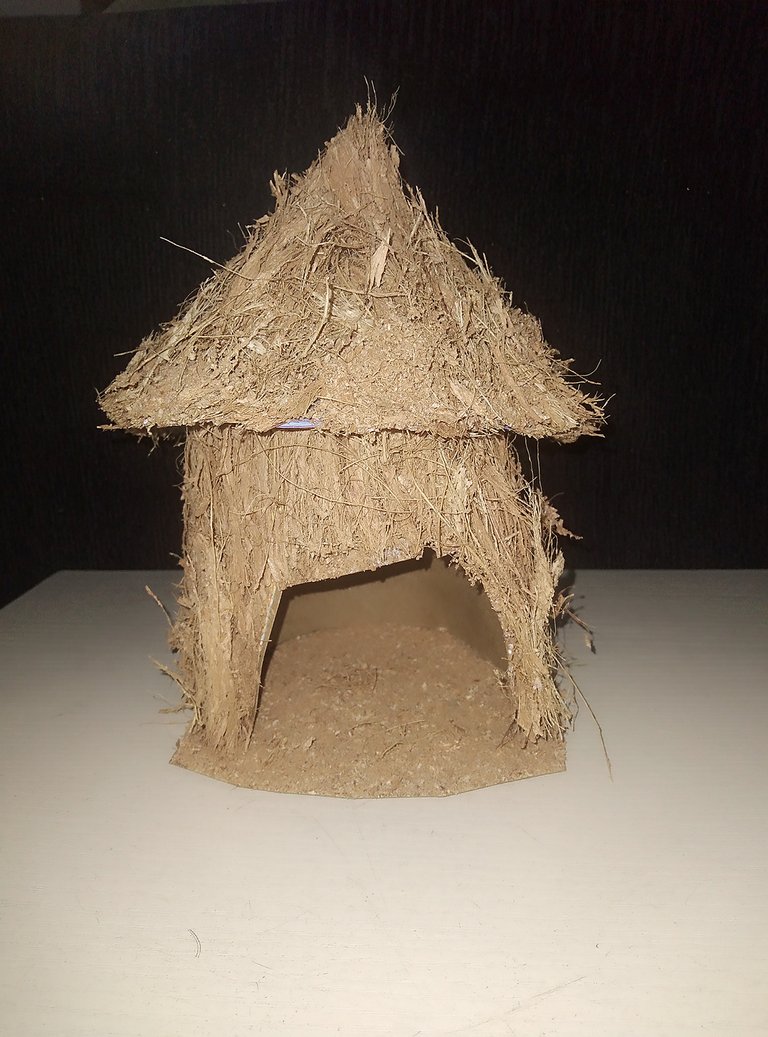
This can be used for your interior decoration, it could be sold out to make some money and you could gift a friend or loved one who loves art.
Thank you for reading, I know you learnt and enjoyed it.
All Pictures are mine.
