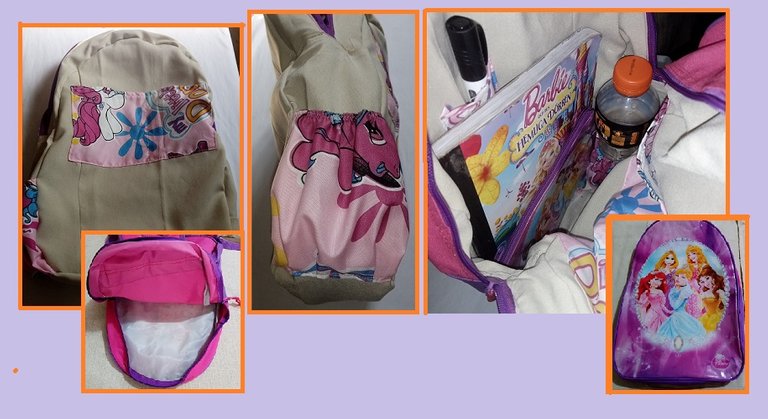

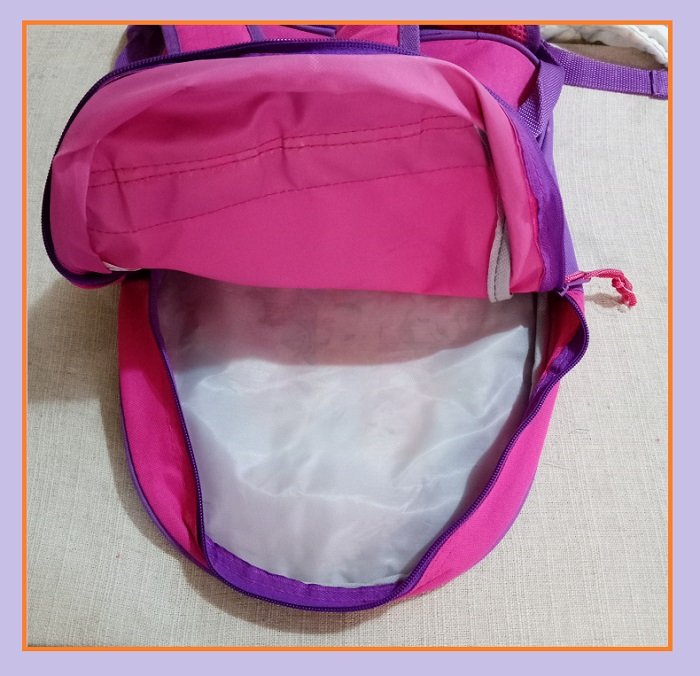
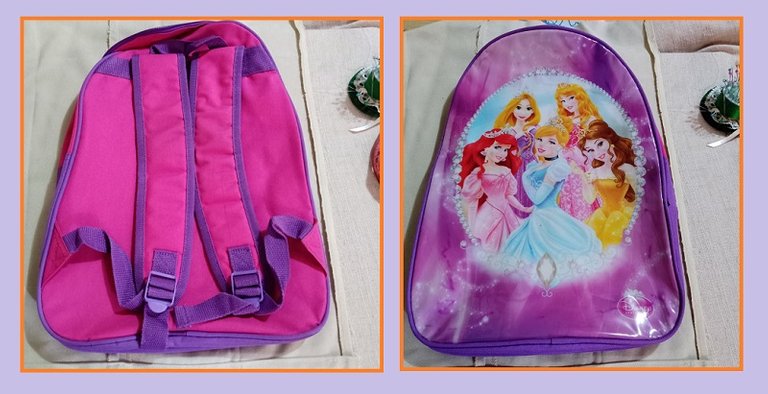
A big hello to all the hiver's, I hope you are enjoying the weekend. It is a pleasure to share with you craft projects, and this time I show you how I made a lining for a girl's school bag. This is a beautiful bag that many girls would like to have, it is my daughter's, but inside it has no lining, where to keep some school things, such as crayons, among others.
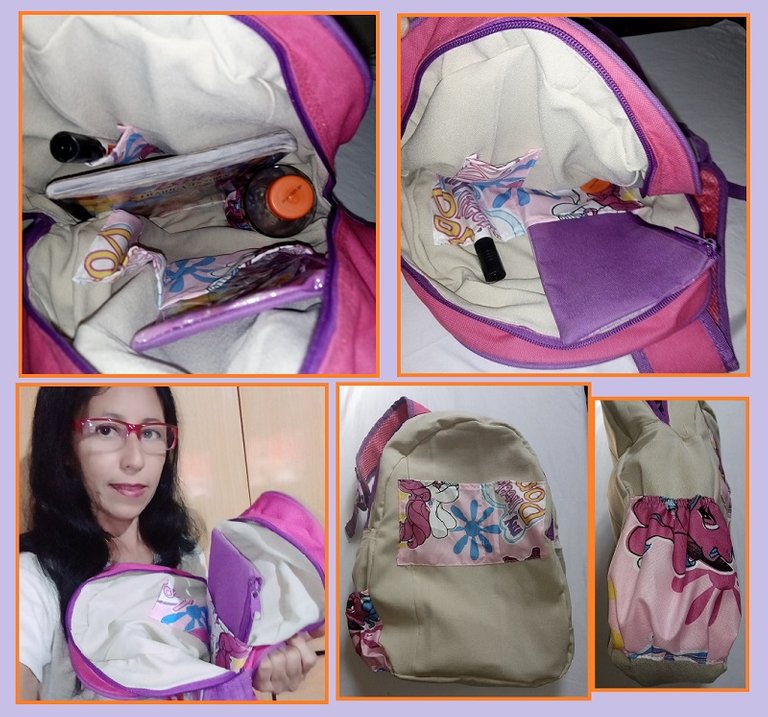
I made this lining with scraps of fabric that I had, and placed some pockets, also to place a bottle of water, which should never be missing when going to school, and I made a space for the bottle is always vertically, for better security that does not get wet notebooks if you leave the lid a little open.
So I'll show you how I made it, with a few scraps of fabric.

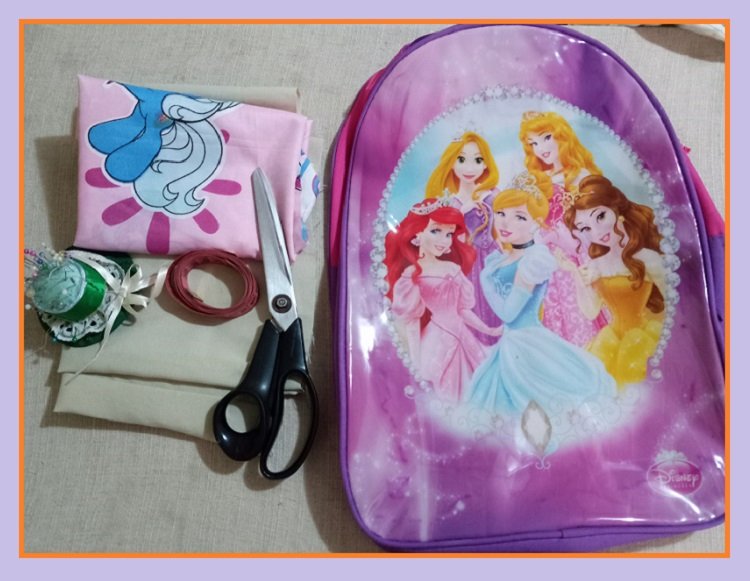
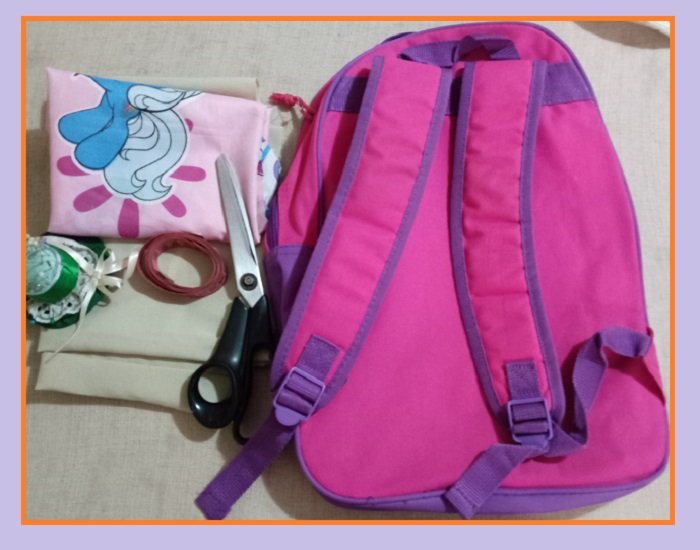
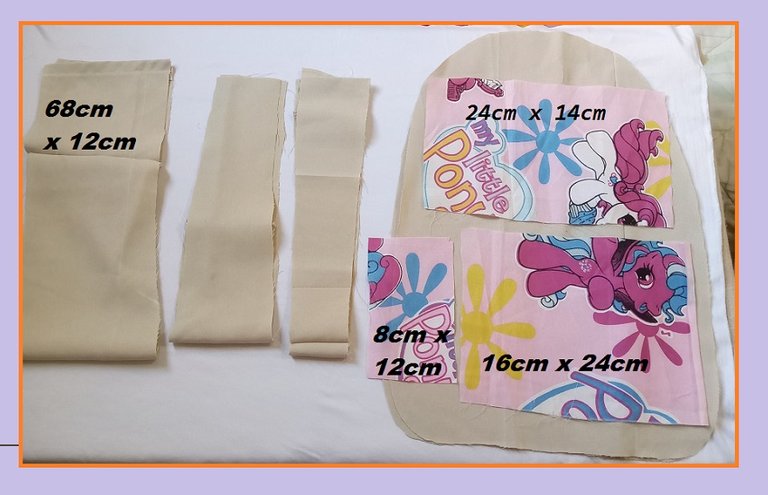
First I draw the pattern to the size of the parts of the bag, both the front and the back.
Then a thick strip that will go at the bottom, and two other strips that will be where the zipper is.
I cut a rectangle of 24cm by 14cm, which I put in one of the parts of the bag, and another smaller pocket, 8cm by 12cm long.
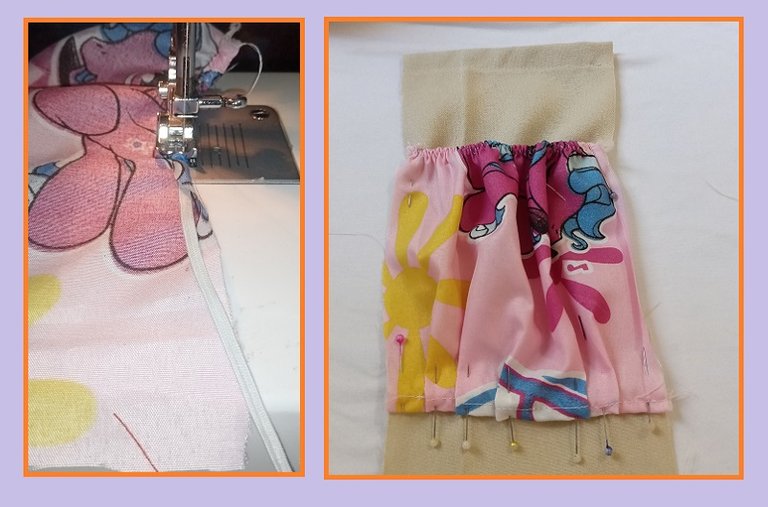
Another rectangle of 16cm by 24cm, and glued on one side an elastic, to place the bottle.
I start sewing each of these parts, and the one with the elastic I sew it on the wide strip that goes from the bottom to the sides.
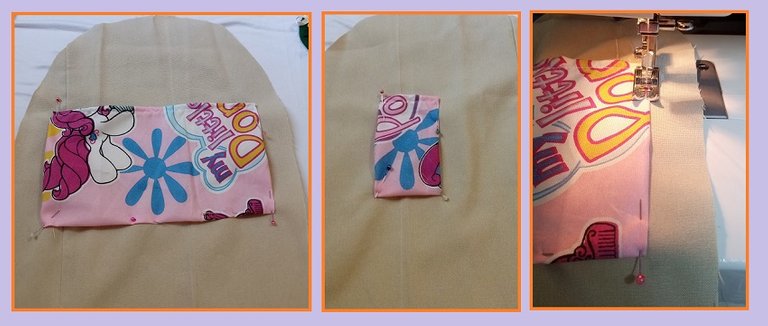
To glue these strips, I make a mark in the center of each strip, and so place each piece so that it fits well, its shape.
I sew the wide strip in each part of the front and back, so the pieces are joined together.
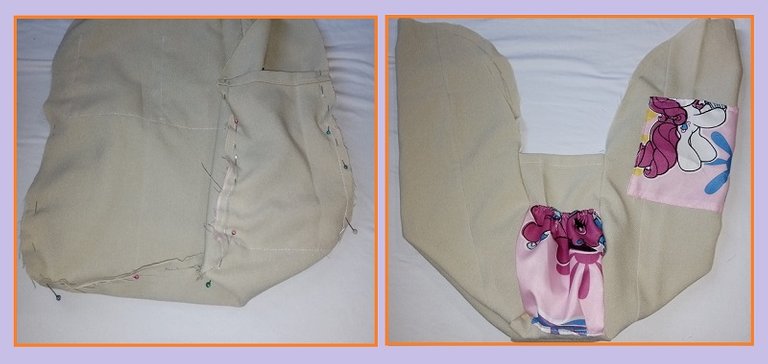
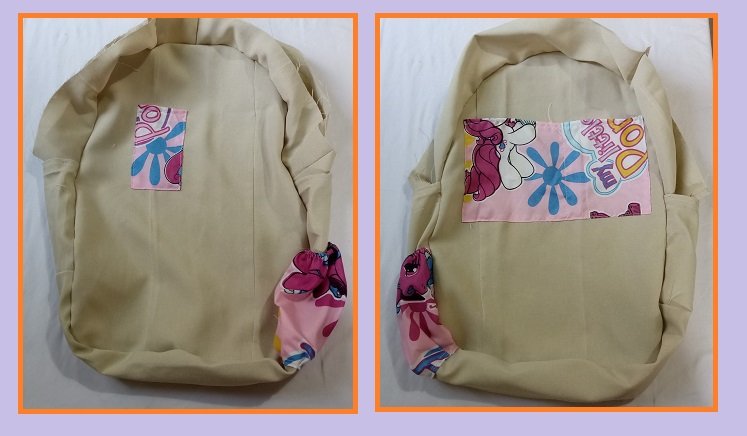
Then I start joining the lining to the bag by sewing the two strips of the zipper part, and then I sew the ends of the sides sewing these parts to fit well.
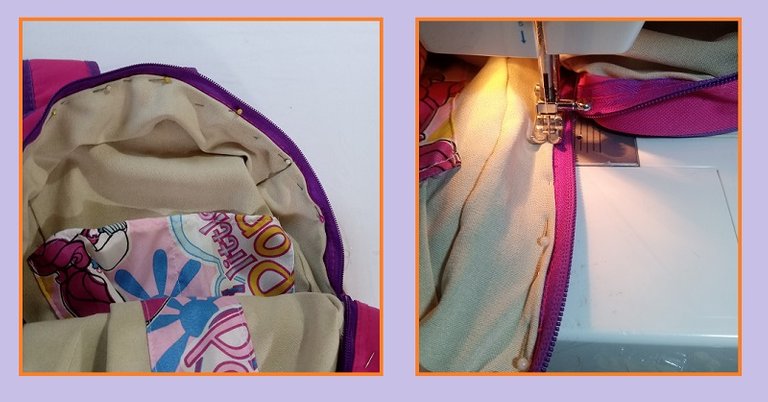
This is how this lining looks like, ready to use, and it can also be made for any bag or purse, you can design one according to its size, with scraps of fabric.
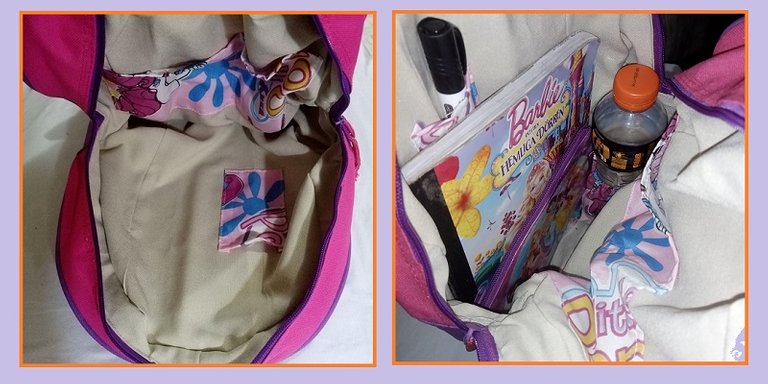
Keep having a great time, until another new publication and thank you very much for visiting me, thank you very much, bye!


Un gran saludos a todos los hiver´s, esperando esten disfrutando el fin de semana. Es un agrado compartir con ustedes los proyectos de manualidades, y en esta oportunidad les muestro como hice un forro a un bolso escolar de niña. Este es un bello bolso que a muchas niñas les gustaria tener, es de mi hija, pero por dentro no tiene forro, donde poder guardar algunas cosas del colegio, como los lapices de colores, entre otros.
Le hice este forro con retazos de tela que tenia, y le coloque unos bolsillos, tambien para colocar una botella de agua, que nunca debe faltar a la hora de ir a la escuela, y le hice su espacio para que la botella este siempre en forma vertical, para mejor seguridad de que no se moje los cuadernos por si deja la tapa un poquito abierta.
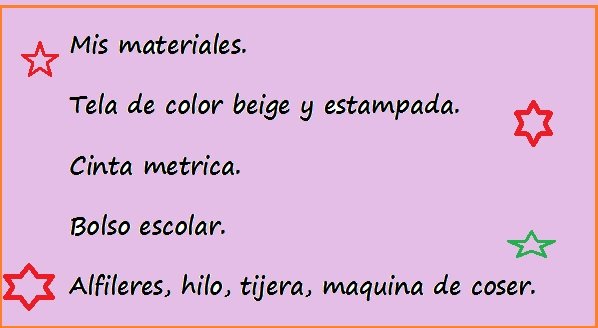
Asi que bien te enseño como lo hice, con pocos retazos de tela.


Primero saco el patron a la medida de las partes del bolso, tanto la del frente como la parte posterior.
Luego una tira gruesa que ira en la parte de abajo, y otras dos tiras que estaran por donde esta el cierre.


Corte un rectangulo de 24cm por 14cm, que coloco en una de las partes del bolso, y otro bolsillo mas pequeño, de 8cm por 12cm de largo.
Otro rectangulo de 16cm por 24cm, y le pegue en un lado una elastica, para colocar la botella.

Empiezo a coser cada una de estas partes, y la que tiene la elastica la cosi en la tira ancha que va desde la parte inferior a los costados.


Para pegar estas tiras, le hago una marca en el centro en cada tira, y asi ubicar cada pieza para que quede bien, su forma.
Voy cosiendo la tira ancha en cada parte del frente y posterior, asi se van uniendo las piezas.


Luego empiezo unir el forro al bolso coso las dos tiras de la parte del cierre, y despues coso de los lados las terminaciones cosiendo estas partes para ajustar bien.

Asi quedo este forro, ya listo de usar, e igualmente se puede hacer para cualquier bolso o cartera, se puede diseñar uno de acuerdo a su tamaño, con retazos de tela.


Sigan pasandola super bien, hasta otra nueva publicacion y muchas gracias por visitarme, muy agradecida, chau!


