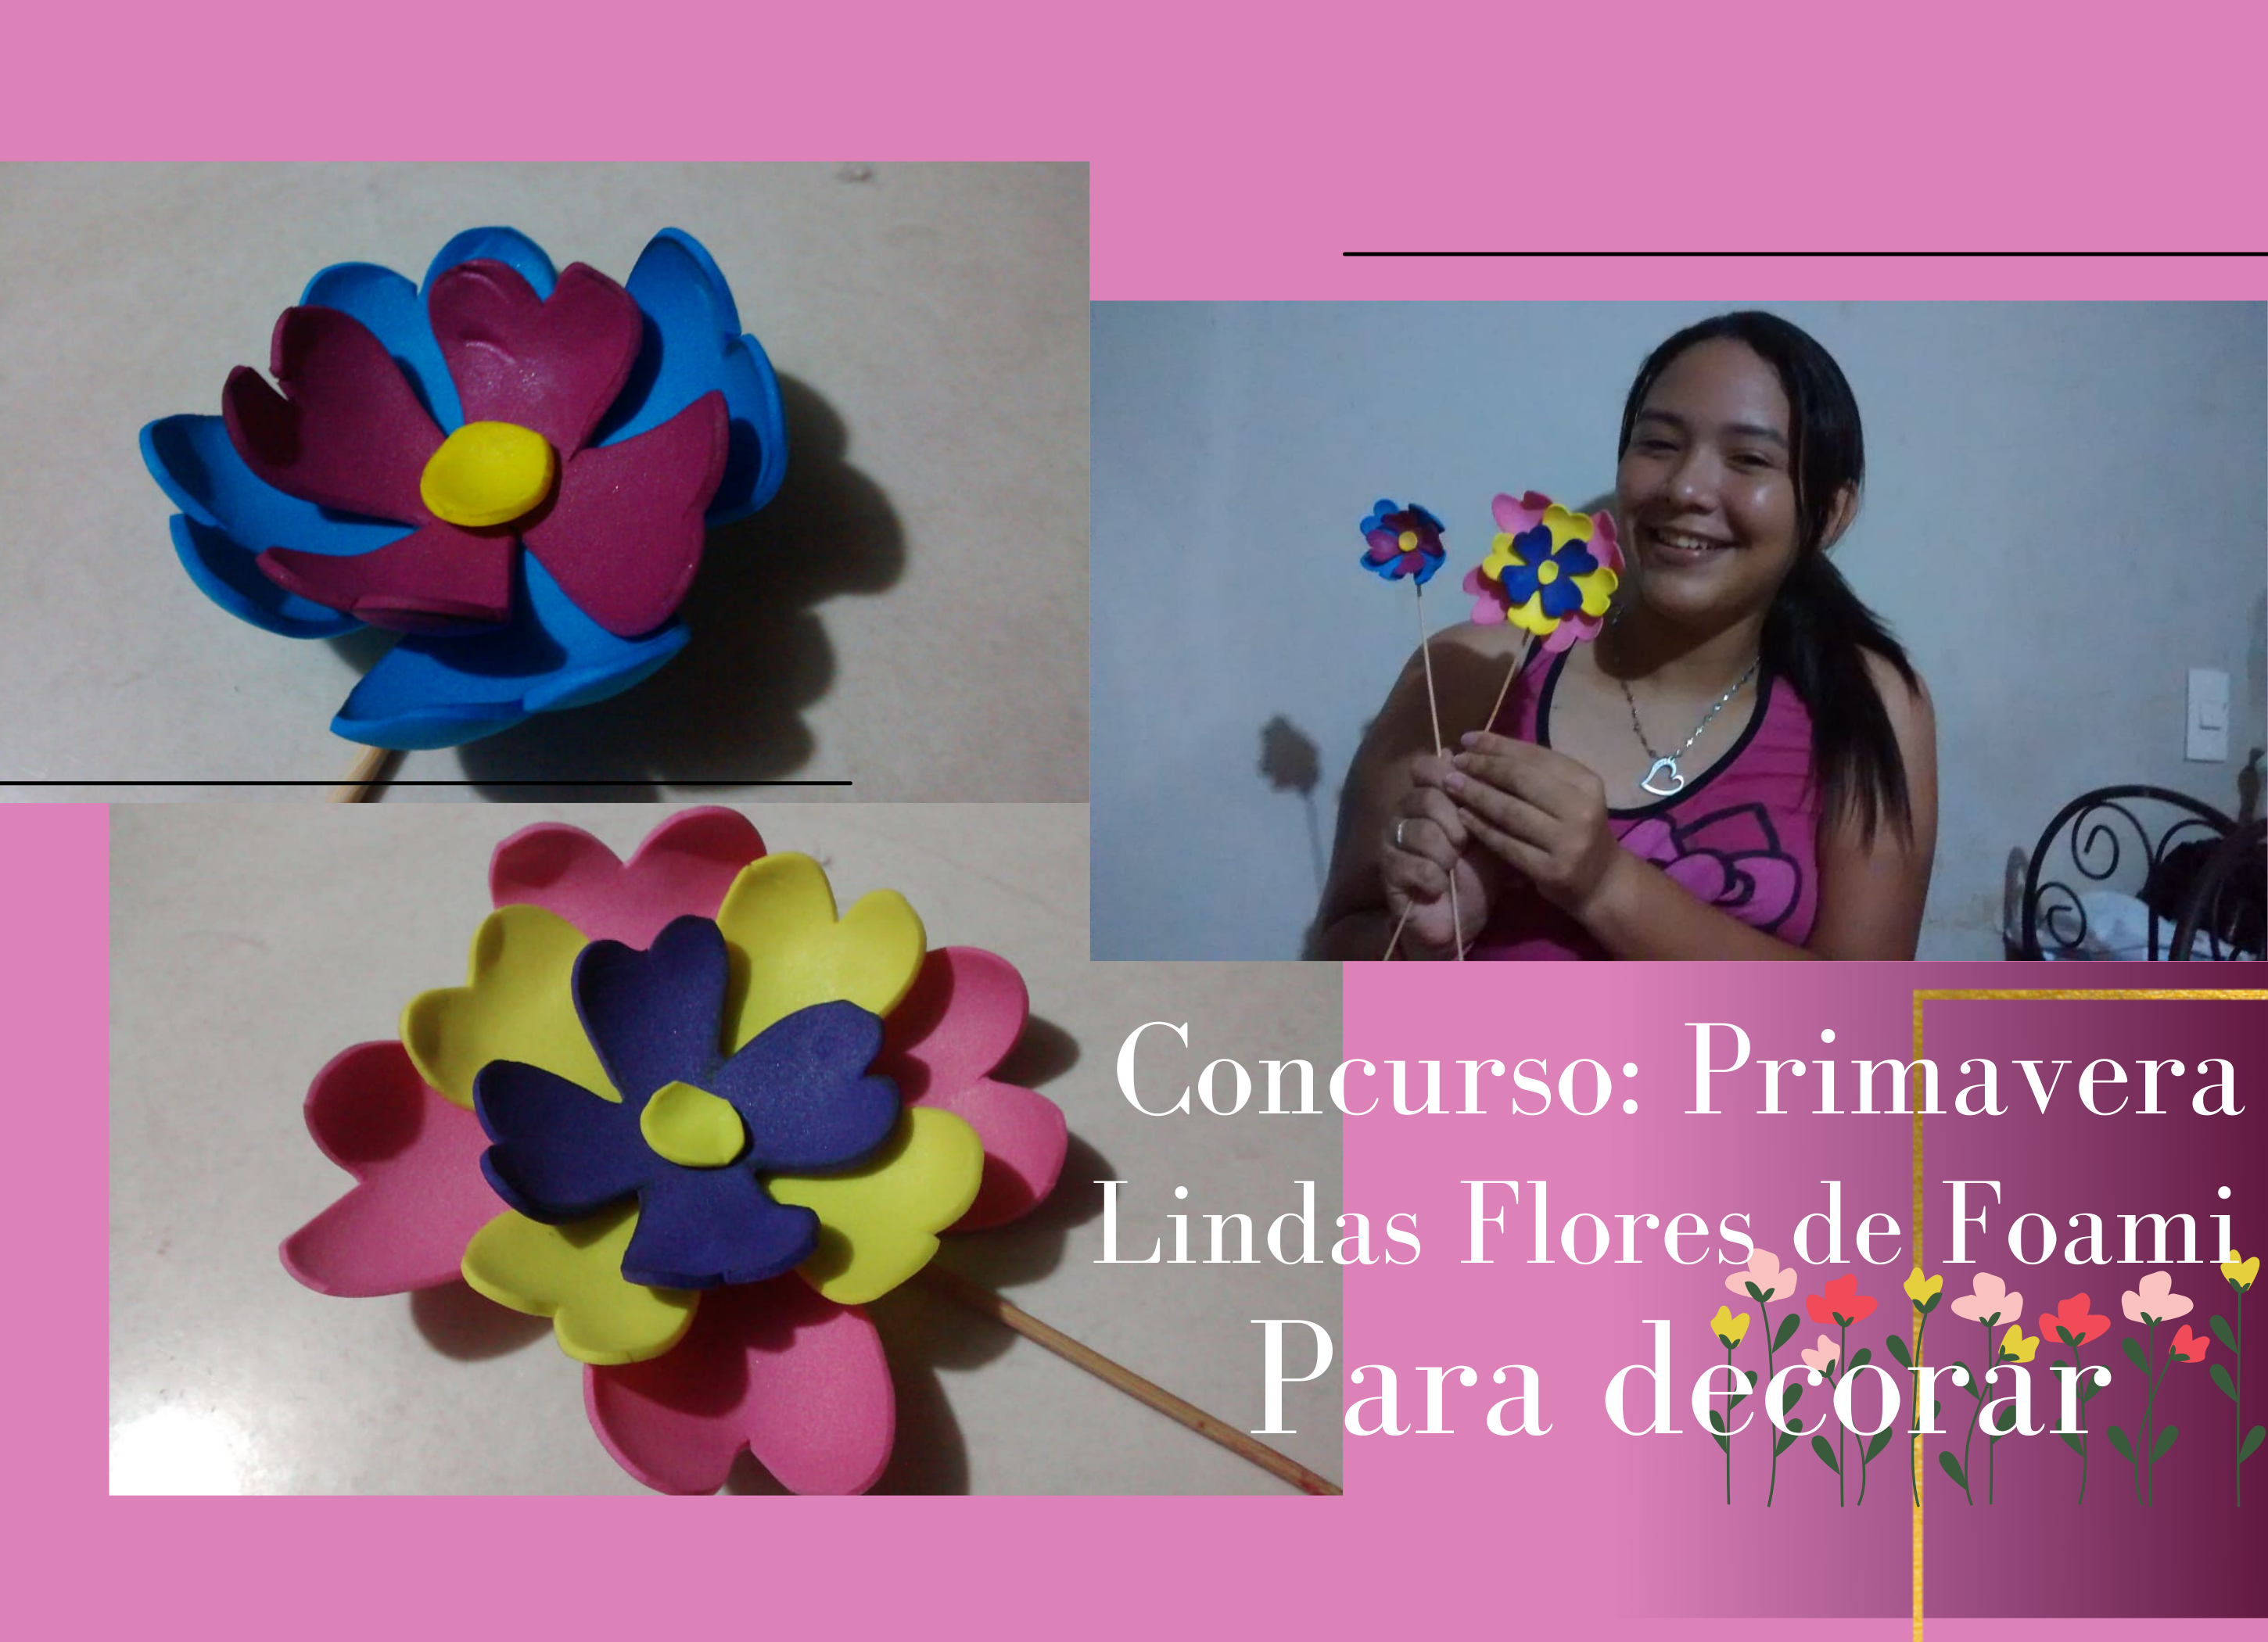
Hi Hive Family, for me it is a pleasure to participate in this wonderful contest run by Hive Diy, the truth is very interesting as we are invited to create flowers with any recycled material, today I wanted to make them with foami, but using a technique to give them much more shape, waving each of its petals, so join me to see the step by step:

.png)
-Materiales:
-Foami Reciclado.(Los colores deseados)
-Hoja.
-Silicón.
-Lápiz.
-Tijera.
-Palitos de Altura.
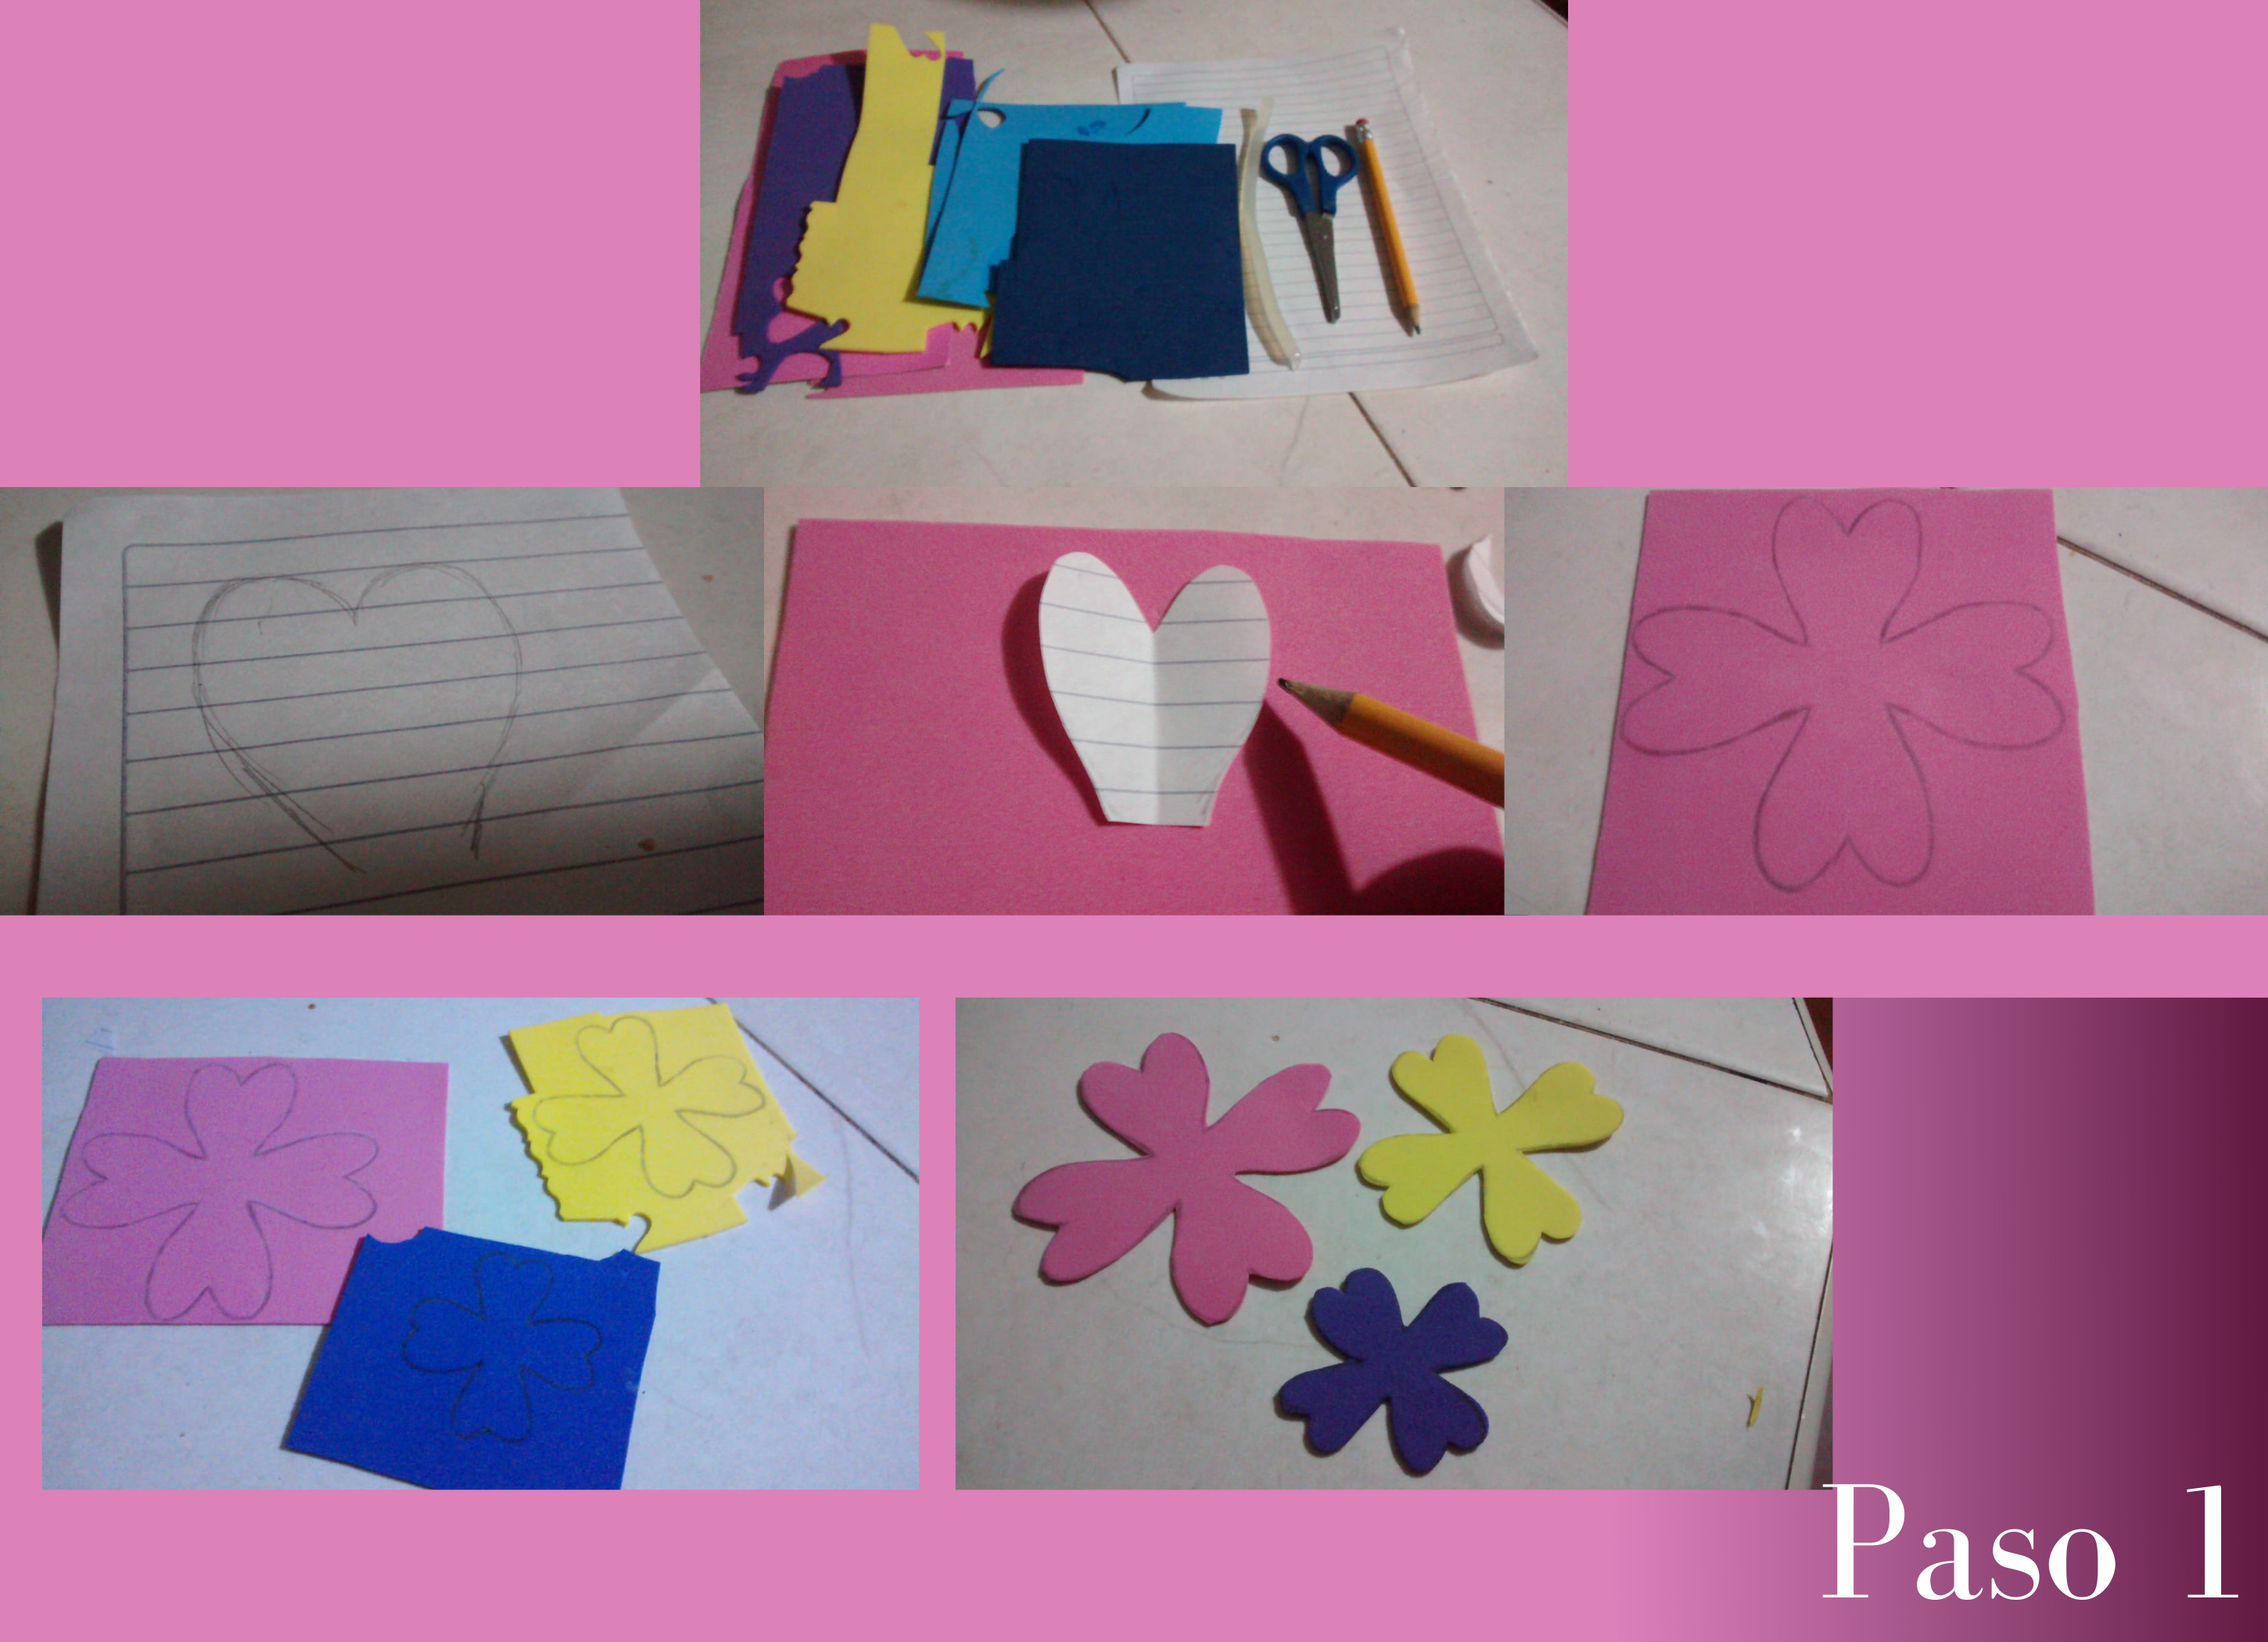
-Paso 1: Procedemos primeramente a dibujar en la hoja de papel, un corazón, pero la parte final del corazón no la vamos a cerrar, es decir, el final va a ser como cuadrado, así como lo muestra la imagen, luego lo recortamos y procedemos a plasmarlo es el Foami del color deseado, lo vamos a hacer como en forma de trebol, luego de haber hecho el grande que es de color rosado, vamos con la tijera reduciendo el corazón para lograr culminar las otras partes de distintos tamaños. Luego recortamos cada uno de ellas.
-Materials:
-Recycled Foami.(The desired colors).
-Sheet.
-Silicone.
-Pencil.
-Scissors.
-Height sticks.
-Step 1: We proceed first to draw on the sheet of paper, a heart, but the final part of the heart we are not going to close, that is, the end will be as a square, as shown in the image, then we cut it and proceed to shape it is the Foami of the desired color, we will do it as a clover, after having made the big one that is pink, we will with the scissors reducing the heart to achieve the completion of the other parts of different sizes. Then we cut out each one of them.

.png)
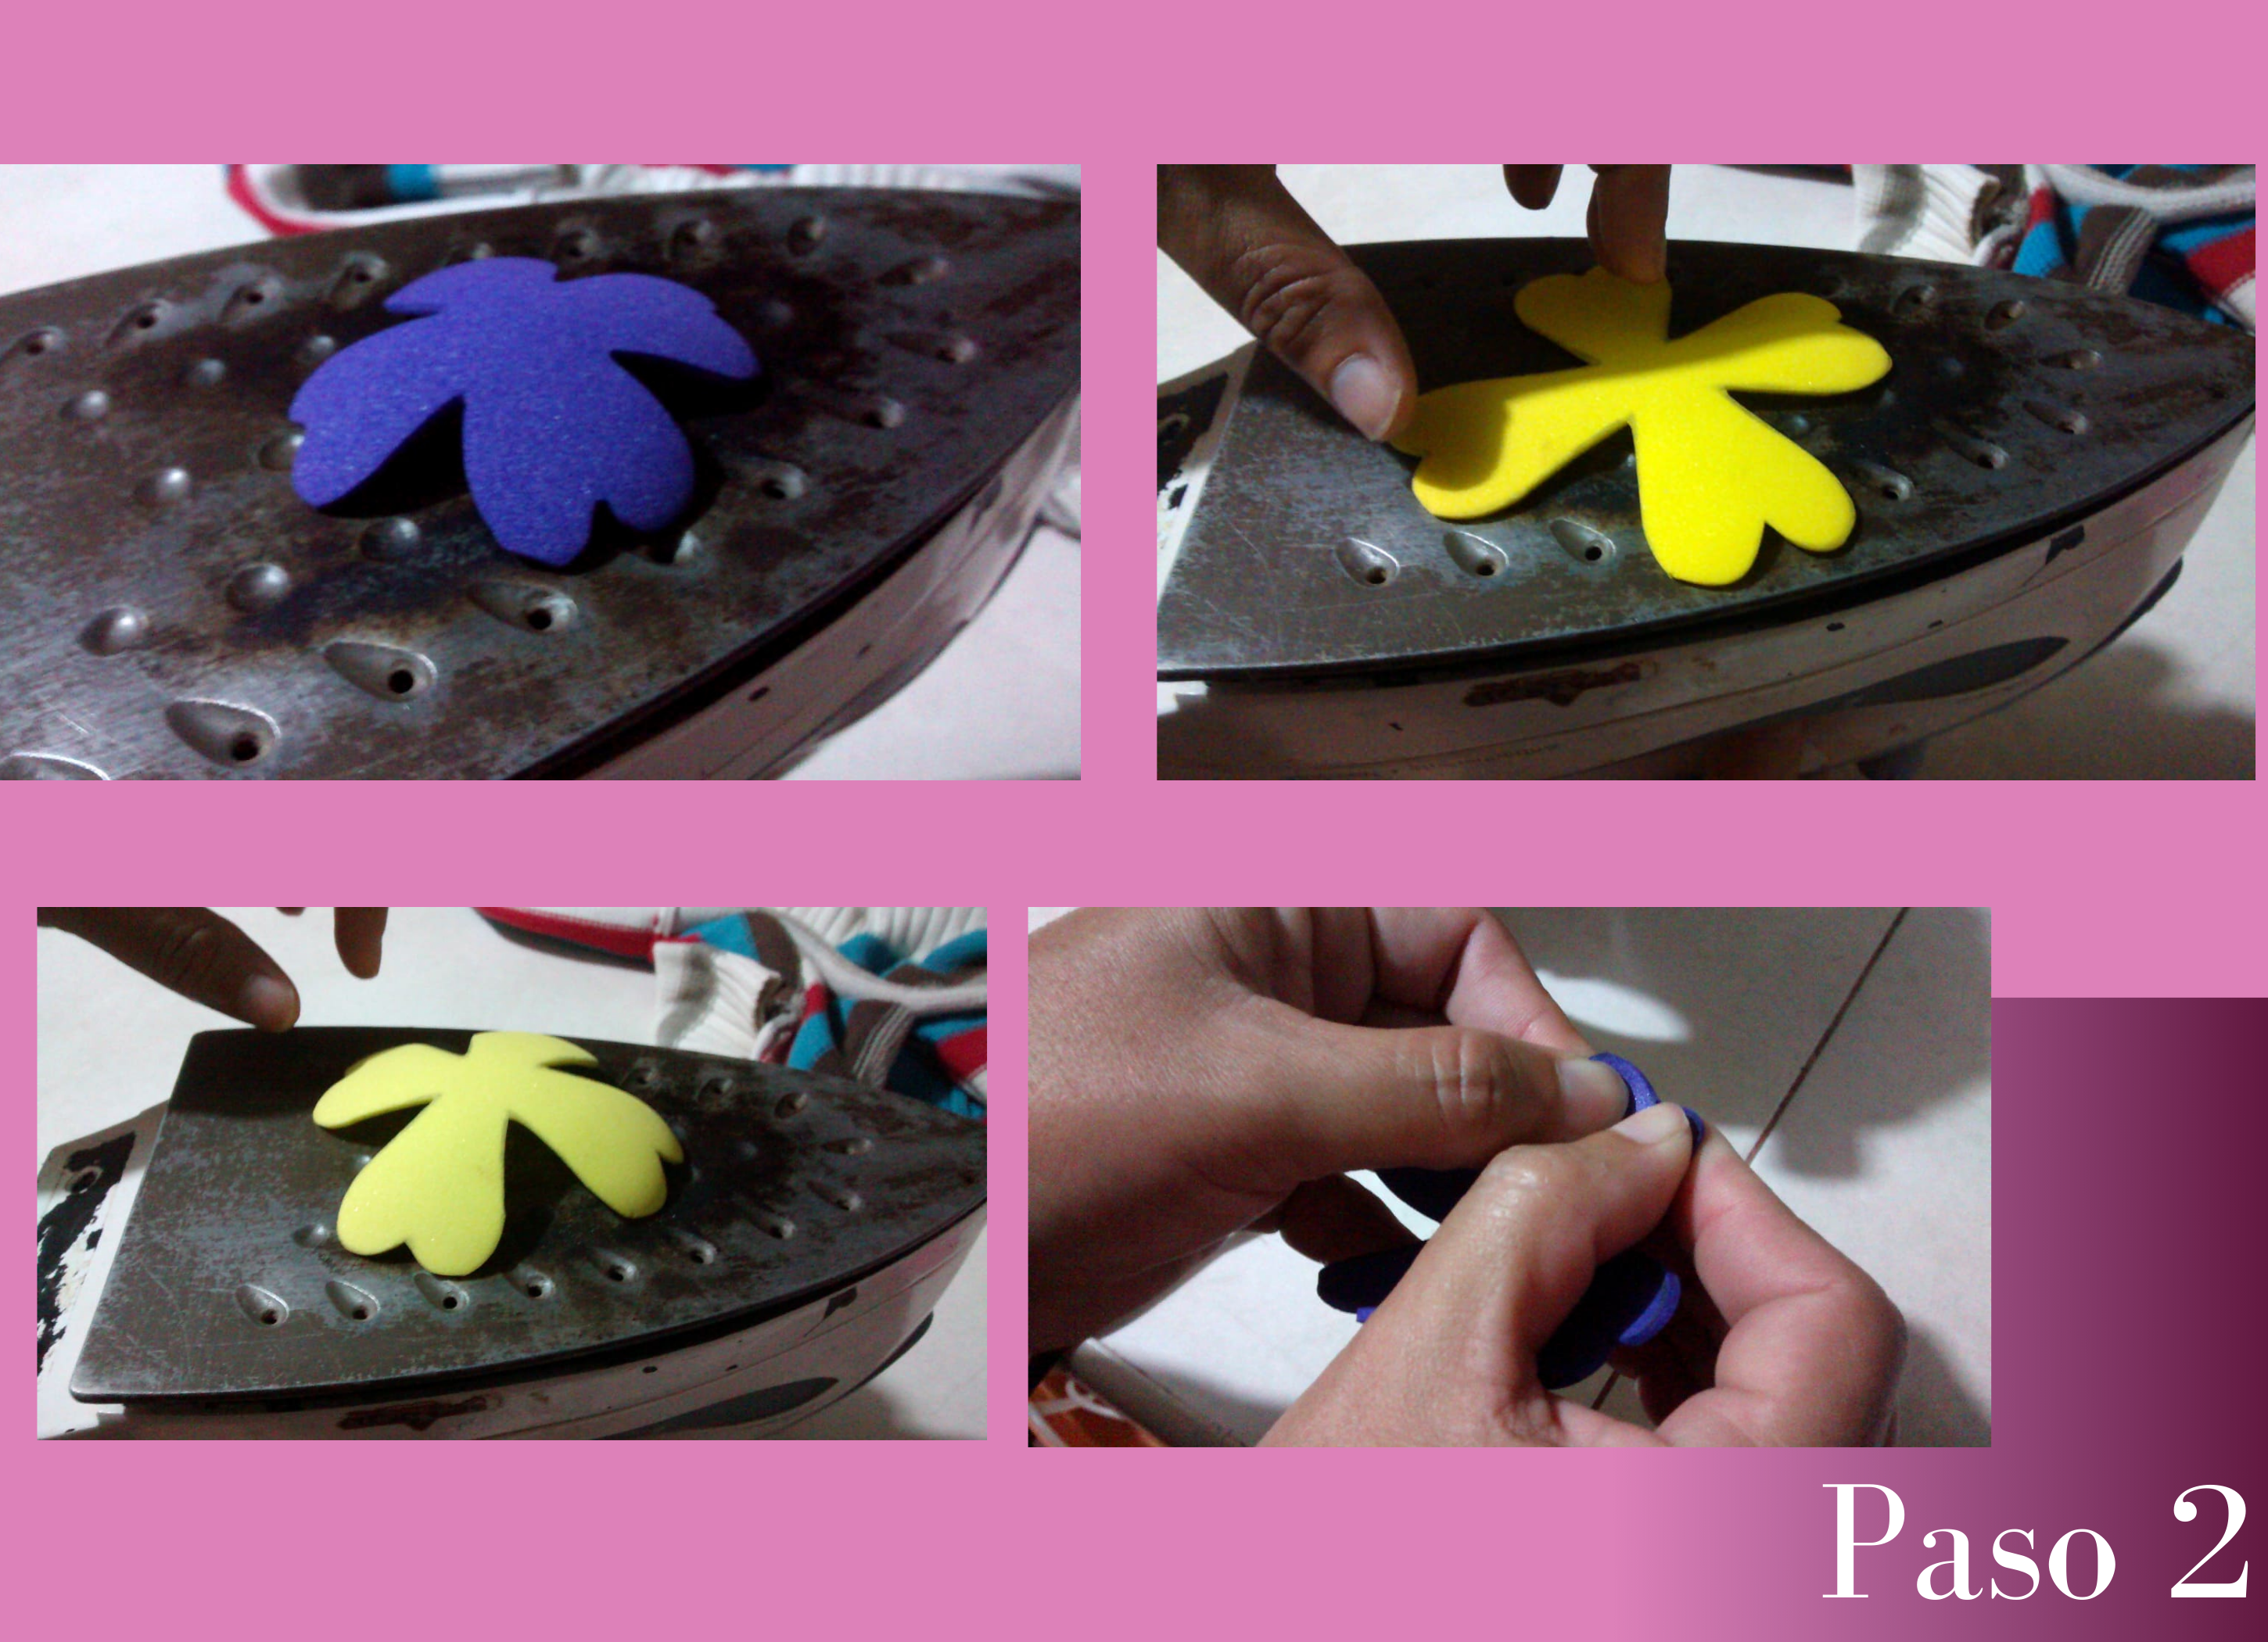
-Paso 2: En este paso tendremos mucho cuidado, ya que usaremos una plancha para hacer la técnica la cual les comenté al inicio, esto es para que el foami al tocar el calor de la plancha el se ablande un poco, y podamos darle forma, cuando colocamos el foami, el comienza como a inflarse, no lo dejamos por un rato, solo por 20 segundos, luego cuando lo retiremos con mucho cuidado, procedemos con os dedos a darle forma a los pétalos, tanto en las puntas como en el centro.
-Step 2: In this step we will be very careful, because we will use an iron to do the technique which I mentioned at the beginning, this is so that the foami to touch the heat of the iron it softens a little, and we can shape it, when we place the foami, it begins to inflate, we do not leave it for a while, just for 20 seconds, then when we remove it very carefully, we proceed with your fingers to shape the petals, both at the tips and in the center.

.png)
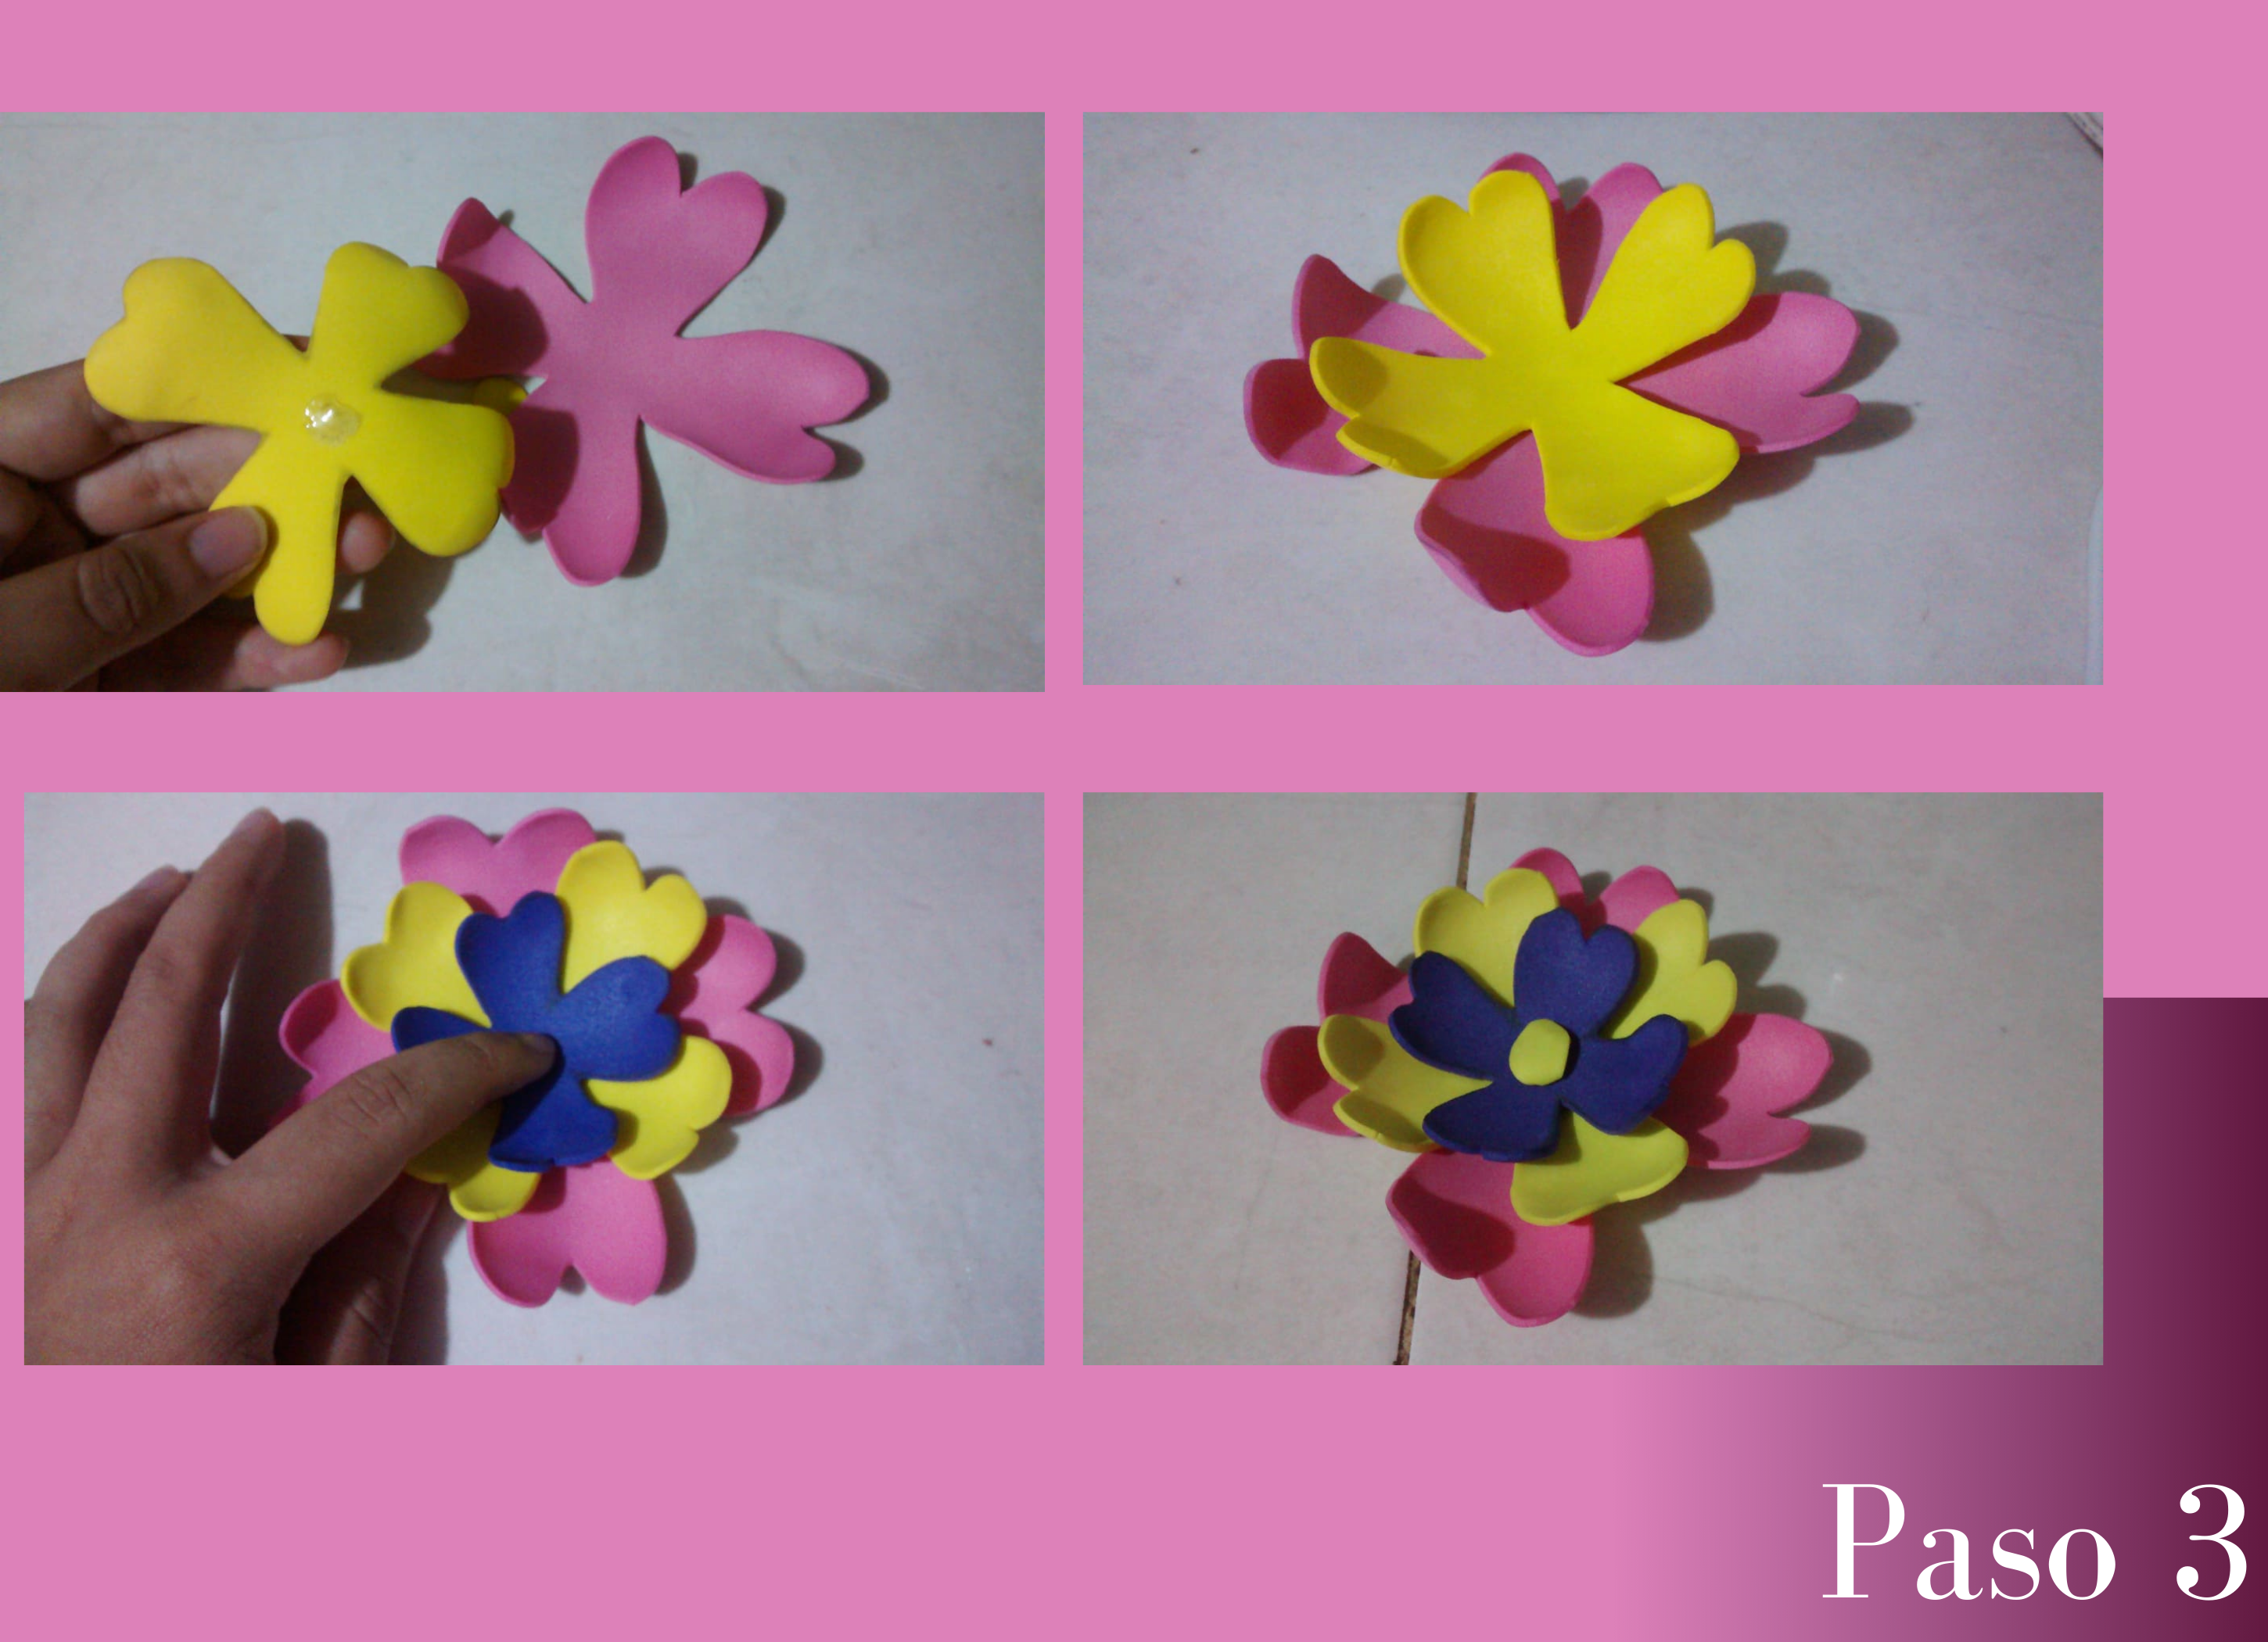
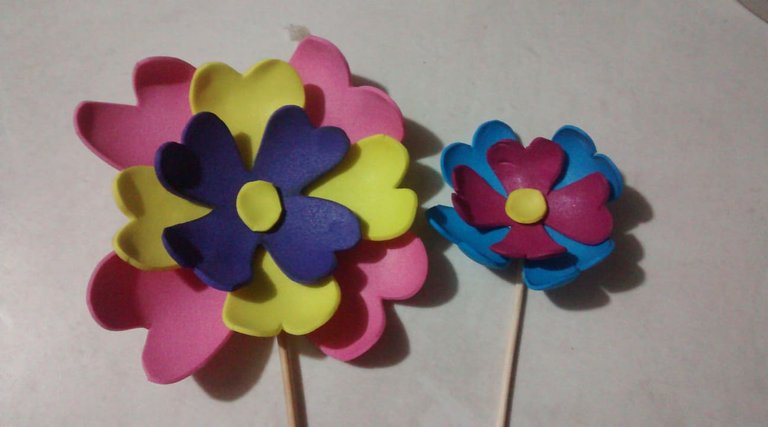
-Paso 3: Luego de que nuestras piezas estén listas, las procedemos a pegar y unir con el silicón, colocándolas intercaladas o en el orden de nuestra preferencia, recortando también un pequeño círculo para pegarlo en medio de nuestra hermosa flor de foami.
-Step 3: After our pieces are ready, we proceed to glue them together with silicone, placing them in the order of our preference, also cutting out a small circle to glue it in the middle of our beautiful foami flower.

.png)
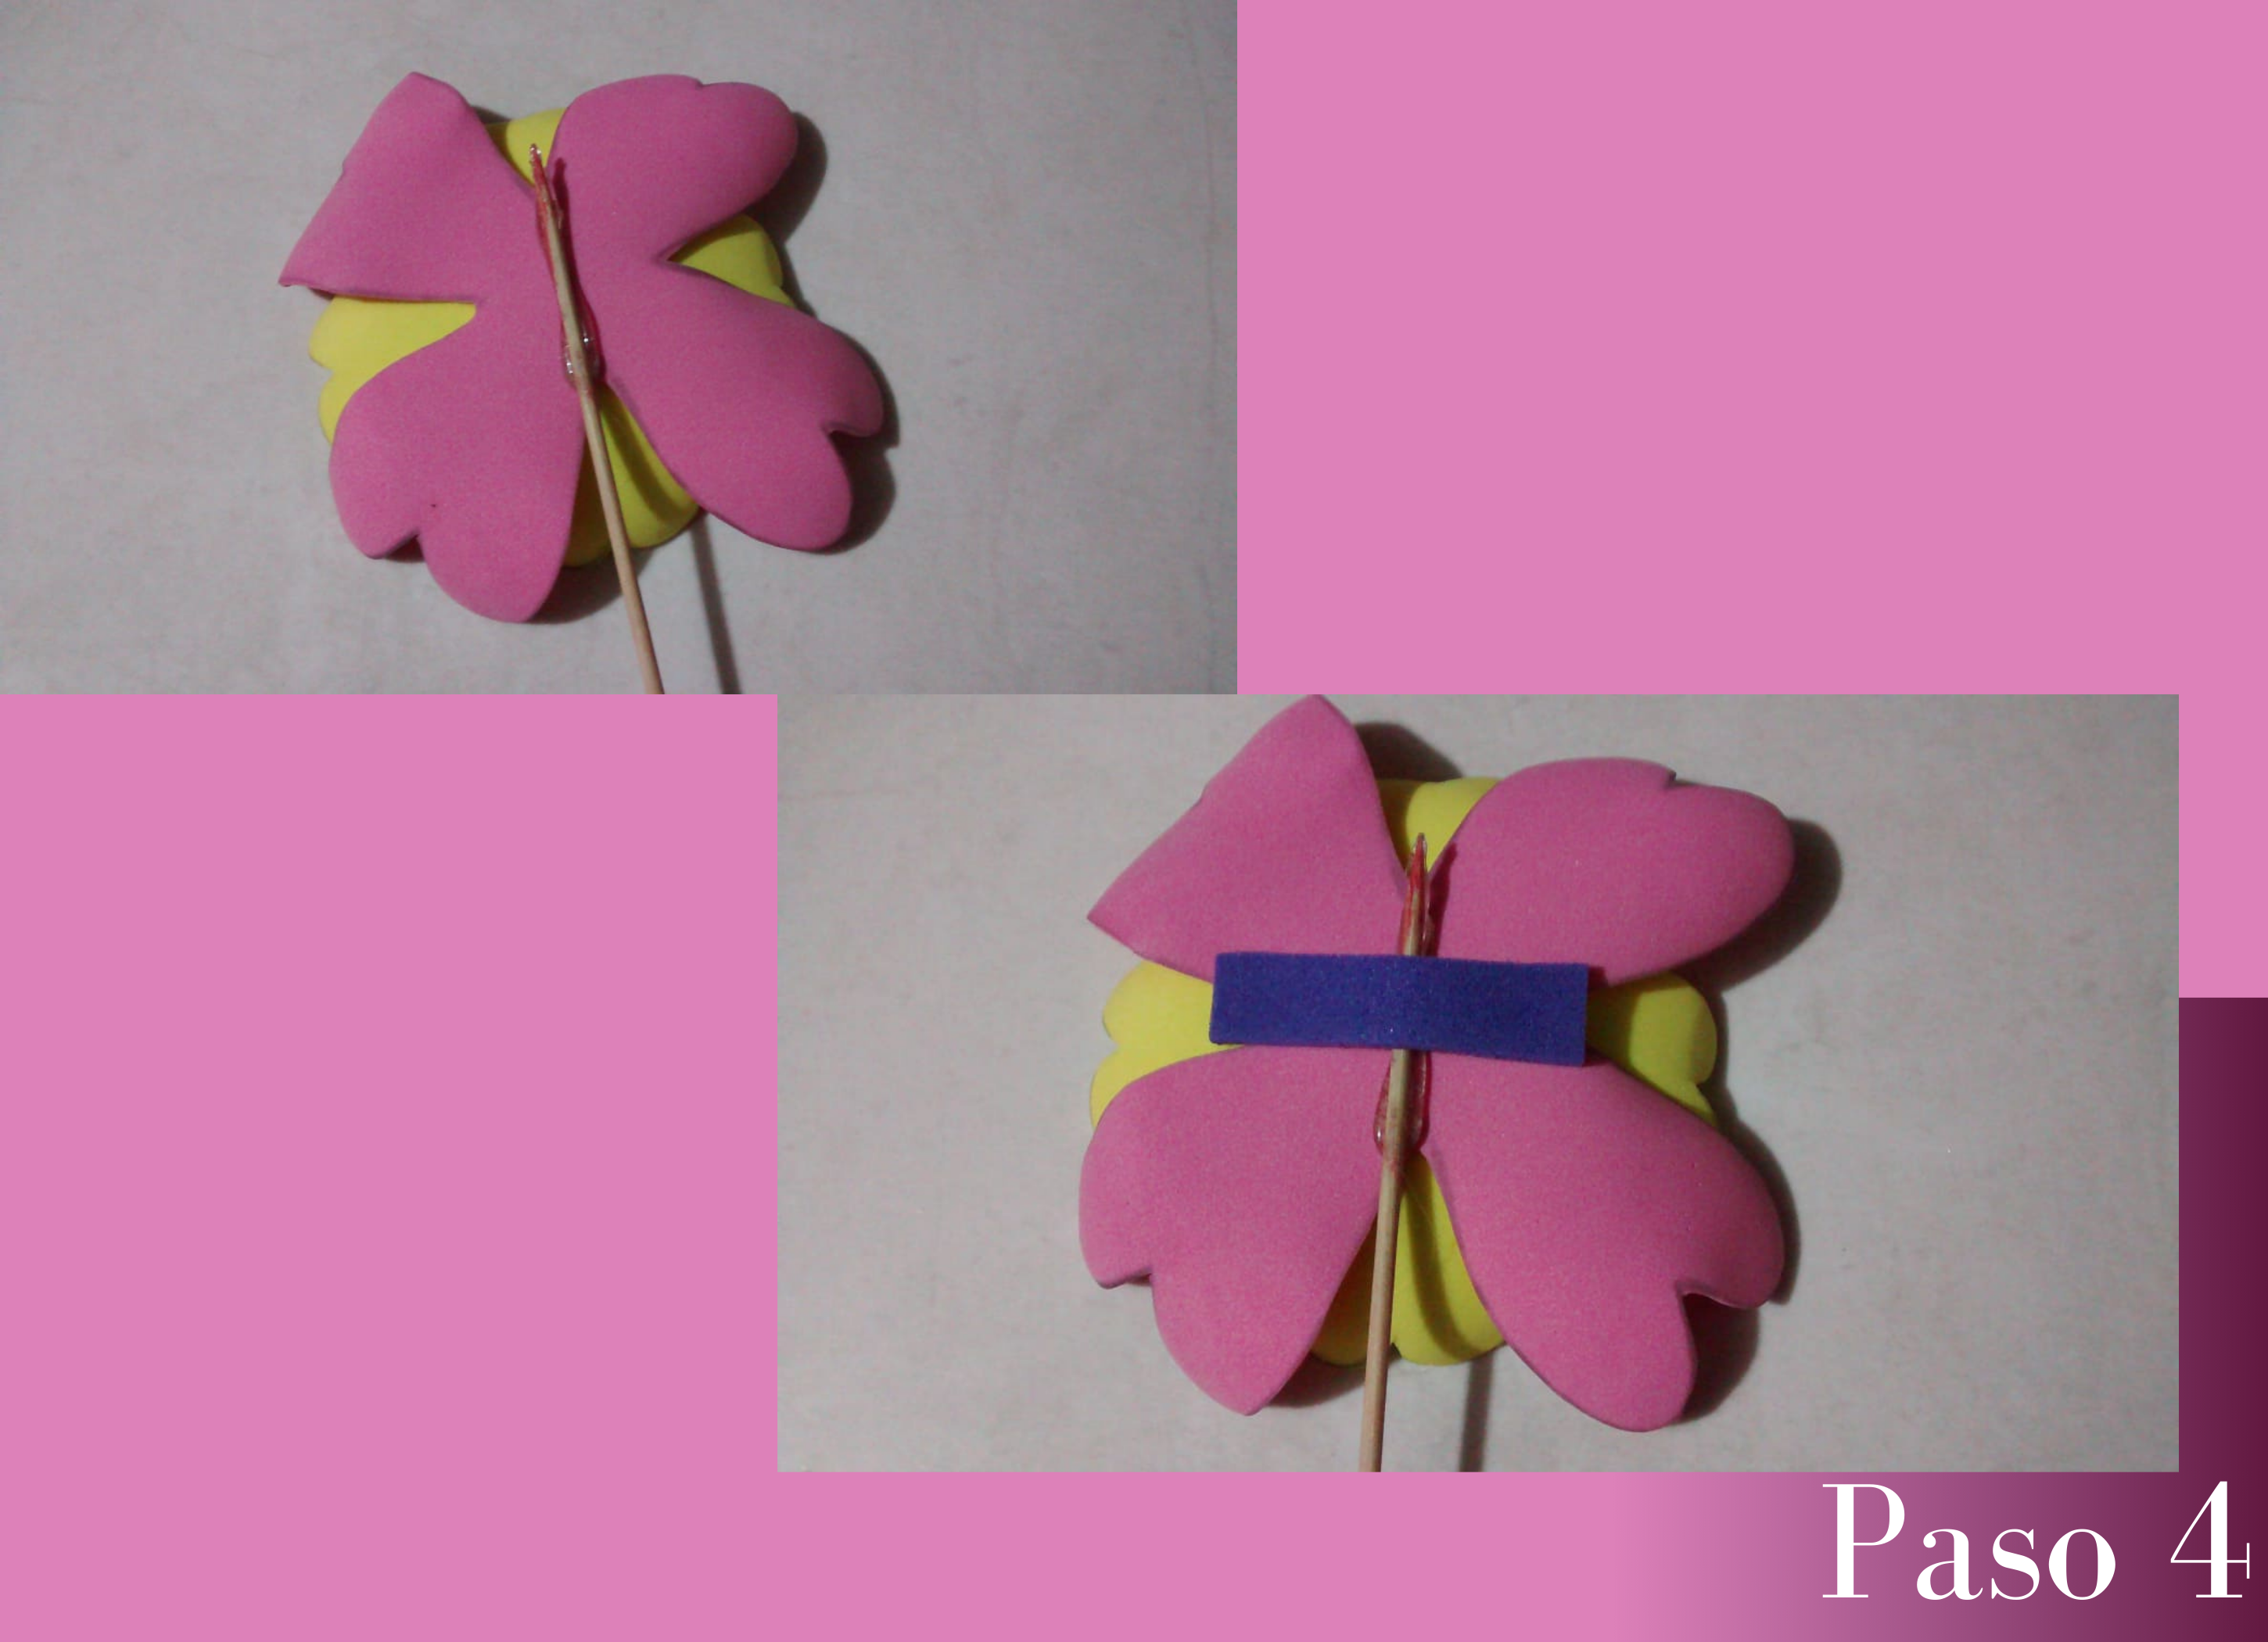
-Paso 4: El palito de altura lo pegamos detrás de la flor, y luego reforzamos con una tira de foami, para que no se despegue tan rápido, con esto concluimos de hacer nuestras flores de foami, yo espero que les haya gustado y que esta técnica la puedan usar, muchas bendiciones y saludos para todos.
-Step 4: We glue the height stick behind the flower, and then reinforce it with a strip of foami, so that it does not take off so fast, with this we conclude making our foami flowers, I hope you liked it and that you can use this technique, many blessings and greetings to all.

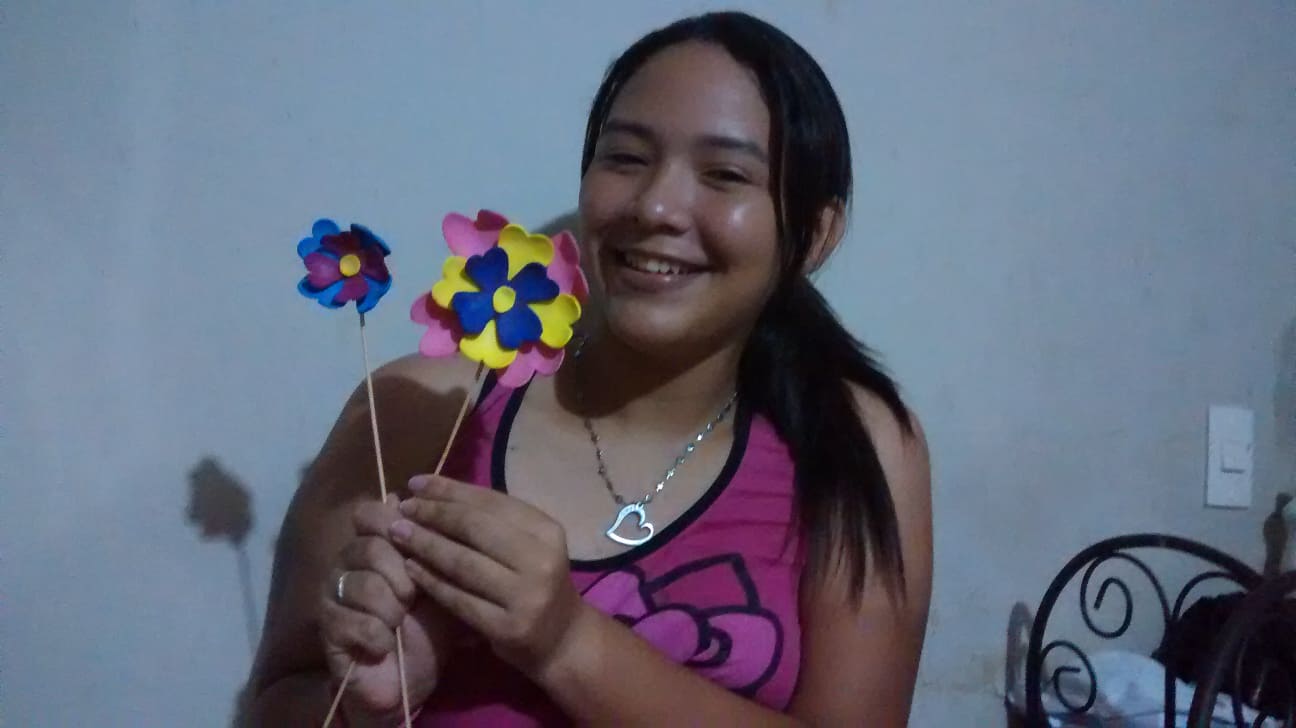
This is my final result, I hope you liked it as much as I did, thanks for visiting my blog, greetings to all.
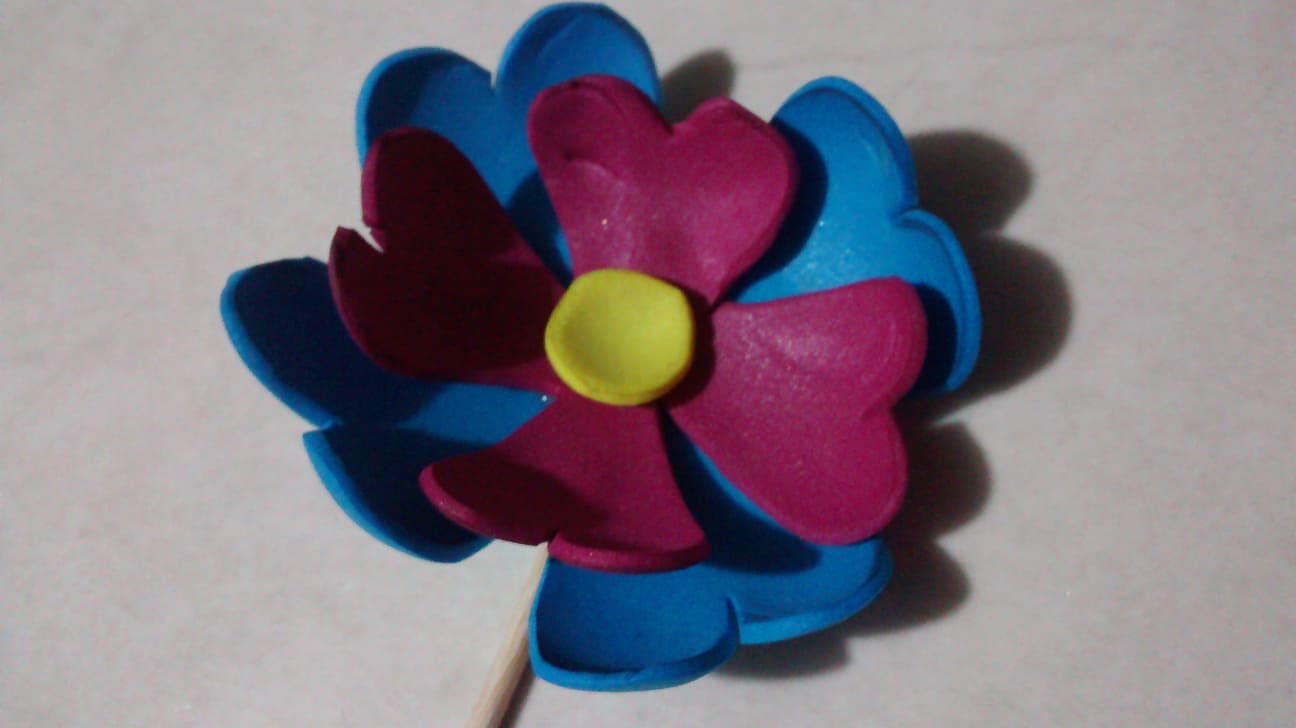
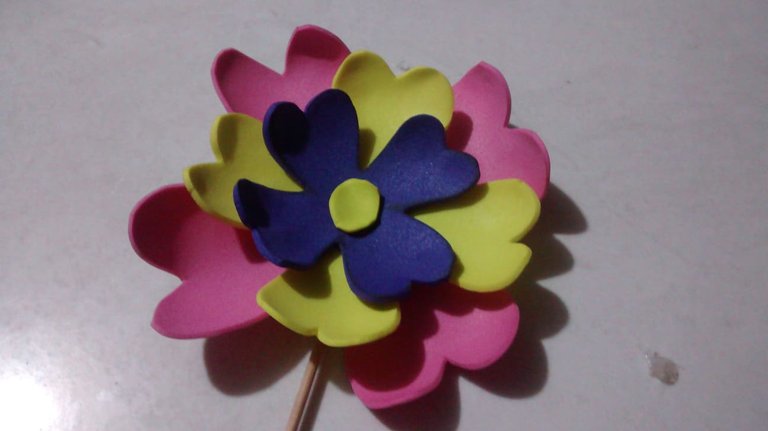
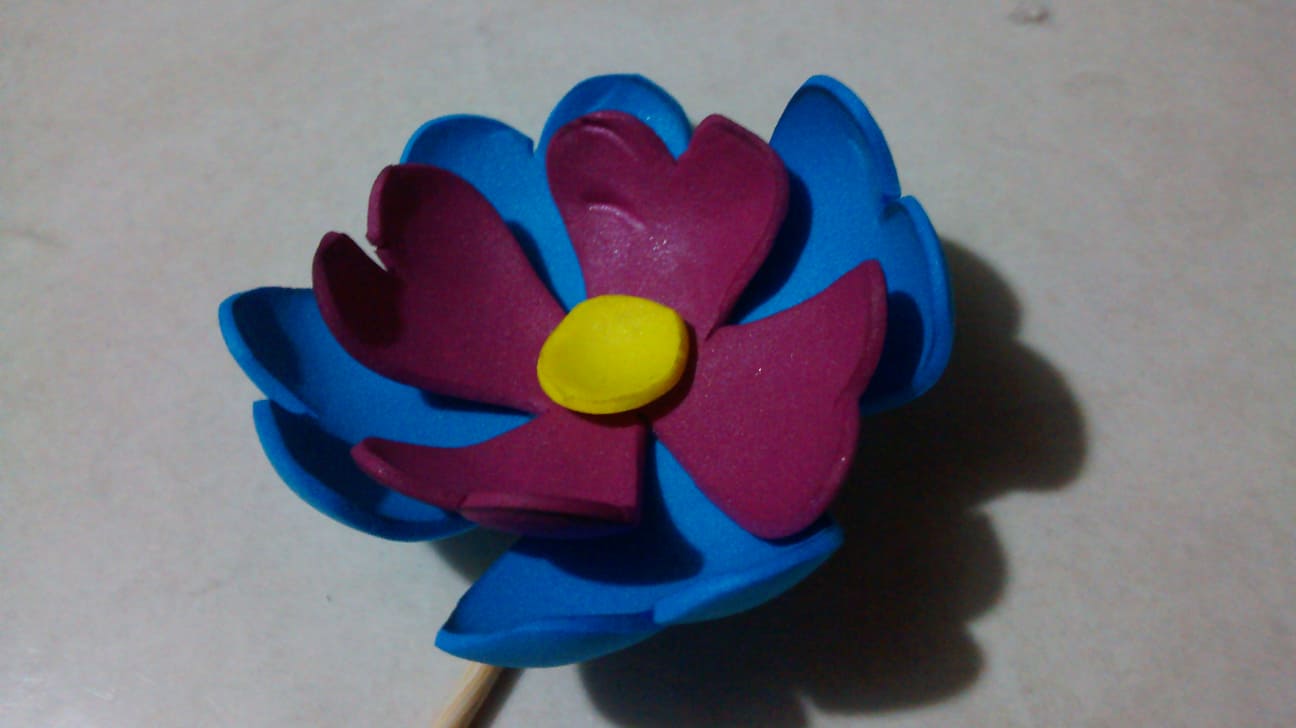

All photos are of my authorship and edited with canva.

.png)