
💜💜💜
[Esp]
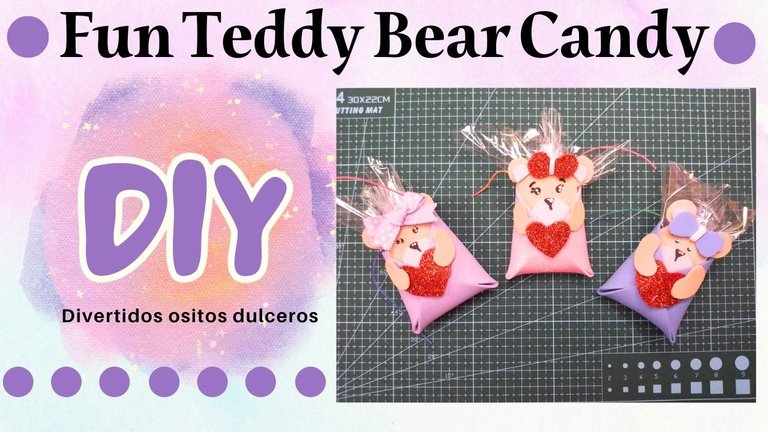
Saludos amantes de las manualidades
Hace algún tiempo, escudriñando el feed en una red social, encontré un vídeo que llamó mucho mi atención por lo tierno, inmediatamente quise recrear a mi estilo el producto que presentaban, ya que es prácticamente lo mismo que hago en muchos de mis diseños recrear, modificar las cosas a mi gusto y estilo.
No necesitas muchos materiales para crear, yo me divertí haciendo varios colores solo por curiosidad y aplicarles algún que otro detalle para diferenciarlos entre sí, a todos en casa les gusto.
Tiene su grado de dificultad, pero estuve pensando que sería una genial idea como bomboneras, dulceros, incluso para obsequios, recuerditos de eventos especiales, decoración, entre otros, la verdad es que me asombró la versatilidad que se le puede dar entre tantos posibles usos, ahora te presento mi versión que espero les guste.
! [English version]
[Eng]
Crafts lovers greetings.
Some time ago, scanning the feed on a social network, I found a video that caught my attention because it was so cute, I immediately wanted to recreate in my style the product that was presented, since it is practically the same thing I do in many of my designs, recreate, modify things to my taste and style.
You don't need a lot of materials to create, I had fun making several colors just out of curiosity and apply some details to differentiate them from each other, everyone at home liked it.
It has its degree of difficulty, but I was thinking that it would be a great idea as bonbonnieres, candy boxes, even for gifts, souvenirs of special events, decoration, among others, the truth is that I was amazed at the versatility that can be given among so many possible uses, now I present my version that I hope you like.
💜💜💜


💜💜💜
[Esp]
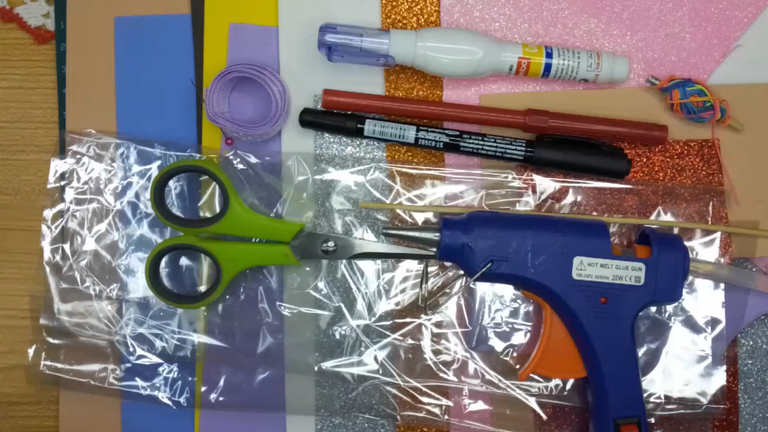
💜 Foami varios colores.
💜 Tijera, pistola de silicón, marcador negro, pintura acrílica blanca, pinceles.
💜 Cordón, Cinta bebé decorada, papel celofán.
! [English version]
[Eng]
💜 Foami various colors.
💜 Scissors, silicone gun, black marker, white acrylic paint, brushes.
💜 Lanyard, decorated baby ribbon, cellophane paper.


 |  |  |
 |  |
[Esp]
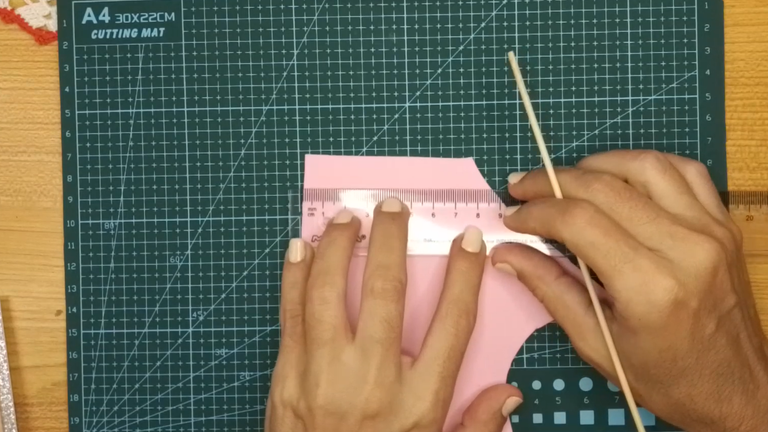
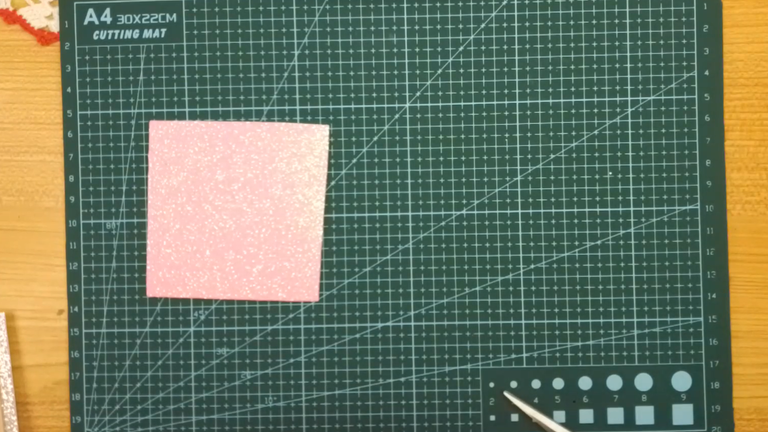
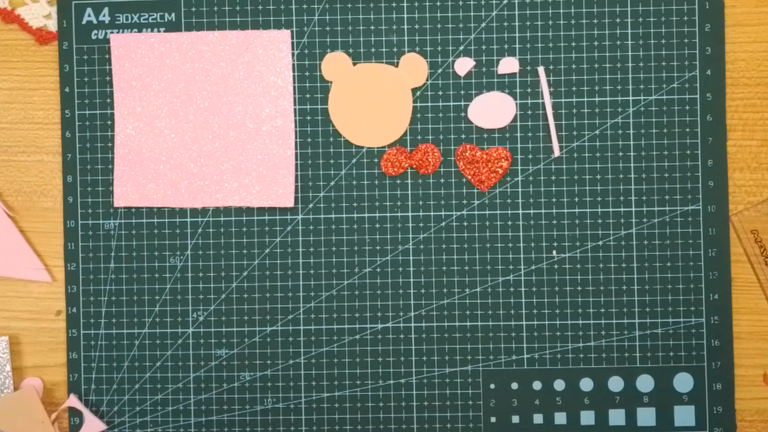
Marca con un palito de altura, un cuadrado perfecto de 8 x 8 Cms, recorta.
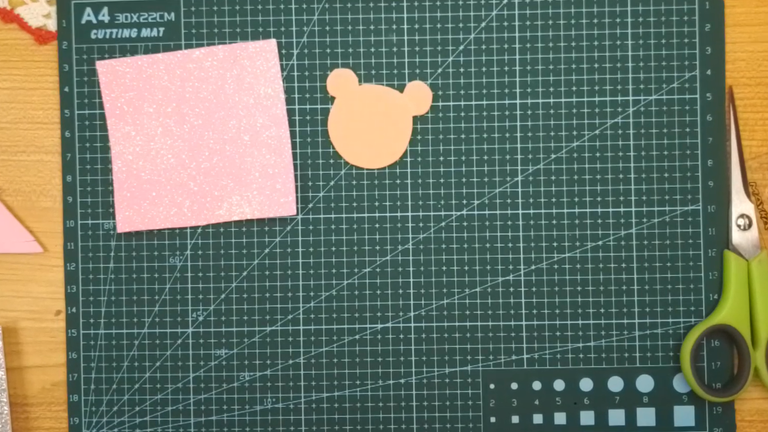
Recorta la figura de la cara de un osito cuya medida pueda entrar perfectamente dentro del sobre, el diámetro del círculo debería medir 4 Cms. Recuerda recortar las orejitas.
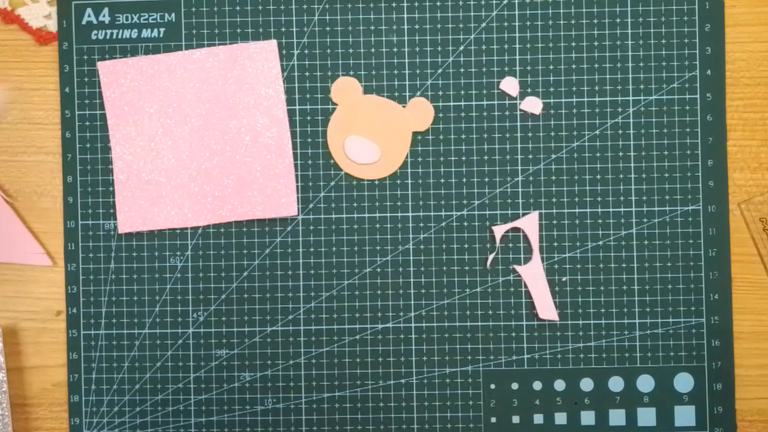
Dibuja con el palito de altura las siguientes figuras en el foami: Un óvalo para el hocico, dos medio círculos para la parte interna de las orejitas.
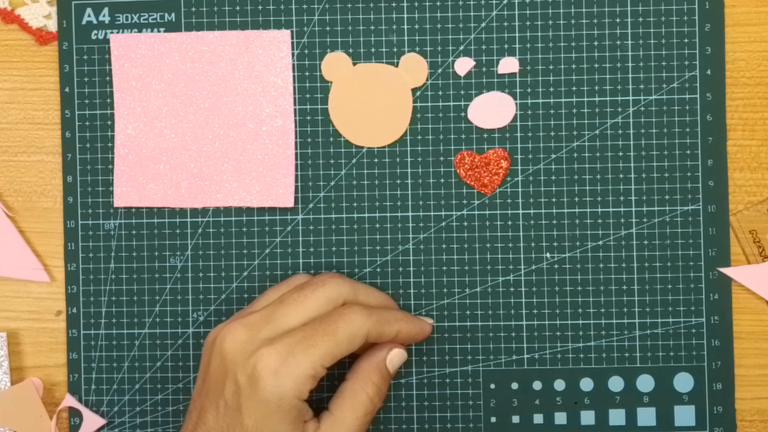
Con el mismo procedimiento anterior, realiza las figuras: Corazón, lazo y parte interna del lazo.
Recorta todas y cada una.
! [English version]
[Eng]
Mark with a height stick, a perfect square of 8 x 8 cm, cut out.
Cut out the figure of the face of a teddy bear whose size can fit perfectly inside the envelope, the diameter of the circle should measure 4 cm. Remember to cut out the ears.
Draw the following figures on the foami with the height stick: An oval for the snout, two half circles for the inner part of the ears.
With the same procedure as above, make the figures: Heart, bow and inner part of the bow.
Cut out each and every one.
 |  |  |
 |  |
[Esp]
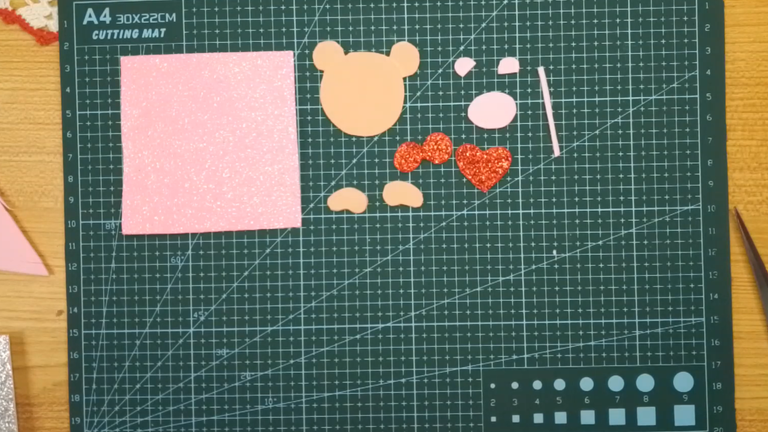
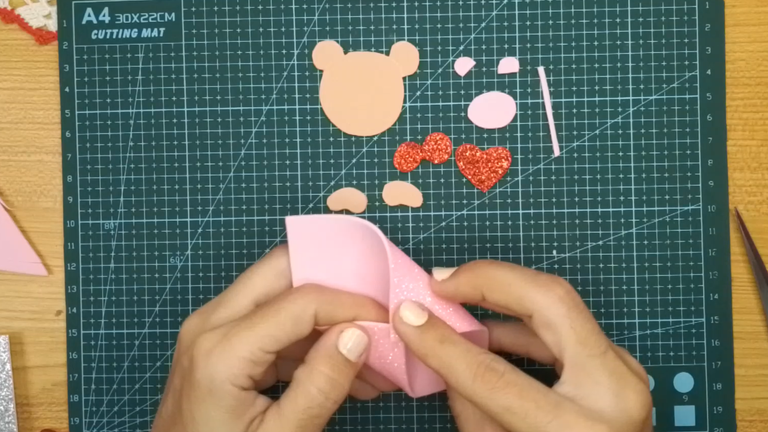
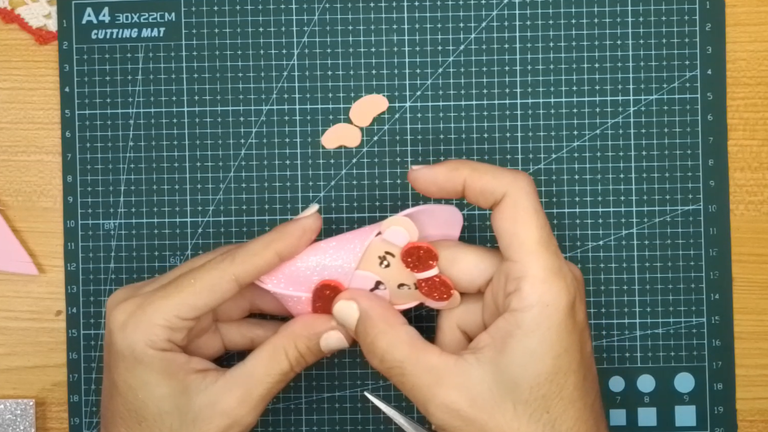
Toma las dos esquinas del cuadrado y pega las puntas, luego la punta de abajo la pegas también sobre las que has pegado.
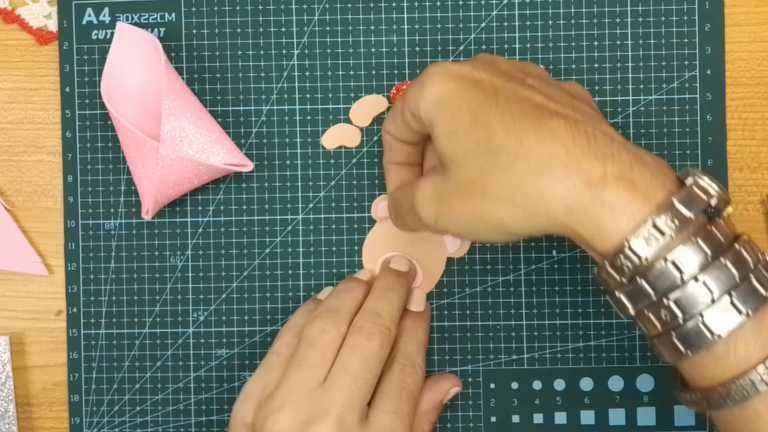
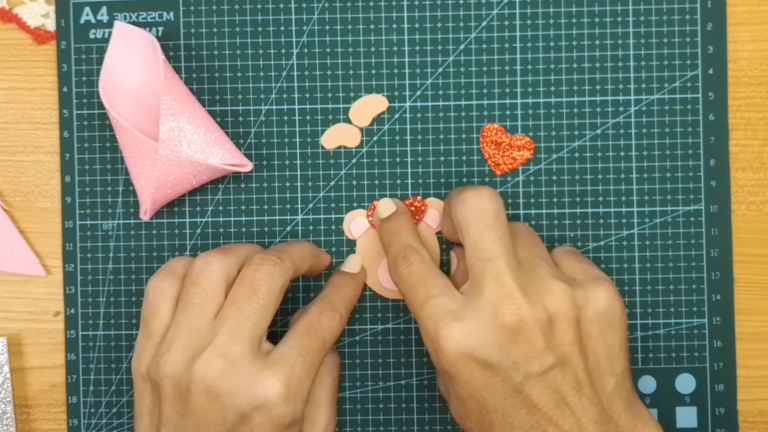
Comienza a pegar las piezas, el hocico del osito, la parte interna de las orejas y el lazo.
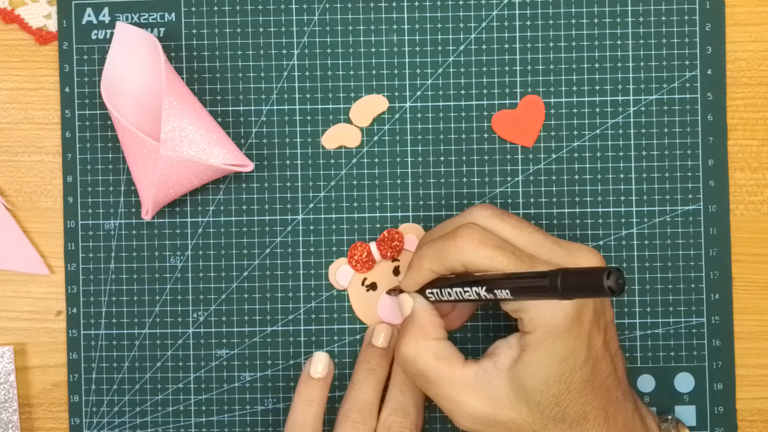
Con el marcador realiza dos puntos para los ojos y las cejas
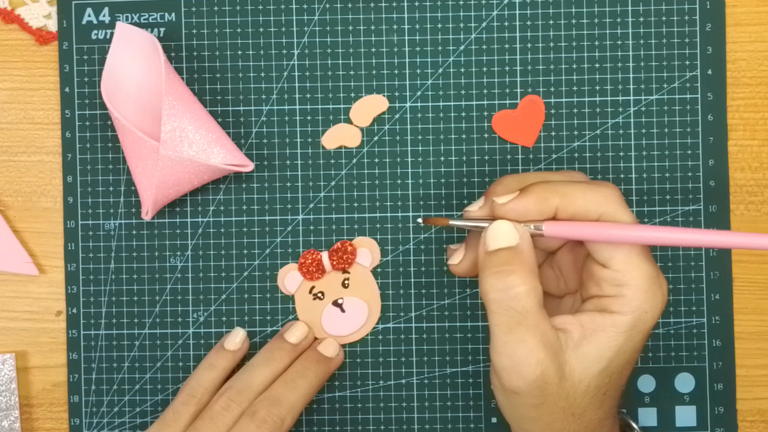
Con el pincel y la pintura acrílica blanca, coloca puntitos en los ojos y la nariz que dibujaste previamente.
! [English version]
[Eng]
Take the two corners of the square and glue the ends together, then glue the bottom end also on top of the ones you have glued.
Start gluing the pieces, the bear's snout, the inside of the ears and the bow.
With the marker make two dots for the eyes and eyebrows.
With the brush and the white acrylic paint, place dots on the eyes and nose that you previously drew.
 |  |  |
 |  |
[Esp]
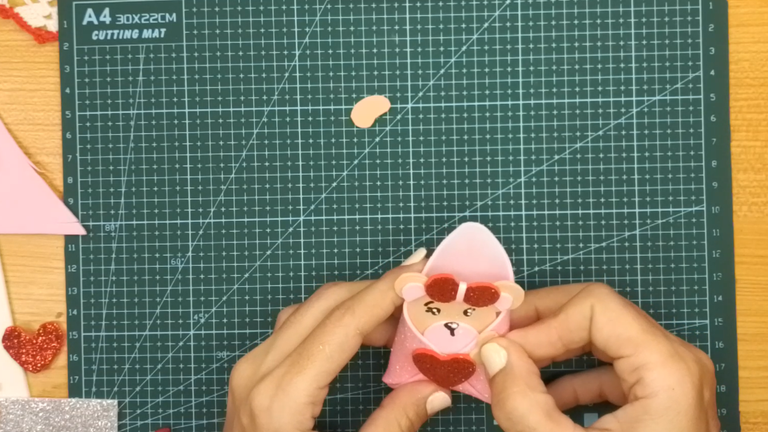
Pega el corazón el el centro del sobre. Coloca un poco de pegamento en la parte interior del sobre y pega el osito.
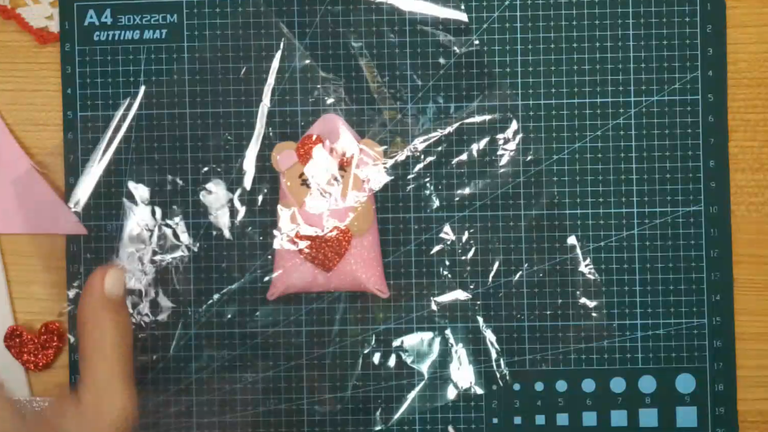
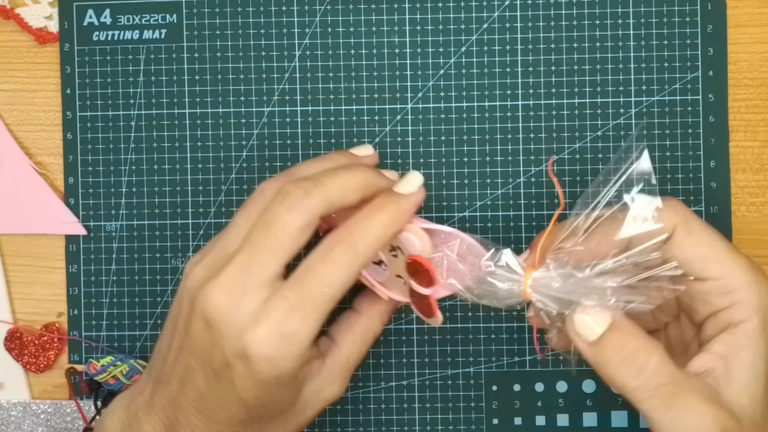
Recorta un trozo de papel celofán, puedes introducir dulces, en este caso yo no tenía, usa un hilo o cualquier material decorativo para cerrar la bolsita e introduce la bolista dentro del sobre.
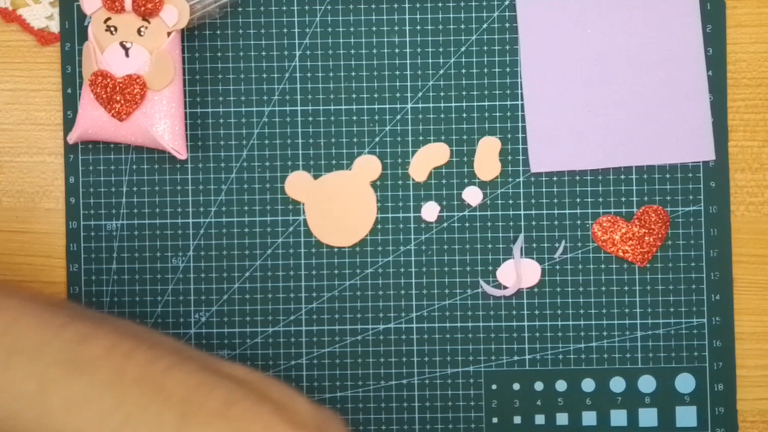
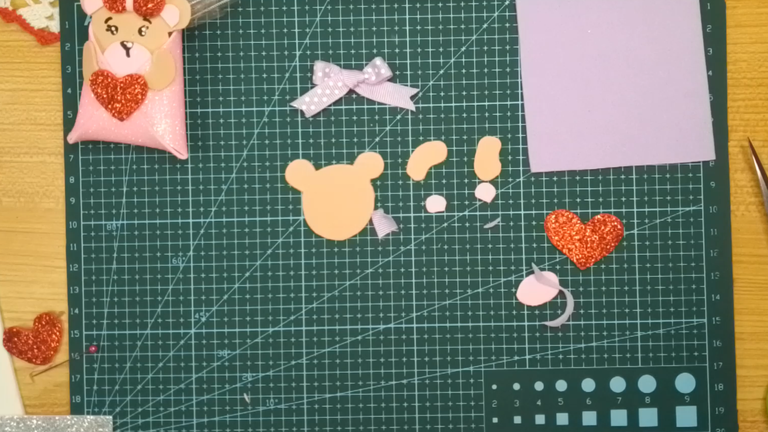
Repetimos el mismo procedimiento del paso 1 en el que recortamos las piezas: Cuadrado, cara del osito, corazón, manitos, parte interna de las orejitas y el hocico.
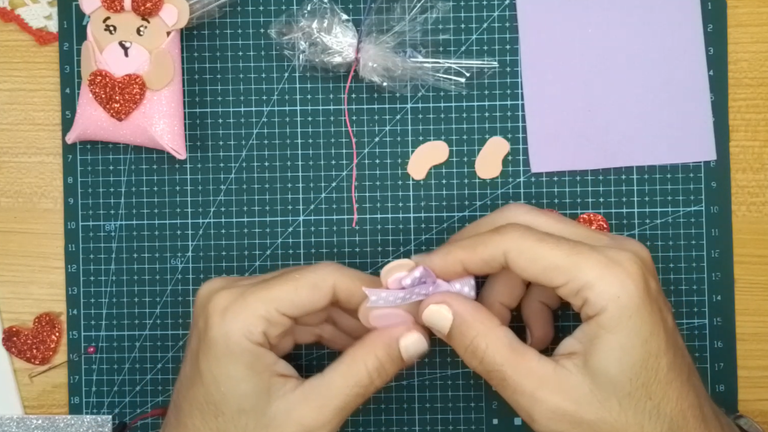
La diferencia de este osito es que le pondremos de decoración un lazo hecho con cinta de raso (cinta bebé) y por supuesto los colores son diferentes, esto es a gusto.
! [English version]
[Eng]
Glue the heart in the center of the envelope. Put some glue on the inside of the envelope and glue the teddy bear.
Cut a piece of cellophane paper, you can insert candy, in this case I didn't have any, use a string or any decorative material to close the bag and insert the ball inside the envelope.
Repeat the same procedure of step 1 in which we cut out the pieces: square, bear's face, heart, little hands, inner part of the ears and the snout.
The difference of this teddy bear is that we will decorate it with a bow made with satin ribbon (baby ribbon) and of course the colors are different, this is to taste.
 |  |  |
 |  |
[Esp]
Pega las piezas al osito: Hocico, parte interna de las orejitas y el lazo.
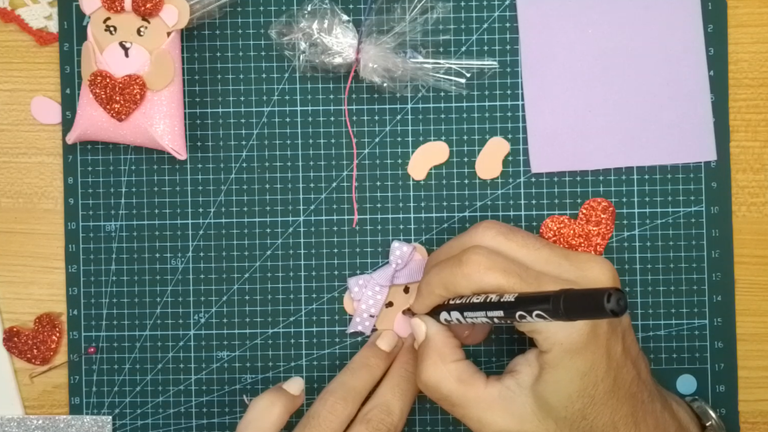
Con el marcador realiza los ojitos, las cejas y la nariz, con la pintura blanca y el pincel realiza los puntos de luz en ojos y nariz.
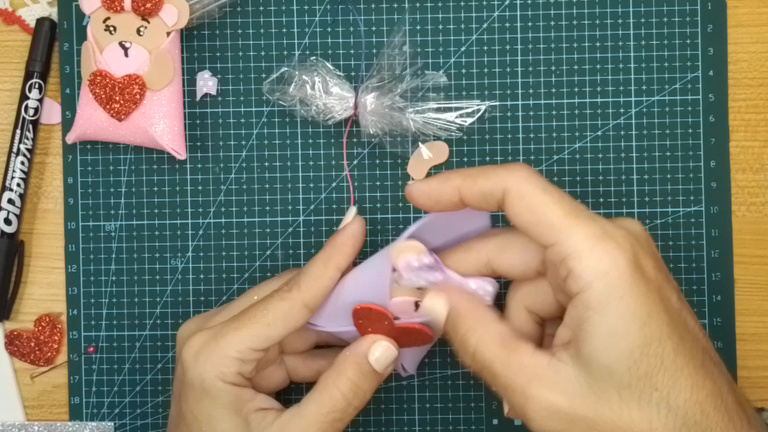
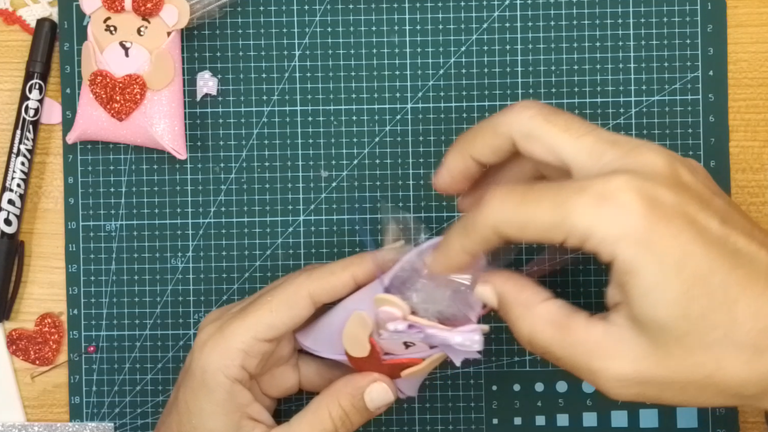
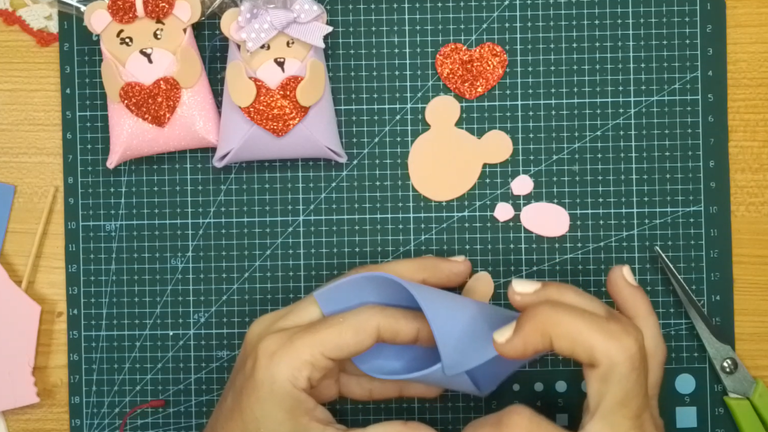
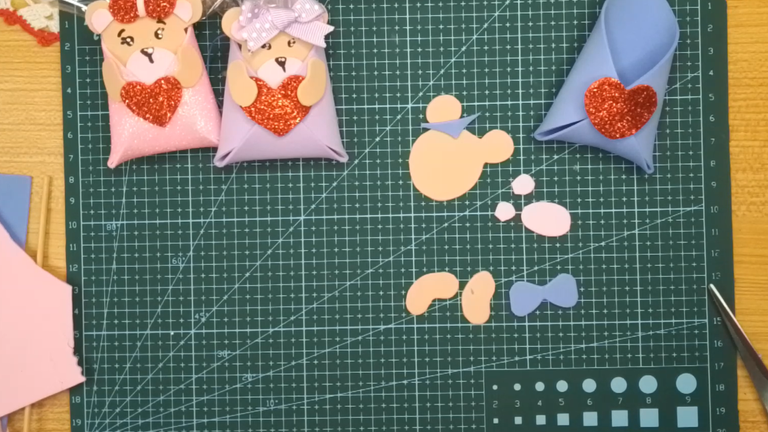
Pega las tres puntas del cuadrado formando un sobre. Luego pega el corazón y los brazos sosteniendo el corazón, seguidamente pega el osito en la parte interna que su cabecita quede afuera, repite el proceso anterior con el papel celofán e introdúcelo dentro del sobre.
Es necesario repetir los anteriores pasos en dado caso quieras armar otra pieza. Yo quise intentar con otro color a diferencia, por lo cual recorté todas las piezas, y luego uní las puntas del cuadrado para armar el sobre.
Seguidamente pegué la figura de corazón.
! [English version]
[Eng]
Glue the pieces to the bear: the muzzle, the inner part of the ears and the bow.
With the marker, make the eyes, eyebrows and nose. With the white paint and the brush, make the light spots on the eyes and nose.
Glue the three ends of the square forming an envelope. Then glue the heart and the arms holding the heart, then glue the bear on the inside so that its little head is outside, repeat the previous process with the cellophane paper and insert it inside the envelope.
It is necessary to repeat the previous steps in case you want to assemble another piece. I wanted to try a different color, so I cut out all the pieces, and then joined the ends of the square to make the envelope.
Then I glued the heart shape.
 |  | |
 |  |
[Esp]
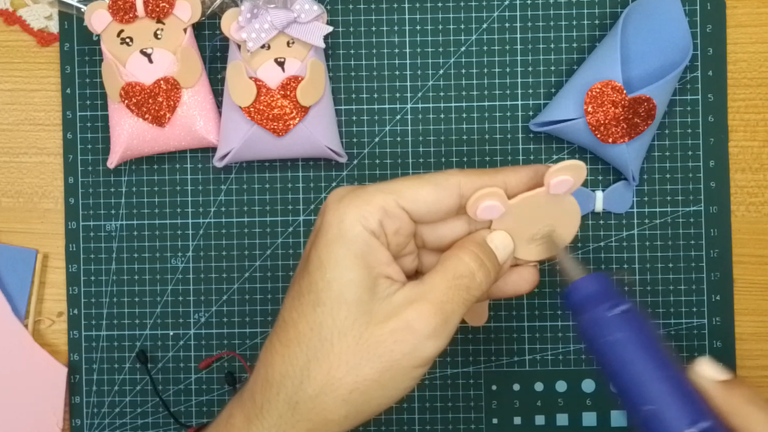
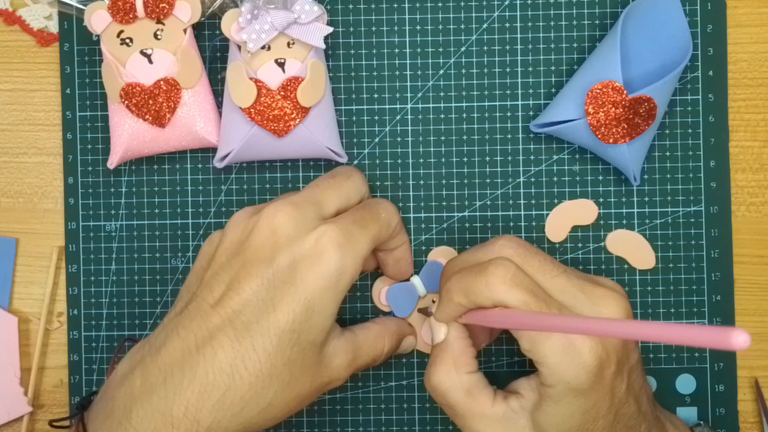
Siguiendo los pasos de armado de los anteriores ositos, es el momento de pegar el hocico, las partes internas de las orejas.
Luego con el marcador hacemos los ojos, cejas y nariz y con el pincel y pintura acrílica blanca los puntos de luz.
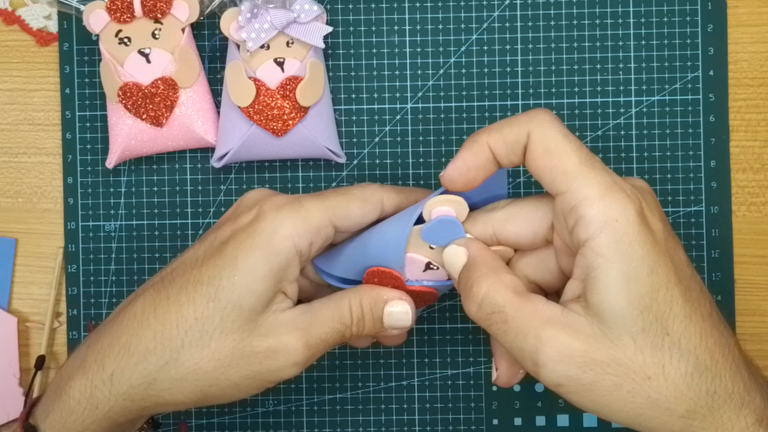
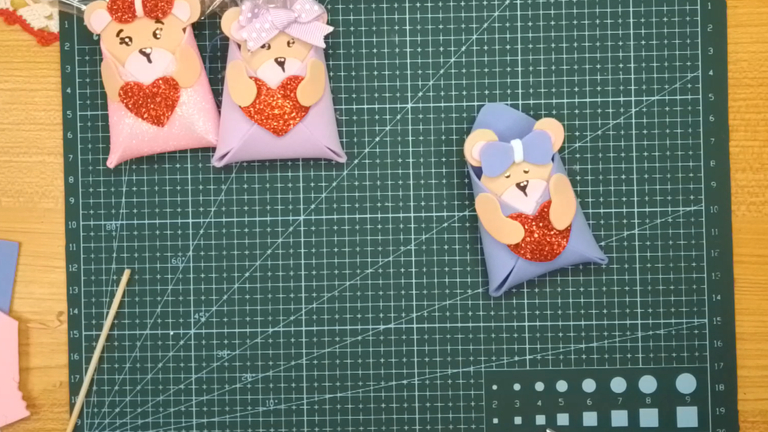
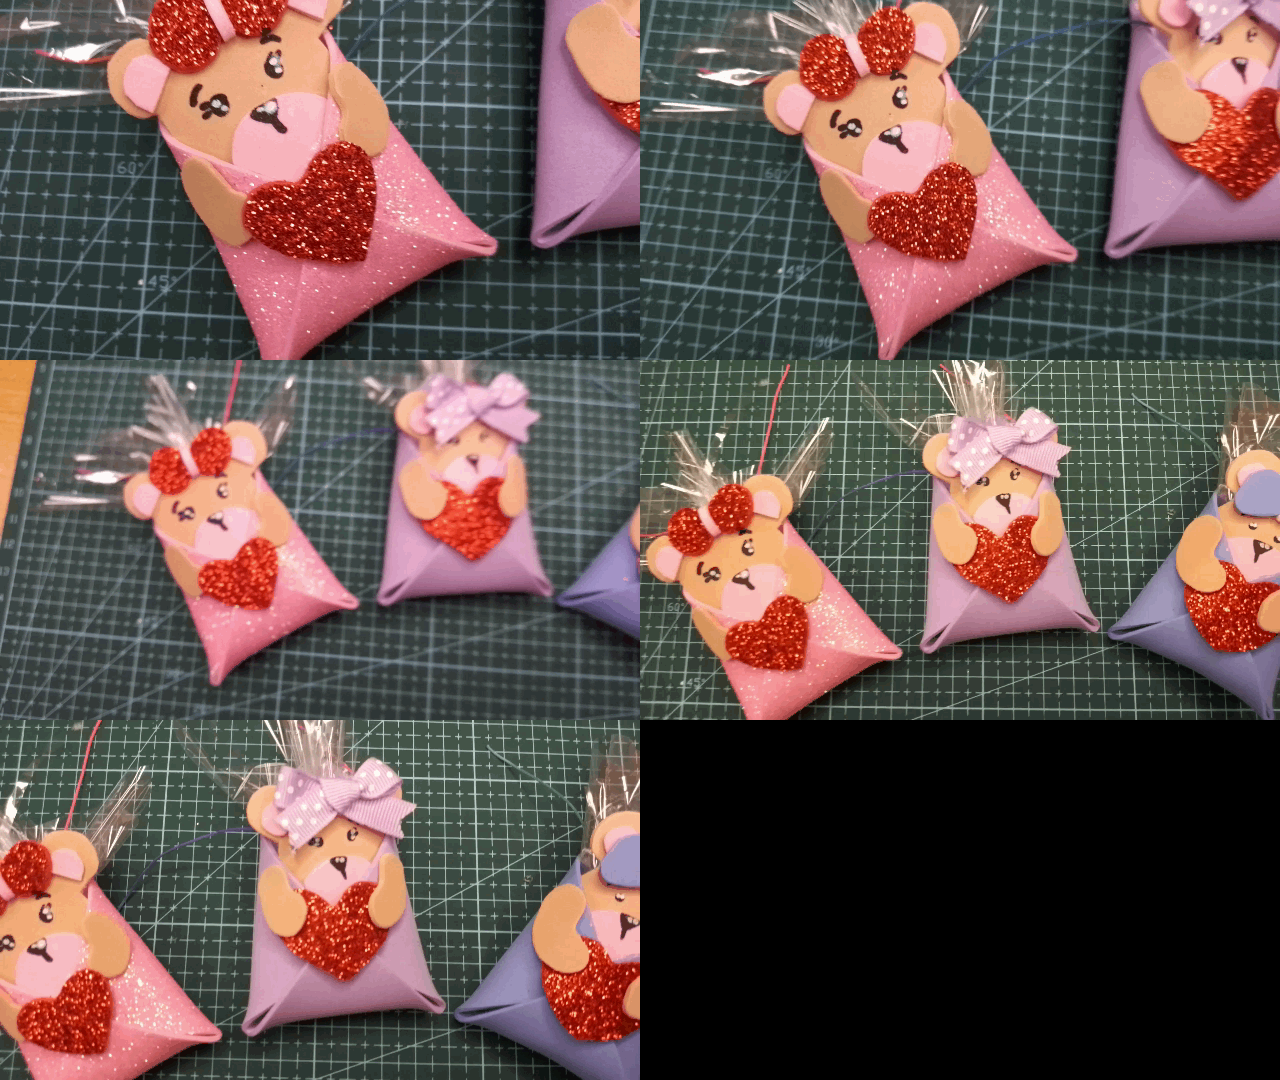
Pega el osito a la parte interna del sobre ya armado, seguido de los brazos y manos sosteniendo el corazón, seguidamente repite el paso del papel celofán, luego lo introduces dentro.
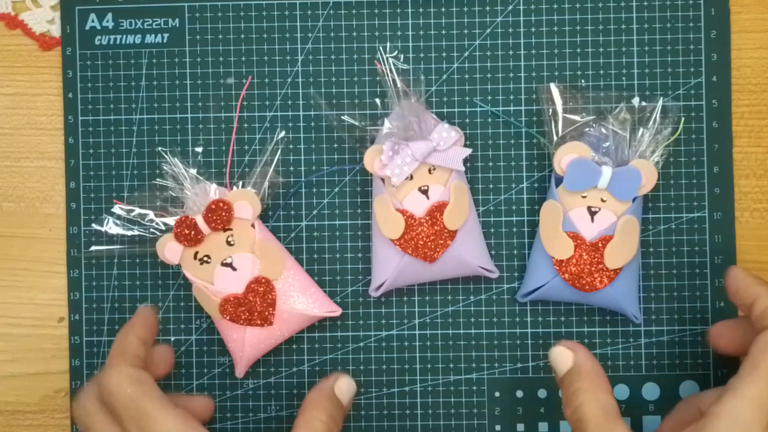
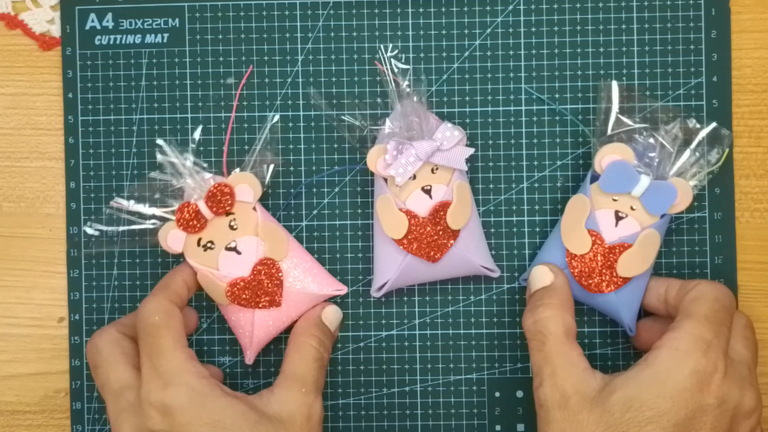
Con ello ha concluido mi presentación.
Anécdota:
Había comprado un corrector líquido para hacerlos puntos de luz, pero no funcionó, es por esa razón que usé pintura acrílica blanca y un pincel, que de igual manera funciona bien.
Espero les guste este lindo proyecto. Nos vemos en mi siguiente publicación, gracias por compartir conmigo.
! [English version]
[Eng]
Following the assembly steps of the previous bears, it's time to glue the snout and the inner parts of the ears.
Then with the marker we make the eyes, eyebrows and nose and with the brush and white acrylic paint the points of light.
Glue the bear to the inside of the envelope already assembled, followed by the arms and hands holding the heart, then repeat the step of the cellophane paper, then insert it inside.
This concludes my presentation.
Anecdote:
I had bought a liquid concealer to make the dots of light, but it didn't work, that's why I used white acrylic paint and a brush, which still works well.
I hope you like this nice project. See you in my next post, thanks for sharing with me.

Hecho con amor/ Made with love.

Credits / Créditos.

Program: MediBang Paint Pro.
Tablet Huion model 420
Las fotos fueron tomadas con mi teléfono ZTE Blade A5 2020
The photos were taken with my ZTE Blade A5 2020 phone.
💜💜💜


💜💜💜
![]() 👉
👉  👉
👉  👉
👉 
Here / Bríndame un café


