
[Esp]
¡Saludos comunidad!
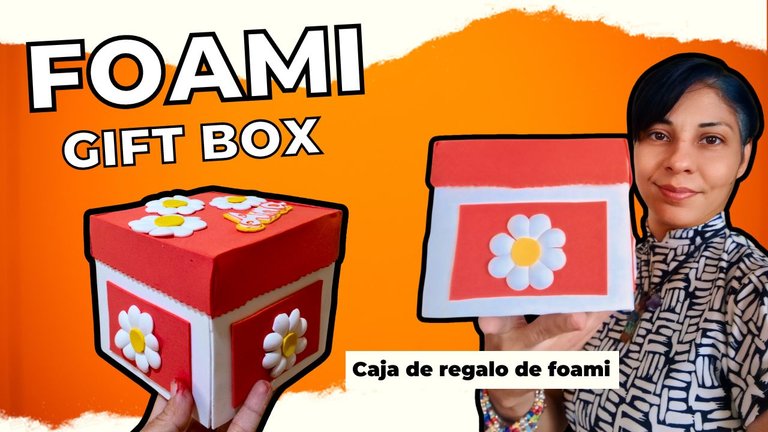
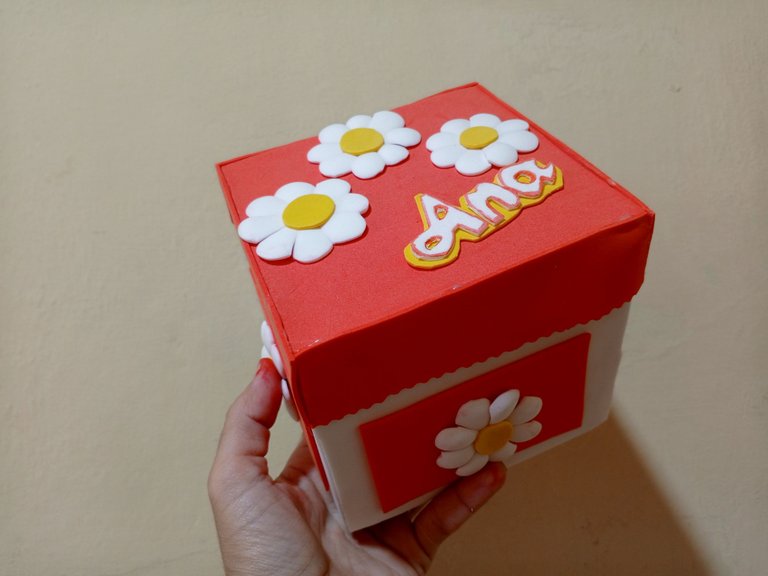
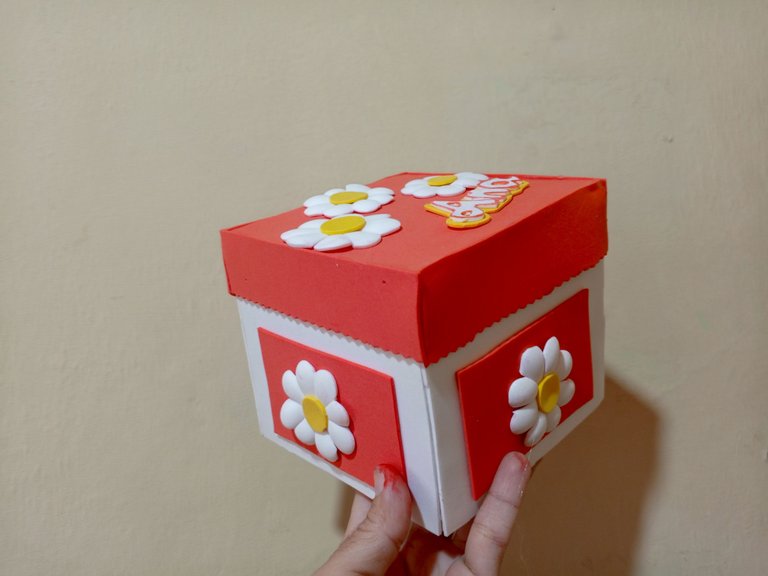
Estuve viendo unas cajitas de regalo hechas con foami que me encantaron e inspiraron, es un envoltorio especial para lo especial que es el obsequio, el contenido dentro de ella, podemos personalizarla depende de la ocasión y en mi caso, he colocado el nombre de la persona, me inspiré en mis dibujos y las llamadas flores de huevo que son realmente margaritas.
Es una caja muy bonita de verdad, podemos usar cualquier color de foami e incluso otro tipo de flores o decorado, me gustó usar la combinación de colores naranja, blanco y amarillo y noto que tiene armonía.
Además de ser un detalle especial, es de bajo costo y original, lo usaré además para guardar objetos personales dentro de él.
Espero les guste.
! [English version]
Greetings community!
I was looking at some little gift boxes made with foami that I loved and inspired me, it is a special wrapping for the special thing that is the gift, the content inside it, we can customize it depending on the occasion and in my case, I have placed the name of the person, I was inspired by my drawings and the so-called egg flowers that are really daisies.
It is a very nice box indeed, we can use any color of foami and even other type of flowers or decoration, I liked to use the combination of orange, white and yellow colors and I notice that it has harmony.
Besides being a special detail, it is low cost and original, I will also use it to keep personal objects inside it.
I hope you like it.

Materiales / Materials

| Spanish | English | |
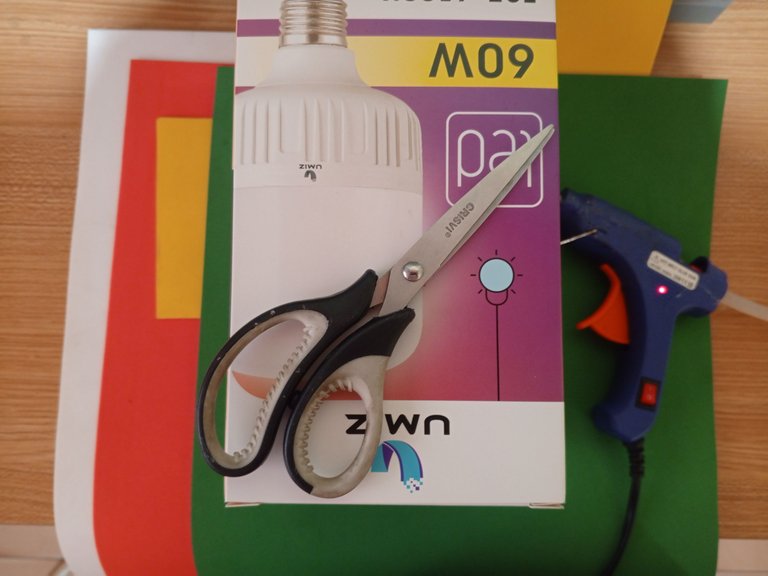
| Foami colores varios | Foami various colors | |
| Caja reciclada | Recycled box | |
| Tijera, pistola de silicón | Scissors, silicone gun |

Paso a paso / Step by Step

Step 1️⃣/ Paso 1️⃣
 |  |
[Esp]
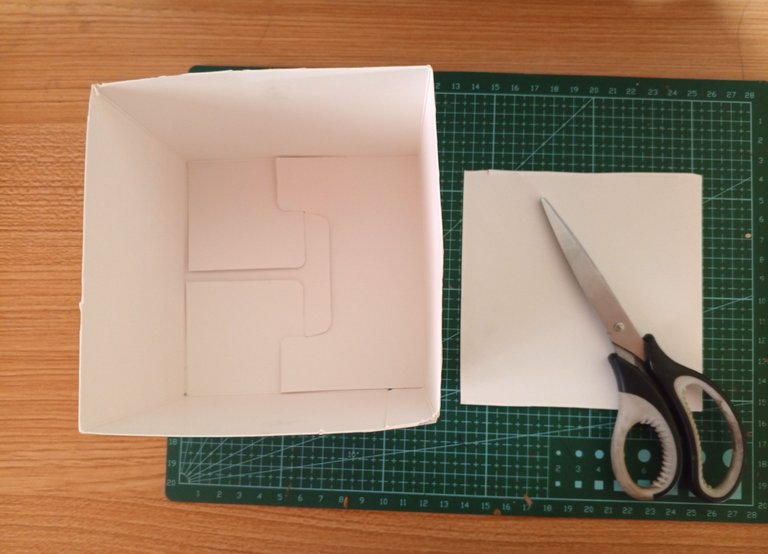
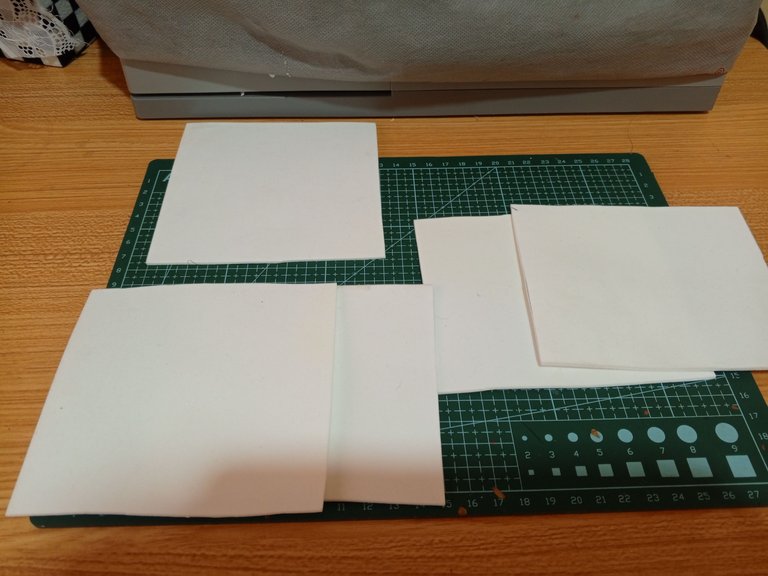
Recorta la caja del tamaño deseado, recorta la tapa y quita las pestañas.
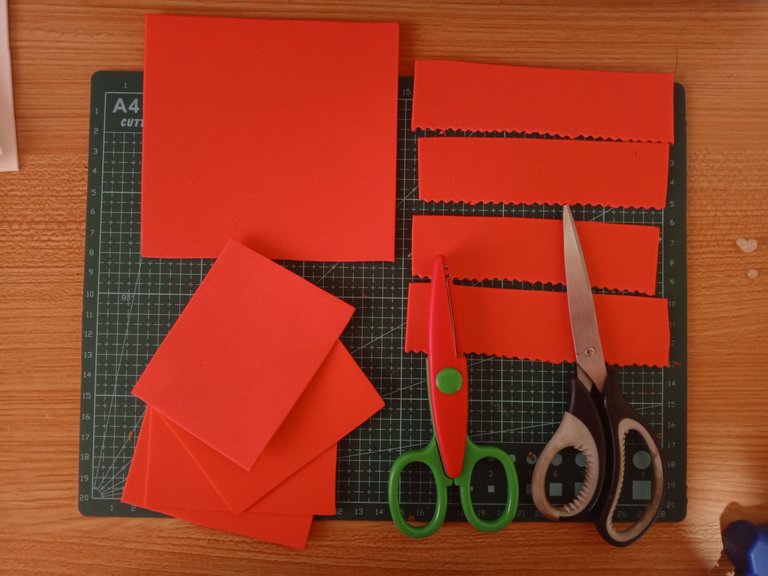
Toma la medida de los lados de la caja y recorta el foami de color blanco.
Toma la medida de la pieza de color naranja de cada lado y recorta, toma la medida de la tapa y recorta el foami de color naranja, así mismo, recorta 4 piezas que serán la parte de abajo, la medida del ancho sería aproximadamente unos 3 centímetros.
No hay medidas exactas, porque estoy trabajando con material reciclado, he usado una caja de cartón para que se vea fuerte, sin embargo no es tan necesario usarla mientras que la caja que realices sea pequeña.
! [English version]
Cut the box to the desired size, trim the lid and remove the tabs.
Measure the sides of the box and cut out the white foami.
Take the measurement of the orange piece on each side and cut it out, take the measurement of the lid and cut out the orange foami, cut out 4 pieces that will be the bottom part, the width measurement would be approximately 3 centimeters.
There are no exact measurements, because I am working with recycled material, I have used a cardboard box to make it look strong, however it is not so necessary to use it as long as the box you make is small.

Step 2️⃣/ paso 2️⃣

 |  |
[Esp]
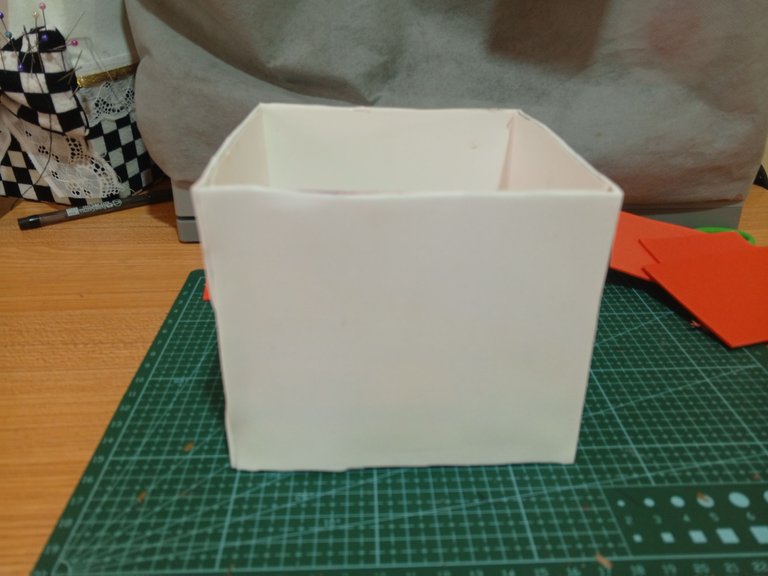
Forra la caja pegando el foami blanco de cada lado.
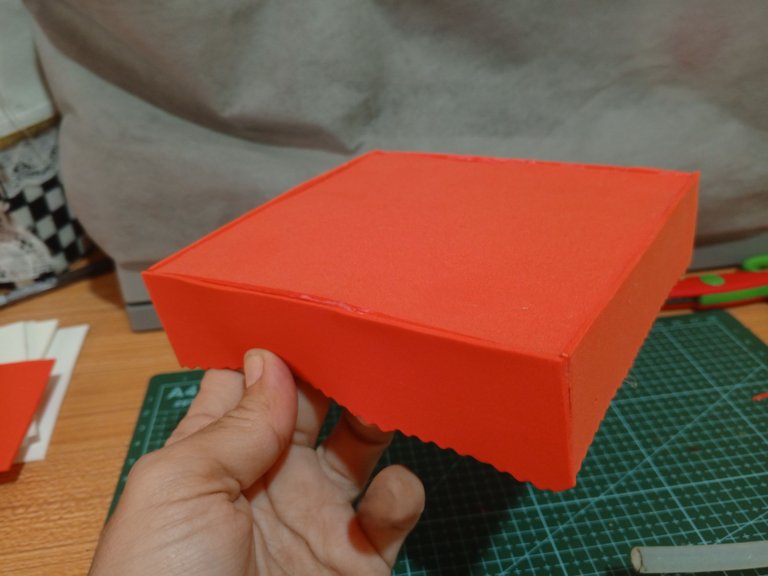
Forra la tapa de la caja en la parte de arriba y luego pega cada pieza de los bordes de cada lado con el foami naranja.
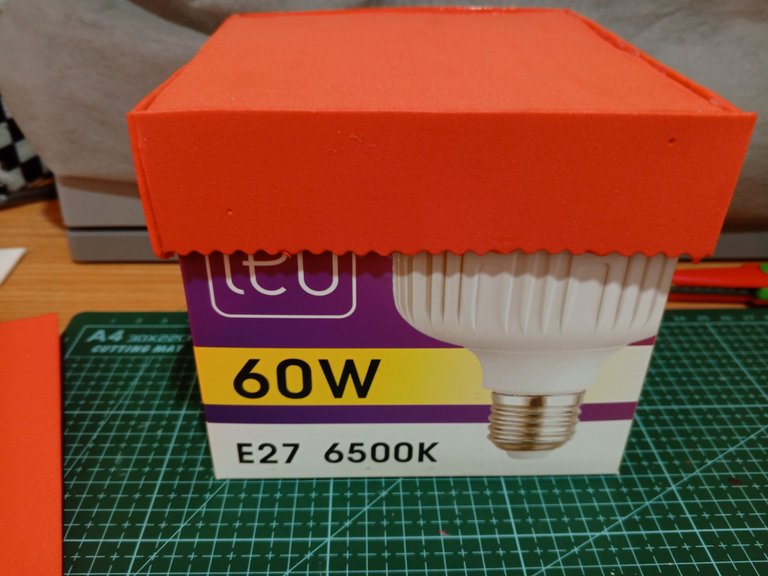
Verificamos que la medida de la tapa sea correcta, que no quede tan ajustada ni tan suelta, que abra y cierre fácil.
! [English version]
Line the box by gluing the white foami on each side.
Line the lid of the box on the top and then glue each piece of the edges of each side with the orange foami.
Check that the size of the lid is correct, that it is not too tight or too loose, and that it opens and closes easily.

Step 3️⃣/ paso 3️⃣

 |  |
[Esp]
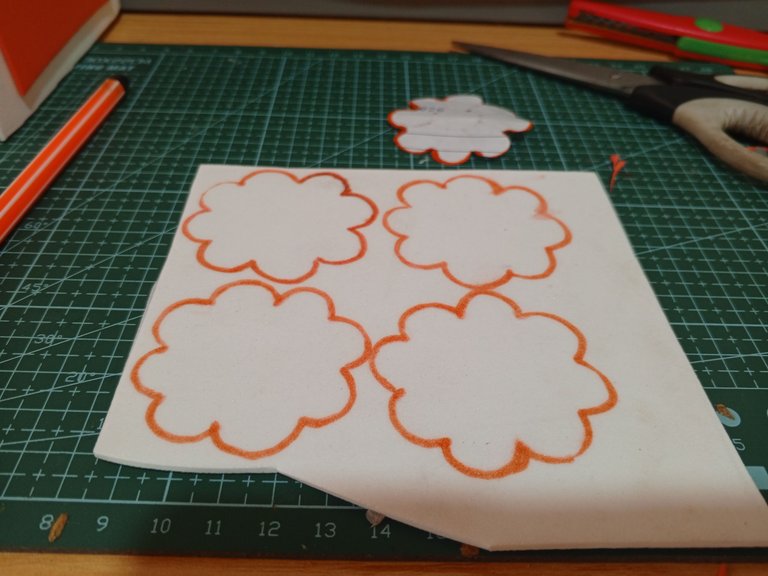
Dibujé una flor en un papel y recorté, luego lo usé como molde para recortar 5 flores de foami color blanco.
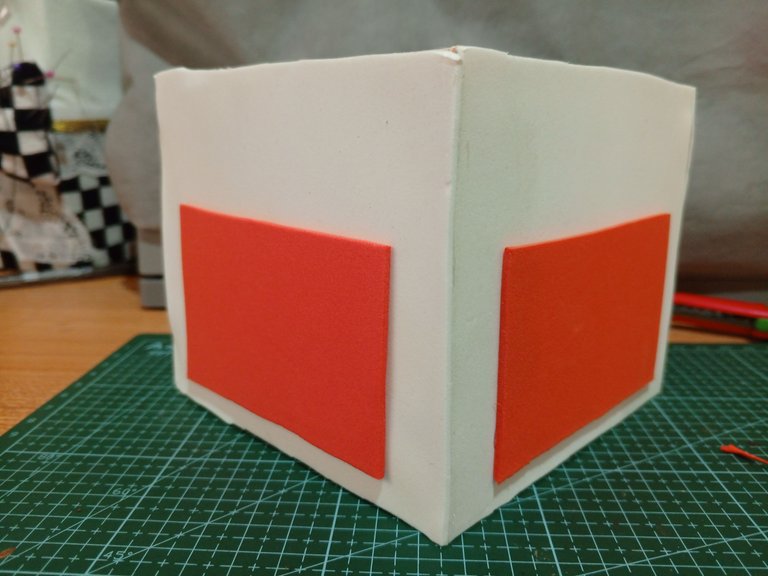
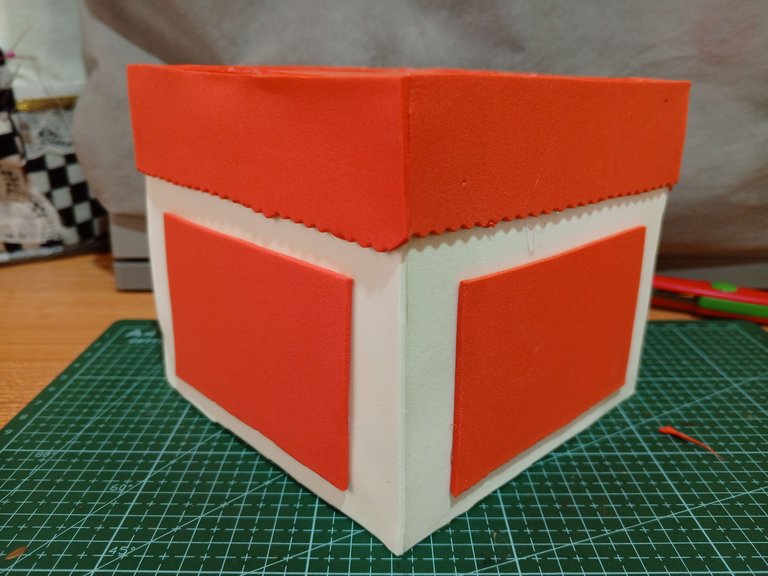
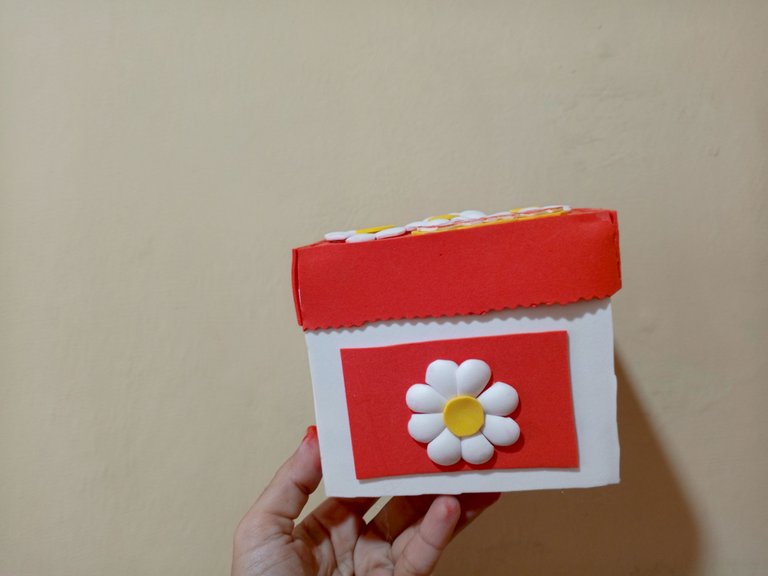
Pega las piezas rectangulares de color naranja en cada lado, luego coloca la tapa de la caja para confirmar que la hemos pegado en la altura correcta.
! [English version]
I drew a flower on a piece of paper and cut it out, then used it as a mold to cut out 5 white foami flowers.
Glue the orange rectangular pieces on each side, then place the lid on the box to confirm that we have glued it at the correct height.

Step 4️⃣/ paso 4️⃣

 |  |
 |  |
[Esp]
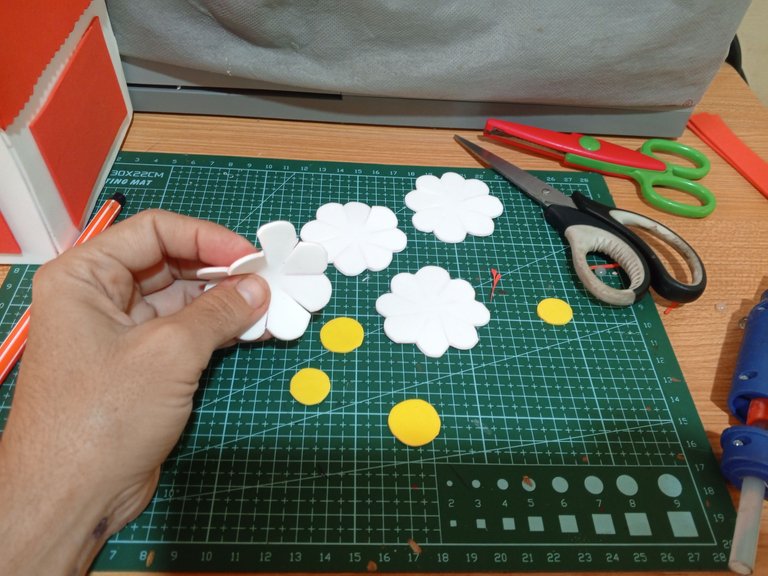
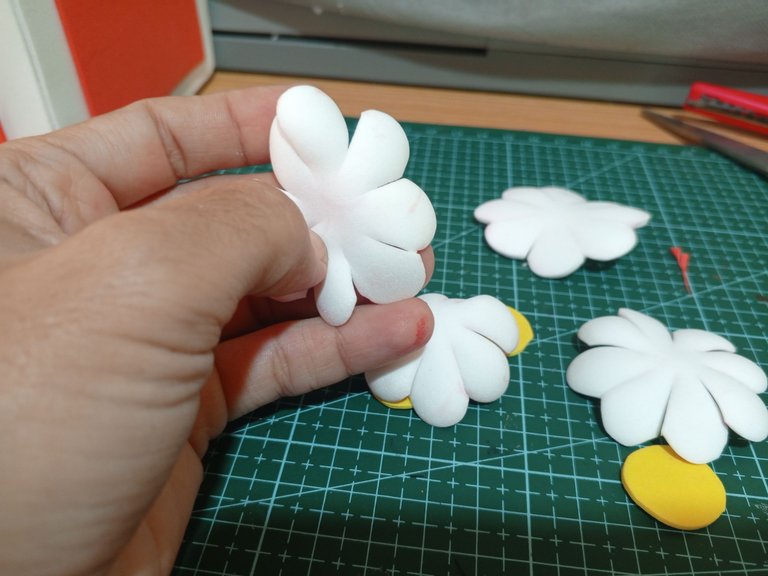
Luego de recortar las flores, recorta el centro de la flor con un círculo de foami color amarillo.
He termoformado las flores con una plancha, esto es opcional.
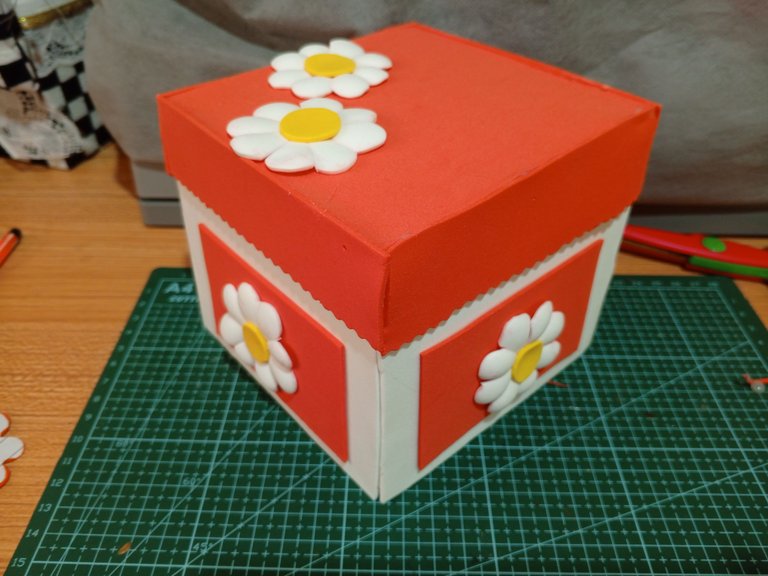
Pega las flores en la tapa de la caja y a los lados de la misma.
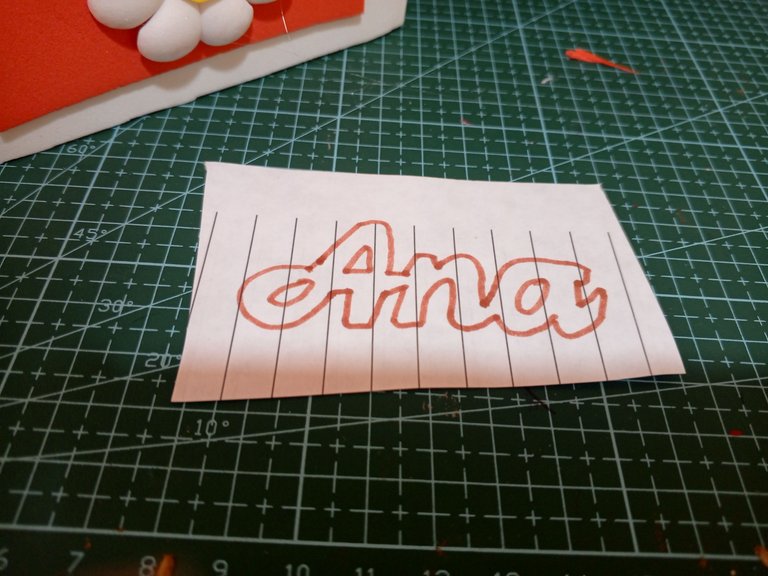
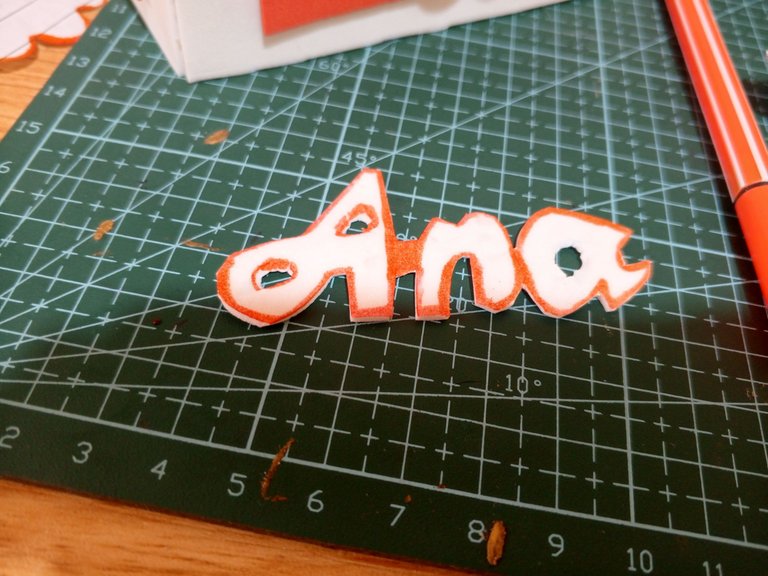
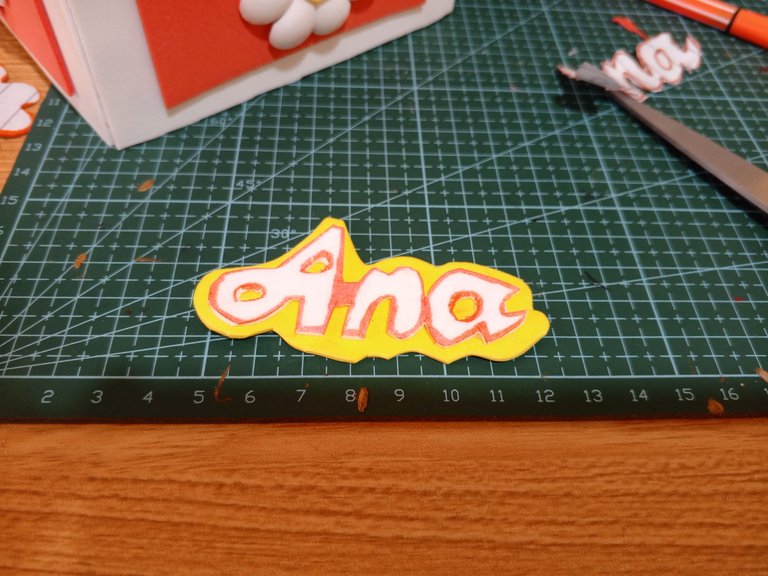
Escribe el nombre de la persona en un papel, luego recorta y úsalo como molde. Recorta el nombre con el foami blanco, he usado un marcador para marcar el borde.
! [English version]
After cutting out the flowers, cut out the center of the flower with a circle of yellow foami.
I thermoformed the flowers with an iron, this is optional.
Glue the flowers on the lid of the box and on the sides of the box.
Write the person's name on a piece of paper, then cut it out and use it as a mold. Cut out the name with the white foami, I used a marker to mark the edge.

Step 5️⃣/ paso 5️⃣

 |  |
[Esp]
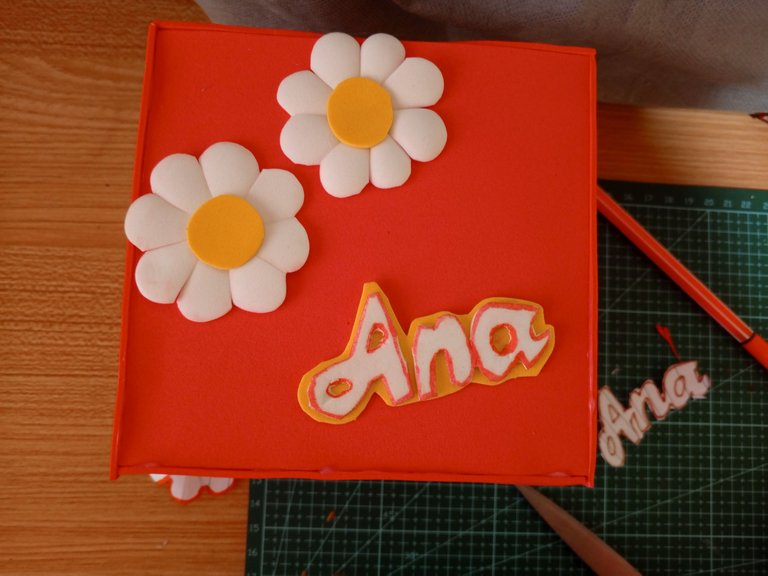
Luego de recortar el nombre pégalo sobre un trozo de foami color amarillo y bordea las letras.
Pega el nombre en la tapa de la caja, con ello terminamos de personalizar la caja de regalo.
Espero les guste.
! [English version]
After cutting out the name, glue it on a piece of yellow foami and border the letters.
Glue the name on the lid of the box, with this we finish personalizing the gift box.
I hope you like it.


Créditos / Credits




💜💜💜


![]() 👉
👉  👉
👉  👉
👉  👉
👉 
Here / Bríndame un café


