

[Esp]
¡Saludos gente bonita!
Me animé he hice otro bolsito 🤣 perdónenme ¡Jajajaja! Pero mi bolsito anterior lo amé tanto que quise hacerme uno más grande y usar unos retazos hermosos que tengo de unos girasoles, mis flores favoritas, ¡Ay! lo amé.
Me puse creativa y le cosí un trozo nada mas por curiosidad para ver cómo quedaba. También lo corte y cosí de otra forma y vengo a mostrarte aunque te dejaré mi percepción y consejos al final.
Es impresionante las cositas bellas que podemos crear con esos retacitos de tela que pudimos botar en un pasado, aunque personalmente no soy de botar trozos de tela, de pequeña hacía vestidos a mis Barbies y muñecas, les confieso que me estoy muriendo por hacerlo de nuevo y he tenido impulsos muy grandes por comprarme muñecas y juguetes para crear y compartir, además de alimentar mi niña interior, así que no se extrañen si un día me ven publicando esas cositas.
Les invito a ver el paso a paso, que, como se darán cuenta, es corto en pasos porque es muy fácil de hacer.
! [English version]
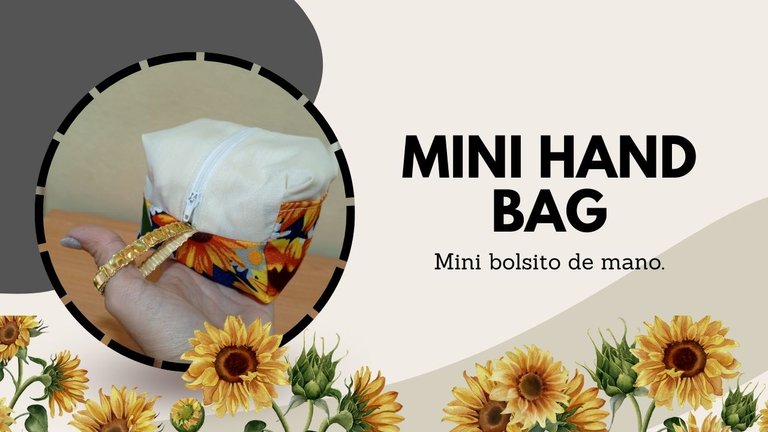
Mini bag Greetings beautiful people!
I decided to make another bag 🤣 excuse me, hahahaha! But I loved my previous bag so much that I wanted to make a bigger one and use some beautiful scraps I have of sunflowers, my favorite flowers, I loved it.
I got creative and sewed a piece just out of curiosity to see how it looked. I also cut and sewed it in another way and I'm here to show you although I'll leave you my perception and tips at the end.
It is amazing the beautiful things we can create with those scraps of fabric that we could throw away in the past, although personally I am not one to throw away pieces of fabric, as a child I made dresses for my Barbies and dolls, I confess that I am dying to do it again and I have had great impulses to buy dolls and toys to create and share, besides feeding my inner child, so do not be surprised if one day you see me publishing those little things.
I invite you to see the step-by-step, which, as you will notice, is short in steps because it is very easy to make.
Materiales / materials
 |  |
| Spanish | English |
|---|---|
| Maquina de coser | Sewing machine |
| Tijera, aguja, hilo | Scissors, needle, thread |
| Tela unicolor y estampada | Unicolor and printed fabric. |
| Cierre y decoración | Zipper and decoration |
Paso a paso / Step by Step
Step 1️⃣/ Paso 1️⃣
 |  | |
 |  |
[Esp]
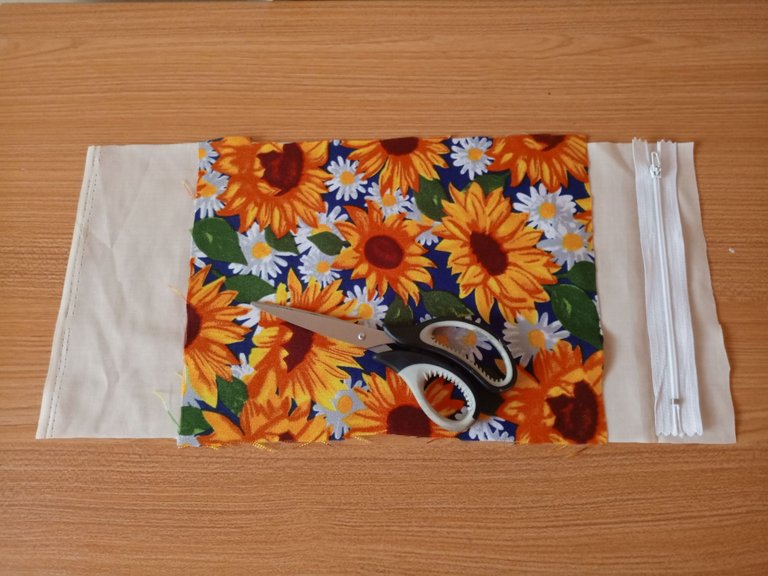
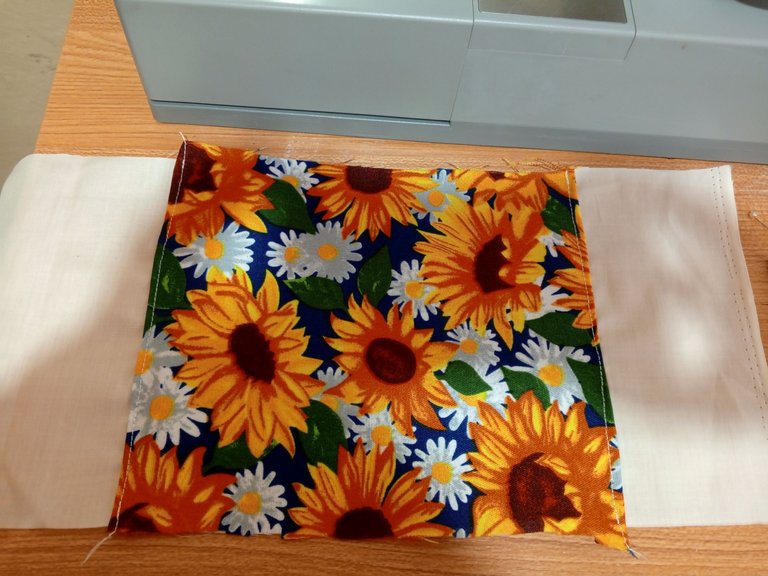
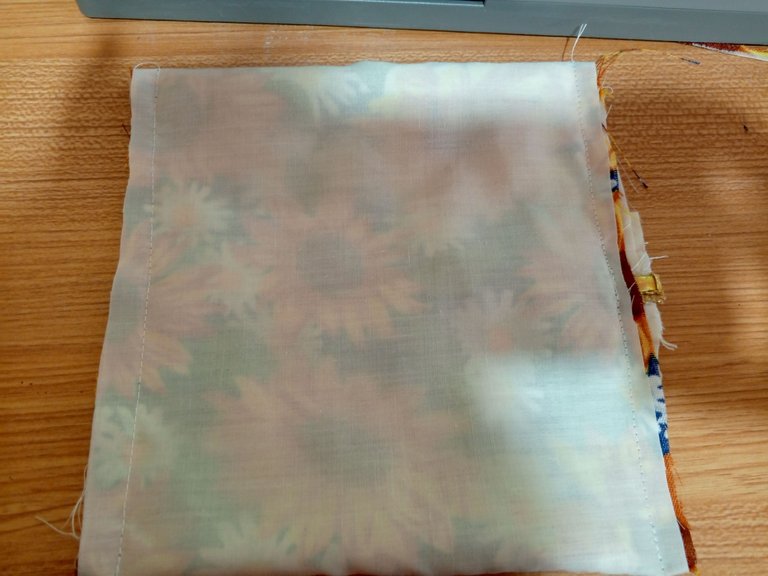
Corta la tela del ancho del cierre, el largo lo hice sin tomar medidas, tan solo viendo qué tan profundo quería el bolsito. Corta la popelina que es la tela unicolor y luego un trozo de la tela estampada más corta que la anterior.
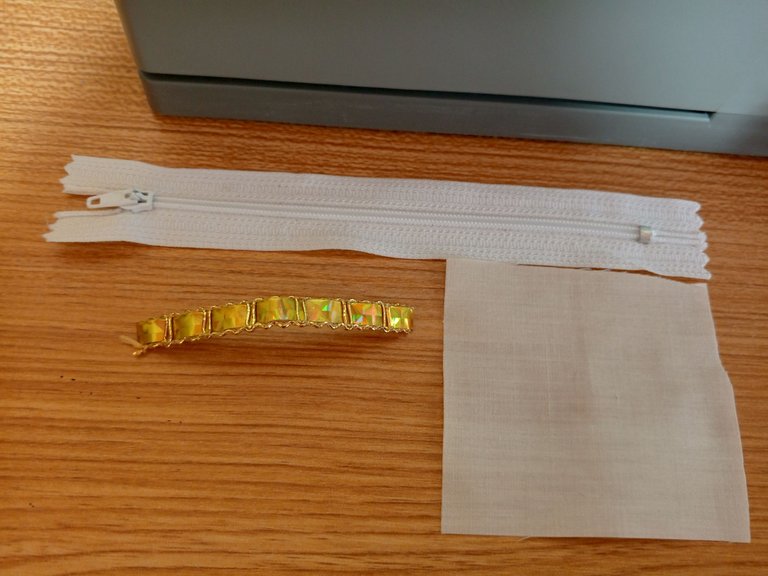
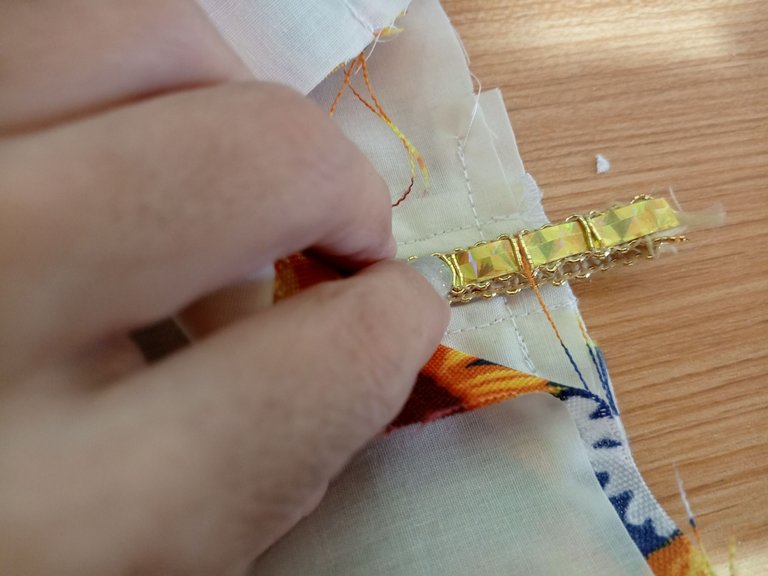
Recorta un cuadrito de tela y toma algún trozo de cinta que tengas por allí que puedas reciclar, me pareció estupendo usar esta dorada.
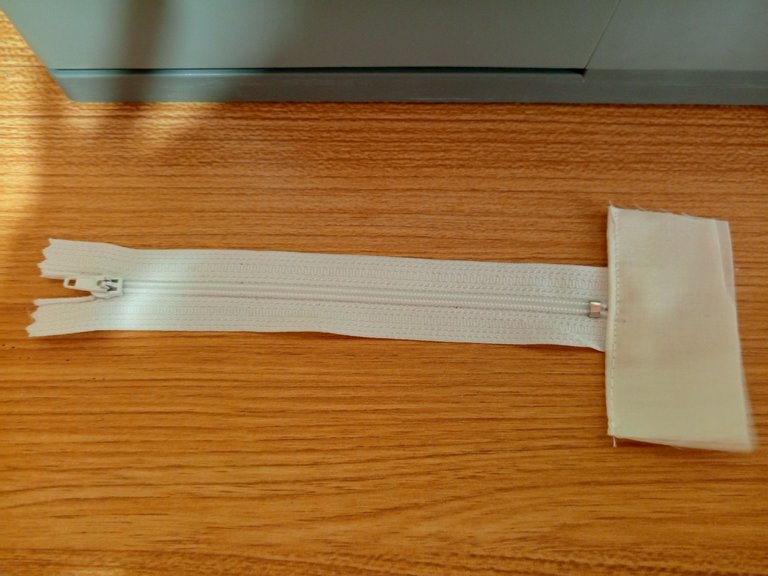
Cose el trozo de tela a la parte final del cierre.
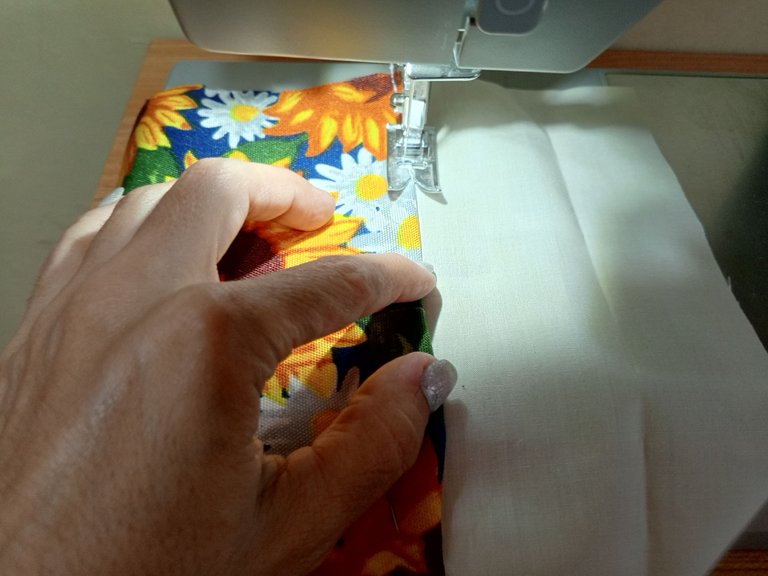
Coloca la tela estampada en el lugar que deseas que esté y luego cose con una recta dejando un dobladillo hacia adentro.
! [English version]
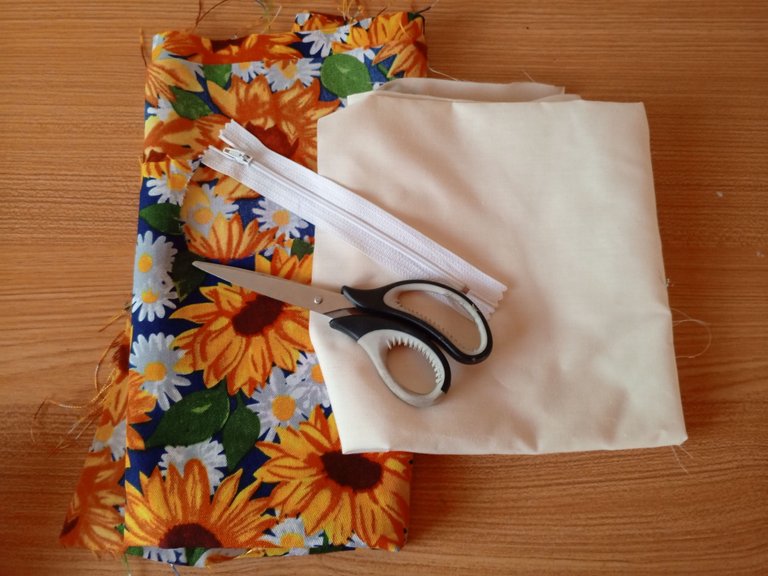
Cut the fabric to the width of the zipper, I did the length without taking measurements, just seeing how deep I wanted the bag to be. Cut the poplin which is the unicolor fabric and then a piece of the printed fabric shorter than the previous one.
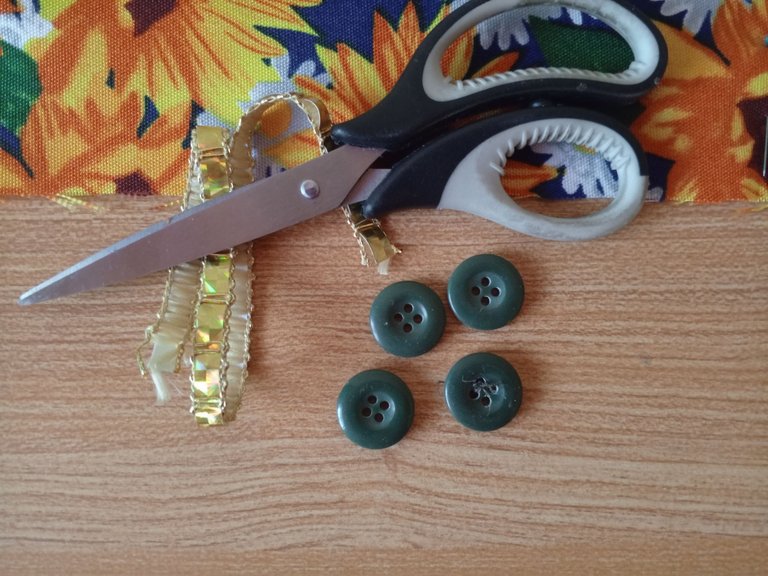
Cut out a square of fabric and take a piece of ribbon that you have lying around that you can recycle, I thought it was great to use this gold one.
Sew the piece of fabric to the end of the zipper.
Place the patterned fabric where you want it to be and then sew with a straight stitch leaving a hem facing inward.
Step 2️⃣/ paso 2️⃣
 |  | |
 |  |
[Esp]
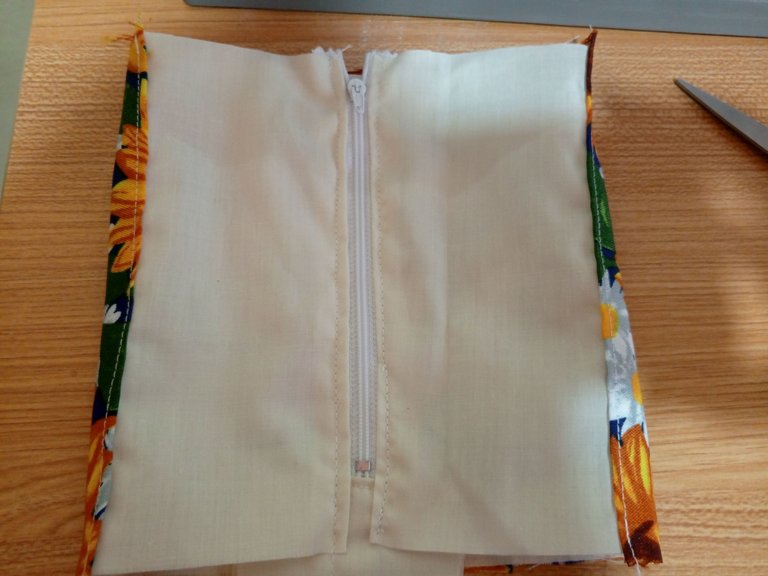
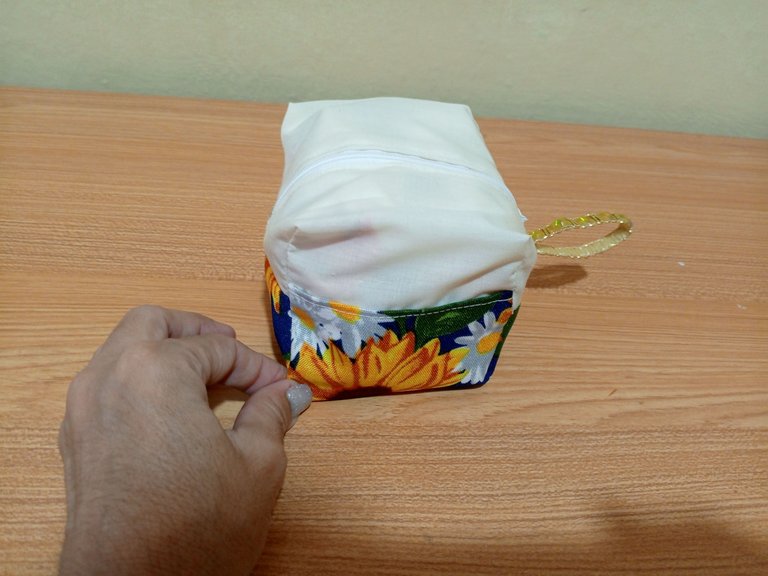
Una vez lo coses queda como la primera imagen.
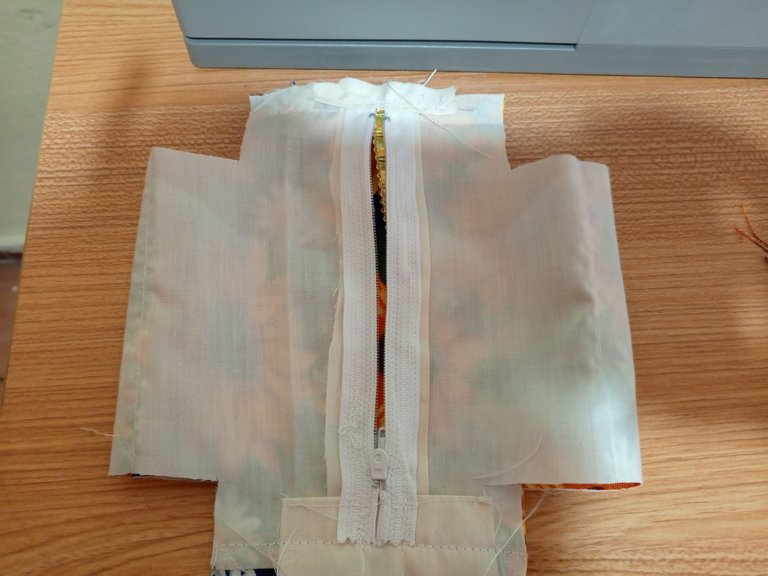
Recomiendo coser el cierre de la misma forma que cosiste las telas en el paso anterior, tan solo unir con un dobladillo sencillo.
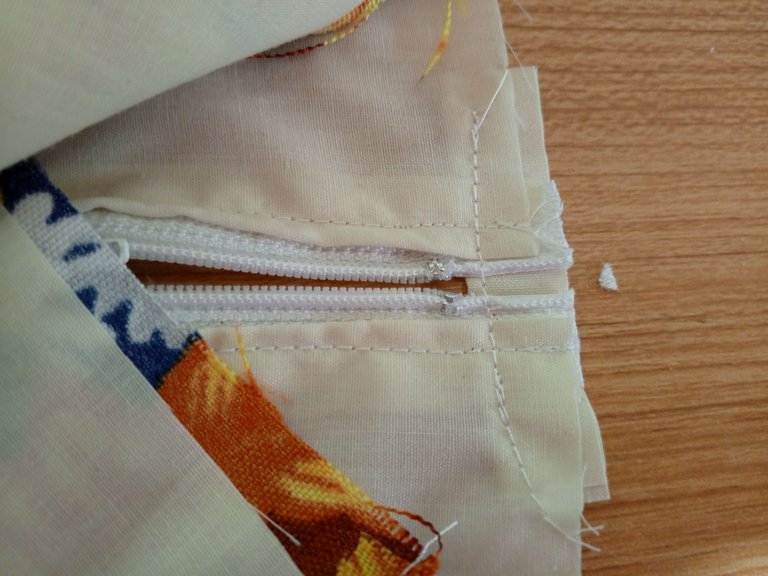
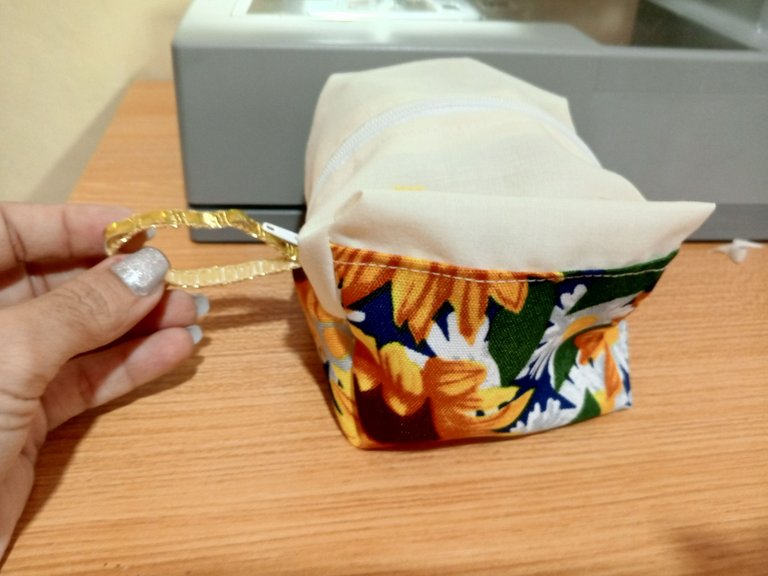
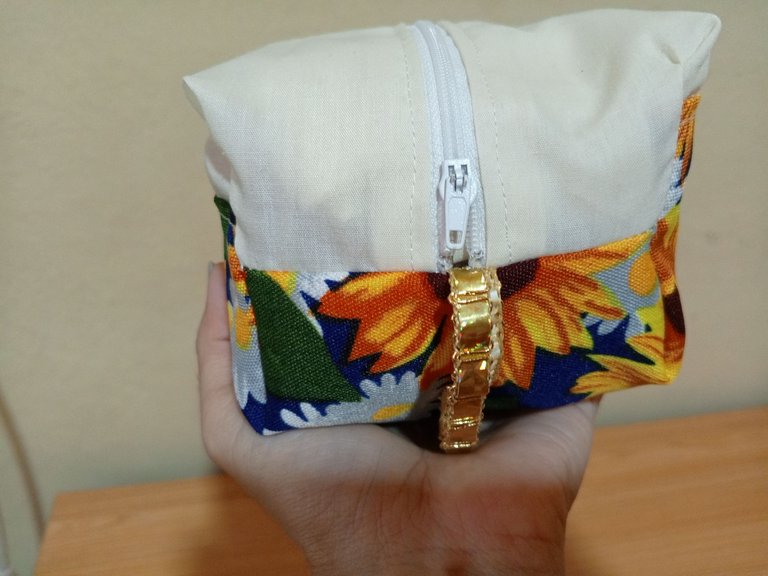
Recomiendo además para darle más firmeza a la cremallera, coser un trozo de tela en la parte del inicio para poder, posteriormente coser el trozo de cinta a la misma. Esta cinta es la que nos permitirá llevarla en la mano.
! [English version]
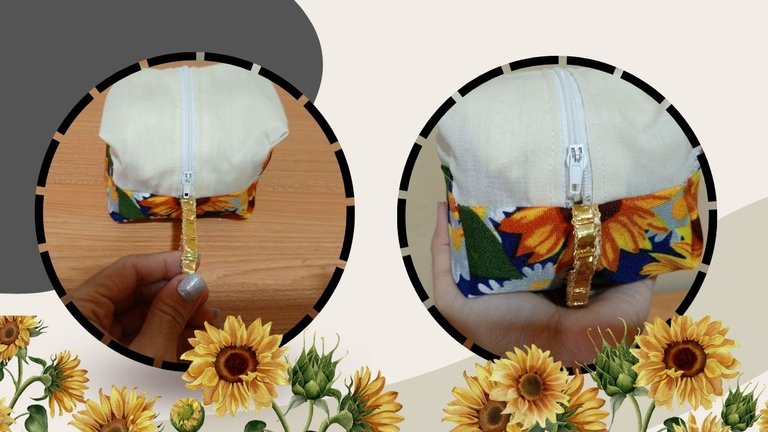
Once you sew it, it looks like the first image.
I recommend sewing the zipper in the same way you sewed the fabrics in the previous step, just join it with a simple hem.
I also recommend to give more strength to the zipper, sew a piece of fabric at the beginning of the zipper to be able to sew the piece of ribbon to it later. This ribbon is the one that will allow us to carry it in our hand.
Step 3️⃣/ paso 3️⃣
 |  | |
 |  |
[Esp]
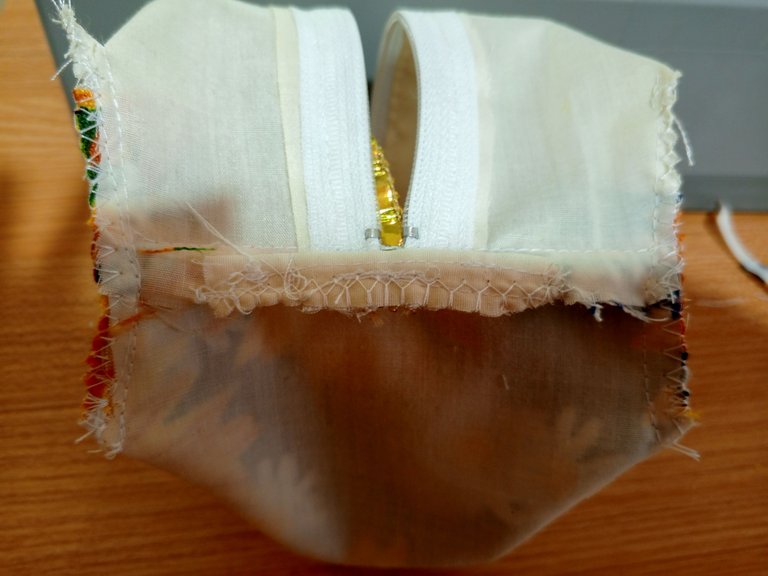
En mi anterior bolsito había cortado de una vez la forma de H la tela, en este caso fue diferente, cosí los laterales y luego procedí a recortar unos cuadrados en las esquinas.
Abre la tela en forma triangular y cose, para evitar que la tela deshilache pasé zig zag, ya que este bolsito no tiene forro como el anterior.
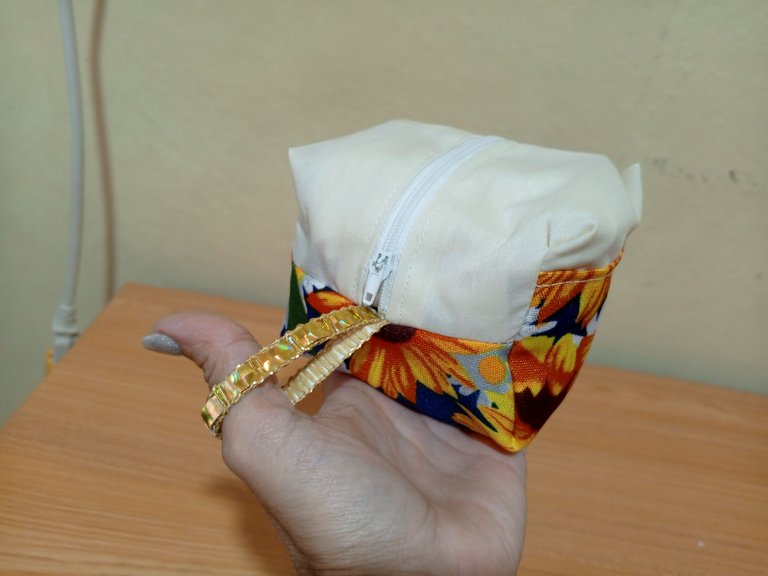
Una vez coses las cuatro puntas, voltea el bolso por el orificio de la cremallera.
! [English version]
In my previous bag I had cut the H shape of the fabric at once, in this case it was different, I sewed the sides and then proceeded to cut out some squares in the corners.
Open the fabric in a triangular shape and sew, to prevent the fabric from fraying I zig zagged it, since this bag does not have a lining like the previous one.
Once you have sewn the four ends, turn the bag over through the zipper hole.
Step 4️⃣/ paso 4️⃣
 |  | |
 |  |
[Esp]
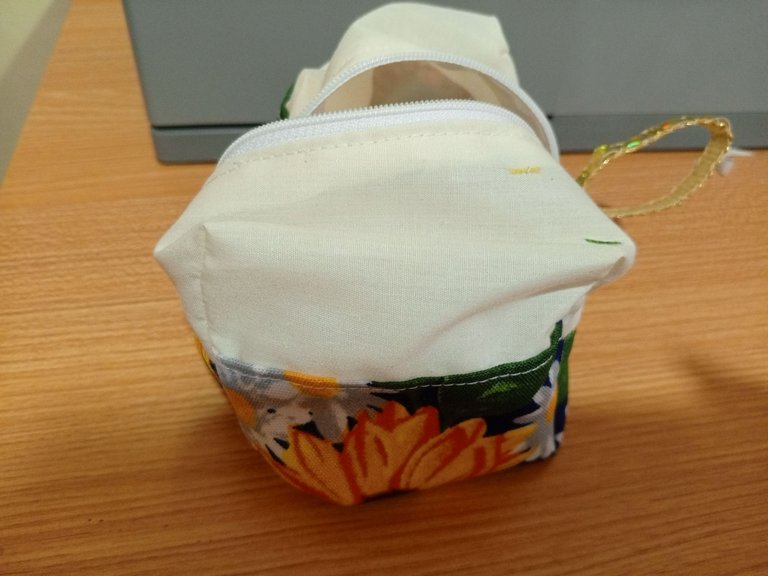
A modo de recomendación personal, prefiero cortar la tela de una vez en forma de H porque pienso que queda más prolijo, que la forma que lo hice hoy. Por supuesto tú idearás una mejor forma.
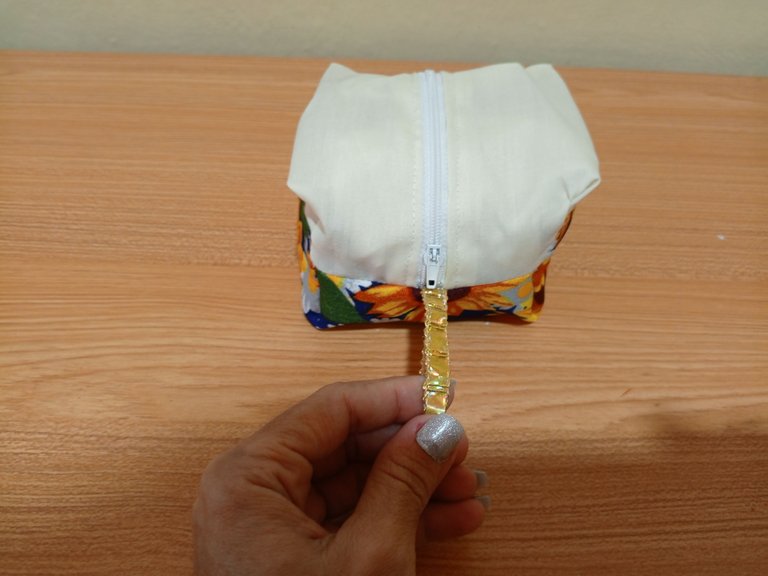
Este bolsito me quedó estupendo par aguardar mis toallas sanitarias y el cargador de mi teléfono cuando voy de viaje.
Siempre es mejor coserles un forro, le dará mejor firmeza y acabado.
Queda más lindo usar cierres metálicos y rústicos, le dará más personalidad, sin embargo recordemos que en estos casos estamos reciclando, trabajamos con lo que tenemos disponible.
Hasta aquí mis tips queridos amigos y amigas, espero les guste tanto como a mí, nos vemos en mi siguiente publicación.
! [English version]
As a personal recommendation, I prefer to cut the fabric all at once in an H-shape because I think it looks neater than the way I did it today. Of course you will come up with a better way.
This pouch is great for holding my sanitary napkins and phone charger when I'm traveling.
It's always better to sew a lining, it will give it a better firmness and finish.
It is nicer to use metallic and rustic closures, it will give it more personality, but remember that in these cases we are recycling, we work with what we have available.
So far my tips dear friends, I hope you like it as much as I do, see you in my next publication.
Créditos / Credits

👇Support the Hive DIY community as a witness 👇