
[Esp]
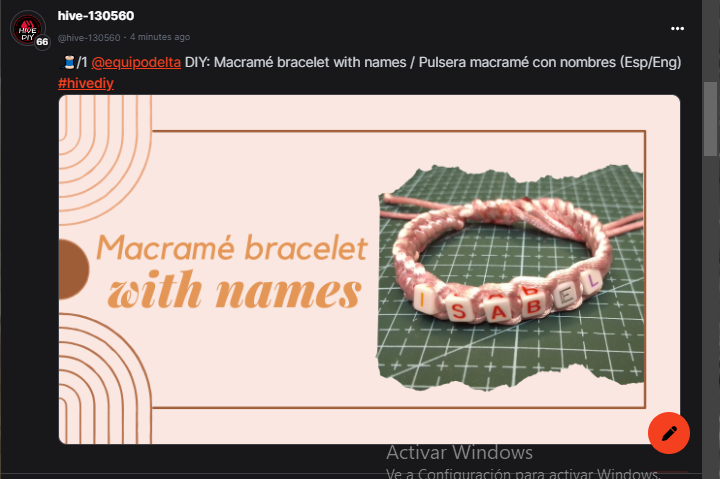
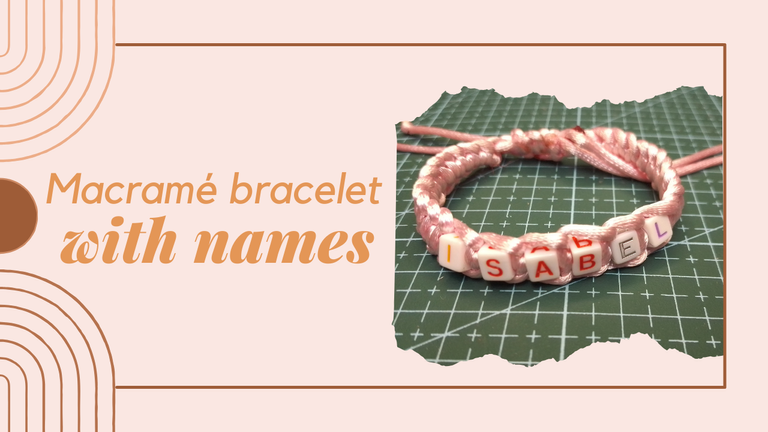
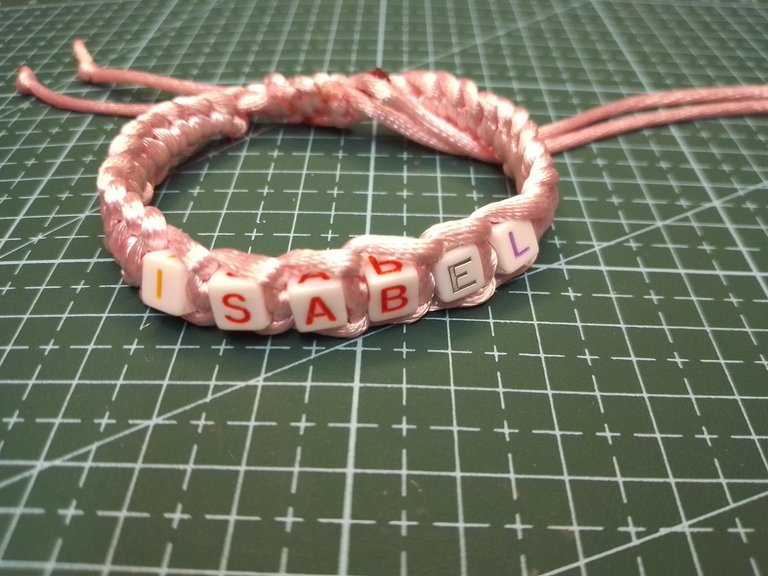
¡Hola querida comunidad! Hoy comparto con ustedes mi más reciente pulsera de macramé que la hice con piezas que llevan las letras de mi nombre.
Esta pulsera es especial, porque la hice para mí, su forma de tejer es muy diferente a la que he mostrado en pulseras anteriores y pienso que estoy mejorando.
Ayer pasé por la tienda, tenían cosas nuevas de bisutería, me emocioné mucho, compre materiales diferentes para elaborar más pulseras, encontré el cuero de serpiente que buscaba y algunas piezas de mostacillas que son algo costosas pero finas, las compré a mi gusto, pues así como esta pulsera, pienso hacerlas para mí. De modo que anuncio que tiene dueño, pues siempre que hago un trabajo de estos en casa, alguien me los pide regalado ¡Jajajaja! Es hora que me colaboren ¿No? Igual lo hago con mucho amor, mucha ilusión y deseos de compartir, además que cuando sienta que ya estoy dominando la técnica por completo, hacerlo un emprendimiento.
Quisiera trabajar piezas más elegantes, me encantan las tejidas con cola de ratón (el cordón de hoy) pero una pulsera hecha con piel de serpiente sin lugar a dudas es mas elegante, mientras más delgadas son más fashion según las que he podido ver en Pinterest y a la venta en distintas tiendas.
Acompáñame al paso a paso, espero les guste.
! [English version]
[Eng]
**Hello dear community! Today I share with you my most recent macramé bracelet that I made with pieces that bear the letters of my name.
This bracelet is special, because I made it for me, the way I weave it is very different from what I have shown in previous bracelets and I think I am improving.
Yesterday I went to the store, they had new costume jewelry, I was very excited, I bought different materials to make more bracelets, I found the snake leather I was looking for and some pieces of beads that are somewhat expensive but fine, I bought them to my liking, because like this bracelet, I plan to make them for me. So I announce that it has an owner, because whenever I do a job like this at home, someone asks me for them as a gift! It's time to collaborate with me, isn't it? But I still do it with a lot of love, a lot of illusion and desire to share, and when I feel that I am already mastering the technique completely, I would like to make it an enterprise.
I would like to work more elegant pieces, I love the ones woven with mouse tail (today's cord) but a bracelet made with snakeskin is undoubtedly more elegant, the thinner they are the more fashionable according to what I've seen on Pinterest and for sale in different stores.
Join me in the step by step, I hope you like it.
❤️❤️❤️


[Esp]
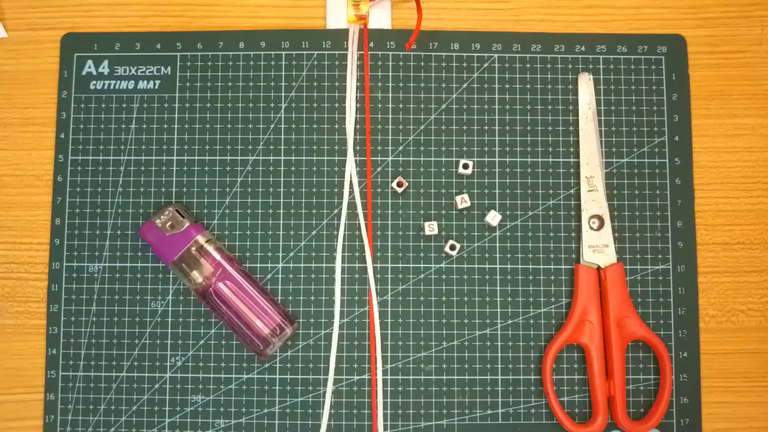
❤️ 2 metros de cordón cola de ratón rosa pálido.
❤️ 30 Centímetros de cordón cola de ratón rojo.
❤️ Mostacilla de letras.
❤️ Tijera.
❤️ Yesquero.
! [English version]
[Eng]
❤️ 2 meters of pale pink mouse tail cord.
❤️ 30 Centimeters of red mouse tail cord.
❤️ Letter mustard.
❤️ Scissors.
❤️ Tinder.


Step 1️⃣/ Paso 1️⃣
 |  | |
 |  |
[Esp]
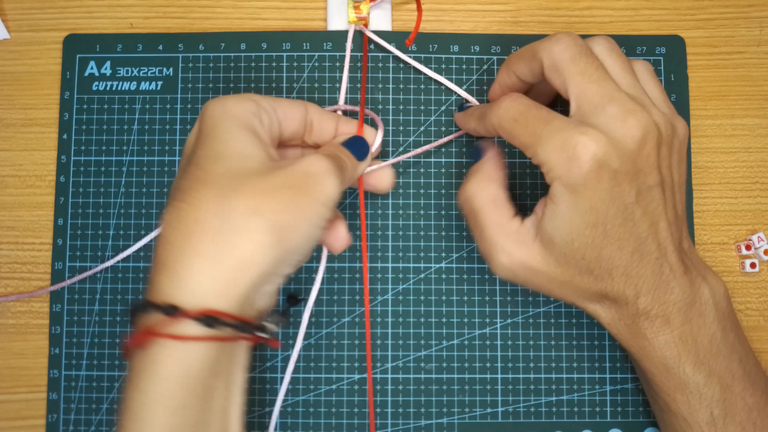
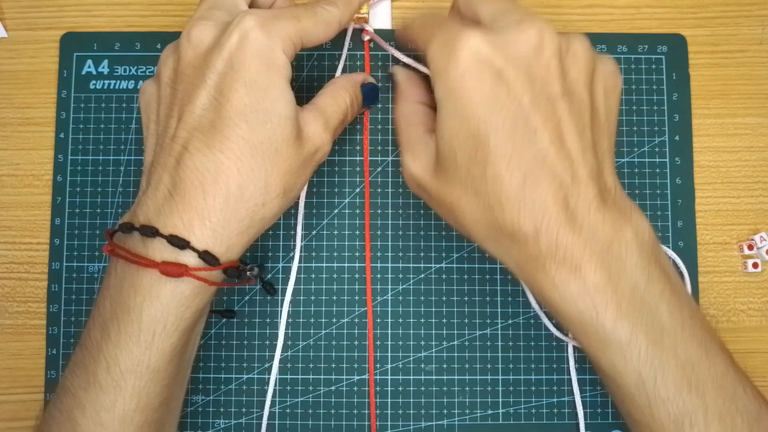
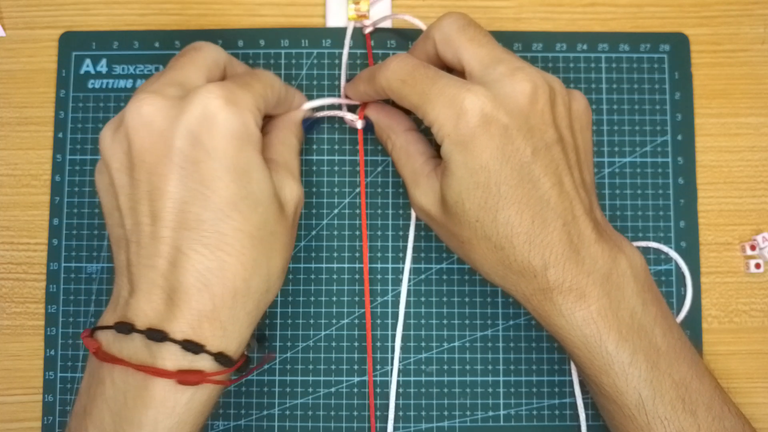
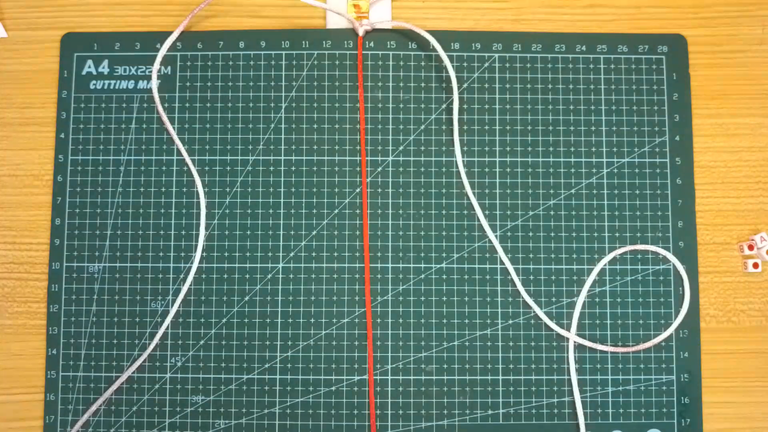
Toma los 2 metros del cordón cola de ratón color rosa pálido y divide por la mitad, mide 18 centímetros desde una punta y allí anuda el cordón cola de ratón color rojo de 30 centímetros.
A medida que vayas avanzando notarás que el cordón desaparece con el trenzado, por lo cual puedes usar cualquier color para el cordón central.
El procedimiento de estos nudos son muy diferentes a los nudos anteriores que he mostrado, de hecho, es mucho más sencillo:
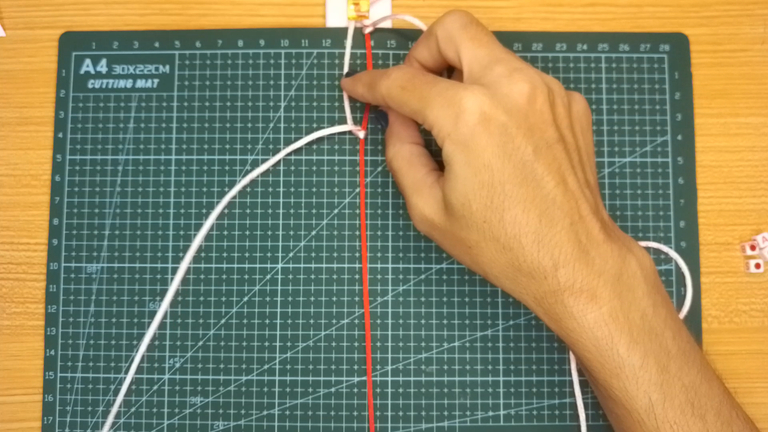
Toma el cordón de la derecha, pásalo por el cordón central y pasa la punta por dentro del mismo luego estira, aprieta bien el nudo.
Ahora repite el procedimiento con el cordón de la izquierda, de eso se trata todo el trenzado.
De acuerdo al grosos que deseas tu brazalete repetirás el proceso las veces necesarias, para el grosor de mi mano, iré contando cuántos nudos realicé en los pasos siguientes.
! [English version]
[Eng]
Take the 2 meters of pale pink mouse tail cord and divide in half, measure 18 centimeters from one end and tie the 30 centimeter red mouse tail cord there.
As you go along you will notice that the cord disappears with the braiding, so you can use any color for the center cord.
The procedure for these knots are very different from the previous knots I have shown, in fact, it is much simpler:
Take the cord on the right, thread it through the center cord and pass the tip inside the cord then stretch, tighten the knot well.
Now repeat the procedure with the cord on the left, that's what braiding is all about.
Depending on how thick you want your bracelet to be, repeat the process as many times as necessary, for the thickness of my hand, I will count how many knots I made in the following steps.
Step 2️⃣/ paso 2️⃣
 |  | |
 |  |
[Esp]
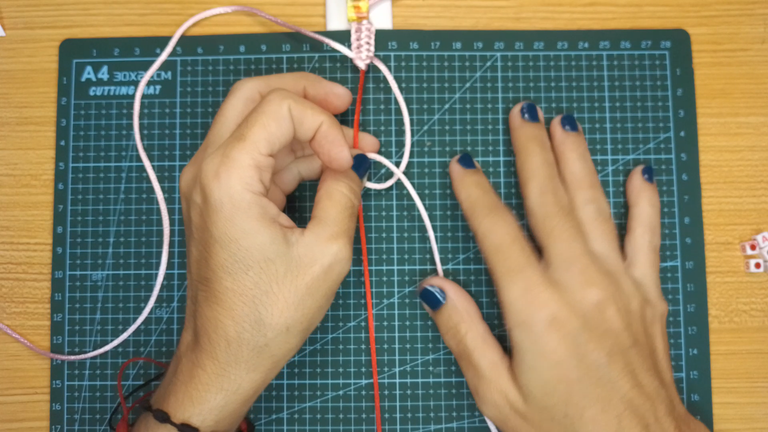
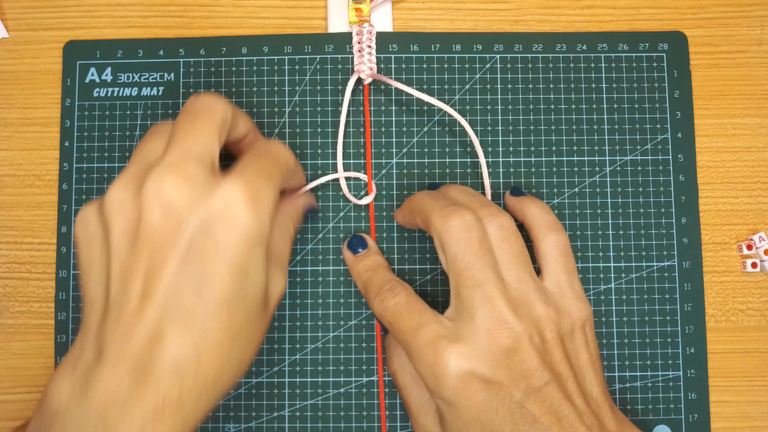
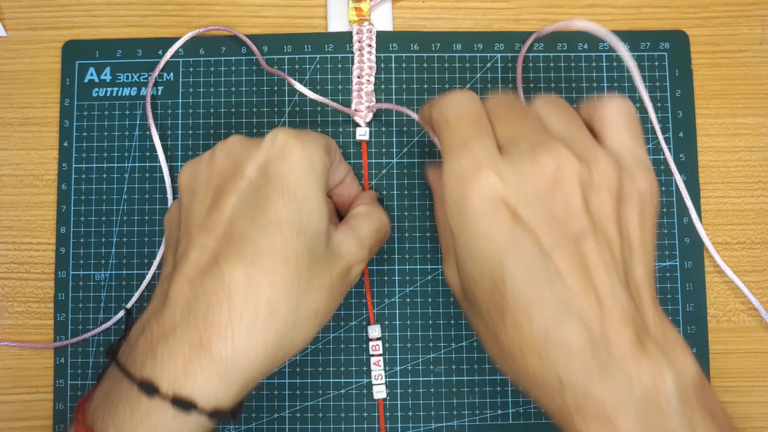
Según el grosor de mi mano, repetí el proceso de nudos del paso uno, unas 10 veces más.
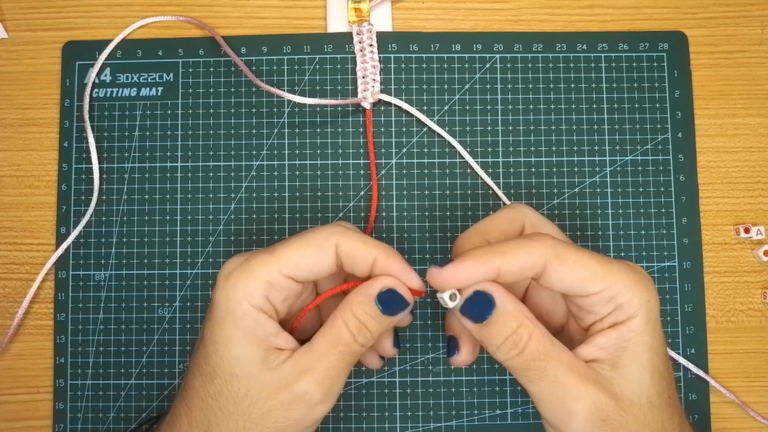
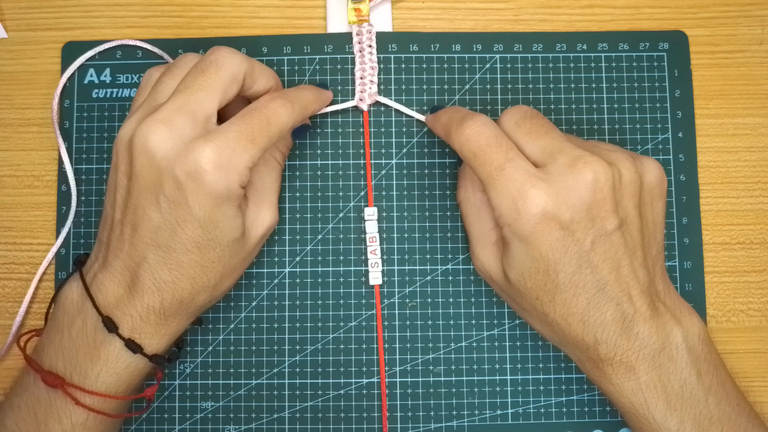
Introduce en el cordón central, las mostacillas de letras en orden de la palabra o nombre, en este caso es mi nombre por lo que comencé a introducirla por la letra L, E, B, A, S, I.
Desliza la primera letra (L) a los nudos ya terminados.
! [English version]
[Eng]
Depending on the thickness of my hand, I repeated the process of knots from step one, about 10 more times.
Introduce in the central bead, the beads of letters in order of the word or name, in this case it is my name so I started introducing it by the letter L, E, B, A, S, I.
Slide the first letter (L) to the finished knots.
Step 3️⃣/ paso 3️⃣
 |  | |
 |  |
[Esp]
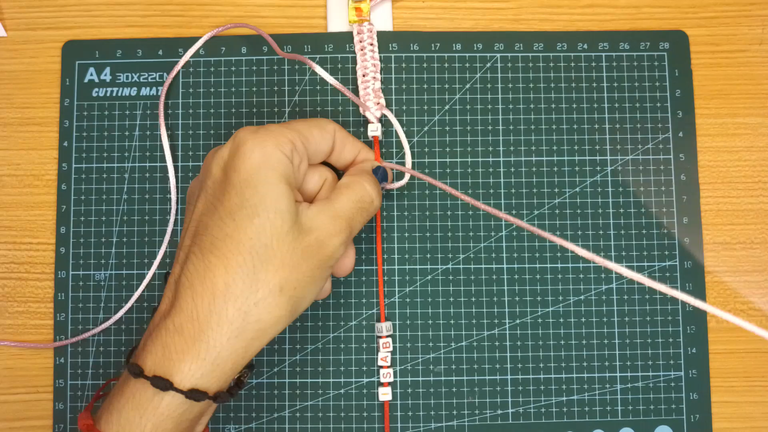
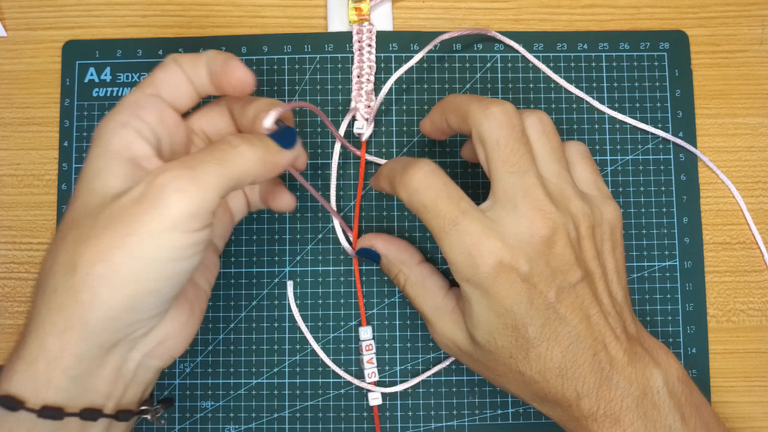
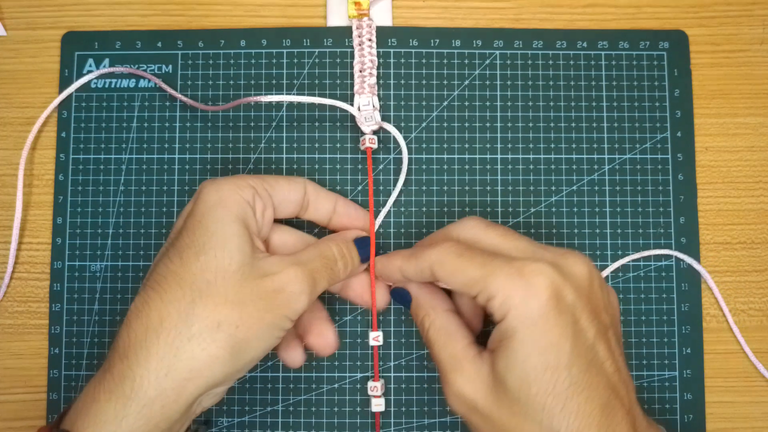
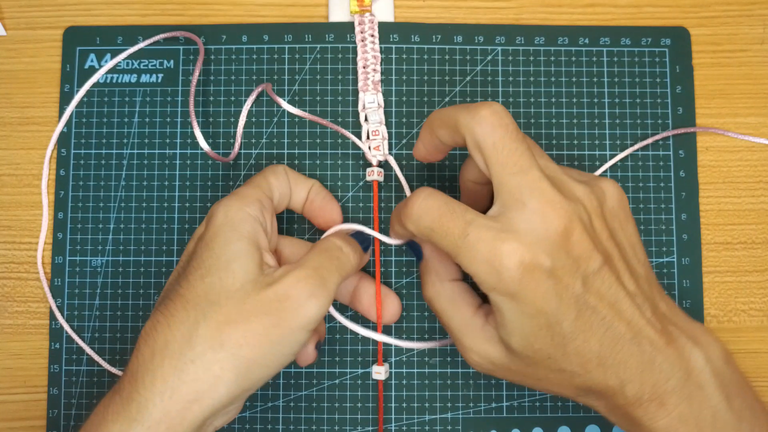
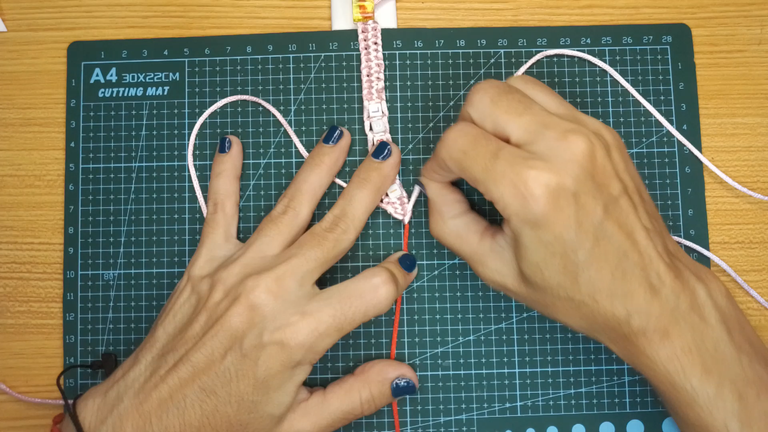
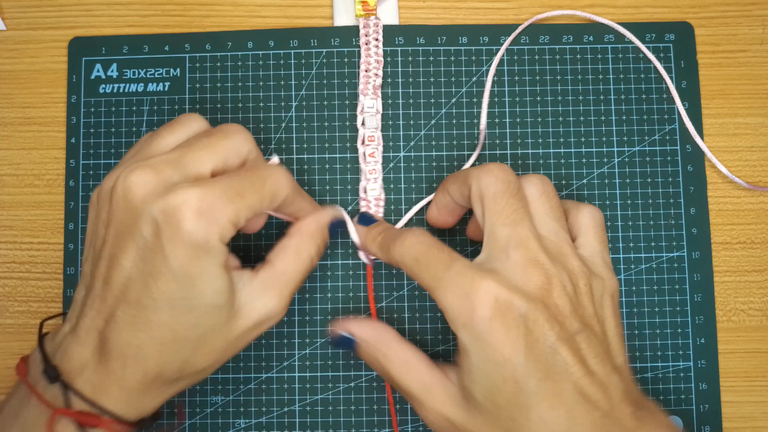
Para anudar las letras, los nudos siguen siendo los mismos que al principio, pasa el cordón de la derecha por debajo del cordón central e introdúcelo en el espacio de que quedó de abertura, aprieta el nudo.
Toma el cordón de la izquierda, repite el procedimiento anterior.
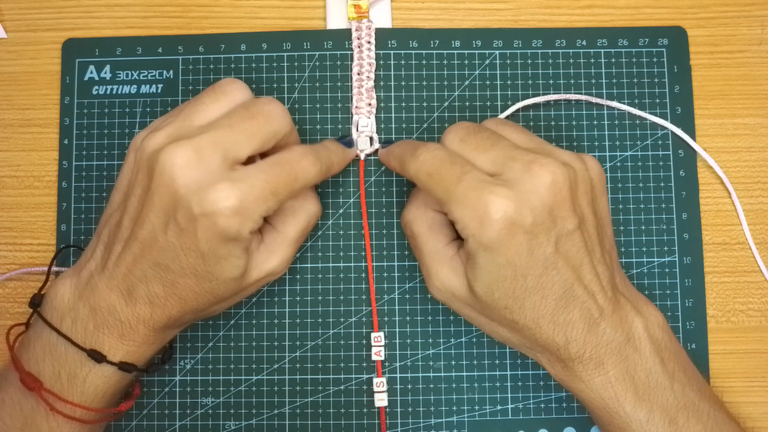
Desliza la siguiente letra.
Repite el nudo, pasa l cordón por debajo del cordón central y luego introduce la punta por la abertura, aprieta el nudo.
! [English version]
[Eng]
To knot the letters, the knots remain the same as at the beginning, pass the cord on the right under the central cord and insert it into the space left as an opening, tighten the knot.
Take the cord on the left, repeat the above procedure.
Slip the next letter.
Repeat the knot, pass the cord under the center cord and then insert the tip through the opening, tighten the knot.
Step 4️⃣/ paso 4️⃣
 |  | |
 |  |
[Esp]
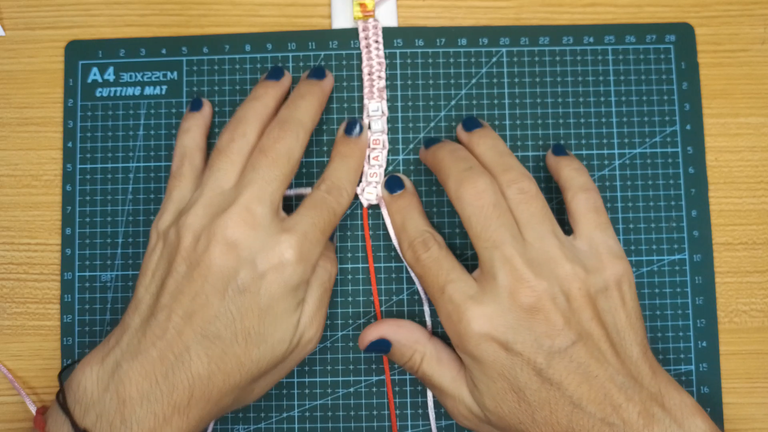
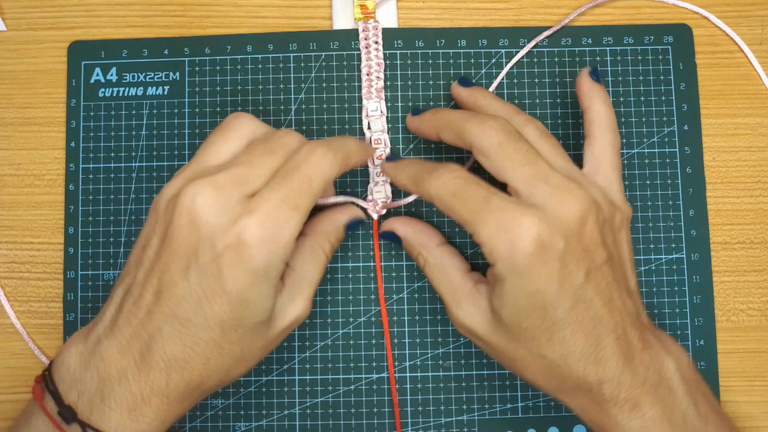
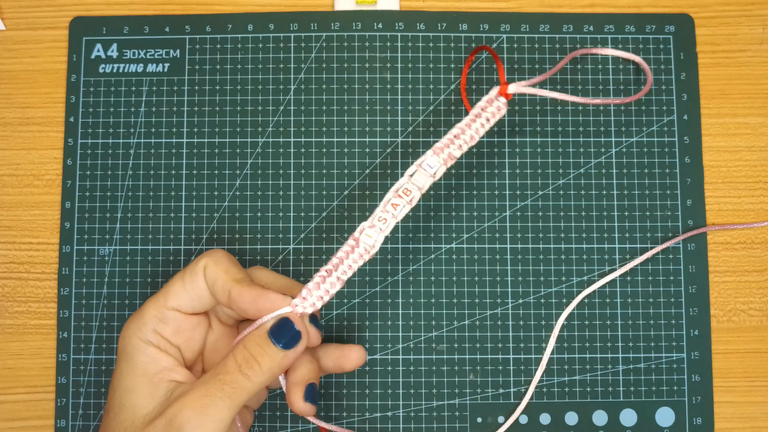
Luego de concluir con el anudado de las letras, repites el paso 1 donde harás la seguidilla de 11 nudos.
! [English version]
[Eng]
After finishing the knotting of the letters, you repeat step 1 where you will make the sequence of 11 knots.
Step 5️⃣/ paso 5️⃣
 |  |  |
 |  |  |
[Esp]
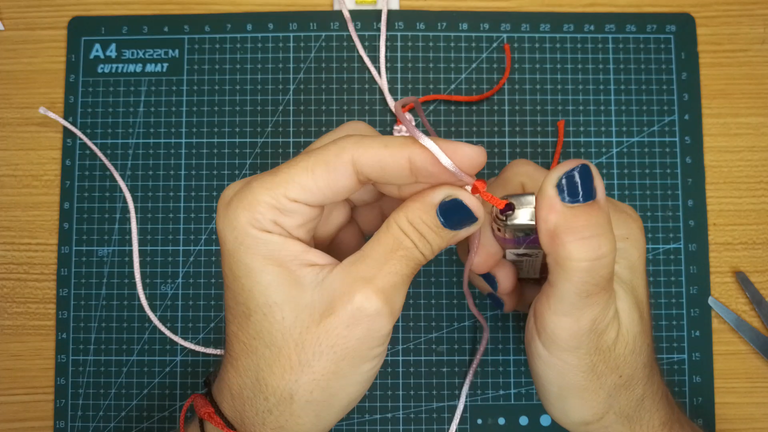
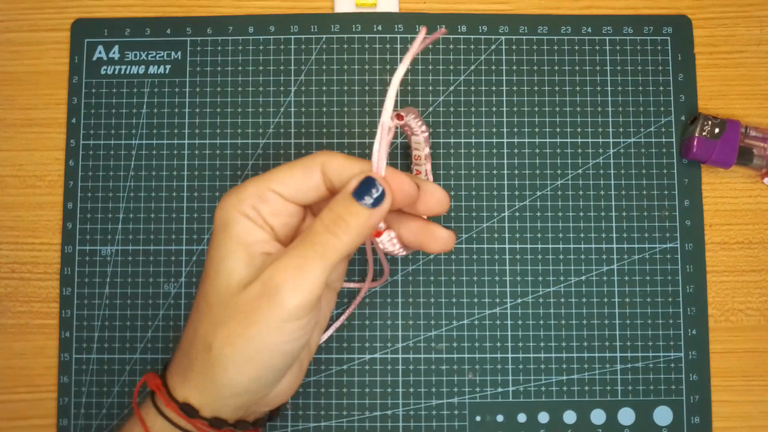
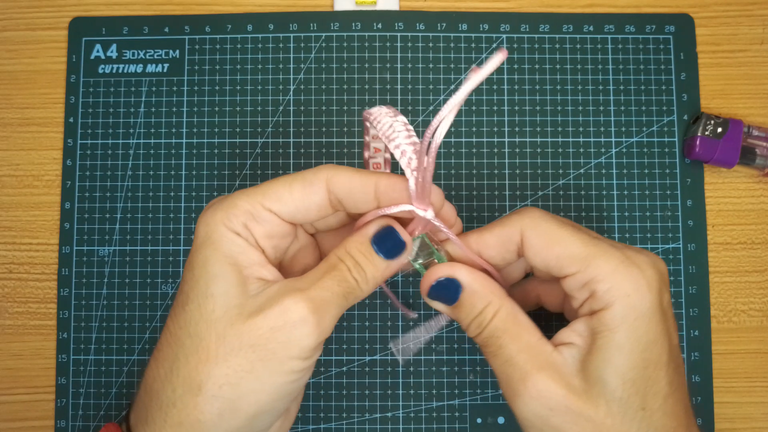
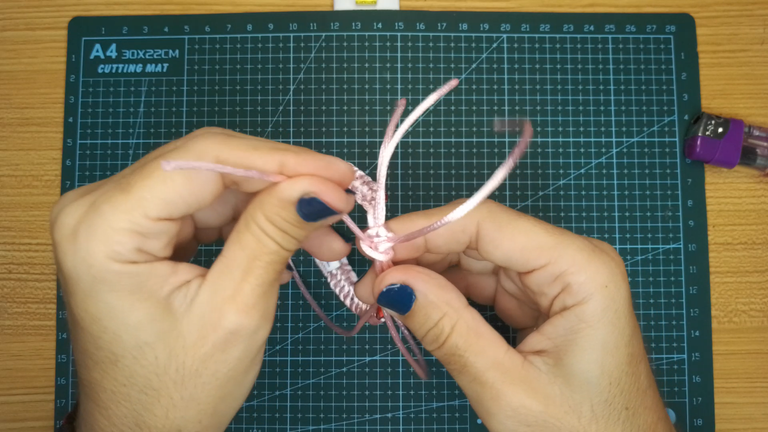
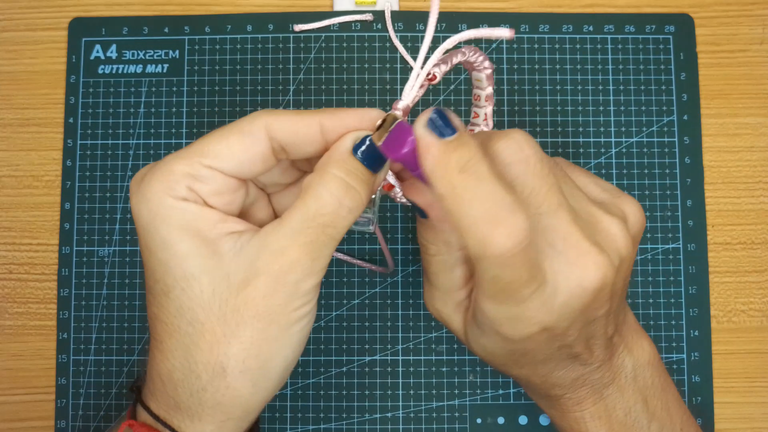
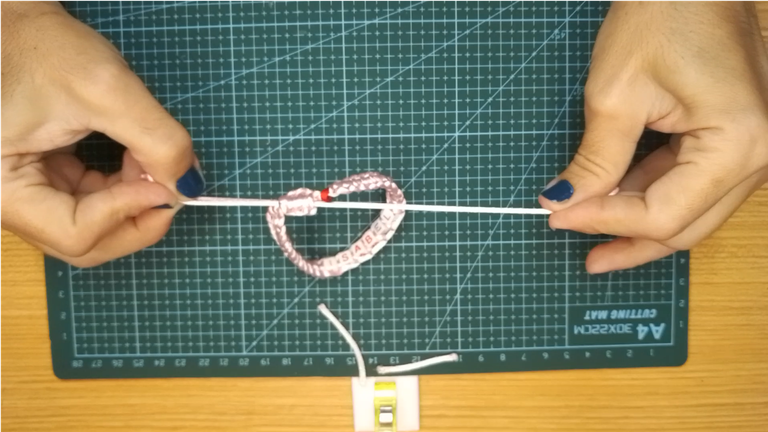
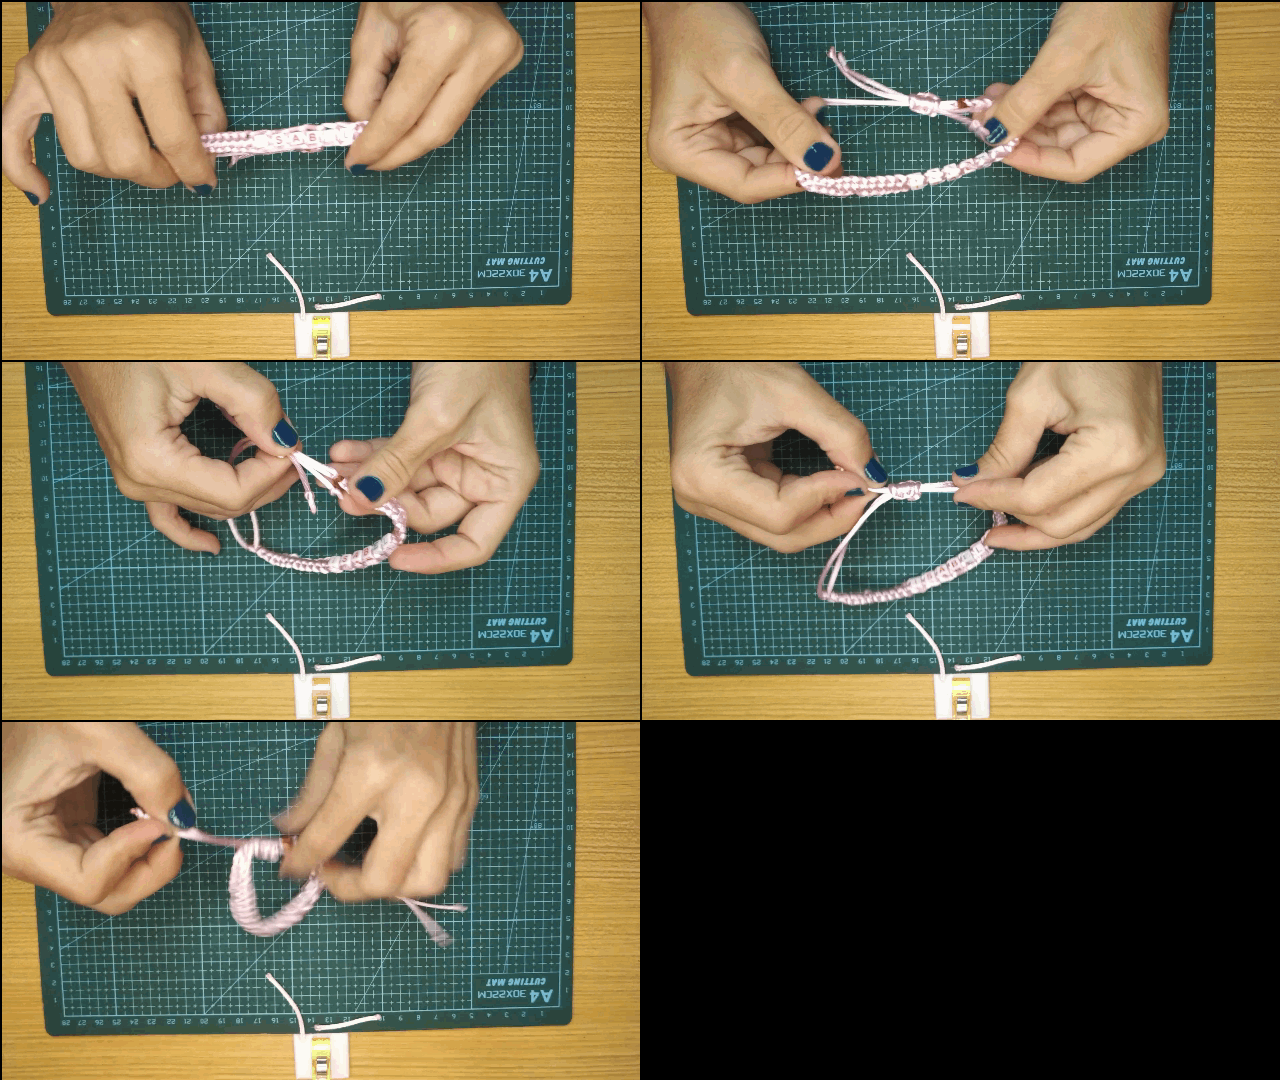
Realiza el nudo ajustable, toma un trozo de cordón d15 centímetros nudos que hicimos en la pulsera, atando todas los hilos sueltos. Luego al nudo final atas y quemas con el yesquero pegándolo a los nudos hechos.
no olvides quemar las otras puntas restantes y hacerles un nudo al final, le dará un mejor acabado.
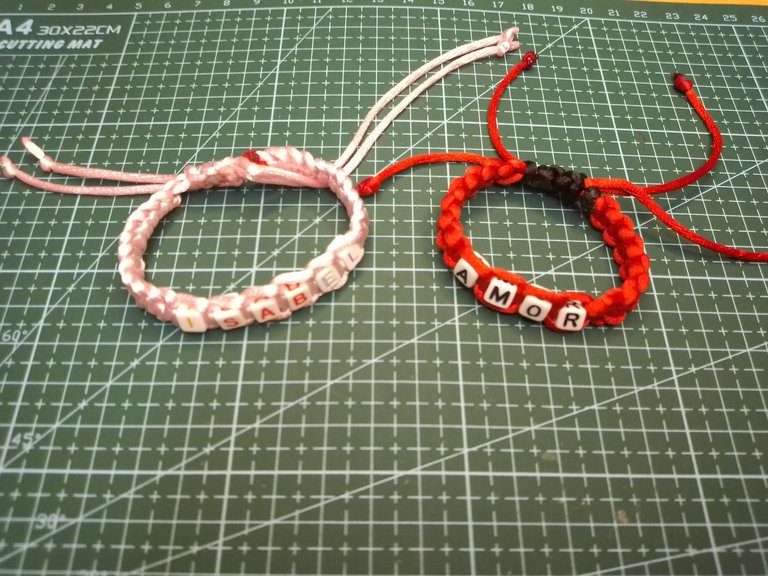
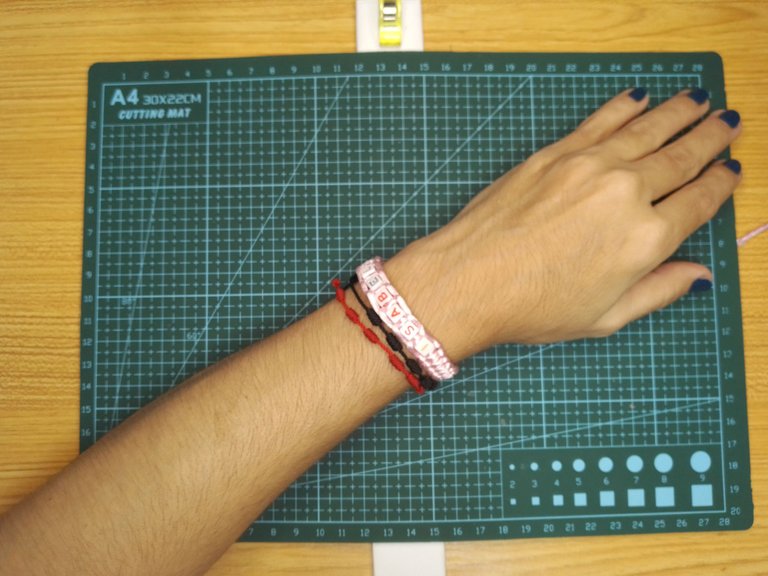
Espero les guste este modelo de hoy, me queda estupendo junto a mi otra pulsera con la palabra amor ¿La recuerdan? Acá se las muestro.
! [English version]
[Eng]
Make the adjustable knot, take a piece of cord d15 centimeters knots that we made in the bracelet, tying all the loose threads. Then tie the final knot and burn it with the tinder sticking it to the knots made.
Do not forget to burn the other remaining ends and make a knot at the end, it will give a better finish.
I hope you like today's model, it looks great with my other bracelet with the word love, remember it? Here I show it to you.
Hecho con amor/ Made with love.


Program: MediBang Paint Pro.
Tablet Huion model 420
Las fotos fueron tomadas con mi teléfono ZTE Blade A5 2020
The photos were taken with my ZTE Blade A5 2020 phone.
💜💜💜


💜💜💜
![]() 👉
👉  👉
👉  👉
👉 
Here / Bríndame un café

