


[Esp]
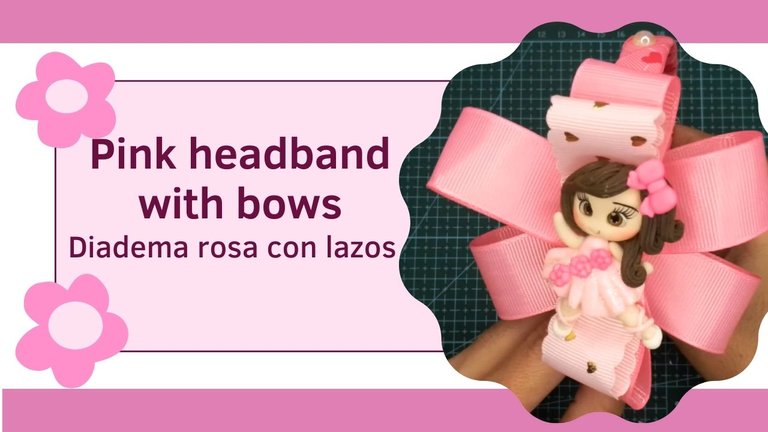
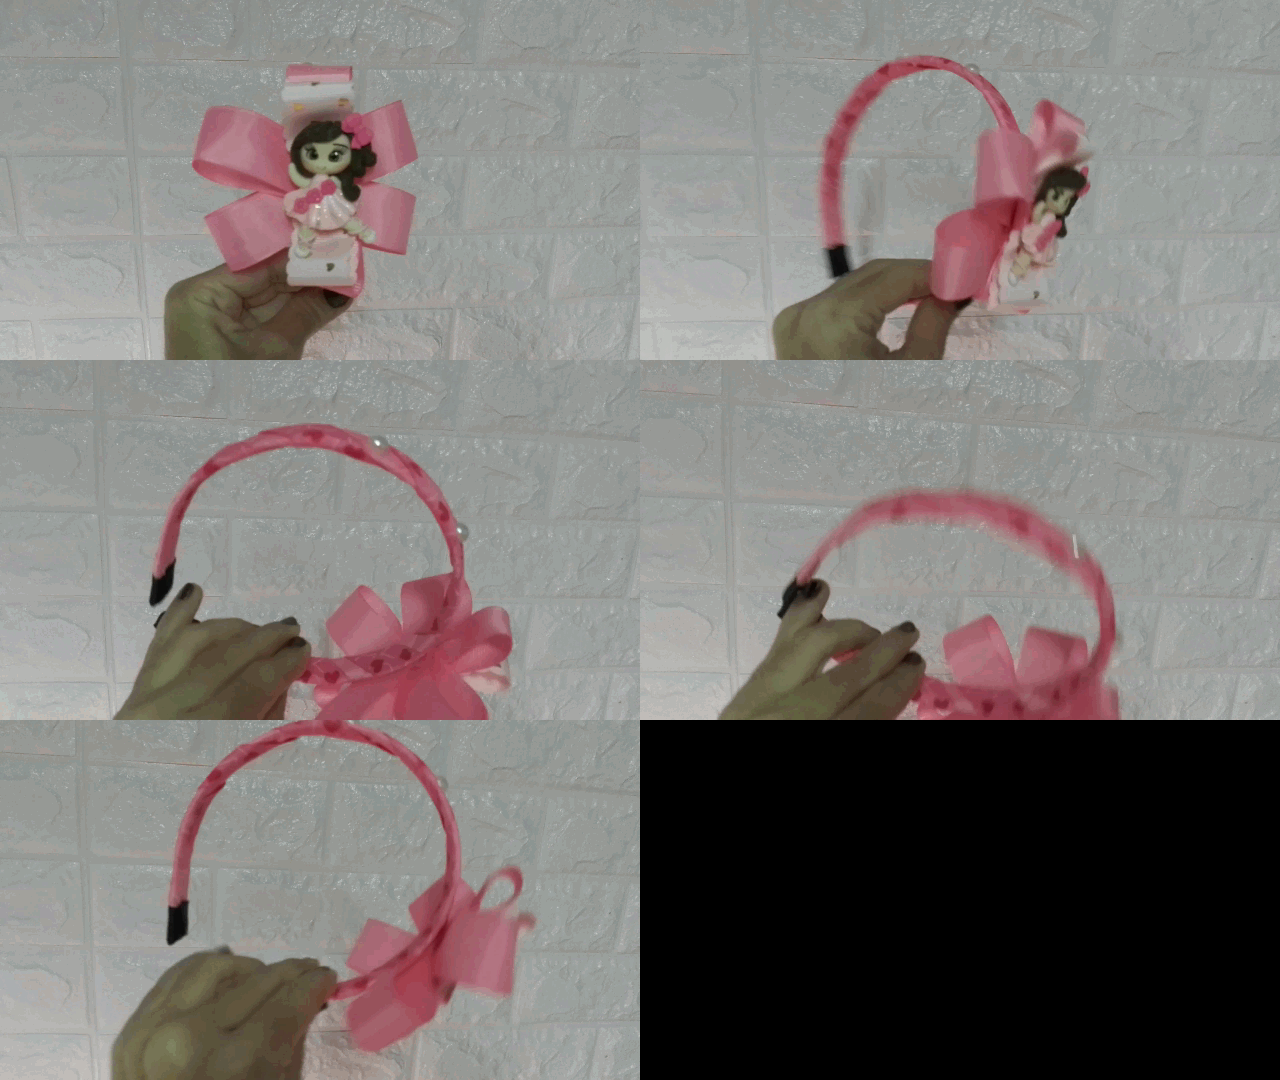
¡Saludos comunidad! Hoy comparto con ustedes esta linda diadema con un motivo muy adorable.
Siempre que voy a la tienda de bisutería y paso por la sección de muñequitas hechas con masa flexible me doy cuenta que son mi debilidad, ¡Las quiero todas! Es que las hacen tan perfectas, tan lindas, que olvido por un momento que pueden ser costosas en el caso que quieras hacer esta diadema como idea de emprendimiento y bajar un poco los costos, pues cada pieza de estas en la tienda de bisutería a la que voy está en 1.75 $, pero es que ¡Son tan lindas! Quien las elabora tiene especial cuidado con los detalles, los ojos, la expresión del rostro, es perfecta.
Cuando era adolescente me encantaba hacer diademas, en los años 90's estaban de moda unas muy acolchadas, eran lindas de verdad, mi madre tenía una fábrica de costura y los retazos y goma espuma siempre sobraban, tenía un universo disponible e ilimitado para crear de todo, ropitas de muñecas, patchwork, todo lo que se me ocurriera con lindos retazos de tela. El proyecto de hoy me trae hermosos recuerdos como pueden ver.
Recién compré más cintas y unas diademas, ¡Es hora de divertirme creando! Ahora lo comparto con ustedes con mucha alegría.
Solo para que tengan referencia de los precios en la localidad donde vivo:
Diadema: 0.5 $
Media perla: 10 perlas x 1$ (solo usé 2)
2 Metros de cinta rosa: 0.8$
1 Metro de cinta decorada 0.9$
1 Pieza de masa flexible 1.75 S
La cinta de color negro la compré hace un tiempo y solo uso muy poca en las puntas de la diadema. Con estos precios, fue fuera a venderla, no fuera muy rentable, pero la elaboro porque me encanta y pretendo darla de obsequio a una amiguita que valora mucho las cosas hechas por mis manos.
! [English version]
[Eng]
Greetings community! Today I share with you this cute headband with a very adorable motif.
Whenever I go to the jewelry store and pass by the section of dolls made with flexible dough I realize that they are my weakness, I want them all! They make them so perfect, so cute, that I forget for a moment that they can be expensive in case you want to make this headband as an idea of entrepreneurship and lower the costs a little, because each piece of these in the jewelry store where I go is $ 1.75, but they are so cute! Whoever makes them takes special care with the details, the eyes, the expression of the face, it's perfect.
When I was a teenager I loved to make headbands, in the 90's very quilted ones were in fashion, they were really cute, my mother had a sewing factory and scraps and foam rubber were always left over, I had a universe available and unlimited to create everything, doll clothes, patchwork, everything I could think of with cute scraps of fabric. Today's project brings back beautiful memories as you can see.
I just bought more ribbons and some headbands, it's time to have fun creating! Now I am happy to share it with you.
Just to give you a reference of the prices where I live:
Headband: 0.5 $
Half pearl: 10 pearls x 1$ (I only used 2)
2 Meters of pink ribbon: 0.8$.
1 Meter of decorated ribbon 0.9$.
1 Piece of flexible dough 1.75 S
I bought the black ribbon a while ago and only use very little of it on the ends of the headband. With these prices, if I were to sell it, it would not be very profitable, but I make it because I love it and I intend to give it as a gift to a friend who values very much the things made by my hands.


[Esp]
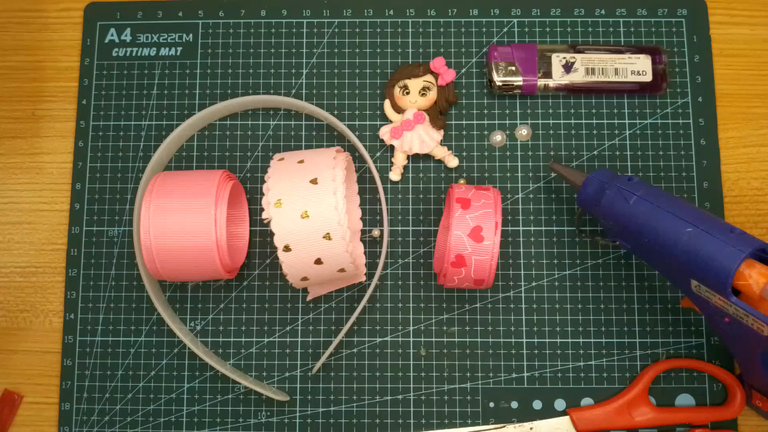
🌺 1 Diadema
🌺 2 Media perlas
🌺 2 Metros de cinta rosa
🌺 1 Metro de cinta decorada
🌺 1 Pieza de masa flexible
! [English version]
[Eng]
🌺 1 Headband
🌺 2 Half pearls
🌺 2 meters of pink ribbon
🌺 1 meter of decorated ribbon
🌺 1 Piece of flexible dough


Step 1️⃣/ Paso 1️⃣
 |  | |
 |  |
[Esp]
El material que gastarás depende de lo grueso que sea tu diadema.
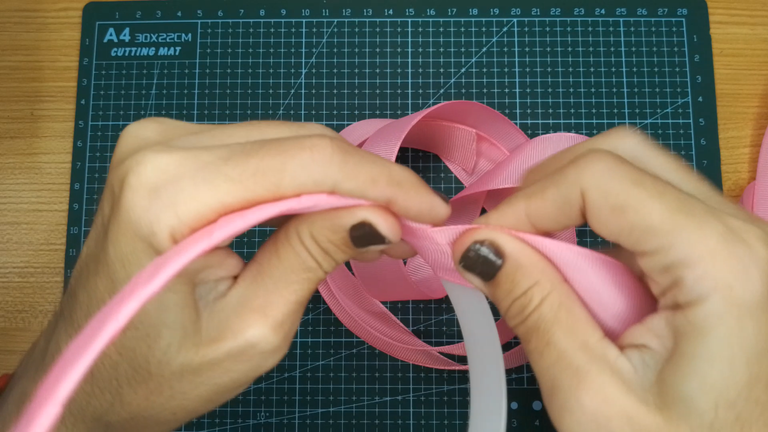
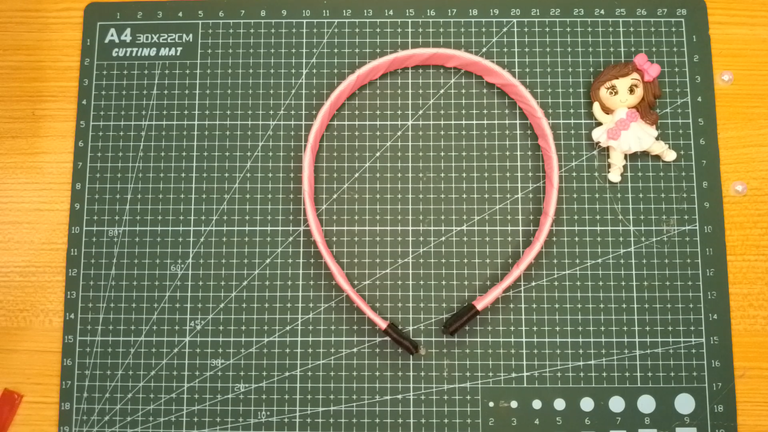
Lo primero que haremos es forrar la diadema con la cinta de color rosa.
Coloca un punto de pegamento en una punta y enrolla hasta cubrirla completamente, luego realiza la terminación en la otra punta.
Con una cinta negra forra las puntas, esto es para que quede un mejor acabado y también para mitigar un poco el sucio del uso (así es).
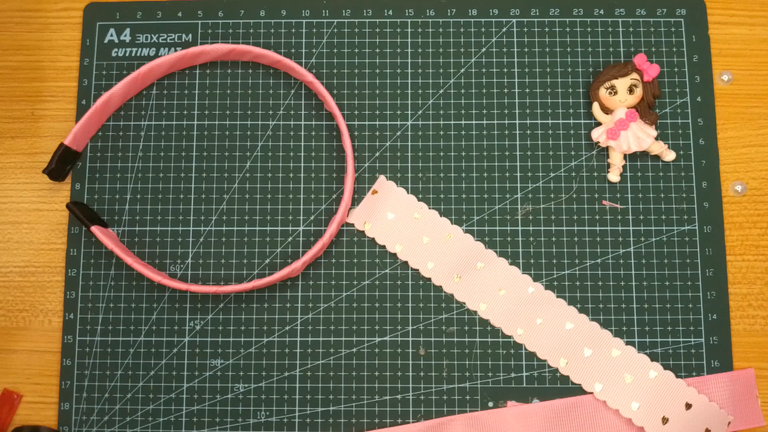
Luego toma la cinta decorada gruesa y recorta un pedazo que necesites para el lazo.
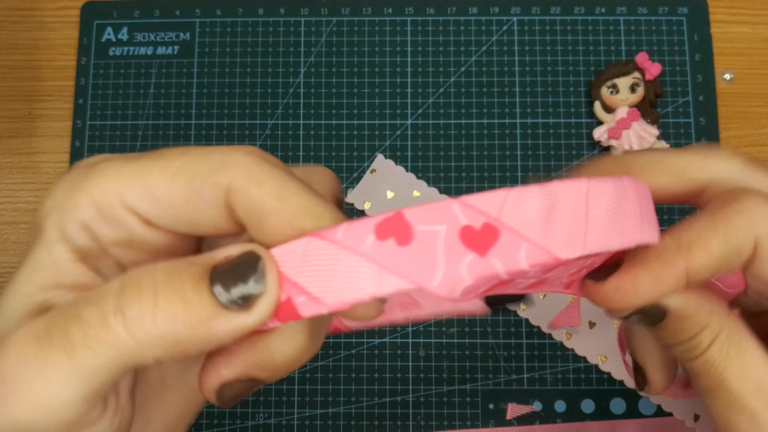
Con la cinta de motivos forra la diadema dejando una separación y procura ir en sentido contrario de la primera cinta de forro.
Recuerda quemar las puntas de cada cinta una vez las cortes para evitar se deshilache.
! [English version]
[Eng]
The material you will spend depends on how thick your headband is.
The first thing to do is to line the headband with the pink ribbon.
Place a dot of glue on one end and roll it up until it is completely covered, then finish it on the other end.
With a black ribbon line the ends, this is for a better finish and also to mitigate a little dirt from use (that's right).
Then take the thick decorated ribbon and cut a piece that you need for the bow.
With the patterned ribbon line the headband leaving a gap and try to go in the opposite direction of the first lining ribbon.
Remember to burn the ends of each ribbon once you cut them to avoid fraying.
Step 2️⃣/ paso 2️⃣
 |  | |
 |  |
[Esp]
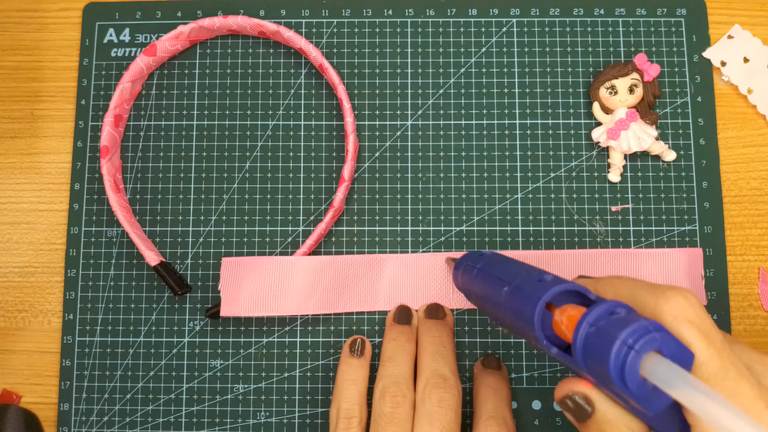
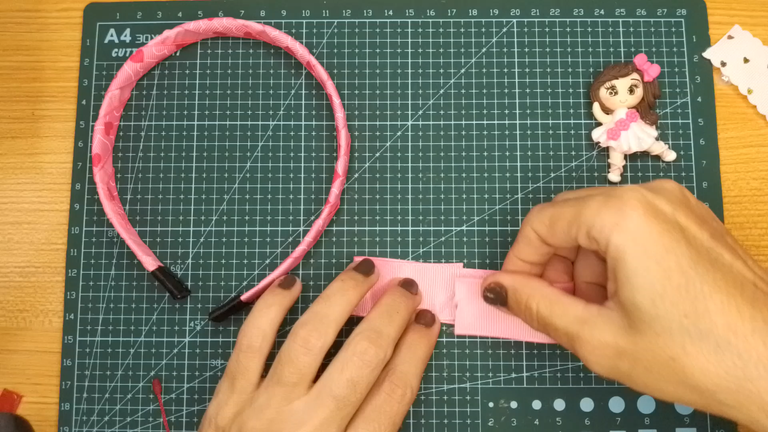
Toma la cinta color rosado por la mitad y coloca un poco de pegamento, ahora dobla los extremos para formar un lazo.
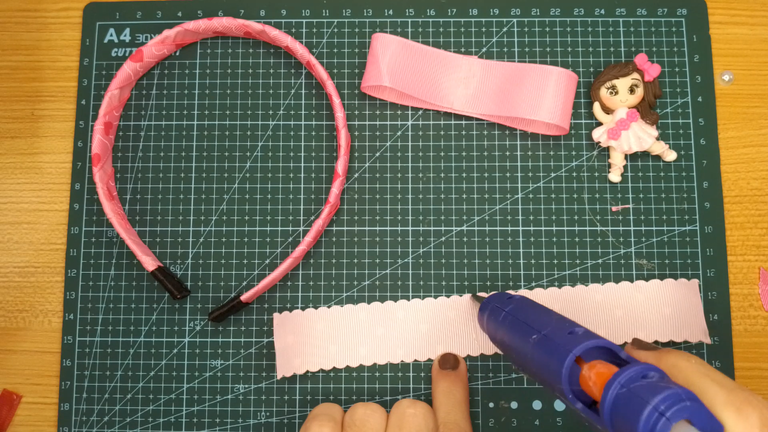
Repite el procedimiento anterior con la cinta decorada.
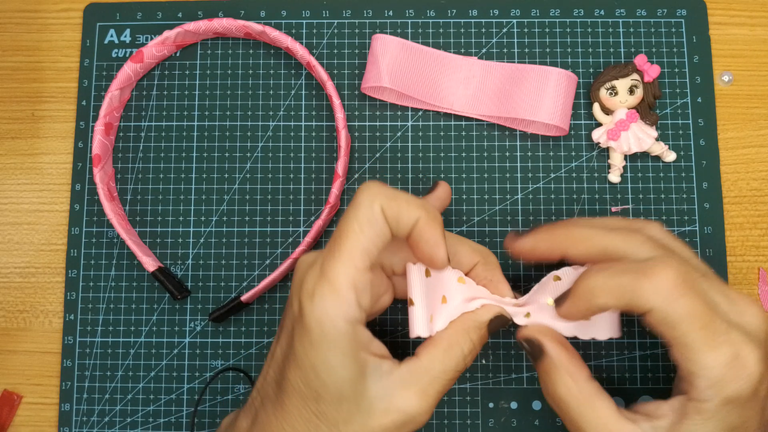
Realiza un doblez en el centro para formar el lazo, usa lo que sea más cómodo para ti, yo usé un poco de hilo, puedes usar pegamento.
! [English version]
[Eng]
Take the pink ribbon in half and place a little glue on it, now fold the ends to form a loop.
Repeat the above procedure with the decorated ribbon.
Make a fold in the center to form the bow, use whatever is more comfortable for you, I used some thread, you can use glue.
Step 3️⃣/ paso 3️⃣
 |  | |
 |  |
[Esp]
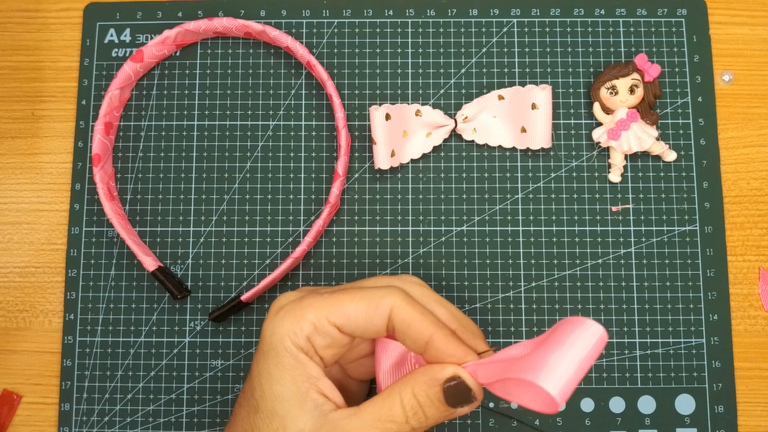
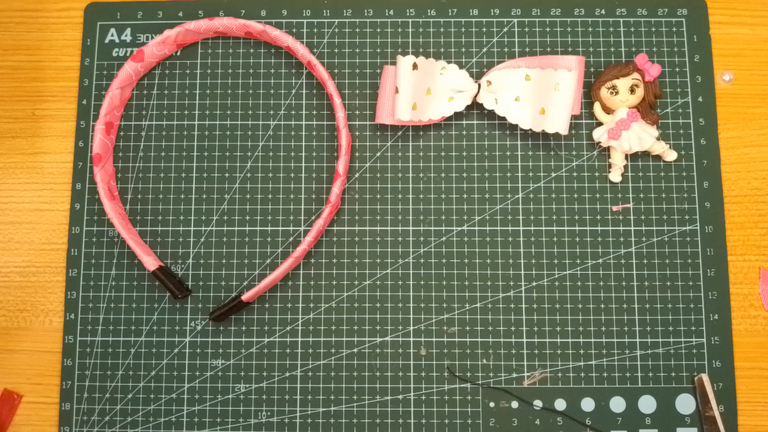
Una vez realizados los dos lazos principales, pégalos uno sobre otro, deja el lazo con motivos por la parte de encima.
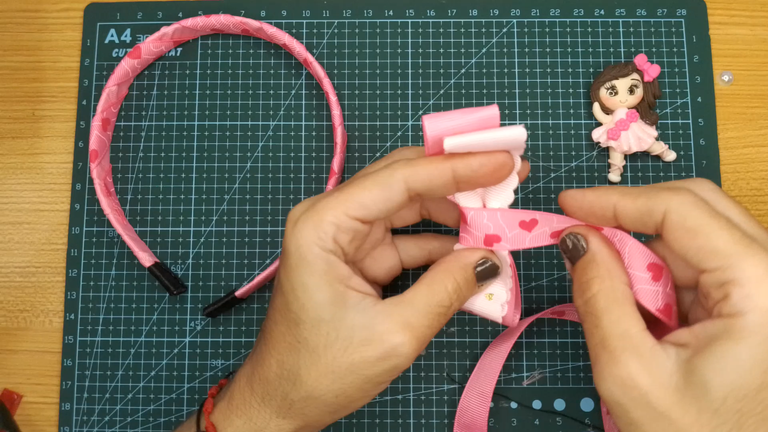
Con la otra cinta de motivos más delgada, rodea el lazo por el centro.
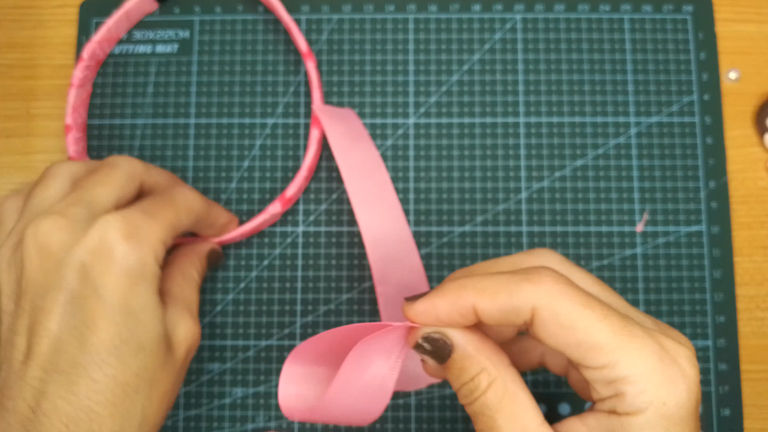
Recorta 4 trozos de cinta color rosado y corta diagonal, recuerda quemar las puntas.
! [English version]
[Eng]
Once the two main ribbons have been made, glue them one on top of the other, leaving the patterned ribbon on top.
With the other thinner patterned ribbon, wrap the ribbon around the center of the bow.
Cut 4 pieces of pink ribbon and cut diagonally, remember to burn the ends.
Step 4️⃣/ paso 4️⃣
 |  | |
 |  |
[Esp]
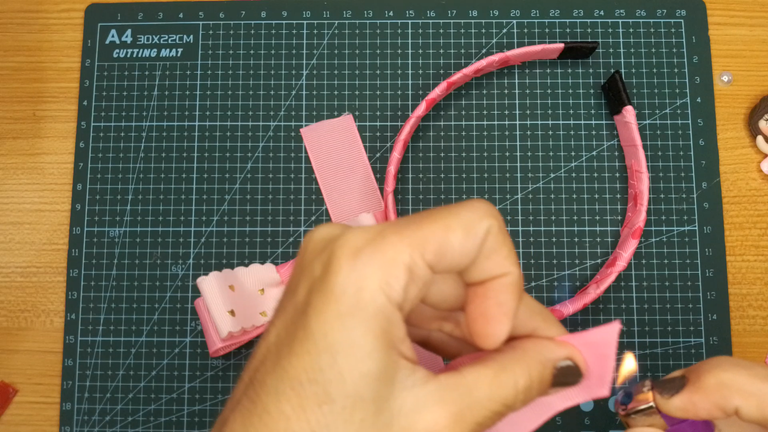
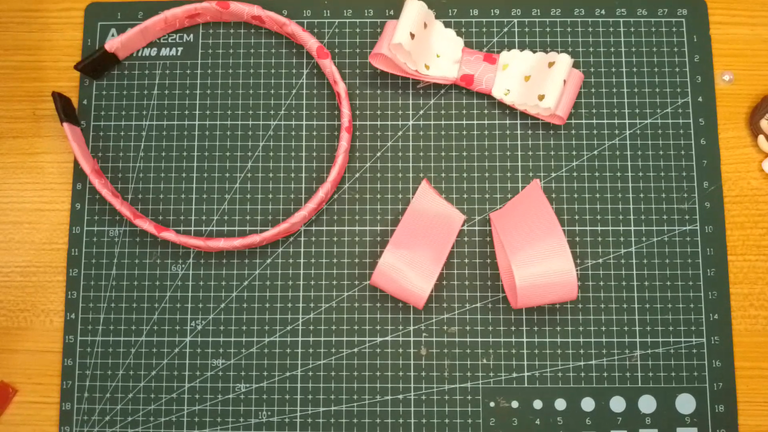
De los medio lazos que van a los lados, corta las puntas en diagonal, dobla y quema dichas puntas con ayuda de un yesquero.
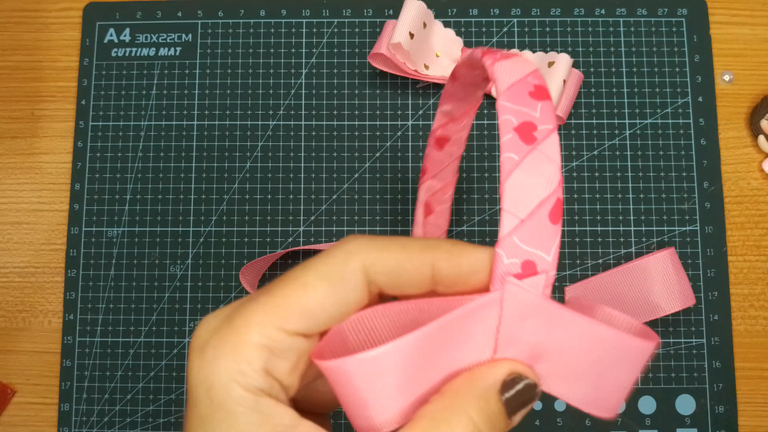
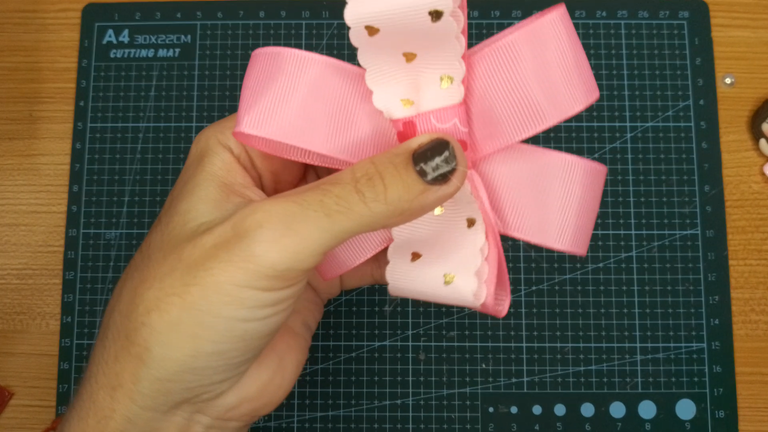
Pega los medio lazos en forma de equis (X) luego pega el lazo principal en el centro.
! [English version]
[Eng]
From the half loops that go on the sides, cut the ends diagonally, bend and burn them with the help of a tinderbox.
Glue the half loops in the shape of an X, then glue the main loop in the center.
Step 5️⃣/ paso 5️⃣
 |  | |
 |  |
[Esp]
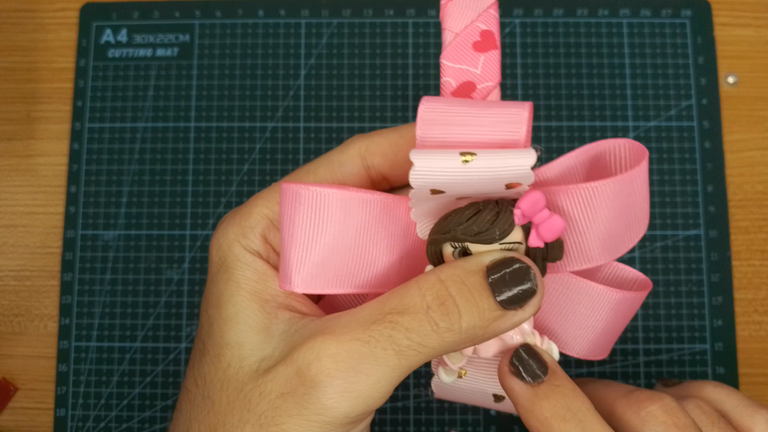
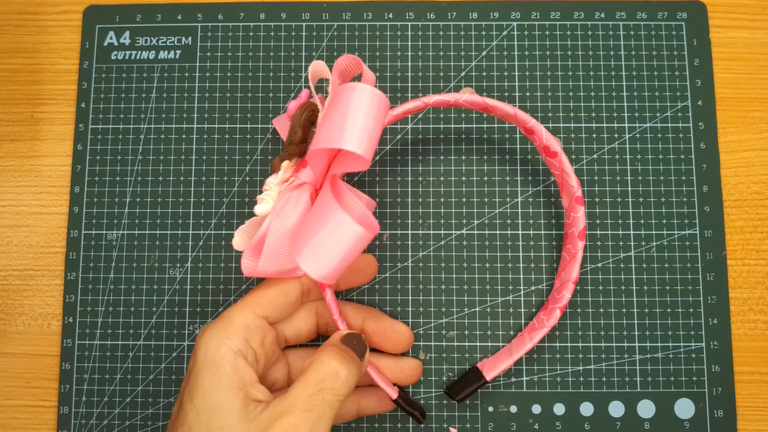
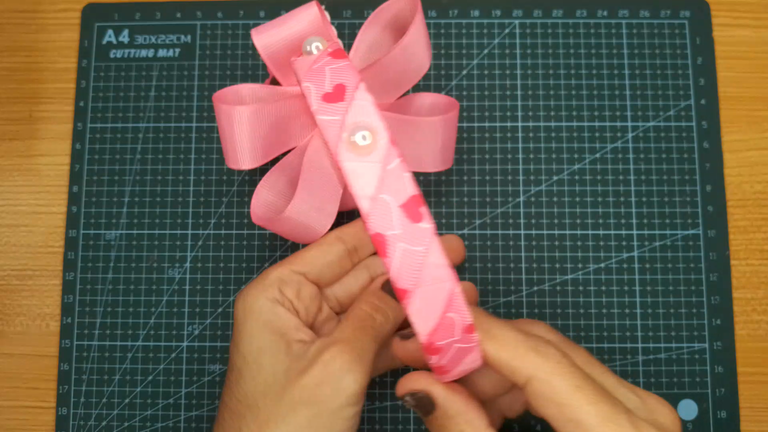
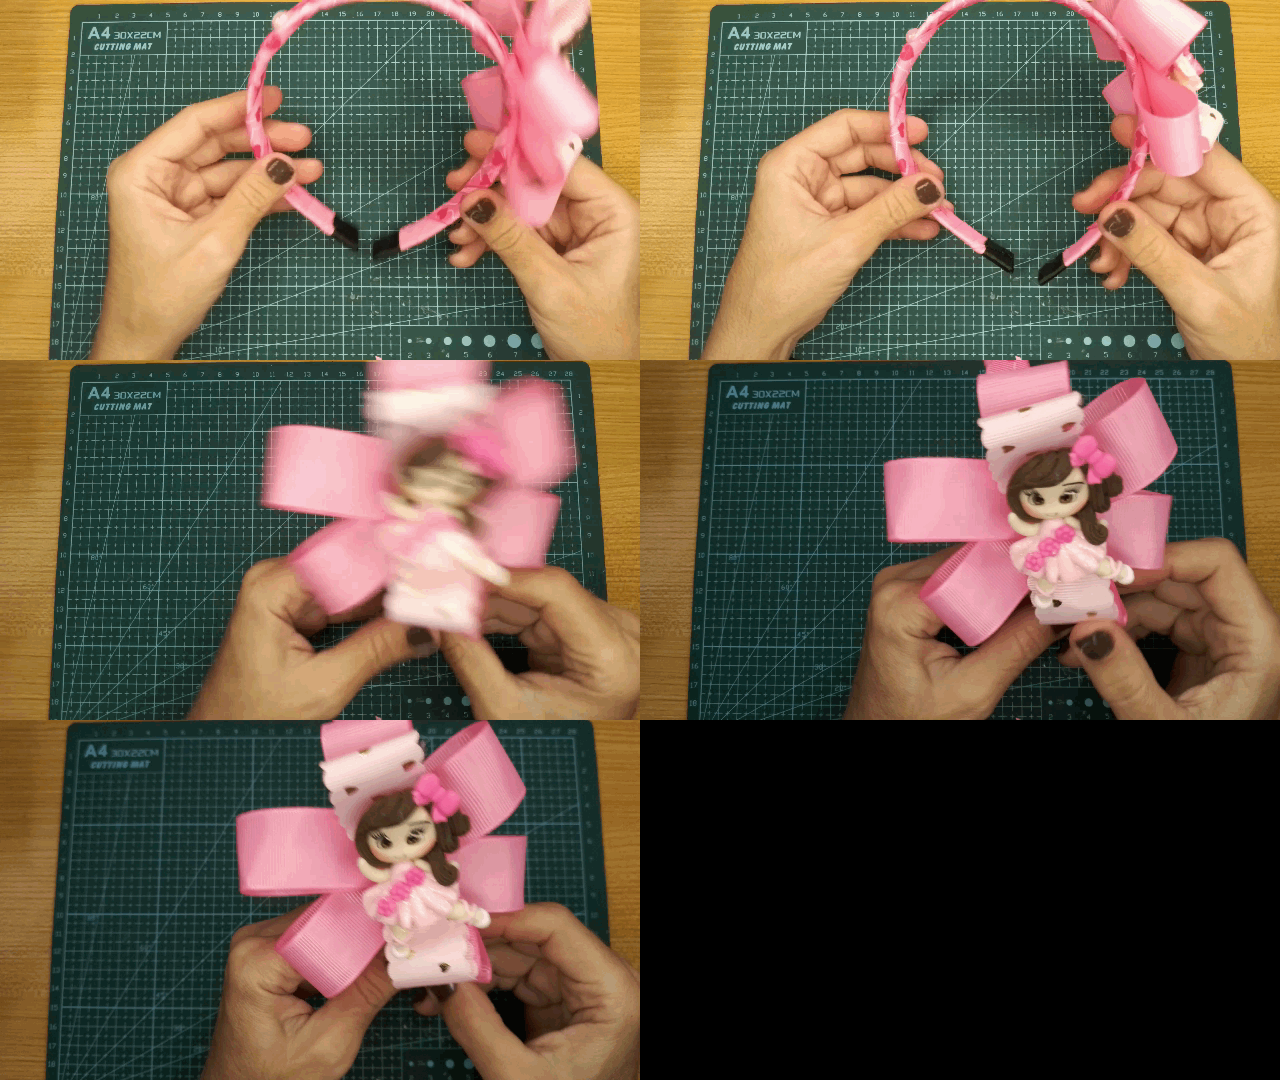
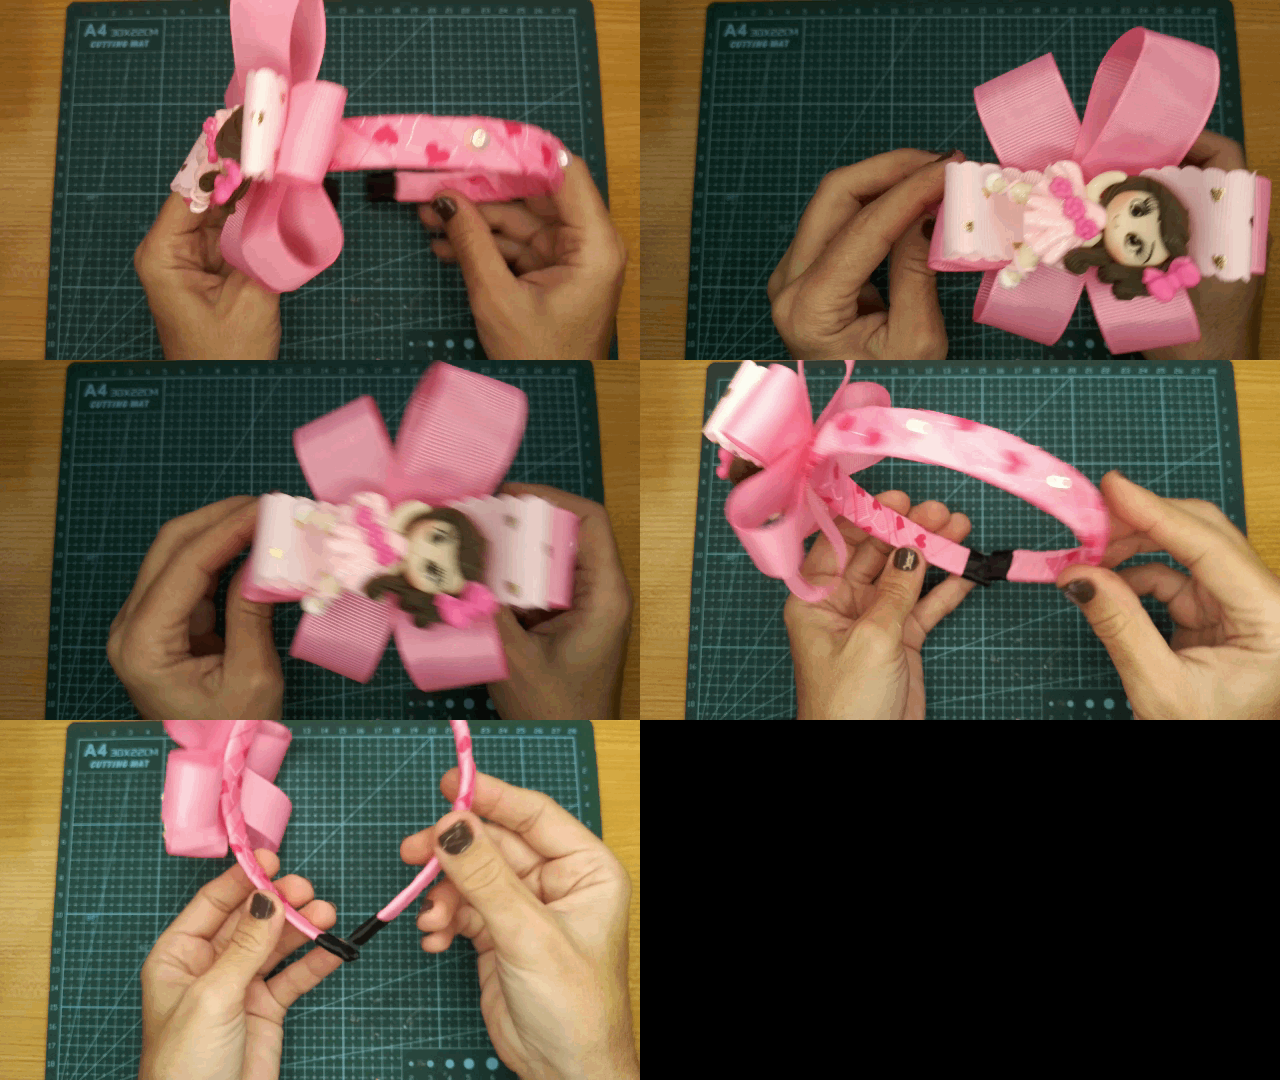
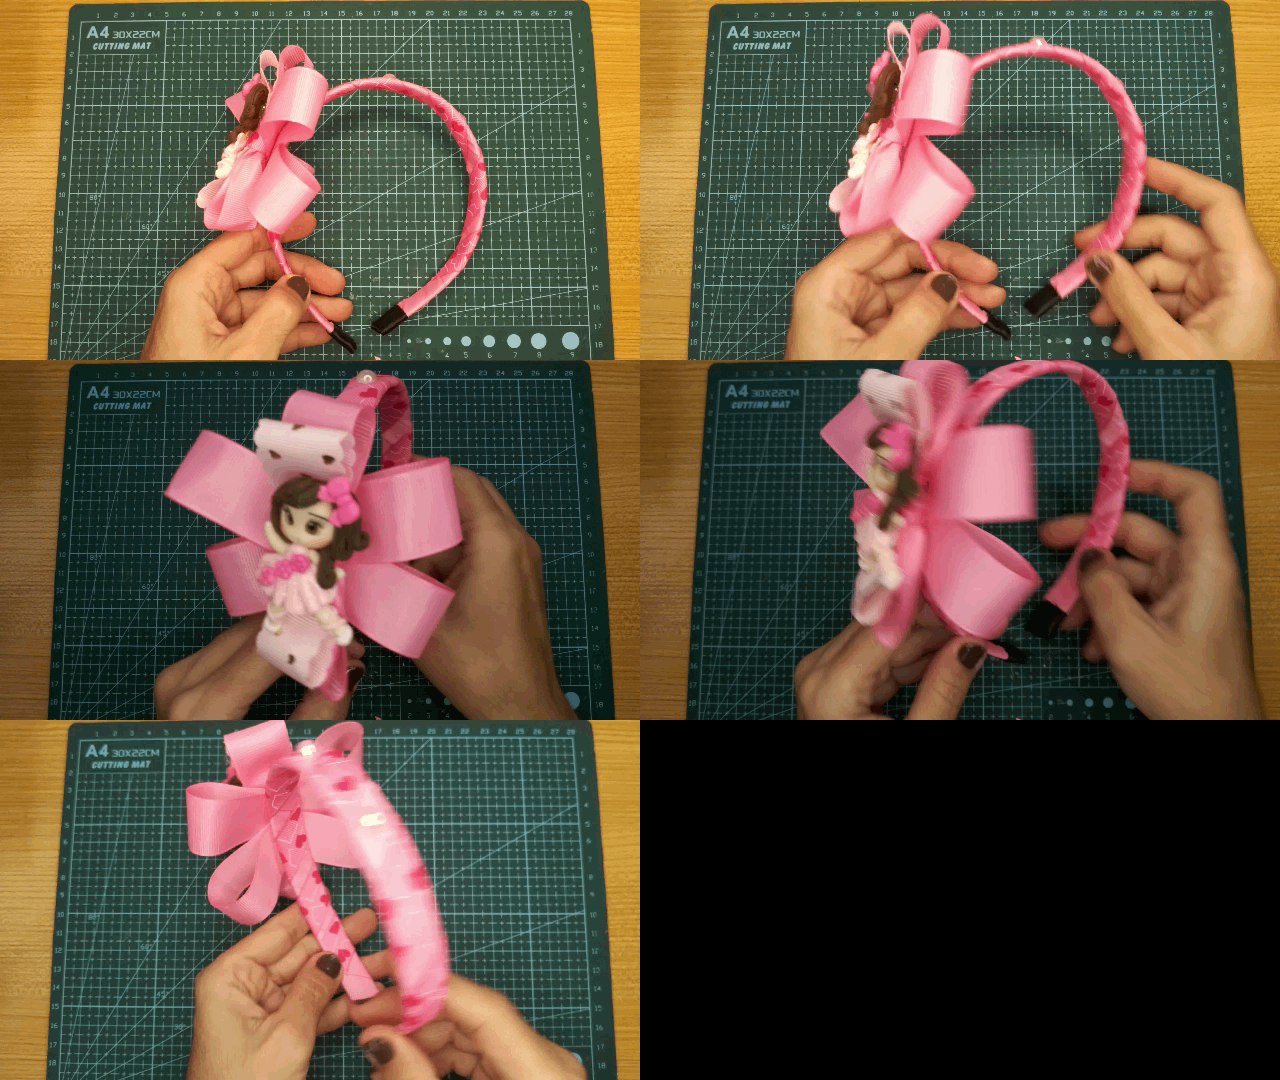
Ahora coloca un poco de pegamento en el centro del lazo y pega la decoración, en este caso usé una muñequita muy hermosa hecha con masa flexible.
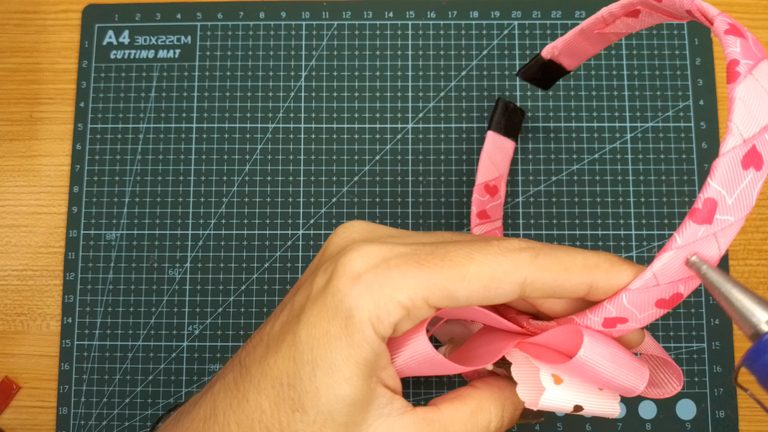
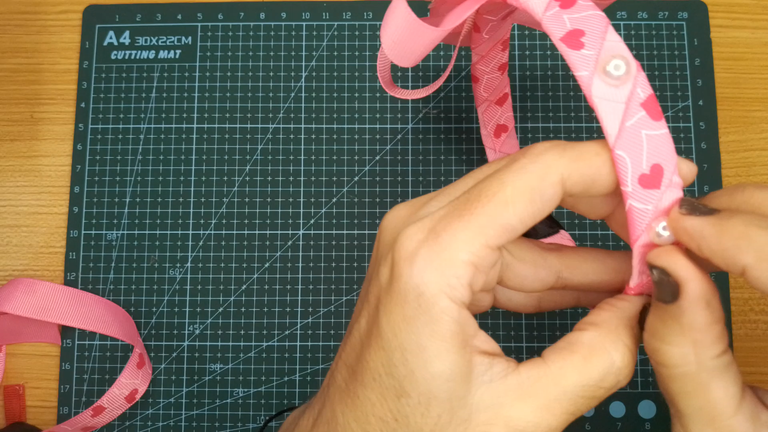
Coloca un punto de pegamento en una sección de la diadema para decorar y pega la media perla, realiza el mismo procedimiento en el lugar de tu preferencia, yo pegué dos, no fue necesario otra adicional, quedó muy hermosa.
Les agradezco mucho su visita y apoyo, espero se animen a recrear este detalle especial, hermoso para regalar.
Bendiciones para todos vos.
! [English version]
[Eng]
Now place some glue in the center of the bow and glue the decoration, in this case I used a very beautiful doll made with flexible dough.
Place a dot of glue in a section of the headband to decorate and glue the half pearl, do the same procedure in the place of your preference, I glued two, it was not necessary an additional one, it was very beautiful.
Thank you very much for your visit and support, I hope you are encouraged to recreate this special detail, beautiful to give as a gift.
Blessings to all of you.
Hecho con amor/ Made with love.


Program: MediBang Paint Pro.
Tablet Huion model 420
Las fotos fueron tomadas con mi teléfono ZTE Blade A5 2020
The photos were taken with my ZTE Blade A5 2020 phone.
💜💜💜


💜💜💜
![]() 👉
👉  👉
👉  👉
👉 
Here / Bríndame un café

