Hello friends...
☺☺☺
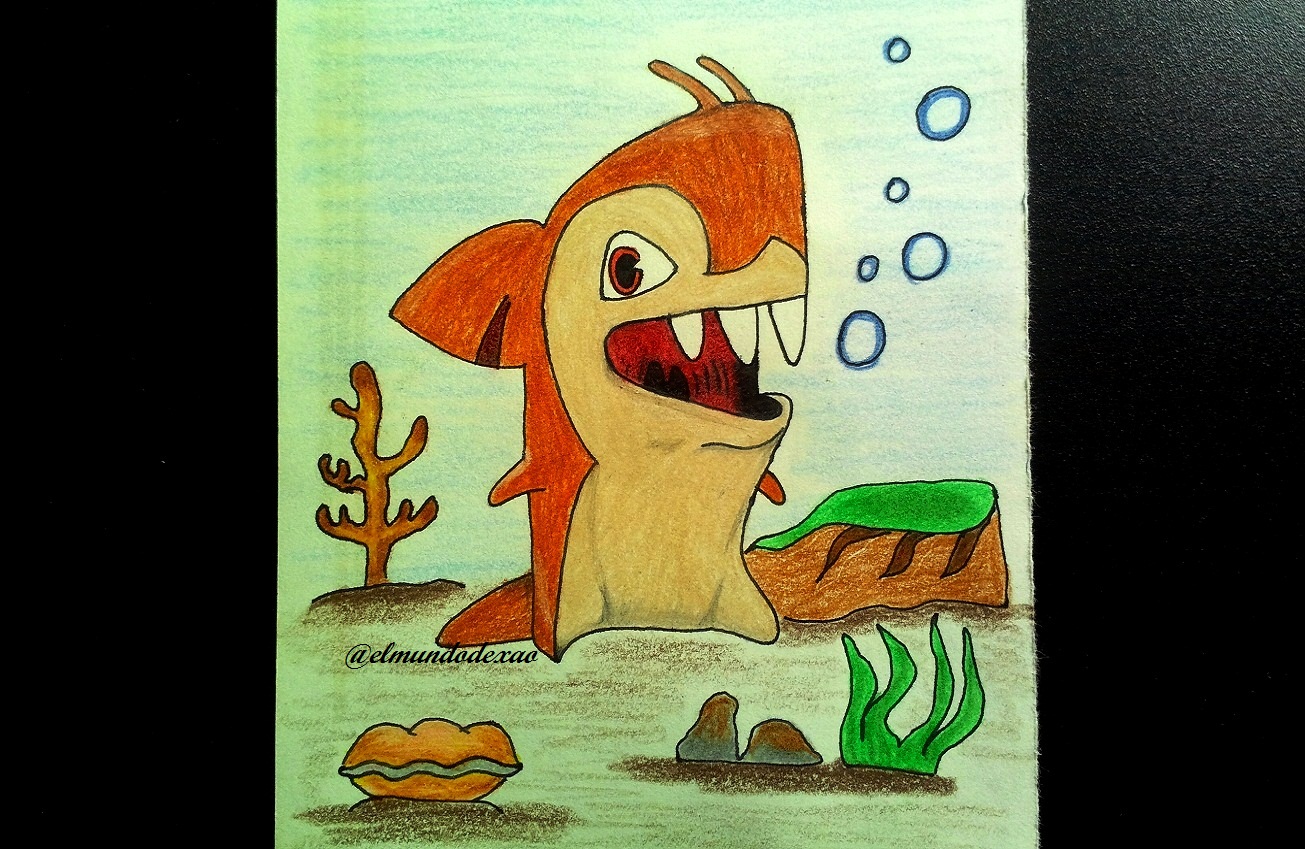
Welcome back to my blog. Today I will share with you a drawing of the animated series Bajoterra; I think this slug looks great especially for its look that feels somewhat realistic; its name is shark so you can quickly deduce that it belongs to the depths besides being one of the rarest slugs of the series. It has a rather tender appearance is reddish with a white belly and a fin on his head; apart from being a very good swimmer shoots his teeth as projectiles.
Next I mention the materials used: white bond paper, pencil # 2, 0.5 marker, eraser and colors (Variety of brands).
Before continuing I remind you that at the end I will leave you the link I used on this occasion.
Let's start with the step by step drawing:
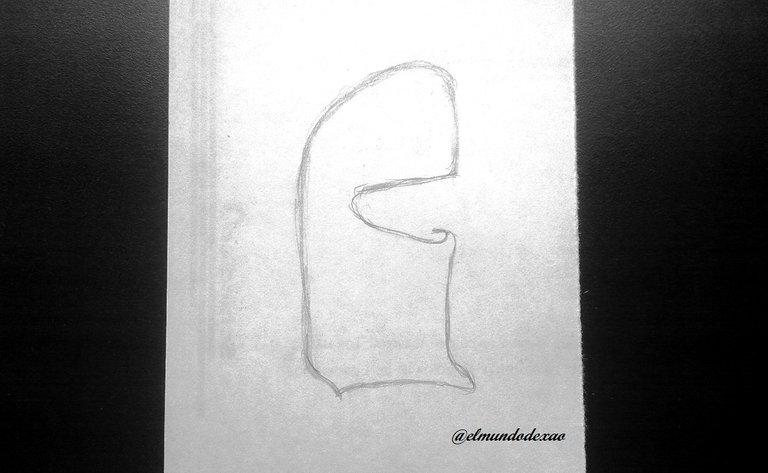
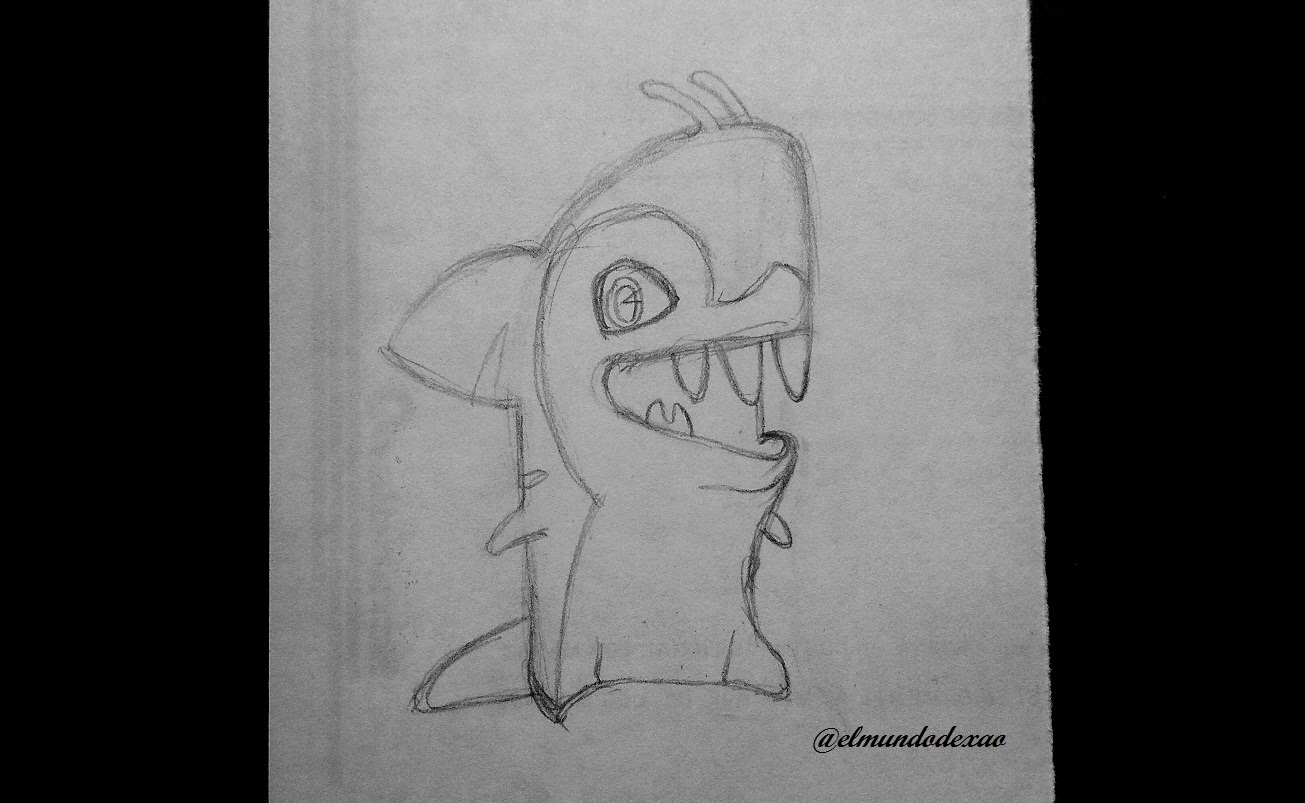
Step # 01: I will start by making the silhouette; I start it by making a kind of bullet shape, but leaving on the top the left side a little flat and on the right side I make the mouth; with this I already have the idea of both the size and the shape it should have.
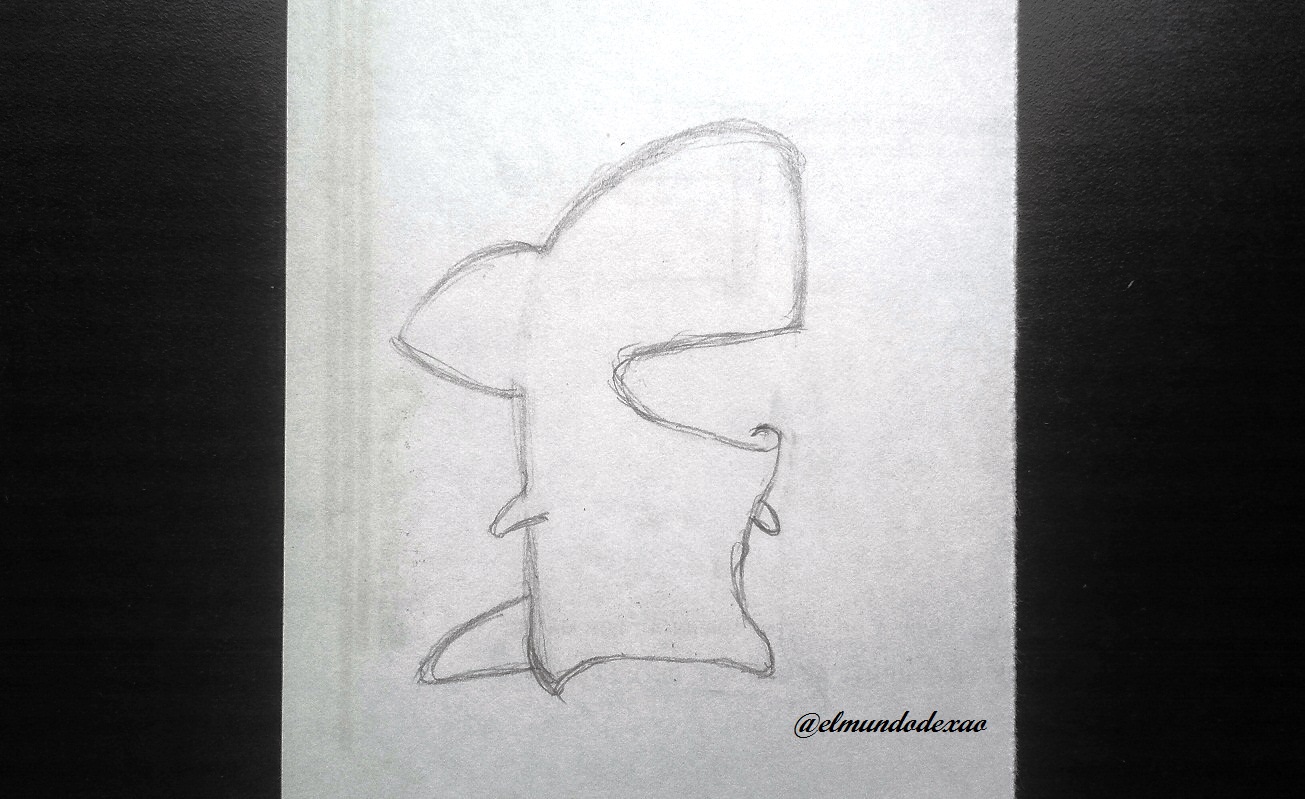
 Step # 02: Now I will draw the fins starting with the fins on the head, hands and tail, then I will draw the antennae and the stripes that demarcate the belly from the rest of the body; at this point you can already see most of the characteristics of our character.
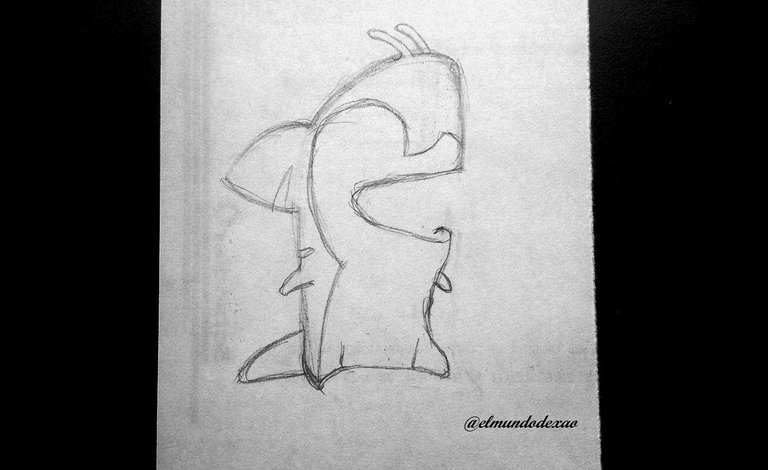 Step # 03: For the eye I will make a kind of oval cut in half which will have a circle inside to define the pupil; then I will work on the teeth and the inside of the mouth; with this I finish this sketch.
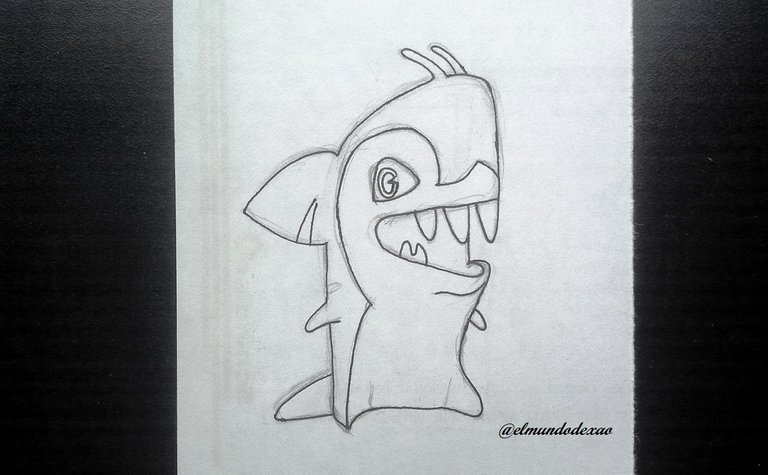
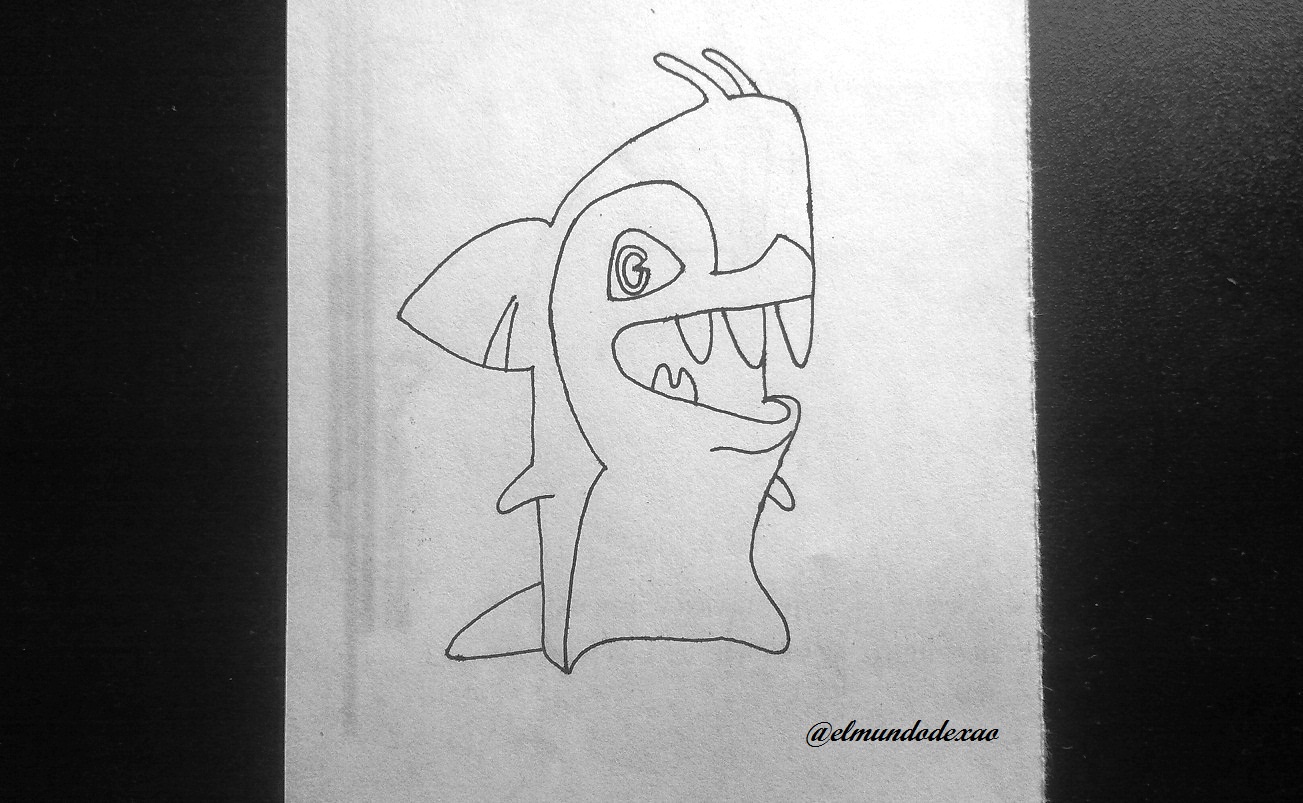
 Step # 04: Outline all the drawing with the marker pen so I can add any detail that I consider necessary; once the inking is finished I erase all the graphite and clean.
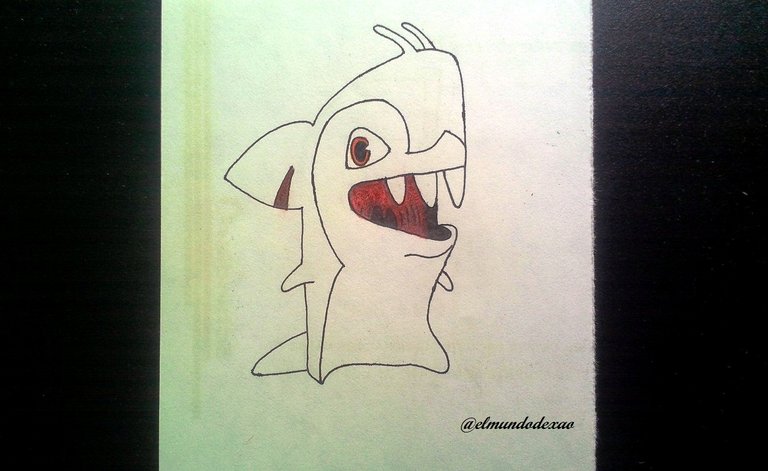
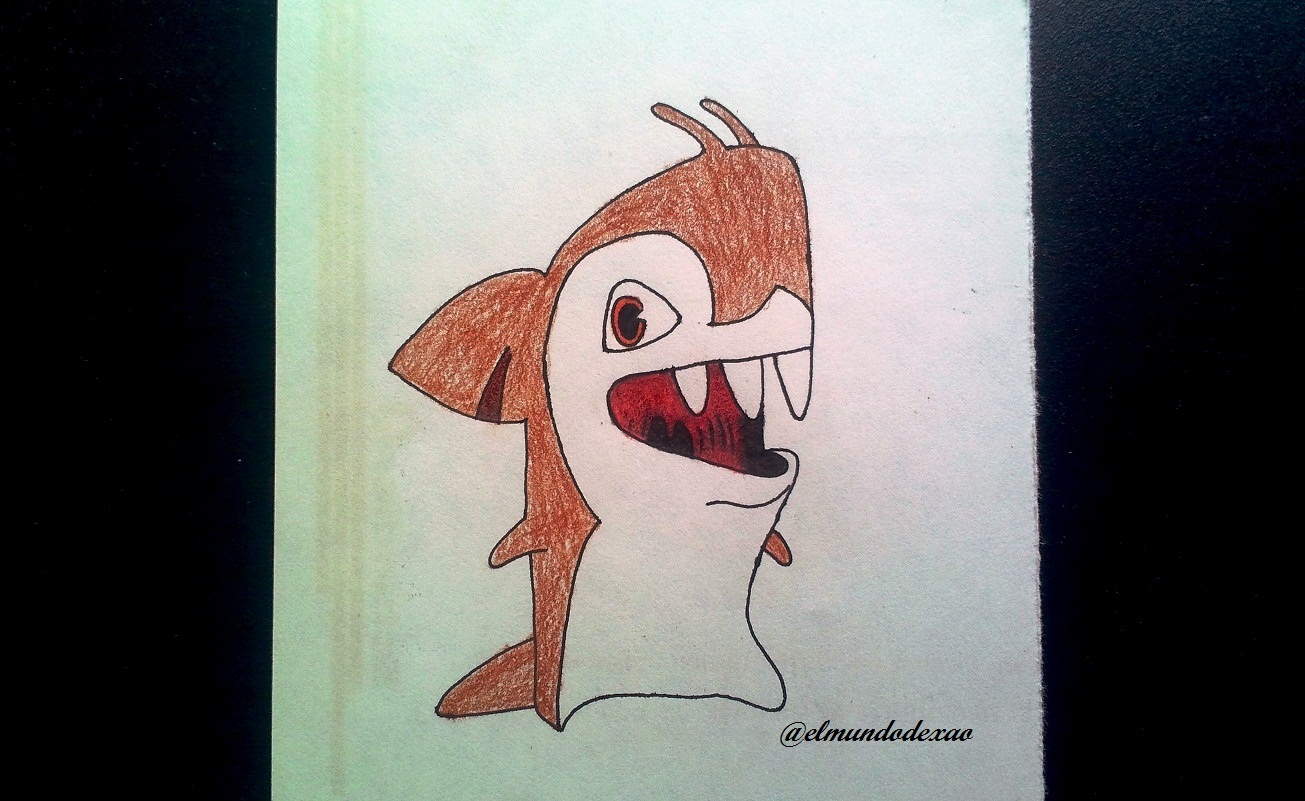
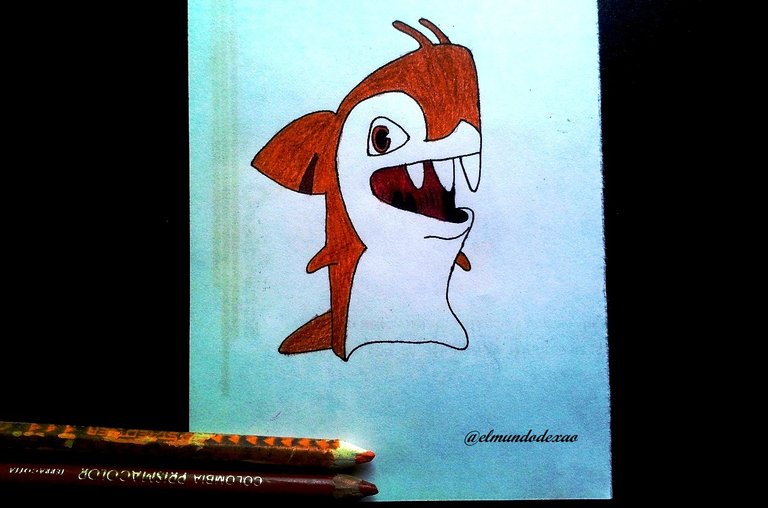
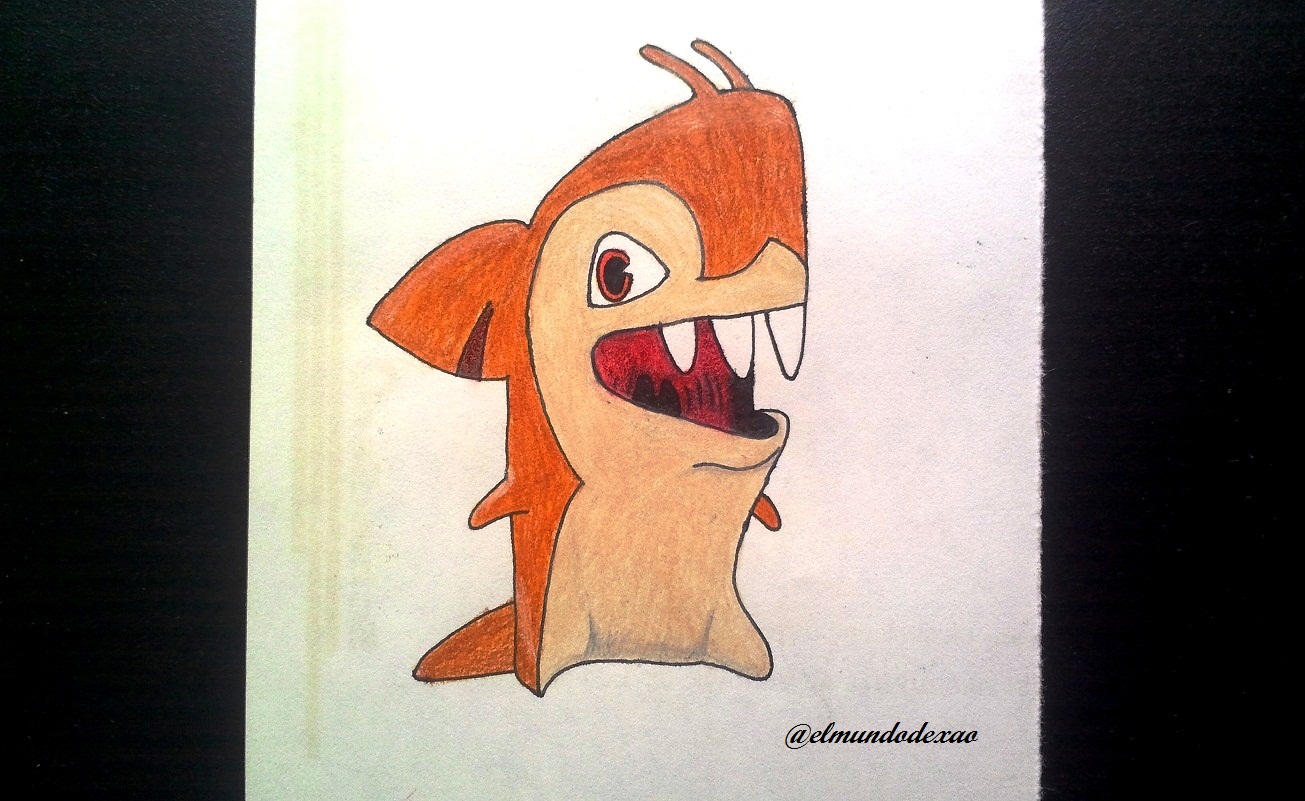
 Step # 05: I begin to color the mouth with red and black; first I color with red and then I blend with black to achieve this effect; then I put a little yellow on the eye and cover it with brown to give the desired effect; for the body I use a dark brown but I pass it softly and on top of it I apply a brick color; to give you a better idea you can see the colors in the photo; and for the belly a beige color with some touches of gray for the shadows.
 Step # 06: The environment will be easy since its habitat is the water; so some algae, corals and other details will be enough.
Well friends I hope you enjoyed this tutorial and before I say goodbye I would like to thank you for visiting my publication, so I say goodbye wishing you a nice morning, afternoon or evening depending on your location.
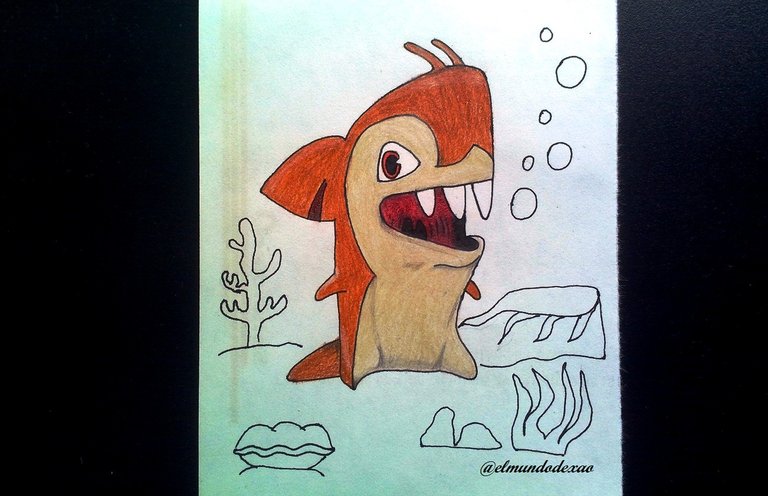
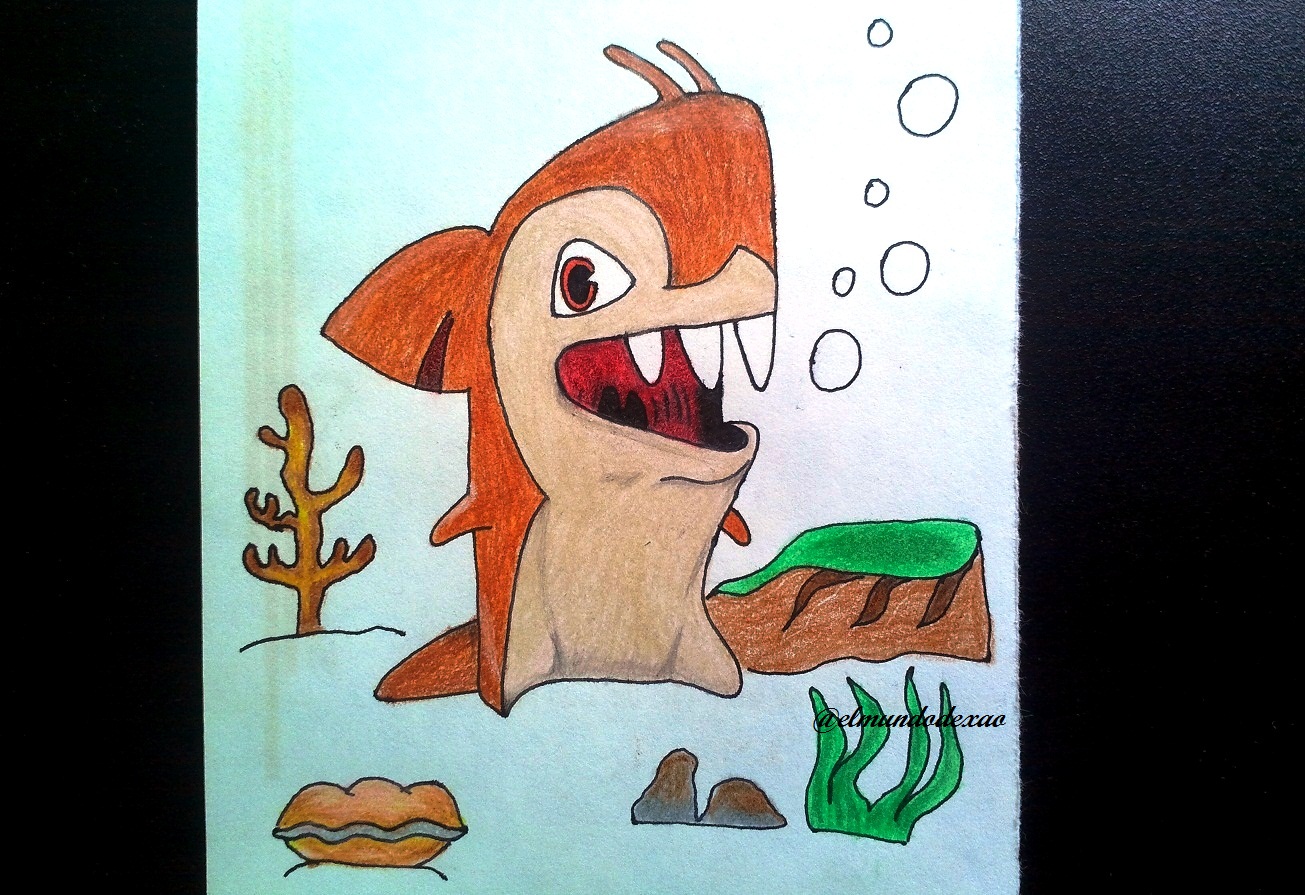

Photo Source: Own photos captured with a Síragon camera.
Modified size: With the Paint Program.
Thanks for visiting my Blog… AH! Don't forget to vote, reblogear, and comment.
Translated with:

www.DeepL.com/Translator (free version)

Dibujando la Babosa Tiburón de Bajoterra.
Hola amigos…
☺☺☺
Bienvenidos nuevamente a mi blog. Hoy compartiré con ustedes un dibujo de la serie animada bajoterra; esta babosas me parece ha quedado genial sobre todo por su mirada que se siente algo realista; su nombre es tiburón por lo que se deduce rápidamente que pertenece a las profundidades además de ser una de las babosas más raras de la serie. Tiene una apariencia bastante tierna es de color rojizo con la panza blanca y una aleta en su cabeza; aparte de ser muy buena nadadora dispara sus dientes como proyectiles.
A continuación menciono los materiales utilizados: Papel bond blanco, lápiz # 2, rotulador de 0.5, borrador y colores (Variedad de marcas).
Antes de continuar les recuerdo que al final les dejare el enlace que use en esta ocasión.

Comencemos con el paso a paso del dibujo:
Paso # 01: Comenzare por hacer la silueta; la inicio haciendo una especie de forma de bala, pero dejando en la parte de arriba el lado izquierdo un poco chato y del lado derecho hago la boca; con esto ya tengo la idea tanto del tamaño como de la forma que debe tener.
 Paso # 02: Ahora dibujare las aletas comenzando por la que tiene en la cabeza, manos y cola para luego hacer las antenas y el rayado que demarca la panza del resto del cuerpo; hasta este punto ya se puede apreciar la mayor parte de las características de nuestro personaje.

 Paso # 03: Para el ojo haré una especie de ovalo cortado a la mitad el cual tendrá adentro un circulo para definir la pupila; luego me dedico a los dientes y el interior de la boca; con esto doy por terminado este boceto.
 Paso # 04: Remarcar todo el dibujo con el rotulador y así poder agregar cualquier detalle que considere sea necesario; una vez terminado el entintado borro todo el grafito y limpio.

 Paso # 05: Comienzo a darle color a la boca con los colores rojo y negro; primero coloreo con el rojo y luego difumino con el negro logrando así ese efecto; después coloco un poco de amarillo en el ojo y lo cubro con marrón dando el efecto deseado; para el cuerpo utilizo un marrón oscuro pero lo paso suavemente y encima de este aplico un color ladrillo; para que se hagan una mejor idea pueden ver los colores en la foto; y para la panza un color beis con unos toques de gris para las sombras.


 Paso # 06: El entorno será fácil ya que su habitad es el agua; por lo que con unas algas, corales y otros detalles bastara.
Bueno amigos espero hayan disfrutado este tutorial y antes de despedirme quisiera agradecerles por visitar mi publicación, así me despido deseándoles una linda mañana, tarde o noche según sea su localización.


Fuente de Fotos: Propias capturadas con una cámara Síragon.
Modificado el tamaño: Con el Programa Paint.
Gracias por visitar mi Blog… ¡AH! No se olvide de votar, rebloguear y comentar.


