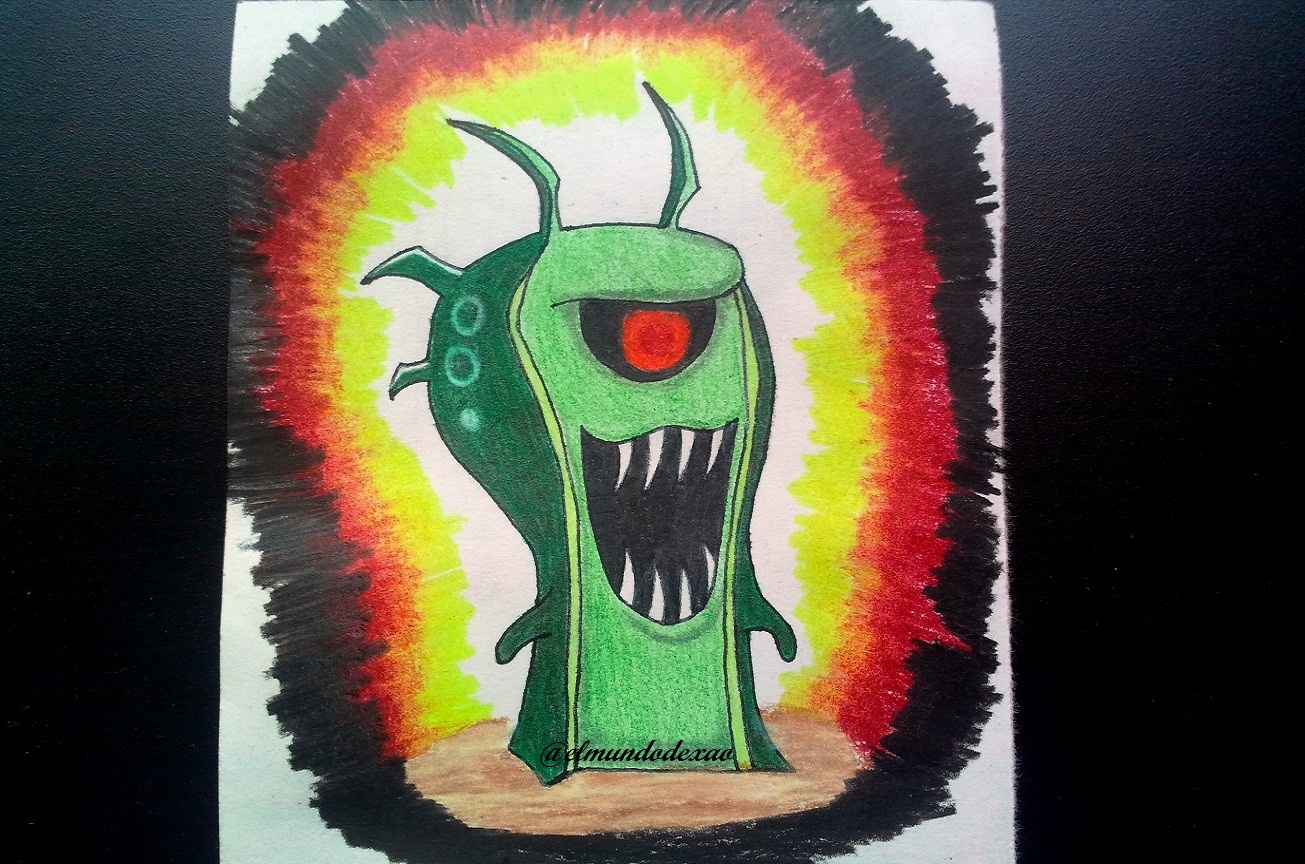
Hello Alien Art Hive community, I hope you are very well; today I want to share with you my new drawing of evil slugs from the animated series Slugterra, this time it is about the slug Goon Doc, an independent character, that is to say that he has no owner, in fact he is one of the villains; his most notable power is to control the mind.
Next I mention the materials used: 52 g white bond paper, 0.5 mechanical pencil, 0.5 marker, eraser and colors (Variety of brands).
Before I continue I will tell you that part of my learning is developed with videos or images searched on the Internet, so at the end I will leave you the link I used on this occasion.
Let's start with the step by step drawing:
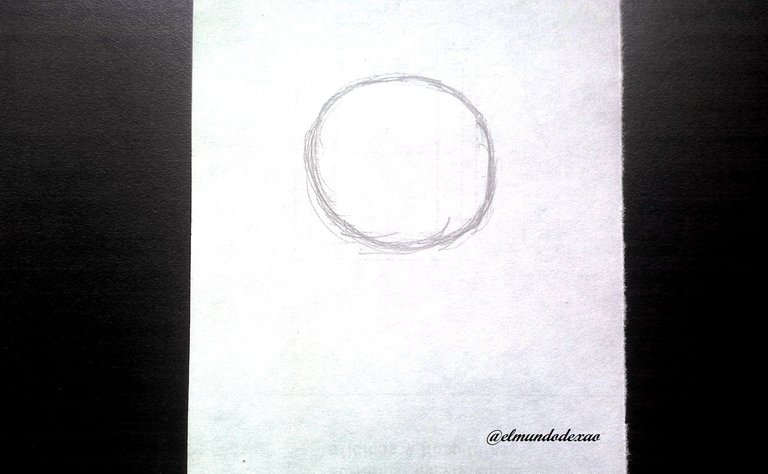
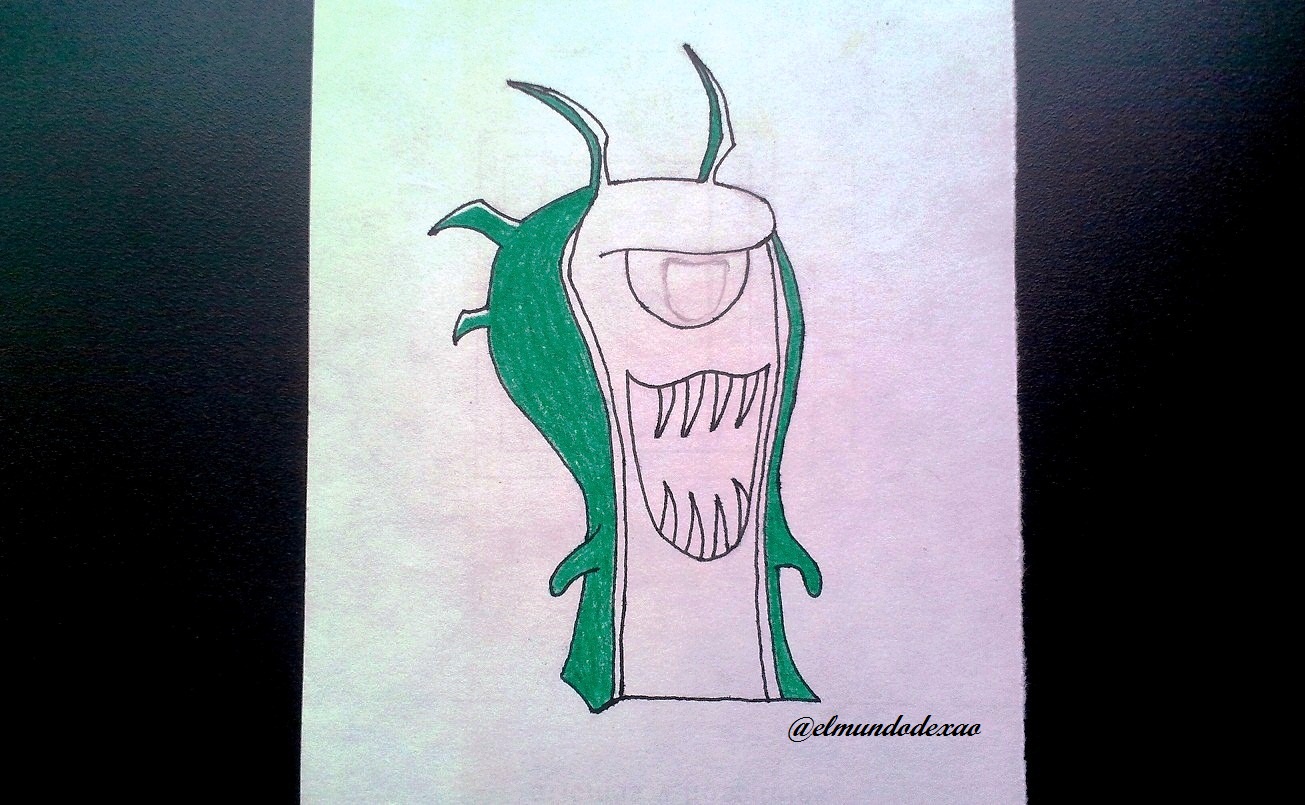
Step # 01: I start by making a circle or at least as close as possible to one; then on the left side I draw a vertical line bordering part of the circumference and so I take the line to where the base would be; in this way I determine the size and the silhouette I want to define.
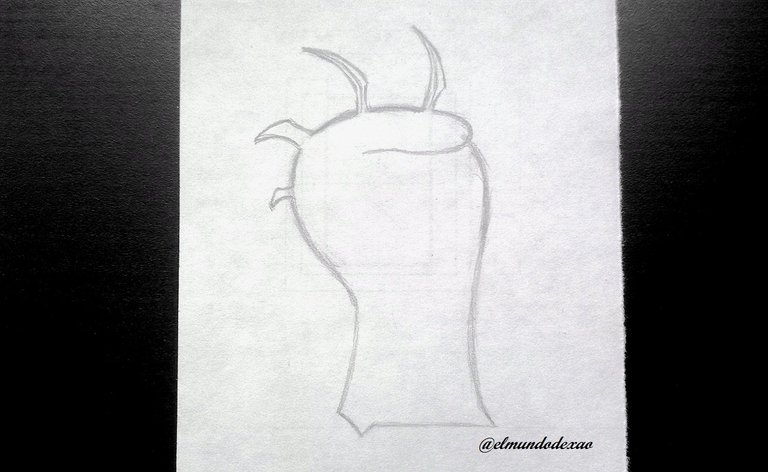
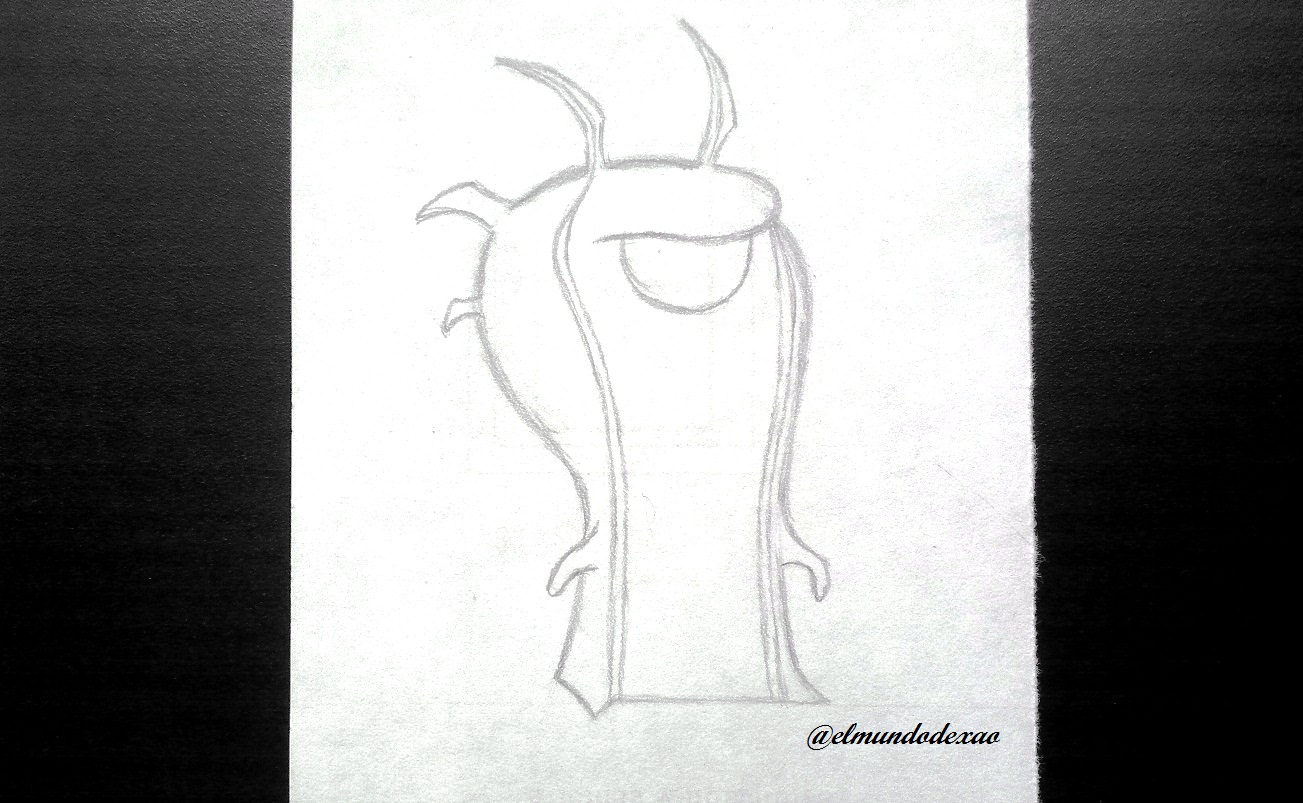
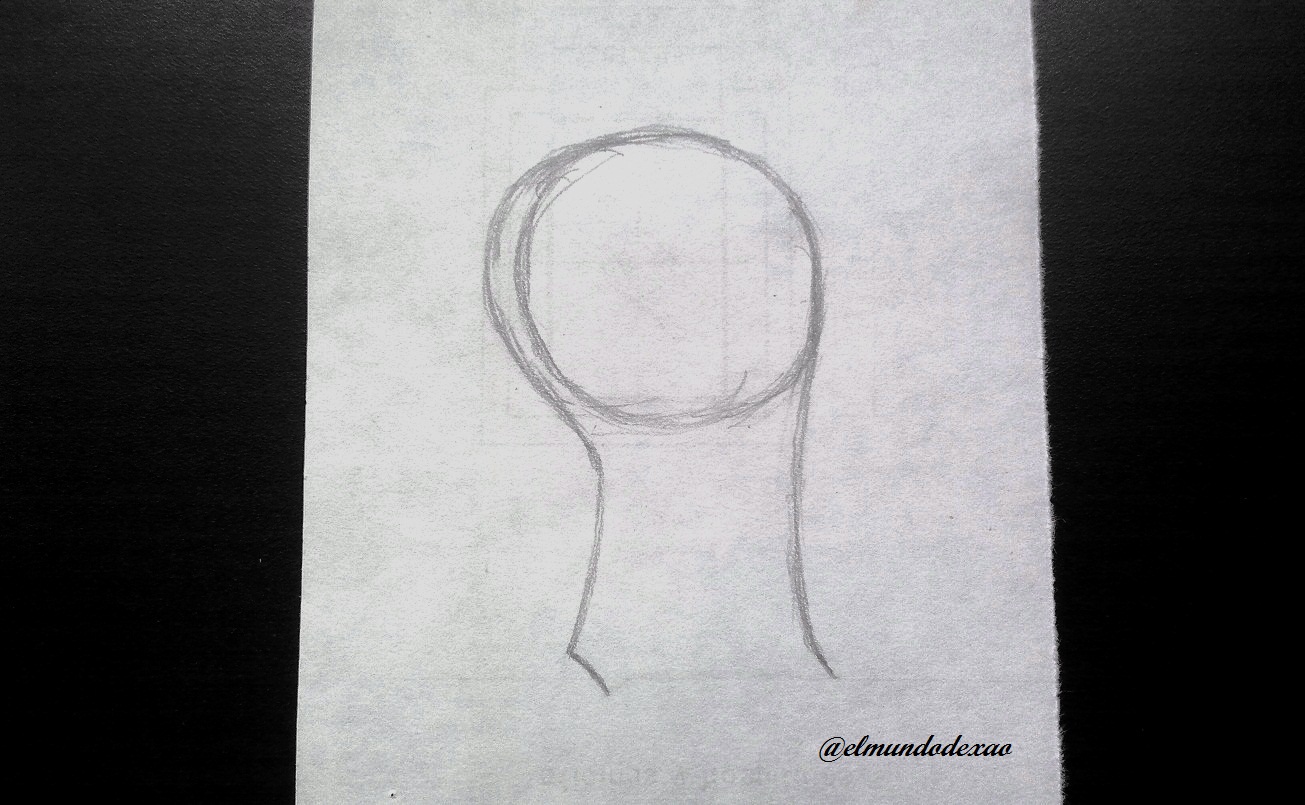 Step # 02: I draw the four spikes or horns on the head, erase the initial circle and so I can define the frown, the eye socket and the stripes that separate the belly from the rest of the body; once this is finished I place his hands and as you can see the definition of this character is quite remarkable.
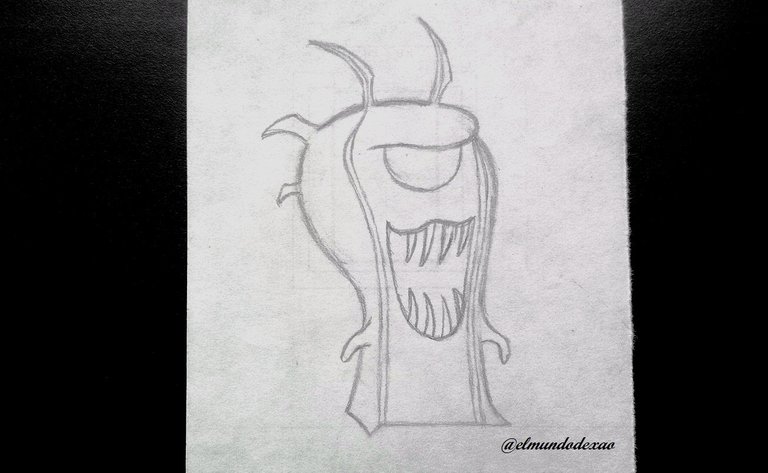
 Step # 03: The only thing left to do is to draw the mouth full of fangs to finish this sketch.
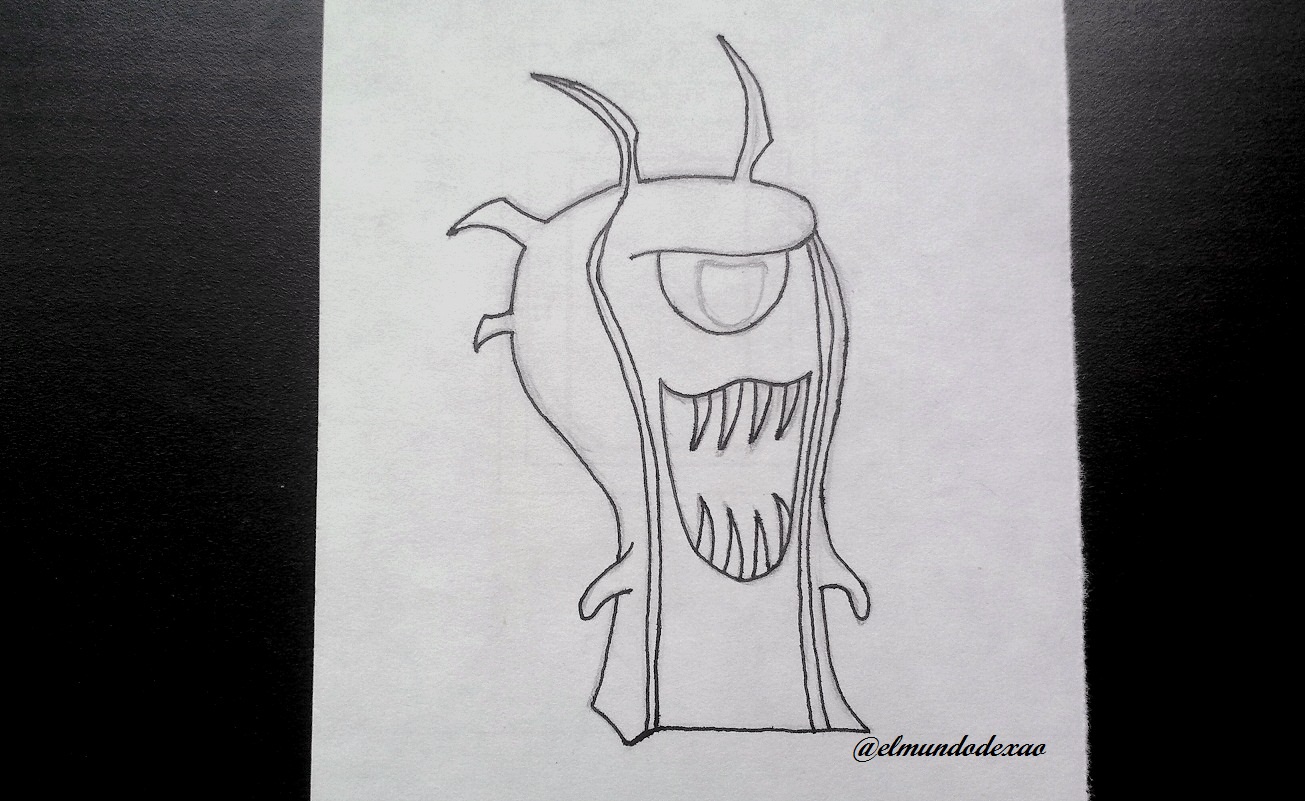
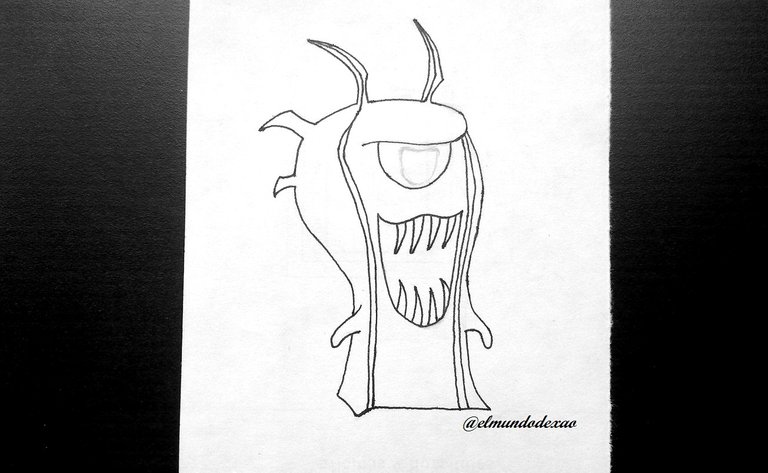
 Step # 04: Now I proceed to ink and give it a better finish, I erase the graphite section of the inner part of the eye, since I don't want to ink it but I need the mark to guide me when I start coloring.
 Step # 05: I start coloring with a green tone the whole part of the body, then I color again that same part with a brown tone and so I was able to achieve the color you see below.
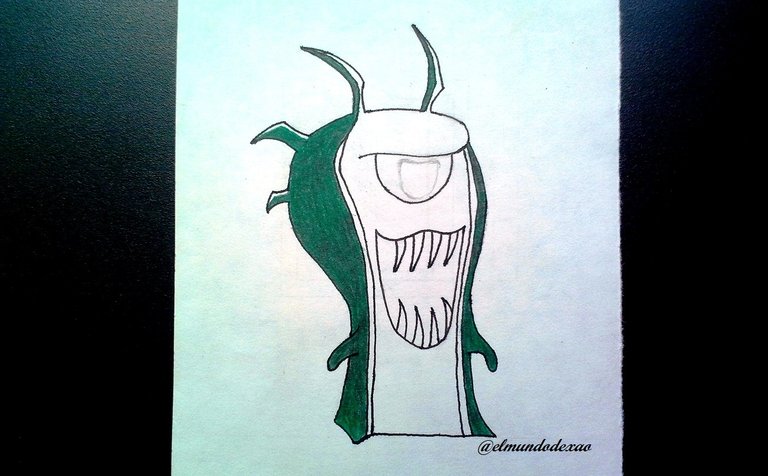 Step # 06: I continue adding a water green color to all the part of the belly and face; the stripe that divides all this area from the rest of the body also has water green but I add a little yellow to give it a slightly different tone and define the circular marks behind the head; you can also notice that for the shadow tones I have added a little gray around the eye, in the part below the mouth and on the belly.
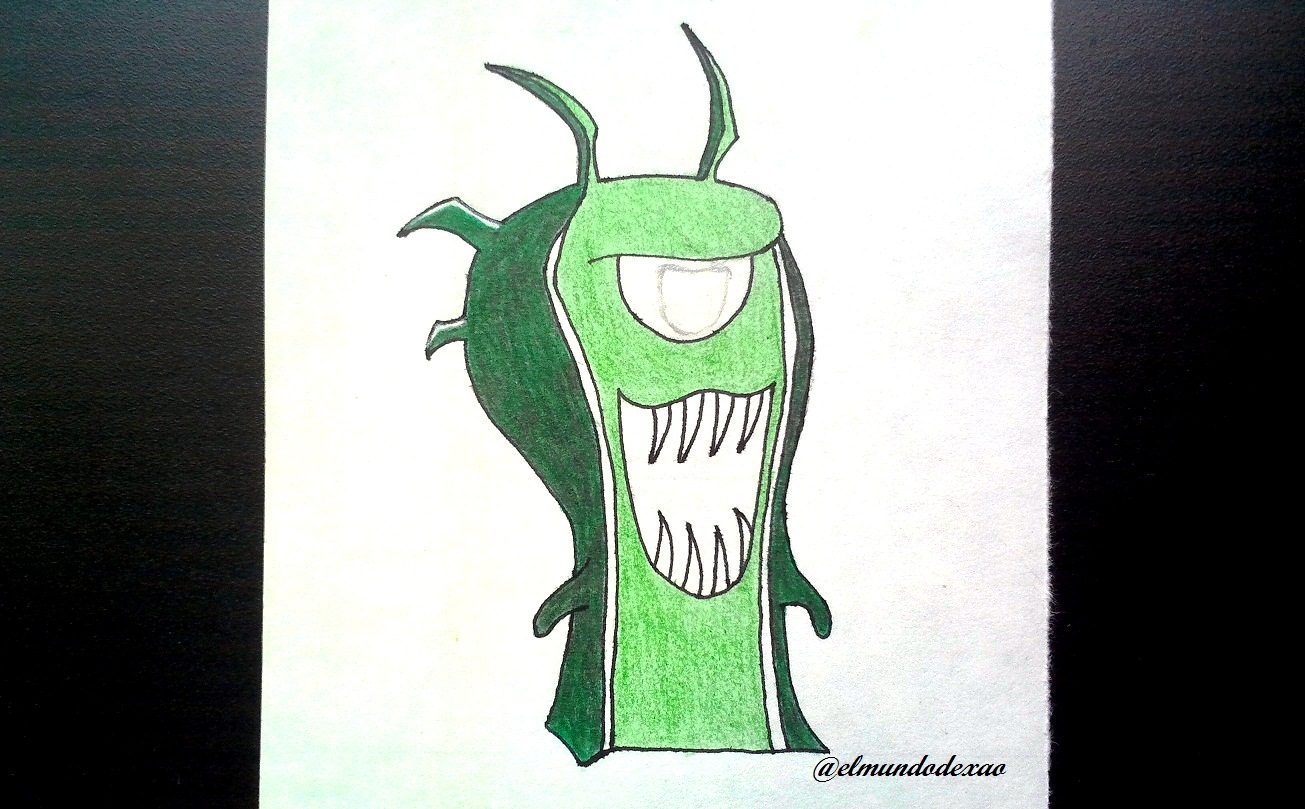
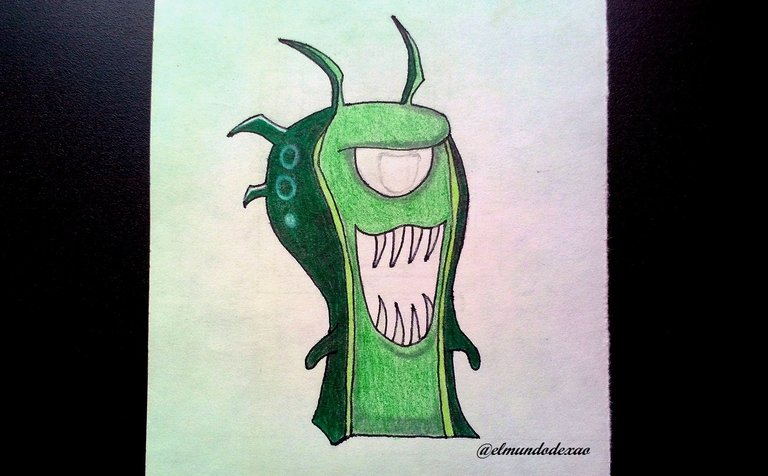 Step # 07: To conclude I will use a black on the inner part of the eye and the mouth, on the other hand for the center of the eye I will use red and the pupil will have a deeper red. Once the drawing is finished I make a glow that I start with a carmine color then I blur it towards the inner part with yellow, then I put yellow again more towards the center and finally a black color for the whole border and thus I conclude this publication; I say goodbye wishing you a nice morning, afternoon or evening depending on your location.
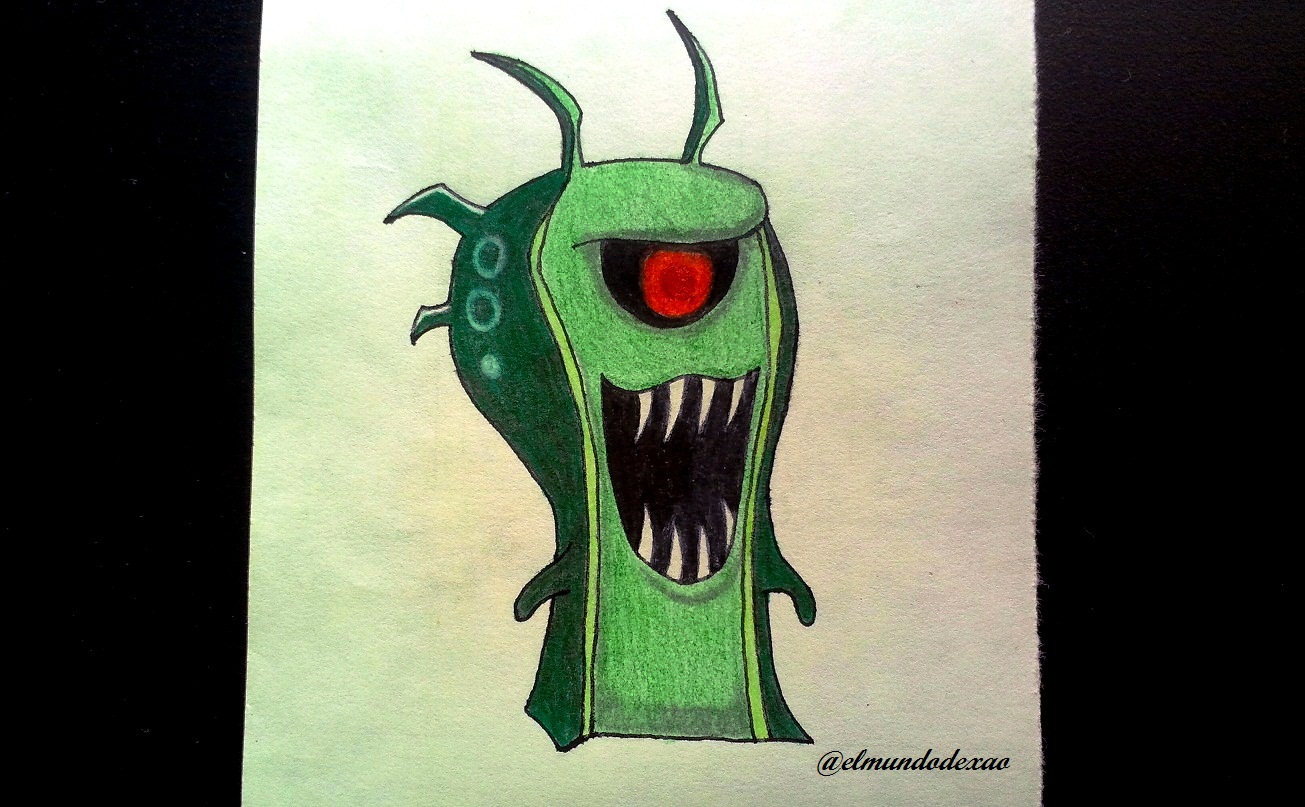
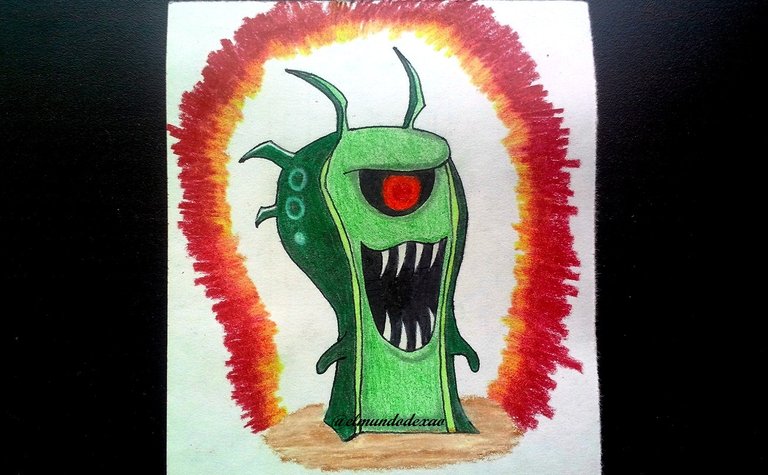

Photo Source: Own photos captured with a Síragon camera.
Modified size: With the Paint Program.
Thanks for visiting my Blog… AH! Don't forget to vote, reblogear, and comment.
Translated with:

www.DeepL.com/Translator (free version)

Dibujando la Babosa Goon Doc de Bajoterra.
Hola comunidad de Alien Art Hive, espero estén muy bien; hoy les quiero compartir mi nuevo dibujo de babosas malvadas de la serie animada bajoterra, en esta ocasión se trata de la babosa Goon Doc, un personaje independiente, es decir que no tiene dueño, de hecho es uno de los villanos; su poder más notable es controlar la mente.
A continuación menciono los materiales utilizados: Papel bond blanco de 52 g, portaminas 0.5, rotulador de 0.5, borrador y colores (Variedad de marcas).
Antes de continuar les comento que parte de mi aprendizaje lo desarrollo con videos o imágenes buscadas en Internet por lo que al final les dejare el enlace que use en esta ocasión.

Comencemos con el paso a paso del dibujo:
Paso # 01: Comienzo haciendo un circulo o por lo menos lo más parecido a uno; luego por la parte izquierda trazo una línea vertical bordeando parte de la circunferencia y así llevo la línea hasta donde estaría la base; de esta manera determino el tamaño y la silueta que quiero definir.

 Paso # 02: Dibujo las cuatro púas o cuernos que lleva en la cabeza, borro el circulo inicial y así puedo definir el ceño fruncido, la cuenca del ojo y las rayas que separan la panza del resto del cuerpo; una vez terminado esto ubico sus manos y como podrán ver ya la definición de este personaje es bastante notable.

 Paso # 03: Solo faltaría dibujar la boca repleta de colmillos para dar por terminado este boceto.
 Paso # 04: Ahora procedo a entintar y así darle un mejor acabado, borro el grafito a sección de la parte interna del ojo, ya que no lo quiero entintar pero necesito la marca para guiarme cuando comience a colorear.

 Paso # 05: Comienzo a colorear con un tono verde toda la parte del cuerpo, luego vuelvo a colorear esa misma parte con un tono marrón y así pude lograr el color que ven a continuación.

 Paso # 06: Continuo agregando un color verde agua a toda la parte de la panza y la cara; la raya que divide toda esta área del resto del cuerpo también lleva verde agua solo que le agrego un poco de amarillo para darle un leve tono distinto y defino las marcas circulares que posee detrás de la cabeza; también pueden notar que para los tonos de sombra he agregado un poco de gris alrededor del ojo, en la parte de debajo de la boca y en la panza.

 Paso # 07: Para concluir utilizare un negro en la parte interna del ojo y la boca, en cambio para el centro del ojo utilizo rojo y la pupila tendrá un rojo más profundo. Una vez terminado el dibujo le hago un resplandor que inicio con un color carmín luego lo difumino hacia la parte interna con amarillo, después vuelvo a colocar amarillo más hacia el centro y por último un color negro para todo el borde y así doy por concluida esta publicación; me despido deseándoles una linda mañana, tarde o noche según sea su localización.


Fuente de Fotos: Propias capturadas con una cámara Síragon.
Modificado el tamaño: Con el Programa Paint.
Gracias por visitar mi Blog… ¡AH! No se olvide de votar, rebloguear y comentar.


