Hi friends,
I bring you greetings in the name our lord and savior Jesus Christ, Amen. its a season of love, so it wont be a bad idea to ask that God will grant the desires of your heart, Am very sure that He who promised is faithful, the entire universe were structured in 6 days, yes it was 6 days, you may be thinking that all hope is lost but i assure you that in the remaining few days, your testimony enter into your hands, Amen
In the spirit of the season, we don't joke with Christmas songs but while we were having fun, the mixer amp, began to malfunction, it attempted to still my joy but since it was a choice to keep my joy or let it go, so l had to keep my while trying to resolve the problem.
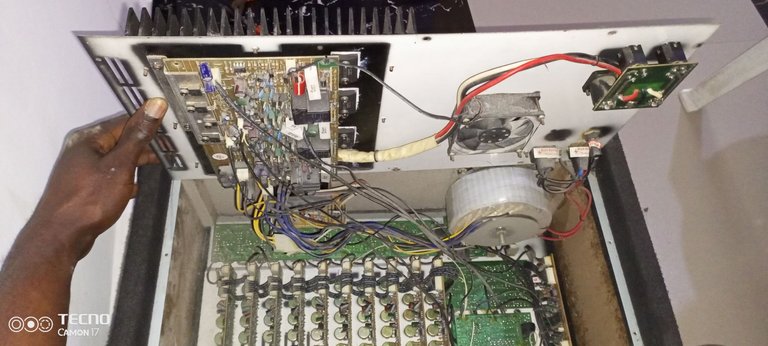
Diagnosing faulty electronic, for me is a difficult think, reasons that i don't have a machine that dose that but we will have to still do the needful, though stressful and time consuming but the joy is that at the end of the day, the problem will be solved and you will at least gain your joy to the full.
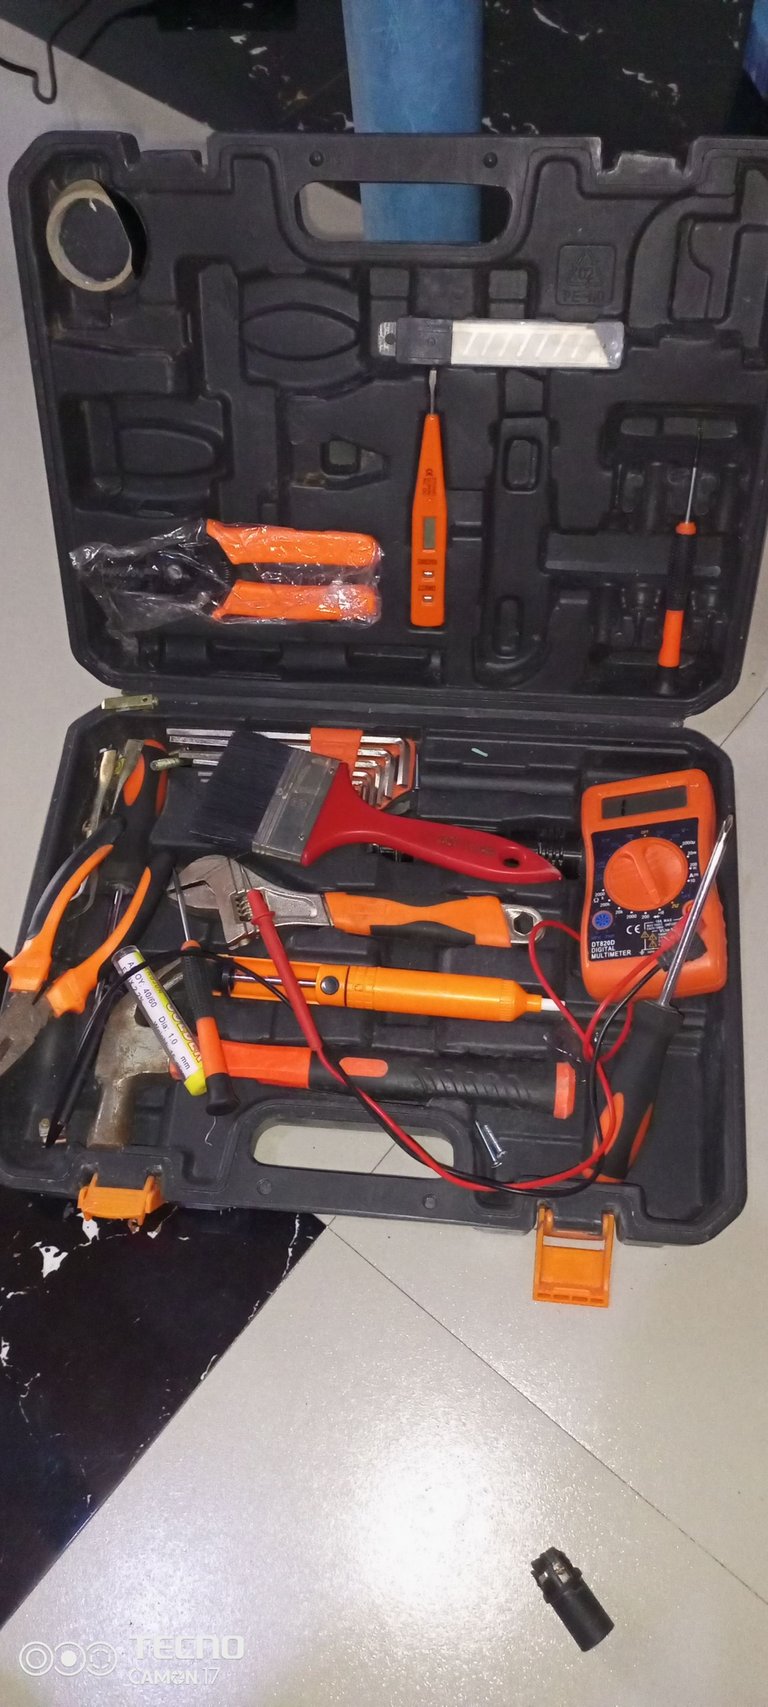
With my tool kit i was able to diagnose and fixe the amplifier in a very short time. my tool box contain about 24 to 26 tools that will assist in the process. Amongst the many tools, in the box, a few of them were very useful and reliable. you have the flat and star screw drive, you have the pen, the long nose plier, cable cutter, lead sucker, soldering iron and the digital meter.
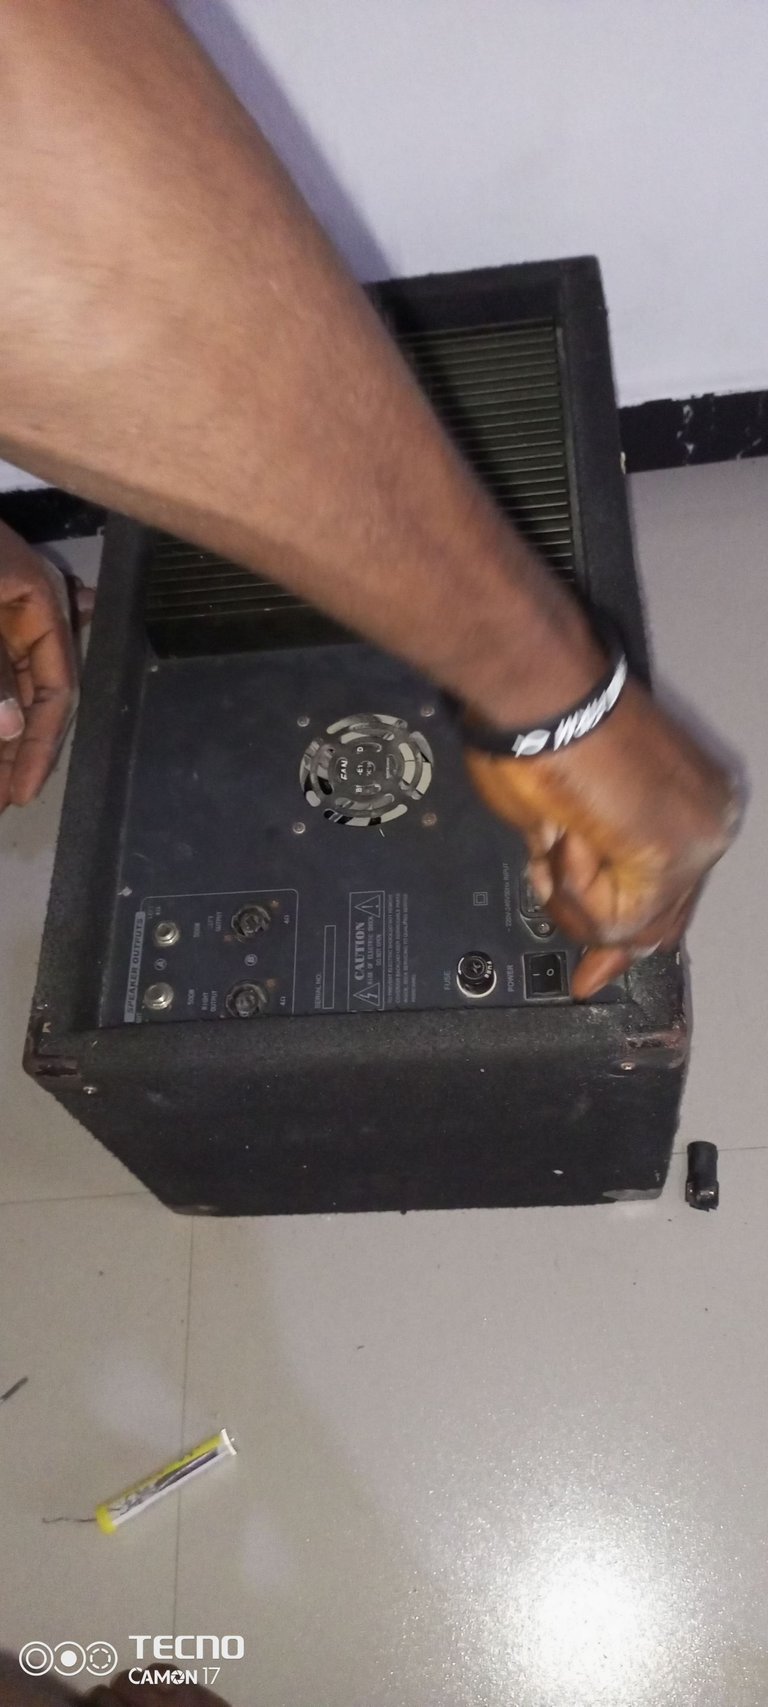
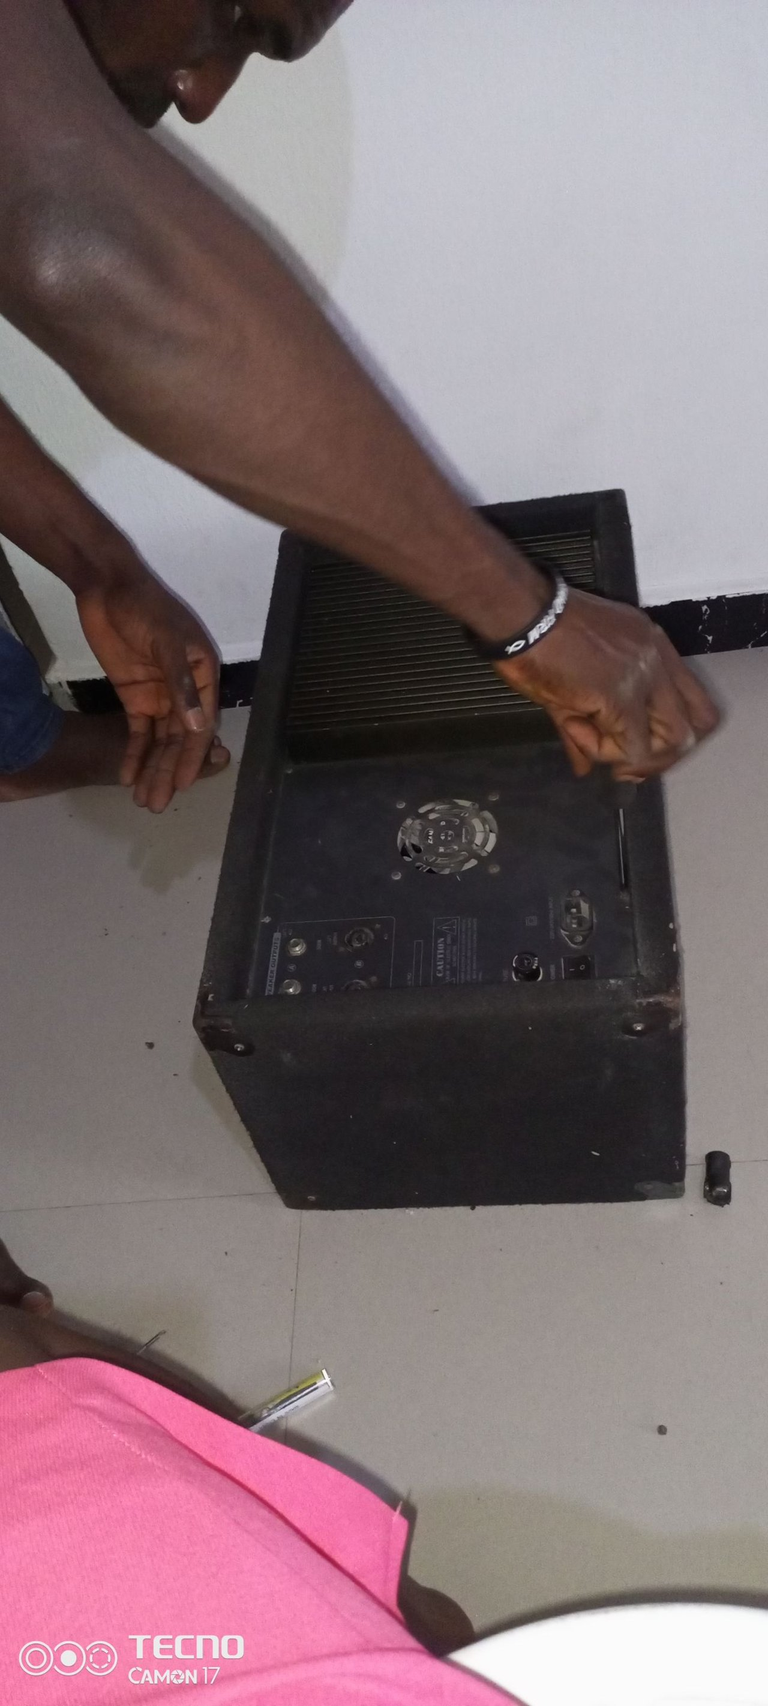
you have to carefully look at the amplifier, to find were the crews are located and as well to know what type of screw is needed to open the garget, many at times technician do make that mistake of trying to forcefully opening the garget with the wrong tools and will result in spoiling it, or damaging part of the equipment, so do well to check and be sure.
After removing the screws, carefully open the back side for easy access to the components, for diagnoses.
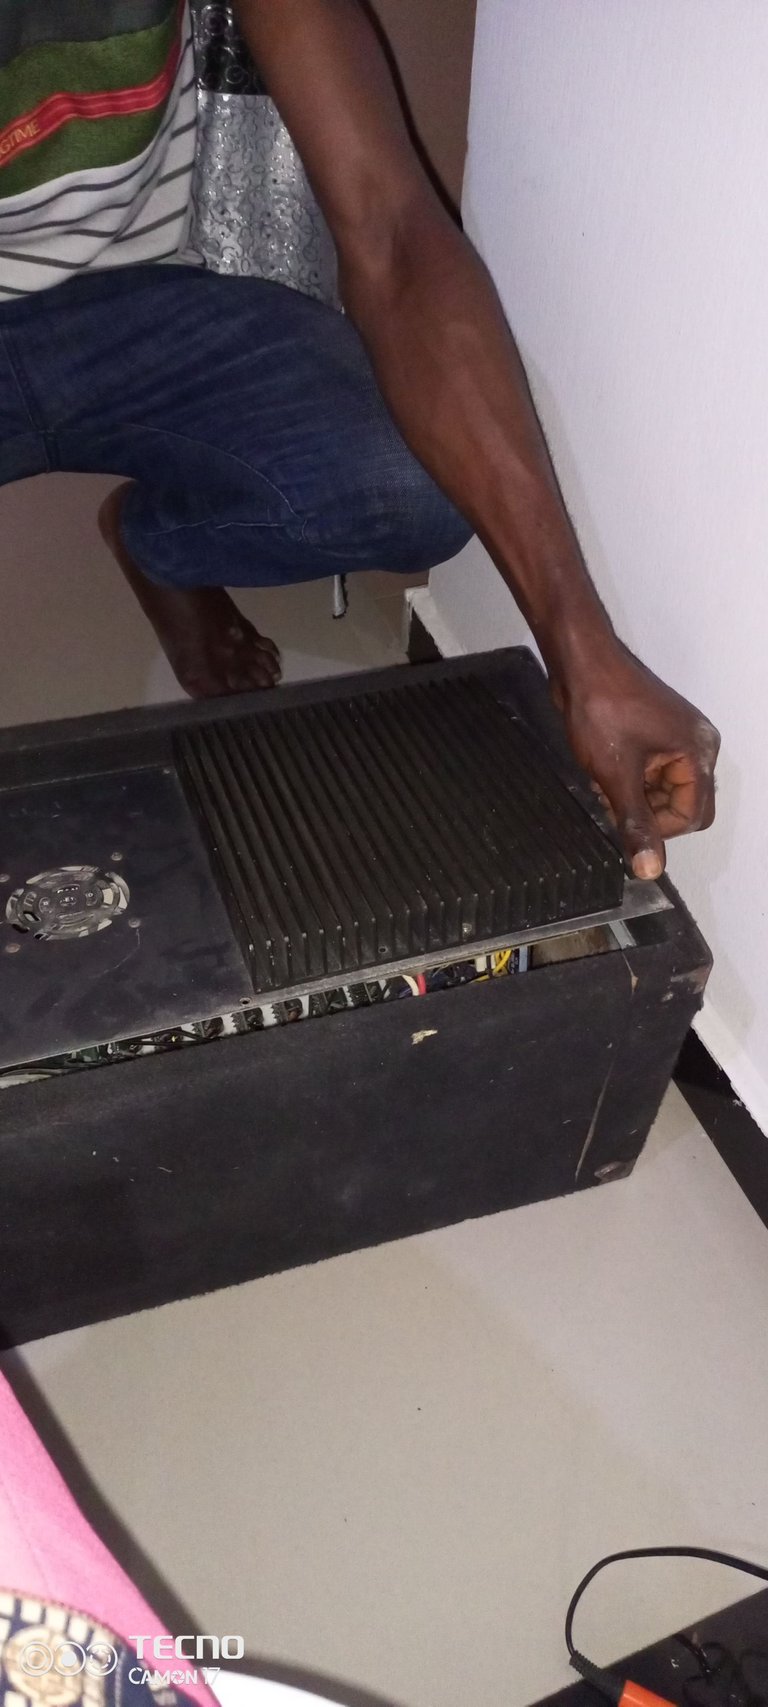
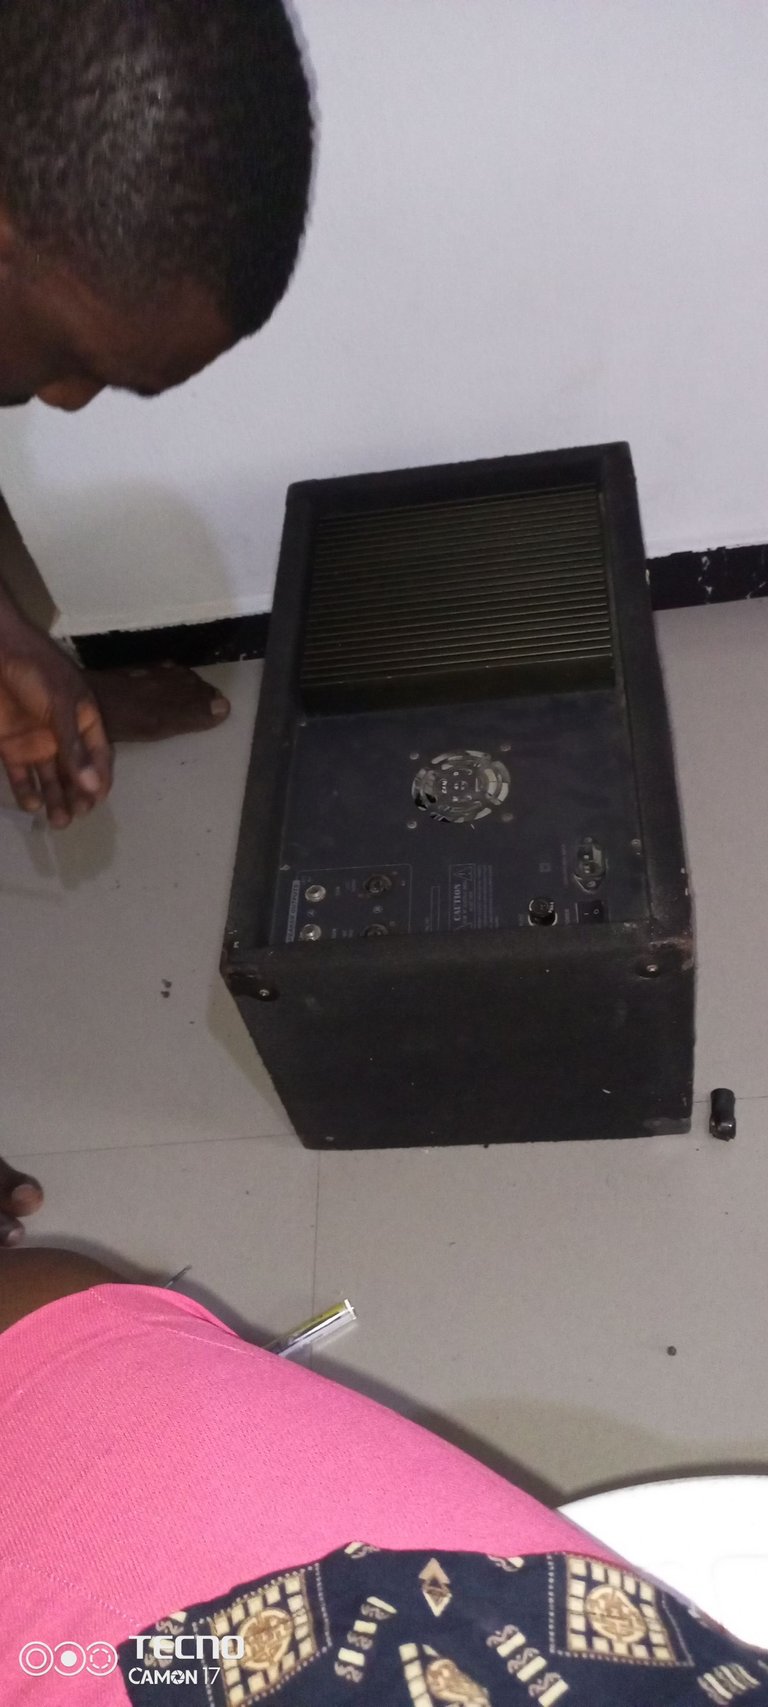
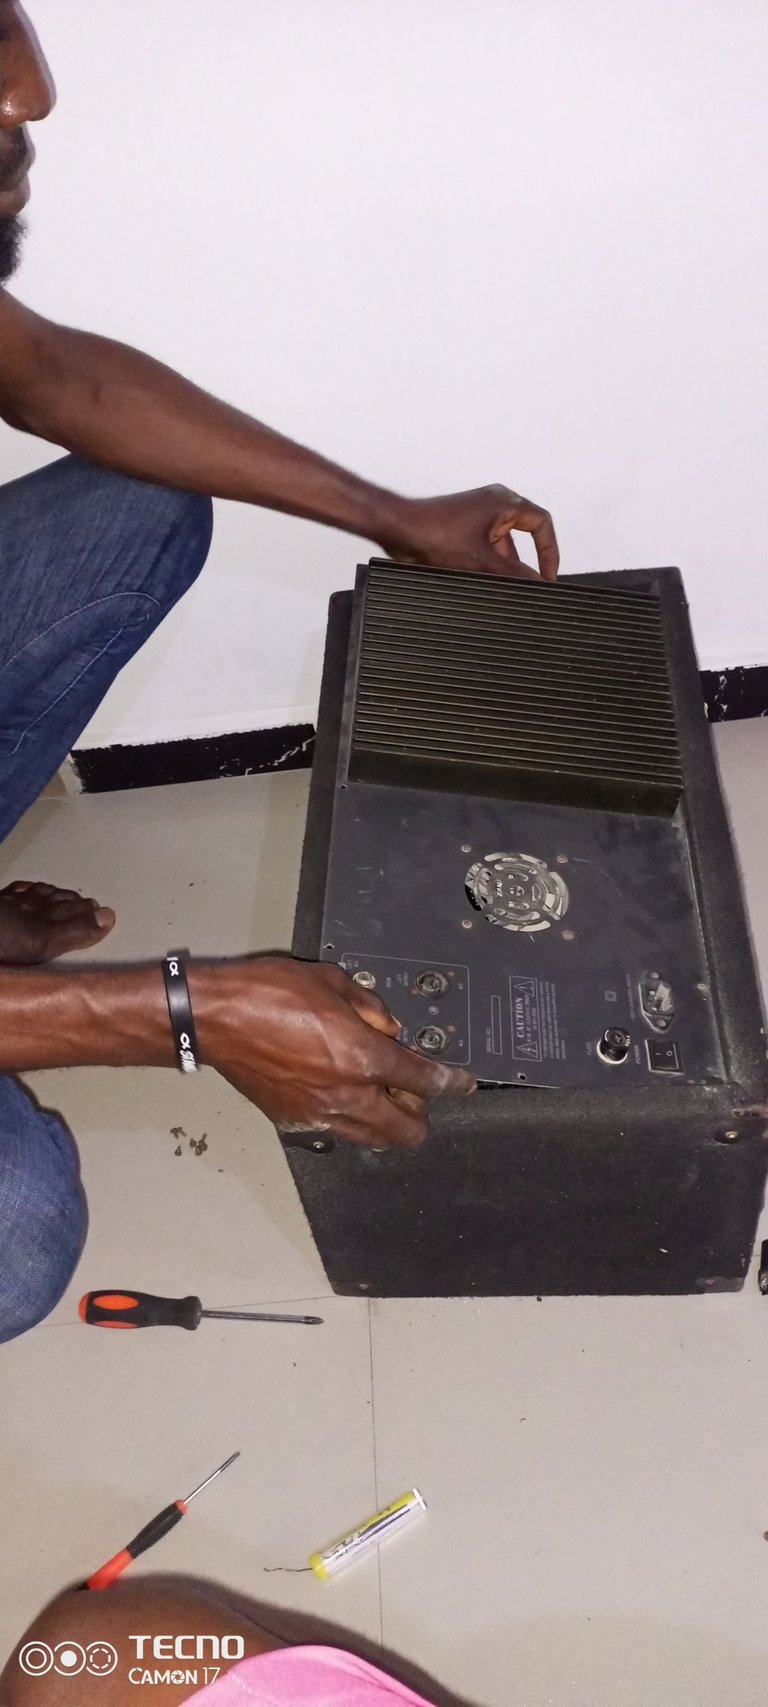
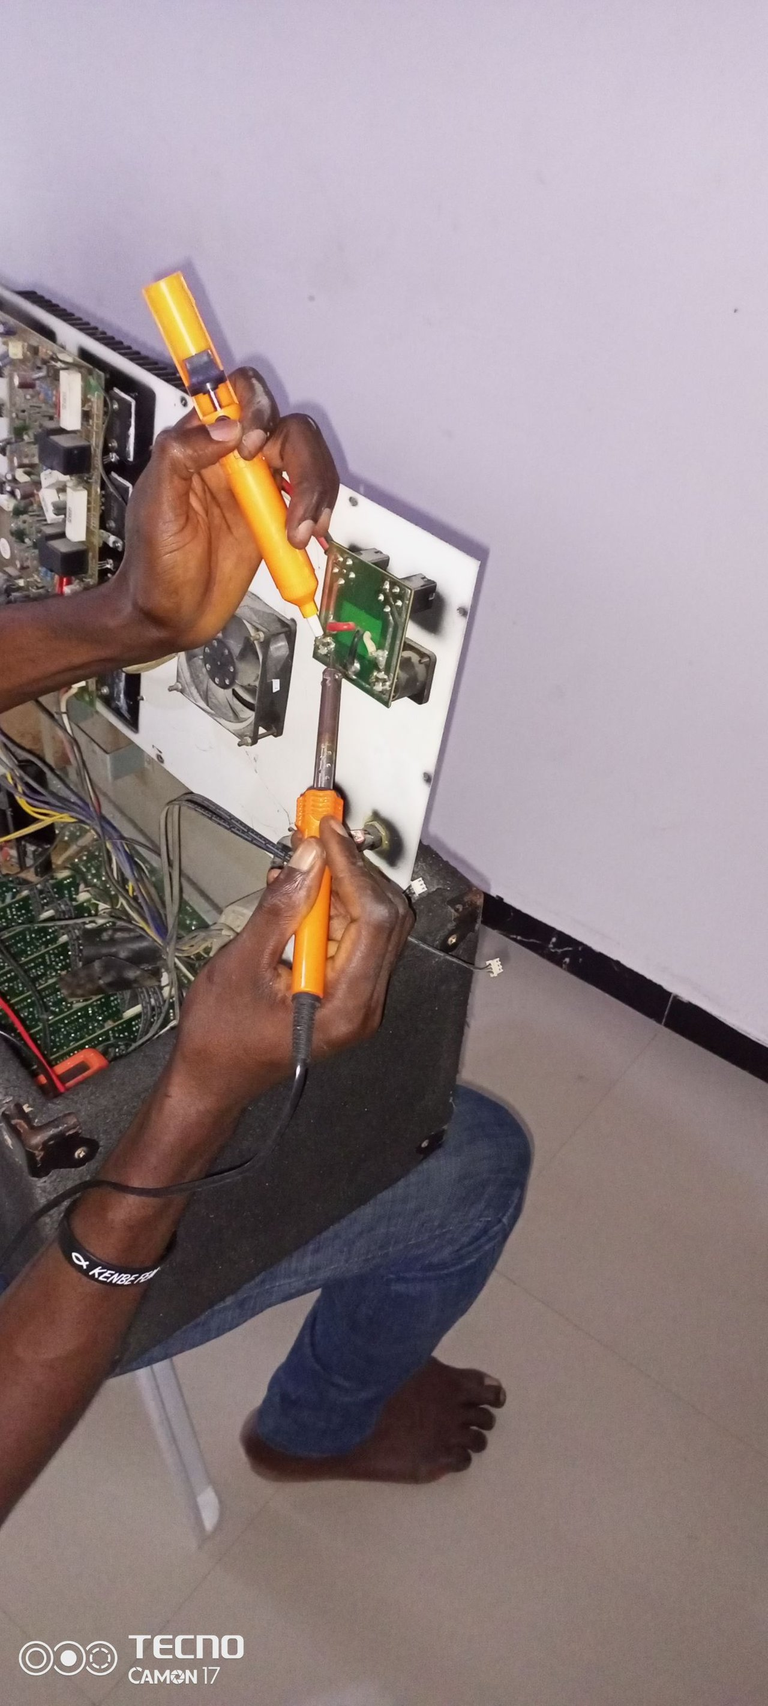
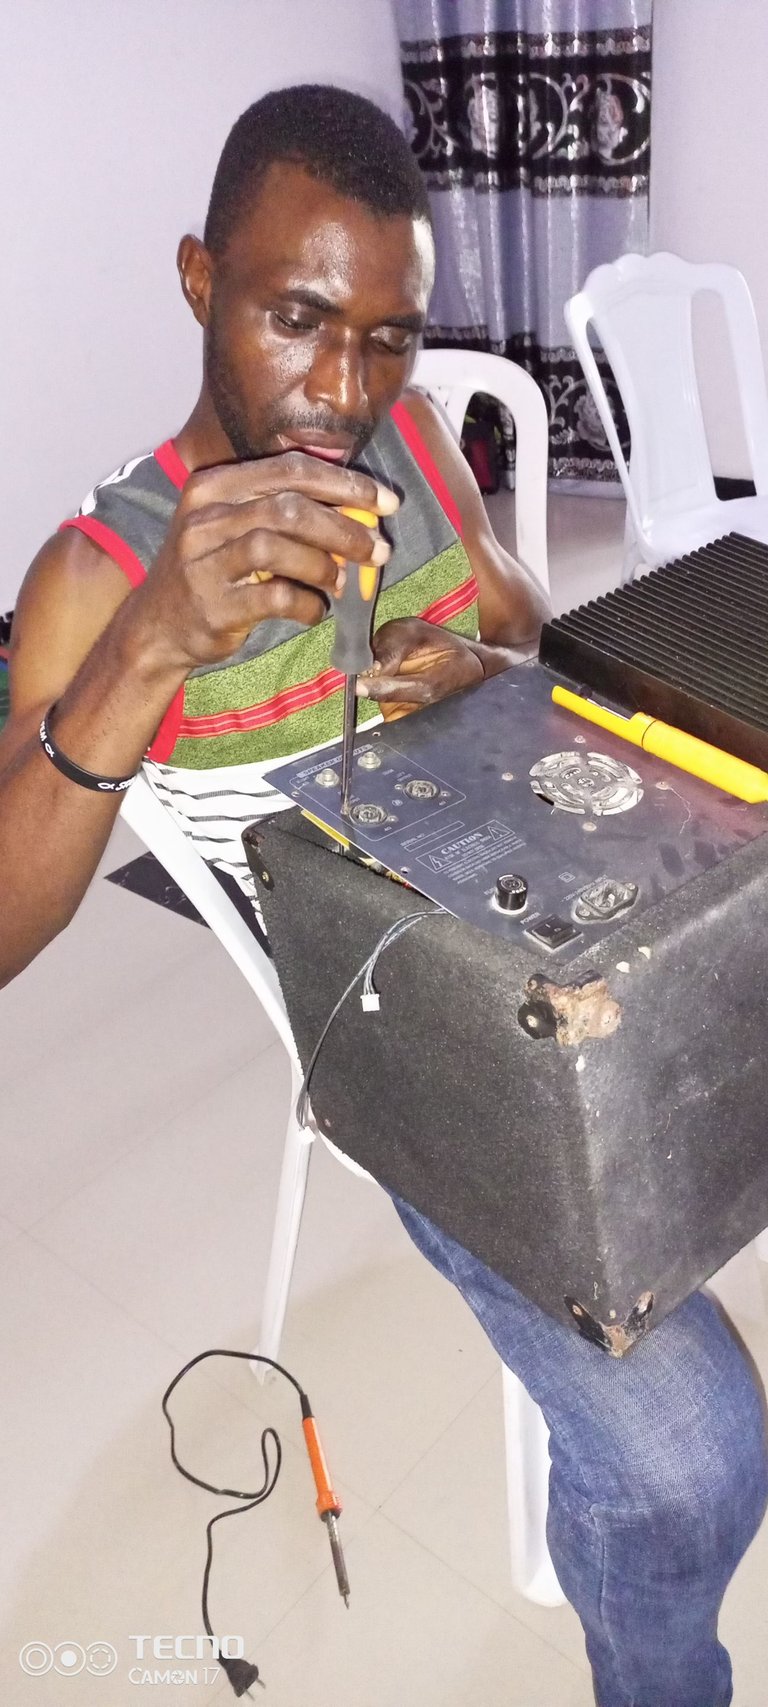
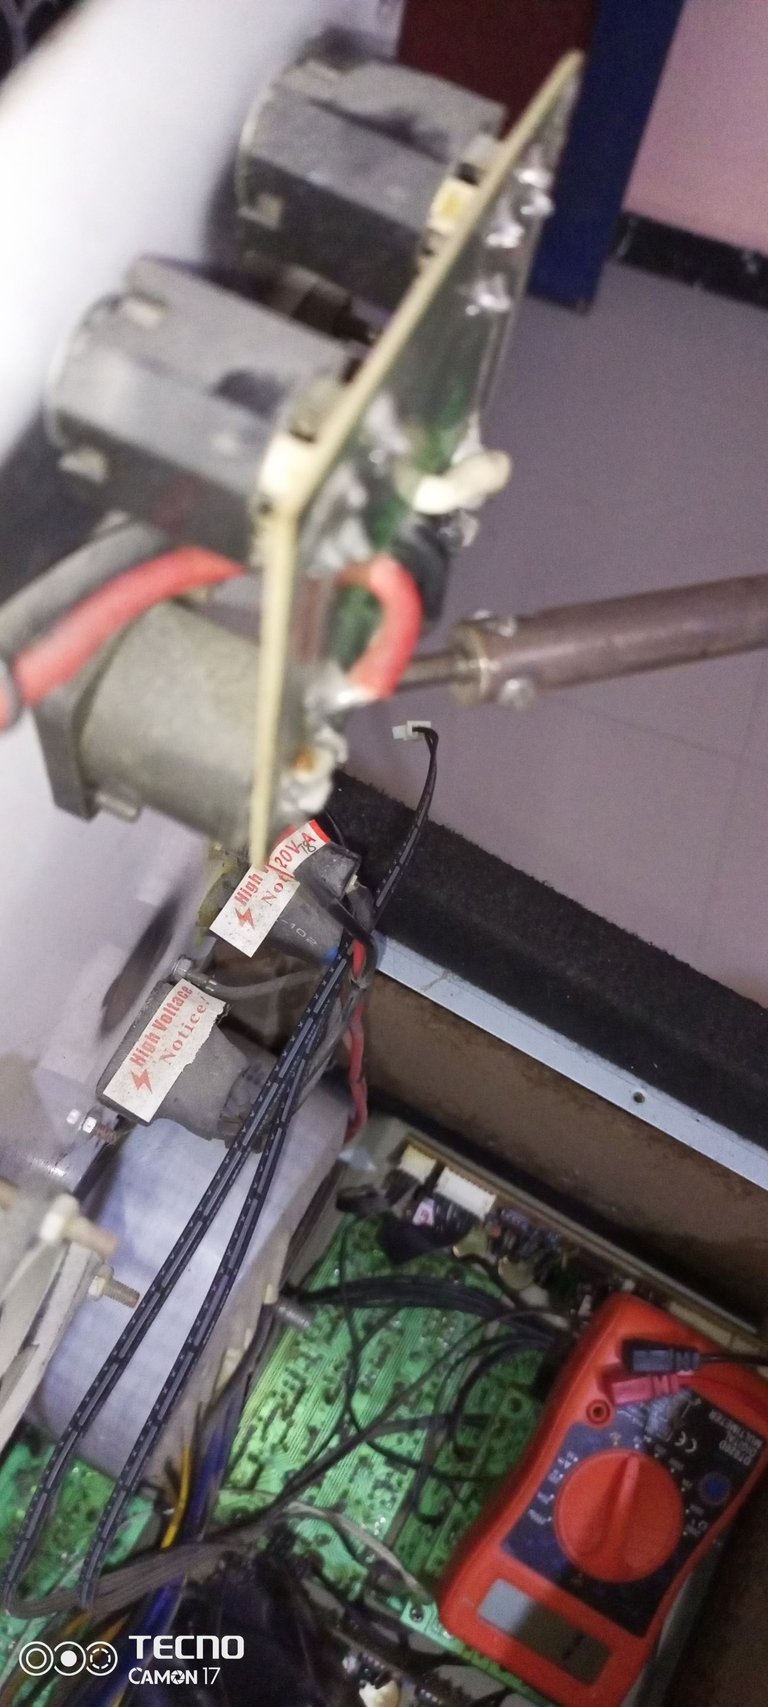
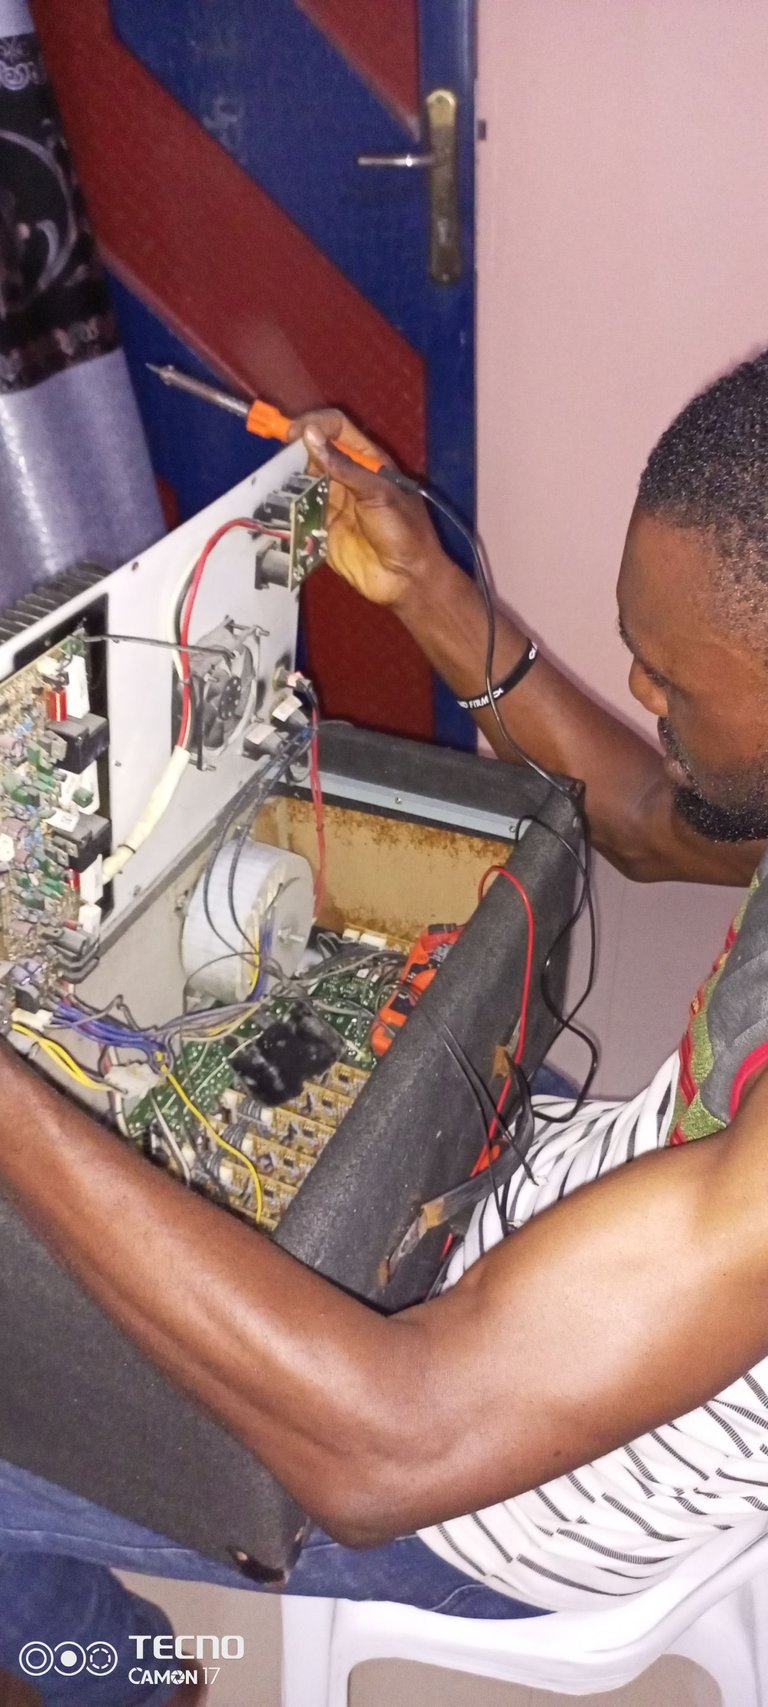
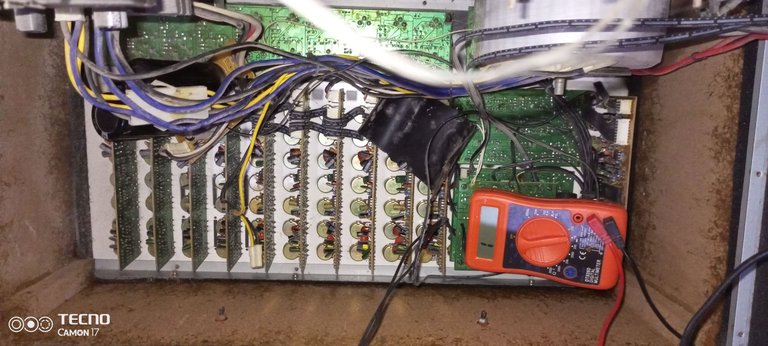
with the use of multi-meter you set it to appropriate, parameter and begin checking the different segment of the board beginning from the power unit and finally you end at the output unit.
I discovered that the fan was not working and again the output unit was faulty so i had to put more concentration on the faulty area, the output capacitors were week so i had to replaces it and also bring back to life the the fan that was not blowing to enhance effective productivity.
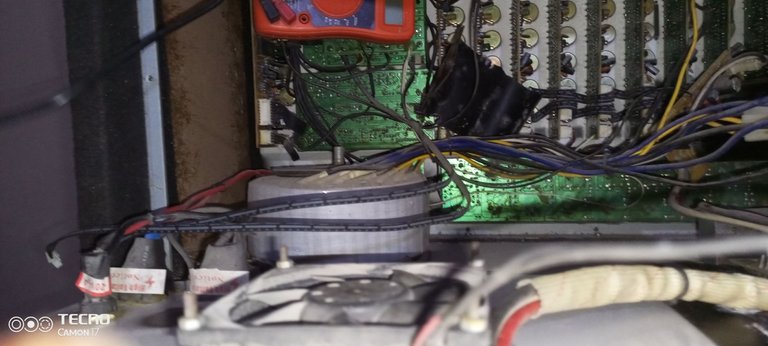
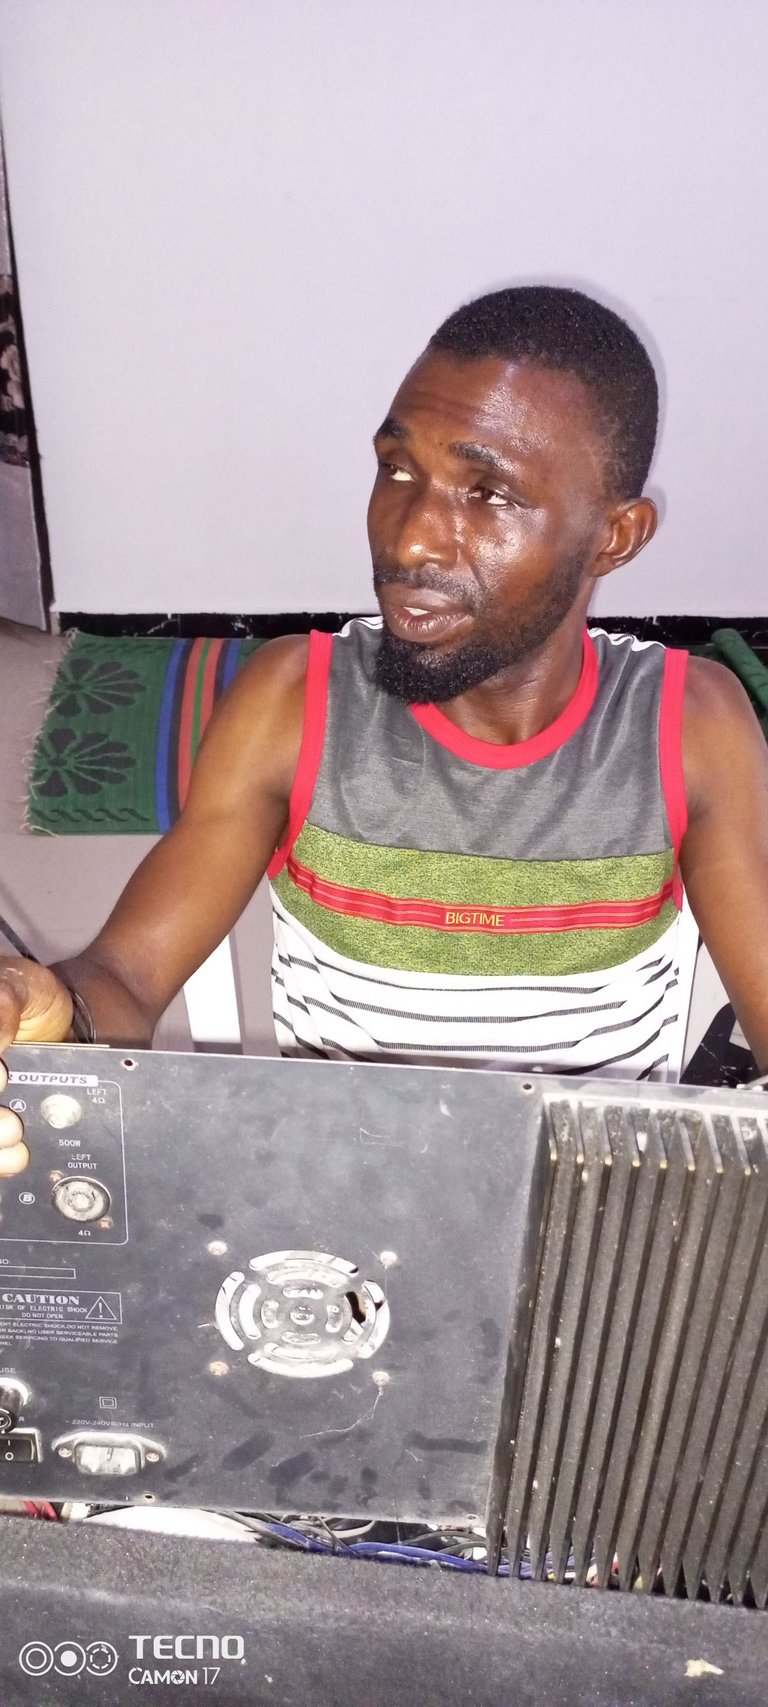
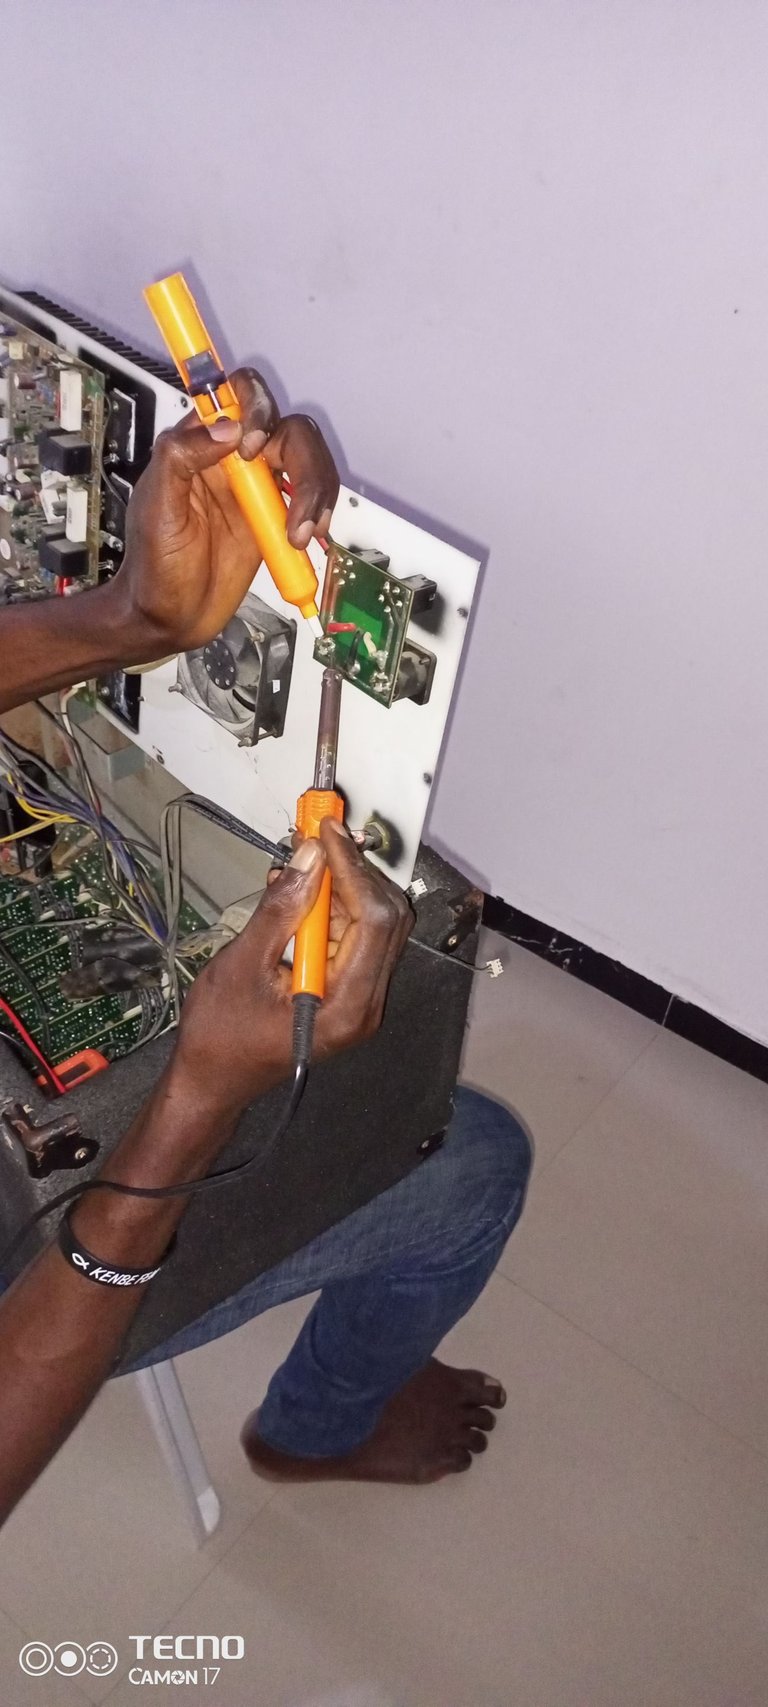
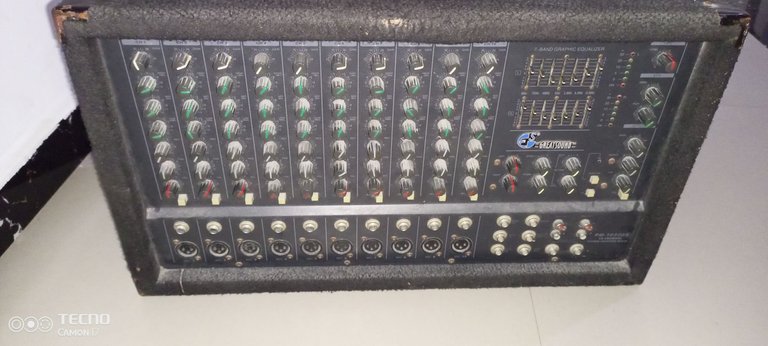
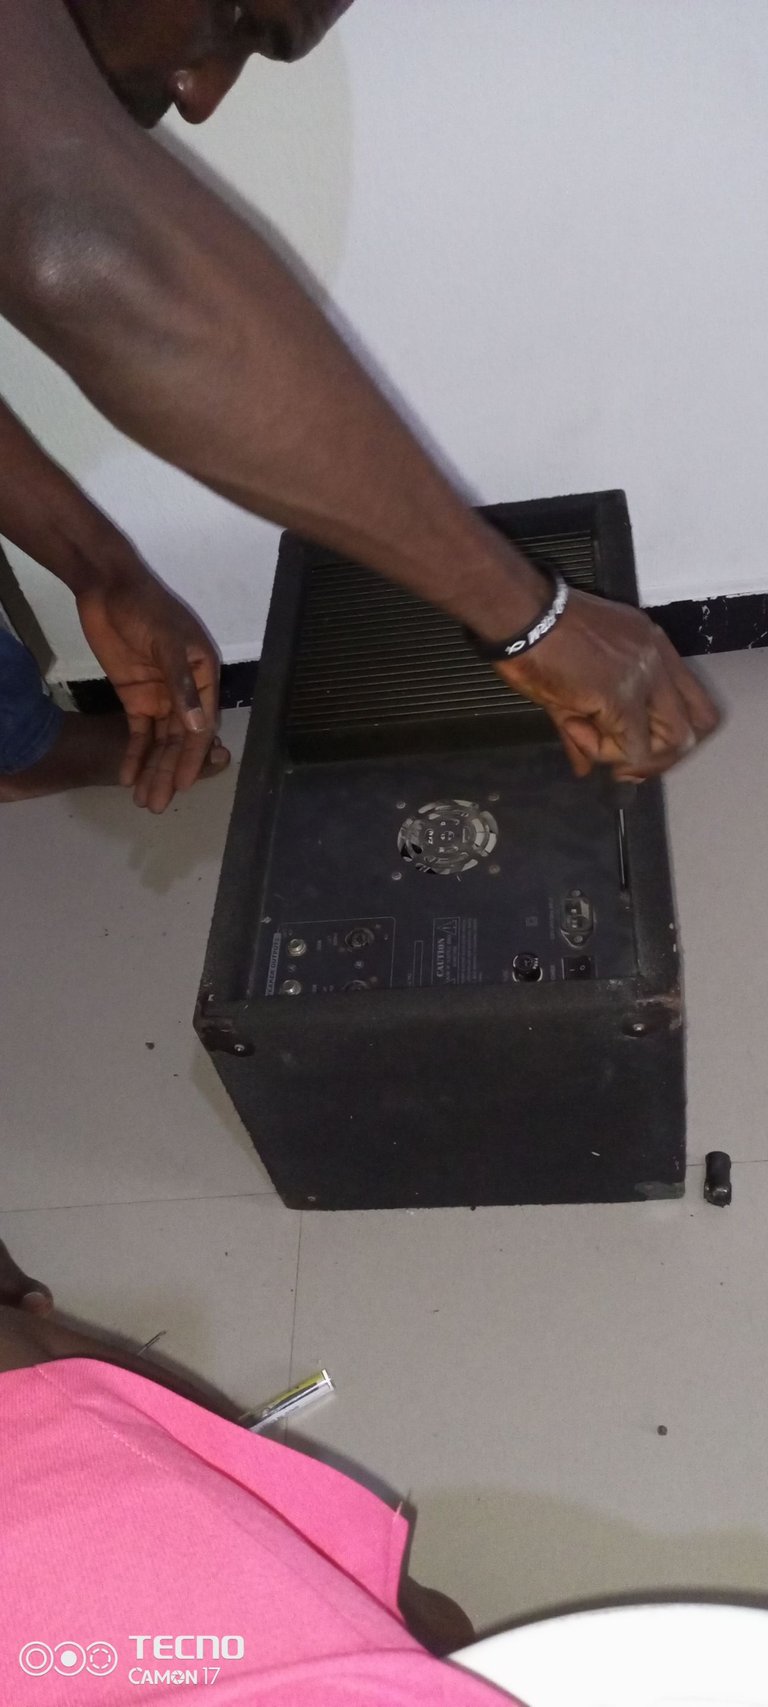
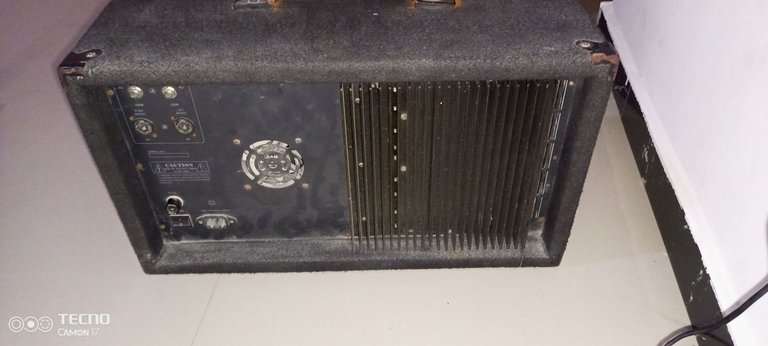
due to the fault that occur in the system, the speak-on plug were damaged so i had to also work on it, though was very hectic but so much knowledge was gained and the problem was solved and the amplifier is very much in use now in full capacity.
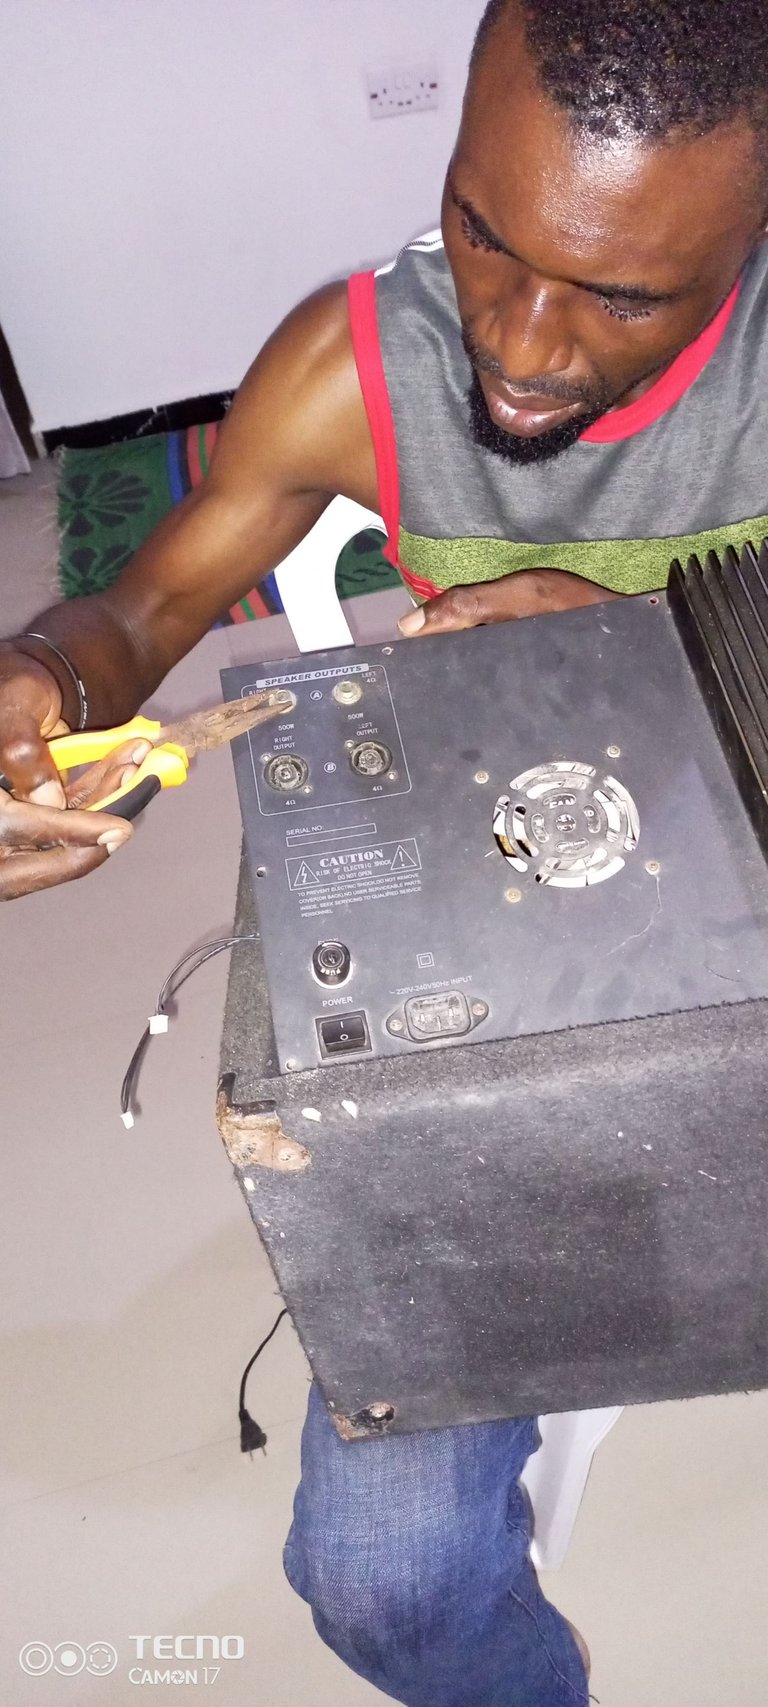
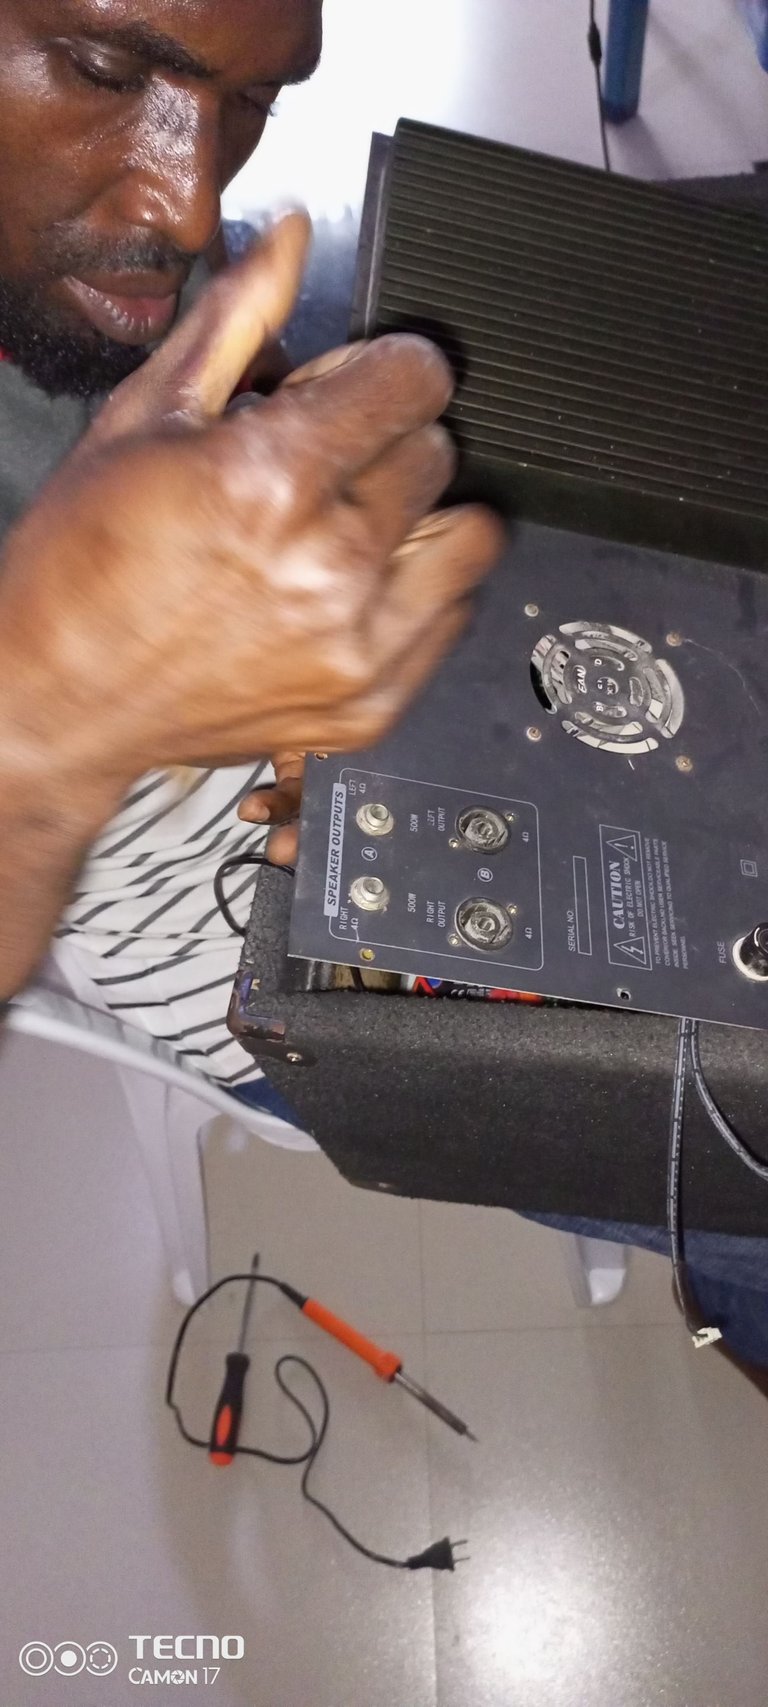
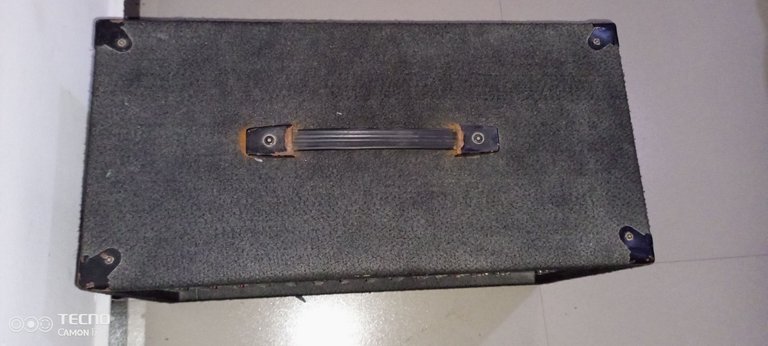
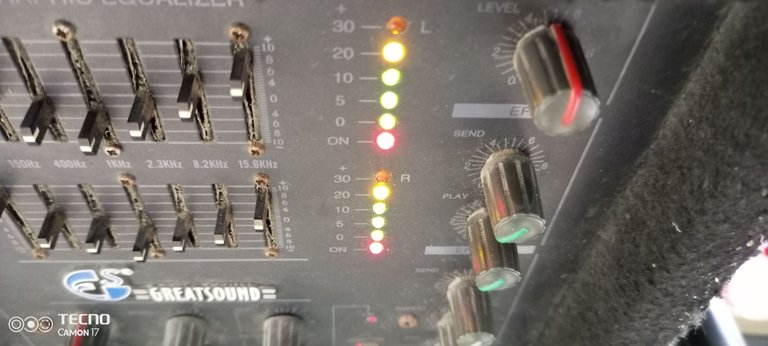
you can see that the lights are effectively displaying, and showing the effectiveness of the channels.
This are my days of little beginning, and am sure that the more is yet to come, solving technical problems, most times especially on computer sets and other related electronic device can take you days and weeks to diagnose what the problem is, but am looking to the days when i will make use of my diagnosing device to detect the problem for easy repairs.
thanks so much for stopping by, please do well to make your comment if its of your interest and more so your support.