Hola comunidad, espero que todos estén bien.
Todo parte primeramente en que tenía dos hijos varones y pues no era mucho lo que podía hacer (pulceras, ganchos, cadenas en fin), y desde hace dos meses que nació mi niña todo lo veo ahora color rosa jajaja, cintas lasos y cualquier cosa que pueda hacer para ella.
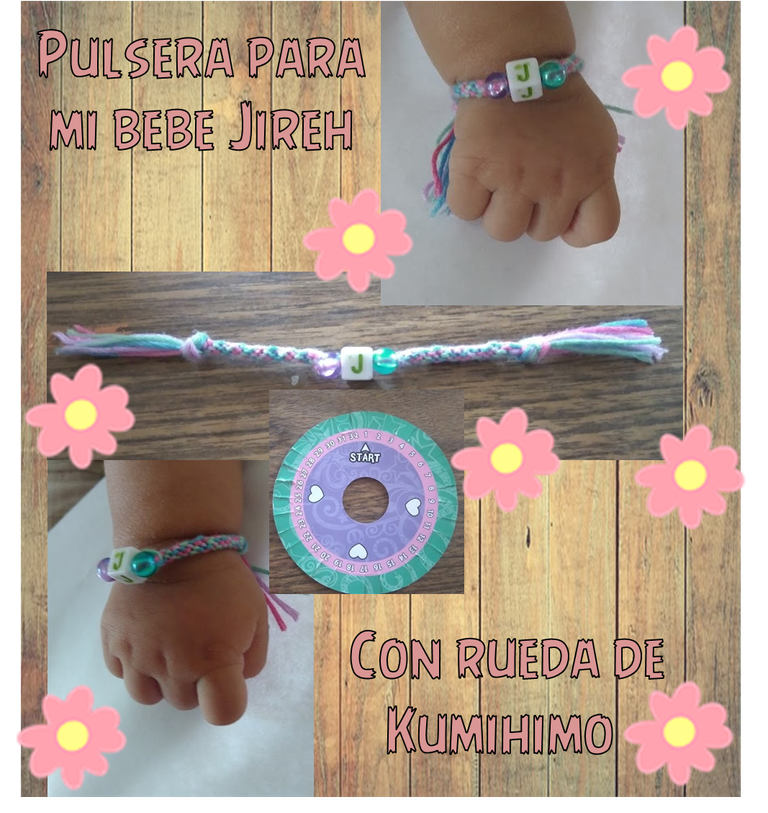
Hoy les comparto la elaboración de una pequeña pulsera para mi bebe.
He conseguido una caja que contiene una serie cuentas, cintas con las que puedo hacer algunas cosas. Aunque esta caja es para niñas jajaja, entre esas cosas había una especie de rueda de Kumihimo, de inmediato me anime a hacerle la pulsera a mi bebe Jireh.
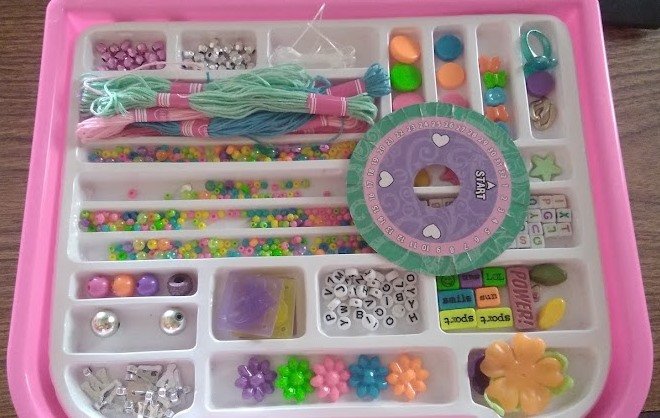
Materiales a utilizar:
Hilos
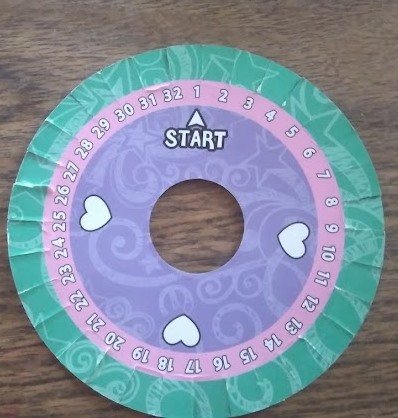
Rueda de Kumihimo
Dos cuentas de colores
Un cuadro de letra
Tijeras
Regla
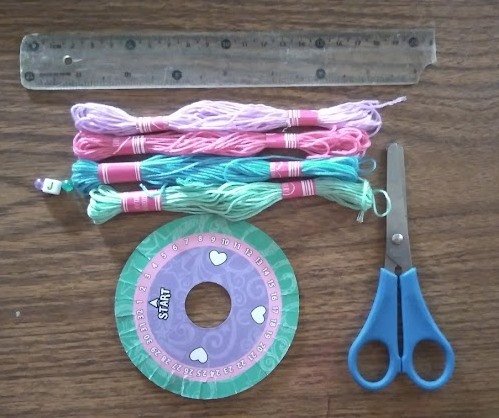
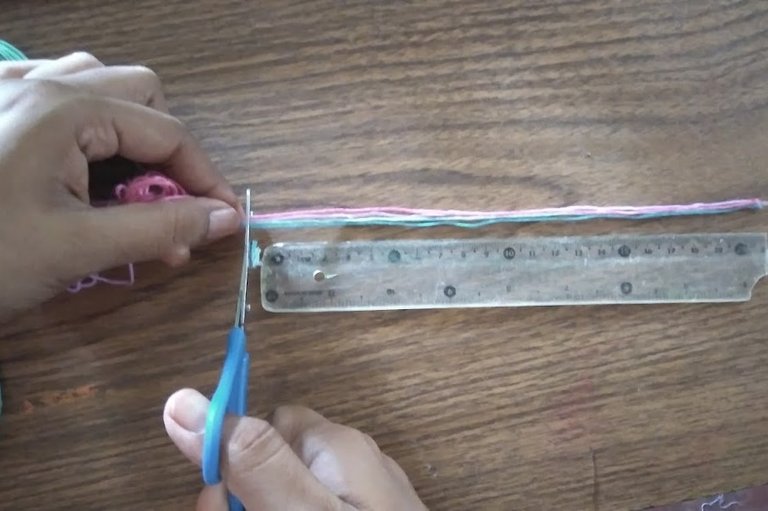
Lo primero que hacemos es cortar los hilos de colores de 20 cm cada uno, necesitaremos 8 hilos en total.
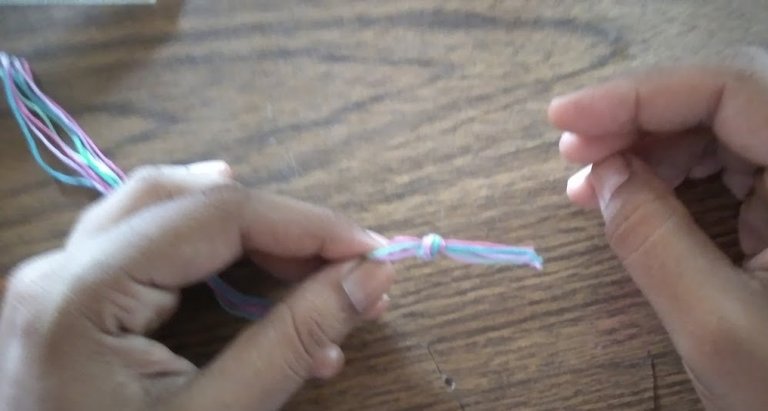
Luego que tenemos los hilos cortados, los unimos y en uno de los extremos hacemos un nudo.
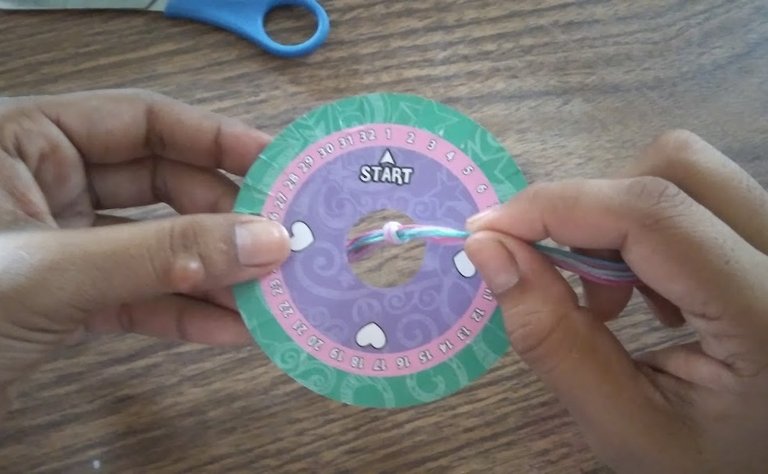
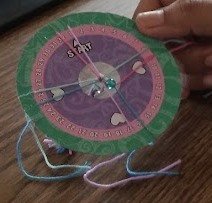
Colocamos el nudo dentro del círculo de la rueda de Kumihimo.
La rueda de Kumihimo, tiene unas ranuras donde encajamos los hilos de acuerdo a las marcas de los cuatro puntos. (ejemplo si la marca inica en el n° 1, colocamos un hijo en la ranura del n°1 y en la siguiente, a la derecha si inicia en el n° 9, colocamos el hilo en la ranura del n°9 y en la siguiente de esta forma colocaremos los ocho hilos dos en cada marca)
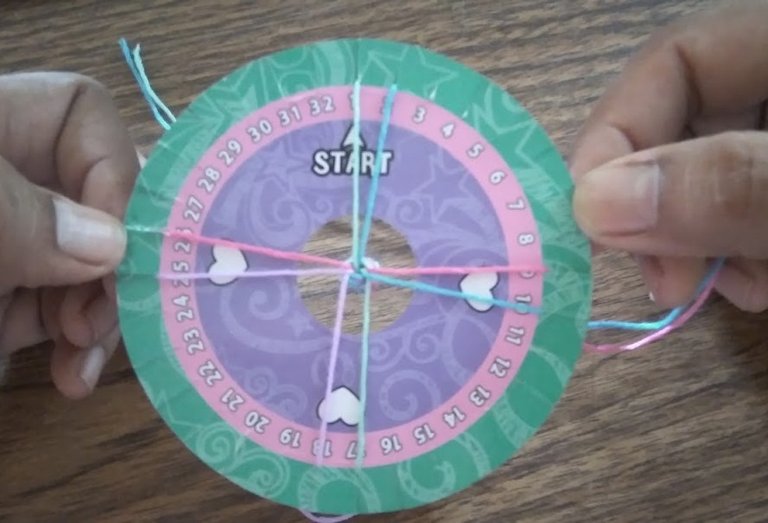
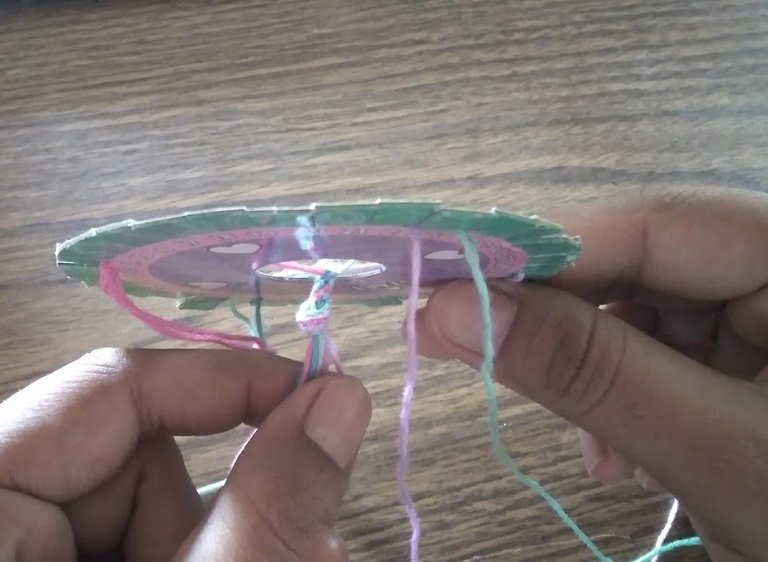
Luego que ya los hilos están dispuestos dos en cada una de las marcas uno a la derecha y otro a las izquierda, bajamos el hilo superior iniciando siempre del lado derecho de arriba y bajarlo al derecho inferior.
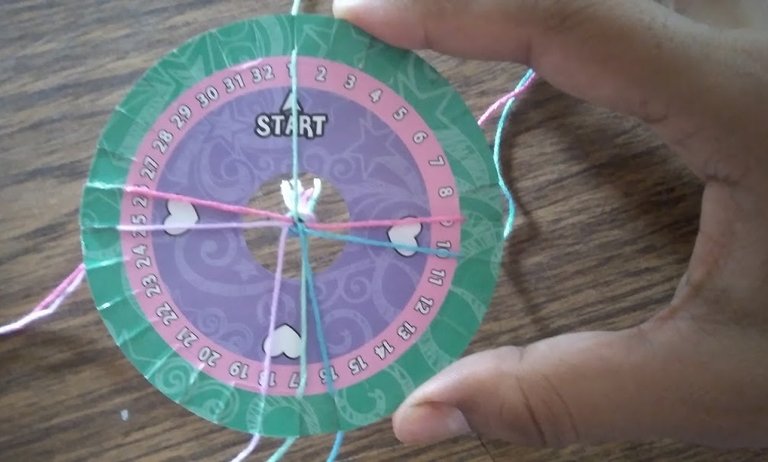
Posteriormente tomamos el hilo inferior izquierdo y lo subimos al lado izquierdo de la parte superior.
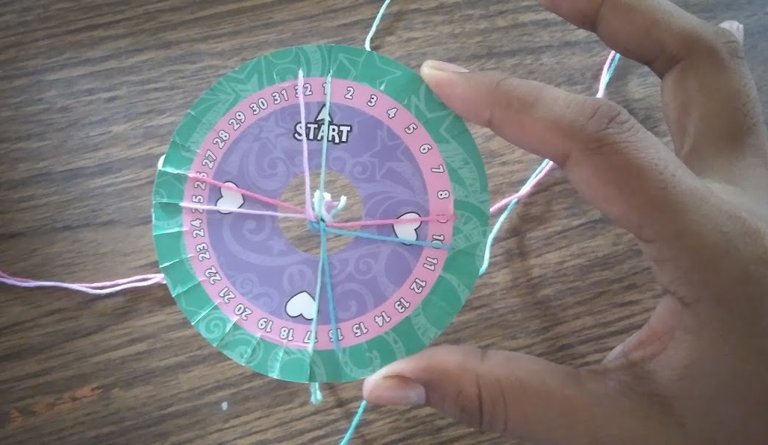
Giramos la rueda hacia la derecha y repetimos la operación con los puntos expuestos y continuamos girando a la derecha y repetimos continuamente la operación.
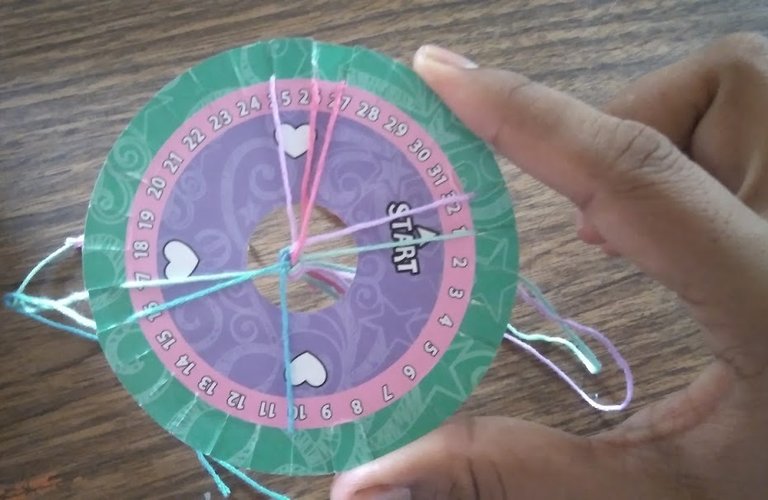
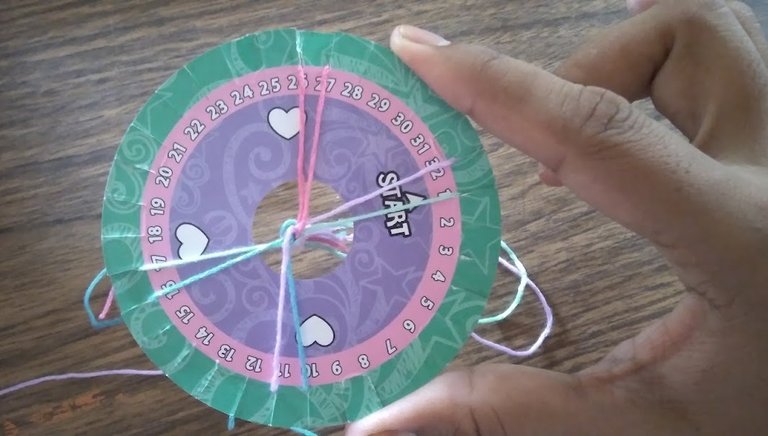
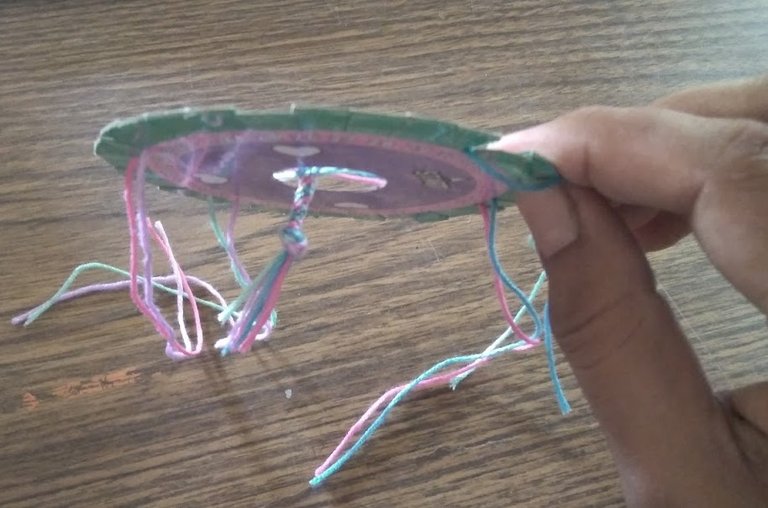
Vemos cómo va tomando forma la pulsera en la parte debajo de la Rueda, (en este punto se puede dar corrido hasta terminarla, pero como yo colocaría unas cuentas de colores y un cuadrito con la letra, saque los hilos de la rueda para colocarlos).
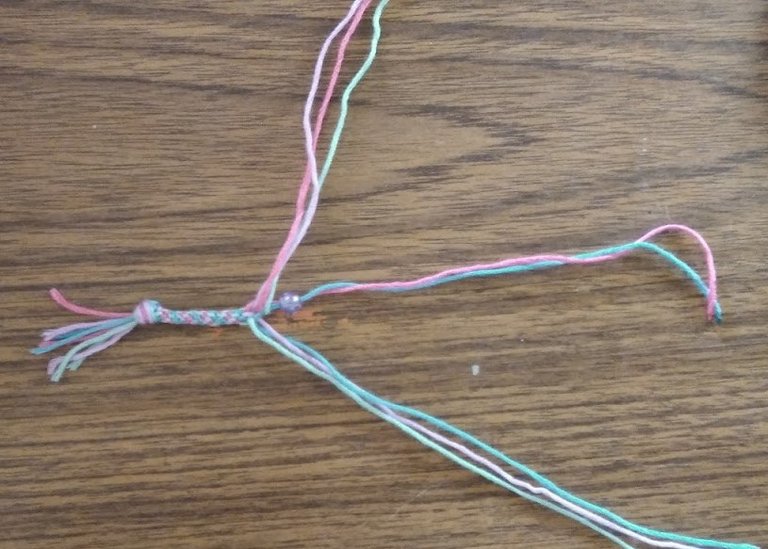
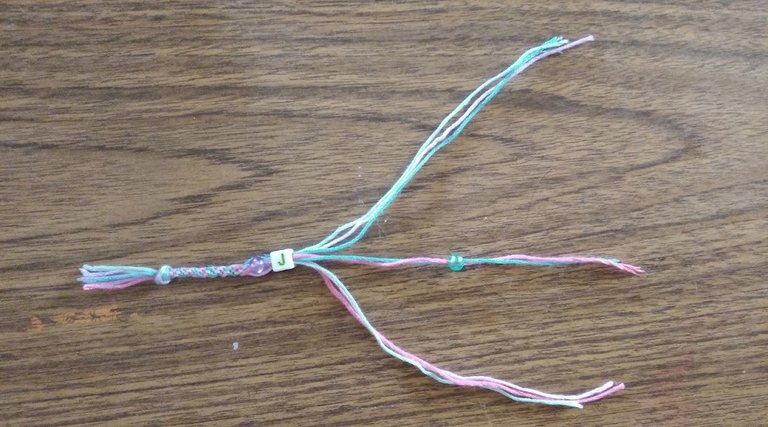
Como la cuentas tenían el agujero muy pequeño, solo tome dos hilos para pasarla luego pase todos por el cuadrito y seguido la otra cuenta.
Montamos los hilos nuevamente a la rueda y seguimos el proceso hasta terminar el tejido.
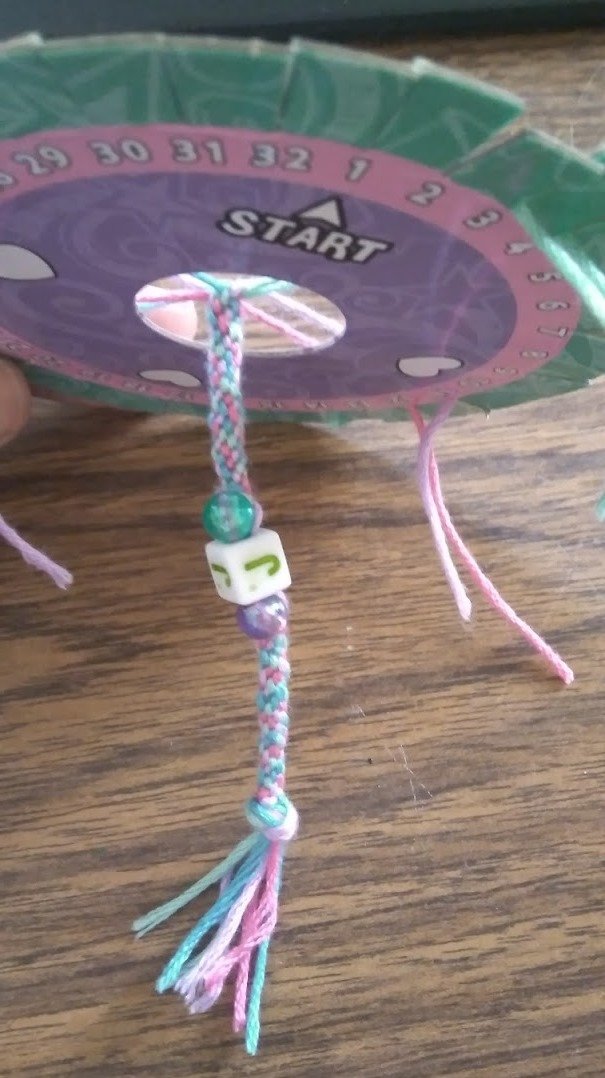
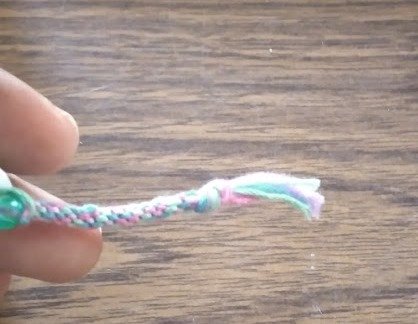
Al terminar el tejido hacemos un nudo igual al inicio.
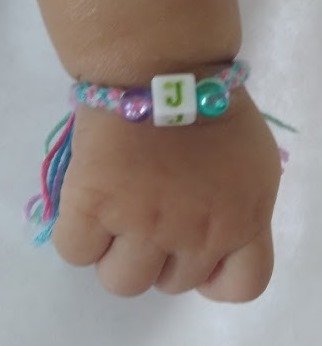
Y de esta manera mi bebe luce su pulsera con la inicial de su nombre.
Bueno mis amigos hasta pronto, espero les haya gustado.
Versión en Ingles

Hello community, I hope everyone is well.
First of all, I had two boys and there was not much I could do (bracelets, hooks, chains, etc.), and since two months ago my baby girl was born, everything is now pink hahaha, ribbons, ribbons, and anything I can do for her.
Today I share with you the elaboration of a small bracelet for my baby.
I got a box that contains a series of beads, ribbons with which I can make some things. Although this box is for girls hahaha, among those things there was a kind of Kumihimo wheel, I immediately encouraged me to make the bracelet for my baby Jireh.


Materials to use:
Yarn
Kumihimo wheel
Two colored beads
One letter square
Scissors
Ruler

The first thing we do is to cut the colored threads of 20 cm each, we will need 8 threads in total.

After we have the threads cut, we join them together and tie a knot at one end.

We place the knot inside the circle of the Kumihimo wheel.

The Kumihimo wheel, has some slots where we fit the threads according to the marks of the four points (example if the mark starts at number 1, we place a thread in the slot of number 1 and in the next one, to the right if it starts at number 9, we place the thread in the slot of number 9 and in the next one in this way we will place the eight threads, two in each mark).

After the yarns are arranged two on each of the marks, one on the right and one on the left, we lower the upper yarn, always starting from the top right side and lowering it to the lower right side.

Subsequently we take the lower left yarn and bring it up to the left side of the top.

We turn the wheel to the right and repeat the operation with the exposed points and continue turning to the right and repeat the operation continuously.


We see how the bracelet is taking shape in the part below the wheel, (at this point you can run until it is finished, but as I would place some colored beads and a square with the letter, remove the threads from the wheel to place them).


Since the beads had a very small hole, I only took two strands to pass through, then passed them all through the little square and then the other bead.


We put the threads back on the wheel and continue the process until the weaving is finished.


At the end of the weaving we make a knot equal to the beginning.#creativity

And this way my baby wears her bracelet with the initial of her name.

Well my friends, see you soon, I hope you liked it.


