Saludos amigos, reciban un cordial saludo.
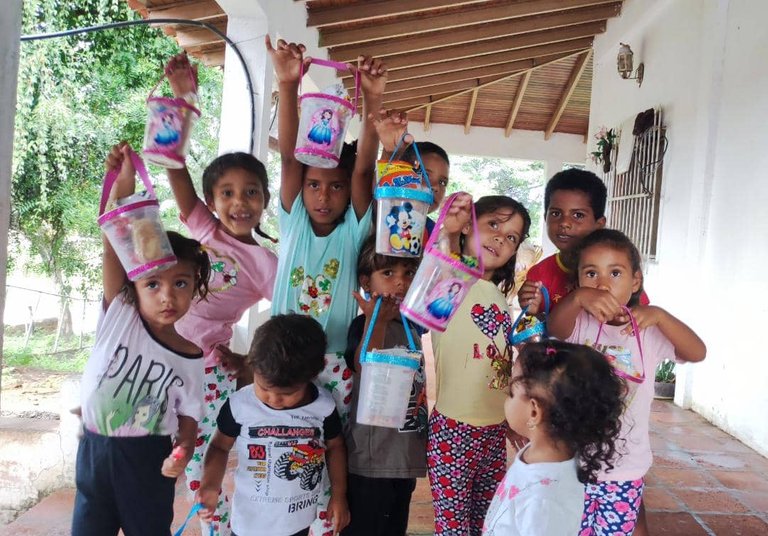
En esta oportunidad les cuento que fui invitada por @angelik a sumarme a una hermosa actividad que ella realiza todos los años a los niños de la zona rural donde tiene su casa de campo. El mes pasado se celebró el día del niño y ella no lo pudo festejar antes, es así como una vez resueltos algunos pendientes se activó a organizar, me informó sobre sus ideas y por supuesto no podía dejar de crear algo para alegrar a esos hermosos niños.
La idea era realizar unos dulceros rápidos y sencillos, ya que no quedaba mucho tiempo para la actividad. Entonces se me ocurrió decorar estos envases, lo que resultó en unos lindos dulceros con forma de tobitos.
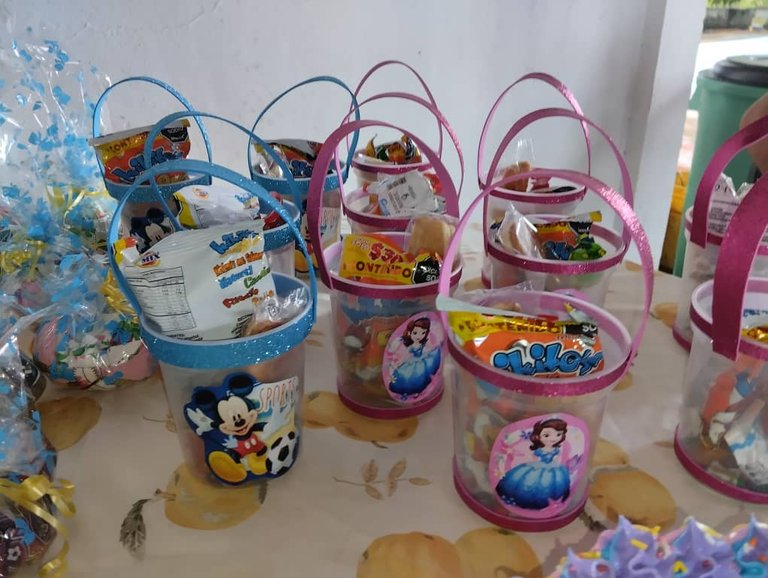
Para mí fue muy satisfactorio poder aportar algo para obsequiar a los niños, lo que exigía trabajar con celeridad y buscar opciones prácticas. Por consiguiente, adquirí los materiales necesarios y comencé a elaborar los dulceros. Son unos detalles sencillos, per para los niños se convierten en un tesoro que despierta en ellos las más lindas emociones.
Materiales Necesarios:
•Foami escarchado doble carta (En esta oportunidad los elegí fucsia y azúl)
•Envases plásticos
•Figuras infantiles
•Pegamento de barra
•Pistola de silicón
•tijera

Elaboración paso a paso
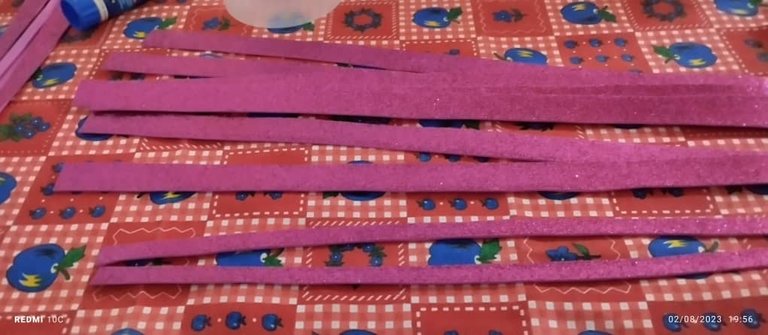
Para elaborar los dulceros comencé dividiendo el foami en tiras de 40cm x1cm para el borde superior del envase, 34cm x 1cm para el borde inferior y 35cm x 2cm para el asa.
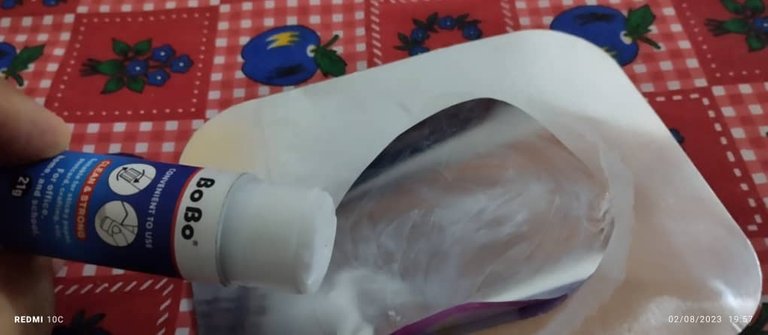
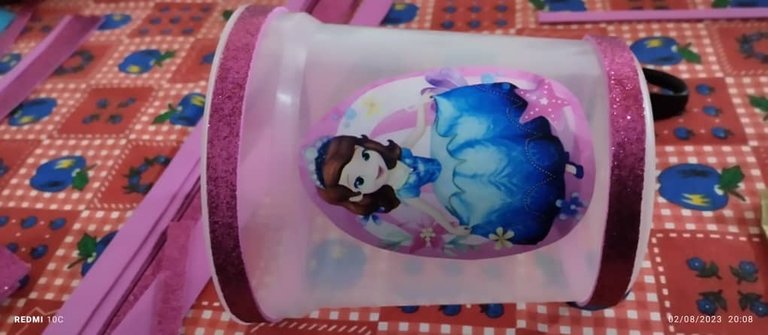
Luego comencé a pegar las figuras a cada envase, utilicé pegamento en barra, lo apliqué y la ubiqué en el centro del envase.


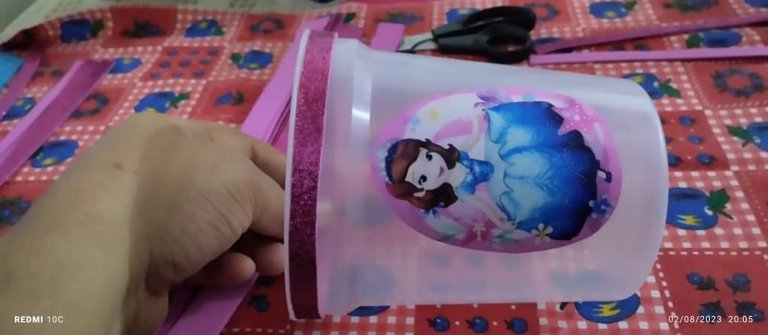
Posteriormente utilizando silicón caliente pegué las tiras en la parte superior e inferior del envase. luego pegué el asa.

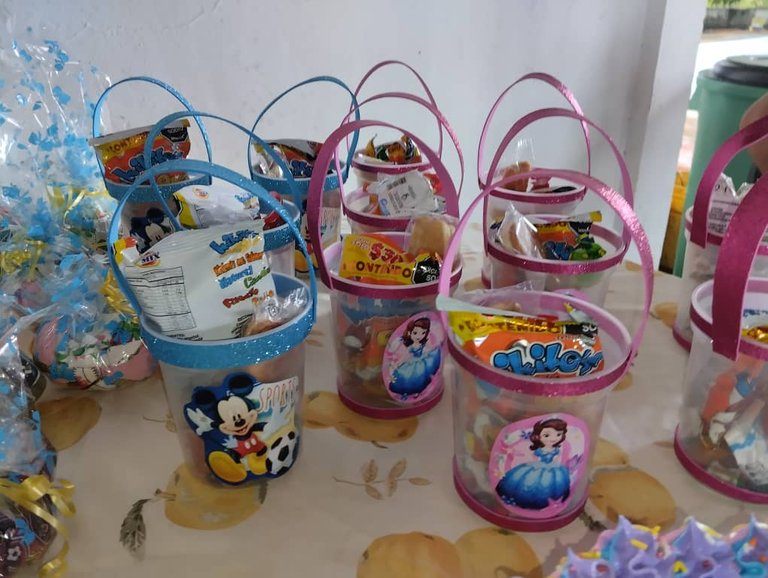
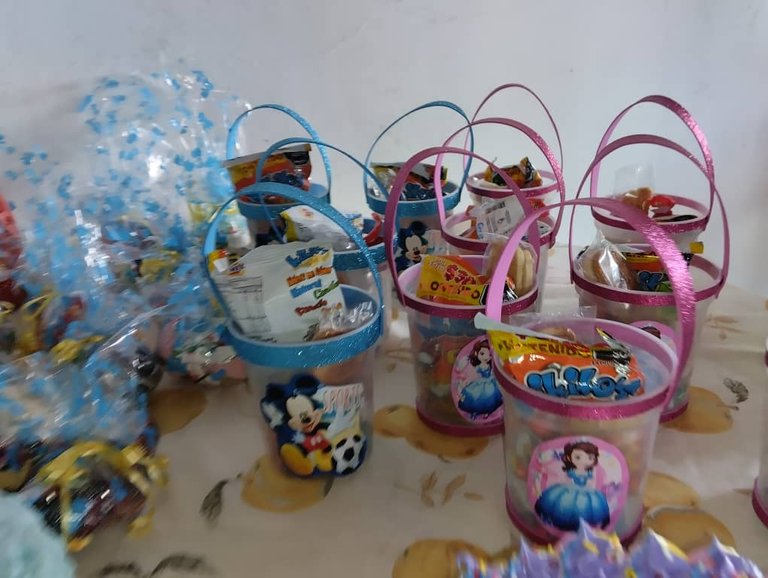
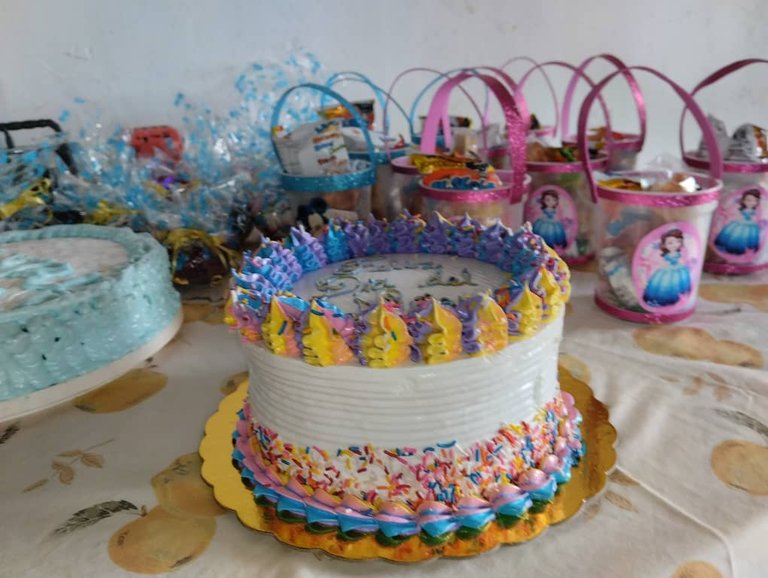
Están listos los dulceros...

La Vida es Arte...
Gracias por leerme. Nos encontraremos en el próximo post de @dorada

English
Greetings friends, receive a cordial greeting.
In this opportunity I tell you that I was invited by @angelik to join a beautiful activity that she performs every year to the children of the rural area where she has her country house. Last month was Children's Day and she couldn't celebrate it before, so once some pending issues were solved she started to organize, she informed me about her ideas and of course I couldn't help but create something to cheer up those beautiful children.
The idea was to make some quick and easy candy boxes, since there wasn't much time left for the activity. So I came up with the idea of decorating these containers, which resulted in some cute little candy boxes in the shape of ankle candies.

It was very satisfying for me to be able to give something to give to the children, which required me to work quickly and look for practical options. Therefore, I acquired the necessary materials and began to make the candy boxes. They are simple details, but for the children they become a treasure that awakens in them the most beautiful emotions.
Materials Needed:
- Foami frosted double card (This time I chose fuchsia and blue).
- Plastic containers
- Children's figures
- Glue stick
- Silicone gun
- scissors

Elaboration step by step
To make the candy boxes I started by dividing the foami into strips of 40cm x 1cm for the top edge of the container, 34cm x 1cm for the bottom edge and 35cm x 2cm for the handle.

Then I started to glue the figures to each container, I used glue stick, applied it and placed it in the center of the container.


Then using hot silicone I glued the strips on the top and bottom of the container. then I glued the handle.


The candy makers are ready...


Life is Art...
Thanks for reading me. I'll meet you in @dorada's next post.


