Hello, friends especially DIY ers!
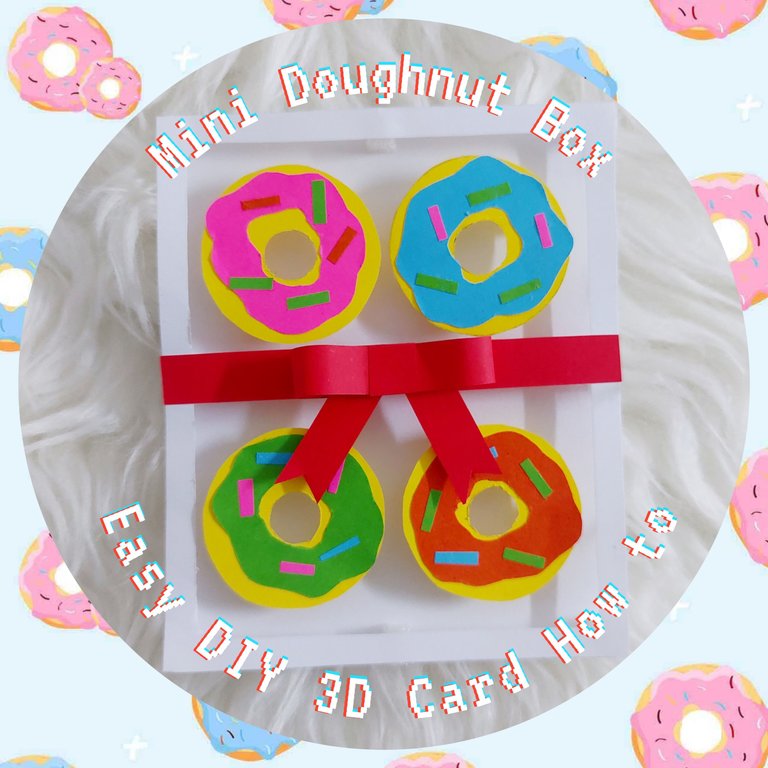
Last night I made up a cute doughnut box card, not too easy but it also not too difficult to make. And now it is done, cute and also could be a card that would be special for any occasions, like birthday or maybe other occasions. And now I would like to share to you all how I made it.
Project Time: 2 hours
Difficulty: Medium
Materials & Things needed:
- Drawing paper
- Pencil
- Ruler
- Scissors
- Pen cutter
- Double sided tape
- Foam sponge – if you have foam tape would be easier for you
- Compass
- Double sided origami/color paper
- Glue stick
How to make it:
1ST
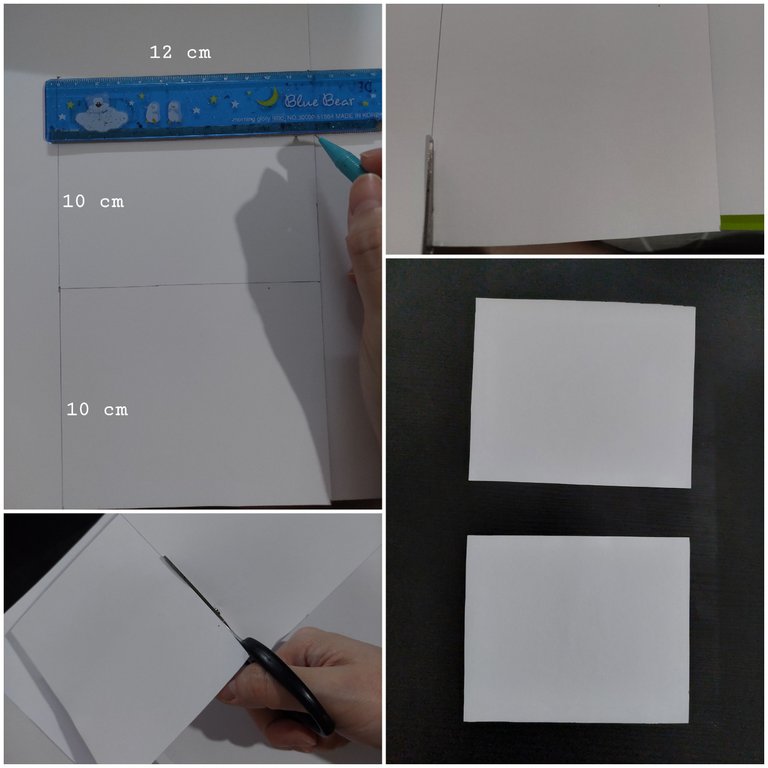
I started by measuring the drawing paper, I made two rectangles with the size of 12 cm x 10 cm. Then I cut them off.
2ND
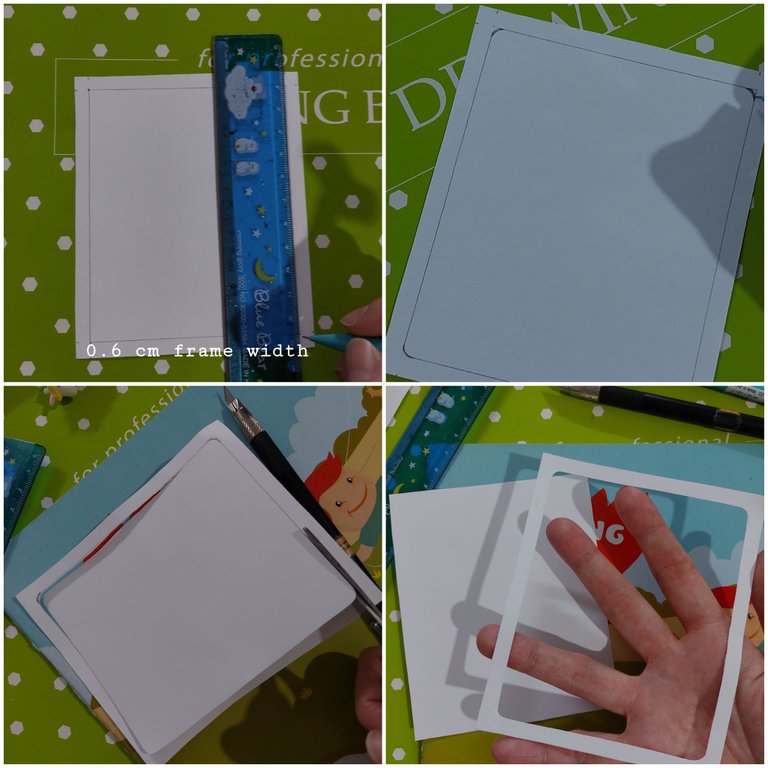
Next, I made the frame on one of the paper, with 6 mm width of the frame. Then I cut the part on it until I got only the frame.
3RD
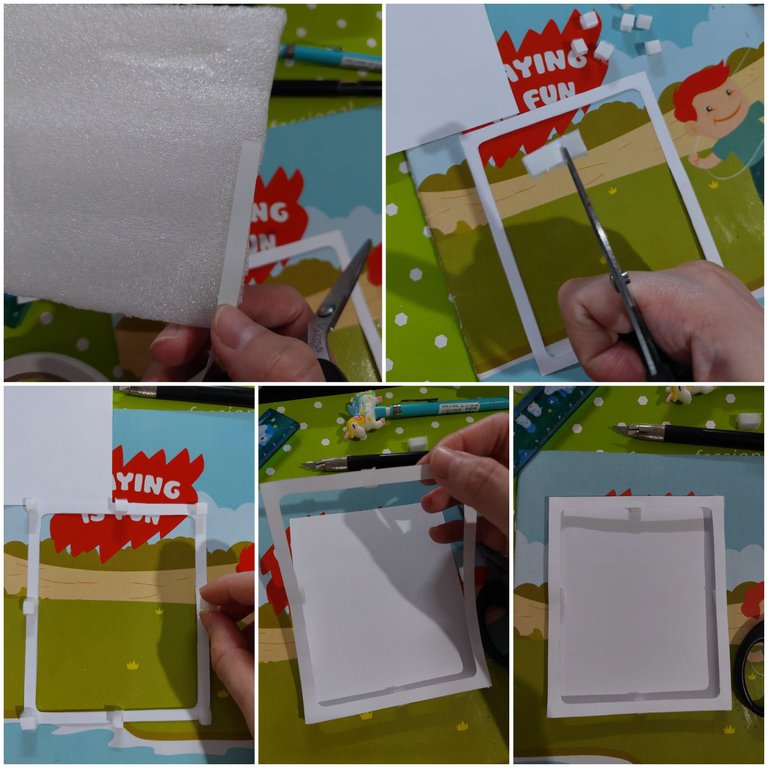
Then, I prepared the 3D effect by using the foam sponge and the double sided tape I had. I prepared 6 of the small sponge for the frame. Then I pasted the frame on the first rectangle I had made and the box is finished.
4TH
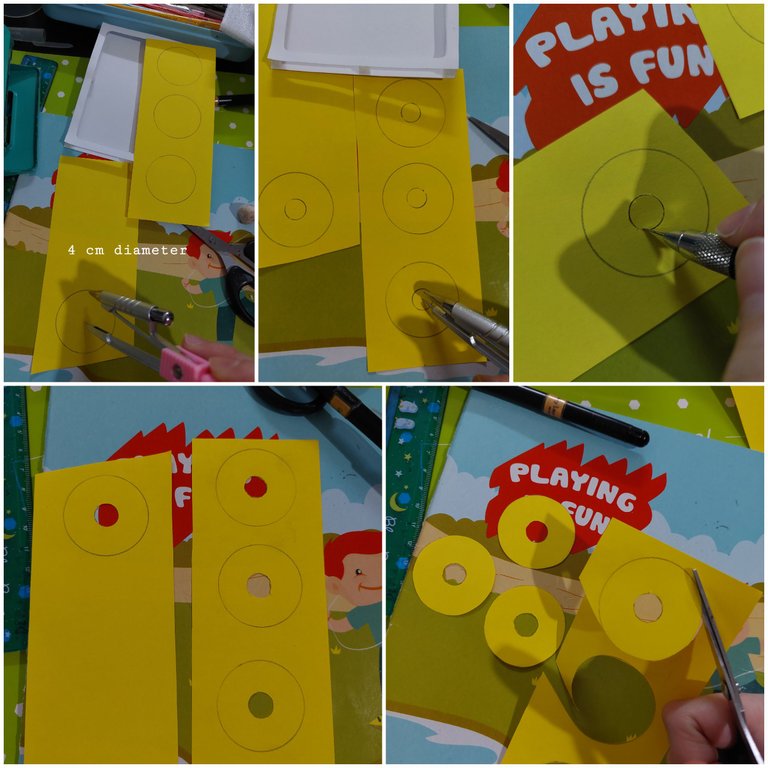
After that, I made the 4 circles with 4 cm of diameter by using my compass on the yellow paper. Then I also made the smaller circles on their center, cut the smaller circles with the cutter pen and cut them off.
5TH
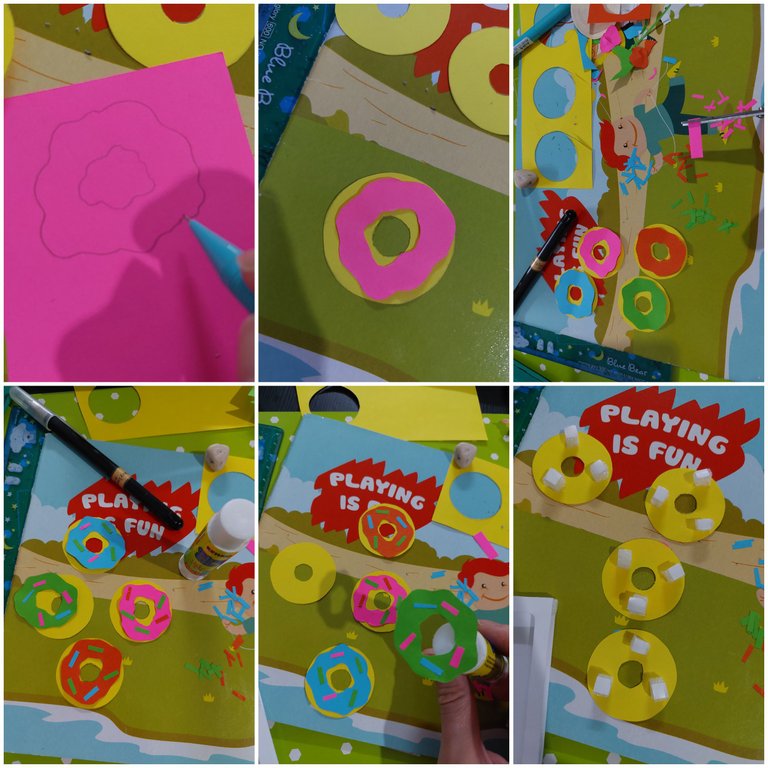
Then, I made the icing sugar for the top of the doughnuts with pink, orange, green and blue color of origami. After that I cut off the mini rectangles for the sprinkle in pink, orange, green and also blue color. Pasted them on the doughnuts. Then I prepared the foamy double sided tape for the doughnuts, each doughnut would have 3 of it.
6TH
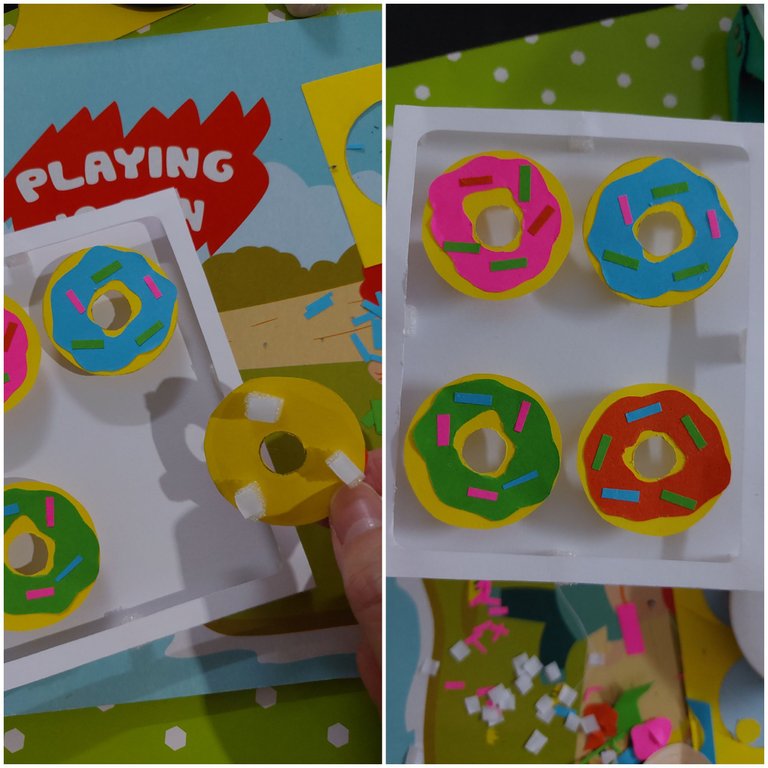
Well then you know what I did, I pasted the doughnuts in the box.
7TH
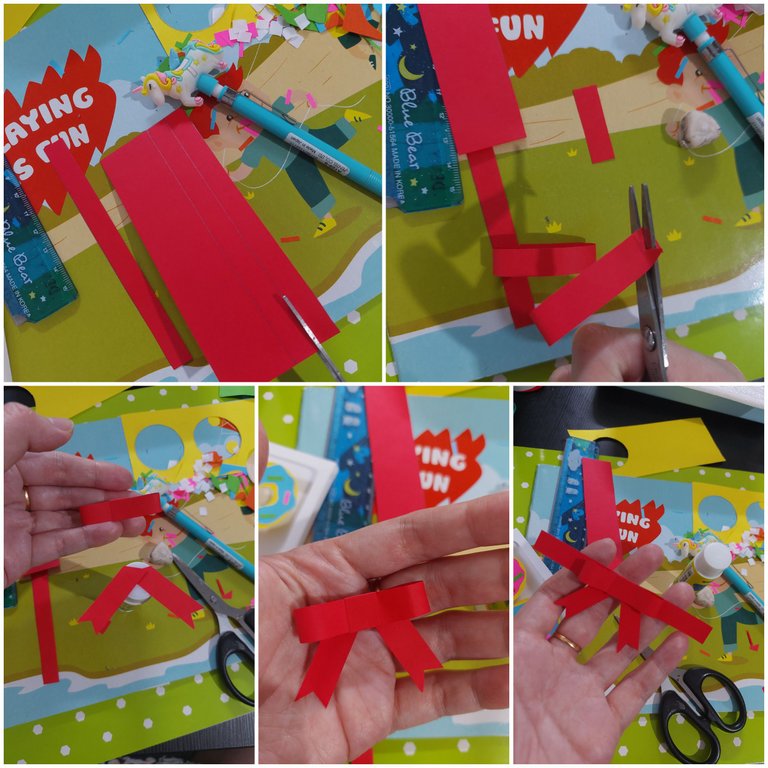
Last thing I did was preparing the red ribbon with some easy steps. Cutting it 1 cm width and do some steps like below.
The Result
Voila, here was my 3D mini doughnut box card.. Isn’t it sweet? If you want to give it as the card you could pasted your wishing at front and completed it behind the box.
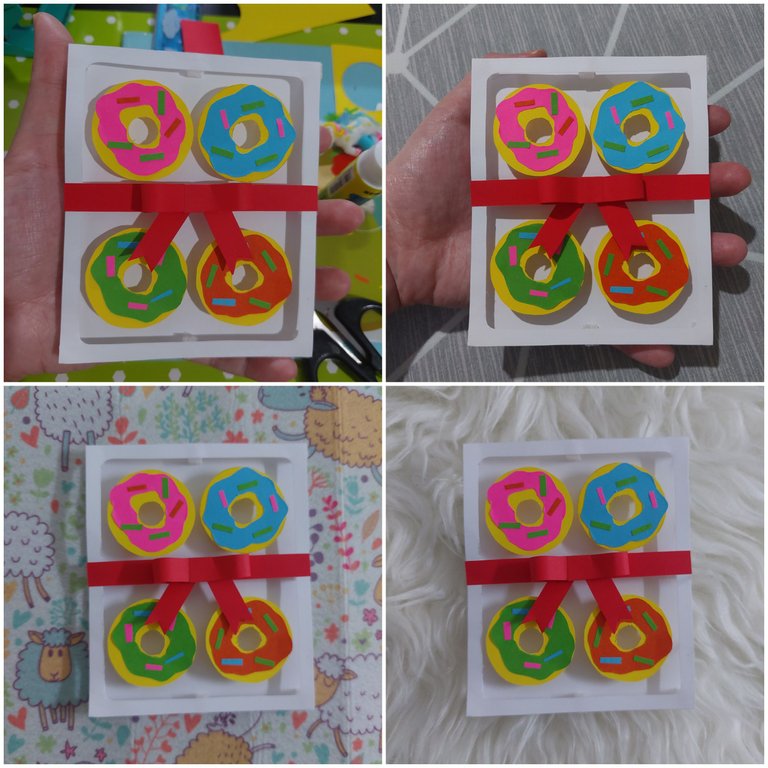
Thanks for reading my article, hope you enjoy it and stay tune for more CRAFT things from me!
The photos were taken with samsung A52 5G and i didn't use any filters on my pictures.
A bit about the author
She works in a bank but she interests in CRAFT (CRaft, Art, Food and Travel). To pursue her art passion she does the cross stitch, embroidery, handsewing, crafts, crochet and also draws. Find hers in https://www.redbubble.com/people/de-creartique/shop?asc=u and https://decreartique.threadless.com/designs . Also find her cute collectibles pixel cat pictures here https://opensea.io/collection/pixelcryptocat .