

Spanish
Buenas buenas...
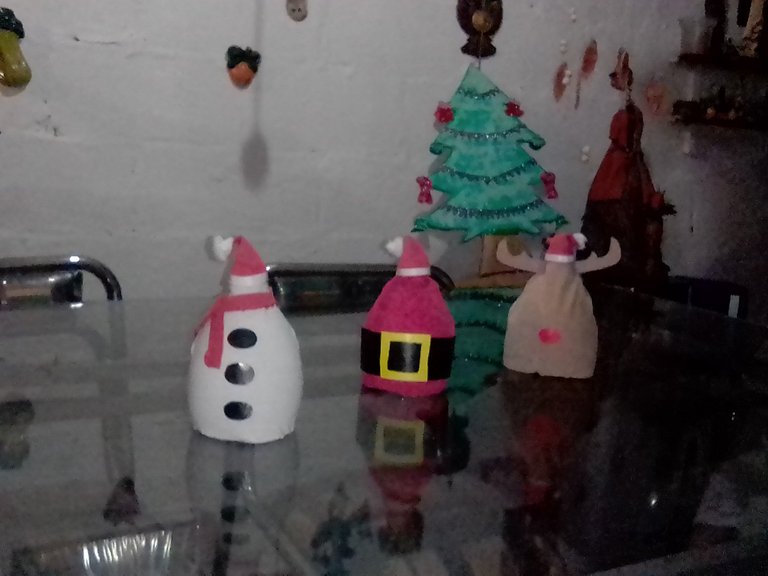
Recibe un cordial saludo de mi parte. Hoy vengo a compartir unos adornos navideños ideales para decorar cualquier espacio y lo mejor de todo es que es con materiales de provecho, también son muy sencillos de realizar. Yo particular mente quería adornar la mesa y por eso los realice. Te invito a que te quedes a ver y leer.

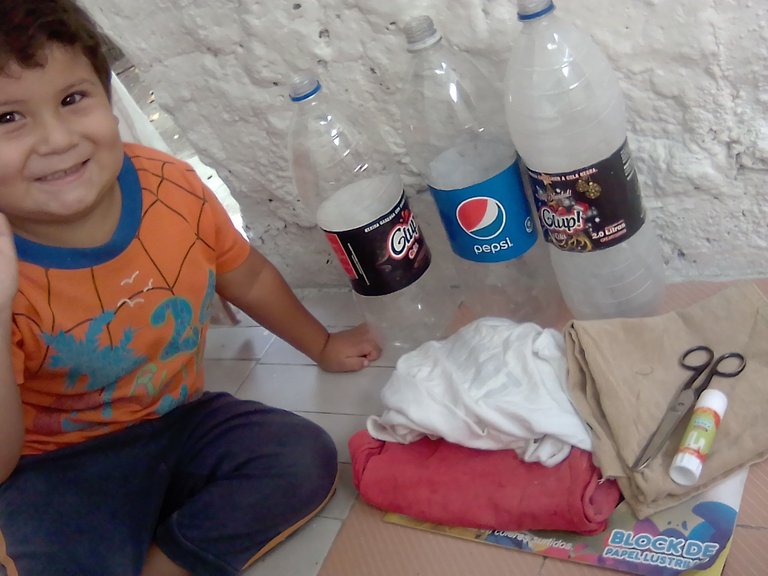
Materiales a usar:
3 potes plásticos de refresco
Retazos de tela de color blanco, rojo y marrón
Papel lustrillo de color negro, amarillo, rojo y blanco
Tijera
Pega en barra
Pedazo de cartón
Una mota de algodón
Elaboración:
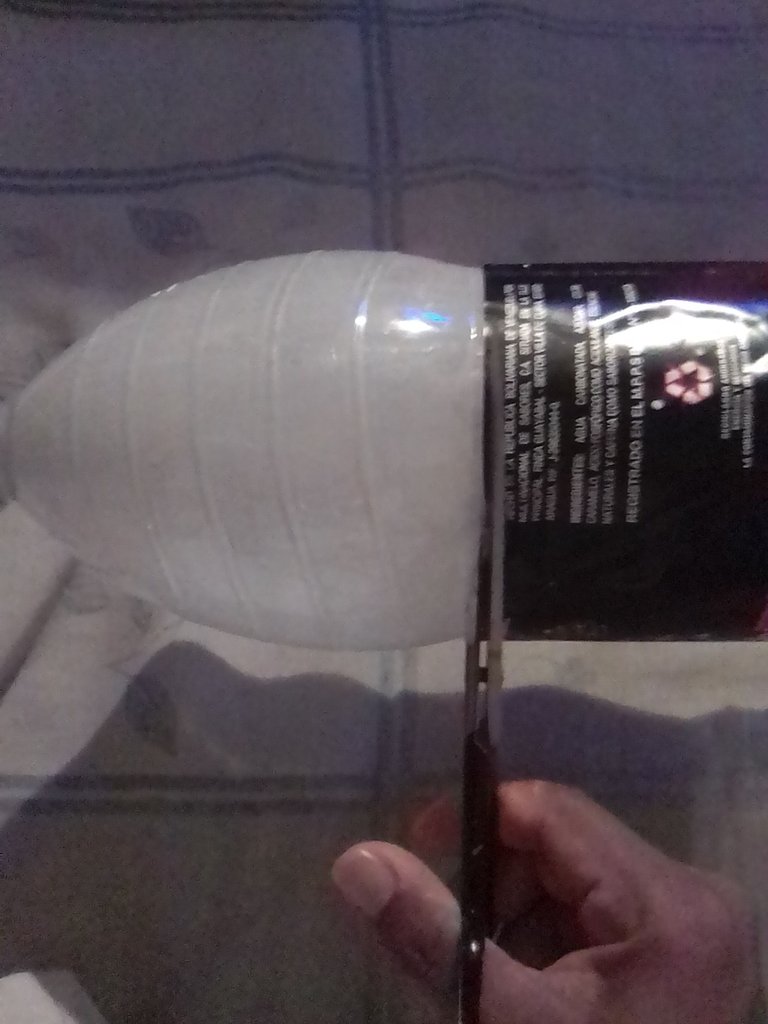
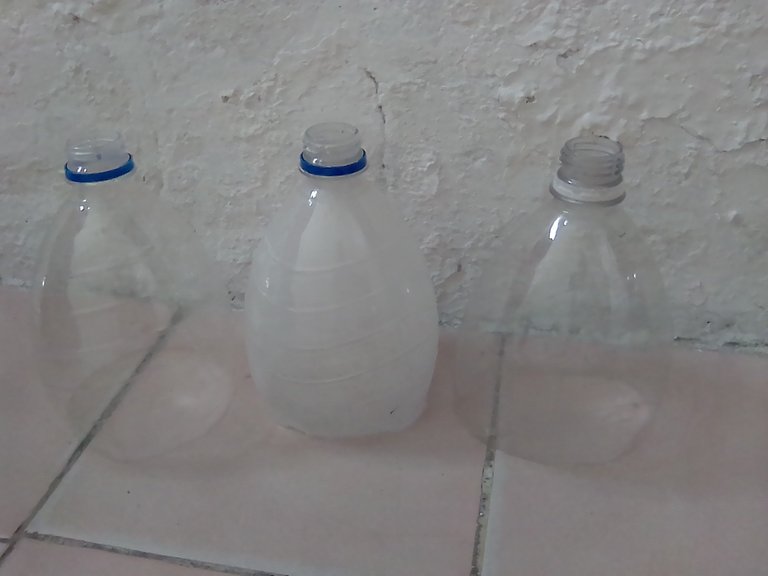
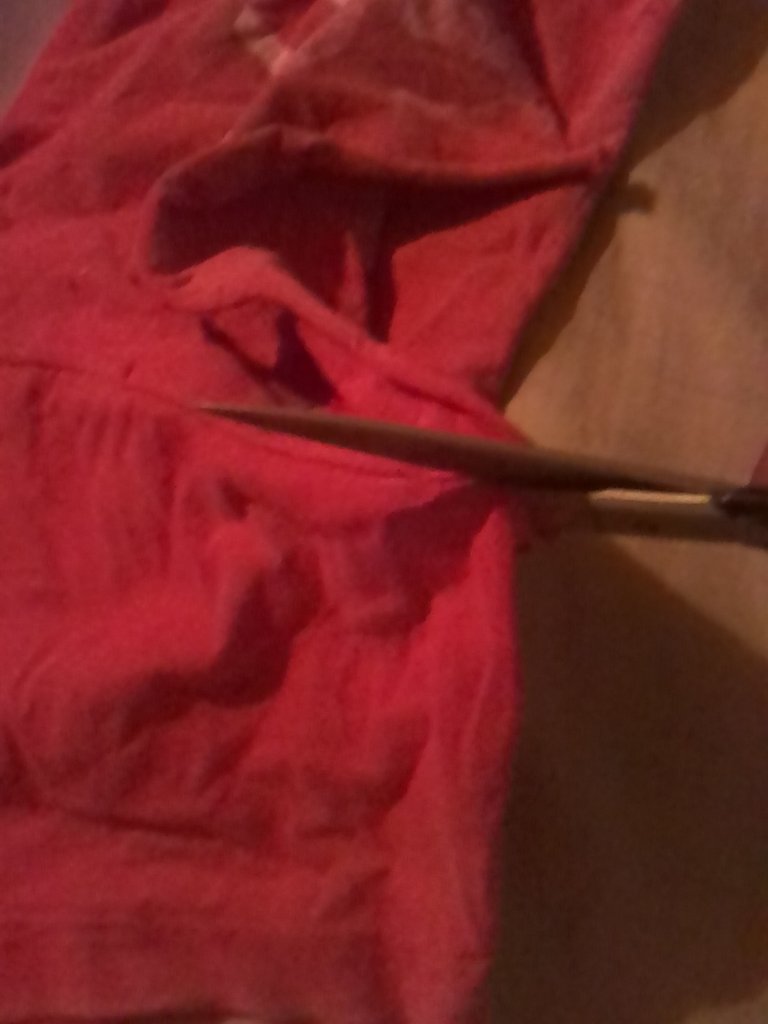
Comienzo con limpiar los potes, luego procedo a cortar el pedazo que voy a usar, el cual es por encima de la etiqueta.
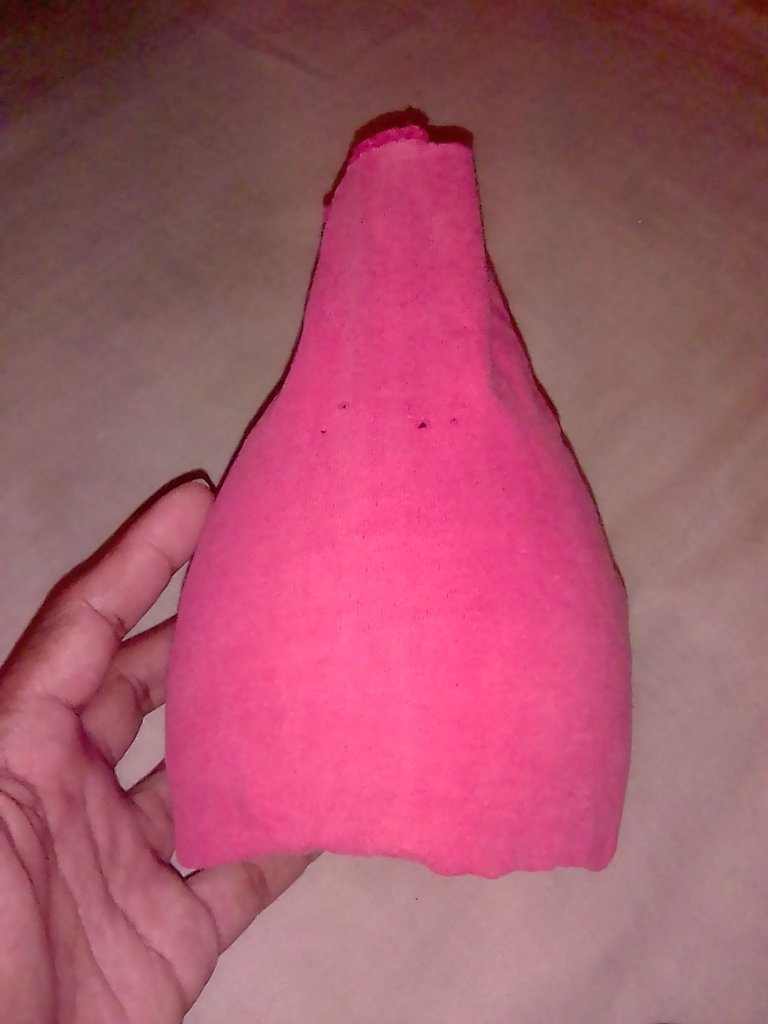
Ahora agarro las telas. Comienzo con la de color rojo, uso la pega en barra para que la tela se pegue en el envase plástico
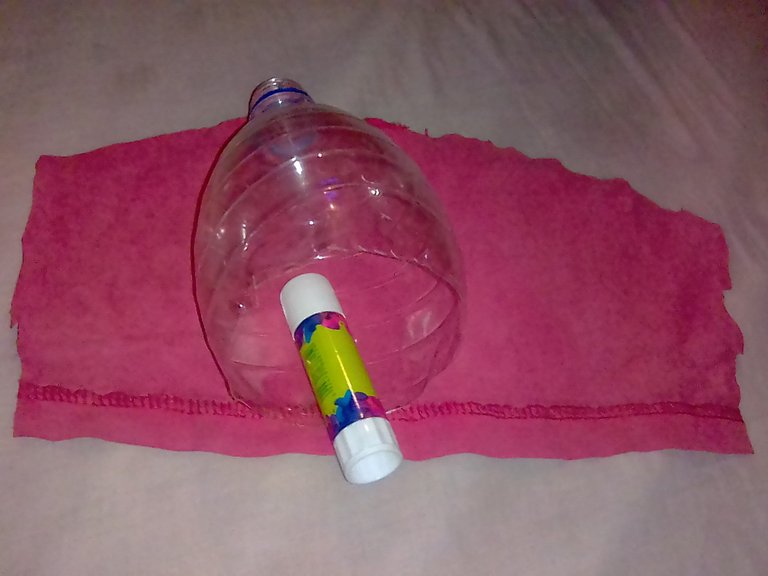
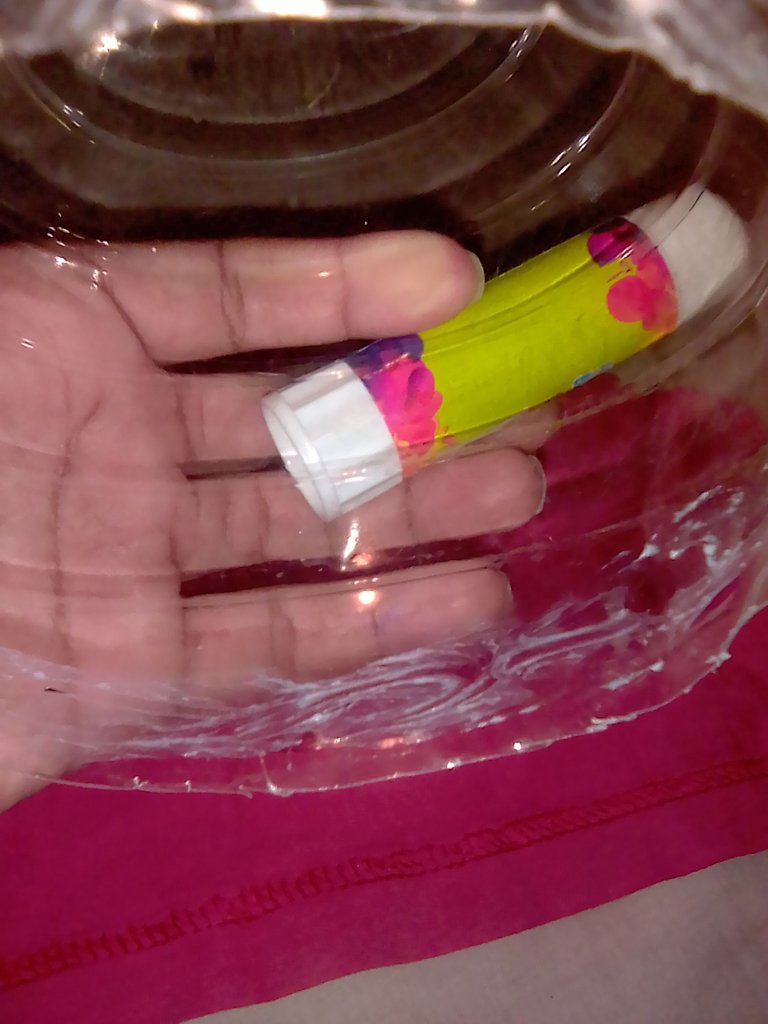
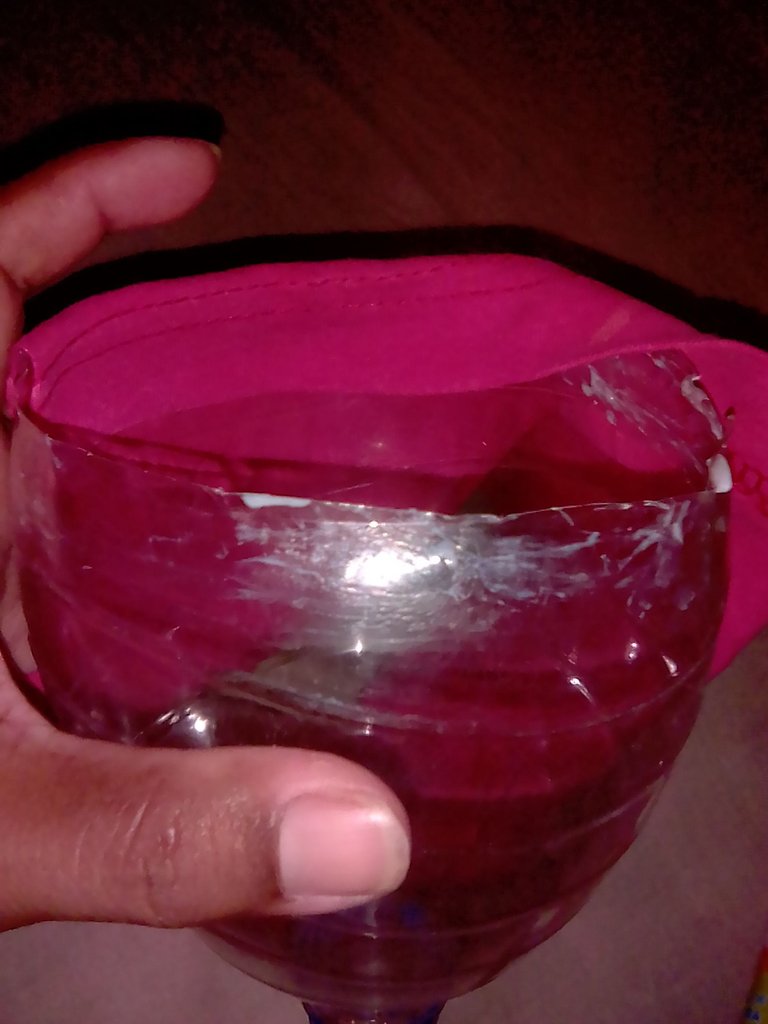
Continúo con la tela de color blanco, haciendo el mismo proceso del anterior
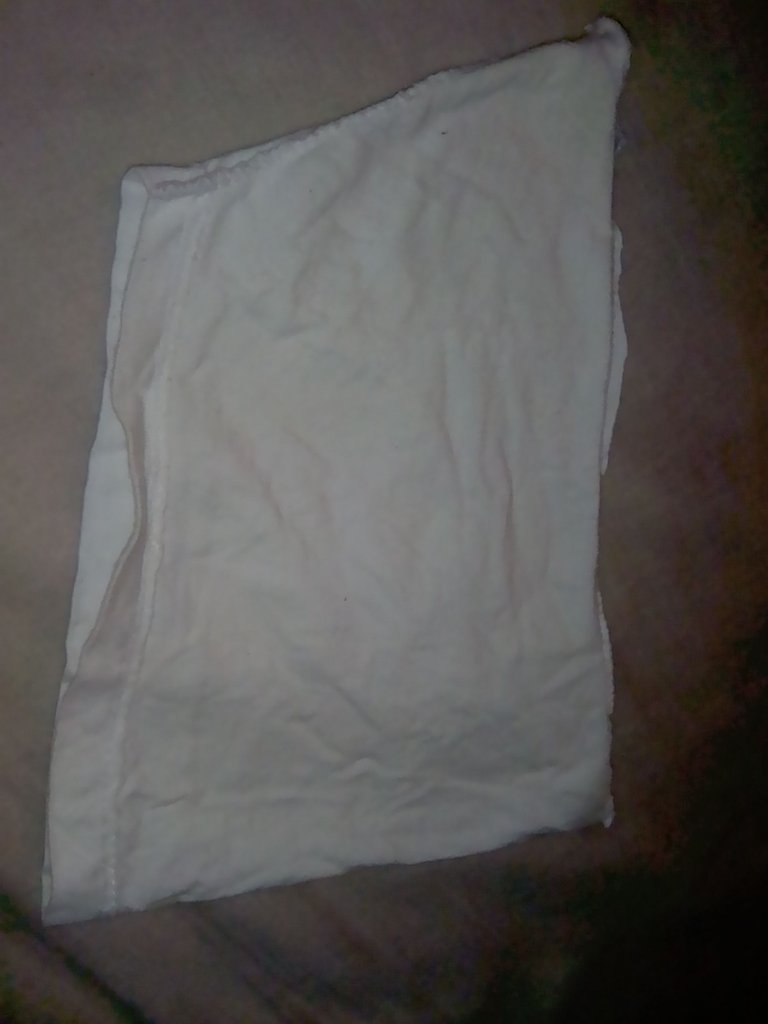
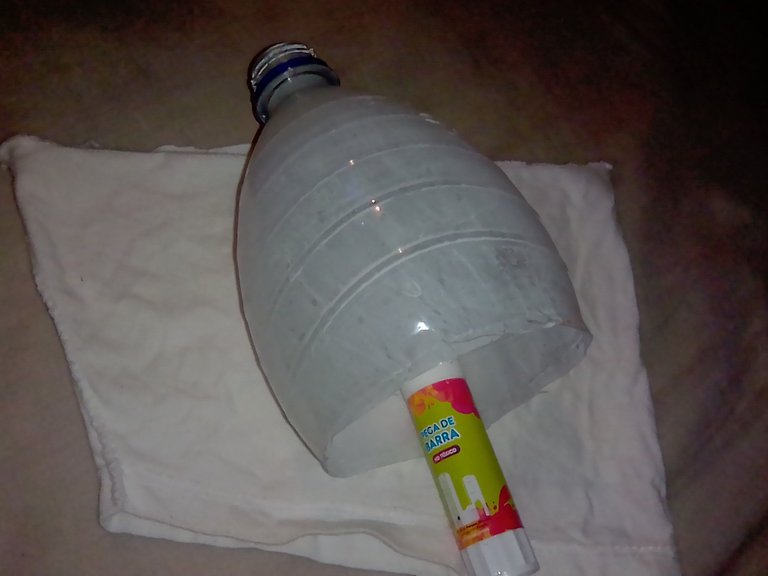
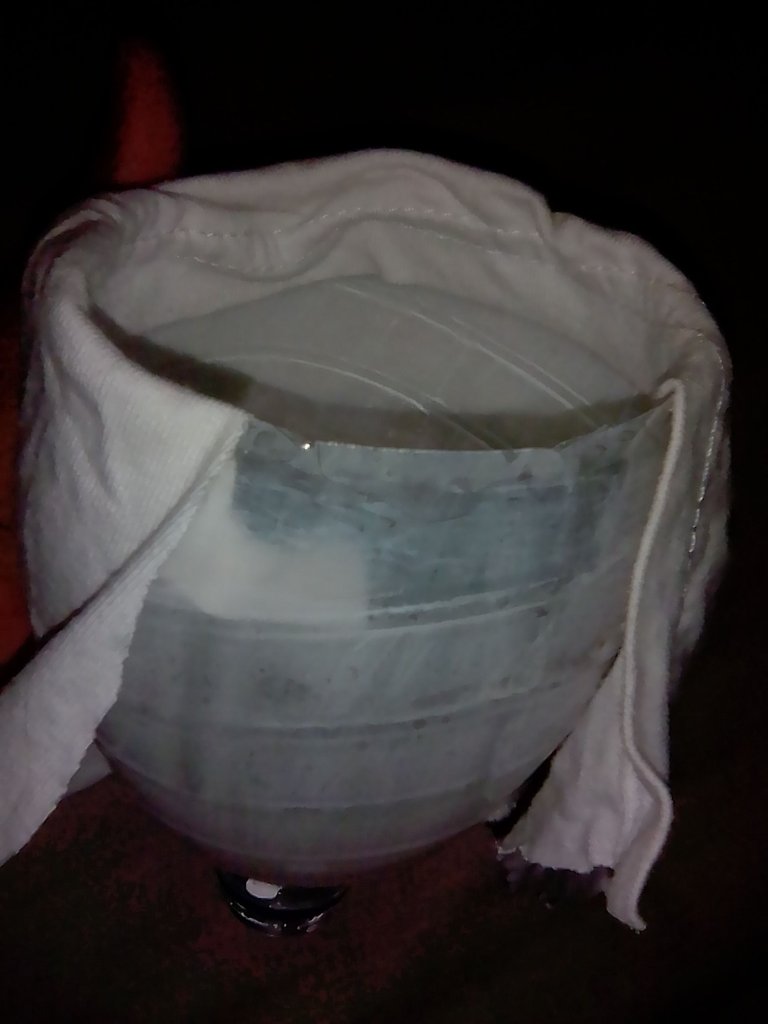
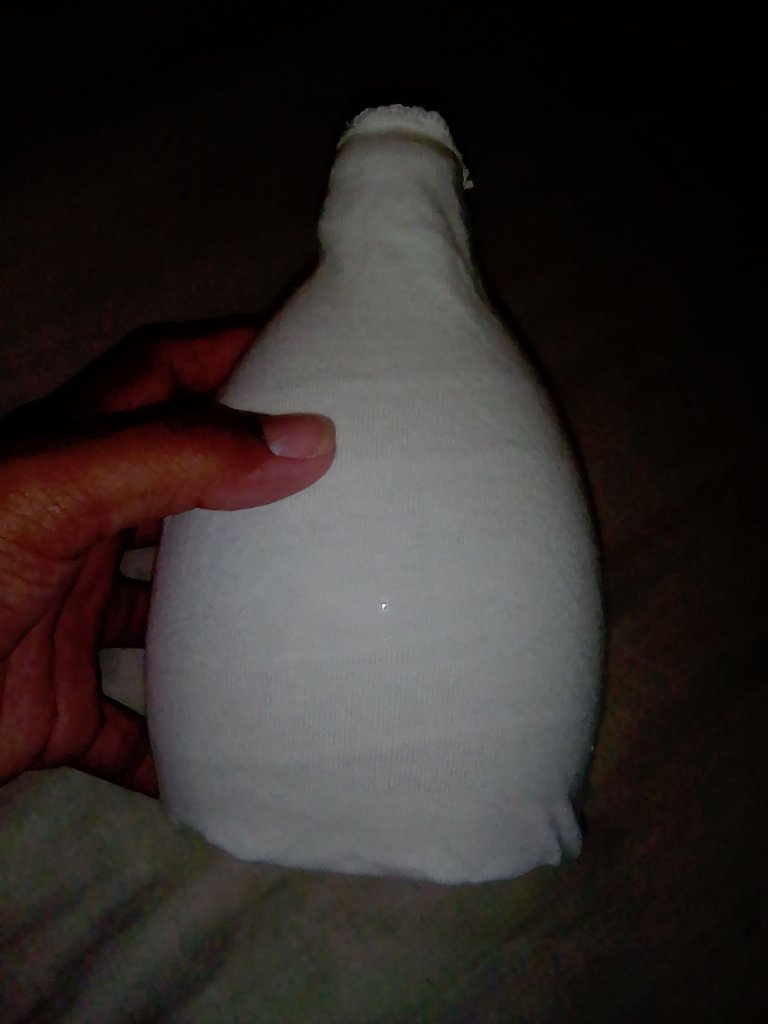
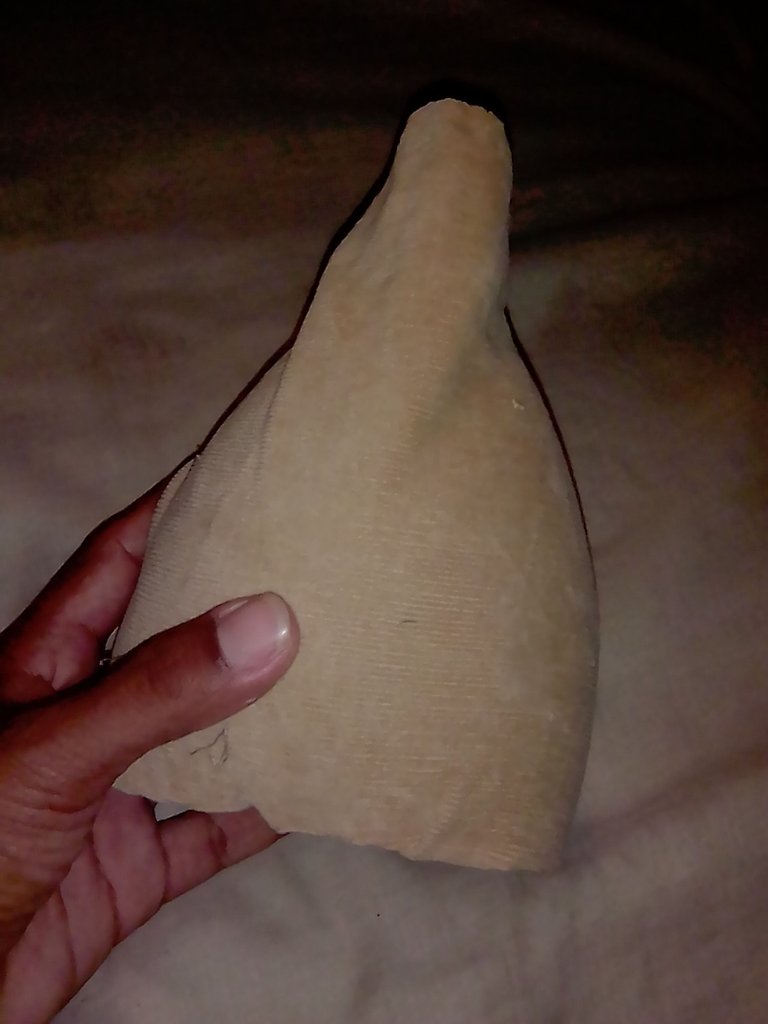
Y para terminar agarro la tela marrón y la pego del envase plástico.
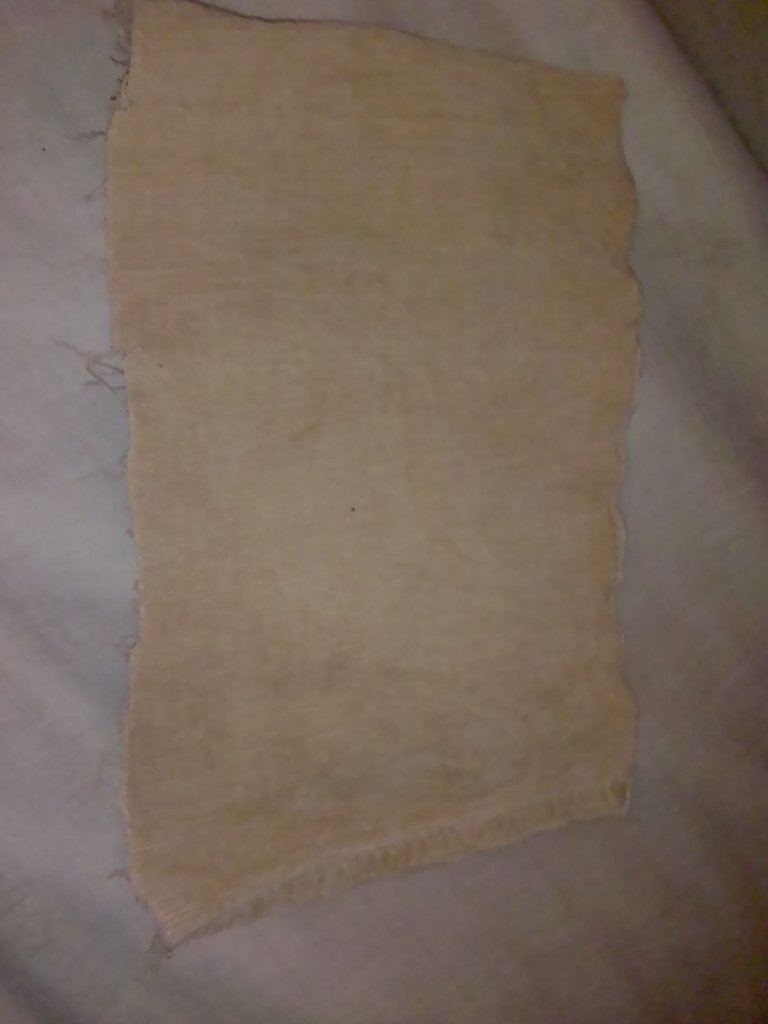
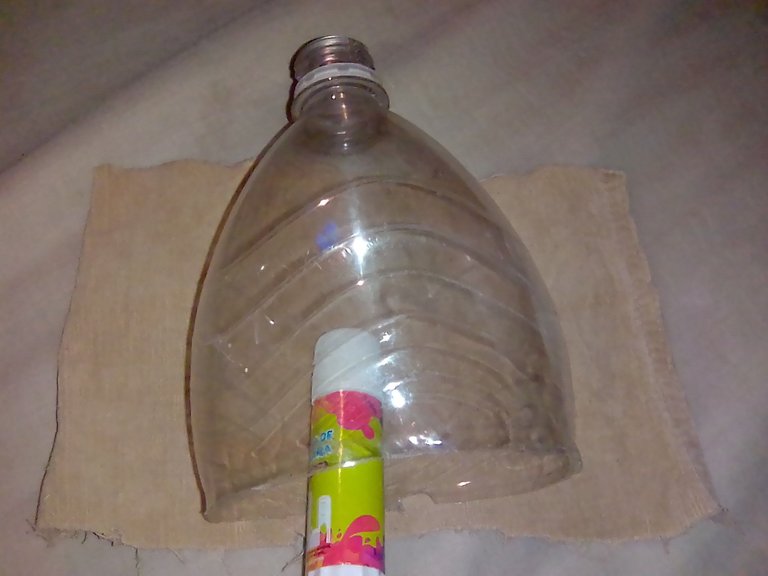
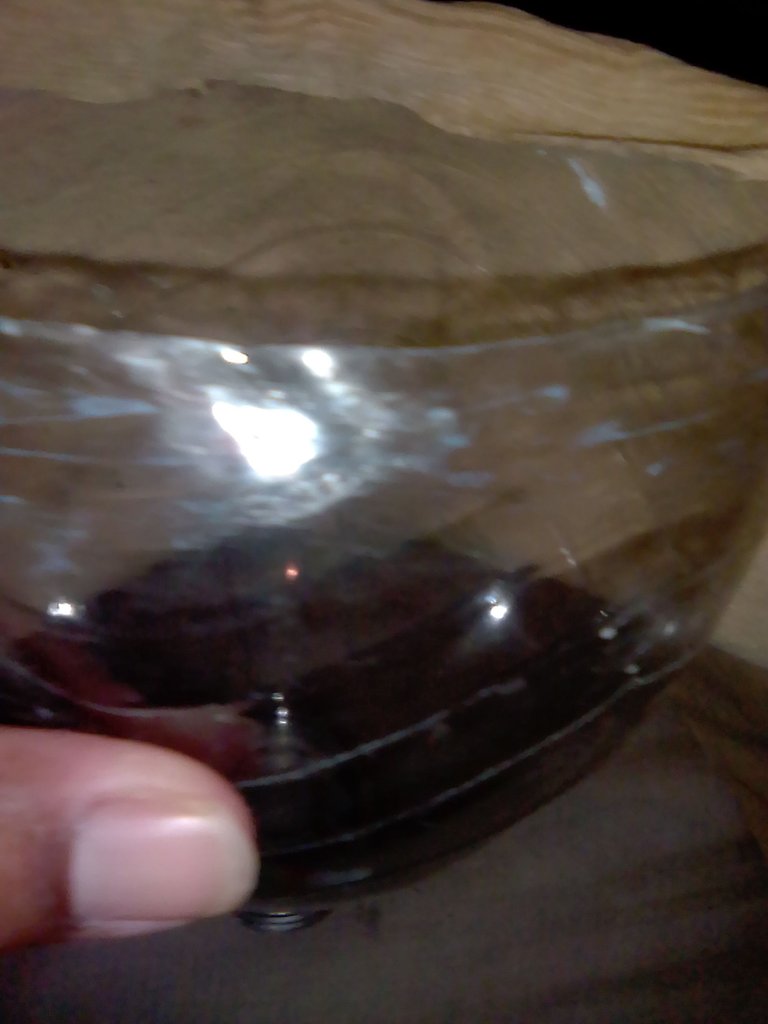
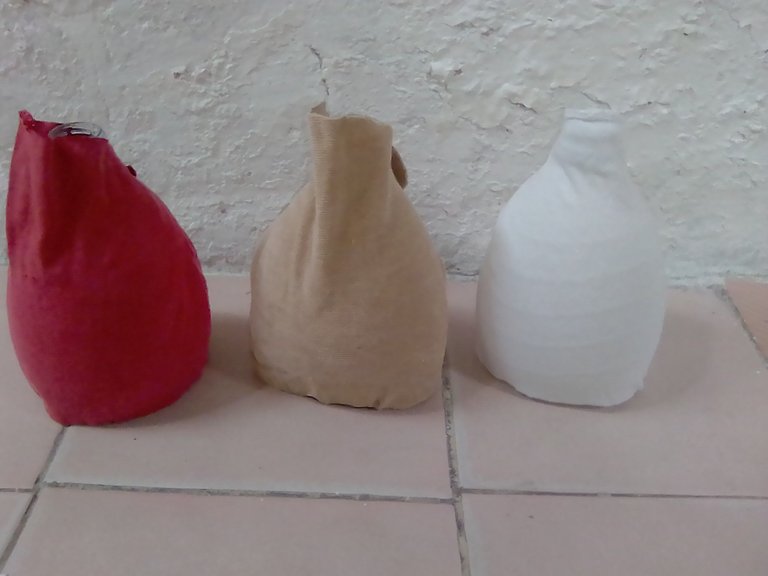
Listos los tres envases
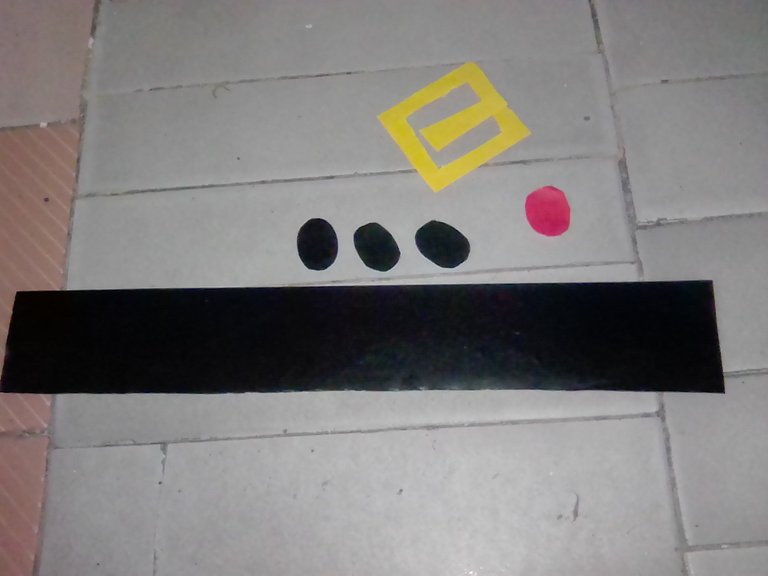
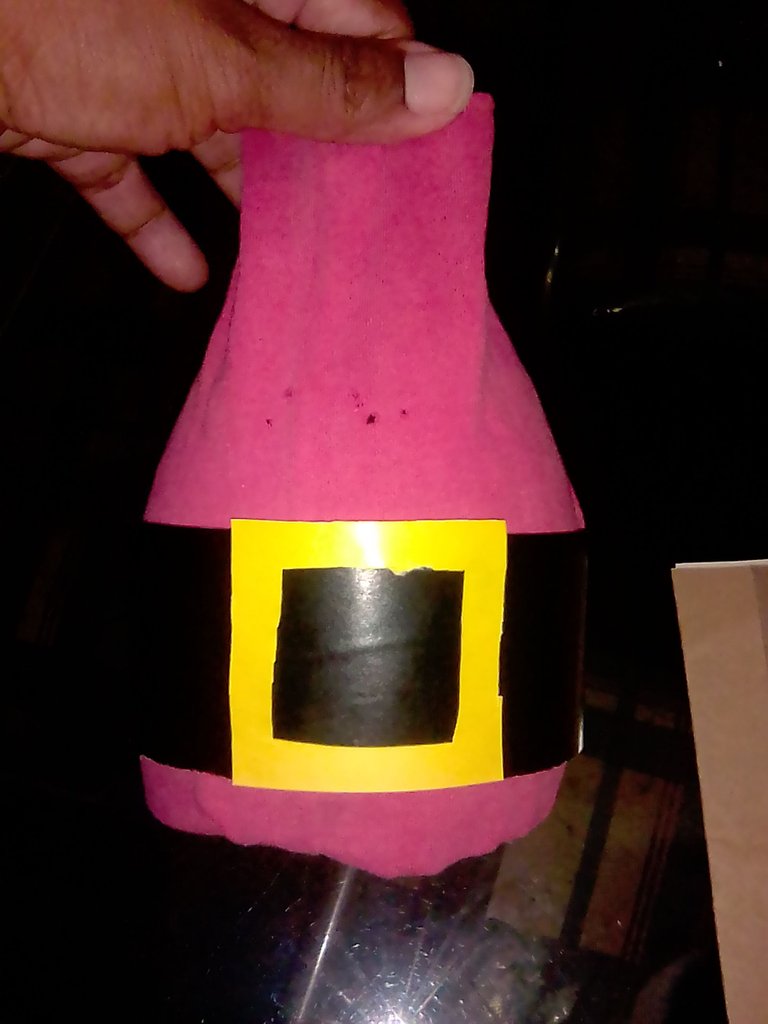
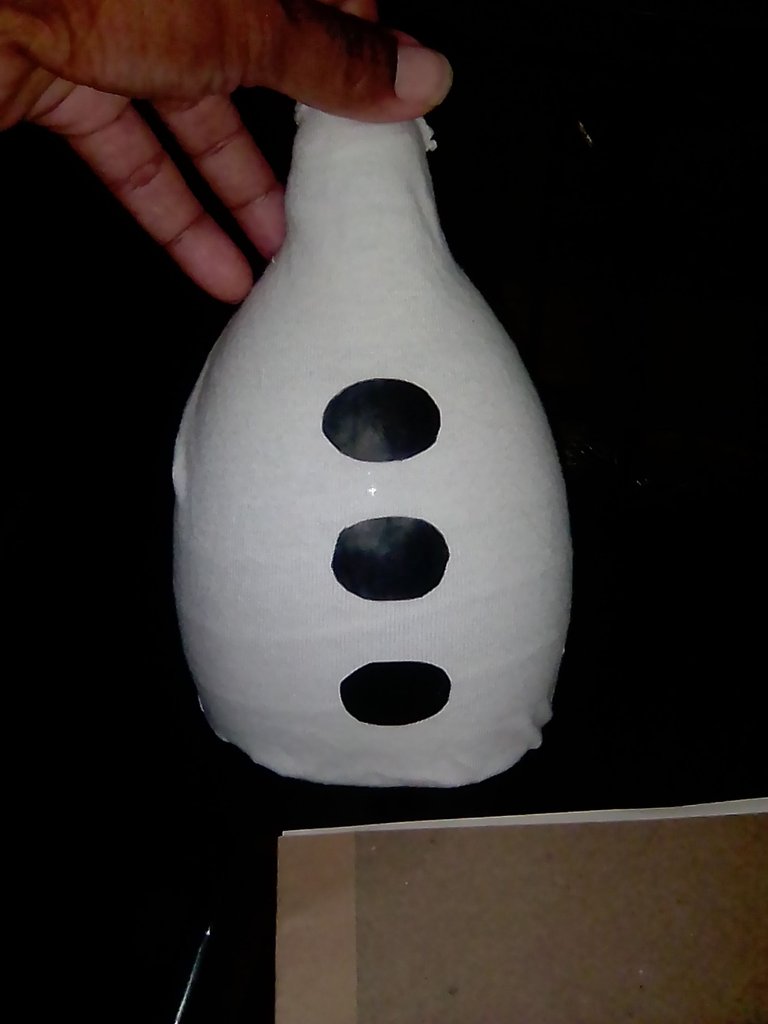
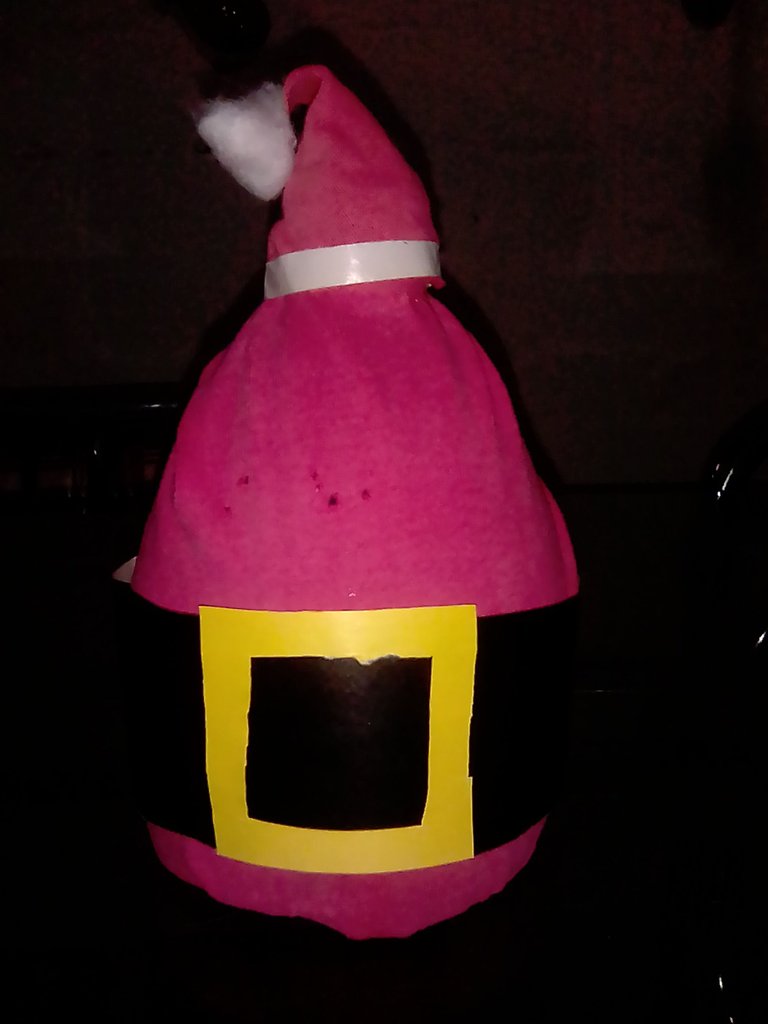
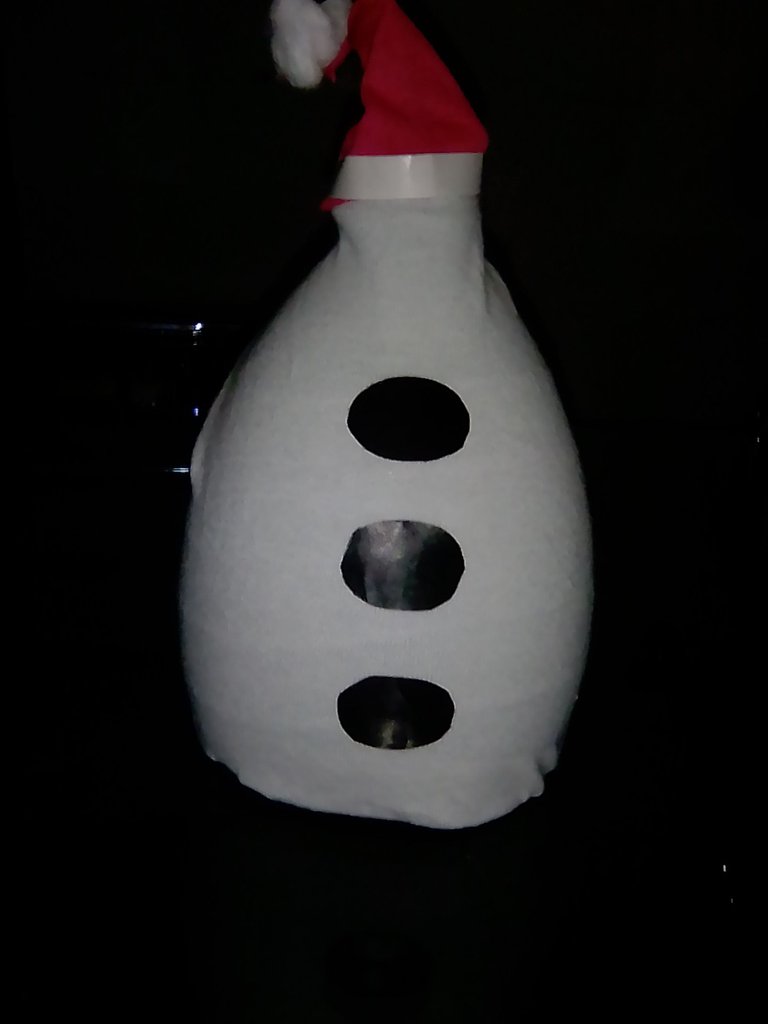
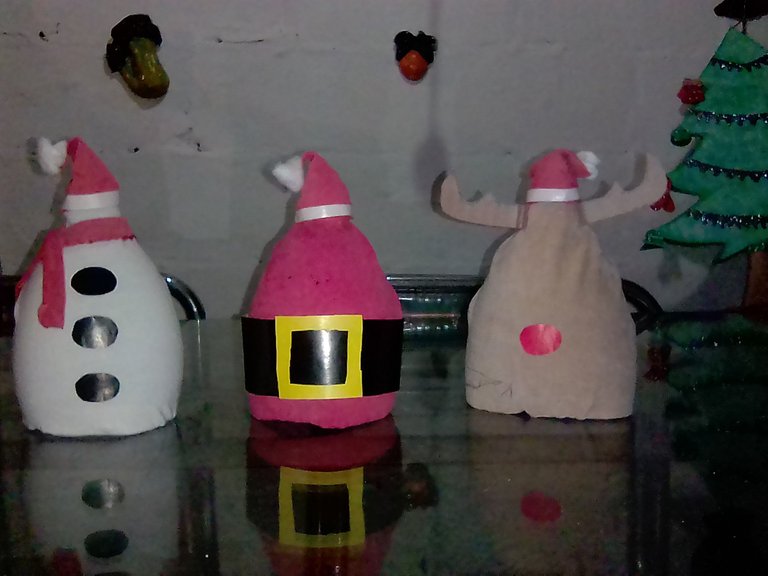
Voy con el papel lustrillo para hacer algunos detalles que simbolicen a cada uno de los personajes. Uso el negro para el cinturón de Santa y para los botones del Muñeco de Nieve. El amarillo para la hebilla del cinturón. Y el rojo para la nariz de Rudolf el Reno.
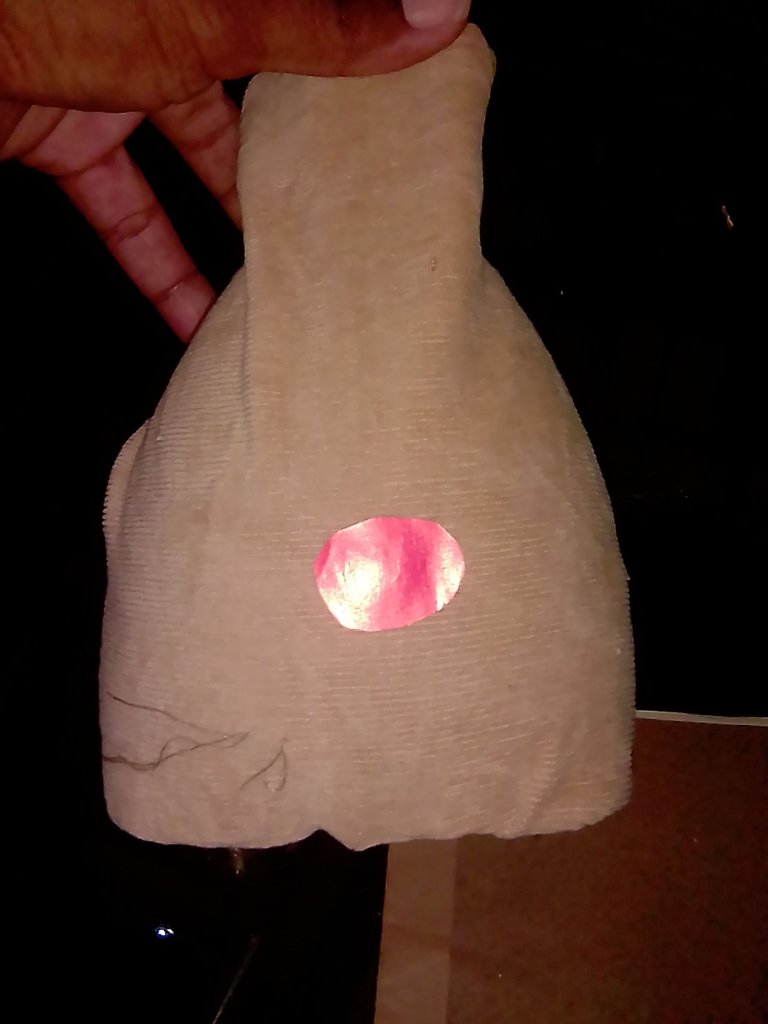
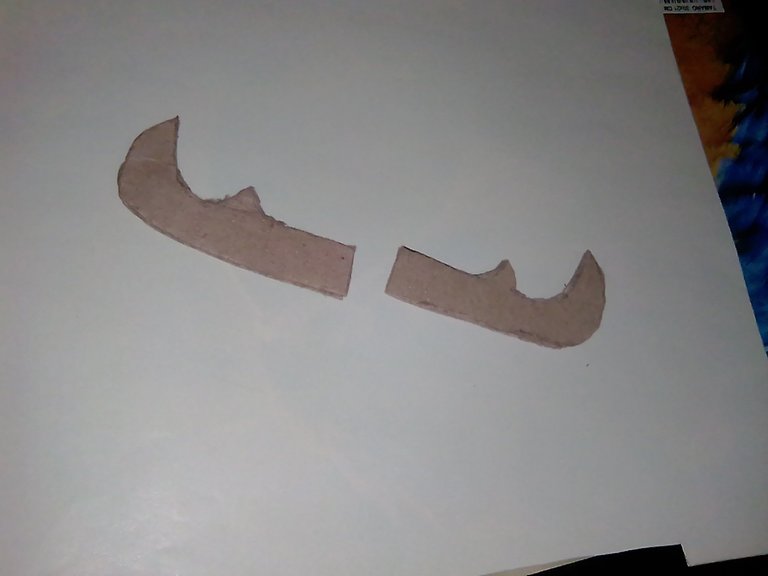
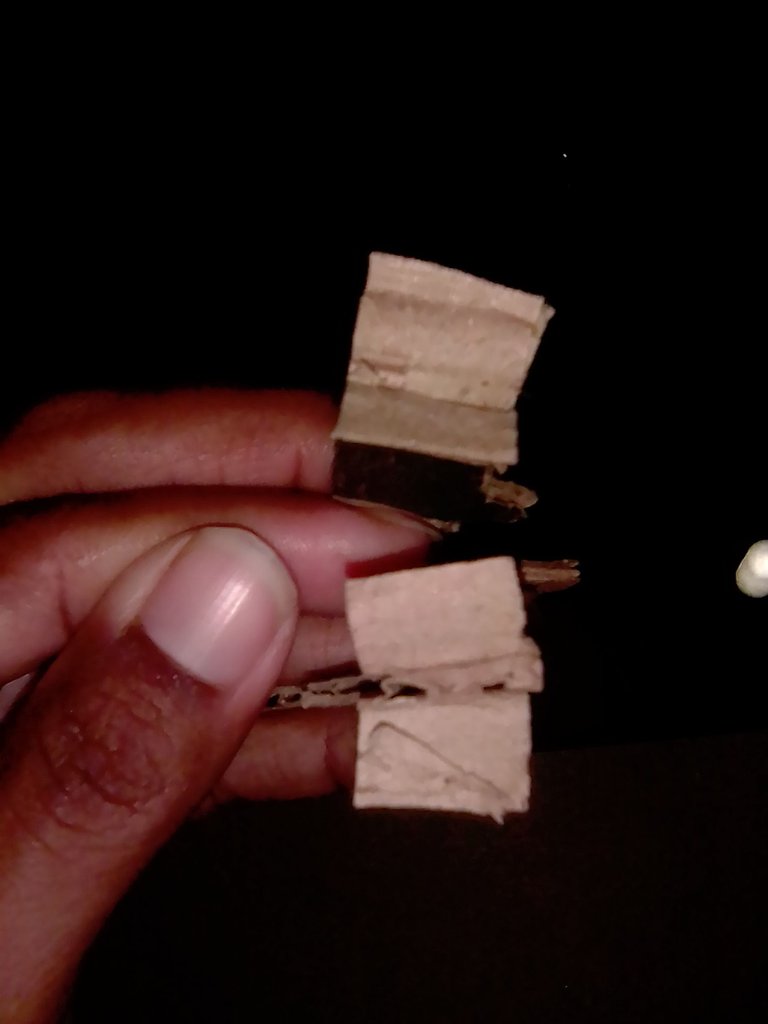
Para continuar se dibujan los cuernos del reno, en un pedazo de cartón, los recorto y dejo en uno lado, para usarlo después.
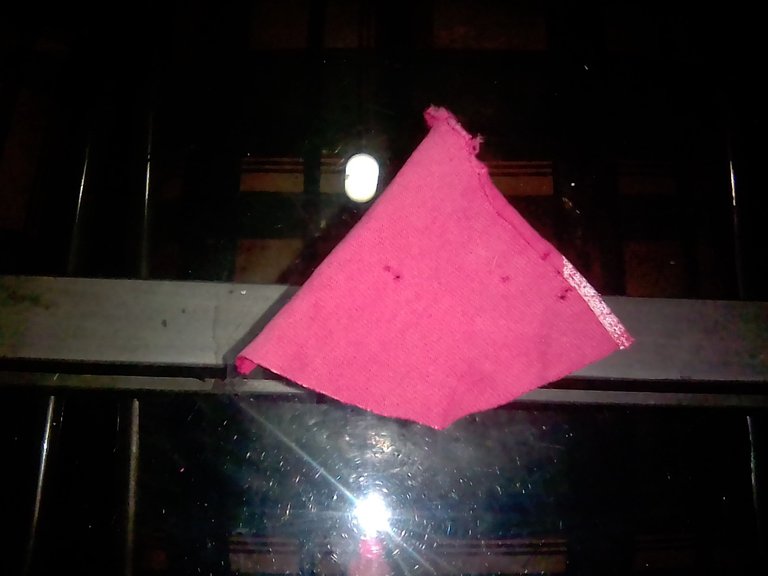
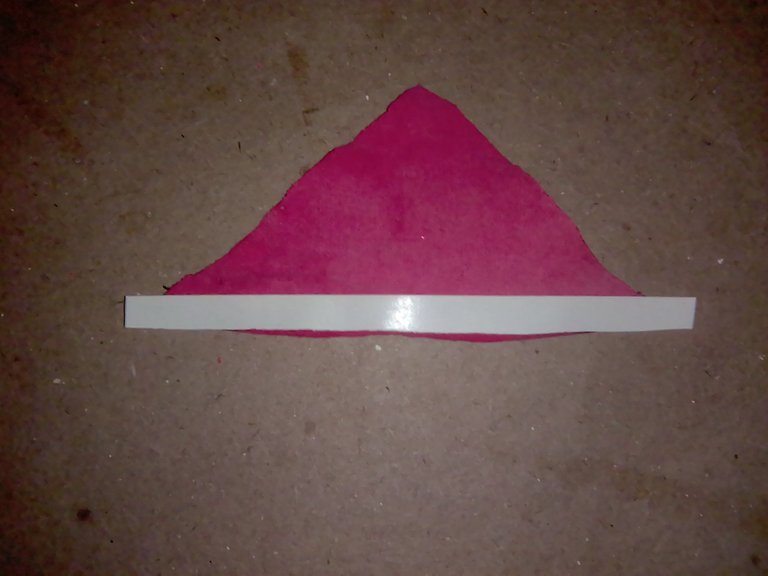
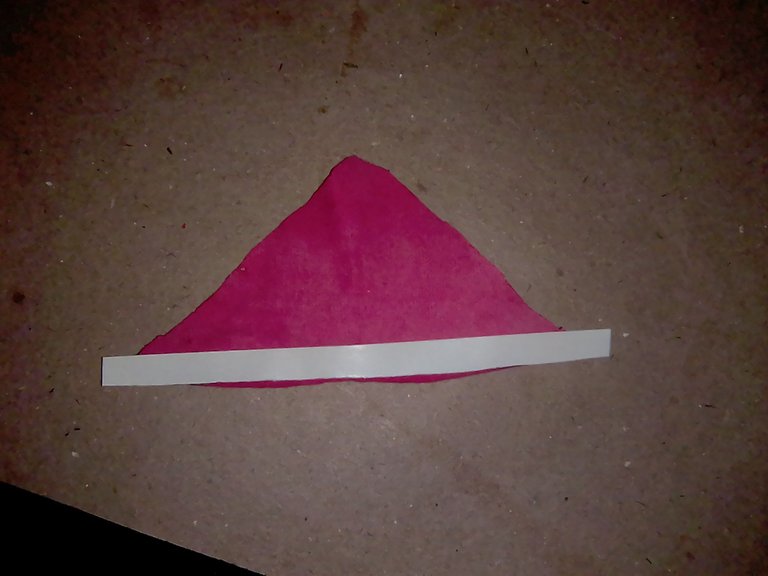
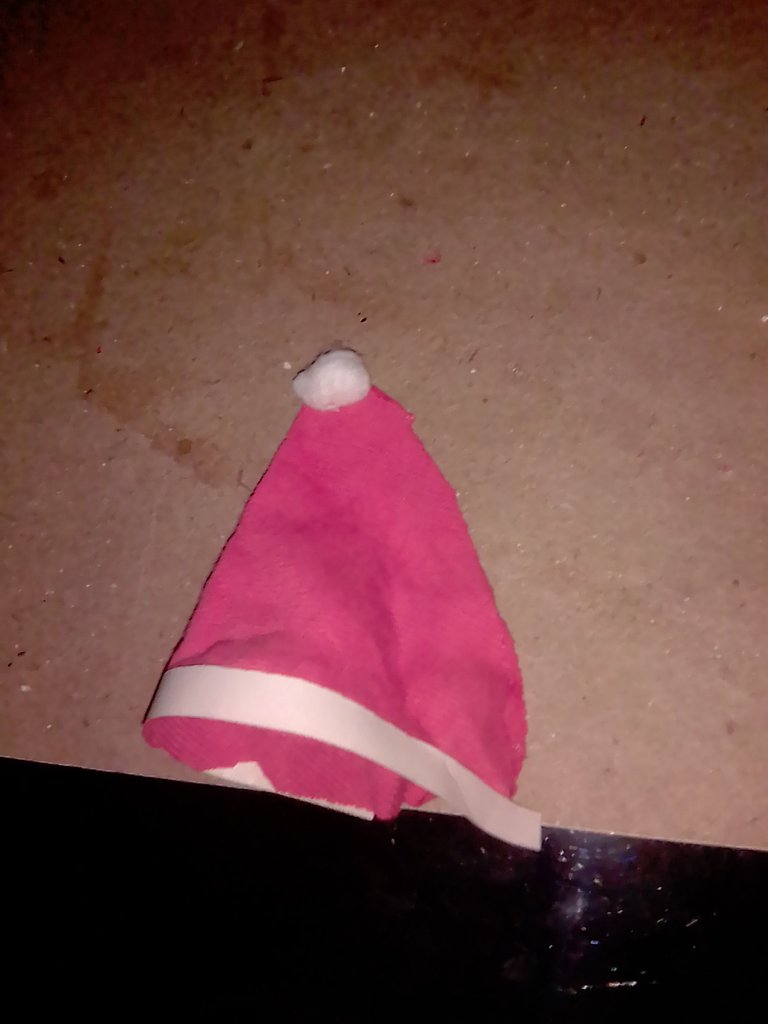
Es momento de hacer unos gorros para cada uno de los personajes. Para eso uso la tela roja, papel lustrillo blanco y algodón.
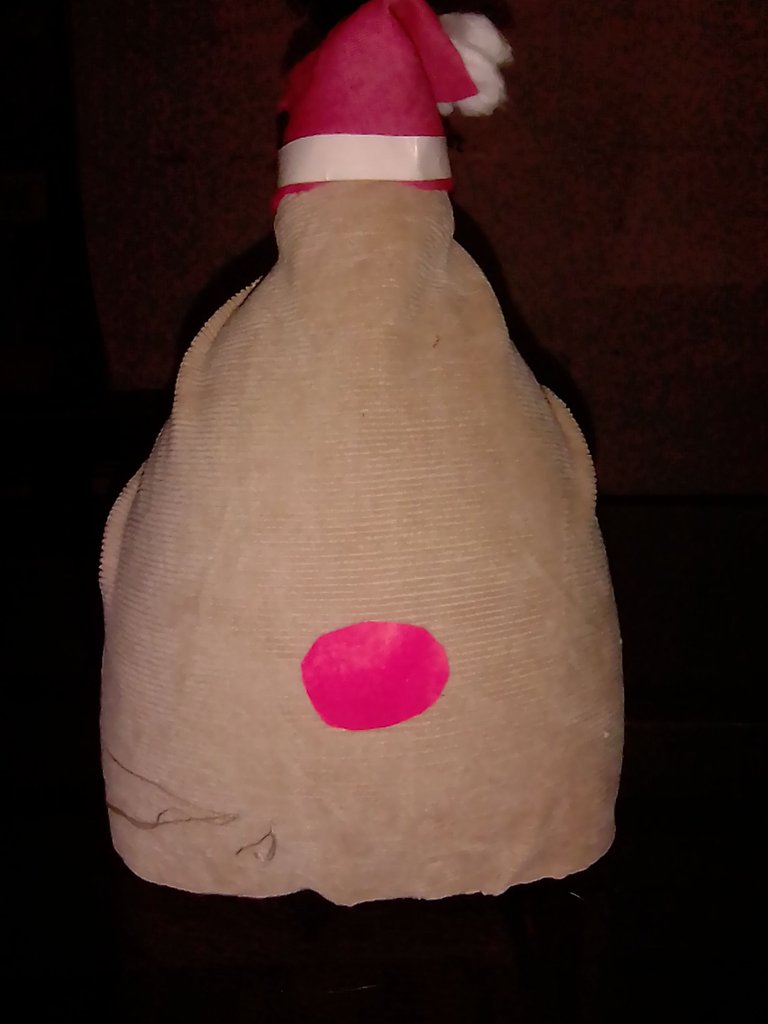
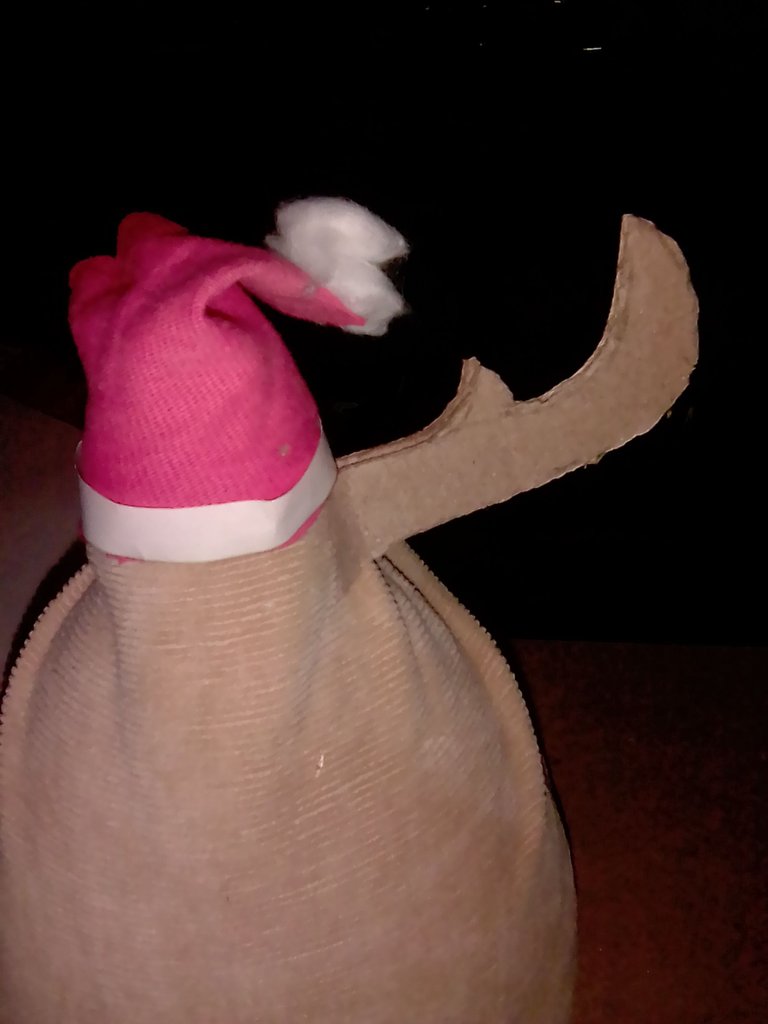
Ahora pego los cuernos al reno.
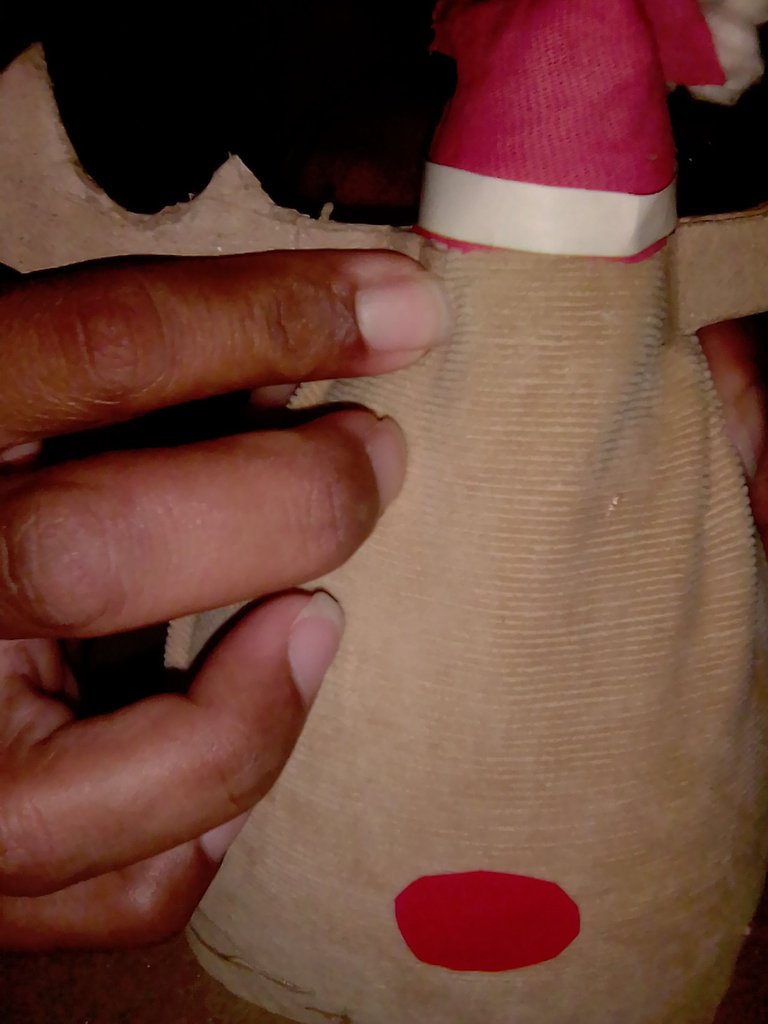
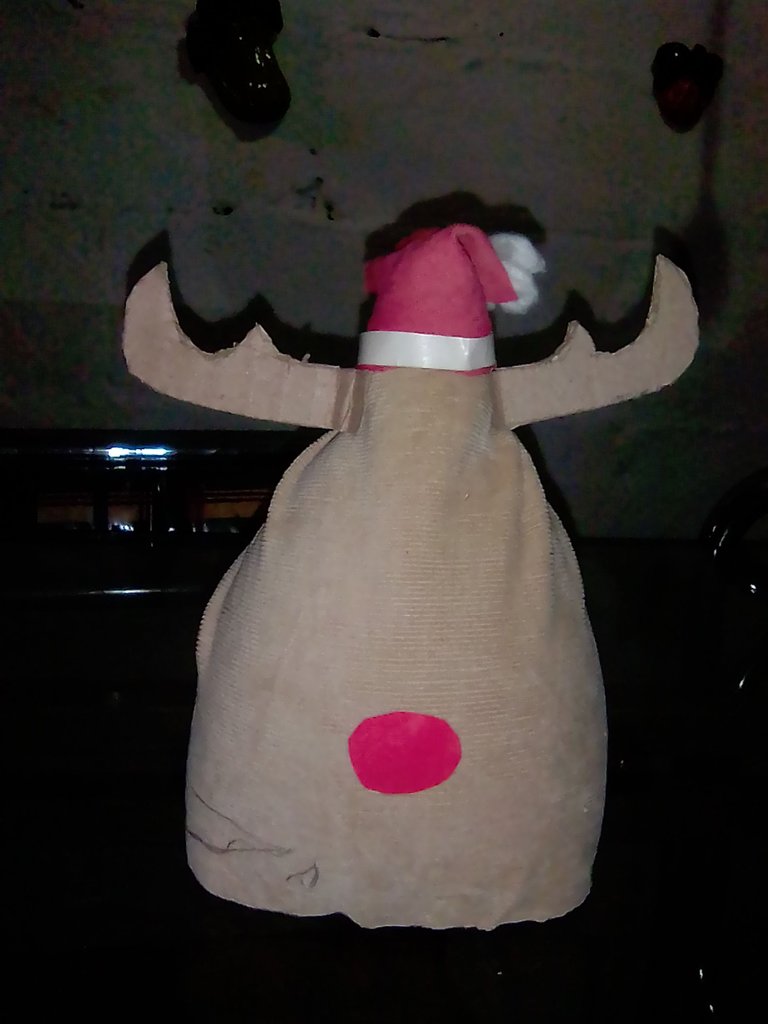
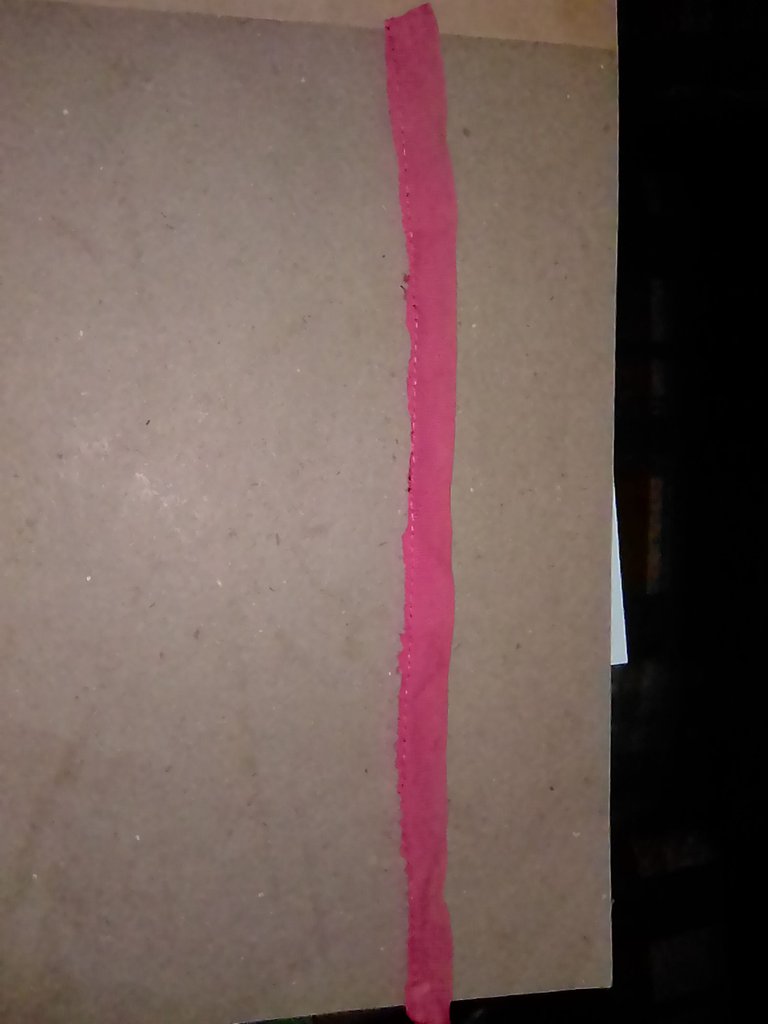
Falta la bufanda para el muñeco de nieve, la cual hare con un pedazo de tela roja.
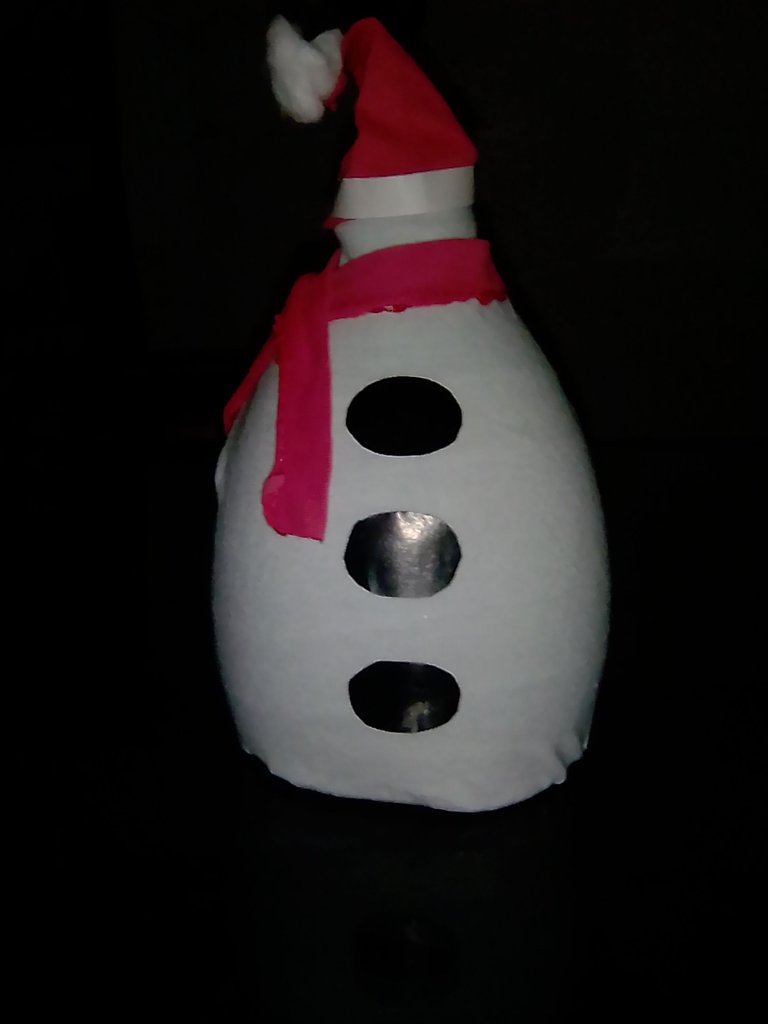
Así finaliza la elaboración de estos adornos navideños con materiales de provecho.

Espero que te haya gustado y que quizás te animes a realizar alguno. Gracias por quedarte a ver y leer, hasta una próxima publicación.
English
Good good...
Receive a warm greeting from me. Today I come to share some ideal Christmas ornaments to decorate any space and the best of all is that it is with useful materials, they are also very easy to make. I particularly wanted to decorate the table and that's why I made them. I invite you to stay and watch and read.

Materials to use:
3 plastic soda cans
White, red and brown fabric scraps.
Black, yellow, red, yellow and white lustrillo paper
Scissors
Glue stick
Piece of cardboard
A cotton ball

Elaboration:
I start with cleaning the pots, then proceed to cut the piece I am going to use, which is above the label.


Now I take the fabrics. I start with the red one, I use the glue stick so that the fabric sticks to the plastic container.


I continue with the white fabric, doing the same process as above.


And finally I take the brown fabric and glue it to the plastic container.


The three containers are ready

I go with the lustrillo paper to make some details that symbolize each of the characters. I use black for Santa's belt and for the Snowman's buttons. Yellow for the belt buckle. And red for Rudolph the Reindeer's nose.


To continue I draw the reindeer's antlers, on a piece of cardboard, cut them out and leave them on one side, to use later.

Now it's time to make hats for each of the characters. For this I use red fabric, white lustrillo paper and cotton.


Now I glue the antlers to the reindeer.


The scarf for the snowman is missing, which I will make with a piece of red fabric.


This concludes the elaboration of these Christmas ornaments with useful materials.


I hope you liked it and maybe you will be encouraged to make some of them. Thanks for staying to watch and read, see you in the next post.

Imágenes de mi propiedad
Texto traducido en Deepl
Baner y separador elaborado en Power point

