Se acerca el día de la madre, hay que hacer algún detalle, es por eso que realicé unas sencillas tarjetas para que mis estudiantes se las obsequiaran a su mami.
Mother's Day is approaching, so I made some simple cards for my students to give to their mommy.
Esta semana nos ha tocado en clases hacer detallitos, preparar bailes, juegos y poesías, es por ello que decidí hacer las tarjetas de mis niños, y tomando en cuenta que solo son 28 decidí hacerlas en casa. Debo ser sincera, en el aula iba a resultarme un poco complicado, en casa puedo concentrarme un poco más.
This week in class we had to make details, prepare dances, games and poems, that's why I decided to make my children's cards, and taking into account that there are only 28 of them, I decided to make them at home. I must be honest, in the classroom it was going to be a little complicated, at home I can concentrate a little more.
También hay otro factor super importante que me llevó a hacer las tarjetas, y es que definitivamente con poca estancia en el salón de clases debido a los distintos actos culturales, se me imposibilitaría hacer nada, así que manos a la obra😁
There is also another super important factor that led me to make the cards, and that is that definitely with little time in the classroom due to the various cultural events, it would be impossible for me to do anything, so let's get to work😁
Debo confesar que tuve que caminar bastante para conseguir papel de tarjetería que fuese bonitop y no tan costoso, y tuve suerte conseguí una oferta de 5 hojas de cartulina estampada más una tijera de forma por un dolar, compre 15 hojas, por lo que tengo ahora tres tijeras de forma nuevas.✂️
I must confess that I had to walk quite a bit to get card stock that was nice and not so expensive, and I was lucky I got a deal on 5 sheets of patterned cardstock plus a shaped scissors for a dollar, I bought 15 sheets, so I now have three new shaped scissors.✂️
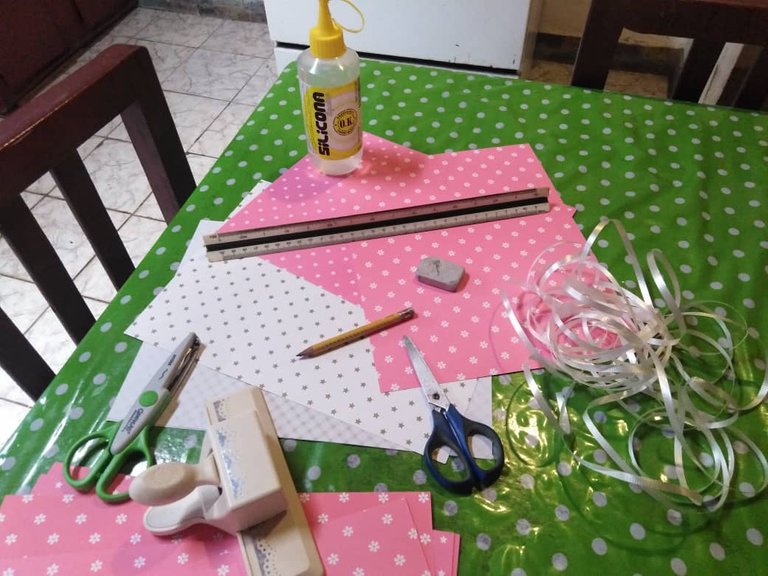
Ahora si, entremos en el tema, los materiales que utilicé, fueron:
Silicone
Cartulina estampada
Troqueladora de papelería
Tijeras
Regla y lápiz✏️
Now, let's get into the subject, the materials I used were:
Silicone
Stamped cardboard
Stationery die cutter
Scissors
Ruler and pencil✏️
---
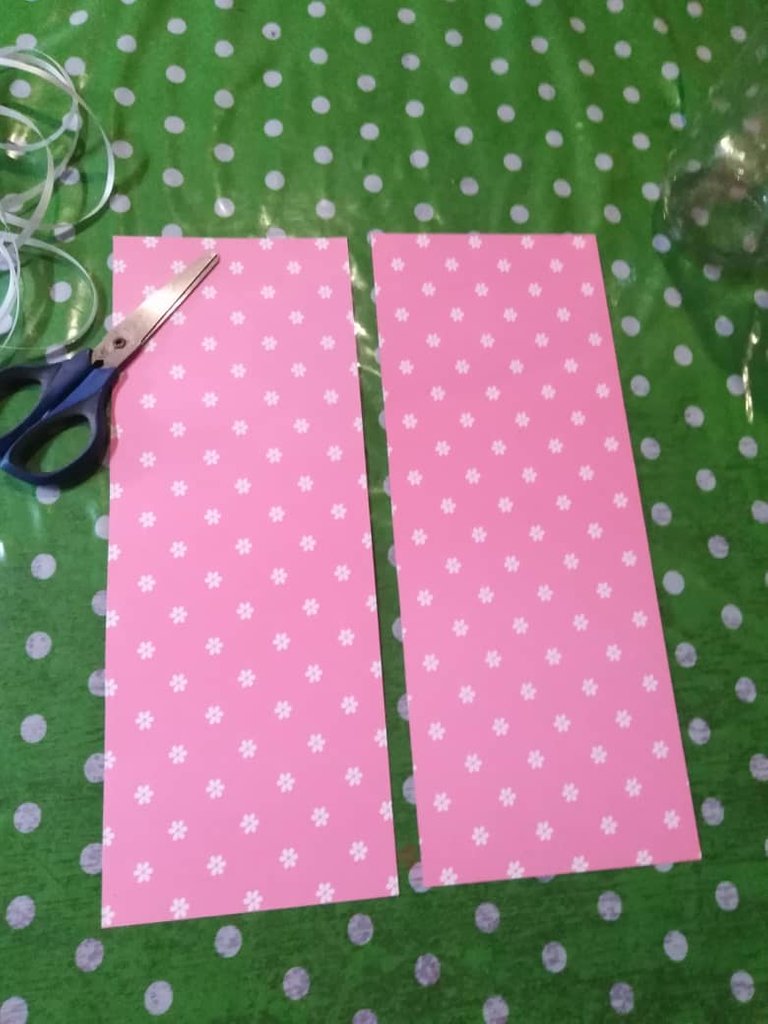
Primero medí lo ancho de la cartulina, pude notar que no tenía mitad exacta de tal forma que decidí que un grupo de mis tarjetas medirían 10cm de ancho y el otro 11, por lo que pasé a los 11 cm marcados a diferentes niveles de mi hoja, una línea divisoría por todo lo alto, para luego recortar la cartulina en dos partes.
First I measured the width of the cardboard, I noticed that it was not exactly half so I decided that one group of my cards would be 10cm wide and the other 11cm wide, so I went to the 11cm marked at different levels of my sheet, a dividing line all the way around, and then cut the cardboard in two parts.
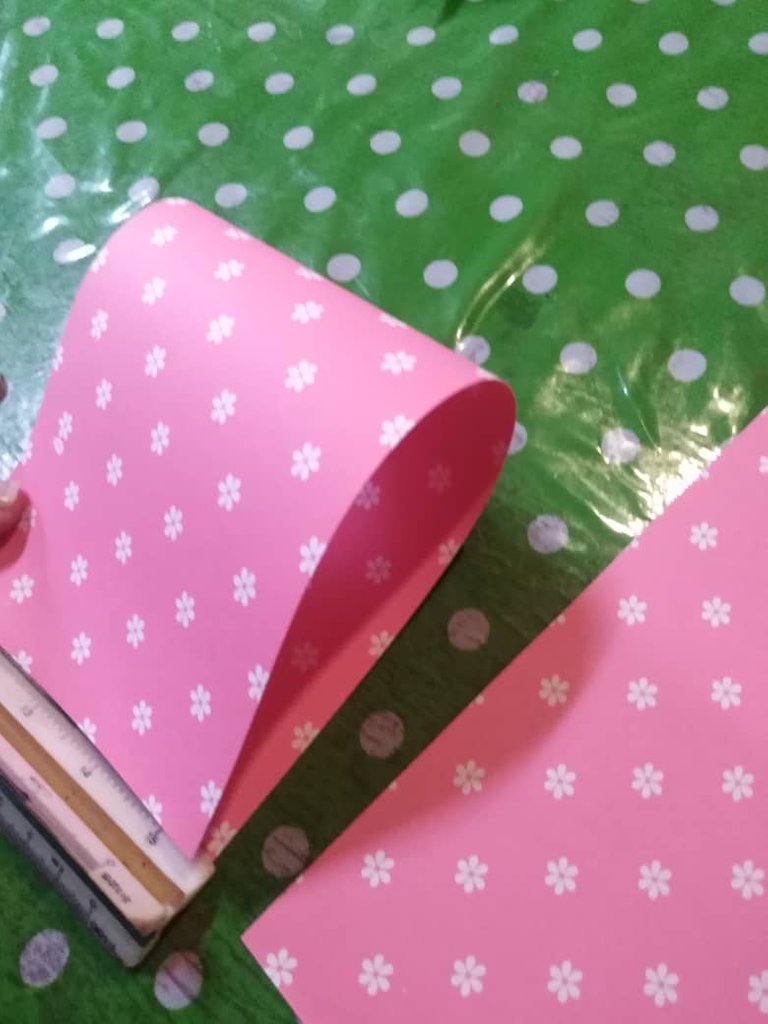
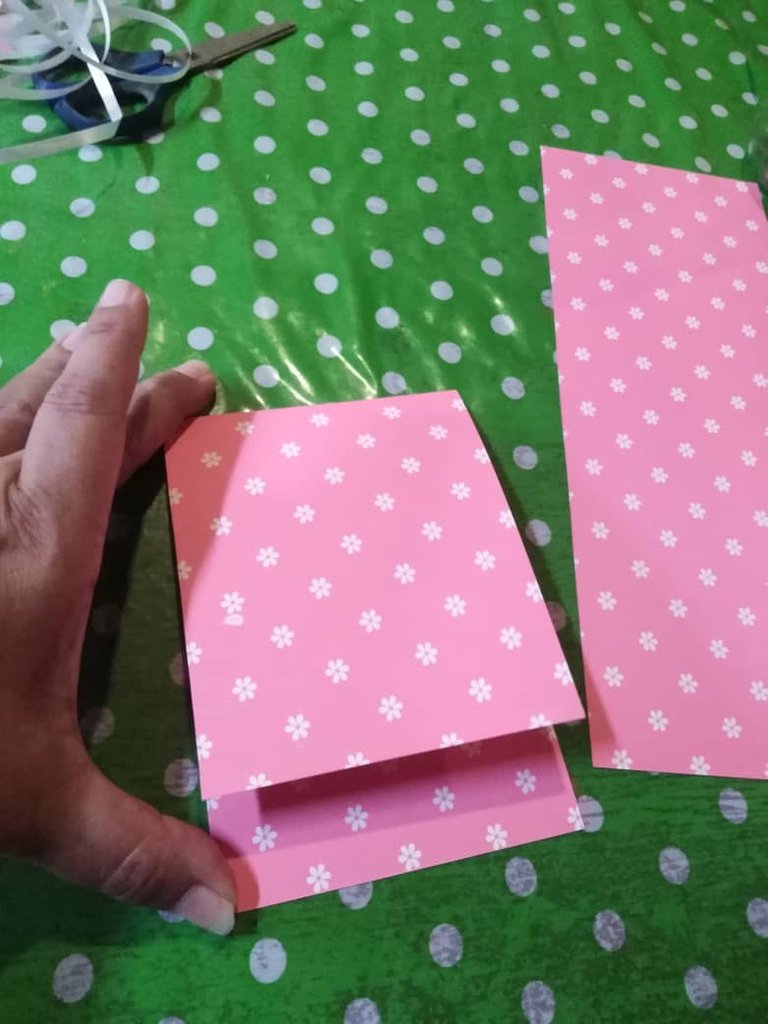
Una vez obtenidos mis dos pedazos, tomé la regla y la coloque al final de la cartulia, sobre ella, e hice un dobles que llegara hasta el borde de mi regla, esto con la finalidad de doblar la cartulina hasta ese borde y no hasta el optro extremo de ella.
Once I had obtained my two pieces, I took the ruler and placed it at the end of the cardboard, on top of it, and made a fold that reached to the edge of my ruler, this in order to fold the cardboard to that edge and not to the other end of it.
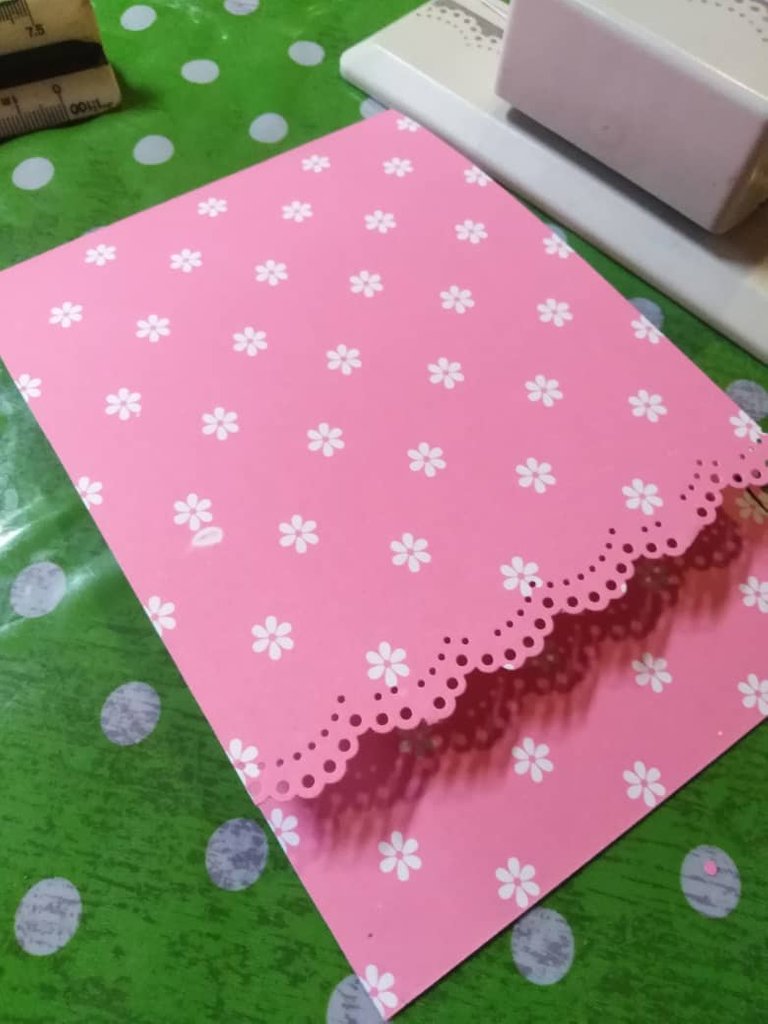
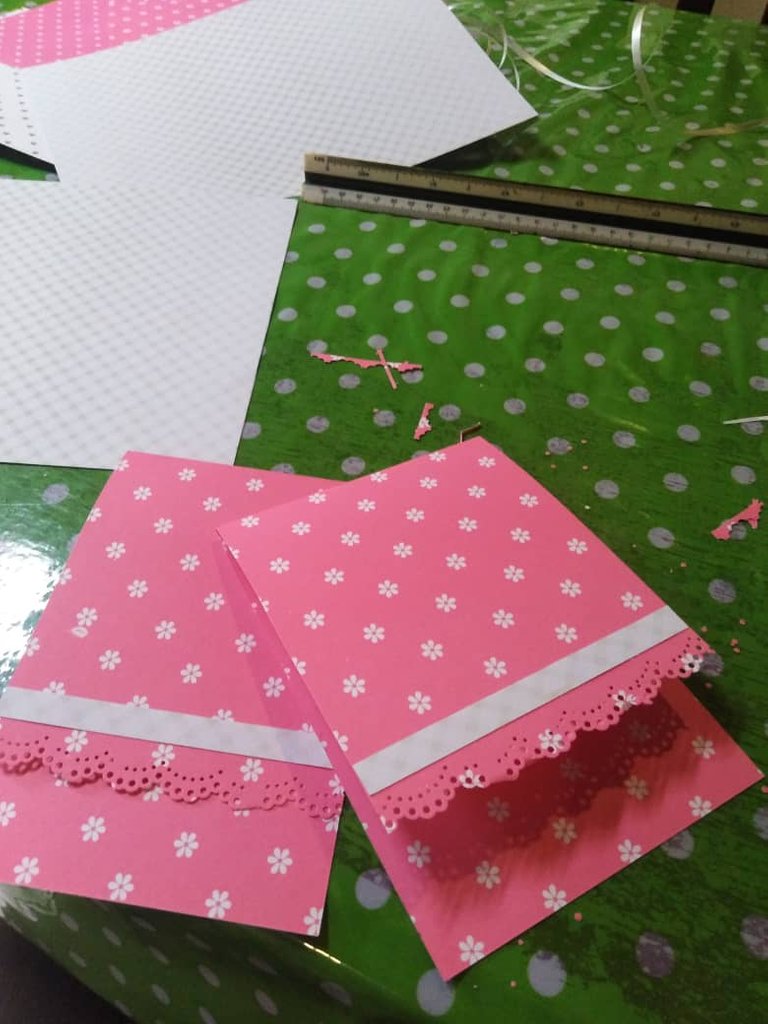
Al doblarla le saqué filo al dobles con la regla, luego en la parte inferior de dobles más corto, troquelé de esta forma sobre saldría ese detalle tan delicado y bonito, si no tienes troqueladora de papel, a ese borde lo puedes resaltar con una cinta o cortándolo con una tijera de formas.
When I folded it I took the edge of the double with the ruler, then in the lower part of the shorter double, I die-cut in this way that delicate and beautiful detail would come out, if you don't have a paper die-cutter, you can highlight that edge with a ribbon or cutting it with a shape scissors.

)
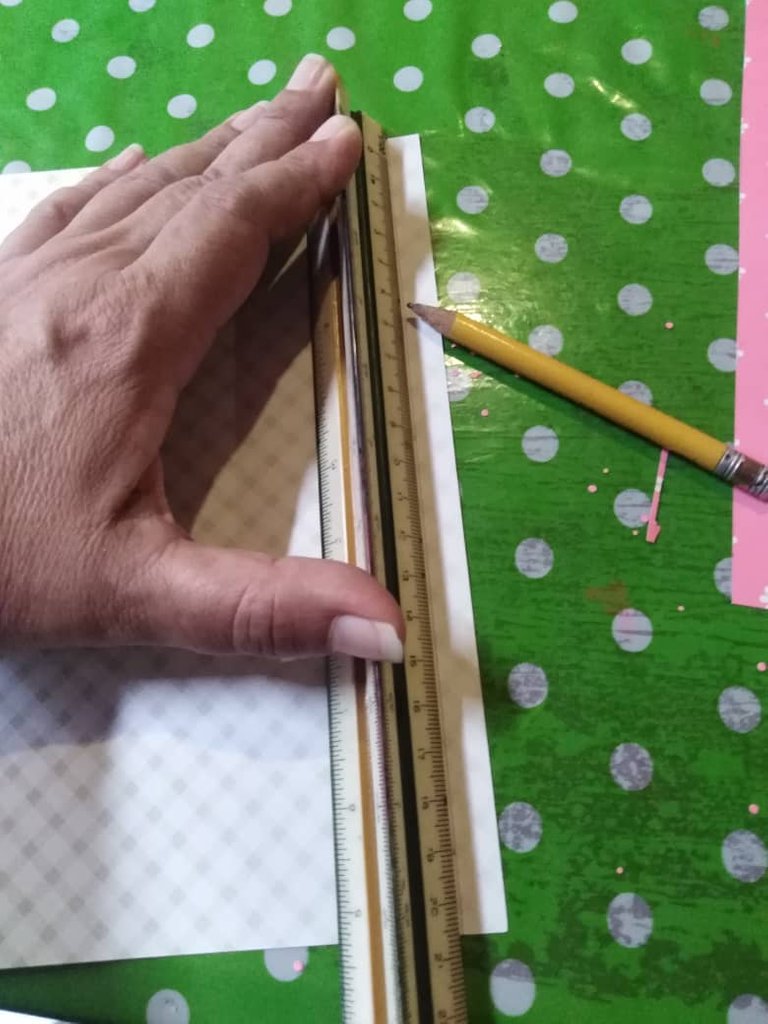
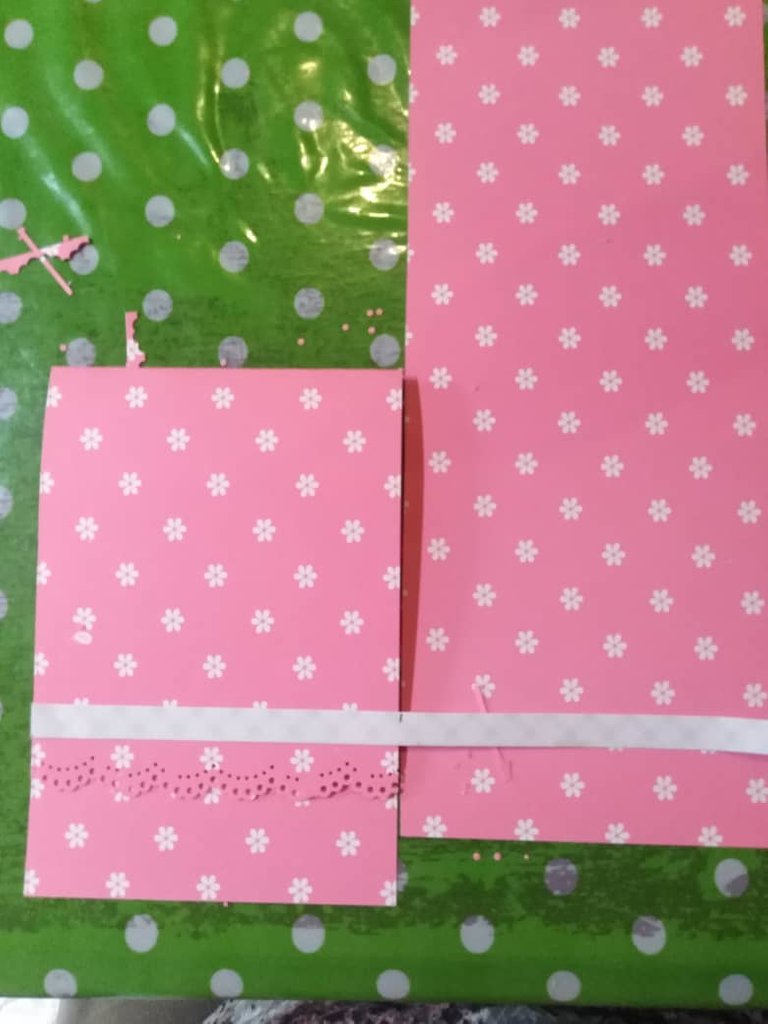
Luego tomé otra cartulina que hiciera contraste con el estampado de la tarjeta y marqué cintillos de un centímetro de ancho, para luego comparar los largos y cortar a los 10cm. Una vez hecho esto, recorte y pegué en cada tarjeta por encima del troquelado, más o menos a medio centímetro de él.
Then I took another piece of cardboard that contrasted with the pattern of the card and marked one centimeter wide ribbons, then compared the lengths and cut at 10cm. Once this was done, I cut and glued on each card above the die cut, about half a centimeter away from it.
Y como pueden ver, hice mis tarjetas, las llevé a los niños y les encantó, lo que me falta es recortar con las tijeras de forma cuadraditos de papel bond blanco, allí los niños escribiran a sus mamis, y luego pegaremos cada mensajito a las tarjetas, y junto con un regalito ya podrán dar su detallito a mamá.
And as you can see, I made my cards, I took them to the kids and they loved them, what I need to do now is to cut out squares of white bond paper with the scissors, there the kids will write to their mommies, and then we will glue each message to the cards, and together with a little gift they will be able to give their little gift to mom.
The images were taken by me, and the thank you image I made in Canva.


 )
)


 )
)


