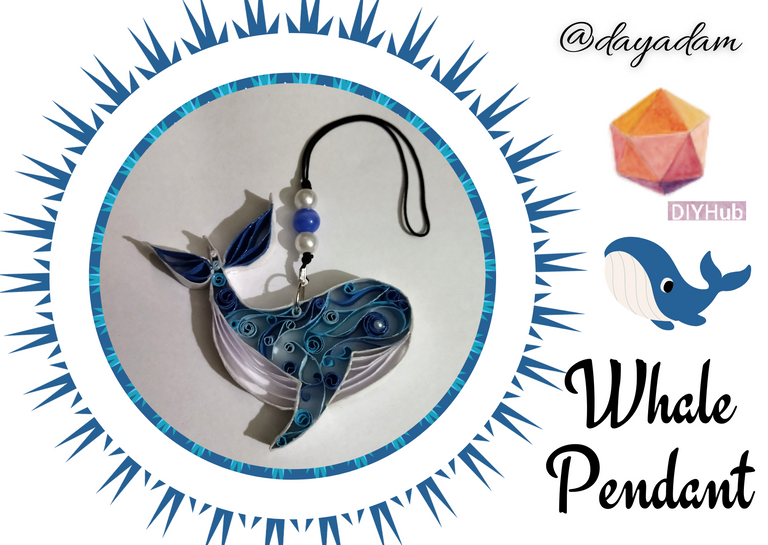
Hello everyone... 🐳✨
Hello my dear Hiver and the dear community of artists #DiyHub, as always I am very pleased and excited to be here to participate in this contest of the month inspired by The Sea Life and sponsored by @ecency. I invite you to participate, here are the guidelines for the contest. Hurry up, the contest is almost over.
For today I bring you a delicate and functional work, in the technique I love to use the most which is quilling. I came up with the idea of making a small whale-shaped pendant which you can use to decorate a space, carry as an accessory in a bag, use as a keychain, in short you can give them the use you want, as I have often commented that this technique is so wonderful and versatile that you can adapt it to the need you have.
I invite to participate in the contest @elmundodebetty, @multifacetas y
@sylregne.
So friends, without further ado, I hope you like it, join me in this creative process that I made especially for you.
Let's get started:😃

Hola a todos... 🐳✨
Hola a mis queridos Hiver y a la querida comunidad de artistas #DiyHub, como siempre muy complacida y emocionada de encontrarme por acá para participar en este concurso del mes inspirado en La vida Marina y patrocinado por @ecency. Te invito a participar, por acá te dejo las pautas del concurso. Apúrate, falta poco para que termine el concurso.
Para hoy les traigo un trabajo delicado y funcional, en la técnica que más adoro utilizar la cual es la de quilling. Se me ocurrió llevar a cabo un pequeño colgante en forma de ballena el cual podrás utilizar para decorar un espacio, llevar como accesorio en un bolso, usar de llavero, en fin les puedes dar el uso que desees, ya que en muchas oportunidades he comentado que esta técnica es tan maravillosa y versátil que la puedes adaptar a la necesidad que tengas.
Invito a participar en el concurso a @elmundodebetty, @multifacetas y
@sylregne.
Entonces amigos, sin más preámbulos, esperando que sea de su agrado acompáñenme en este proceso creativo que realice especialmente para ustedes.
Comencemos:😃

• Cintas de quilling de 9mm de ancho blancas y en tonalidades azules, (o del color de tu preferencia).
• Cartón blanco.
• Lápiz.
• Aguja para quilling.
• Pega blanca extra fuerte (de carpintería).
•Alfiler punta gruesa
• Argolla mediana de bisutería.
• Tijera.
• Cristales, perlas o brillos de bisutería.
• Pinza punta fina
• Pincel.
• Hilo chino fino negro.
• Tapa nudo.
• Perlas.
- 9mm wide quilling ribbons in white and blue shades (or the color of your choice).
- White cardboard.
- Pencil.
- Quilling needle.
- Extra strong white glue (carpentry glue).
-Thick tip pin. - Medium size costume jewelry ring.
- Scissors.
- Crystals, pearls or costume jewelry glitter.
- Fine tip tweezers
- Brush.
- Black fine Chinese thread.
- Knot cover.
- Pearls.

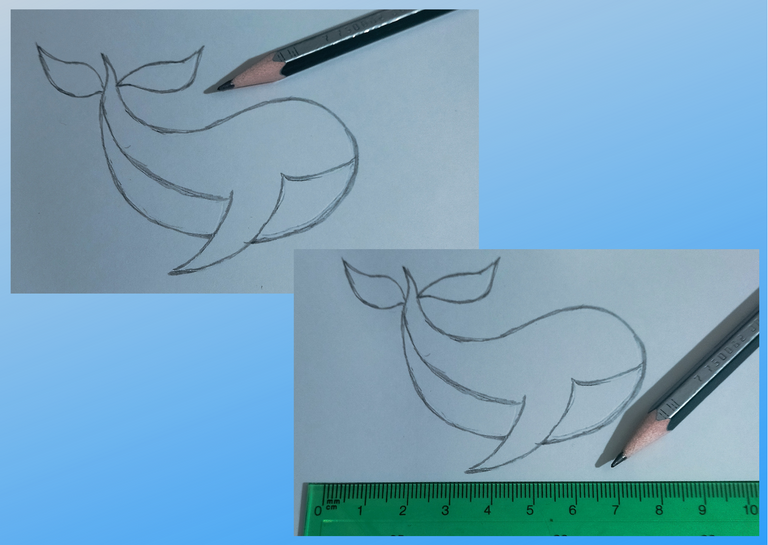
- I started by taking a piece of white cardboard, on which with a pencil I drew the figure I wanted of a small whale, that will be the basis of the work I will do.
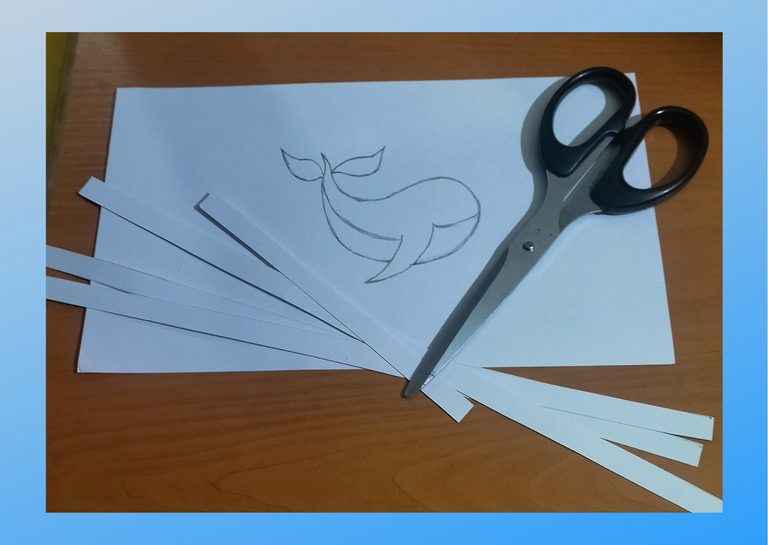
- Then I proceeded to cut some 9mm wide white cardboard ribbons (that is to say, I made my own quilling strips in cardboard to make them thicker and stronger).
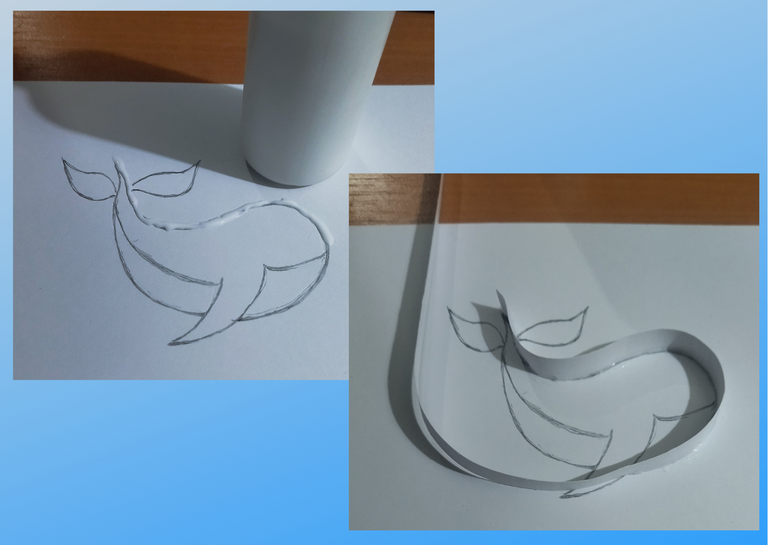
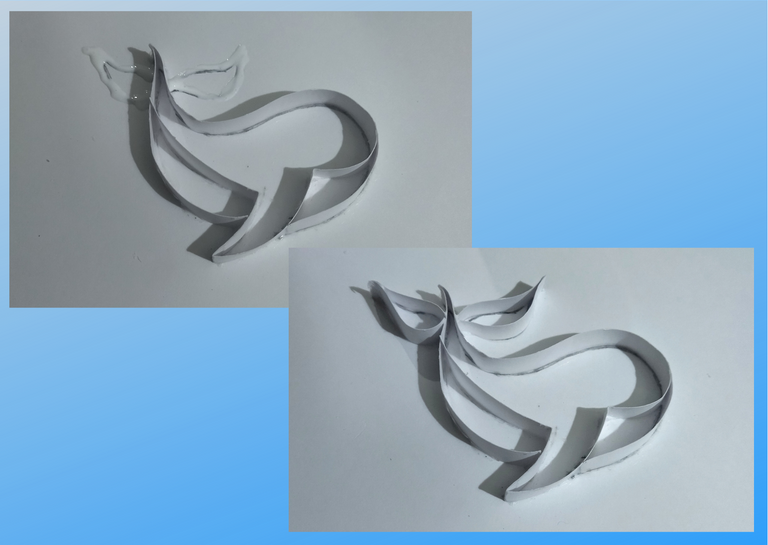
- With the ribbons I cut I will proceed to border the figure of my whale, we will do this by applying a little extra strong white glue (carpentry), around the lines where we want to place the ribbons, then we will place them little by little.

• Comencé tomando un trozo de cartulina blanca, en la cual con un lápiz dibujé la figura que deseaba de una pequeña ballena, esa será la base del trabajo que realizaré.
• Luego procedí a cortar algunas cintas de cartulina blanca de 9mm de ancho (es decir realice mis propias tiras de quilling en cartulina para que sean más gruesas y fuertes).
• Con las cintas que recorte voy a proceder a bordear la figura de mi ballena, esto lo haremos aplicando un poco de pega blanca extra fuerte (de carpintería), alrededor de las líneas donde queremos colocar las cintas, luego vamos poco a poco colocando las mismas.
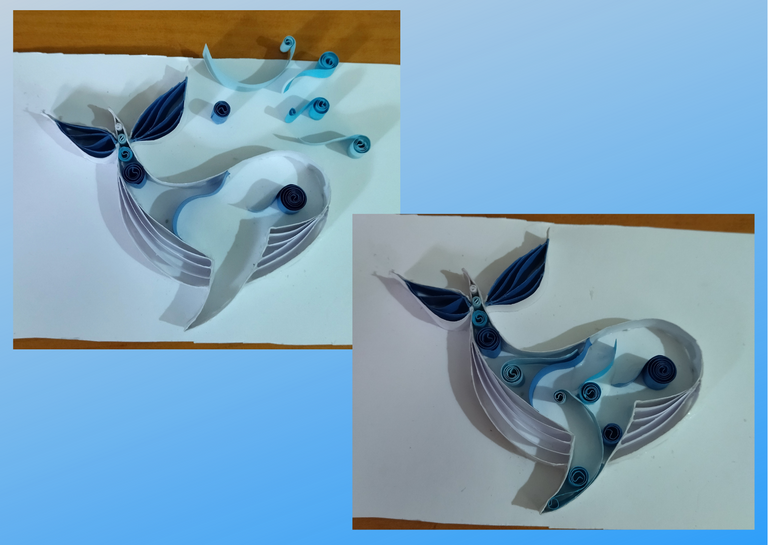
- Now we will simply begin to fill the whale letting our imagination fly, taking the 9mm ribbons in the chosen shades, in my case white, and various blues and cutting and molding as we like.
So that you have ideas of how to fill figures starting from an initial base as in my case I did, I leave here a tutorial for the elaboration of basic quilling figures with which you can decorate many creations complementing with these various forms, (Tutorial basic quilling figures).
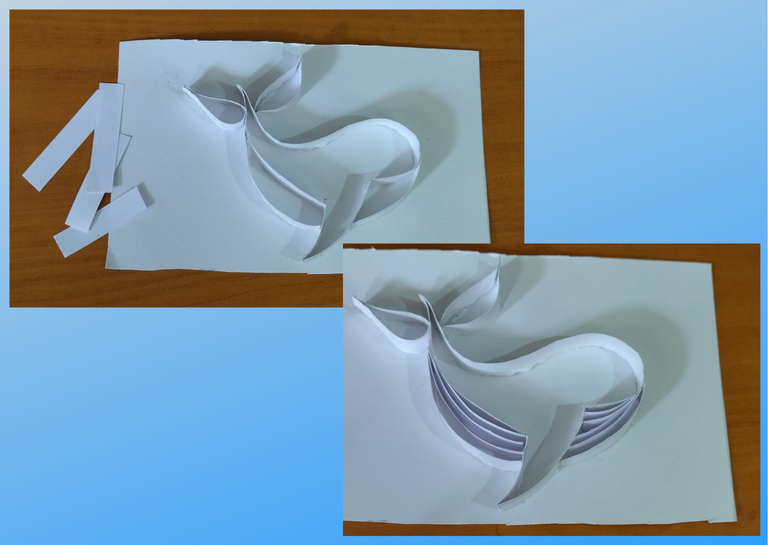
- Take and cut in small pieces some white ribbons in a linear way, and fill the bottom part of the whale applying extra strong carpentry glue in its inner part.
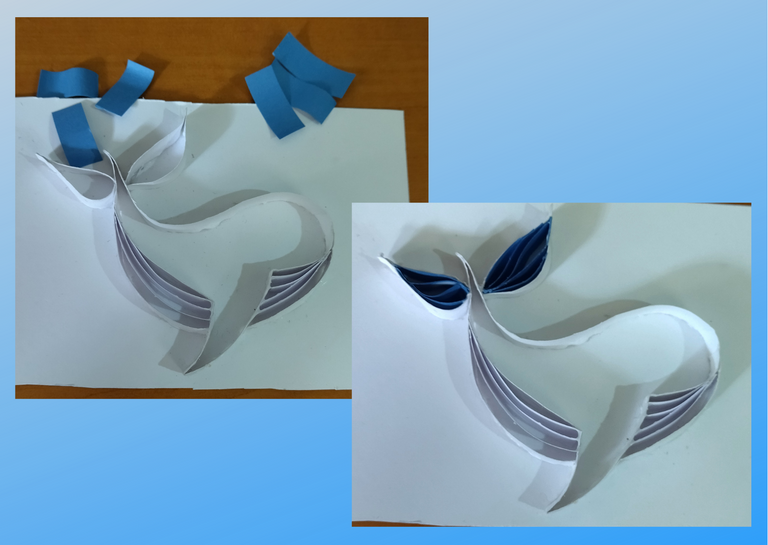
- Then with dark blue ribbons also linear but molded in different directions, I proceeded to fill the tail.

• Ahora simplemente vamos a empezar a rellenar la ballena dejando volar nuestra imaginación, tomado las cintas de 9mm en las tonalidades escogidas, en mi caso blancas, y diversos azules y recortando y moldeando como más nos guste.
Para que tengan ideas de como rellenar figuras partiendo de una base inicial como la que en mi caso realice, les dejo por acá un tutorial para la elaboración de figuras básicas de quilling con lo que podrán decorar muchas creaciones complementando con esas diversas formas, (Tutorial figuras básicas de quilling).
• Tome y corte en pequeños trozos algunas cintas blancas de manera lineal, y rellene la parte de abajo de la ballena aplicando pega extra fuerte de carpintería en su parte interna.
• Luego con cintas azul oscuro también lineales pero moldeadas en diferentes direcciones, procedí a rellenar la cola.
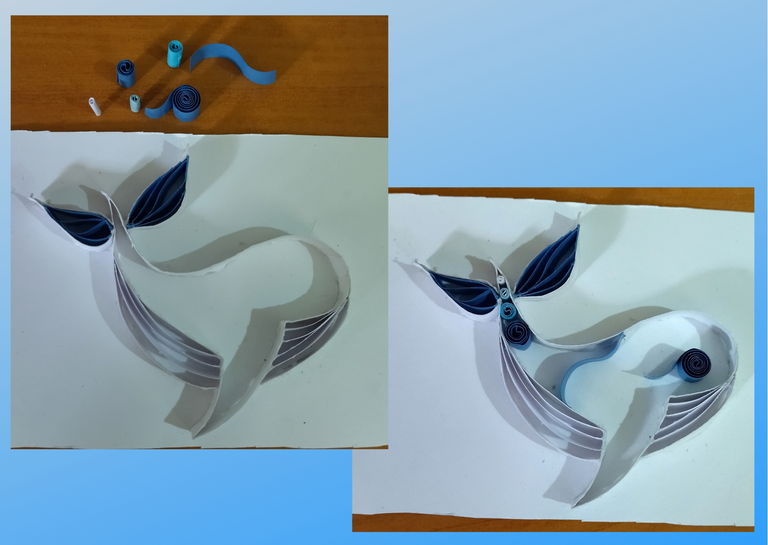
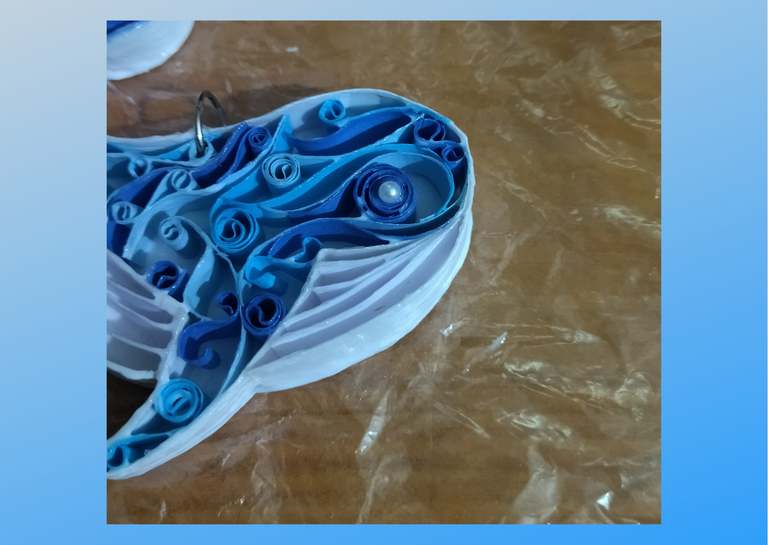
- At this point, with the help of the quilling needle, create closed and open circles and spirals of different shapes and colors, to finish filling the little whale to my liking.
Tips: I advise you that when you are going to glue loose, open or spiral figures on a flat surface, when applying the glue we must wait for it to dry a little and then proceed to place the molded tape, in this way you will avoid that it unrolls and loses its shape.

• En este punto con la ayuda de la aguja para quilling cree, círculos cerrados, abiertos y espirales de diversas formas y colores, para terminar de rellenar a mi gusto la pequeña ballena.
Tips: Les aconsejo que cuando vayan a pegar figuras sueltas, abiertas o espirales en una superficie plana, al aplicar la pega debemos esperar que esta se seque un poco y luego procedemos a colocar la cinta moldeada, de esta manera evitaran que la misma se desenrolle y pierda su forma.
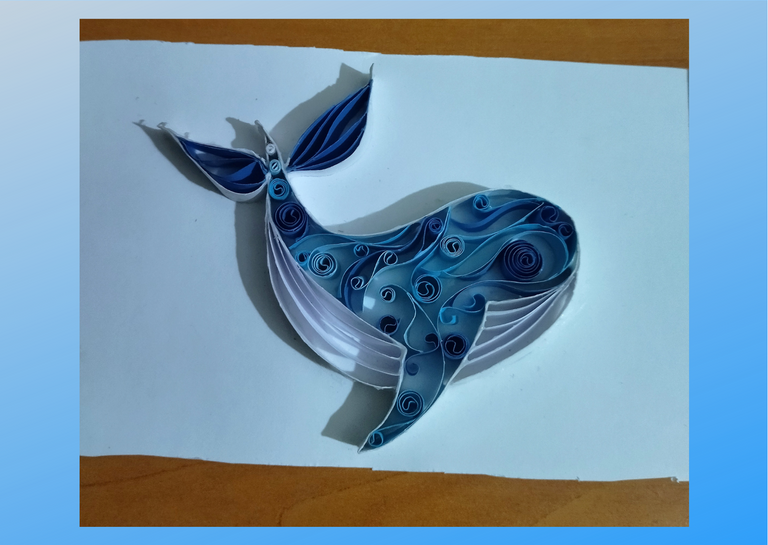
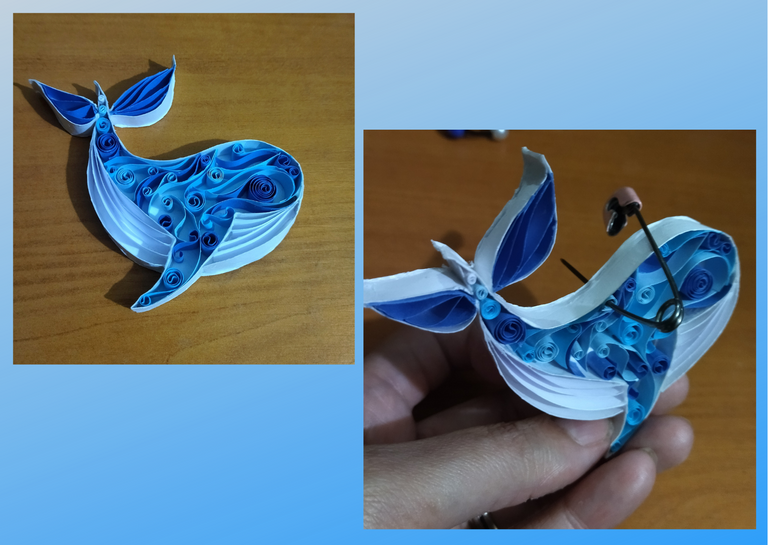
- Once our mold is filled, we will proceed to cut out all the excess cardboard border.
- We will open a hole with a thick pin on the top of the whale, in that hole we will place a costume jewelry ring.
- Now we will put a layer of liquid protection (plasticized) to our pendant, applying with a brush a layer of extra strong carpentry glue and letting it dry well.

• Una vez relleno nuestro molde vamos a proceder a recortar todo el borde de cartulina sobrante.
• Abriremos un agujero con un alfiler punta gruesa en la parte de arriba de la ballena, en ese agujero colocaremos una argolla de bisutería.
• Ahora le colocaremos una capa de protección liquida (plastificado) a nuestro colgante, aplicando con un pincel una capa de pega extra fuerte de carpintería y dejando que la misma seque bien.
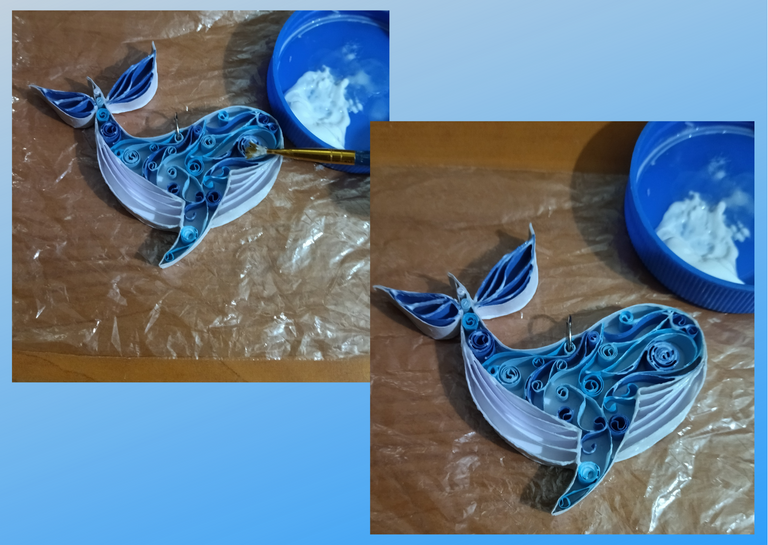
- I took the opportunity before drying, and placed a small white pearl to make the whale's eye visible or noticeable.
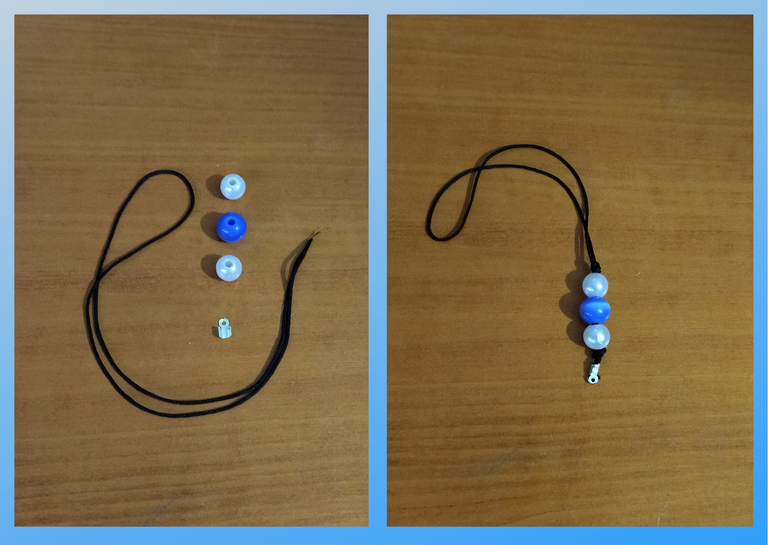
- Finally, I took a piece of fine Chinese thread, a tapanudo, 3 large pearls, 2 white and 1 blue that I had from some unused bracelets, to make the pendant and place it on the whale.
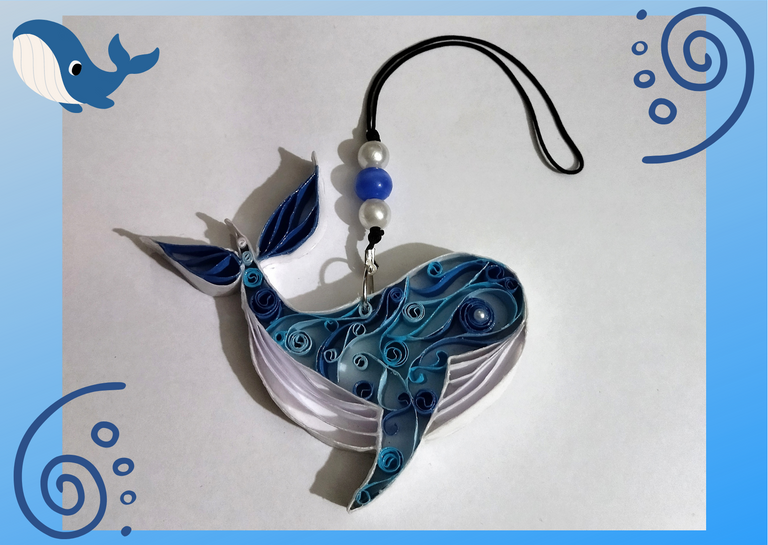
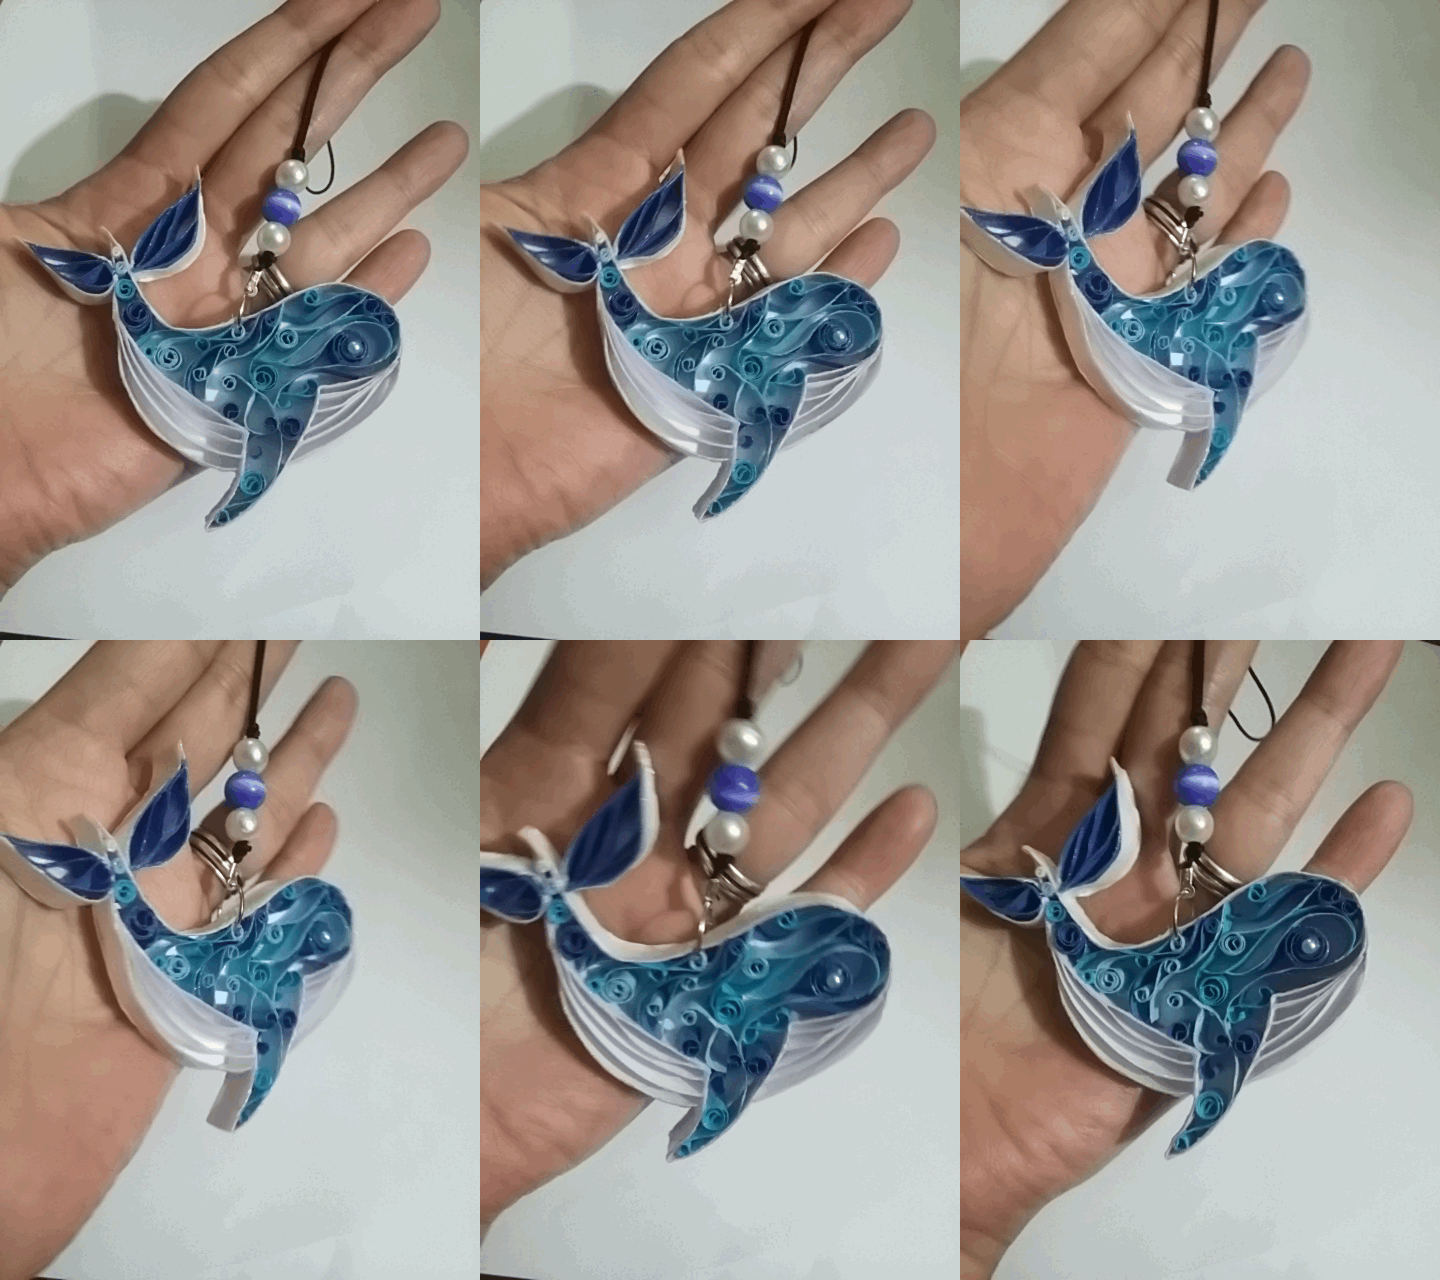
In this way we have ready our accessory, a beautiful whale pendant.🐳

• Aproveche antes de secar, y le coloque una pequeña perla blanca para hacer ver o notar el ojo de la ballena.
• Por ultimo tome un trozo de hilo chino fino, un tapanudo, 3 perlas grandes, 2 blancas y 1 azul que tenia de unas pulseras en desusó, para realizar el colgante y colocarlo a la ballena.
De esta manera tenemos listo nuestro accesorio, de una bonita ballena colgante.🐳

What did you think, did you like it?
I hope you did, I hope you liked my explanation, procedure and photos, I made them with love for you.
"Let out that muse that inspires you, and let your imagination fly".
Thank you all, see you next time. 🐾🐱💕

¿Que les pareció, les gustó?
Espero que sí, que les haya gustado mi explicación, procedimiento y fotos, los hice con mucho cariño por y para ustedes.
"Deja salir esa musa que te inspira, y deja volar tu imaginación".
Gracias a todos, nos vemos en la próxima. 🐾🐱💕

Todas las fotos usadas en este post son de mi autoría y han sido sacadas en mi celular personal un Redmi 9T y editadas Canva Banner y separador hecho por mí en Canva Traducido con la ayuda de DeepL


