Hello everyone... 💛💙❤️
Hello my dear Hiver, and my dear community of #jewelry artists, as always very pleased and excited to be here, showing you a work made with love and especially for you.
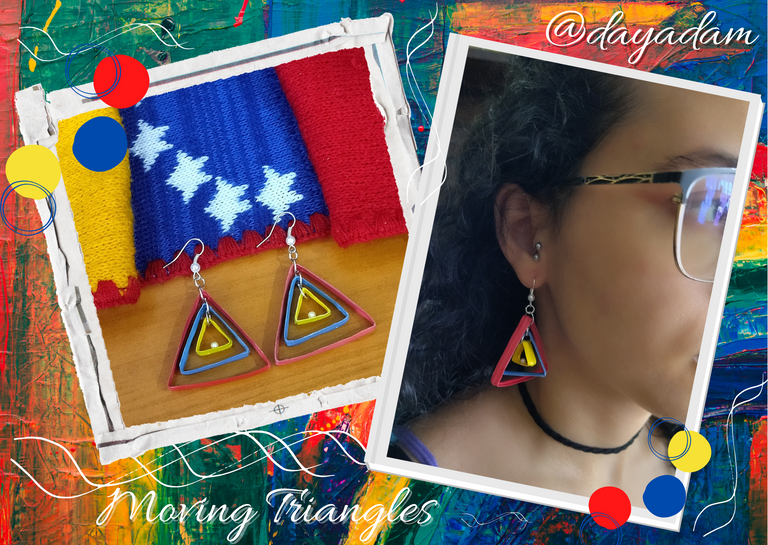
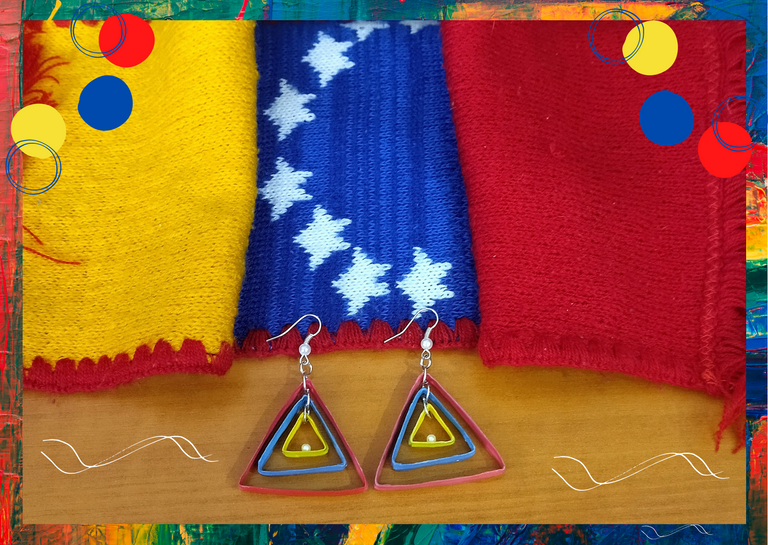
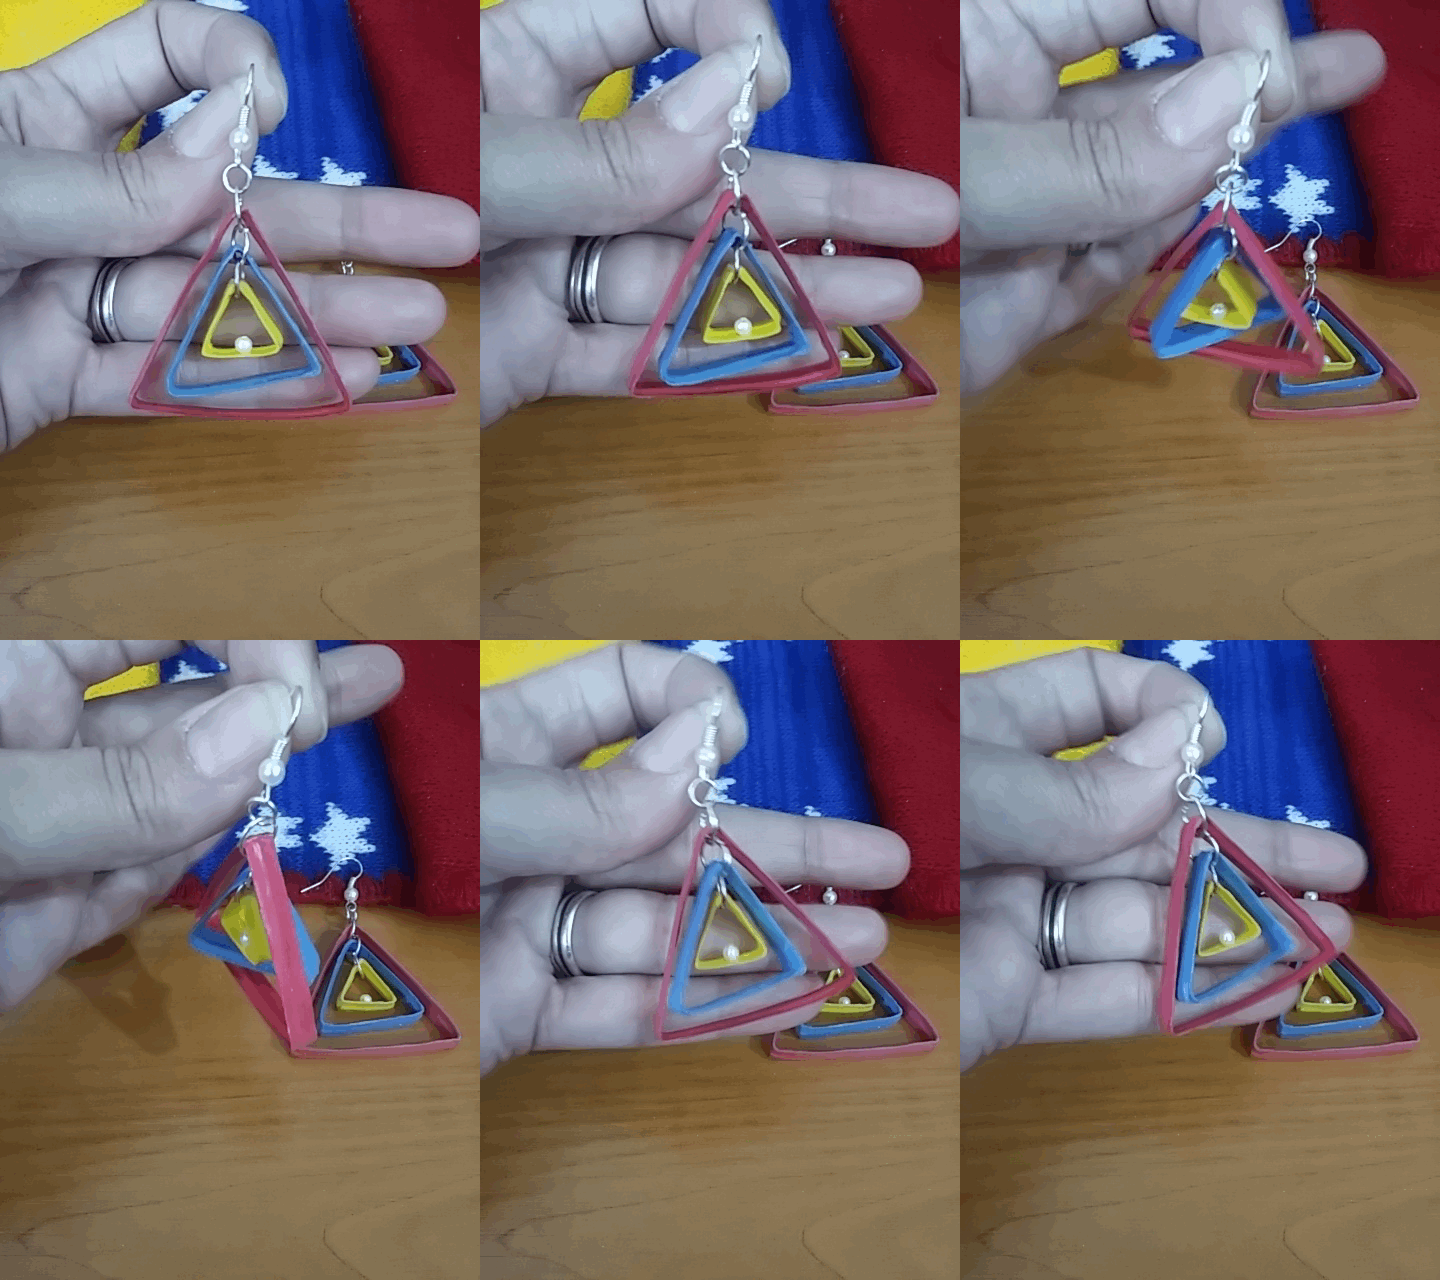
For today I bring you a simple work, part of the collection that I have been doing in tribute to my country Venezuela, consists of a set of geometric figures in this case a mobile triangles, materialized in a hanging tendrils, but I wanted to do a test, Many of those who follow me and have had the opportunity to see my tutorials, know that I work with the quilling technique, I put my mind to fly because I wanted to make a piece with thin and linear ribbons, but I wanted to make those ribbons were resistant and that when placing the liquid protection not deformed, and I succeeded.
As I told you I will present something a little simple, with time I know I will generate other more complex ideas of this type to share with you.
So without further ado, you will see what I came up with to make a thin ribbon more resistant, and what it is.
Hoping it will be to your liking, I leave you over here my creative process.
Let's get started:😃

Hola a todos... 💛💙❤️
Hola a mis queridos Hiver, y a mi querida comunidad de artistas de #jewelry , como siempre muy complacida y emocionada de encontrarme por acá, mostrándole un trabajo hecho con mucho amor y especialmente para ustedes.
Para hoy día les traigo un trabajo sencillo, parte de la colección que he venido realizando en tributo a mi país Venezuela, consta de un conjunto de figuras geométricas en este caso unos triángulos móviles, materializados en unos zarcillos colgantes, pero quise hacer una prueba, muchos de los que me siguen y han tenido la oportunidad de ver mis tutoriales, saben que trabajo con la técnica de quilling, pues puse mi mente a volar ya que deseaba realizar alguna pieza con cintas delgadas y lineales, pero quería hacer que esas cintas fueran resistentes y que al colocar la protección liquida no se deformaran, y lo logre.
Como les comenté les presentare algo un poco simple, con el tiempo sé que iré generando otro tipo de ideas de este tipo más complejas para compartir con ustedes.
Entonces sin más preámbulos, verán lo que se me ocurrió para hacer una cinta delgada más resistente, y de que se trata.
Esperando que sea de su agrado, les dejo por acá mi proceso creativo.
Comencemos:😃

• Cintas de quilling de 6mm de ancho, amarillo, azul y rojo.
• Alambre fino (reciclado).
• Regla.
• Lápiz.
• Pega blanca extra fuerte.
• Tijera.
• Alicate punta fina.
• Perlas de bisutería blancas pequeñas.
• Argollas de bisutería pequeñas y medianas.
• Base para zarcillos colgantes (anzuelos).
• Pincel.
- Quilling ribbons 6mm wide, yellow, blue and red.
- Fine wire (recycled).
- Ruler.
- Pencil.
- Extra strong white glue.
- Scissors.
- Needle-nose pliers.
- Small white costume jewelry beads.
- Small and medium-sized costume jewelry earrings.
- Base for hanging tendrils (hooks).
- Paintbrush.

I am going to show you the process of making a single hanging tendril, since I did the test with one, everything that I am going to show you will be repeated twice to get the pair of tendrils, you can also do it with the measures of your preference, to get the tendrils of the size you want. I chose the colors of my tricolor flag (yellow, blue and red), that is to say that I will make three triangles of different sizes, but you can do it with the number of triangles you like.
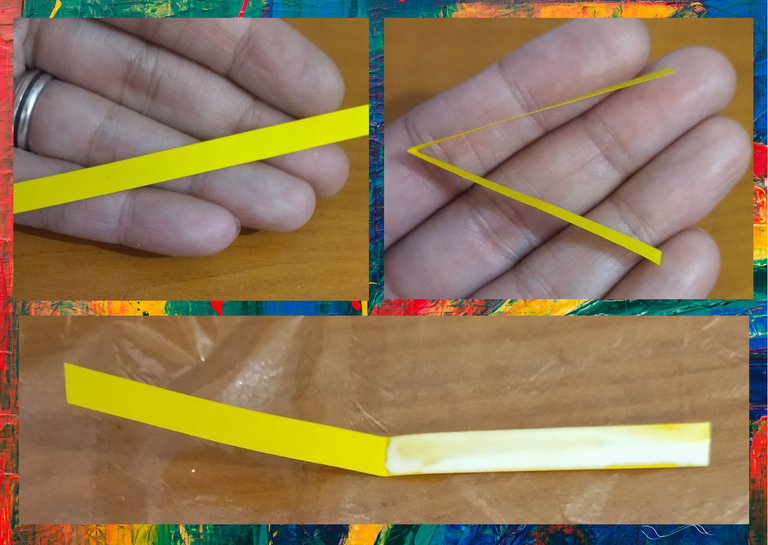
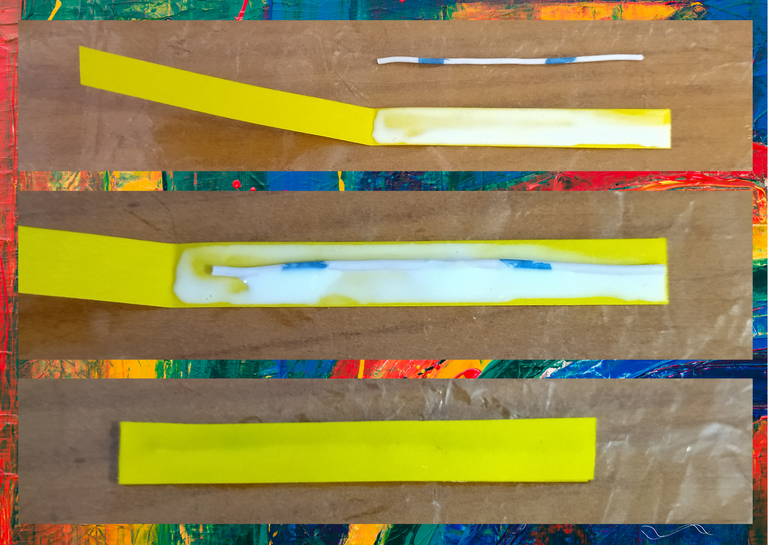
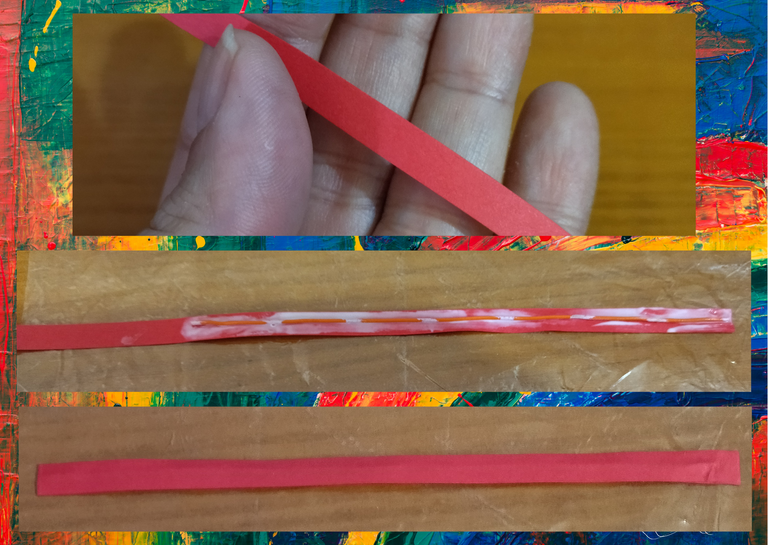
- Let's start by taking a yellow quilling ribbon, 6mm wide x 9cms long, fold it in half, add extra strong white glue in one of the inner halves and place a piece of thin wire 8cms long in the center, we will have a margin of 0.5cms of free ribbon without wire at one end. We fold the ribbon and join it together. We will let it dry very well, (we reserve).
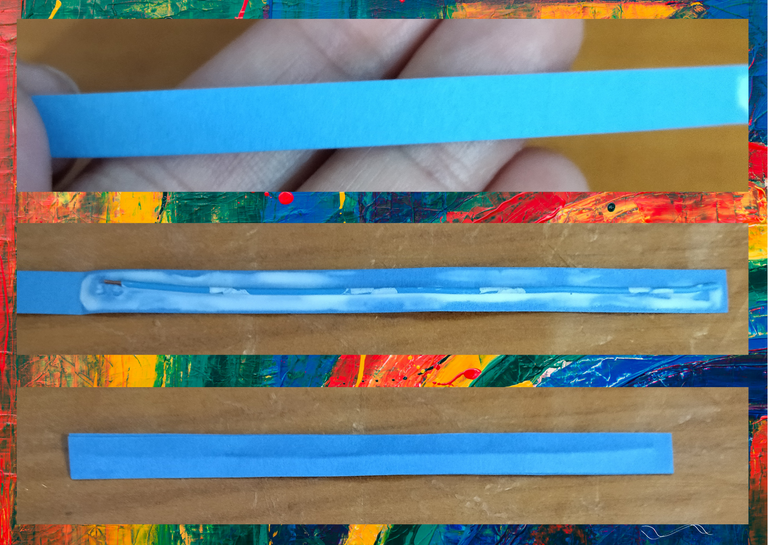
- We go with a blue quilling ribbon of 6mm wide x 17cms long and a piece of wire of 8cms. Repeat the same process as above (reserve).
- Now we go with the third and last ribbon, this will be of red color of 6mm wide x 25cms long and the piece of wire will be of 12cms long, we will work it under the same previous parameters, (we reserve).

Les voy a mostrar el proceso de elaboración de un solo zarcillo colgante, ya que realizando la prueba lleve a cabo uno, todo lo que les voy a ir mostrando lo van a repetir dos veces para que obtengan el par de zarcillos, de igual manera pueden realizarlo con las medidas de su preferencia, para obtener los zarcillos del tamaño que deseen. Yo elegí los colores de mi bandera tricolor (amarillo, azul y rojo), es decir que realizare tres triángulos de diferentes tamaños, pero ustedes pueden realizarlo con la cantidad de triángulos que gusten.
• Vamos a comenzar tomando una cinta de quilling color amarillo, de 6mm de ancho x 9cms de largo, doblaremos a la mitad, añadiremos cola blanca extra fuerte en una de las mitades internas y colocaremos un trozo de alambre fino de 8cms de largo en todo el centro, nos va a quedar un margen de 0,5cms de cinta libre sin alambre en un extremo. Doblamos la cinta y la unimos entre sí. Dejaremos secar muy bien, (reservamos).
• Vamos con una cinta de quilling color azul de 6mm de ancho x 17cms de largo y un trozo de alambre de 8cms. Repetiremos el mismo proceso anterior, (reservamos).
• Ahora vamos con la tercera y última cinta, esta será de color rojo de 6mm de ancho x 25cms de largo y el trozo de alambre será de 12cms de largo, la trabajaremos bajo los mismos parámetros anteriores, (reservamos).
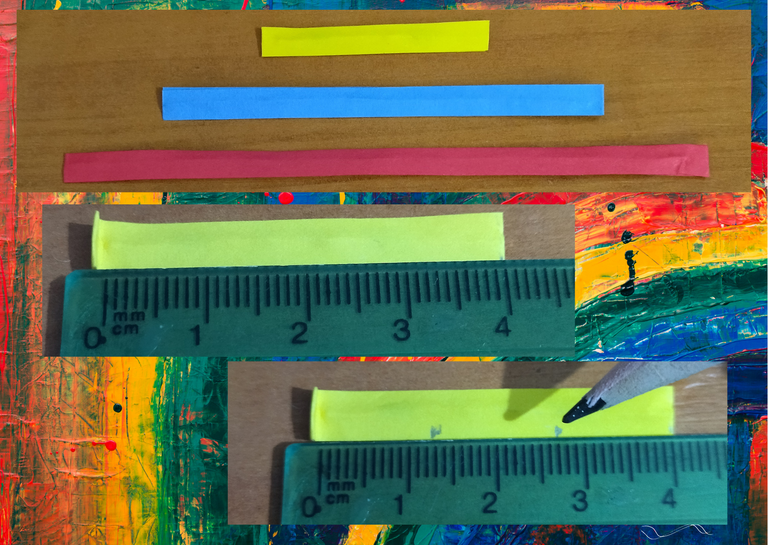
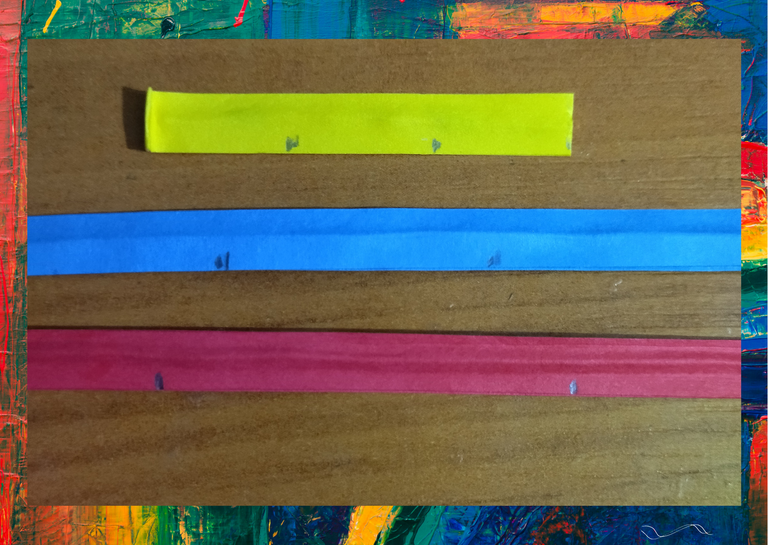
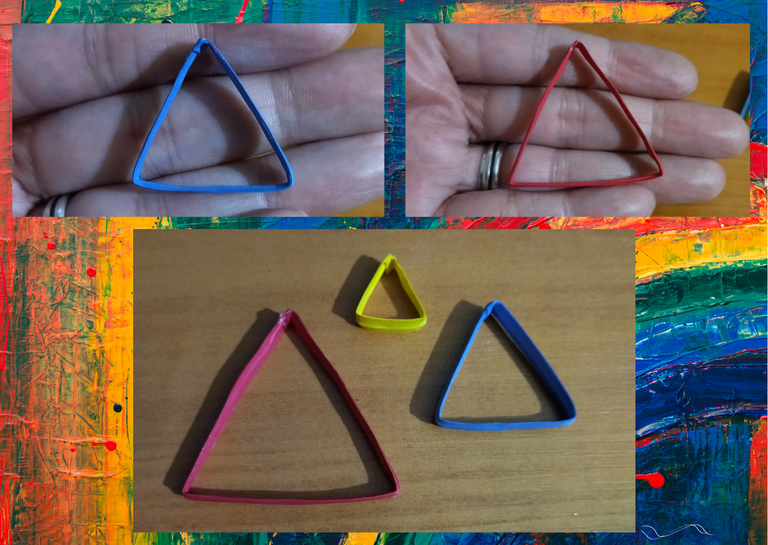
- Let's make our triangular figure with the ribbons, we will do it in the following way, with the help of a ruler we will measure dividing into three equal parts, leaving aside the piece of ribbon that has no wire, we will do this with the three ribbons.
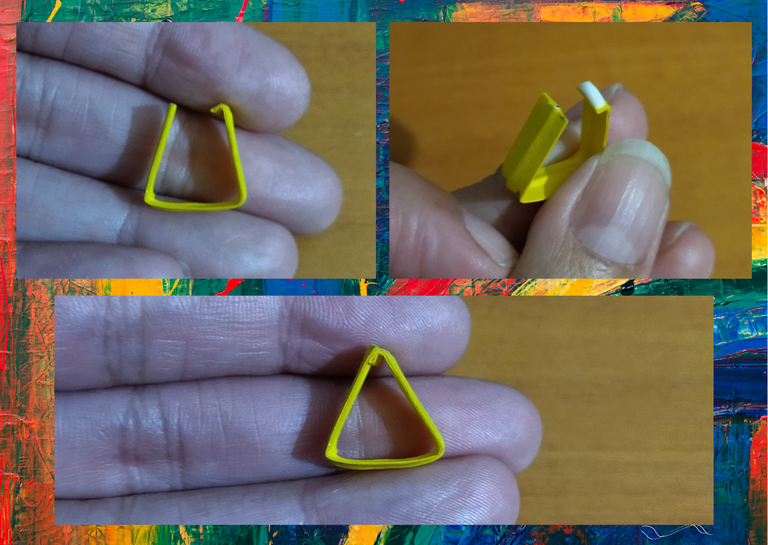
- Once they are divided into three equal parts, we will fold each of the parts to form the triangle, and with a touch of glue we will join at the tip by folding the small piece of ribbon left over that has no wire.
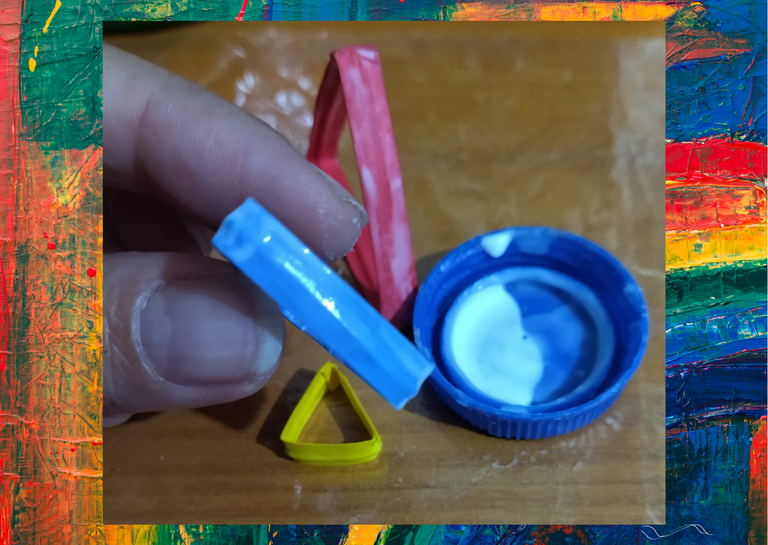
- Once the three triangles are ready, we will proceed to apply their liquid protection (plasticized), with a brush we will apply several layers of extra strong white glue, letting it dry between one layer and another.
Having placed the wire in the middle of the two tapes helps us to apply the liquid protection, when wetting the tape, this being linear and thin, it does not deform obtaining greater resistance.

• Hagamos nuestra figura triangular con las cintas, lo haremos de la siguiente manera, con la ayuda de una regla mediremos dividiendo en tres partes iguales, dejando a un lado el trozo de cinta que no tiene alambre, esto lo realizaremos con las tres cintas.
• Una vez que estén divididas en tres partes iguales, doblaremos cada una de las partes para formar el triángulo, y con un toque de pega uniremos en la punta doblando el pequeño trozo de cinta sobrante que no tiene alambre.
• Listos los tres triángulos vamos a proceder a colocarles su protección liquida (plastificado), con un pincel aplicaremos varias capas de pega blanca extra fuerte, dejando secar entre una capa y otra.
El haber colocado el alambre en medio de las dos cintas, nos ayuda a que al aplicar la protección liquida al humedecer la cinta, esta al ser lineal y delgada no se deforme obteniendo mayor resistencia.
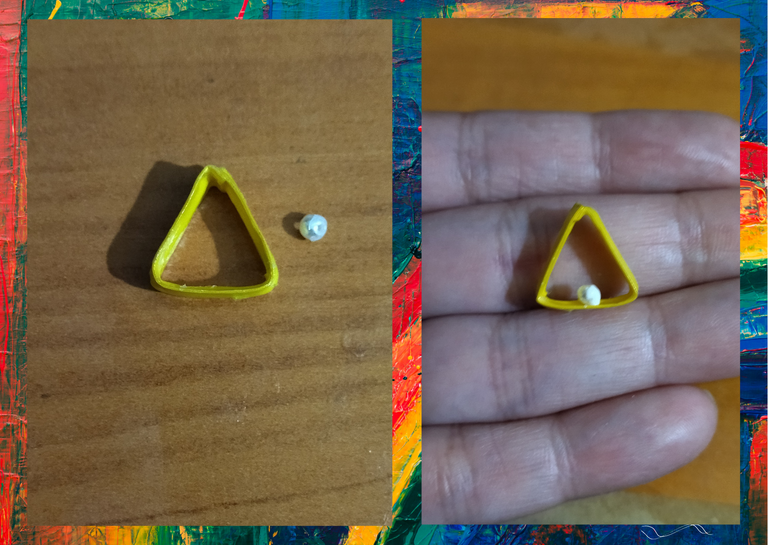
- Once the triangles are dry, take the yellow one and place a small white pearl in the middle for decoration.
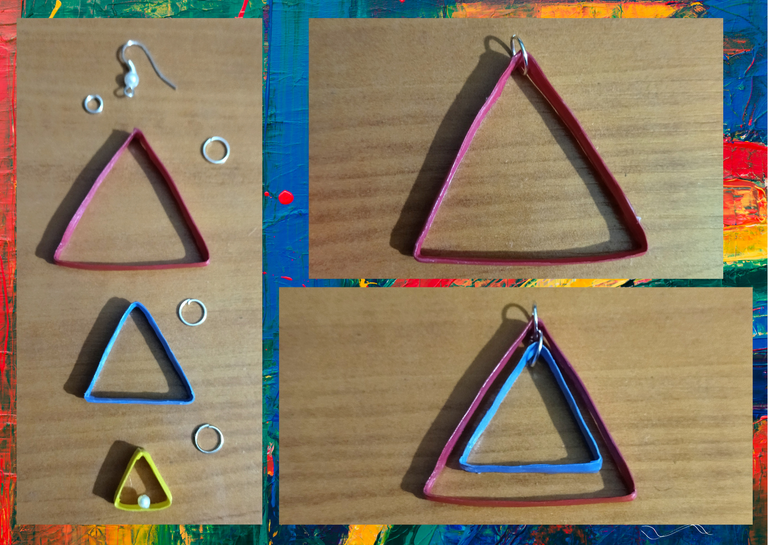
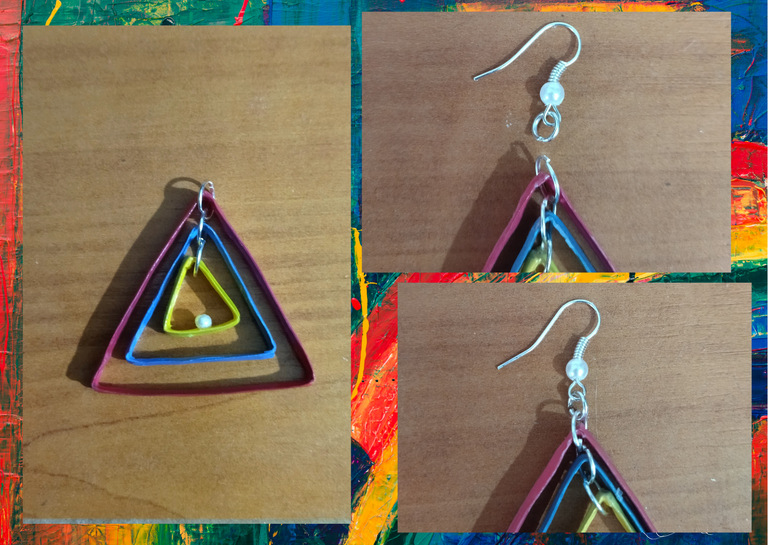
- We are going to assemble our hanging earrings, we proceed to place a medium size ring of costume jewelry to each of the triangles, then we will hook one inside the other, from the largest to the smallest.
- To finish we will place a small ring and the base for hanging tendrils (hook), which we previously decorated with a white pearl to give it more detail and attractiveness.
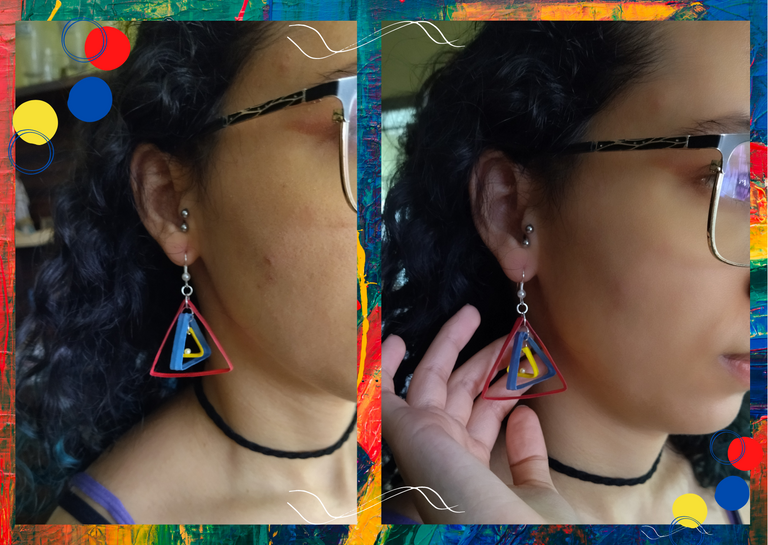
In this simple way, we have a pair of tendrils with mobile triangles.💛💙❤️

• Una vez secos los triángulos, tome el amarillo y le coloque una pequeña perla blanca en el medio para decorar.
• Vamos a armar nuestros zarcillos colgantes, procedemos a colocar una argolla mediana de bisutería a cada uno de los triángulos, luego engancharemos uno dentro del otro, desde el más grande, hasta el más pequeño.
• Para finalizar colocaremos una argolla pequeña y la base para zarcillos colgantes (anzuelo), a la que previamente adorne con una perla blanca para darle mayor detalle y vistosidad.
De esta manera tan sencilla, tenemos un par de zarcillos con unos triángulos móviles 💛💙❤️

What did you think, did you like it?
I hope you did, I hope you liked my explanation, procedure and photos, I made them with love for you.
"Let out that muse that inspires you, and let your imagination fly".
Thank you all, see you next time. 🐾🐱💕

¿Que les pareció, les gustó?
Espero que sí, que les haya gustado mi explicación, procedimiento y fotos, los hice con mucho cariño por y para ustedes.
"Deja salir esa musa que te inspira, y deja volar tu imaginación".
Gracias a todos, nos vemos en la próxima. 🐾🐱💕
Los invito que apoyen a "La Colmena", dale tu voto ✨
 Vote la-colmena for witness By @ylich
Todas las fotos usadas en este post son de mi autoría y han sido sacadas en mi celular personal un Redmi 9T y editadas Canva Banner y separador hecho por mí en Canva Traducido con la ayuda de DeepL


