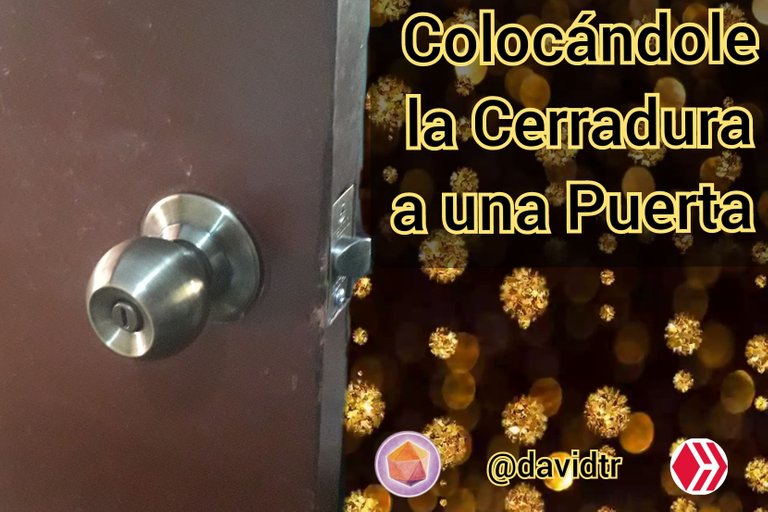
Buenas noches compañeros de Hive y DIYHUB, en esta nueva publicación les quiero contar como le coloqué una nueva cerradura a la puerta del cuarto de mi mamá. El día de ayer hicimos un viaje a la ciudad de Puerto La Cruz y fuimos a la ferretería EPA, aquí mi hermana encontró cerraduras de pomo económicas y compró 2 para los cuartos de nuestra casa ya que cuando nos mudamos no teníamos. Esta fue la primera vez que coloqué una cerradura, pero al menos no me sobraron piezas 😅.
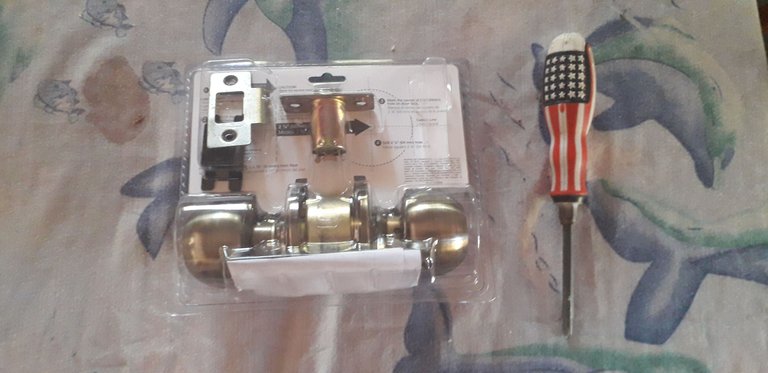
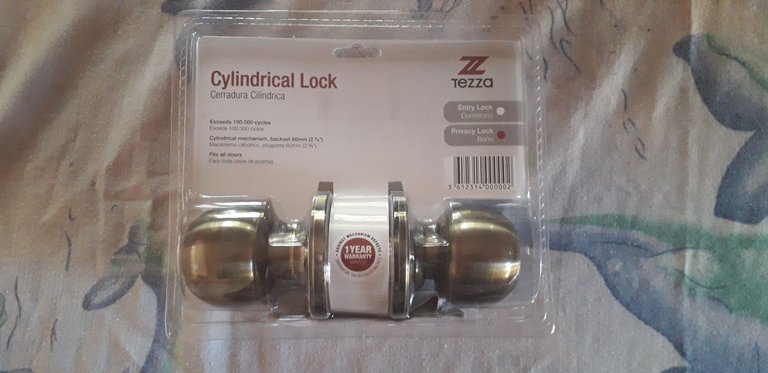
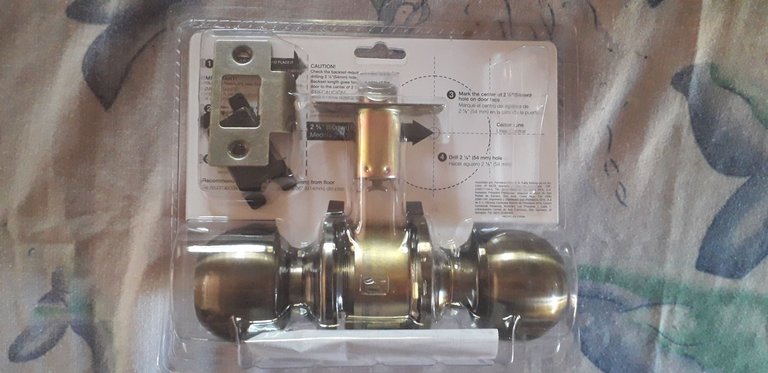
🔑 Kit de Cerradura nueva
🔑 Destornillador
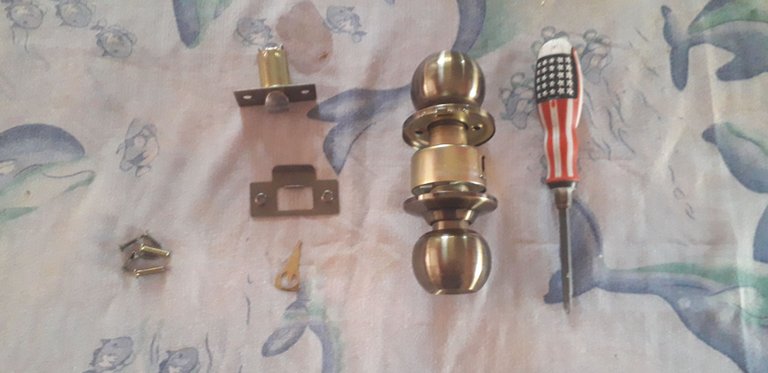
Para empezar vamos a abrir el kit de la cerradura y ver lo que trae.
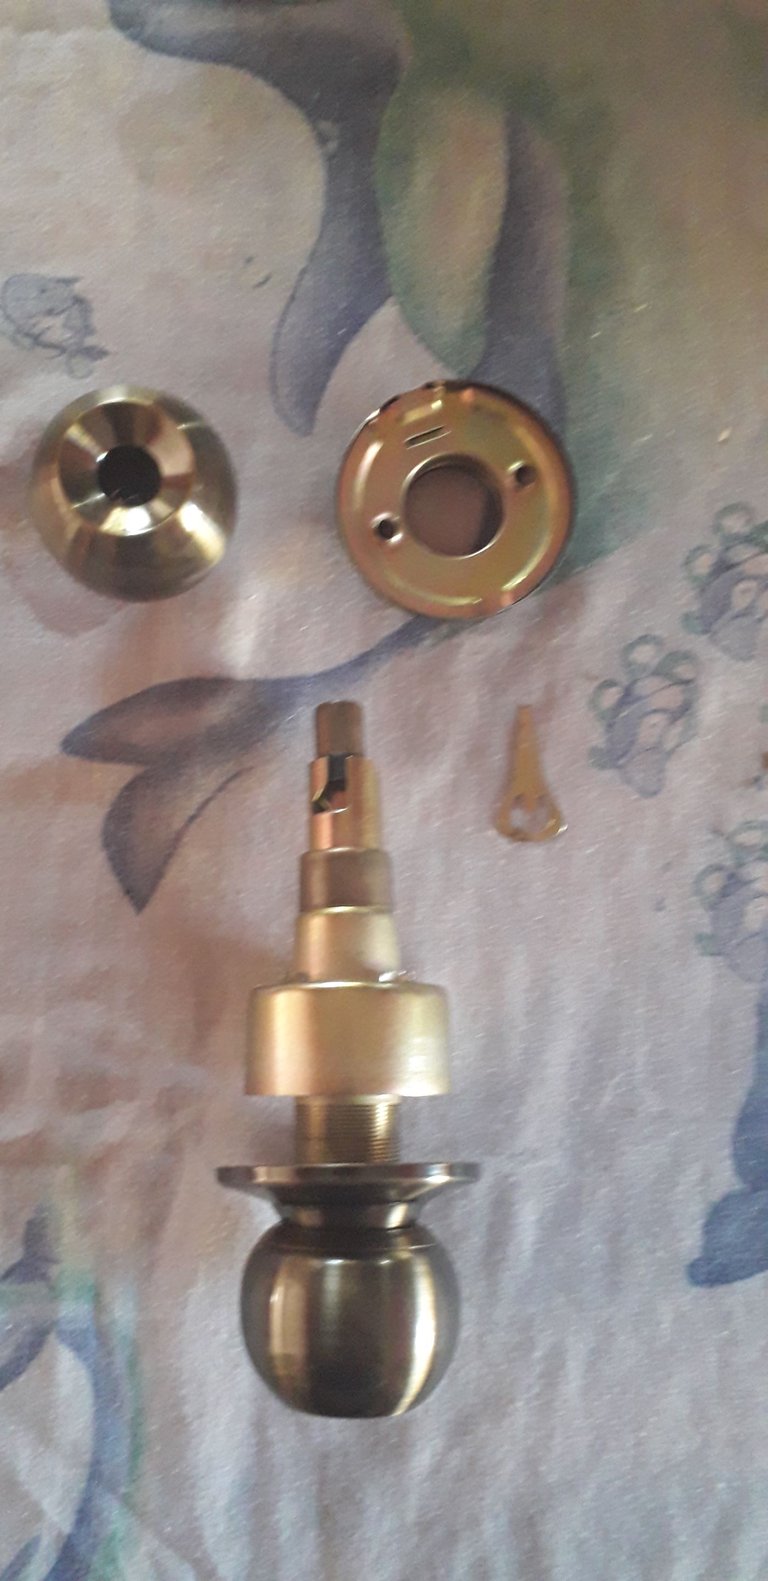
Luego vamos a separar los pomos con ayuda del seguro, oprimiendo una tecla que sujeta el seguro. Removemos el otro pomo.
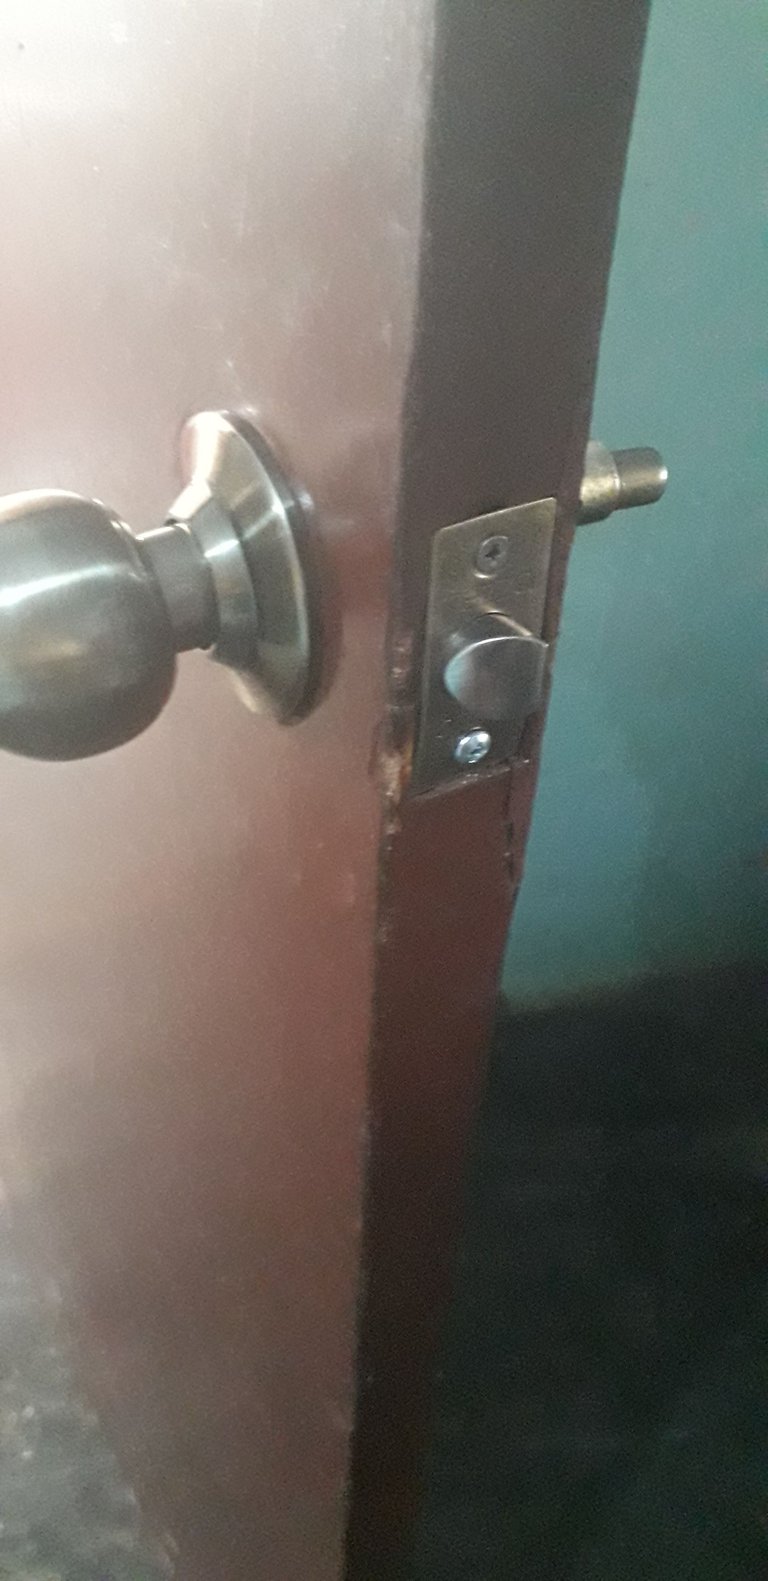
Colocamos el pomo en la puerta y ajustamos el tamaño girando la parte exterior donde hay rosca y por el lateral de la puerta añadimos el picaporte de la cerradura enganchándola en la cerradura, procurando que el lado más largo quede hacia la parte de adentro de la habitación y la atornillamos.
Del otro pomo separamos la placa de montaje.
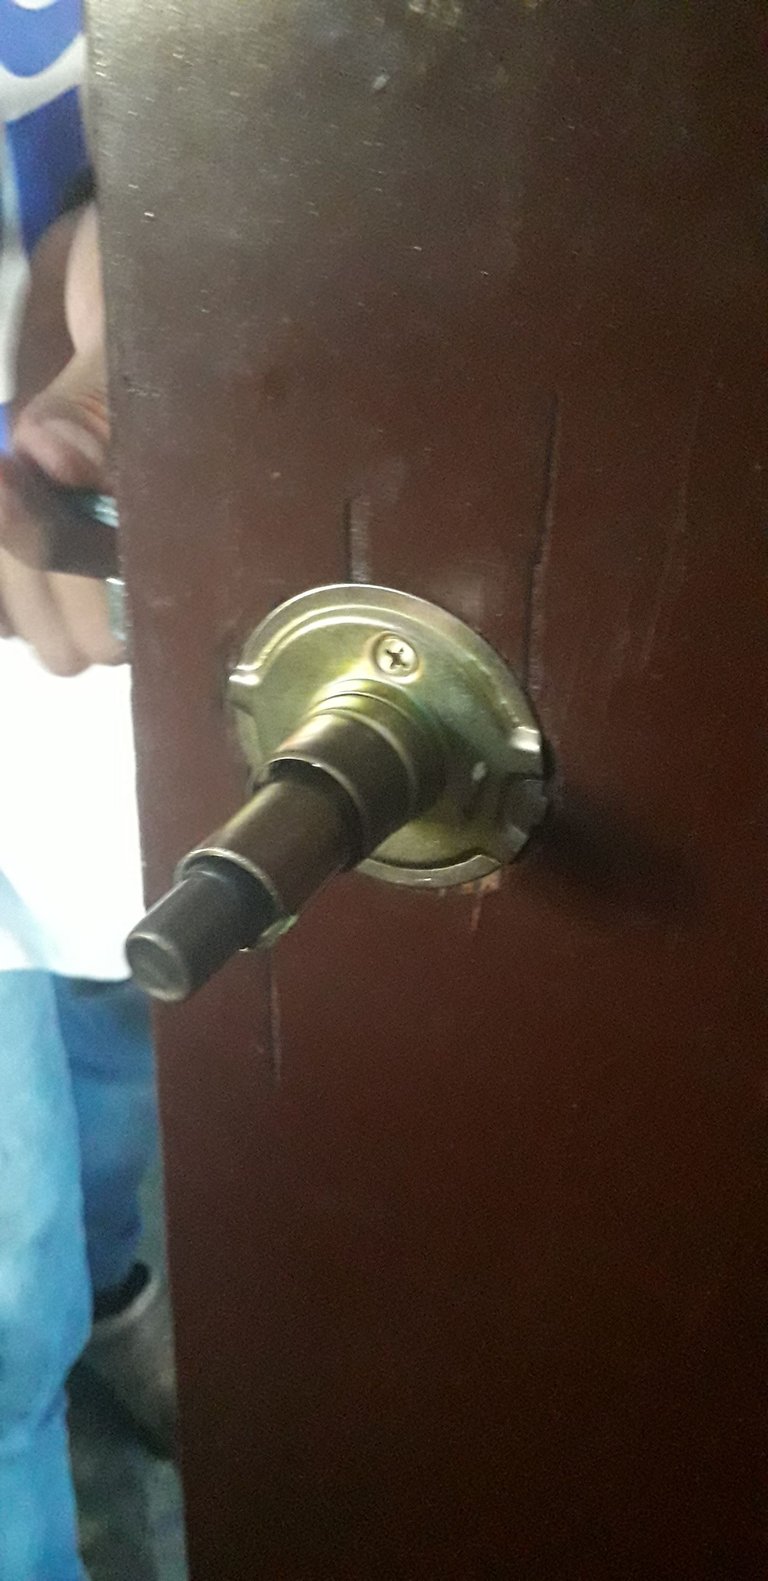
Ahora atornillamos la placa de montaje a la puerta.
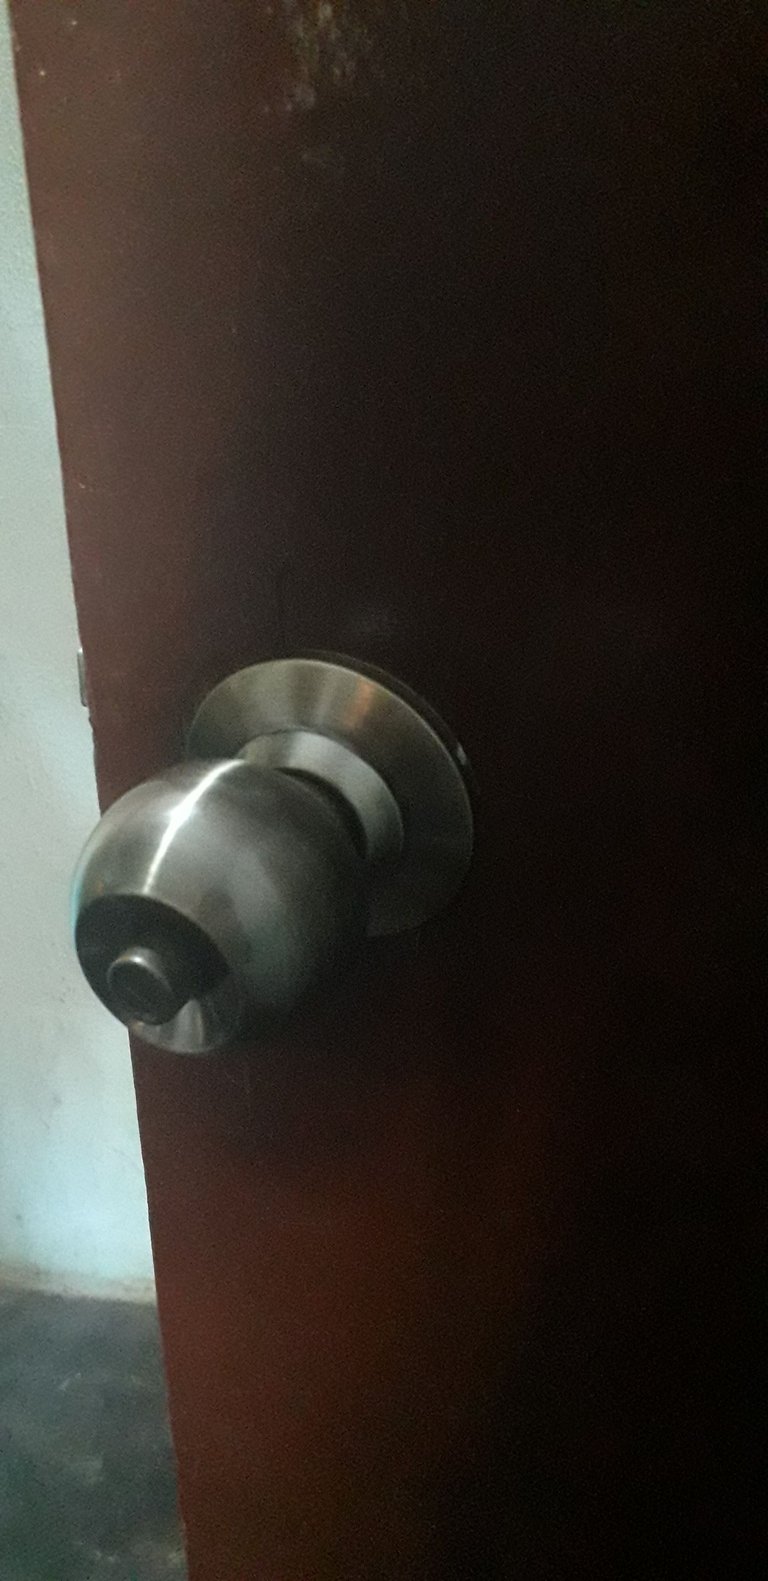
Añadimos la última placa y la perilla a presión. Revisamos si funciona la el mecanismo y estamos listos, terminamos.
Camarógrafa: Andrea Tovar
Editor de fotos Polish
Good evening fellow Hive and DIYHUB, in this new post I want to tell you how I put a new lock on my mom’s bedroom door. Yesterday we made a trip to the city of Puerto La Cruz and went to the hardware store EPA, here my sister found cheap doorknob locks and bought 2 for the rooms of our house since when we moved we didn’t have any. This was the first time I put a lock on, but at least I didn’t have parts left over 😅.
🔑 New Lock Kit.
🔑 Screwdriver
To begin with let’s open the lock kit and see what it brings.
Then we are going to separate the knobs with the help of the latch by pressing a key that holds the latch. We remove the other knob.
We place the knob on the door and adjust the size by turning the outer part where there is thread and from the side of the door we add the latch of the lock by hooking it into the lock, making sure that the longer side is towards the inside of the room and screw it on.
From the other knob we detach the mounting plate.
Now we screw the mounting plate to the door.
We add the last plate and the snap knob. We check if the mechanism works and we are ready, we are done.
Camerawoman: Andrea Tovar
Photo editor Polish


