Hello everybody, this is undoubtedly one of my favorite communities and it is always a pleasure to be around, not only sharing but also reading and observing all of your wonderful creations. I believe it happens to all of us lovers of creating new things, so it's really awesome to have this space in which we get to be as creative as we want.
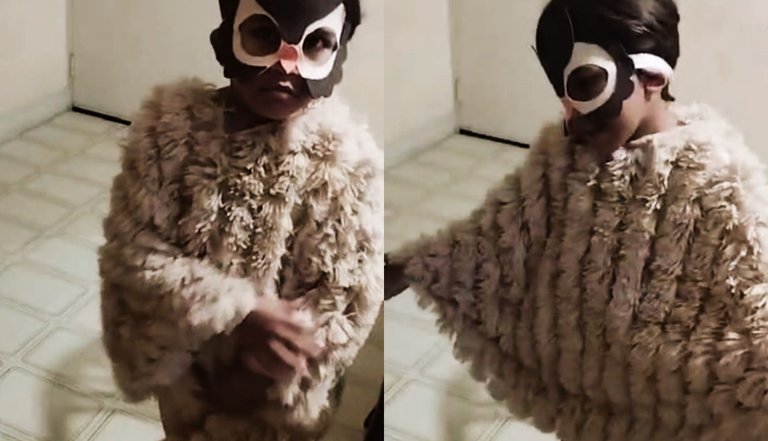
I enjoy doing things myself, hand work is what I like the most and that is why I love not only creating for my and my daughter, but also to help my sister with my little nephew's school projects. This time he has a school play in which he will be interpreting an owl, so I decided to make his costume myself.
Hola a todos, está es sin duda una de mis comunidades preferidas y es siempre un placer pasar por acá, no solo para compartir sino para leer y observar las maravillas creadas por todos ustedes. Creo que es algo que nos pasa a todos los amantes de crear cosas nuevas, así que es realmente maravilloso contar con este espacio en el que damos rienda suelta a la creatividad.
Disfruto mucho de hacer las cosas yo misma, el trabajo manual en todas sus formas es algo que me encanta y es por eso que no solo hago cosas para mí y mi hija, sino que siempre ayudo a mi hermana con los proyectos escolares de mi sobrino. En esta oportunidad mi sobrino tiene una obra en la escuela donde interpretará a un búho, así que me dispuse a crear su disfraz yo misma.
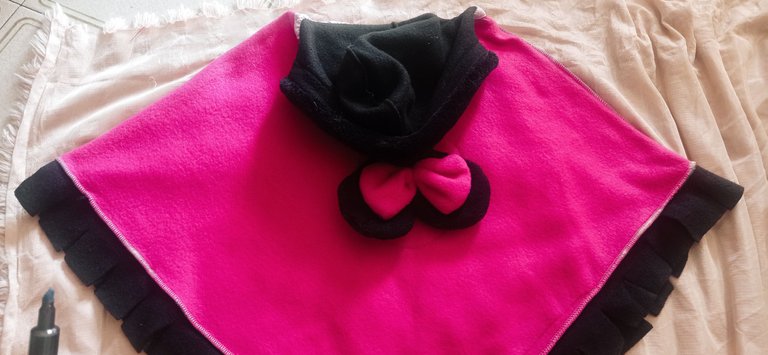
Since I was going to make everything by hand, the most important thing was to keep it simple, so the first thought I had was to make some sort of cape, but I wasn't really sure because I didn't want it to just be the back of a costume, if that makes sense. Then I saw my daughter playing with her poncho and I had a revelation of what I had to do.
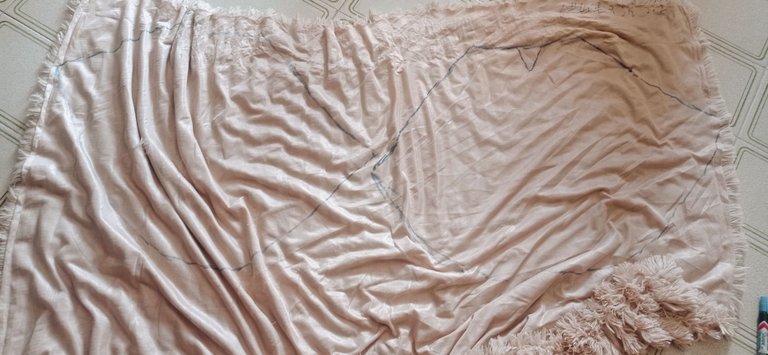
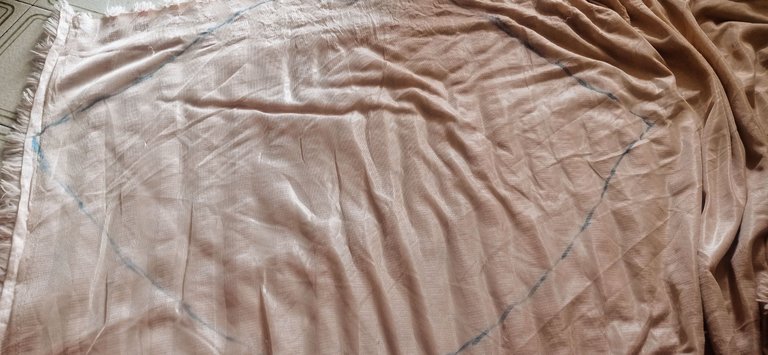
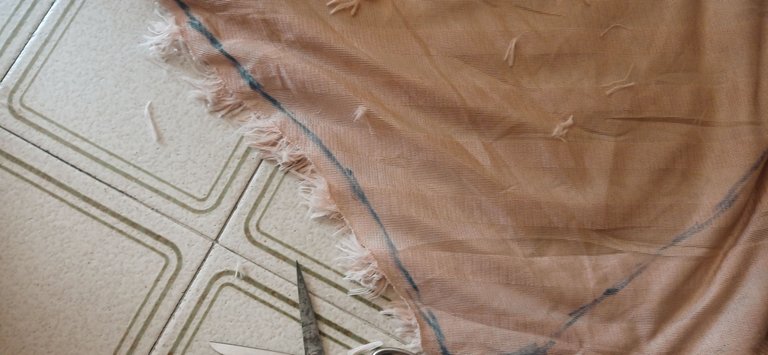
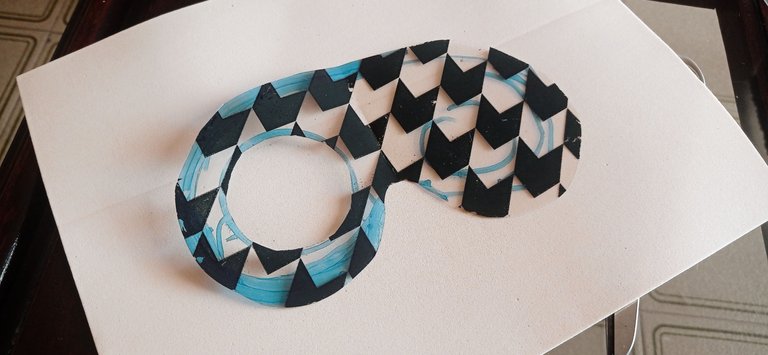
I took a piece of this leftover fabric of some furry cushions I made, because the color was just perfect for this project. I laid the fabric facing down and traced the contour of the poncho, front and back.
Como todo lo estaría haciendo a mano lo más importante era mantenerlo simple y sencillo, así que primero pensé en hacer una capa, pero no estaba muy segura ya que deseaba que no fuera solo para la parte de atrás, entonces vi a mi hija jugando con su poncho y allí tuve la revelación de como haría este disfraz.
Lo primero fue tomar un trozo de tela peluda que me había sobrado de cuando hice mis cojines, pues hasta el color era perfecto para esto. Coloqué la tela boca abajo en el piso y sobre el revés tracé el contorno de un poncho, tanto la espalda como el frente.
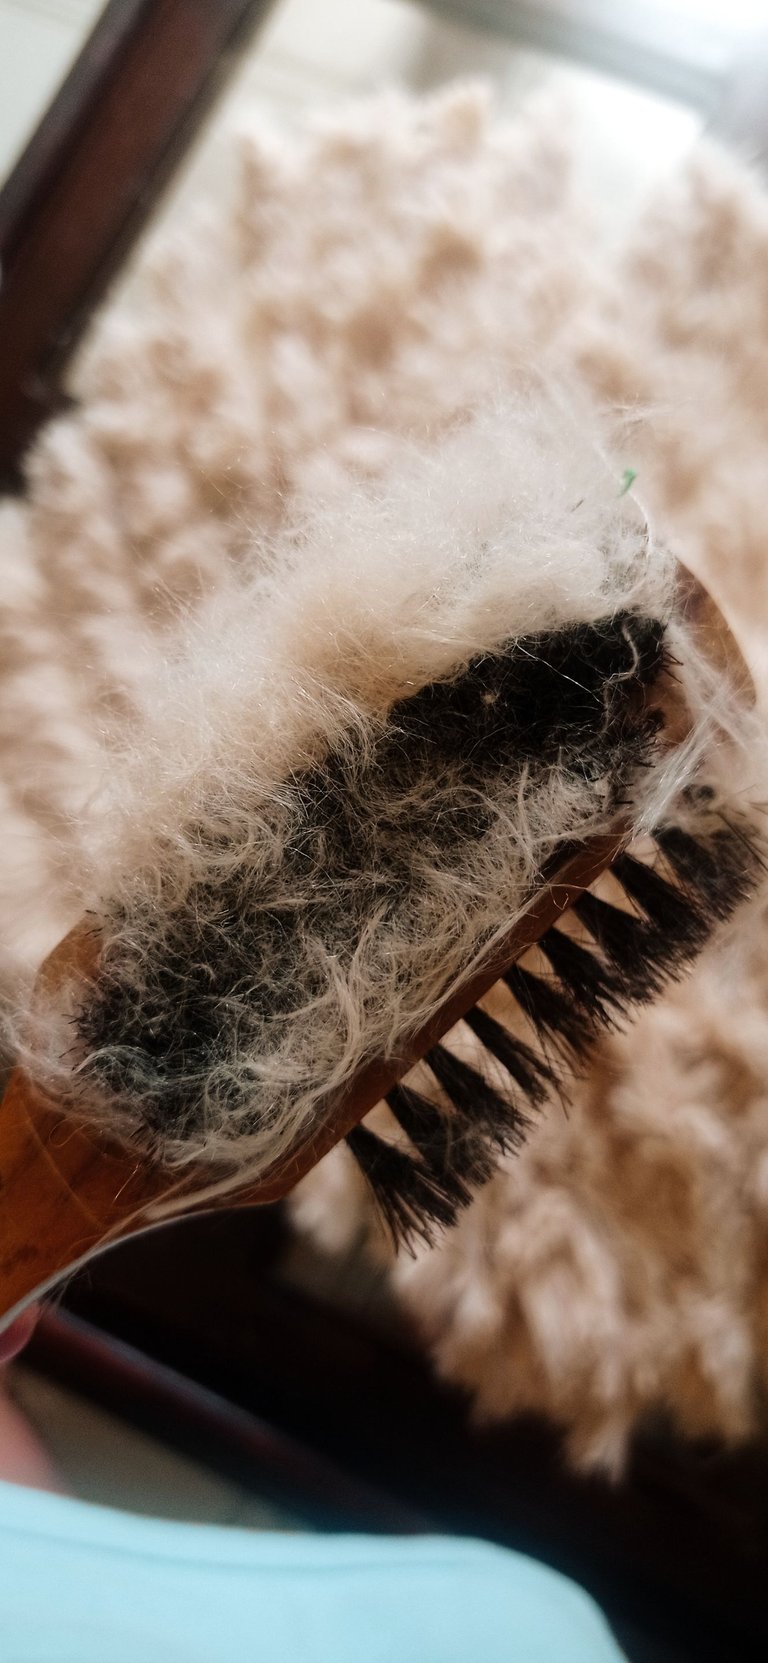
Then we cut out both pieces leaving around one centimeter of seam allowance, I use to brush the edges to avoid having too much fuzz flowing around, I do this every time I cut...
Luego cortamos ambas partes dejando aproximadamente un centímetro de excedente, para evitar tener mucha pelusa por todos lados lo que suelo hacer con este tipo de telas es cepillar los extremos luego de cortar...
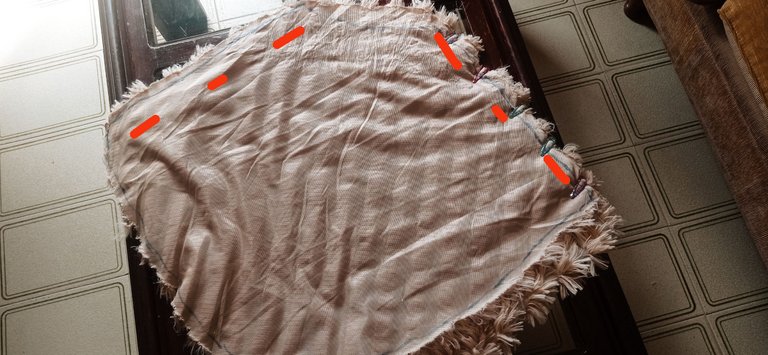
Now we just put right sides together, pin, and sew the unions together.
Ahora es solo cosa de colocar ambas partes frente a frente, y coser las uniones.
And then we just hem everything else and brush again to get rid of any remaining stray hairs. And we'll be done and we can move on on making the mask.
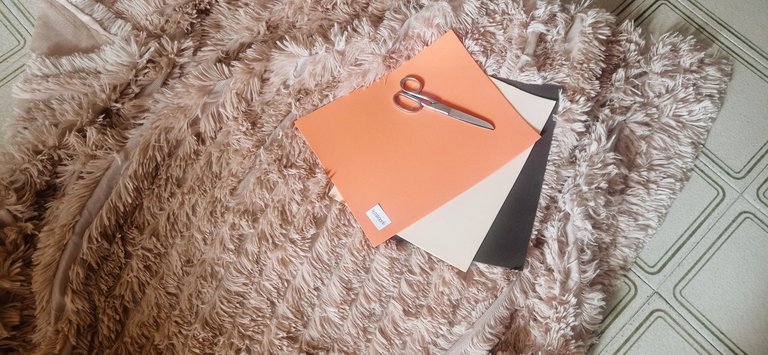
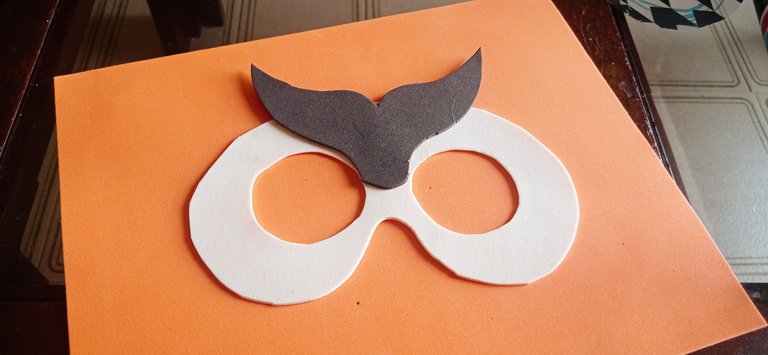
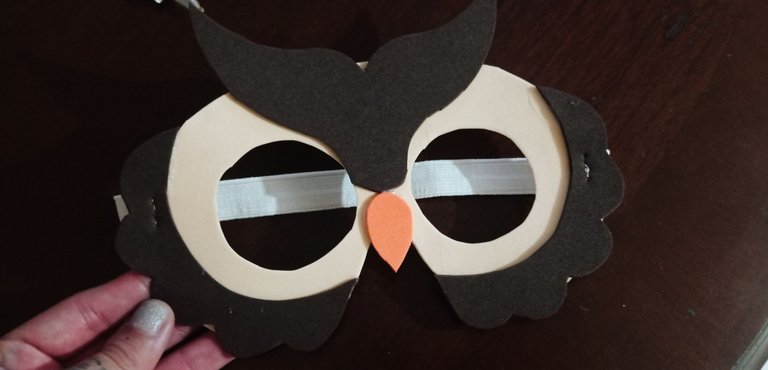
For the mask the first thing is to make a rough template of the basic shape keeping in mind the size we want. This way we make sure it is as symmetrical as possible, I took the opportunity to place the eyes exactly where I wanted them and cut out everything with scissors, then we just have to trace it on a light colored foami and cut it out.
Ahora simplemente toca bastear todo lo demás y volver a pasar el cepillo para deshacernos de cualquier pelusa restante. Ya con esto está listo y podemos avanzar con el siguiente paso que será crear una máscara.
Para la máscara lo primero es realizar un molde simple de la forma deseada teniendo en cuenta la medida. De esta forma nos aseguramos de que quede lo más simétrico posible, también aproveche de situar los ojos exactamente dónde los quería y recorté todo con una tijera para después trazar la silueta con un lápiz sobre foami de color claro y recorté.
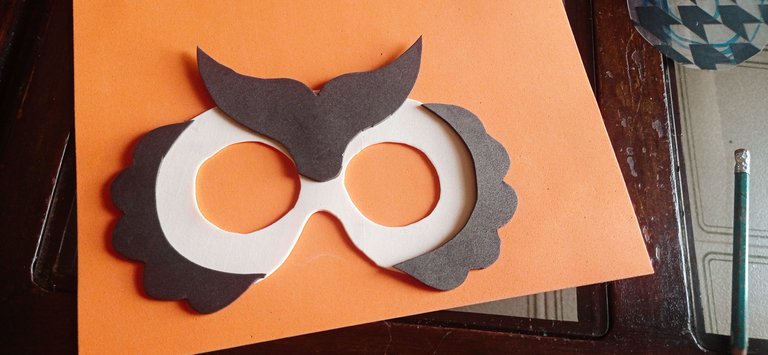
The next step is to add some details in a darker color, so I traced something shaped like a whale tail and glued it with some silicone based glue.
El siguiente paso es agregar los detalles en foami oscuro, así que tracé algo similar a una cola de ballena y lo pegué con pegamento a base de silicón.
With this same color I made some details to be glued on each side and glued them on very carefully.
Con el mismo color de foami hice los detalles que irán en la parte inferior y los pegué cuidadosamente.
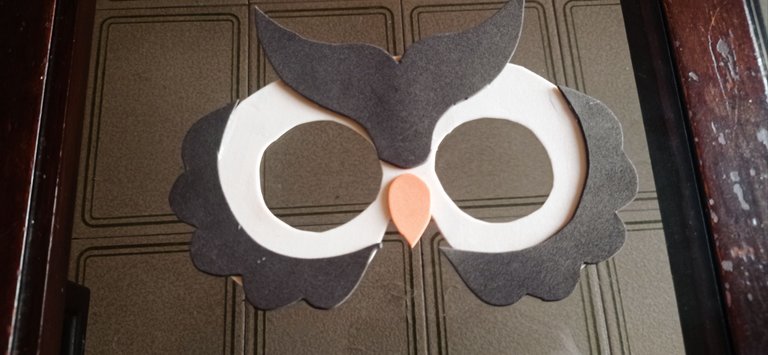
Now we cut out the beak and glue it down.
Ahora cortamos el pico y lo pegamos.
We have to let it dry completely and we will he ready to attach some elastic, I decided to sew it with some Thread and needle to secure it without risking it coming apart.
Debemos dejar secar por completo y luego podemos colocar el elástico, yo decidí coserlo para asegurarlo bien y no correr el riesgo de que se despegara.
And it is done. As you can see it is very simple and easy to make. My nephew loved it and didn't want to take it off I hope you liked it and I thank you very much for reading me again.
Y así estará listo. Cómo pueden ver es súper sencillo y fácil de hacer. A mi sobrino le encantó y luego no quería quitárselo. Espero que les haya gustado y les agradezco una vez más por leerme por acá.

The photos were taken using my Xiaomi Redmi Note 9 cellphone.
Las fotografías fueron tomadas con mi teléfono Xiaomi Redmi Note 9.