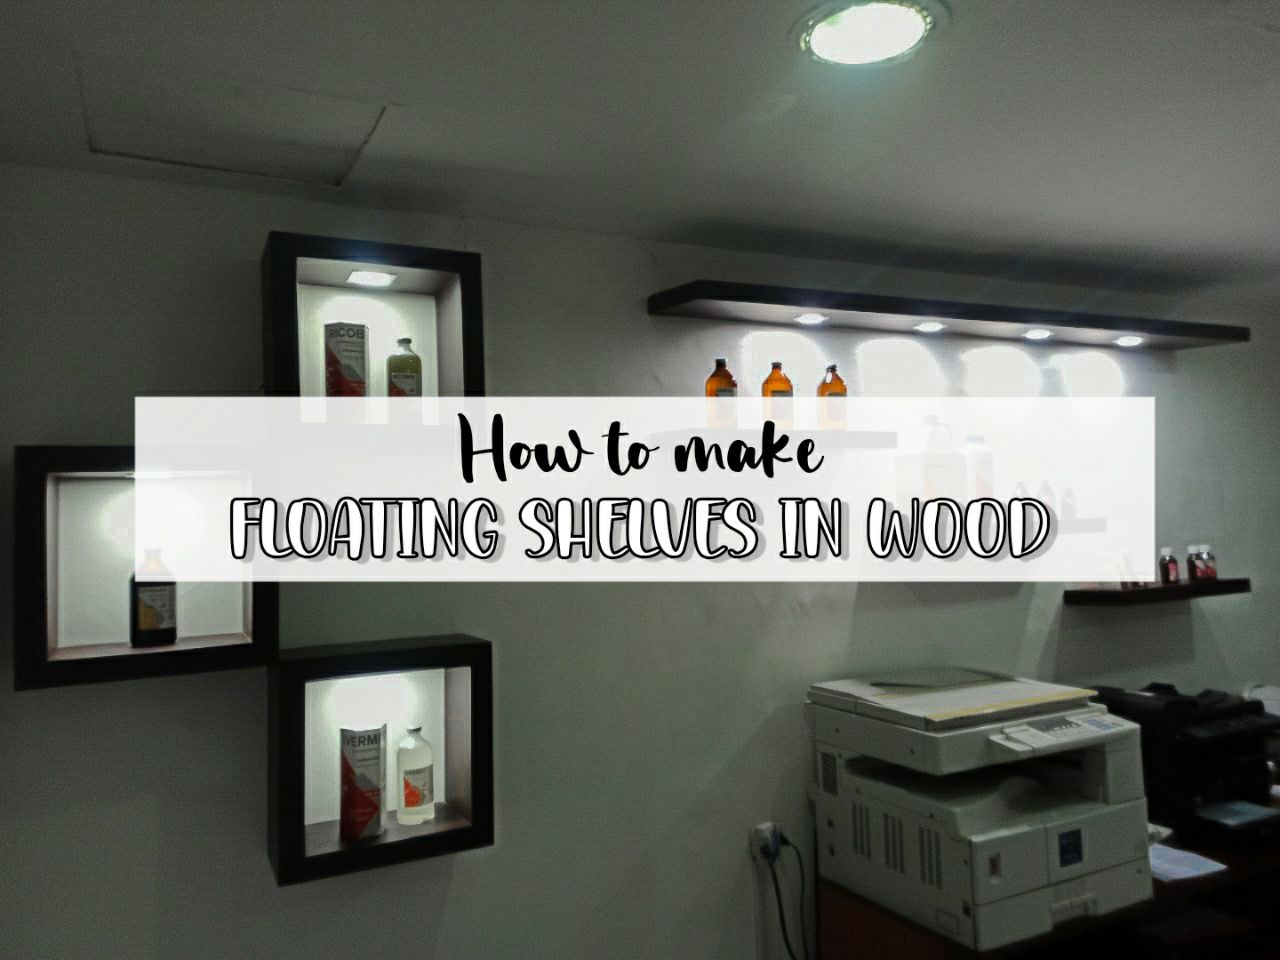
Good morning dear friends of HIVE, I hope you are all very well, today I come to present an incredible tutorial, so if you want to learn a little carpentry, you can make some beautiful floating shelves, in this case I made them to a company, but you can make them for your home or even your room, no more time to lose, come on!!!.
Buenos días queridísimos amigos de HIVE, espero todos se encuentren muy bien, el día de hoy vengo a presentarles un increíble tutorial, para que si desean aprender un poco de carpintería, puedan realizar unas hermosas repisas flotantes, en este caso las realicé a una empresa, pero las puedes fabricar para tu hogar o incluso tu cuarto, sin más tiempo que perder, vamos!!!.
Materials.|| Materiales.
To make the shelves, I needed a 9 mm thick MDF sheet, 183 cm x 244 cm, two 2.3 cm thick pine boards x 366 cm x 25 cm, 4 strips of 5 cm veneer, 2/4 of wenge colored paint, 2 liters of thinner, 7 LED light bulbs, 1/2 inch nails, white glue, yellow glue, red detail putty, 80 grain coarse sandpaper and 220 grain fine sandpaper.
Para realizar las repisas, necesité de una lámina de M.D.F de 9 mm de espesor, de 183 cm x 244 cm, dos tablas de pino de 2,3 cm de espesor x 366 cm x 25 cm, 4 tiras de chapilla de 5 cm, 2/4 de pintura color wengue, 2 litros de thinner, 7 bombillos de luz LED, clavos de 1/2 pulgada, pegamento blanco, pegamento amarillo, masilla roja de detalle, lija gruesa grano 80 y lija fina grano 220 .
Manufacturing.// Fabricación.
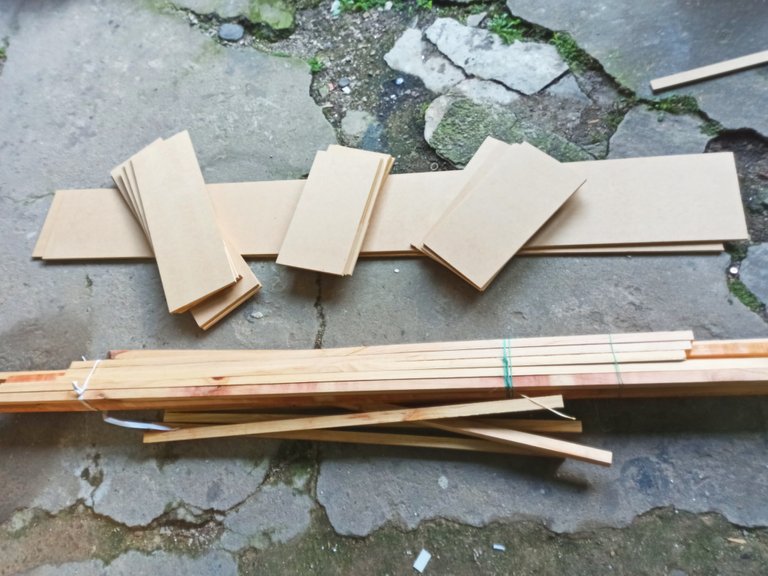
First, I took the two pine boards and started cutting them at 2. 5 cm along the entire length of the board, so I got too many super long strips, many of them split hahahaha but they serve anyway, then I took the MDF sheet and with a cousin, we cut it, he helped me, as it is too big and heavy to handle alone, I made too many cuts, so I'll tell you all the cuts I got and not how I made them, these cuts were: 4 boards of 20 cm x 60 cm, 2 boards of 20 cm x 70 cm, 2 boards of 25 cm x 200cm, 6 boards of 39 cm x 20 cm, 6 boards of 37,2 cm, 6 boards of 30 cm x 20 cm and finally 6 boards of 28. 2 cm x 20 cm.
Primero, tome las dos tablas de pino y la comencé a cortar a 2.5 cm por todo lo largo de la tabla, así que obtuve demasiadas tiras super larga, muchas de ellas se partieron jajajaja pero sirven de igual forma, después tomé la lámina de MDF y con un primo, la cortamos, el me ayudó, ya que es demasiado grande y pesada para manipularla uno solo, hice demasiados cortes, así que le voy a decir todos los cortes que obtuve y no como los realicé, estos cortes fueron: 4 tablas de 20 cm x 60 cm, 2 tablas de 20 cm x 70 cm, 2 tablas de 25 cm x 200cm, 6 tablas de 39 cm x 20 cm, 6 tablas de 37,2 cm, 6 tablas de 30 cm x 20 cm y por último 6 tablas de 28.2 cm x 20 cm.
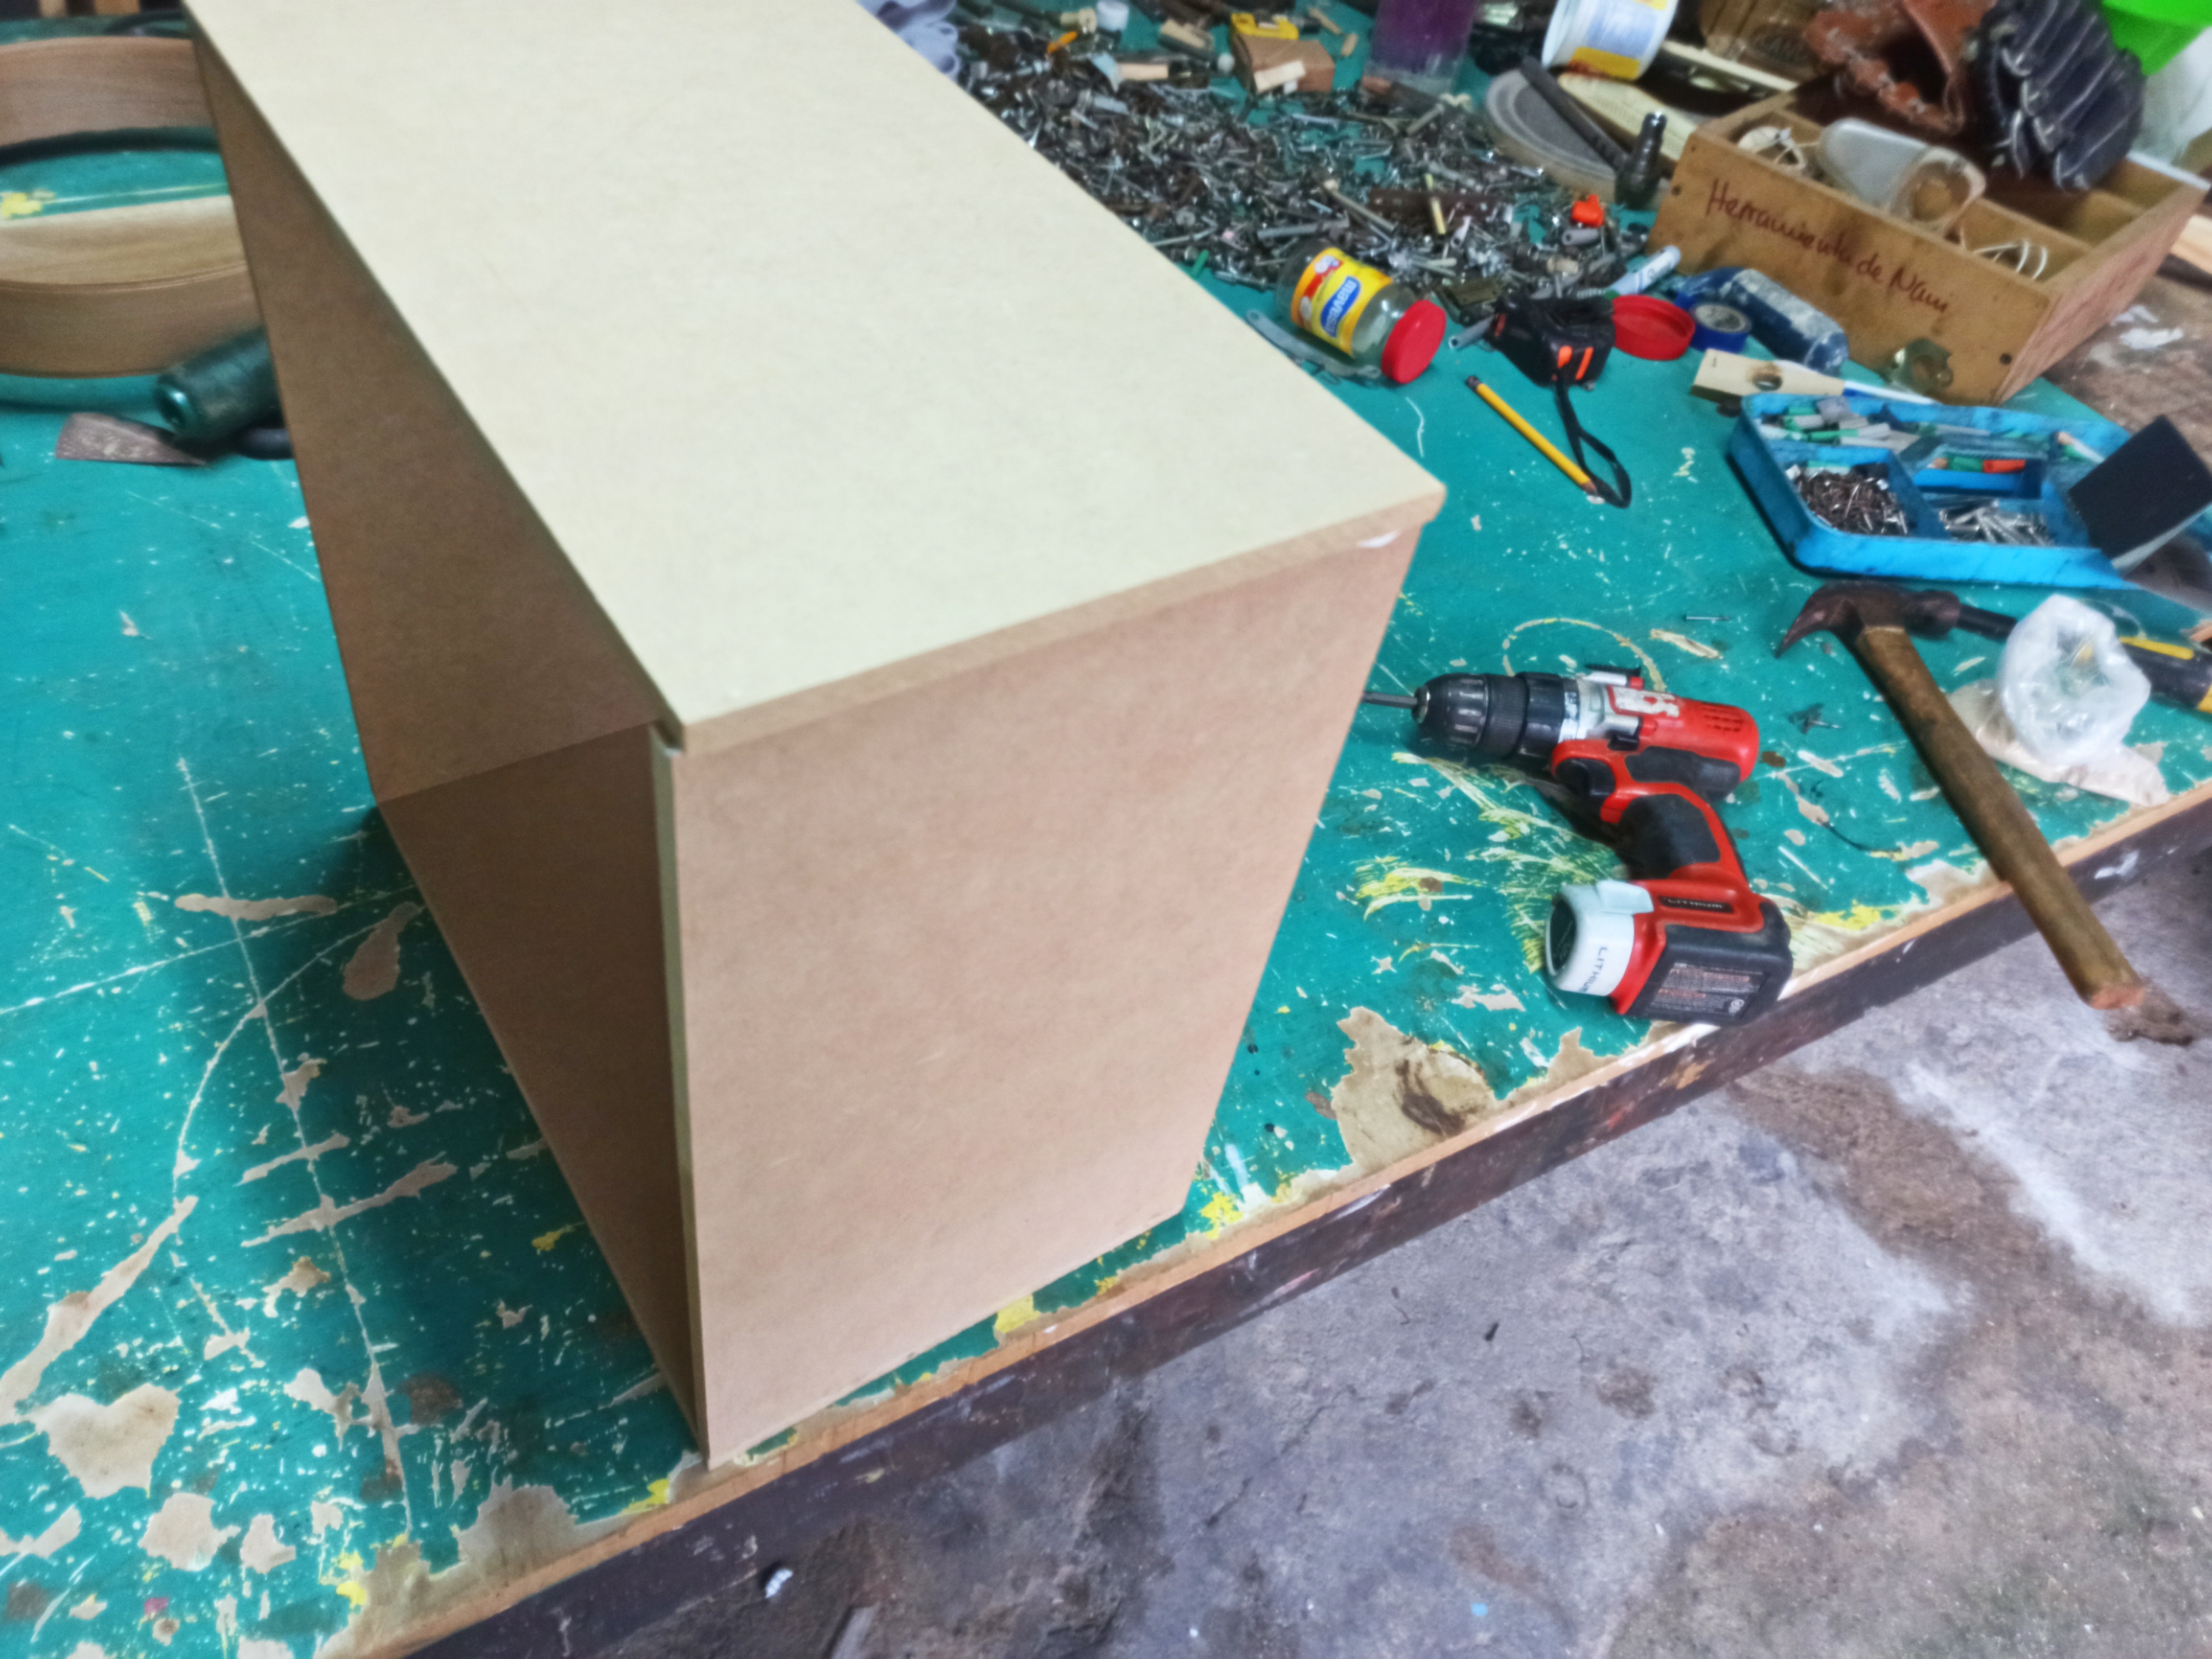
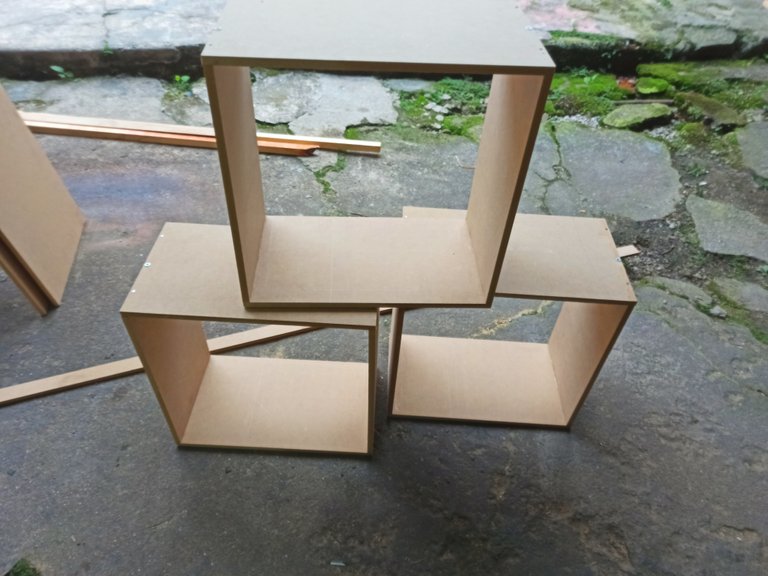
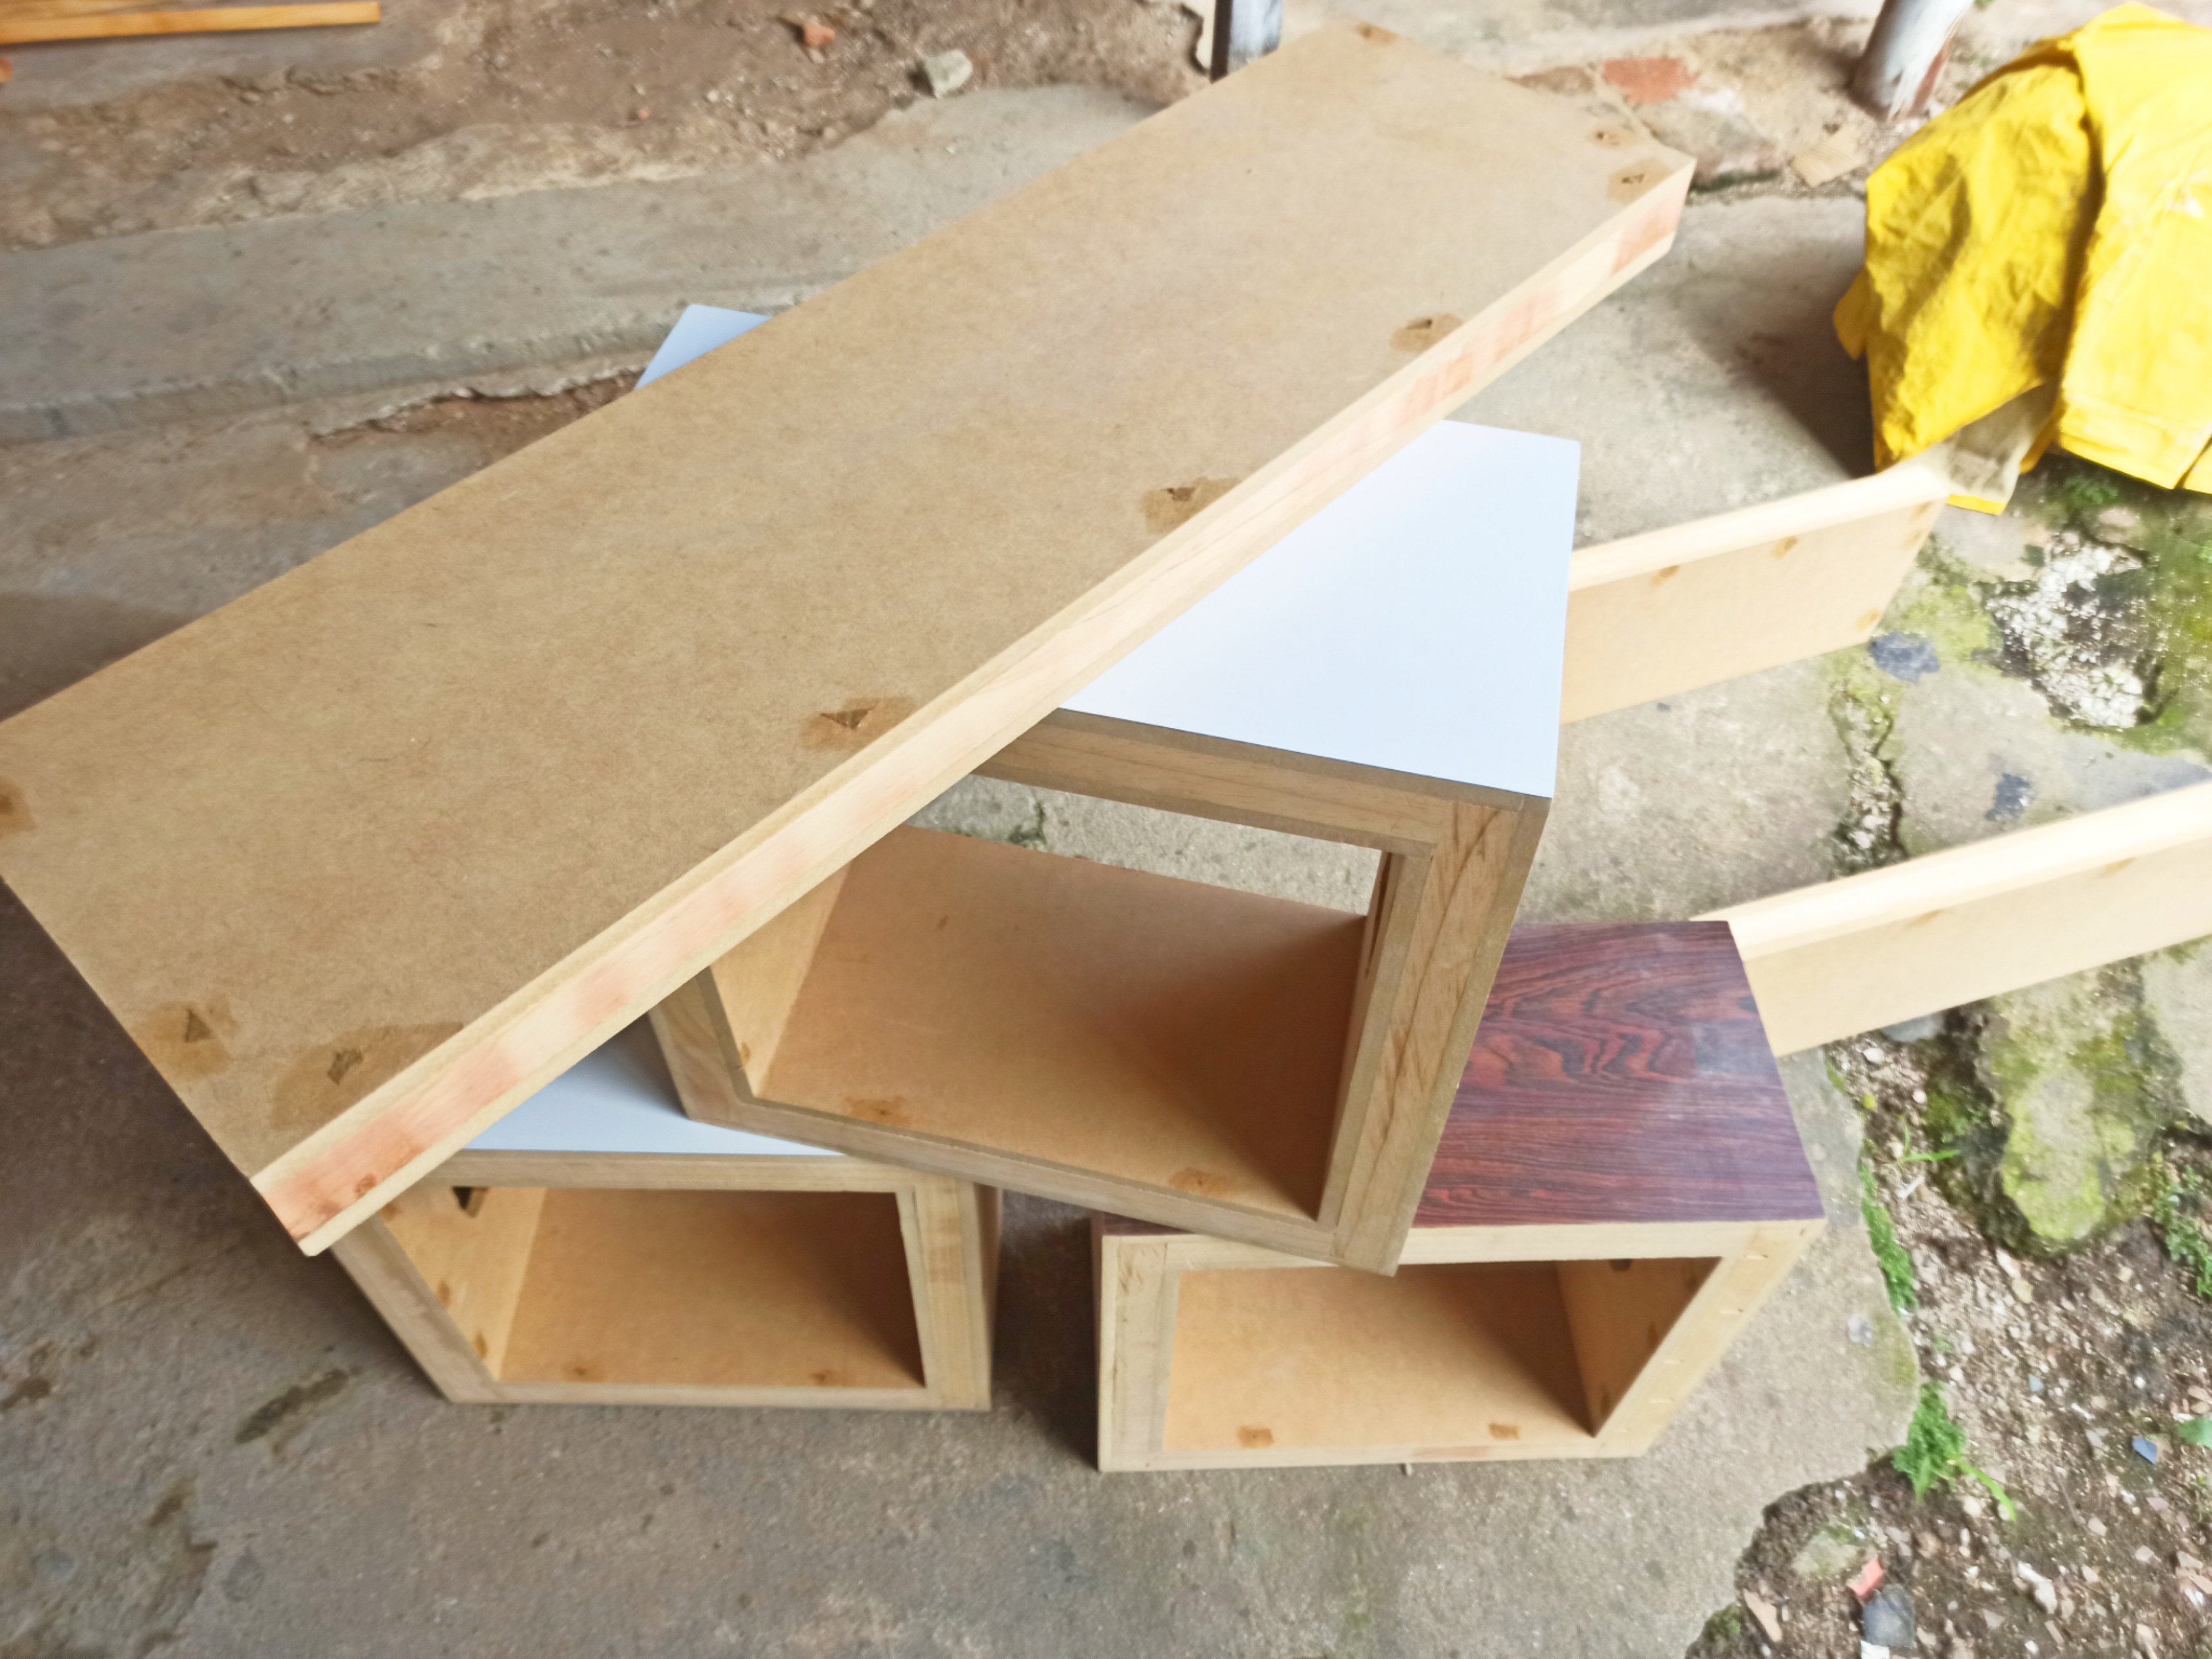
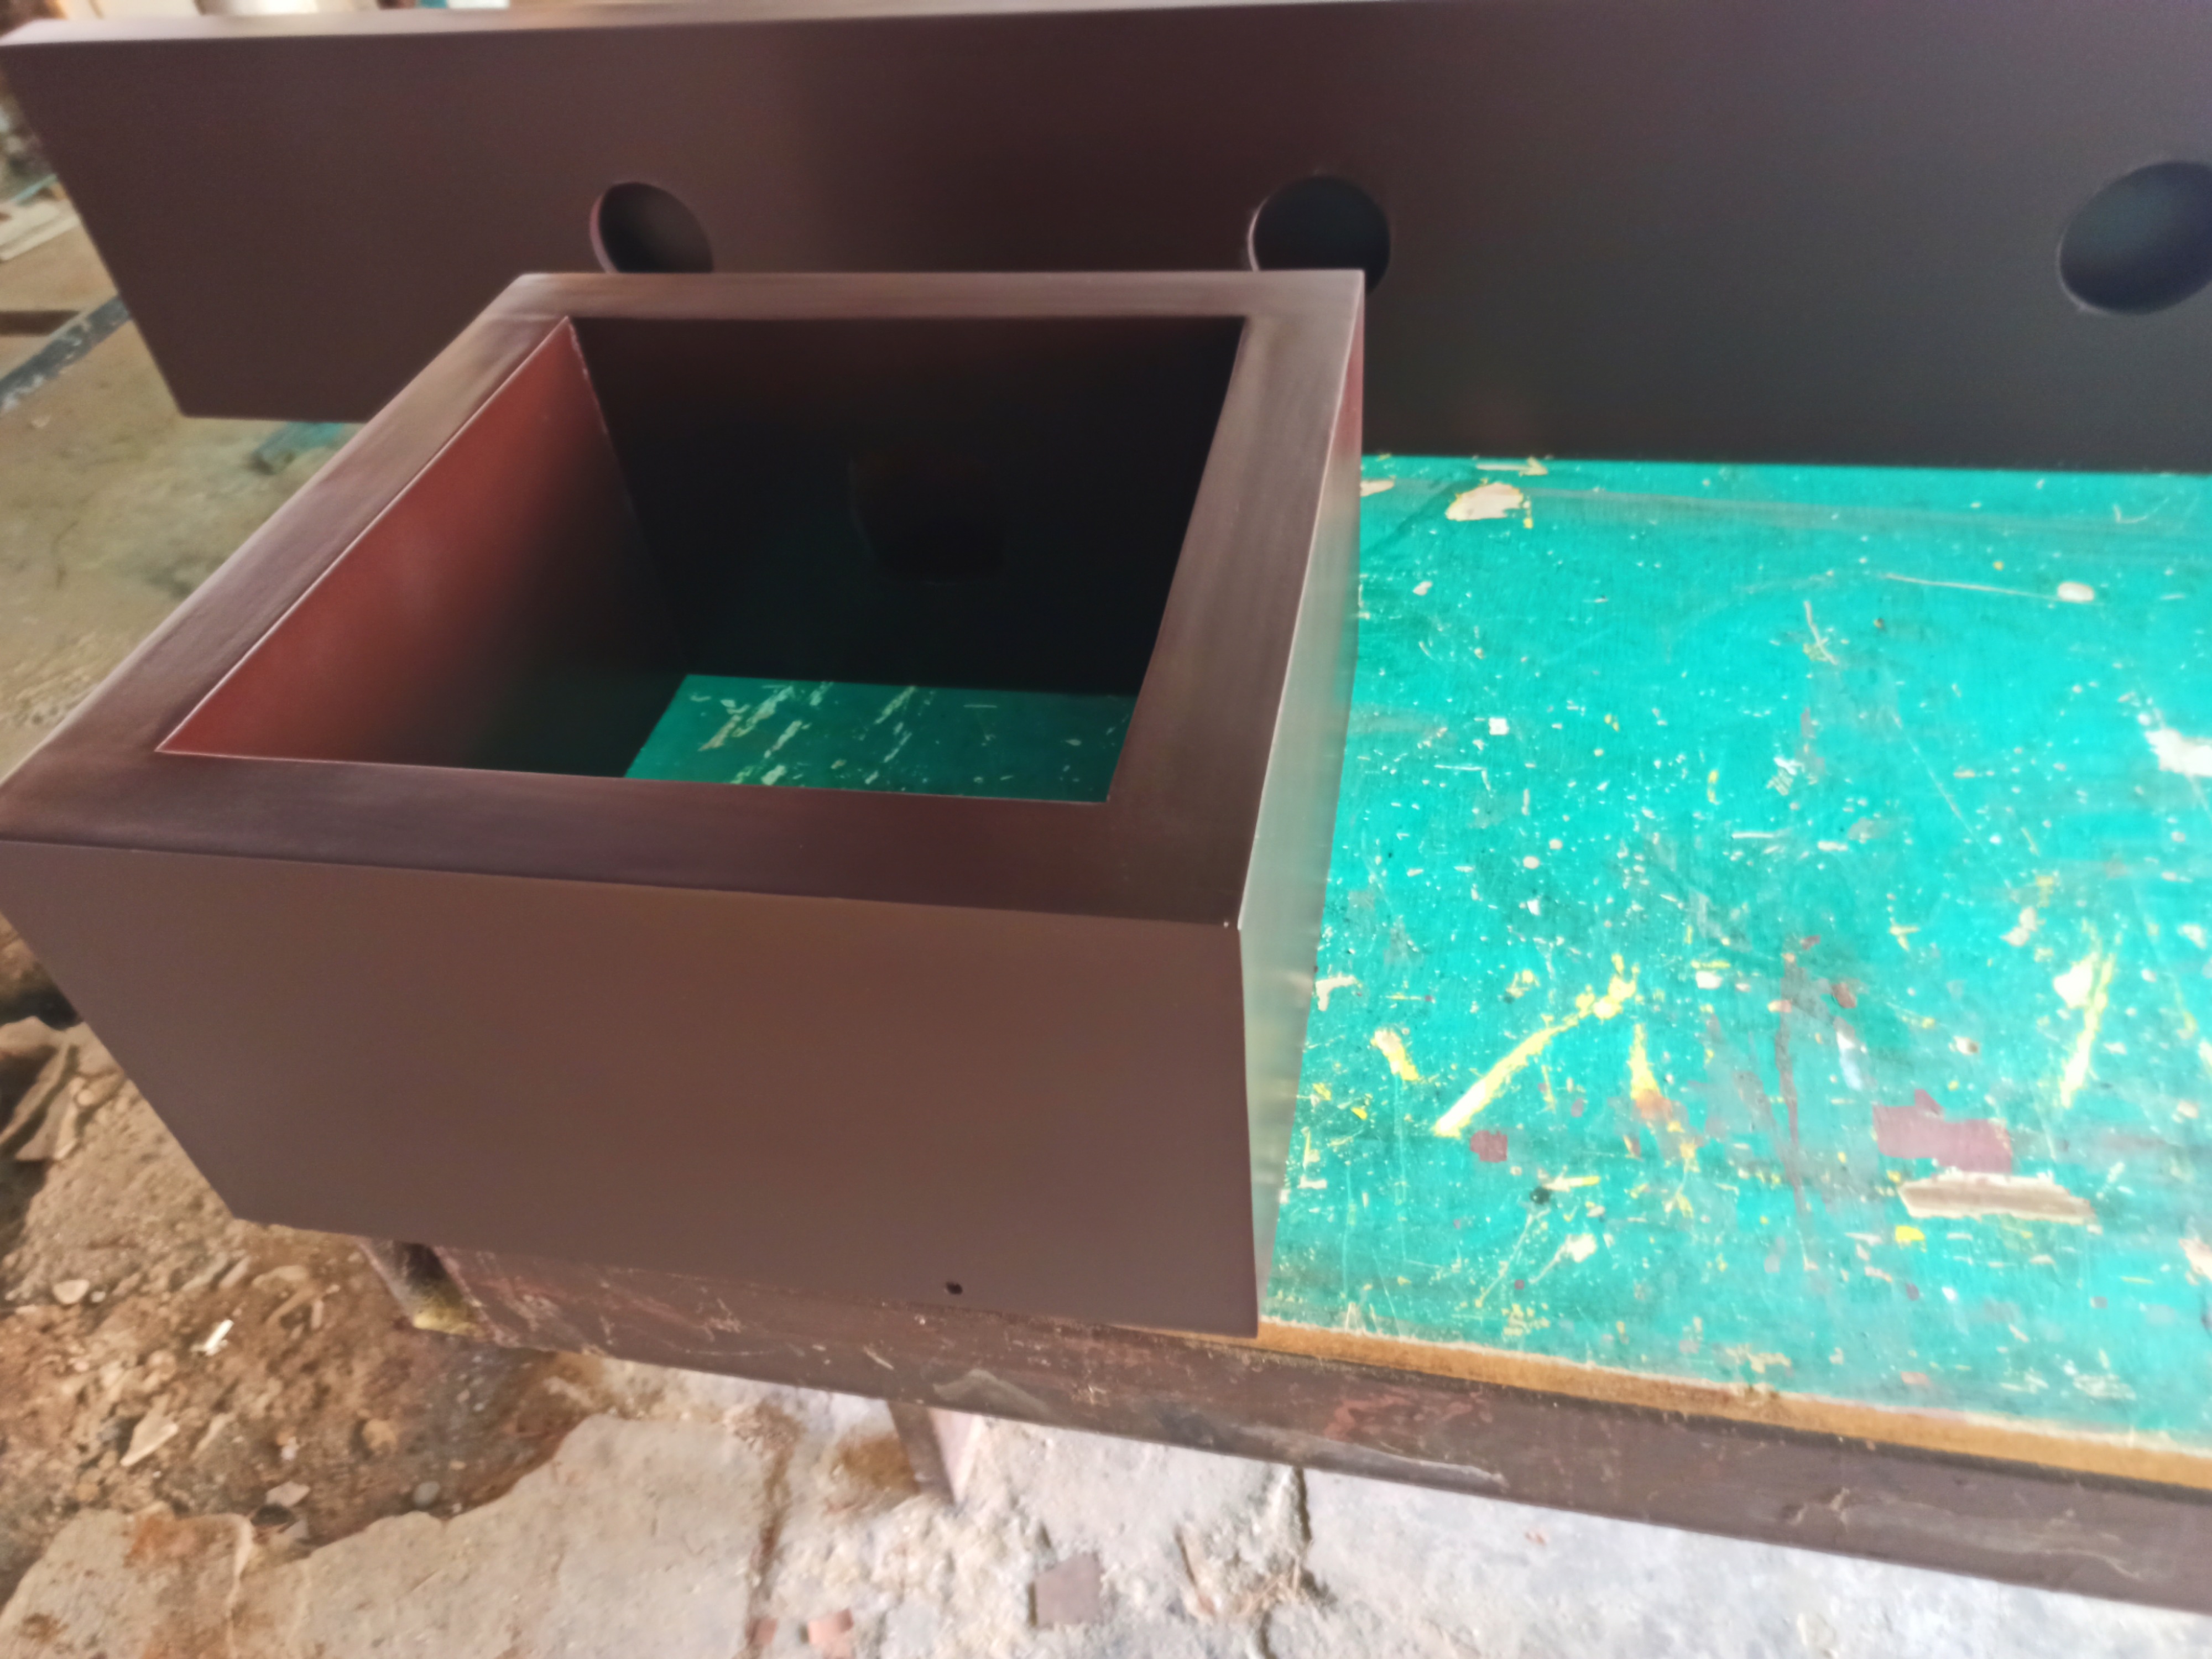
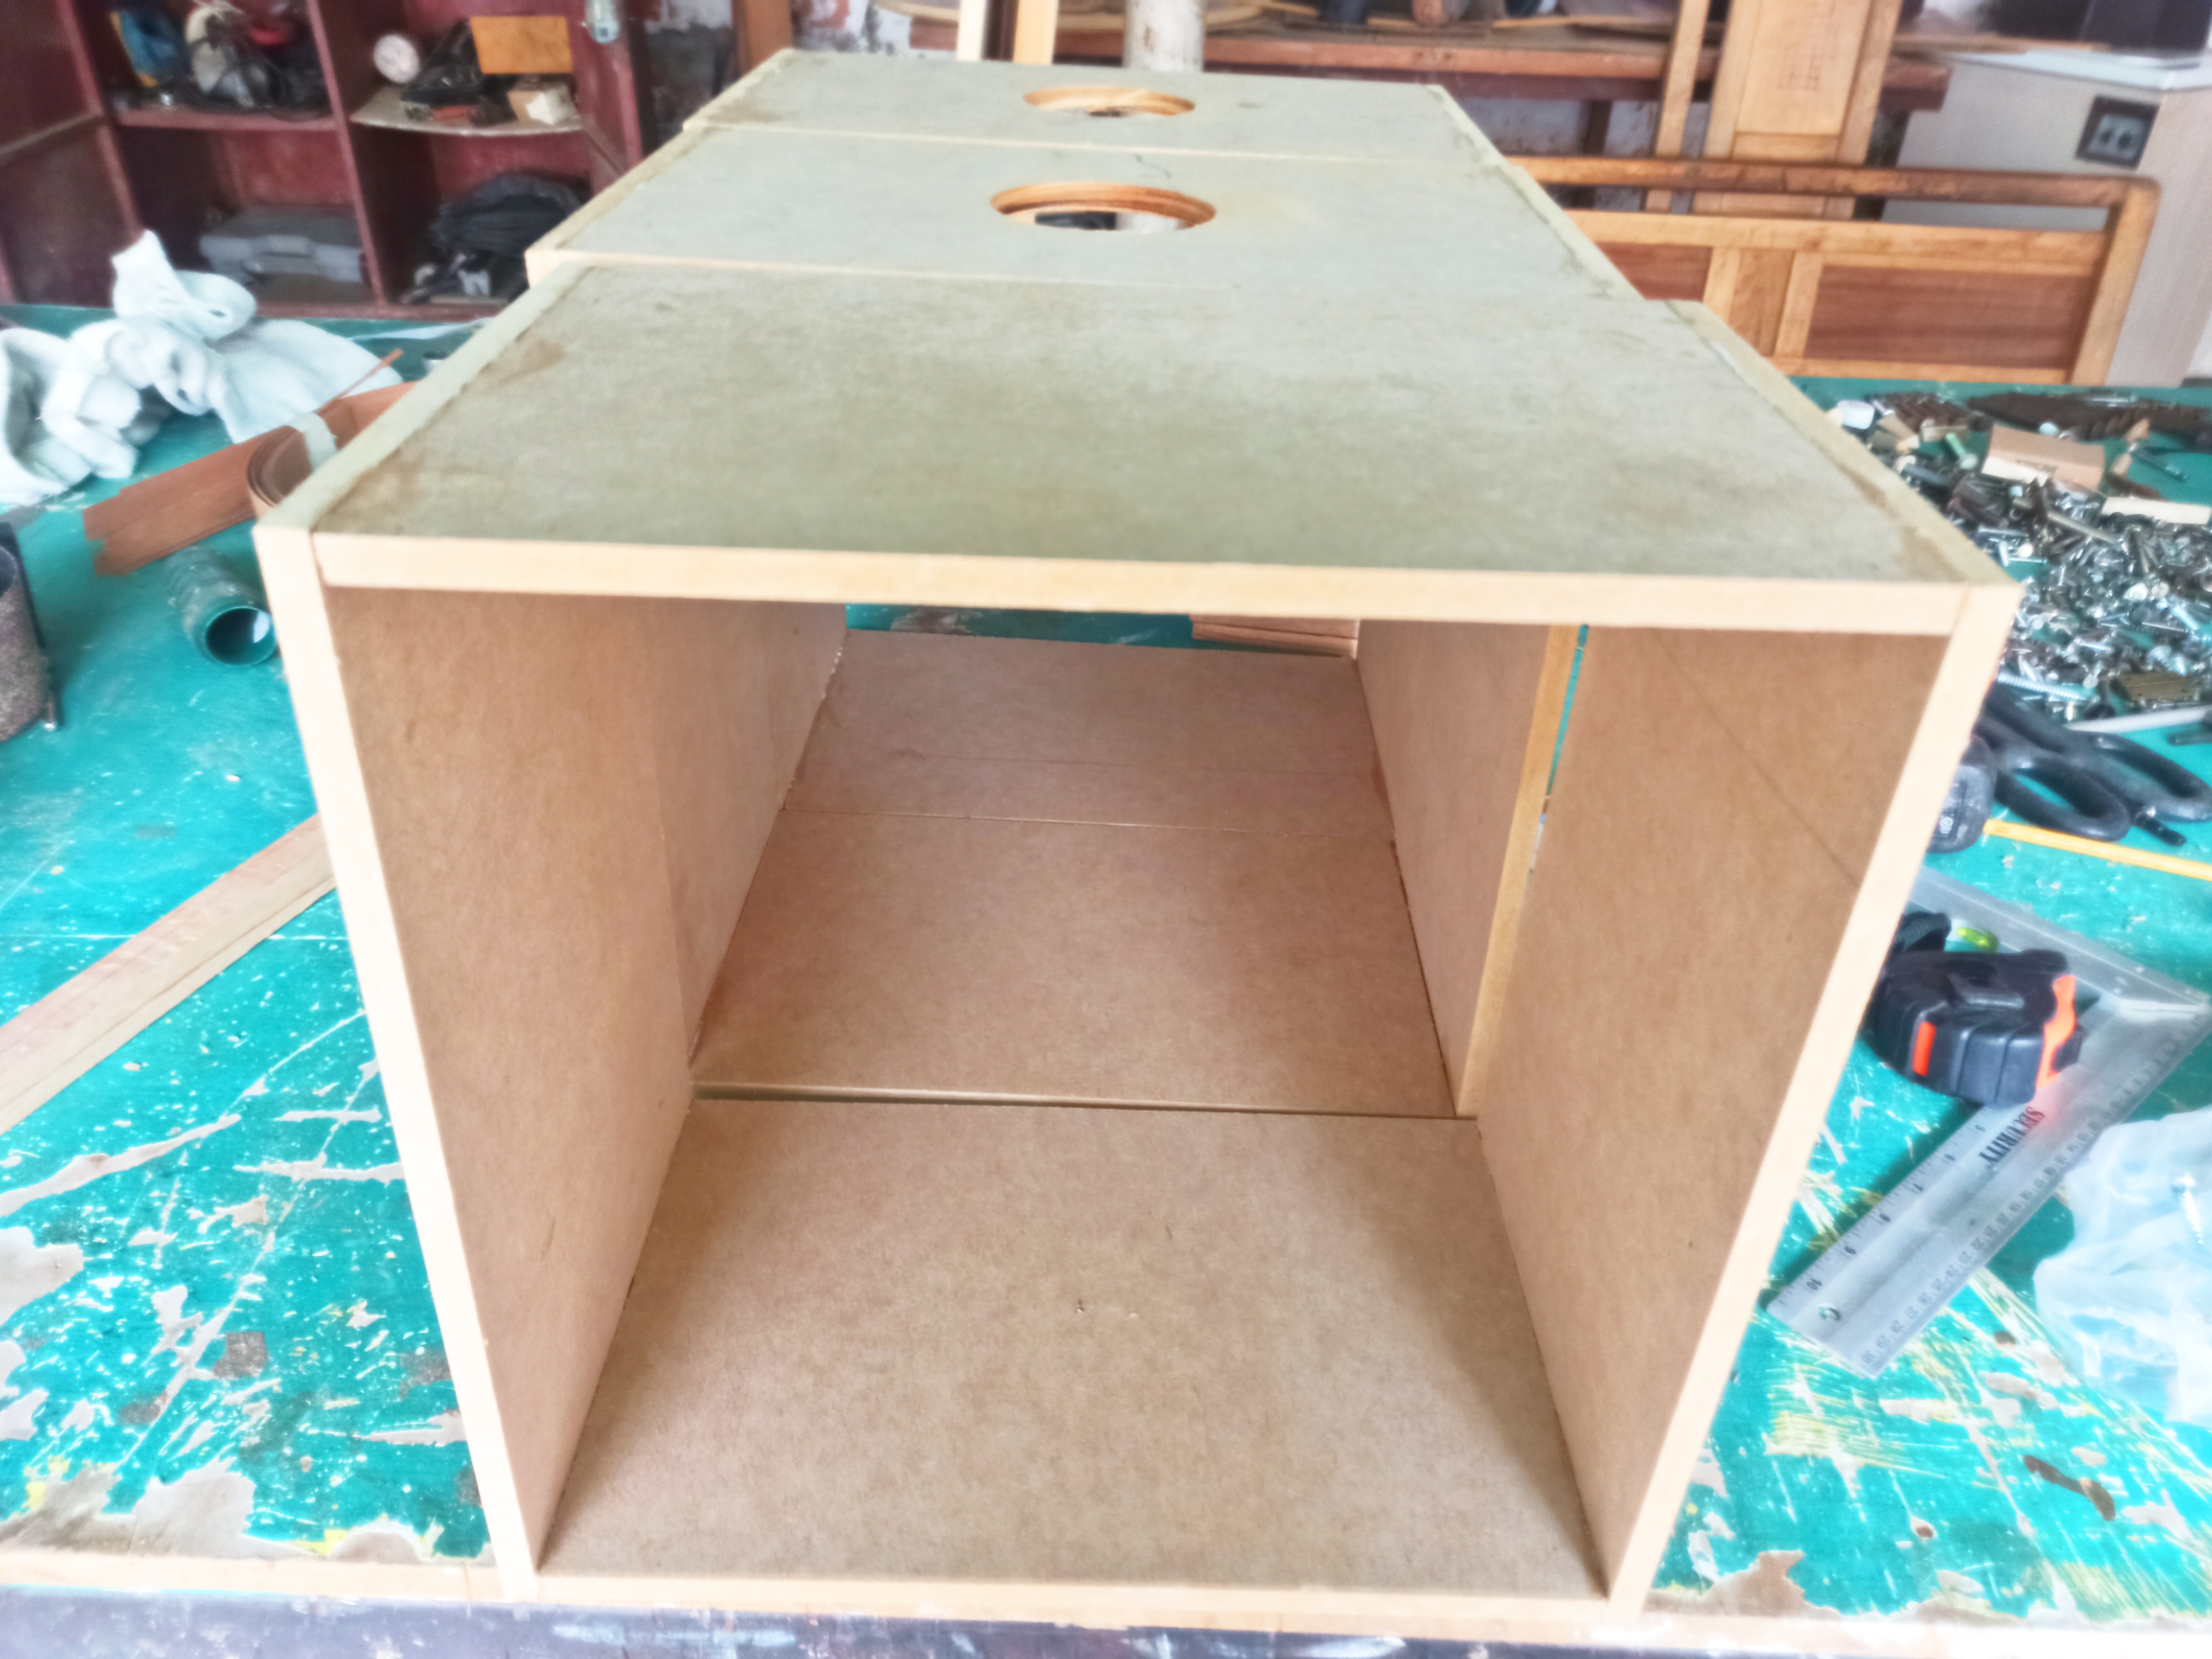
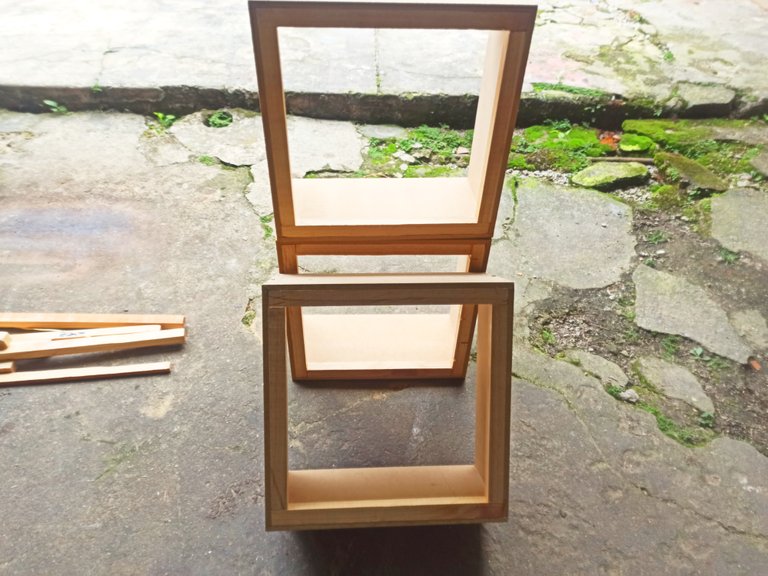
After having all the cuts, I began to assemble the squares, with the larger boards on the outside and the smaller ones on the inside. In total, I had 3 large squares, which measured 37.2 cm on the inside, and the small ones were also 3 and measured 28.2 cm on the inside.
Luego de tener todos los cortes, empecé a armar los cuadrados, con las tablas más grandes por fuera y las más pequeñas por dentro, en total, me quedaron 3 cuadrados grandes, que por dentro median 37.2 cm y los pequeños eran igualmente 3 y median por dentro 28.2 cm.
Then I began to open a hole in all the small squares, with a bit, so that the base of the bulbs enter, then with a radial saw, I cut to size all the strips of pine and began to glue them, with white glue and nails, I was gluing both sides of each shelf, and to the squares, first I glued the strips of pine, inside the big squares, and then, I fitted the small square and glued it with nails and white glue, but to all the shelves, in the back I left the hole to fit another strip of pine, but that will be fixed to the wall.
Enseguida comencé a abrir un hueco a todos los cuadrados pequeños, con una mecha saca bocados, para que la base de los bombillos entren, luego con una sierra radial, corté a medida todo las tiras de pino y comencé a pegarlos, con pegamento blanco y clavos, iba pegando ambas cara de cada repisa, y a los cuadrados, primero le pegue las tiras de pino, por dentro de los cuadrados grandes, y luego, encajaba el cuadrado pequeño y lo pegaba con clavos y pegamento blanco, pero a todas las repisas, en la parte de atrás le dejé el hueco, para encajar otra tira de pino, pero que va a ir fija a la pared.
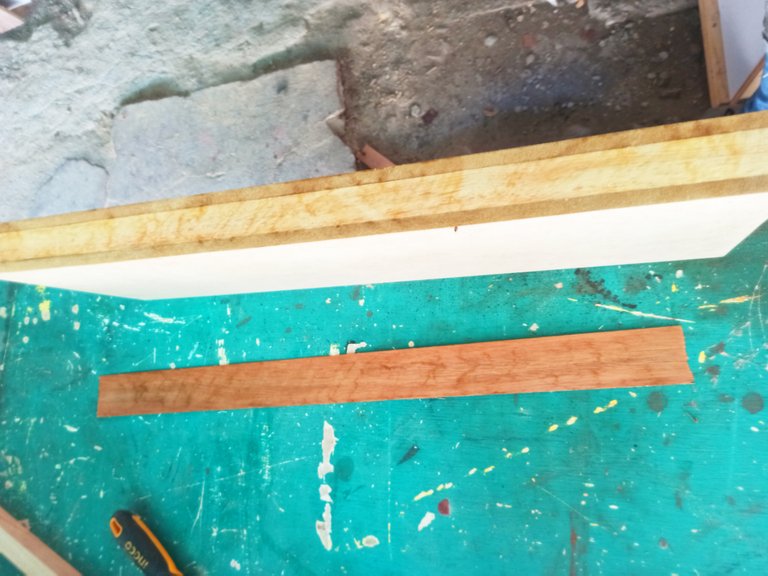
After doing all this, I sanded the front of all the shelves and the sides that were a little ugly of the squares and I applied yellow glue, and to the fronts I glued veneer and the sides that I sanded to the squares, I glued formica, to paint over it, then I finished off the leftovers and sanded again, finally before preparing to paint, I sunk the nails and applied wood putty, with white glue and sawdust.
Después de hacer todo esto, lije el frente de todas las repisas y los lados que quedaron un poco feos de los cuadrados y le apliqué pegamento amarillo, y a los frentes le pegué chapilla y los lados que lije a los cuadrados, le pegue formica, para pintar encima de ésta, luego rematé los sobrantes y lije de nuevo, por último antes de preparar para pintar, hundí los clavos y le apliqué masilla de madera, con pegamento blanco y aserrín.
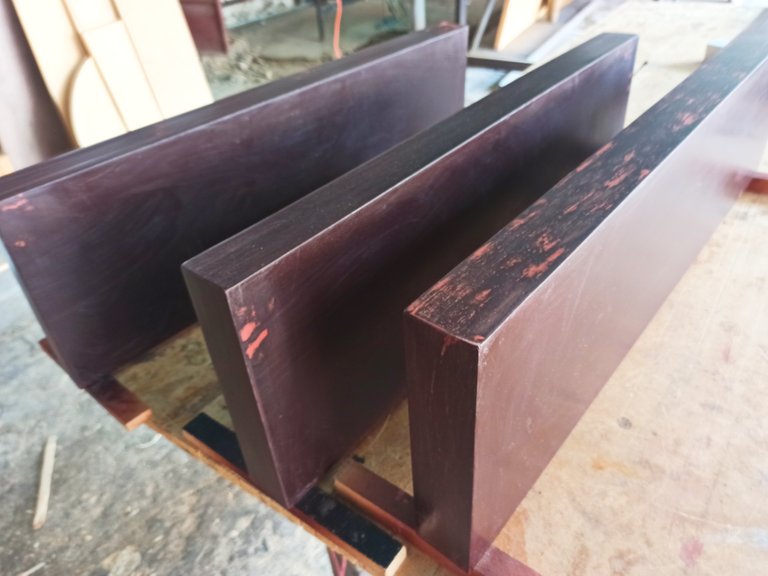
I finished sanding the putty and it was ready to paint, then I started to apply the paint little by little and while I was noticing details, with the red detail putty, I removed all the details and continued painting, until it got a uniform color and a beautiful finish, and it was ready to go to install, I let it dry for two days and I opened the holes with a drill to pass the wires of the bulbs.
Terminé de lijar la masilla y quedó lista para pintar, luego empecé a aplicarle la pintura poco a poco y mientras iba notando detalles, con la masilla de detalle roja, quité todos los detalles y seguí pintando, hasta que obtuvo un color uniforme y un acabado precioso, y ya estaba lista para ir a instalar, lo dejé secar por dos días y le abrí los huecos con un taladro para pasar los cables de los bombillos.
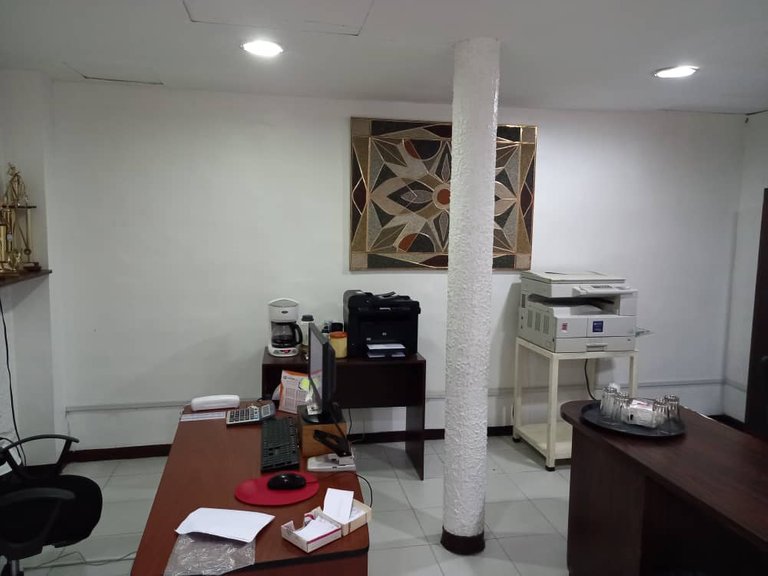
Today in the morning I went to install it, and I took the measurements of the wall, and I show you a picture as it was before and after, I took beads to be like the design I sent you, to install, I took two drills, a concrete bit, a fine wood bit, a groove point for screw, 2 inch screws, wood dowels, a hammer, white glue, a piece of cloth and paint, meter, pencil, 1 inch screws, exact and paint for detailing.
Hoy en la mañana fui a instalarlo, y saqué las medidas de la pared, y les muestro una foto como estaba antes y después, saqué cuentas para que estuvieran como el diseño que les envíe, para instalar, llevé dos taladros, una mecha de concreto, una mecha fina de madera, una punta de estría para tornillo, tornillos de 2 pulgadas, tarugos de madera, un martillo, pegamento blanco, un trozo de tela y pintura, metro, lápiz, tornillos de 1 pulgada, exacto y pintura para detallar.
First, I measured all the shelves to locate where they would fit. Then, I marked the pieces of wood that will fit in the hole behind the shelves and drilled them into the wall. Then, with the hammer and the dowels I put them in the holes, after that, I fixed the pieces of wood with the 2 inch screws to the wall. Next, I applied white glue and fitted the shelves into the pieces of wood and fastened them with a 1-inch screw.
Primero, medí todas las repisas para ubicar en qué lugar iban a quedar. Luego, los trozos de madera que van encajados en el hueco detrás de las repisas, los marqué en la pared y perfore a ésta. Después, con el martillo y los tarugos los metí en los huecos, posteriormente, fijé los trozos de madera con los tornillos de 2 pulgada a la pared. En seguida, le coloqué pegamento blanco y encaje las repisas en los trozos de madera y los fijé con un tornillo de 1 pulgada.
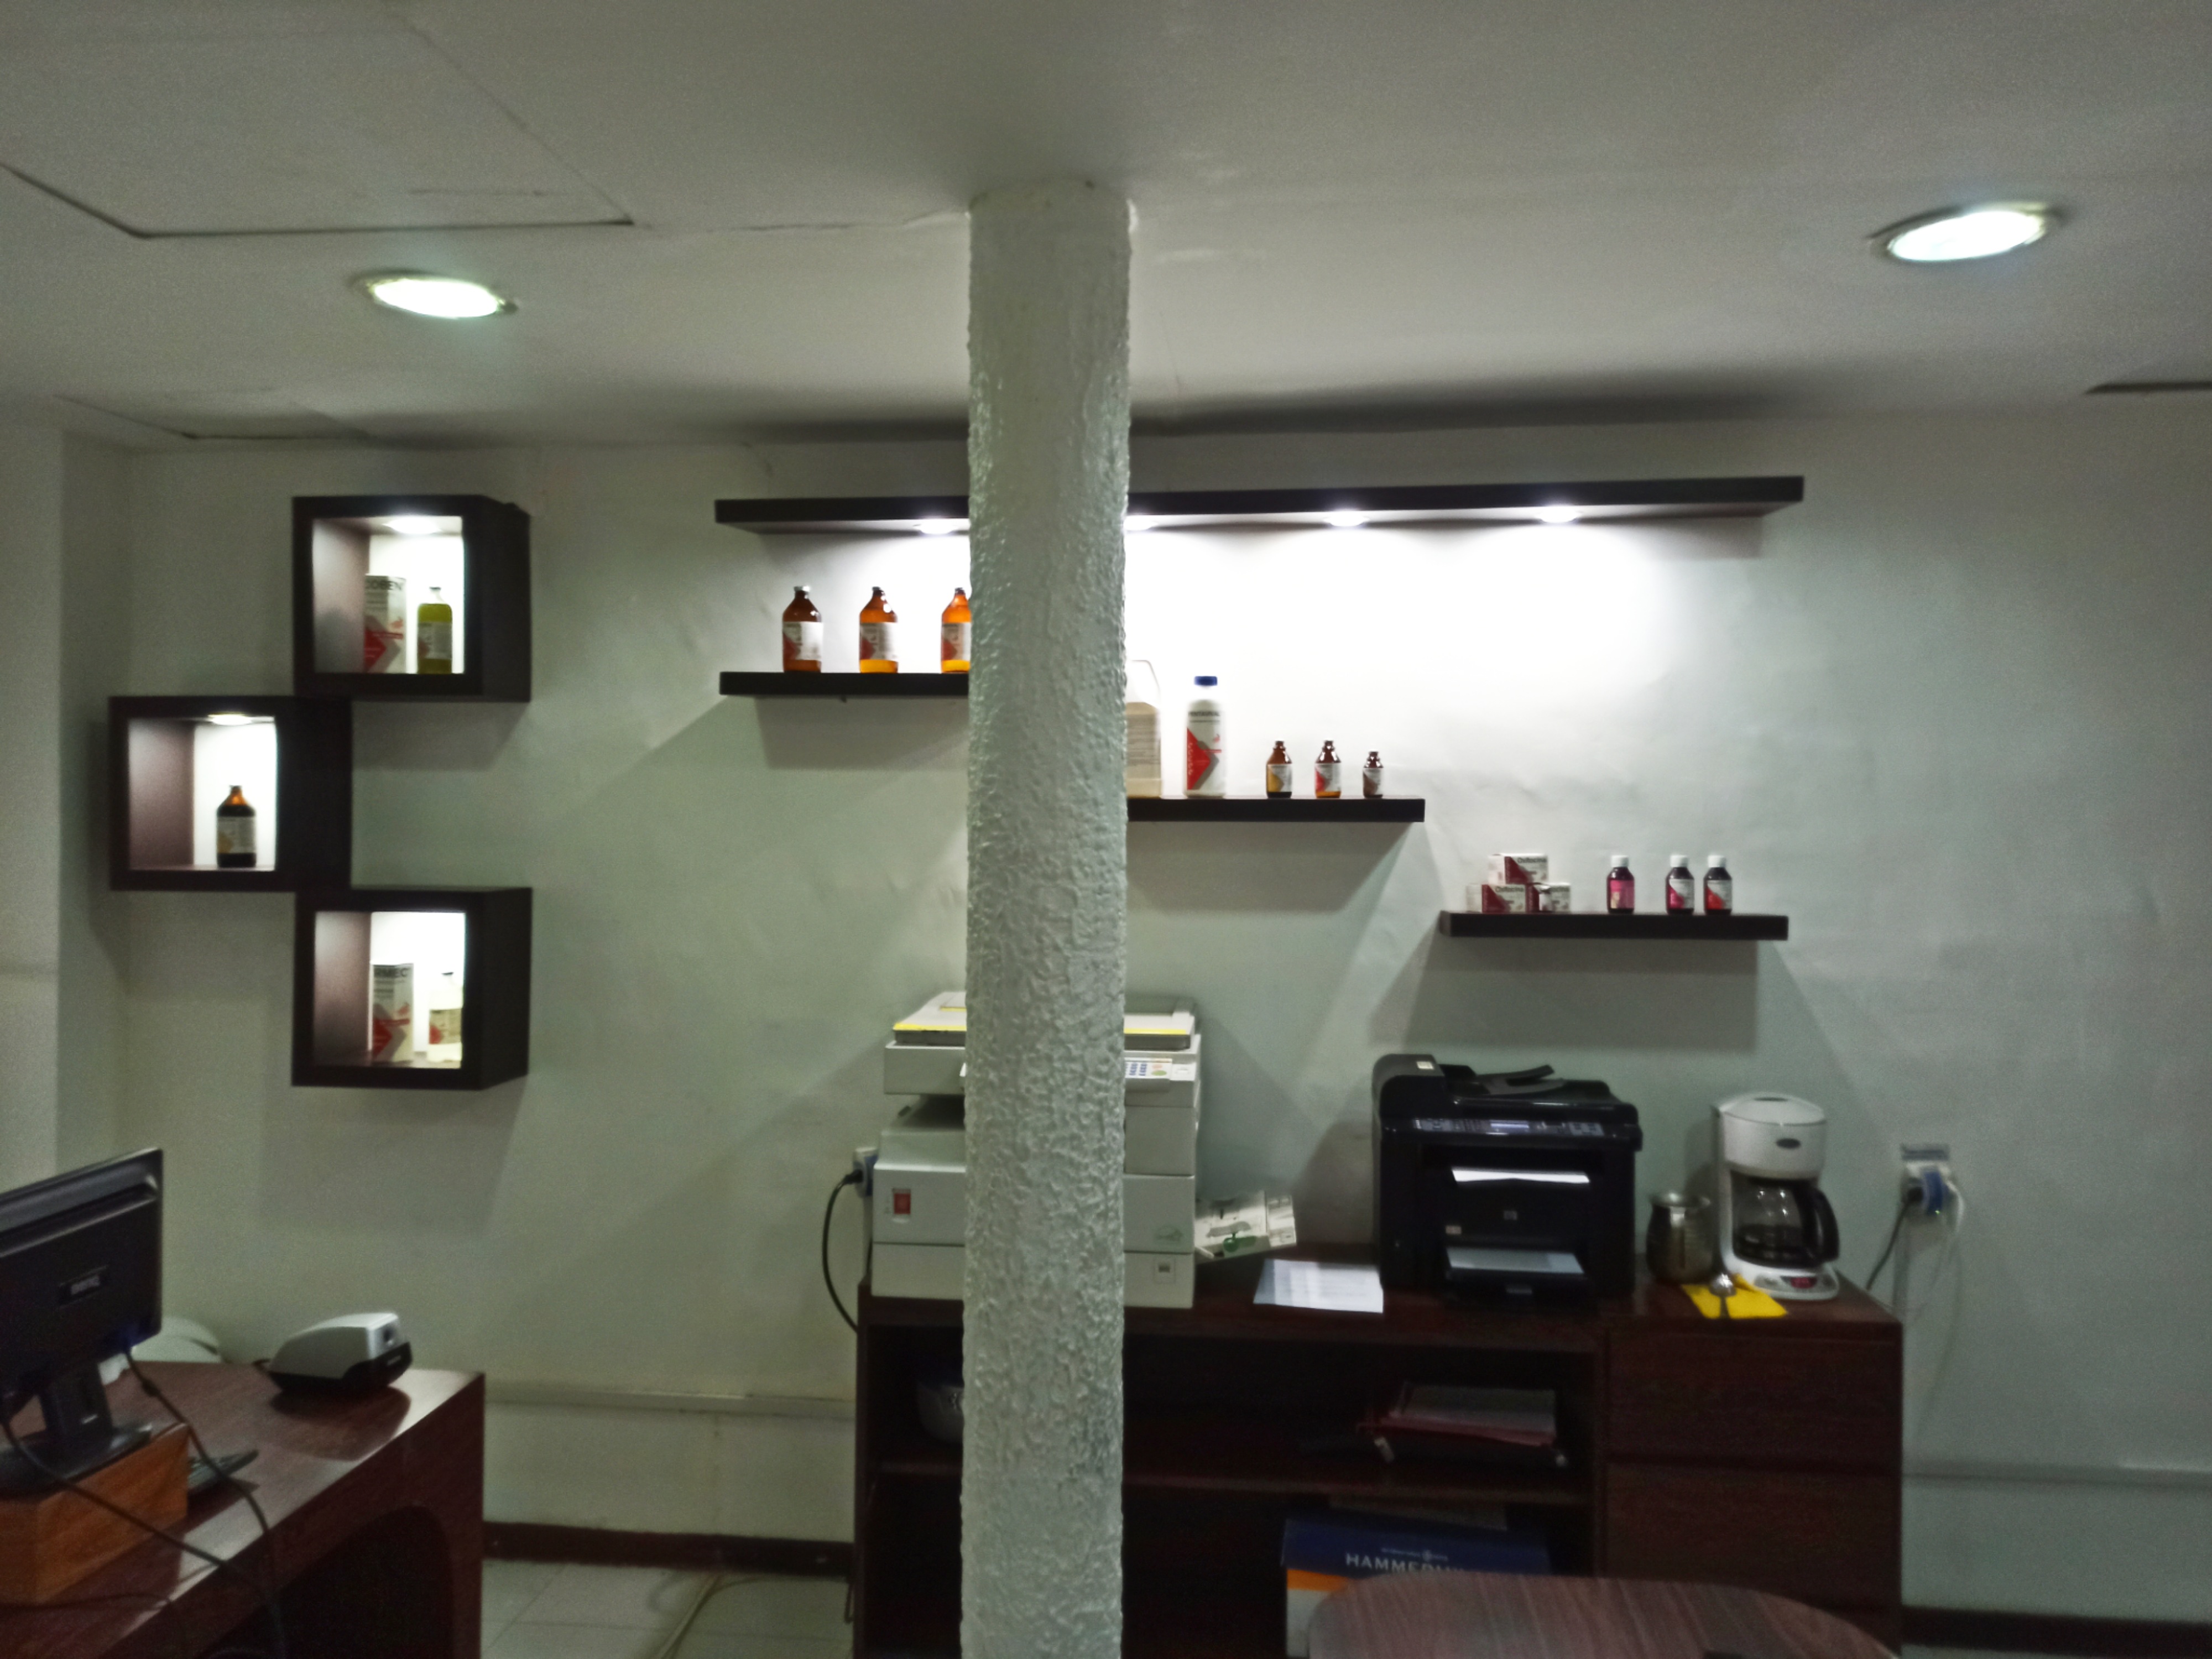
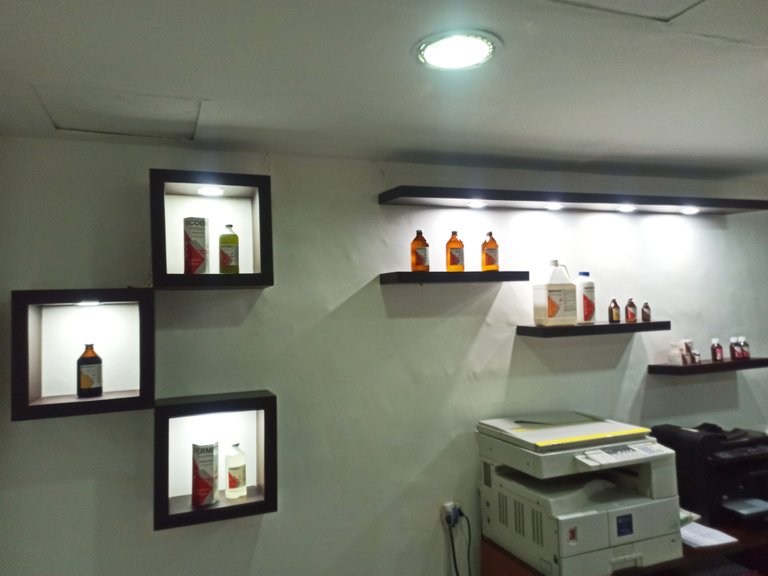
It was ready, I placed the cable to the bulbs, it worked perfectly, I detailed and cleaned everything, and delivered, the owners were delighted with the change and with the finish of the shelves, I hope you liked it and understood how they are made, thank you very much for your support and for reading my publication, see you in a next opportunity, take care, bye!
Ya estaba listas, coloqué el cable a los bombillos, funcionó perfectamente, detallé y limpié todo, y entregué, los dueños quedaron encantados con el cambio y con el acabado de las repisas, espero que a ustedes les gustara y entendieran como se fabrican, muchas gracias por su apoyo y por leer mi publicación, nos vemos en una próxima oportunidad, cuídense, chau!
The photos were taken with my Xiaomi Redmi Note 8 pro. // y las fotos fueron tomadas con mi Xiaomi Redmi Note 8 pro.
