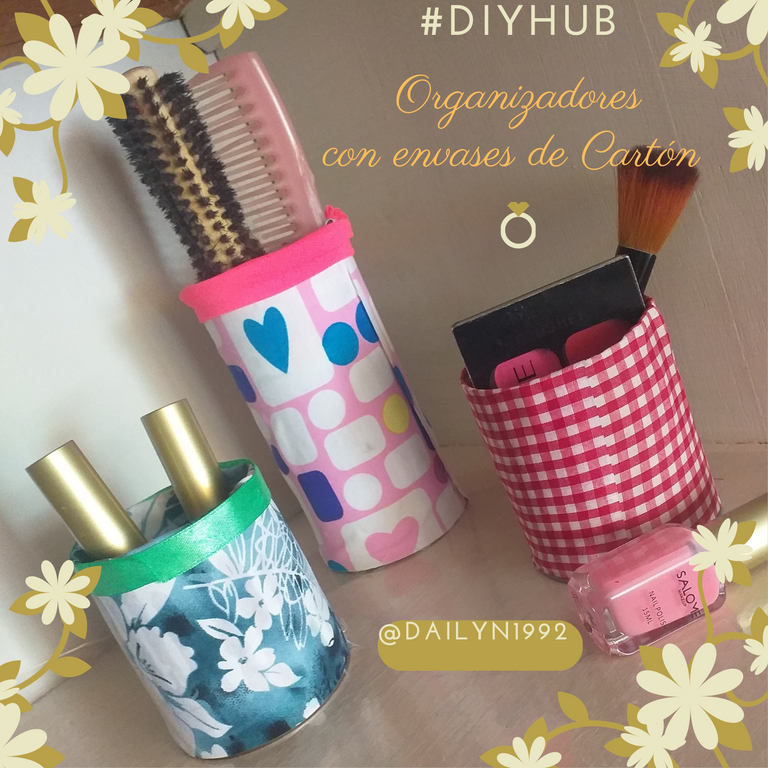
Hola amigos!!! Estoy muy entusiasmada y feliz de poder participar en esta colmena dedicada a las manualidades, desde hace varios meses quería entrar pero a la vez me daba un poco de vergüenza al ver tantas manualidades tan bellas y únicas. En mi caso siempre me llamó la atención el reciclaje y quería mostrar cosas que podemos darle un segundo uso… Así que deje el miedo atrás y me atrevería a diseñar y mostrarle el paso a paso de las cosas que le he dado un segundo uso con pocos materiales y presupuesto.
¡Así que comencemos!
ORGANIZADORES CON ENVASES DE CARTÓN
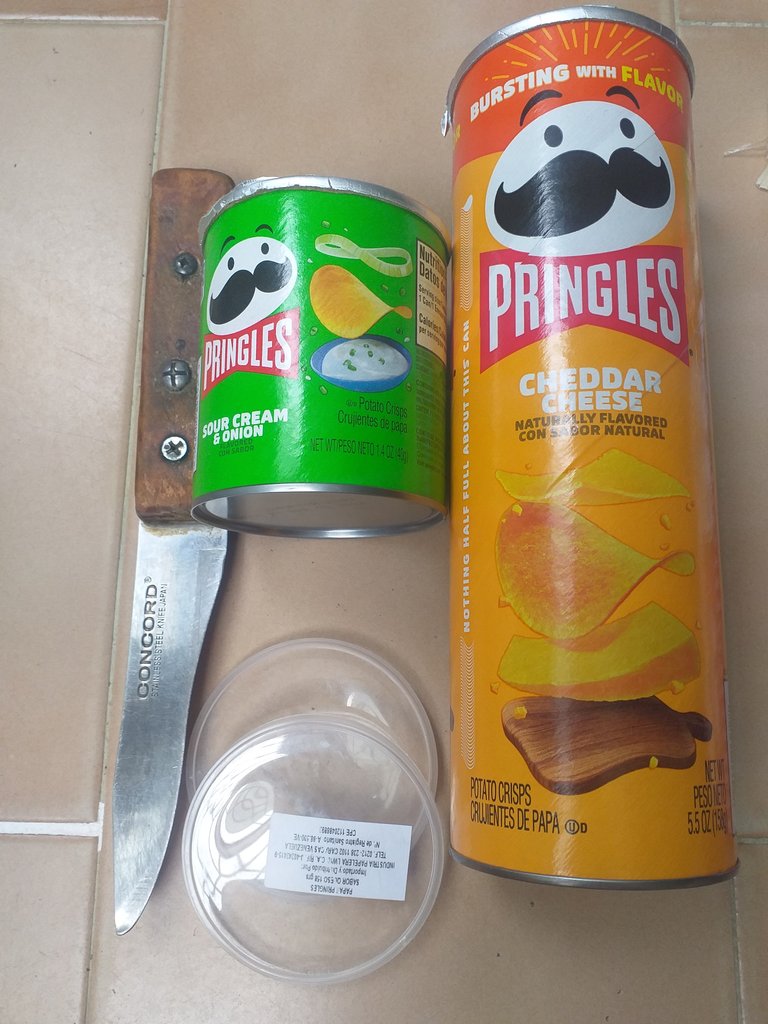
En esta oportunidad quiero mostrarle el uso que les di a 2 envases de papas fritas que les encanta comer mis hijas, cuando quedaron vacías solo tenia en mi mente mil maneras de darle un uso para el hogar, en mi caso me gusta organizar todo en mi habitación y estoy comenzando a hacerlo. Aquí les va una idea de cómo podemos utilizar estos envases de cartón para que sean organizadores de espacio en cualquier rincón de nuestra casa como: florero, organizador de maquillaje, porta lapiz, etc.
!EL USO ADECUADO SERÁ A TU GUSTO!
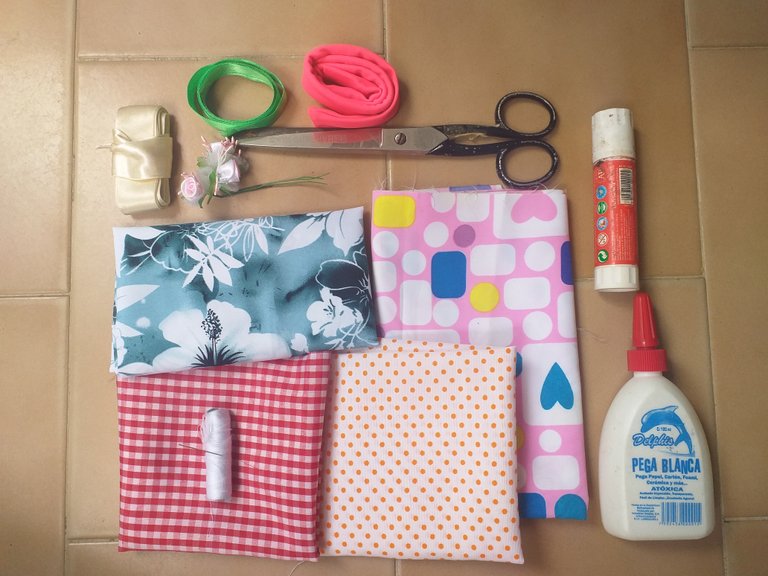
MATERIALES
1 o 2 Envases redondos o cuadrados de cartón.
Tiras de tela de tu preferencia.
Pega blanca, silicón o pega de barra
Tijera
Regla de medir
Lápiz
OPCIONAL
Listones decorativos
Botones decorativos
PRIMER PASO
Lo primero que debemos hacer es medir los envases para poder cortar las tiras de tela a la medida, trata de dejar 2 cm más de largo para que puedas forrar los bordes del envase por dentro y así no se vea el cartón por dentro.
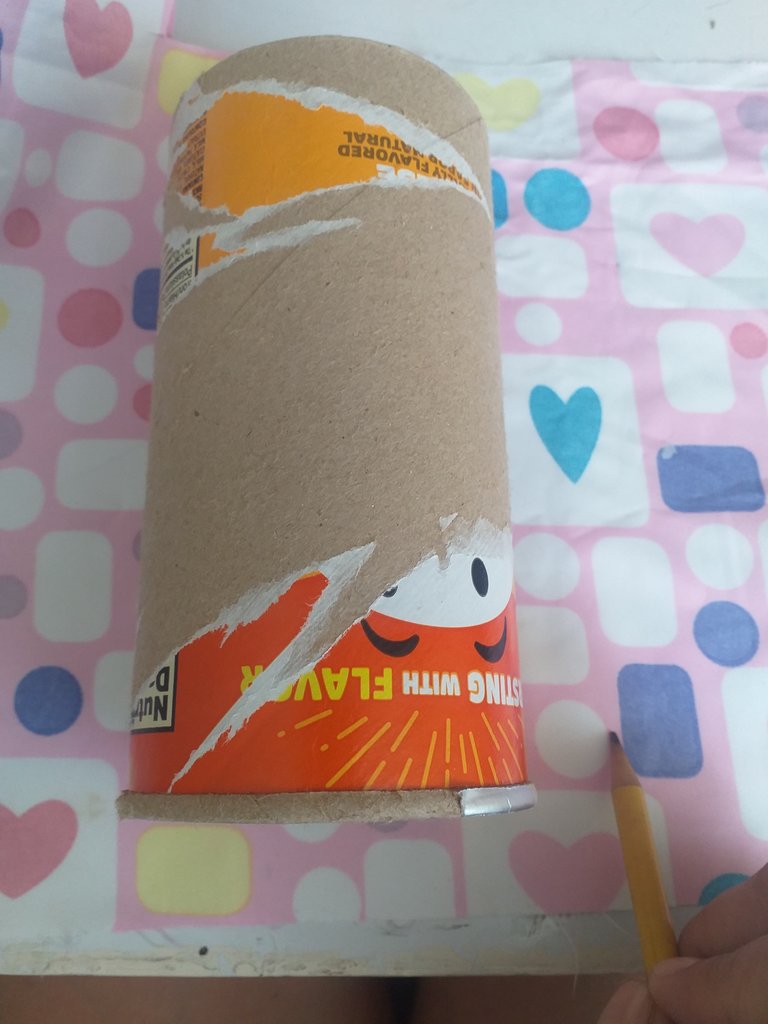
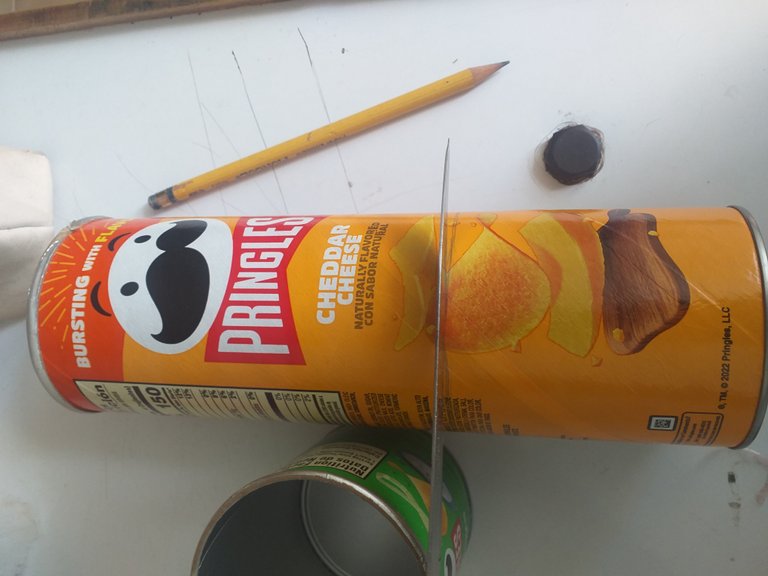
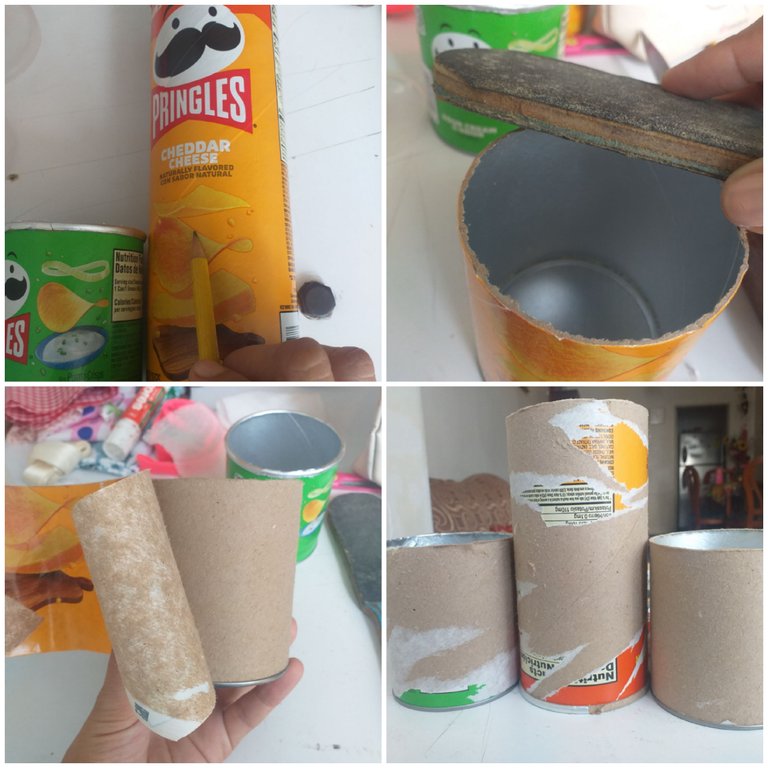
En mi caso tengo 2 envases que los convertí en 3, con la ayuda de un cuchillo medi un envase para que me salieran 2 de igual tamaño y 1 un poco más largo. Luego con la ayuda de una lija comencé a quitar imperfecciones en los bordes y dejarlo liso.
En el caso del 3 envase le coloque la misma tapa transparente que traía y con la ayuda de pega blanca le coloque alrededor y se ajustó perfectamente y así tuve mi 3er envase con base.
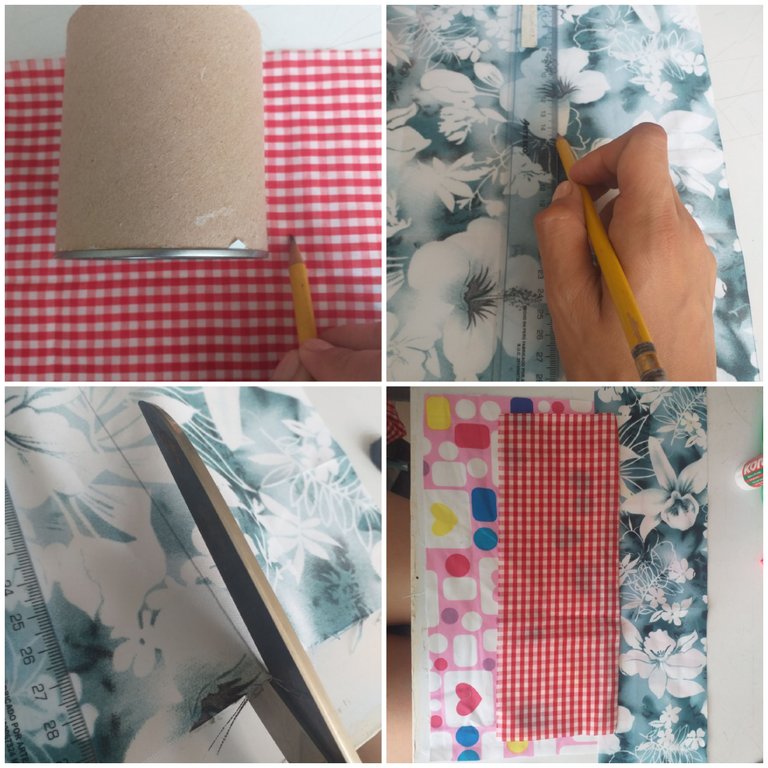
Una vez tenia las 3 medidas procedí a medir y cortar cada tira de tela de acuerdo al tamaño, lo largo de la tira lo dejamos a gusto de cada quien pues si desea la haces corta para darle solo una vuelta pero si prefieres más forradita cortas la tira un poco más larga para darle 2 vueltas como mínimo.
SEGUNDO PASO
En este paso te sugiero que primero pruebes de acuerdo a la tela que tipo de pega te conviene, por ejemplo a mi me funciono de maravilla la pega blanca y la de barrita las telas se ajustaron muy bien y quedaron firmes sin despegarse luego.
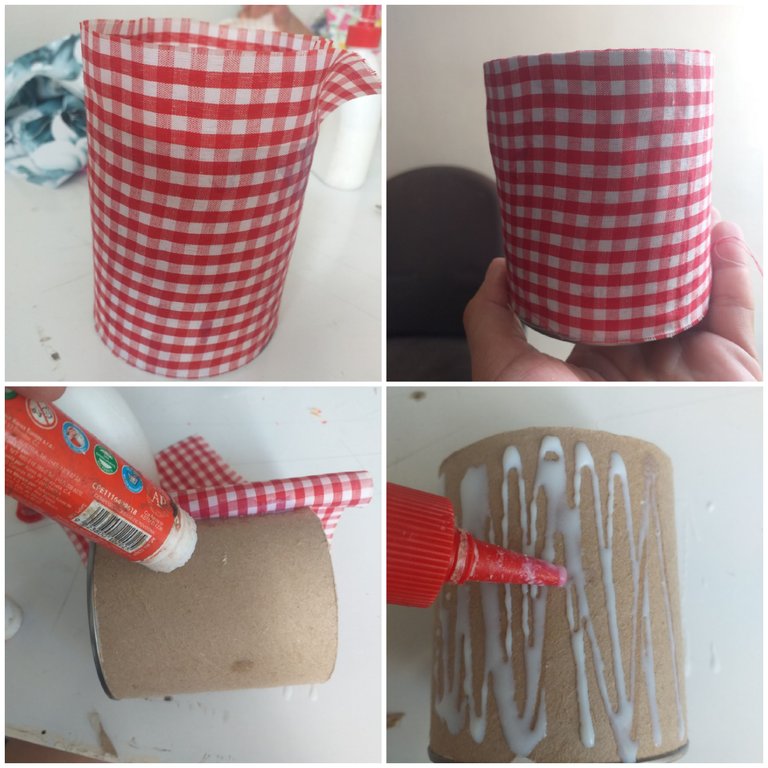
Con la ayuda de nuestras manos vamos colocando un poco de pegamento y vamos colocando la tela y así hasta que hayamos forrado por completo el envase.
TERCER PASO
Dejamos secar aproximadamente 30 minutos en un lugar abierto y luego llega la parte divertida. Aquí dejamos la imaginación y nuestros gusto florezcan, le puedes colocar cualquier detalle que le de un toque personal y sea genuino con la decoración de tus espacios.
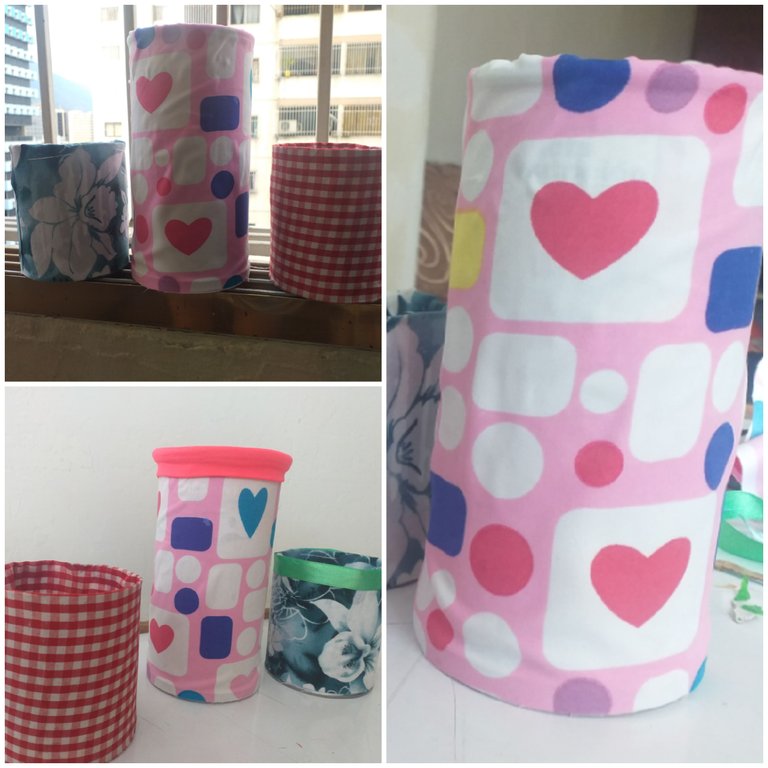
Yo los quise un poco más sencillos así que les coloque a 2 solo unas tiras en el borde de arriba que combinarán con el estampado y así de esta manera fácil y sencilla tuve listos mis 3 organizadores con materiales de reciclaje.
Lo maravilloso de estos organizadores es que los puedes colocar en los espacios preferidos de tu hogar y darle ese toque único y original.
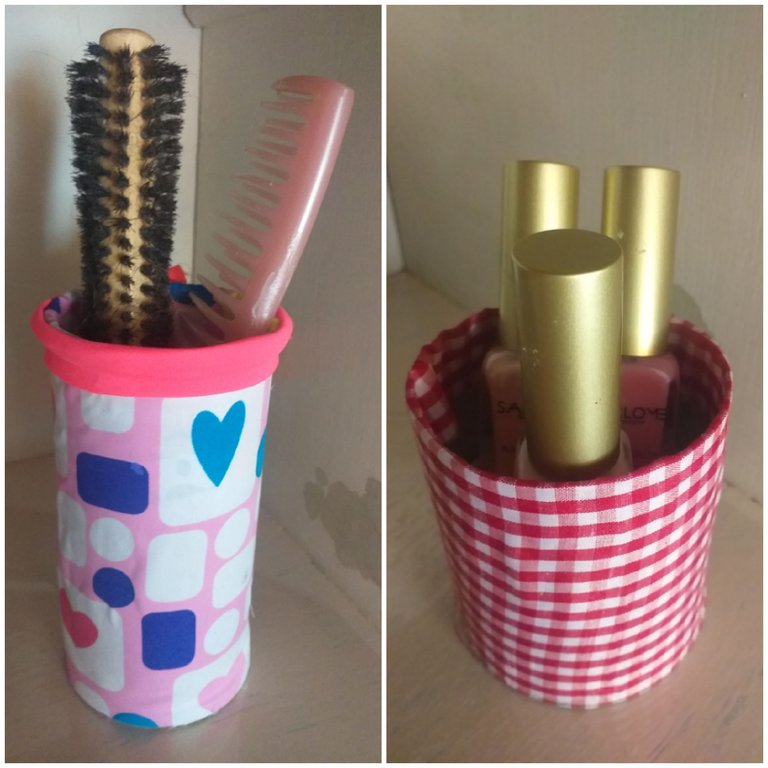
Yo los pruebo y los coloco en mi repisa para organizar maquillajes, pinturas de uñas y peines. En el baño para colocar mis cepillos y crema dental y por último como un lindo florero artificial para la mesa de mi casa y quedo muy tierno y delicado.
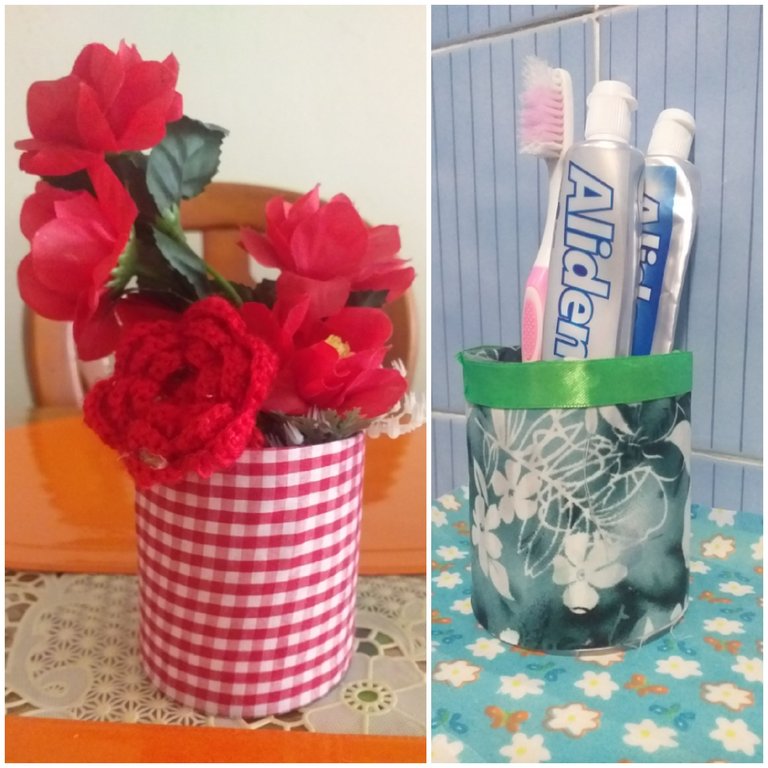
Espero que les haya gustado amigos, a mi me encanto y me relajo un montón hacerlo en casa.
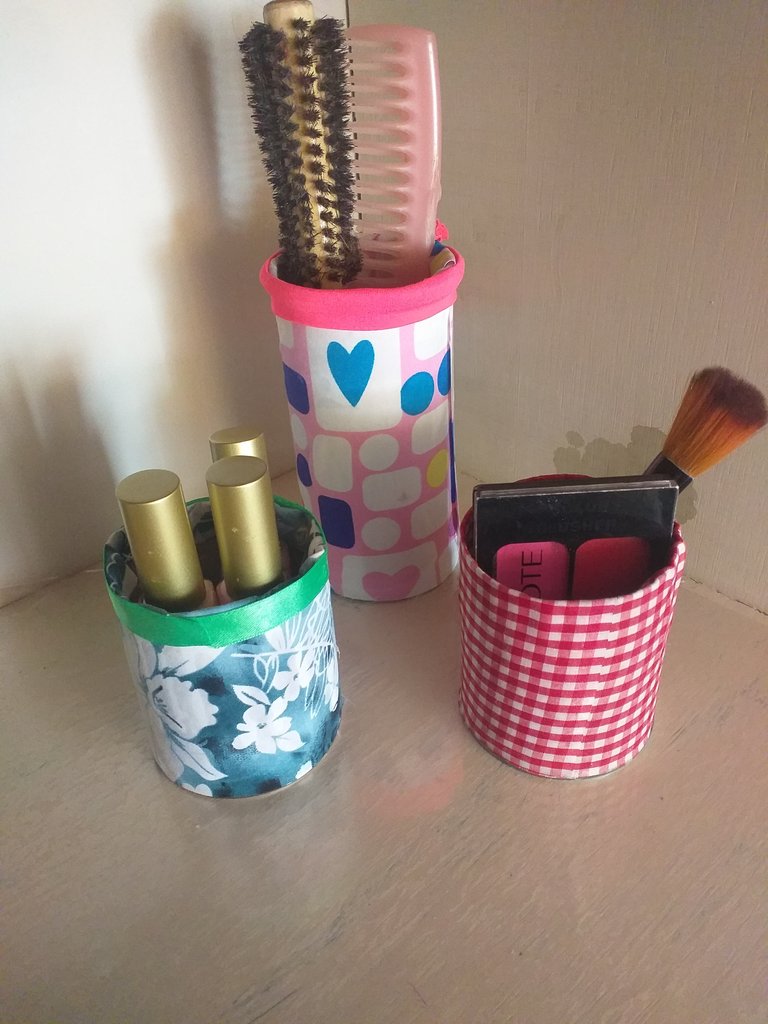
Nos vemos en una próxima manualidad con @dailyn1992
¡Saludos y Bendiciones!


Hello friends! I am very excited and happy to be able to participate in this hive dedicated to crafts, for several months I wanted to enter but at the same time I was a little embarrassed to see so many beautiful and unique crafts. In my case I always called my attention to recycling and wanted to show things that we can give a second use ... So I left the fear behind and I would dare to design and show you the step by step of the things that I have given a second use with few materials and budget.
So let's get started!
ORGANIZERS WITH CARDBOARD CONTAINERS.
This time I want to show you the use I gave to 2 containers of potato chips that my daughters love to eat, when they were empty I only had in my mind thousand ways to give them a use for the home, in my case I like to organize everything in my room and I'm starting to do it. Here is an idea of how we can use these cardboard containers to be space organizers in any corner of our house as: flower holder, makeup organizer, pencil holder, etc.
THE PROPER USE WILL BE TO YOUR LIKING!
MATERIALS.
1 or 2 round or square cardboard containers.
Strips of fabric of your choice.
White glue, silicone or glue stick.
Scissors
Measuring ruler
Pencil
OPTIONAL
Decorative ribbons
decorative buttons


FIRST STEP
The first thing to do is to measure the containers to be able to cut the strips of fabric to size, try to leave 2 cm longer so you can line the edges of the container on the inside and so the cardboard does not show on the inside.

In my case I have 2 containers that I turned into 3, with the help of a knife I measured a container so that I got 2 of equal size and 1 a little longer. Then with the help of sandpaper I began to remove imperfections on the edges and leave it smooth.

In the case of the 3rd container I put the same transparent lid and with the help of white glue I put around it and it fit perfectly and so I had my 3rd container with base.
Once I had the 3 measures I proceeded to measure and cut each strip of fabric according to the size, the length of the strip we leave it to taste of each person because if you want to make it short to give only one turn but if you prefer more forradita cut the strip a little longer to give at least 2 laps.

SECOND STEP.
In this step I suggest that you first try according to the fabric that type of glue that suits you, for example to me it worked wonders the white glue and the stick glue the fabrics fit very well and were firm without peeling off later.

With the help of our hands we are placing a little glue and we are placing the fabric and so on until we have completely lined the container.
THIRD STEP
Let it dry for about 30 minutes in an open place and then comes the fun part. Here we let our imagination and our taste flourish, you can place any detail that gives a personal touch and is genuine with the decoration of your spaces.

I wanted them a little simpler so I placed 2 of them with just a few strips on the top edge to match the print and in this easy and simple way I had my 3 organizers ready with recycled materials.
The wonderful thing about these organizers is that you can place them in your favorite spaces in your home and give them that unique and original touch.

I try them and place them on my shelf to organize makeup, nail polish and combs. In the bathroom to place my toothbrushes and toothpaste and finally as a nice artificial vase for my table at home and it looks very tender and delicate.

I hope you liked it friends, I loved it and it was very relaxing to do it at home.

See you in a next craft with @dailyn1992
Greetings and Blessings!
CREDITS
📱Photos taken from my Samsung Galaxy J6 cell phone.
📸Editing and backgrounds: Canva
⌨Translation: Deepl


