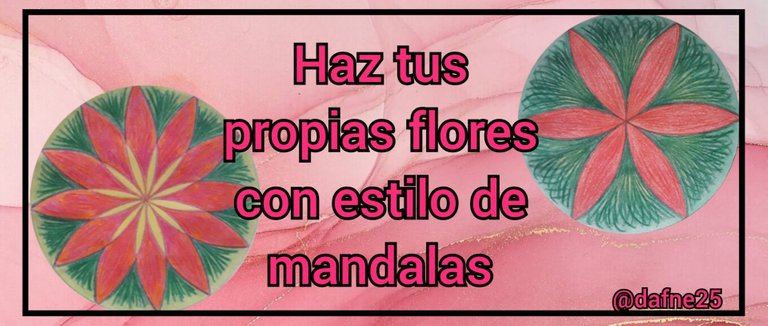
Buenas noches queridos amigos de Hive y de esta maravillosa comunidad de DIYHub, es un enorme placer compartir uno de mis pasatiempos favoritos desde que era una niña como lo es el dibujar a través de formas geométricas y el colorear, he visto que en esta comunidad hay varios pintores excelentes así que quise compartirles también estás flores con estilo de mandalas, espero les gusten y que disfruten haciéndolas ustedes mismos y variando los diseños.
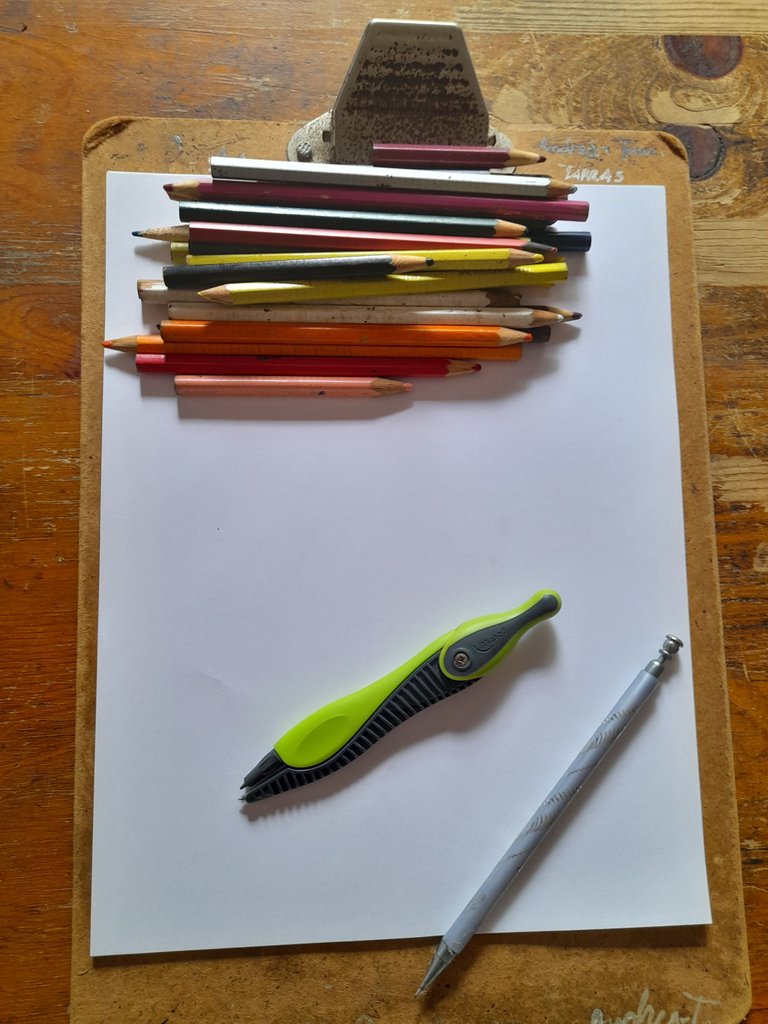
🌺2 hoja de papel blanco
🌺 1 compás
🌺1 lápiz
🌺 Colores
🎨 Paso 1
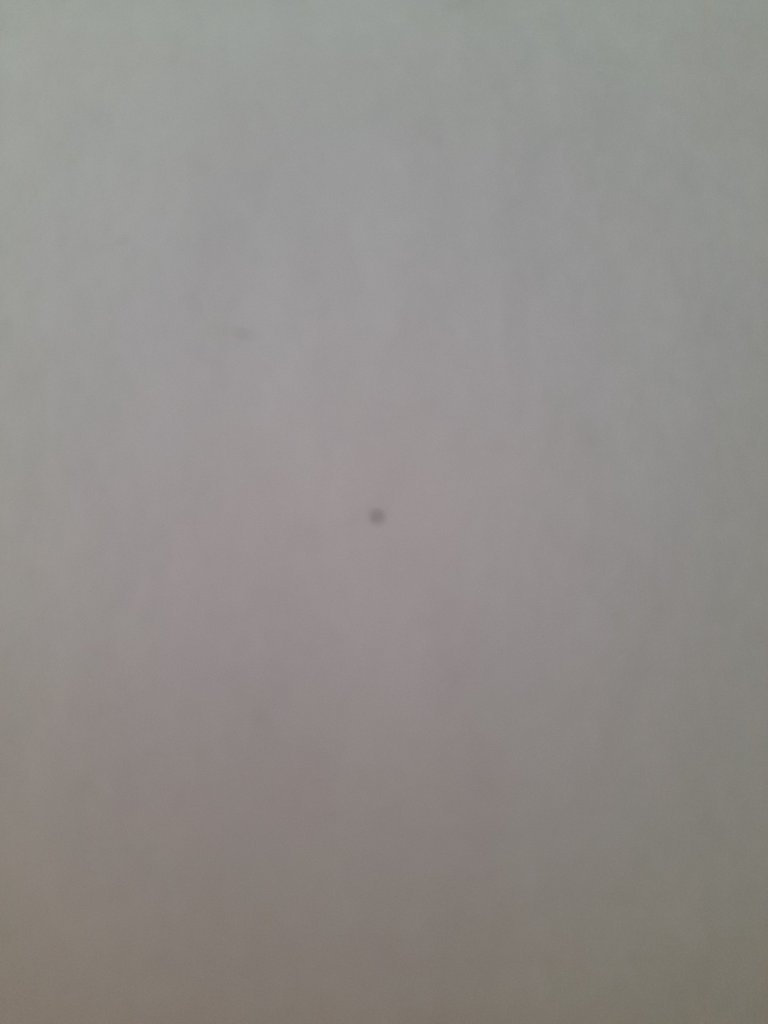
Para empezar vamos a identificar el centro de la hoja marcando un punto con el lápiz.
🎨Paso 2
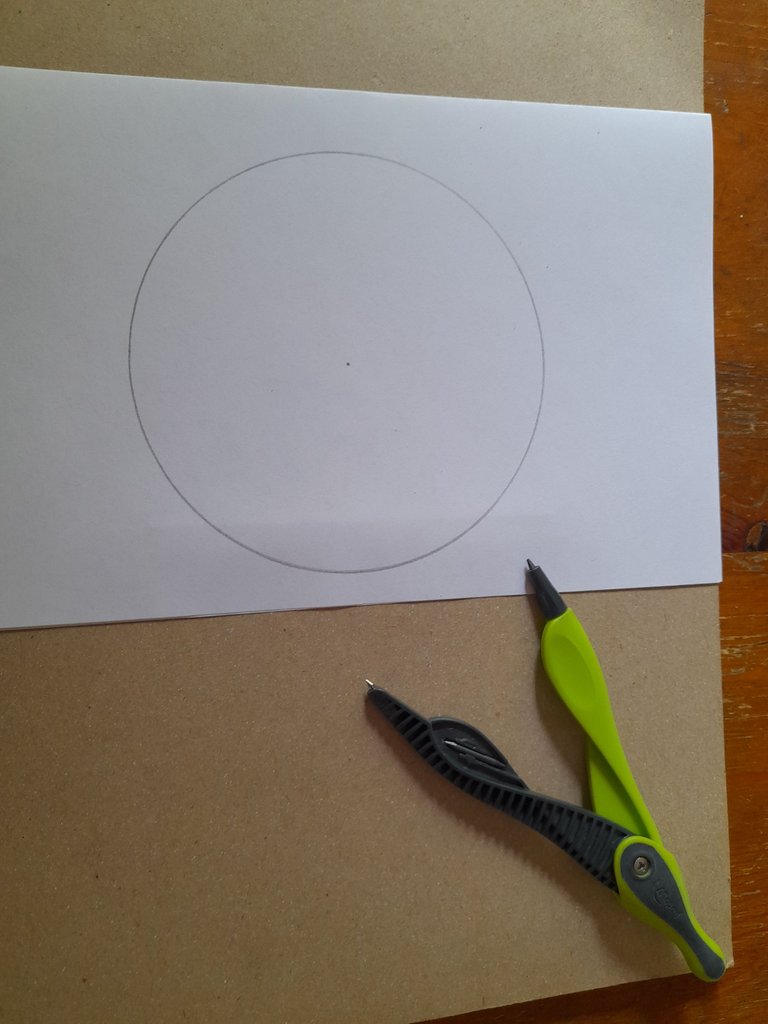
Luego vamos a usar el compás haciendo un círculo alrededor del punto del tamaño que queramos que sea nuestro dibujo.
🎨 Paso 3
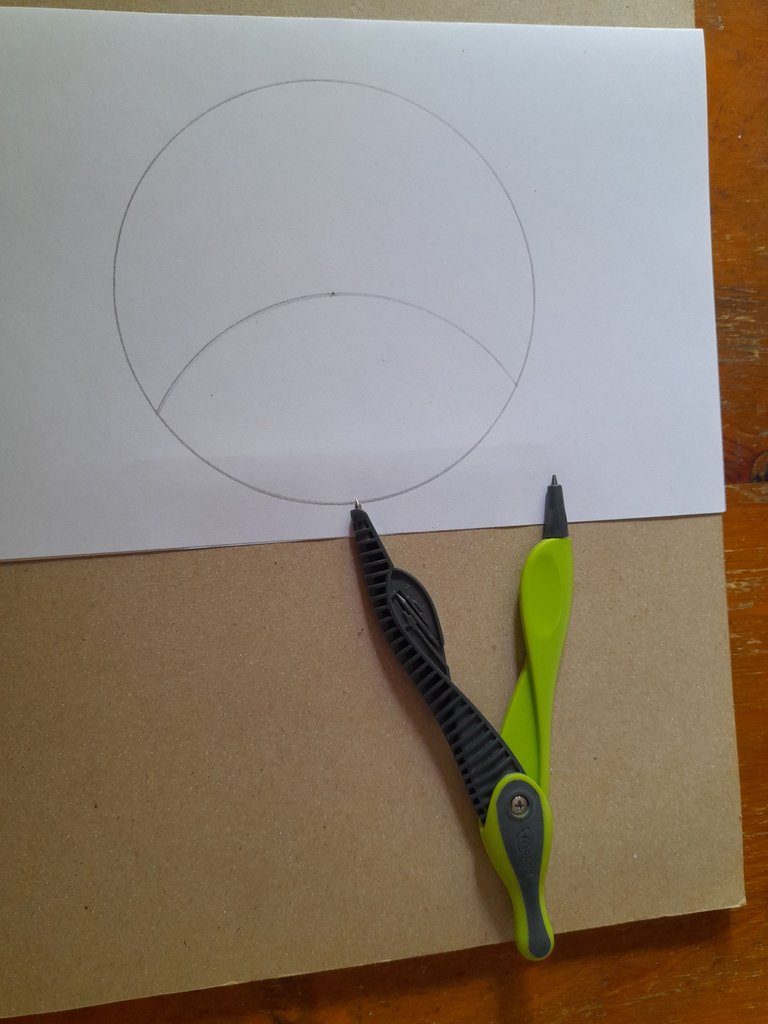
Ahora abrimos el compás desde el centro del círculo hasta uno de los extremos, nos ubicamos en cualquier punto en el círculo que formamos en el paso anterior y trazamos un semicírculo.
🎨Paso 4
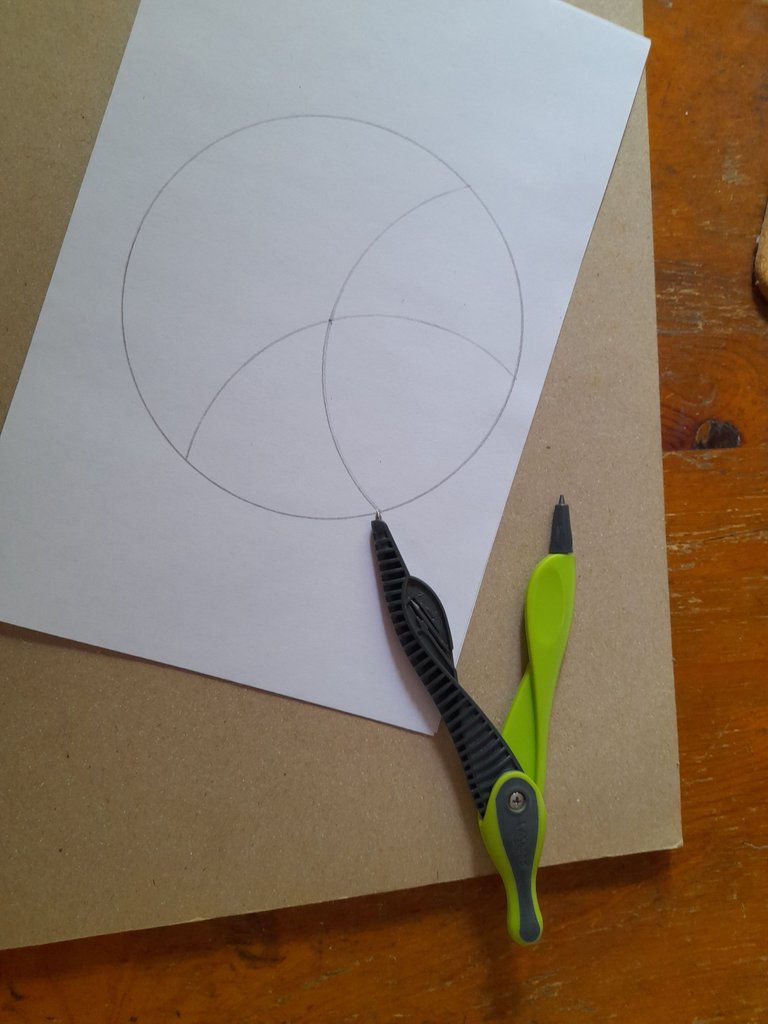
Ahora nos ubicamos en un extremo del semicírculo anterior y volvemos a trazar otro semicírculo
🎨 Paso 5
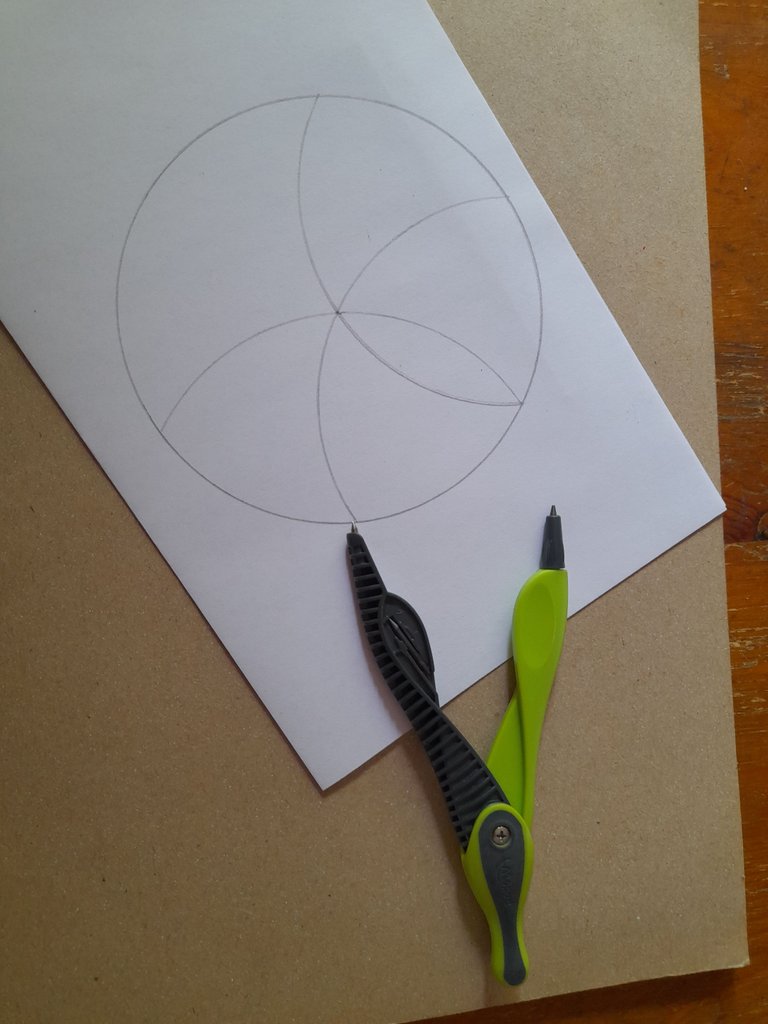
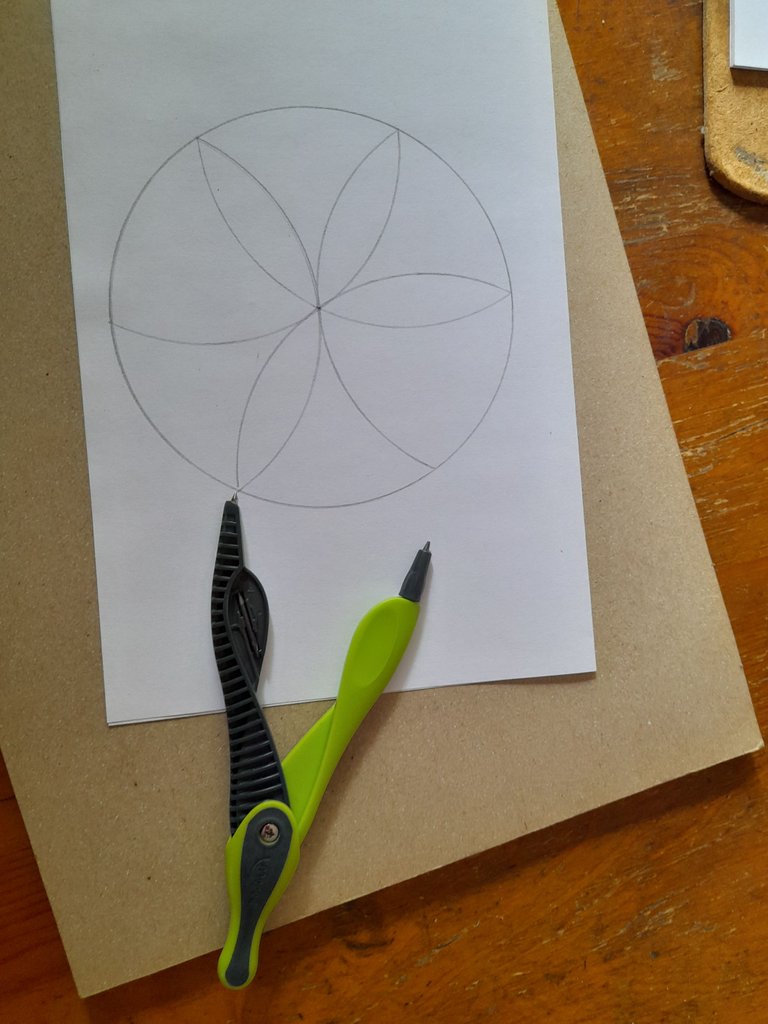
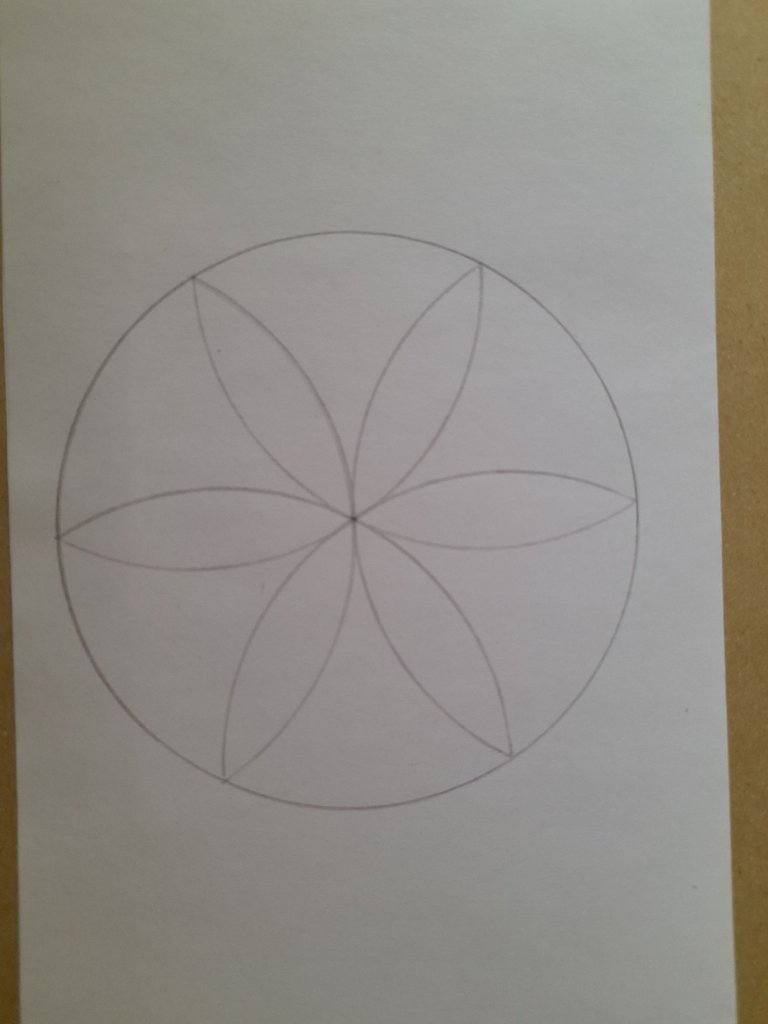
Hacemos el paso anterior hasta haber formado los 6 pétalos de la flor
🎨 Paso 6
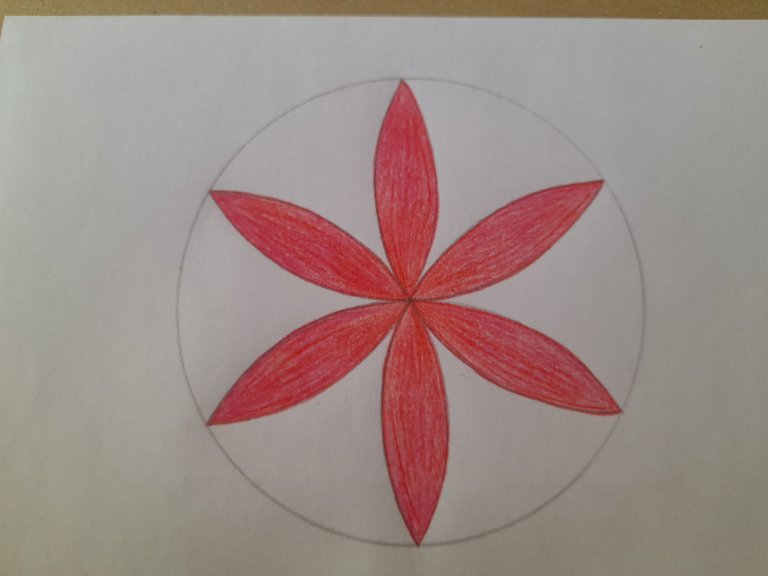
Ahora empezamos a colorear, yo inicié con los pétalos
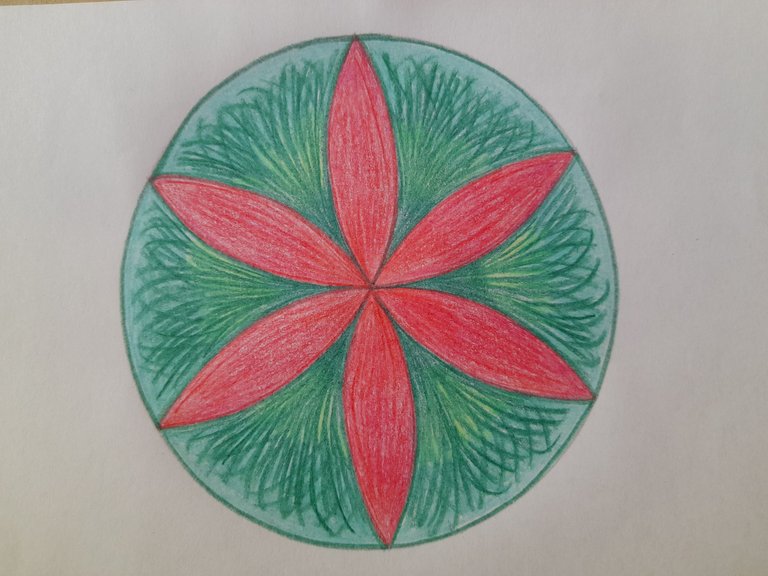
Y luego con la parte de afuera.
🎨 Paso 1

Para hacer esta segunda flor vamos a hacer una vez más los pasos del 1 al 5 de la flor anterior.
🎨Paso 2
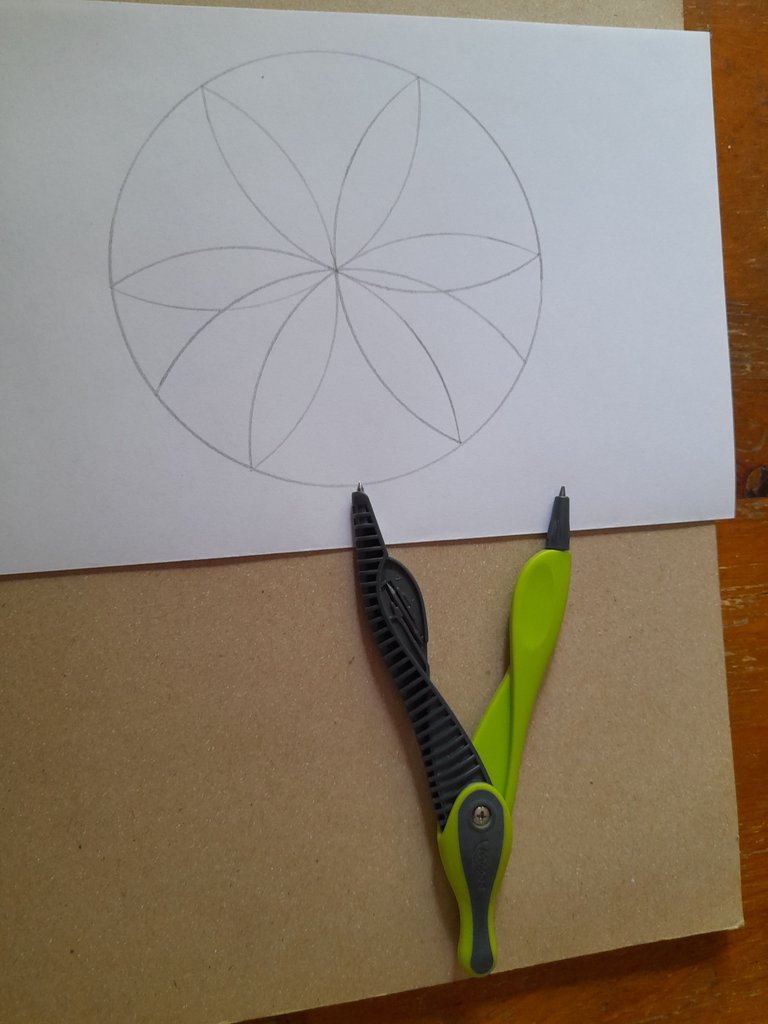
Nos ubicamos en el trazado del círculo, entre dos de los pétalos de la flor y hacemos un semicírculo.
🎨 Paso 3
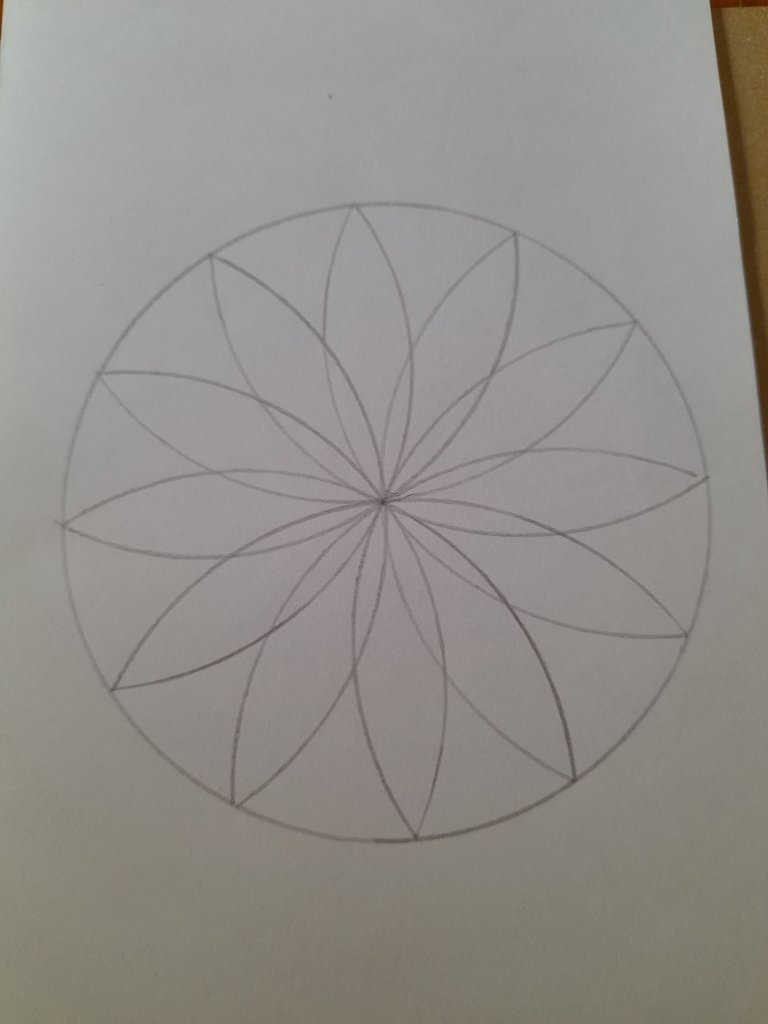
Nos ubicamos en el extremo del semicírculo que trazamos en el paso anterior y volvemos a trazar un semicírculo. Repetimos este paso hasta volver a completar los otros pétalos.
🎨Paso 4
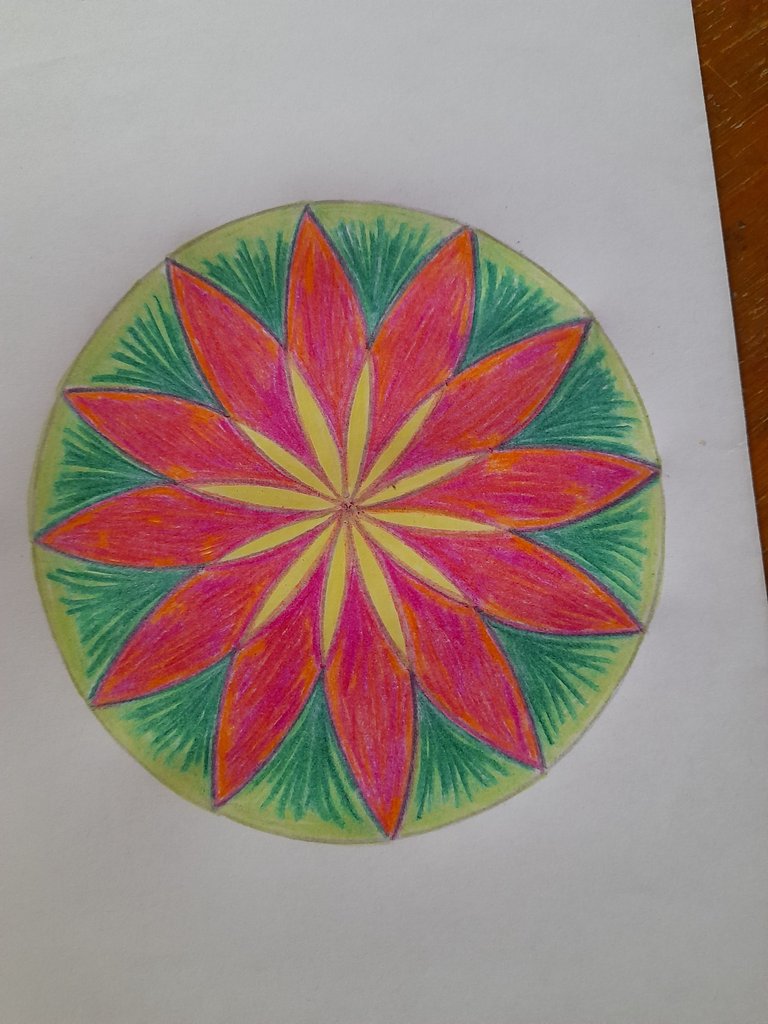
Ahora coloreamos la flor y listo. Tenemos 2 estilos de flores, y se pueden crear muchas más con esta misma técnica.
Gracias por ver este post.
Fotos de mi autoría, tomadas con celular Samsung Galaxy A12
Traductor: app DeepL
Editor de fotos usado: editor de fotos Polish.
____________________________________________
Good evening dear friends of Hive and this wonderful DIYHub community, it is a huge pleasure to share one of my favorite hobbies since I was a little girl as it is drawing through geometric shapes and coloring, I have seen that in this community there are several excellent painters so I wanted to share with you also these mandala style flowers, I hope you like them and enjoy making them yourselves and varying the designs.

🌺2 sheet of white paper.
🌺 1 compass
🌺1 pencil
🌺 Colors
🎨 Step 1

To begin we are going to identify the center of the leaf by marking a point with the pencil.
🎨 Step 2

Then we are going to use the compass by making a circle around the point of the size we want our drawing to be.
🎨 Step 3

Now we open the compass from the center of the circle to one of the ends, we place ourselves at any point on the circle we formed in the previous step and draw a semicircle.
🎨 Step 4

Now we place ourselves at one end of the previous semicircle and trace again another semicircle
🎨 Step 5


We do the previous step until we have formed the 5 petals of the flower.
🎨 Step 6

Now we start coloring, I started with the petals.

And then with the outside part.
🎨 Step 1

To make this second flower we are going to once again do steps 1 through 6 of the previous flower.
🎨 Step 2

We place ourselves on the outline of the circle, between two of the petals of the flower and make a semicircle.
🎨 Step 3

We place ourselves at the end of the semicircle we drew in the previous step and draw a semicircle again. We repeat this step until we complete the other petals again.
🎨Step 4

Now we color the flower and that’s it. We have 2 styles of flowers, and you can create many more with this same technique.
Thanks for watching this post.
Photos by me, taken with Samsung Galaxy A12 cell phone.
Translator: app DeepL
Photo editor used: Polish photo editor.


