The two things we complain about in Canada the most are the weather and the cost of living. Last winter after getting downright angry at the price of salad, I decided to take matters into my own hands and built this hydroponics system.
You can see the R12 insulation on the basement walls here, We in agricultural zone 3b or north of Montana. We can't grow anything for the majority of the year as it gets to minus 40 sometimes. An outdoor salad garden could run for two to three months at best in the summer.
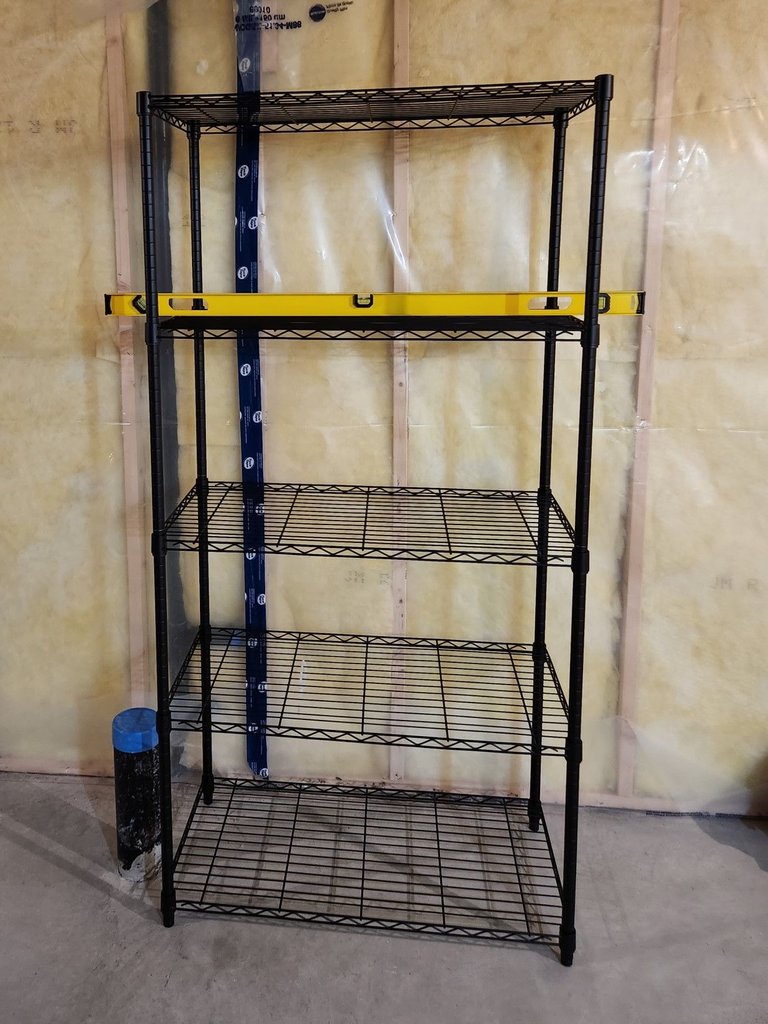
I decided to use a rack that is reasonably priced and easily adjustable. It wouldn't be much cheaper to build your own and this one is simple to adjust and won't grow mold. You want something that allows light to go between the racks. I placed it next to the washroom rough in, just in case we expand. There's a drain pipe, a place for an exhaust fan and water lines to the area.
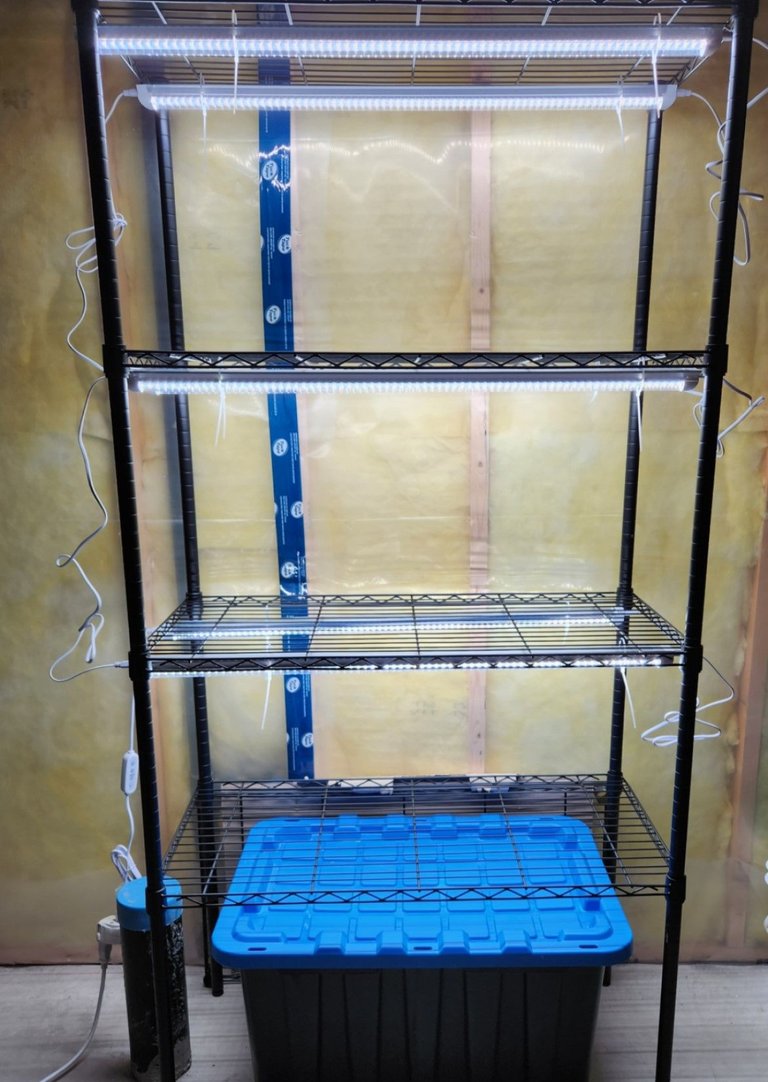
This basement is virtually flood proof, there are drains in the floor, gravel is below it the sewers are well below grade, it is double wrapped in plastic. We are the highest house on the street and a couple hundred meters above the river. That reservoir holds a few buckets of water and in the case of a leak i wanted to ensure it would just flow down to the drain.
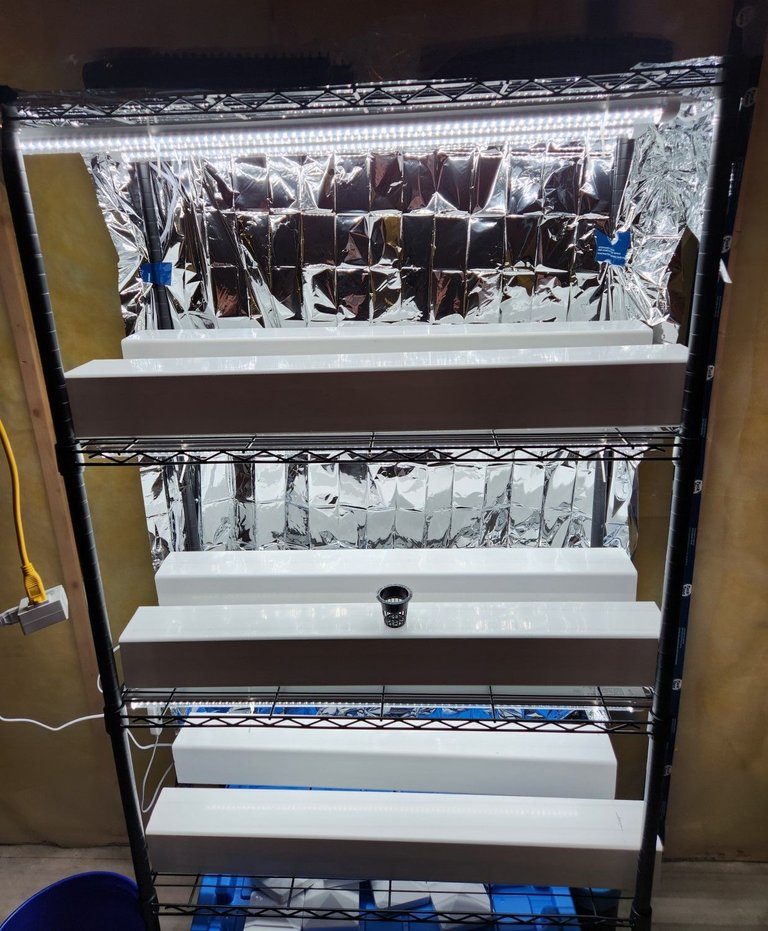
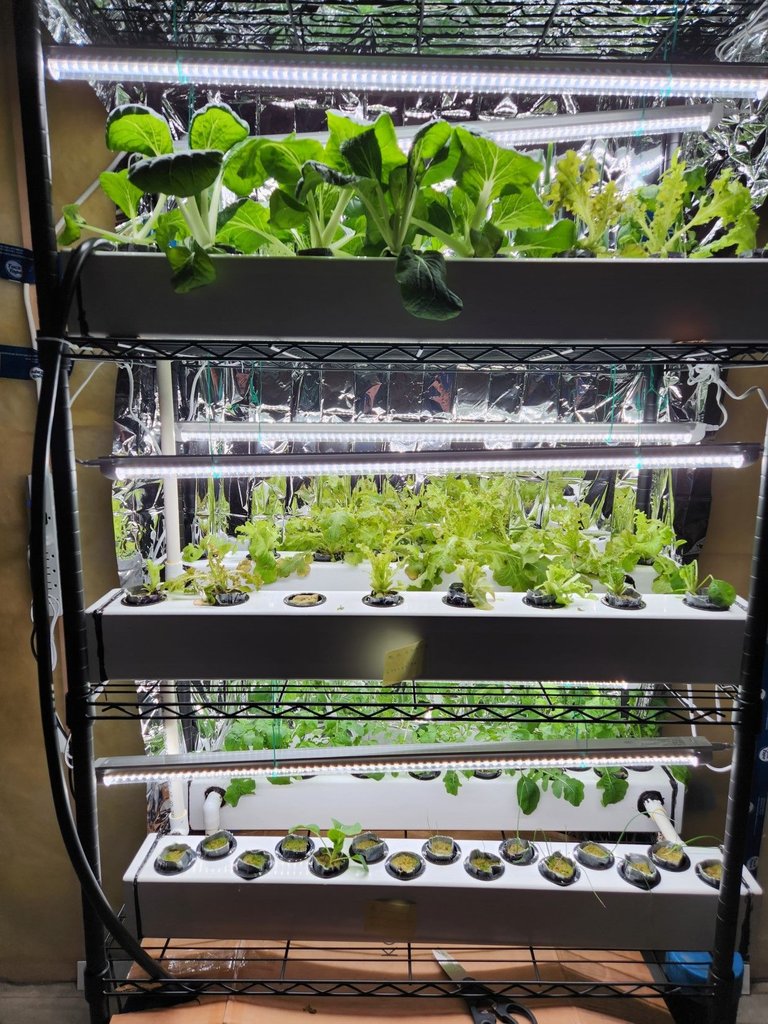
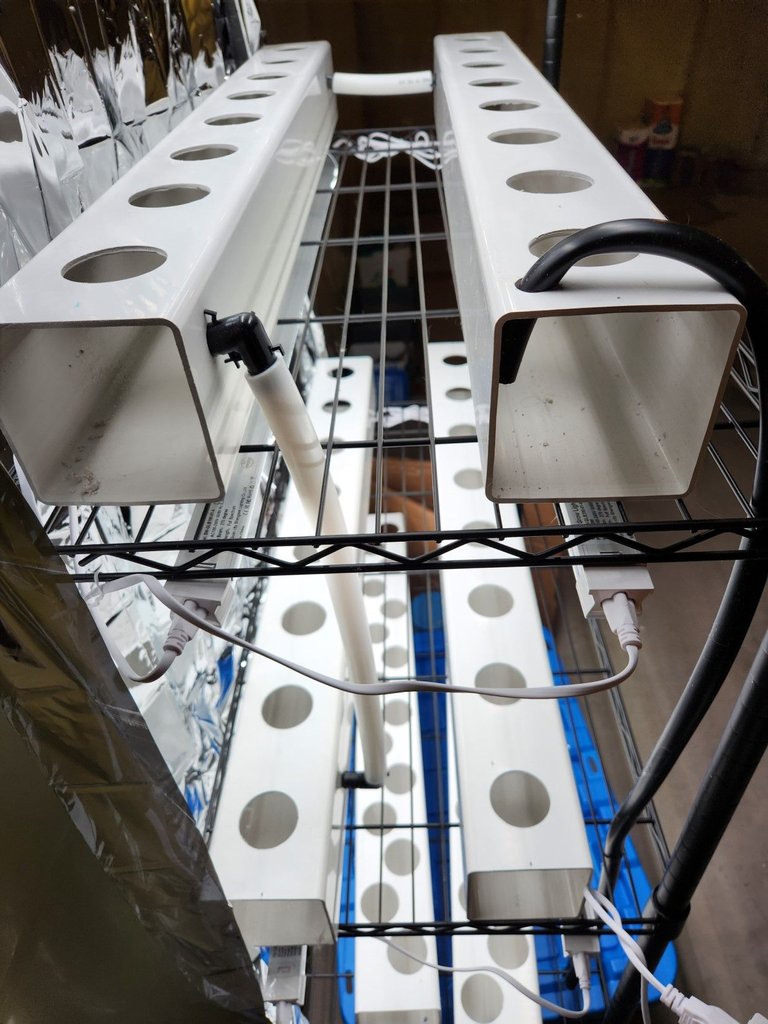
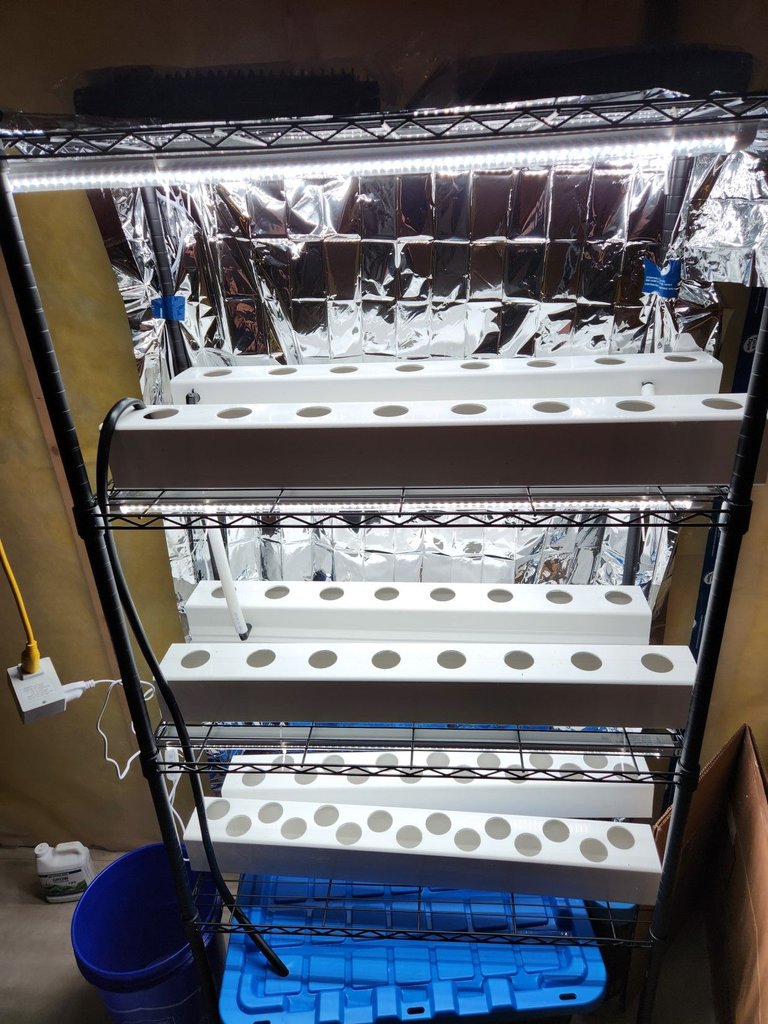
Those are 3 foot (90cm) lights found on Amazon, the system was designed around this. I can adjust the height of them and there are six on a single circuit. They use maybe 180 watts combined. For the grow trays, we have three 6 foot PVC 4x4 inch fence posts and 12 caps for the grow trays. Cut the fence posts in half so you can put two per shelf under each light with full coverage.
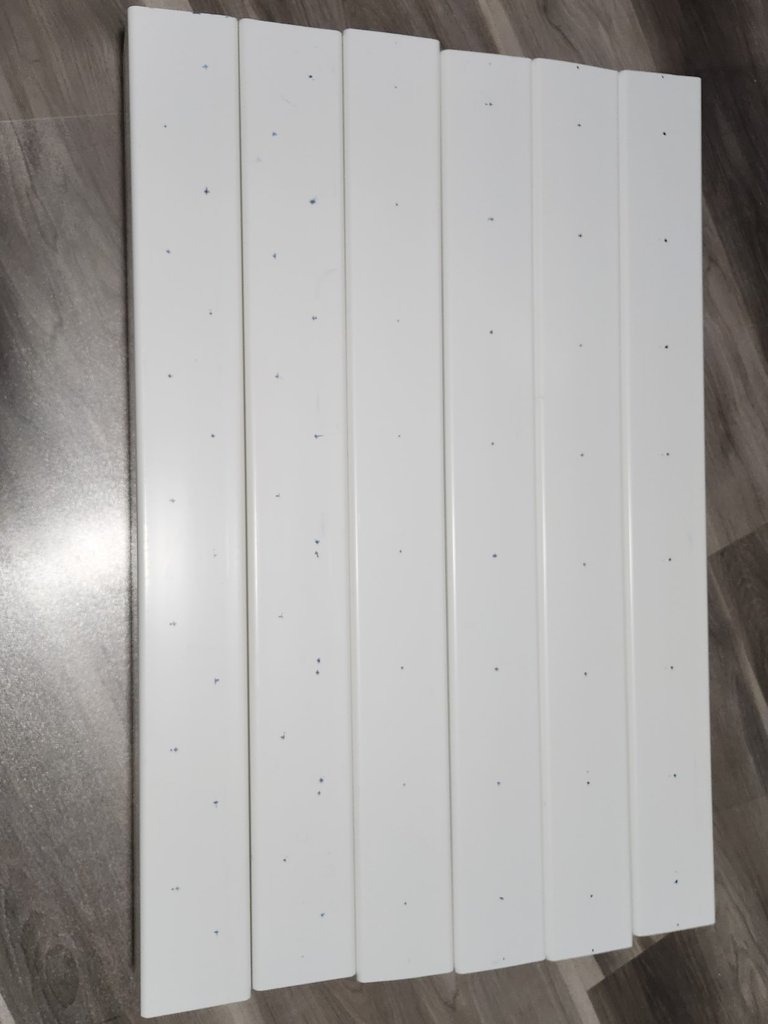
Measuring where the holes go took some thought. We are using two-inch net cups. Plan where the holes will go, not all of them should be equal distant if you want to maximize your yield. We can also stagger the growth so not to end up with too much salad in one week. The little plants go closer together and the big ones can be spaced further apart, with the lights raised above them.
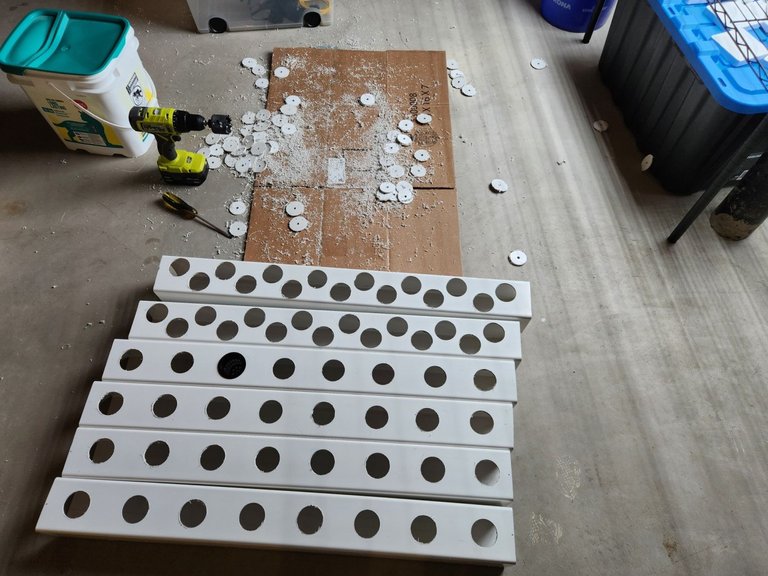
Get a hole saw, just make sure the net cups you decide to use won't fall through the holes and have some fun drilling. You might want to wear a mask if you are doing this inside as the friction causes intoxicating fumes. Plastic gets everywhere-Don't worry we flushed out the system for weeks and washed away all the visible particles.
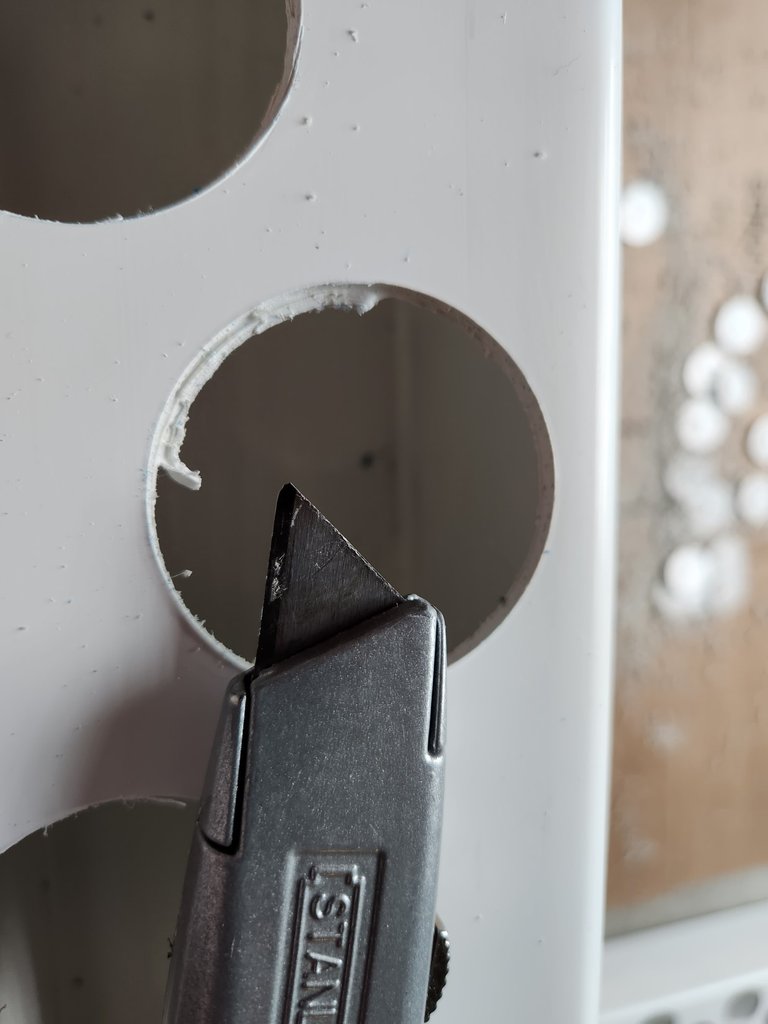
You want to trim the plastic with a utility knife then sand the edges. This makes the cups easier to put in the holes and it will reduce plastic from falling into the pipes later.
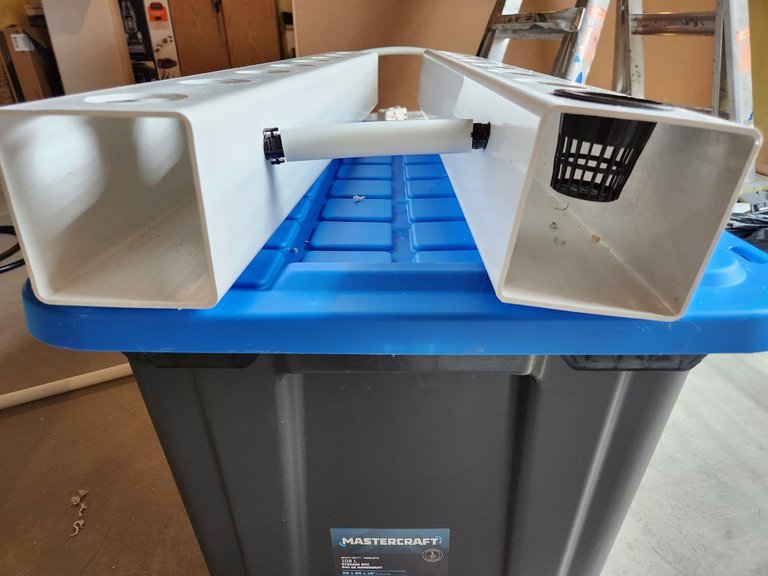
Next it was time to think about how to get the water to drain from one pipe to the next. This is an ebb and flow system so it gets flooded every so often moving the nutrients around the system and ensuring all roots have adequate oxygen.
The pipe from the reservoir goes into the top level of the grow trays. Make sure the pipe connections are at a level that won't flood the system but still allows it to drain in between floods exposing some of the roots to the air. The drain down to the next level should be slightly above the drain connecting the two grow trays on the same shelf.
If you screw up, you could always cap the hole, but it's best not to do this. Go slow and dry fit the connections. Water always flows down and you want enough room to the top so it doesn't overflow. Let gravity do half the work for you and make sure the drain holes aren't too large so the water doesn't immediately flow out but not too small that it easily overflows. One inch connecting pipes worked fine for this system.
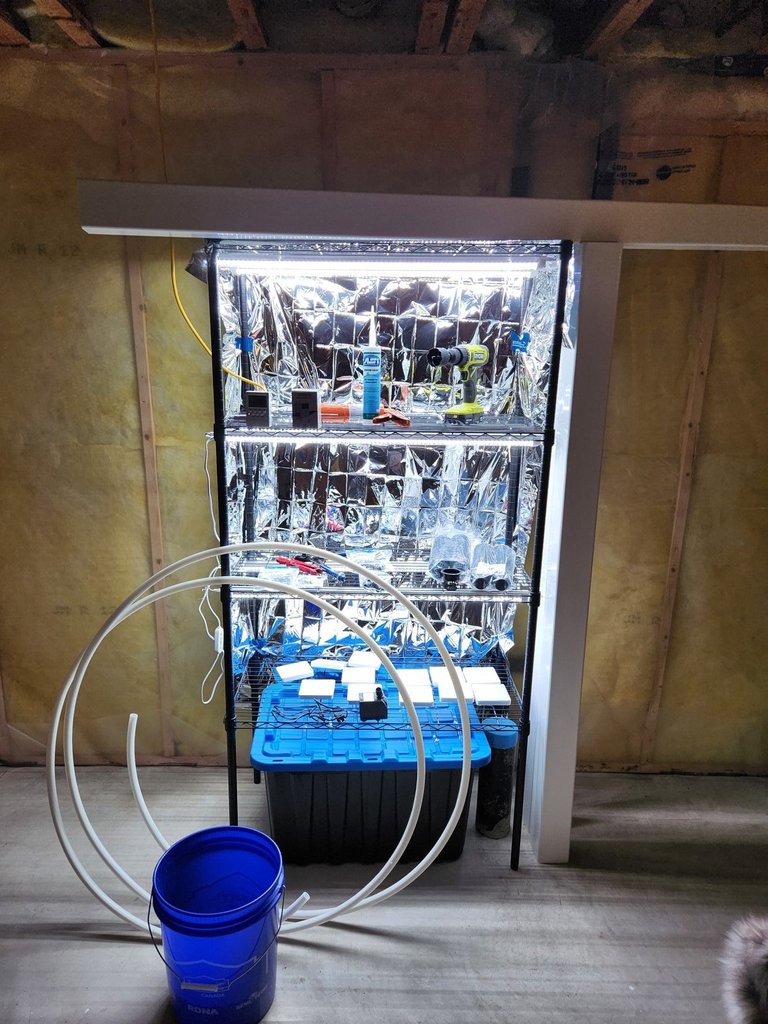
Once the site inspector signed off we were goot to seal up the project. I learnt much about plumbing doing this and bought some pex pipe, crimpers and cutters. Which helped during the shower reno. In the end I didn't go with pex and swapped it for PVC pipes.
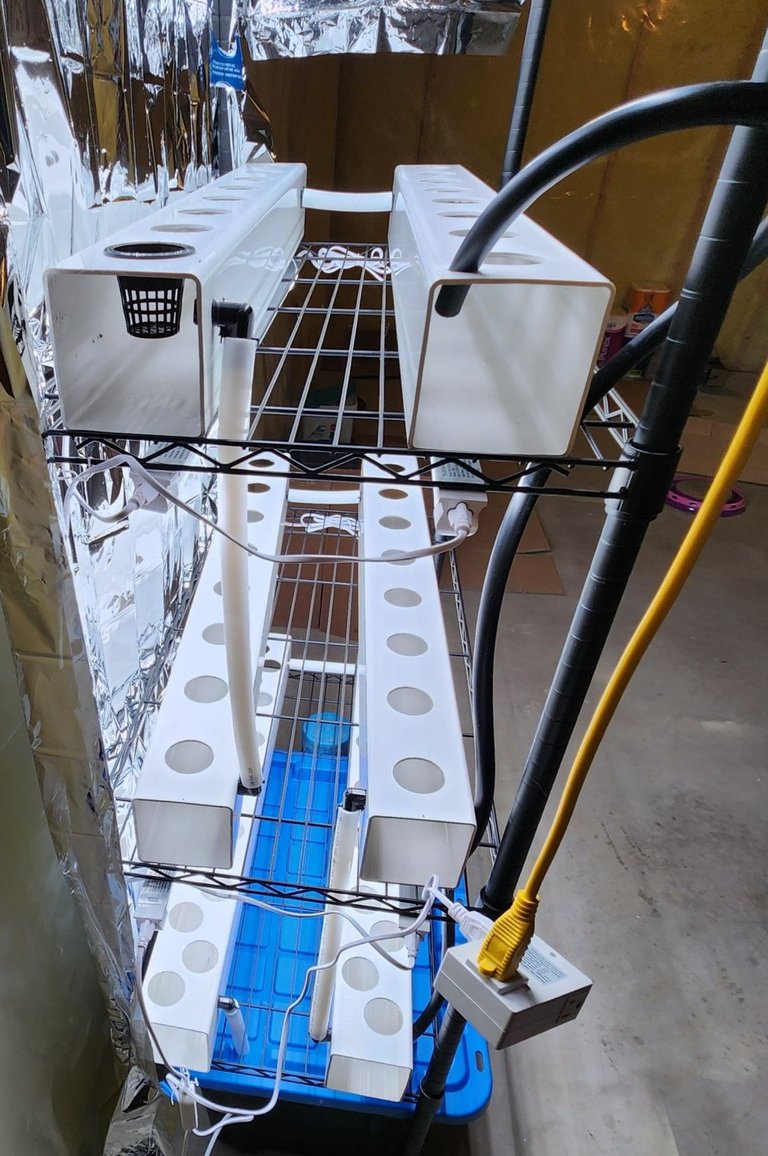
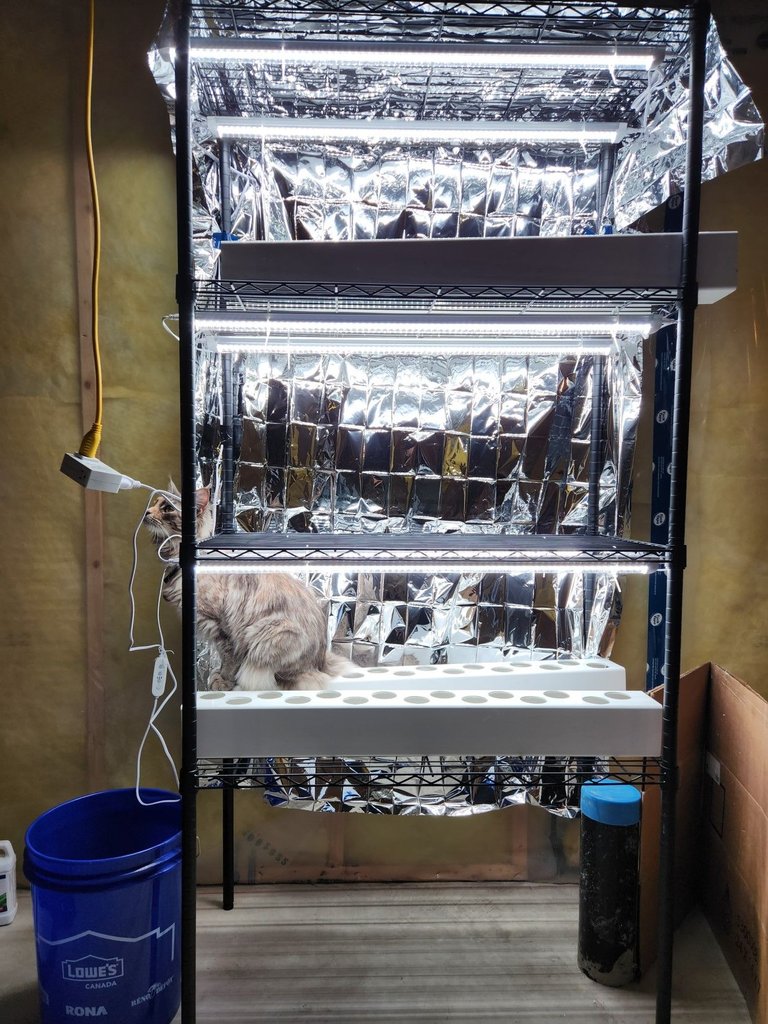
The back of the shelf has an emergency blanket on it to help reflect light and keep two layers between the hydroponics and the insulation. You don't want moisture getting into your walls. It would be slightly more efficient to wrap the entire system in reflective film but just the back and top go a long way. The most important thing is distance of the light to the plant, the reflected light doesn't do much. While the lights are white, they have the ideal blue and red mix to grow leafy greens.
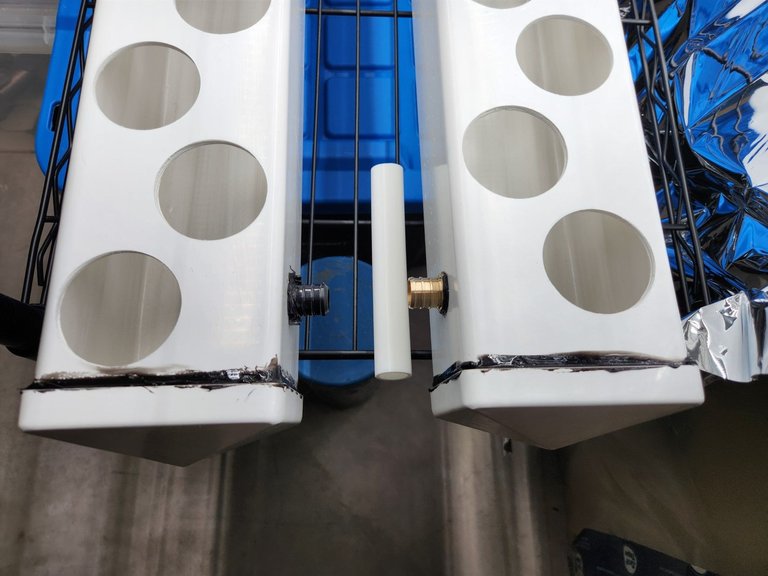
I put the caps on and sealed the joints with aquarium grade silicone. These joints will have constant exposure to water and if it's good enough for fish, it's good enough for me. The black on white really highlights ones silicone skills but there is no need to make it look pretty.
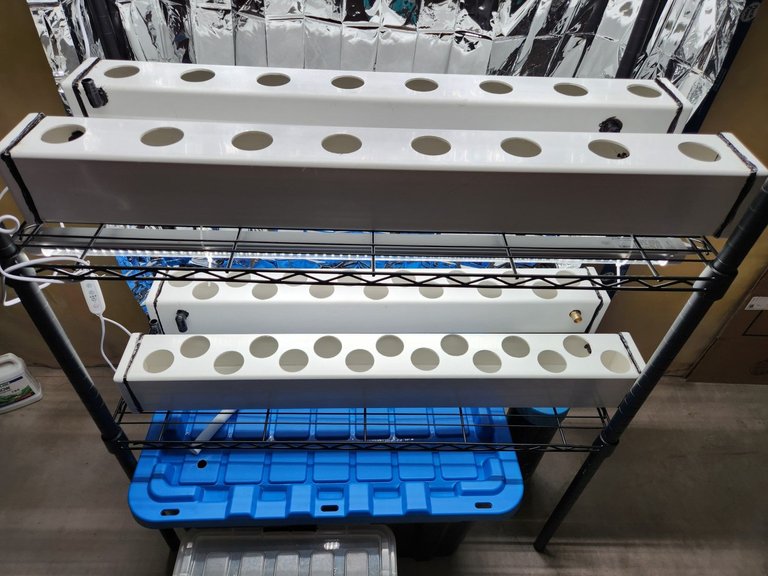
You want to drill holes in the lid of 150L storage bin reservoir for the drain. Some people paint the lid black to stop light from getting in there but I opted for putting cardboard over it. One could get away with using a smaller reservoir than 150L but larger requires less maintenance. A smaller system is easier to mess up and is more difficult to balance.
That's it for today. Next post I will explain how the pump works and the finishing touches. The entire setup should cost between $250 and $400 USD depending on what you use. There are cheaper ways of doing this but I can leave my system for a two week vacation, come back and it's still going strong.
Thanks for reading


