ESPAÑOL.
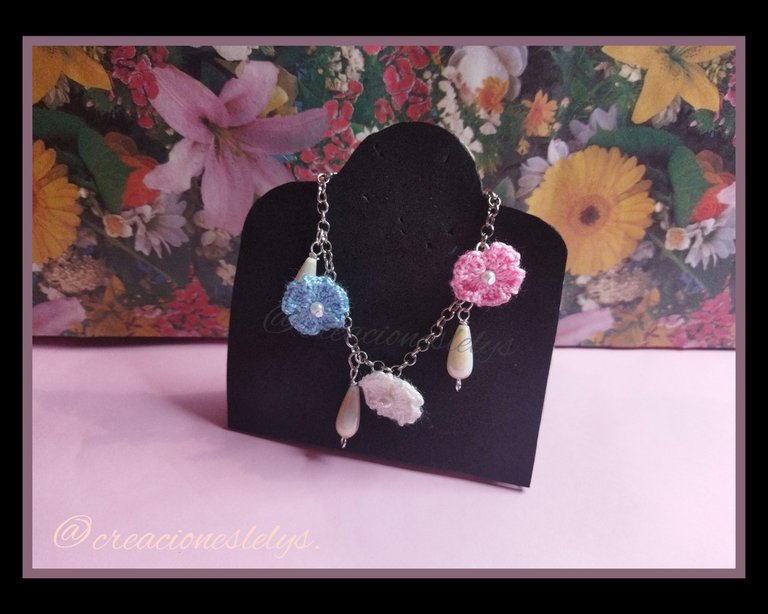
Hola amigos 🌷 espero que estén muy bien. Como todas las semanas hoy vengo a dejarles una estupenda idea para que creen y se diviertan en el proceso. Todos los días se presenta la ocasión para desarrollar nuevos proyectos.
Estando en la mesa de trabajo conversaba con mi hijo, hermana y sobrinas cuando de pronto iniciamos una lluvia de ideas creativas. La verdad armamos una algarabía porque todos estábamos emocionados por algunos insumos que veíamos en la web. Deseando tenerlos todos, pero está algo lejano. Mientras tanto ideamos muchos modelos contando solo con el material que tenemos.
Ustedes saben que me encanta tejer, además estoy aprendiendo nuevas técnicas de bisuteria. Hacer la combinación de ambas me encanta por lo que entre tantas ideas que surgieron me dejé salpicar por las que incluían hilos y abalorios. Así que hoy les voy a presentar una de las ideas que ya concreté. Espero que les guste y les sea útil, también quiero que pasen un rato entretenidos pensando en todo lo que se puede lograr si compartimos con otras personas nuestros gustos e intereses.
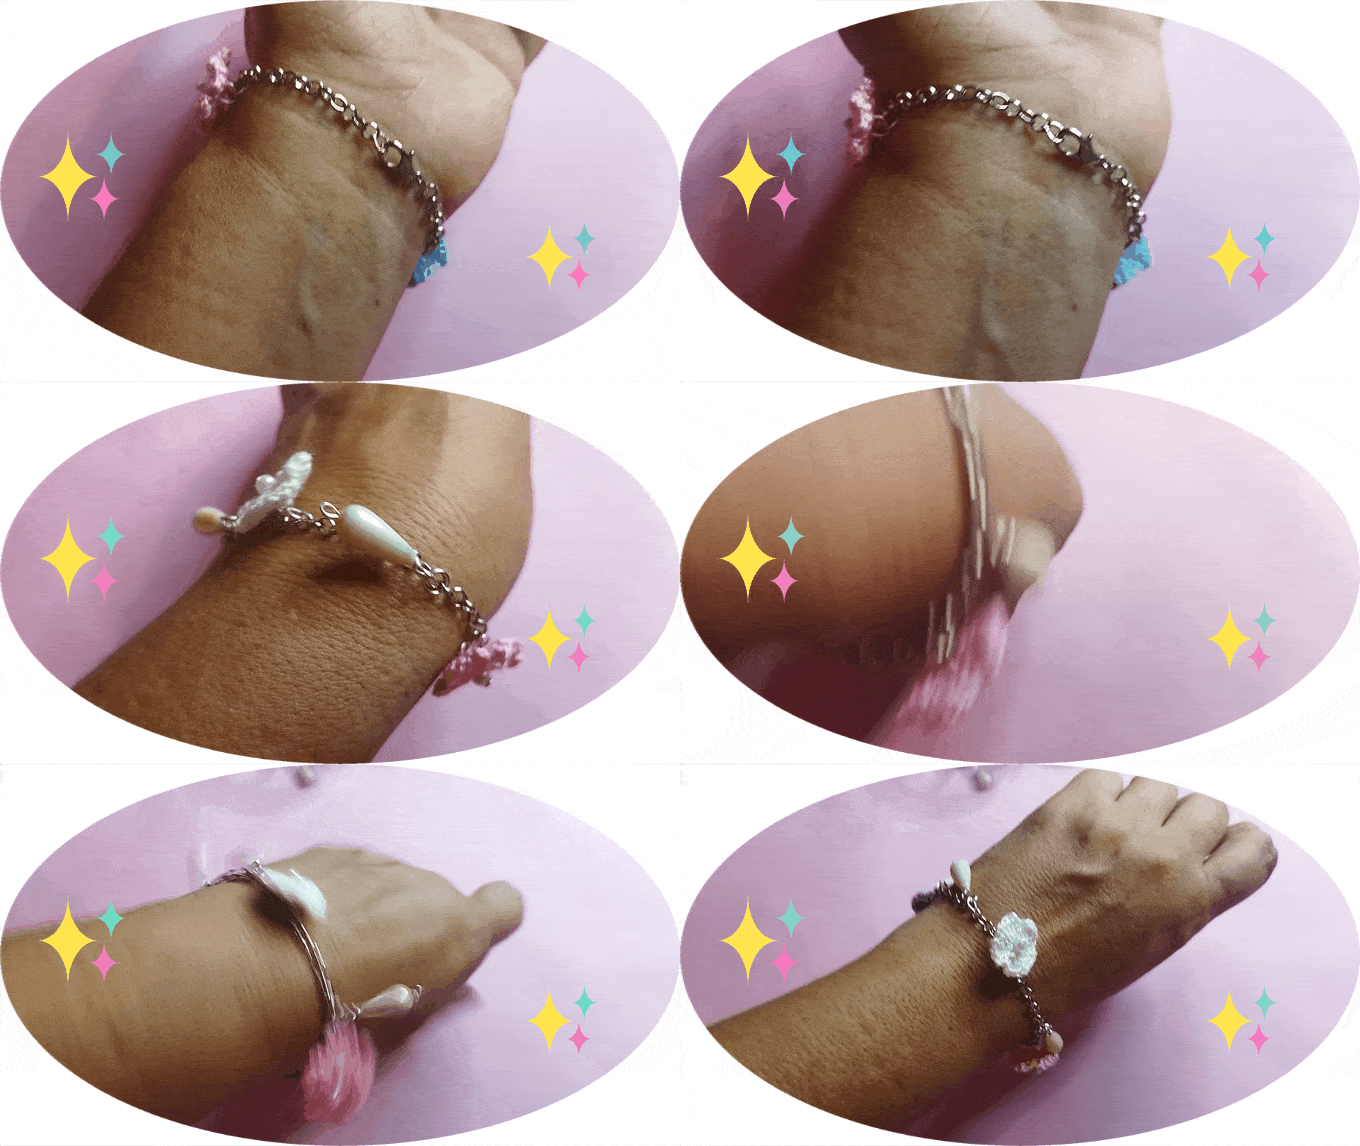
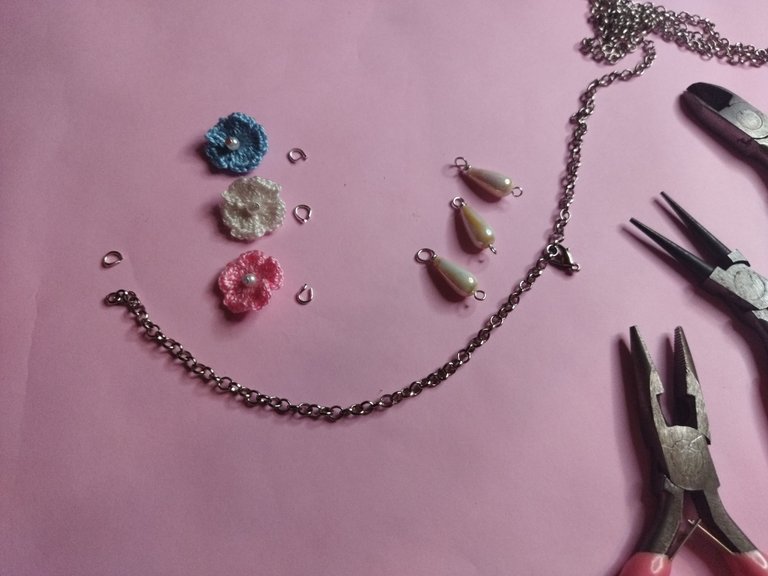
Como podrán ver más adelante este es un proyecto muy bonito, sencillo y elegante en el que usaremos materiales variados. Es ideal este proyecto para aprovechar retazos de cadenas, hilos y algunas piedras. Ahora te presento la lista de todos los materiales:
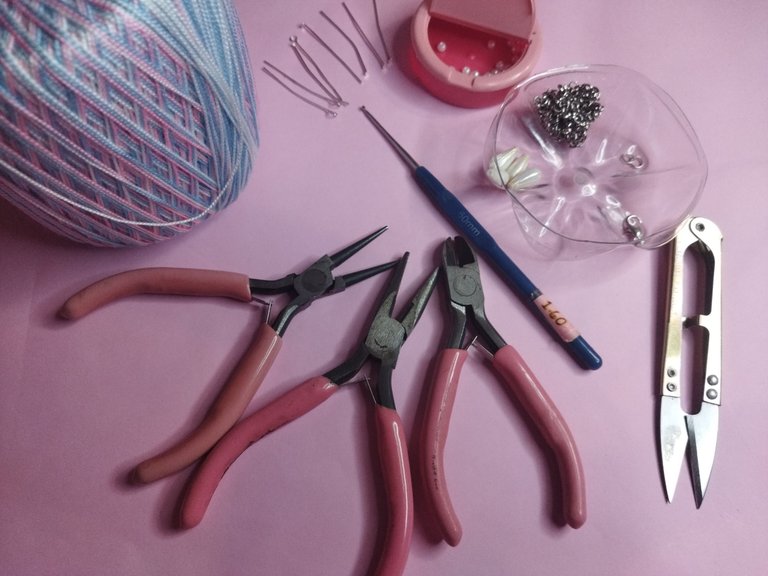
🌠 Hilo de crochet.
🌠 Aguja de crochet de 1,60 mm.
🌠 Tijeras.
🌠 Cadenas.
🌠 Perlas.
🌠 Argollas de alambre.
🌠 Alfileres o bastones de alambre para bisuteria.
🌠 Seguro pico'e loro.
🌠 Pinzas de bisuteria: plana, mandril y de corte.
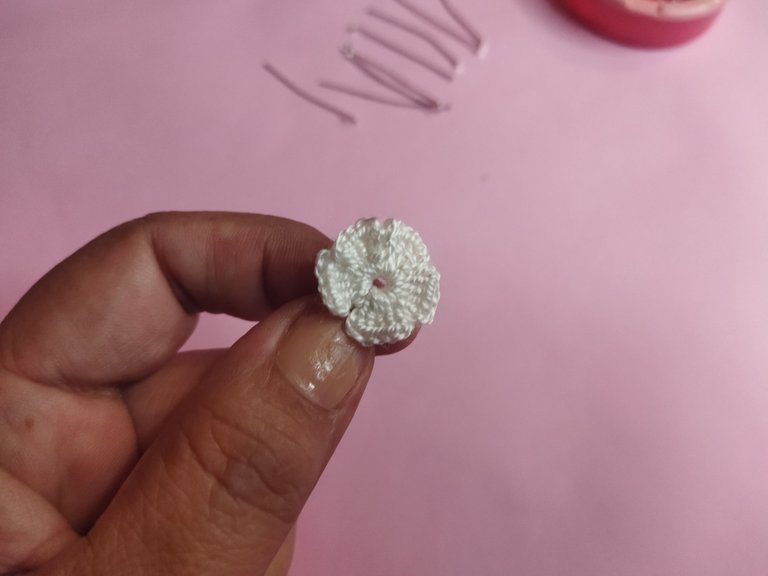
Para realizar esta hermosísima pulsera primero haremos las flores tejidas. Tu decides cuántas quieres colocar a la pulsera. La tendencia es el maximalismo, sin embargo en este modelo yo preferí hacer flores pequeñas de cinco pétalos, en variados colores. El modelo de la flor también es a tu gusto. Te sugiero fijarte de qué tamaños son tus perlas y partiendo de allí elijes el tamaño y modelo de la flor.
Este es un modelo muy sencillo que se inicia con un am (anillo mágico), se sube con tres cadenas, levantamos tres puntos altos y luego tres cadenas de nuevo, hacemos un pd (punto deslizado) repetimos esto cuatro veces más. Al finalizar cerramos con pd, cortamos el hilo y escondemos la hebra. No olvidar cerrar el anillo mágico.
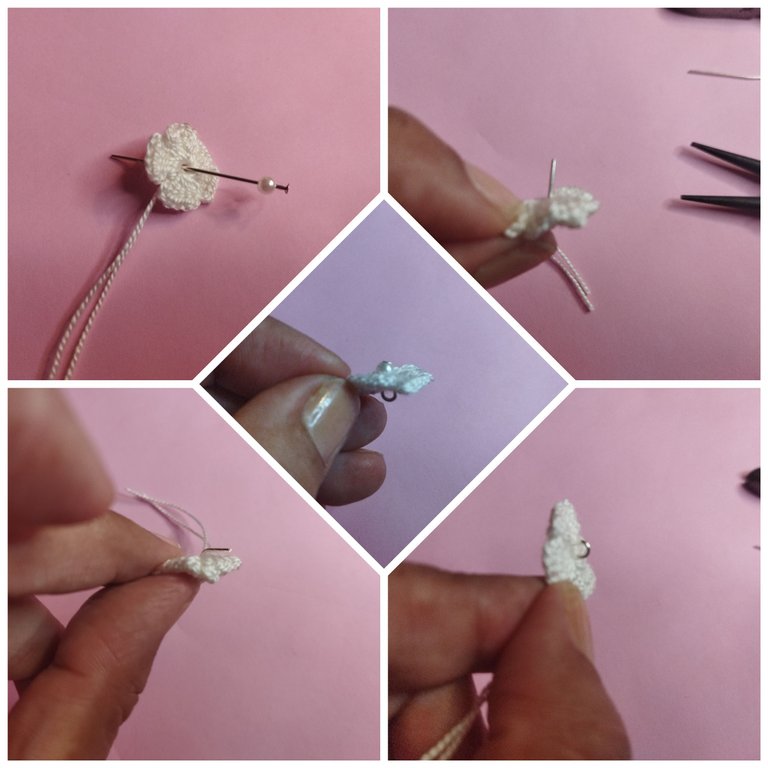
Una vez tejidas las flores procedemos a decorarlas con las perlas. Haremos algo así como el engarce de la perla atravesando la flor. La idea es convertirla en colgante para nuestra pulsera.
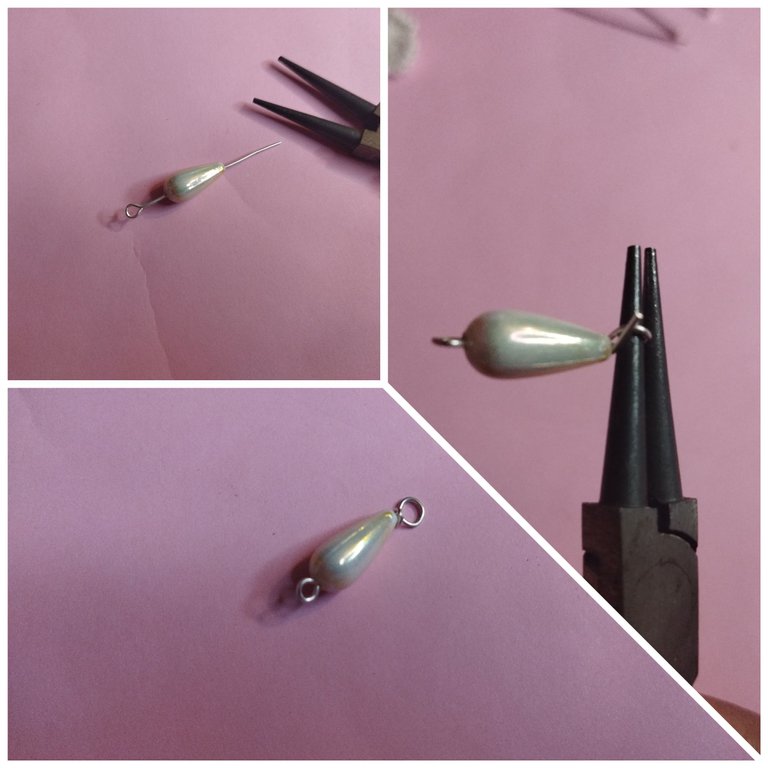
Seguidamente engarzamos cada uno de los abalorios que elegimos para combinar. Pueden ser gotas o también más perlas. Consiste en pasar el abalorio por el alfiler haciendo argolla por ambos lados. Necesitamos que cuelguen en la pulsera.
Ahora lo que toca es hacer el armado de la pulsera. Tomamos la cadena, medimos y cortamos 18 cm más o menos, según cuanto mida tu muñeca. Después distribuimos en los eslabones las flores y los abalorios, tratando de que ambos no estén tan distantes. Formaremos grupos separados, cada grupo tendrá una flor y un abalorio.
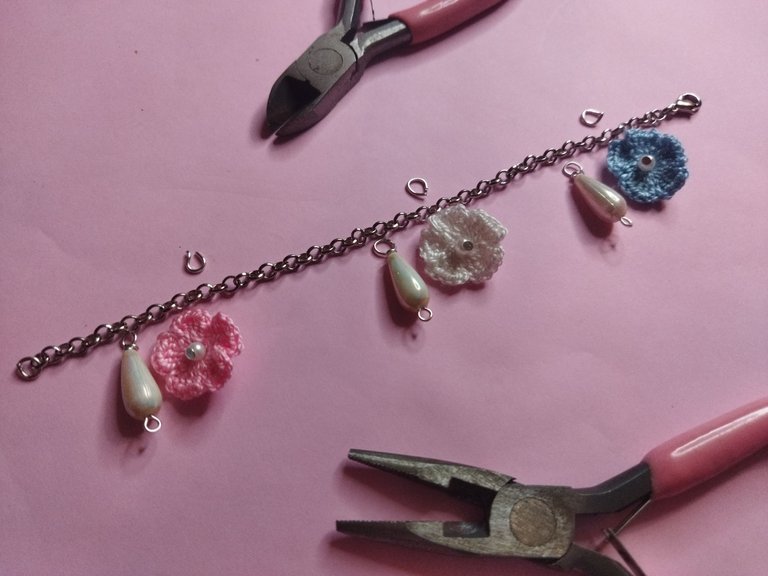
Para finalizar hacemos los cierres. En una de las puntas de la cadena colocamos una argolla (es opcional) y en la otra el seguro pico'e loro. De esta forma tendremos terminada la pulsera.
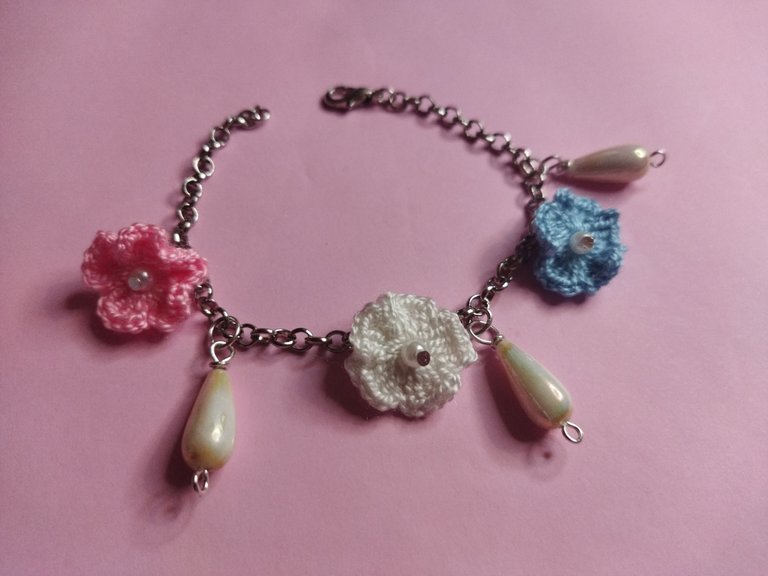
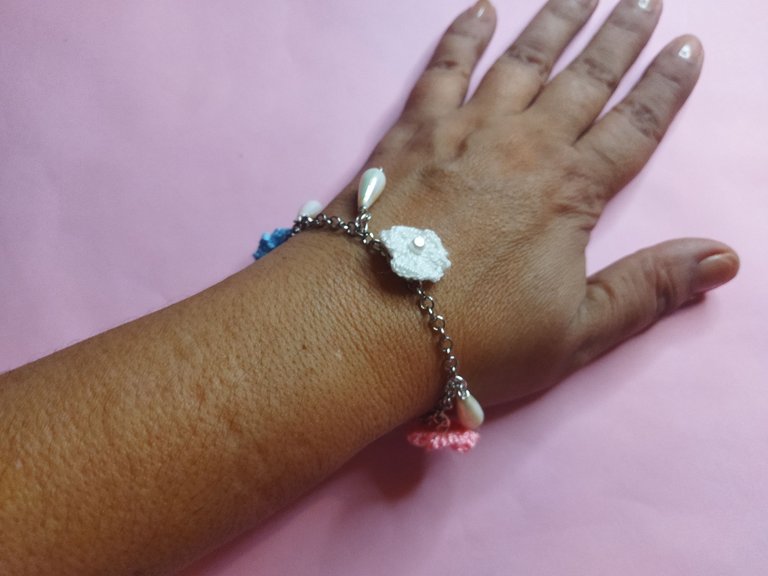
Muchísimas gracias por visitar mi blog. Todas las fotos son de mi propiedad. Editadas con Polish. Usé el traductor de DeepL. Será hasta una próxima oportunidad. Bendiciones.
Te invito a leer esta publicación es importante contar con nuestros testigos en la blockchain 🥳🐝🤗
ENGLISH.

Hello friends 🌷 I hope you are very well. As every week today I come to leave you with a great idea for you to create and have fun in the process. Every day there is an opportunity to develop new projects.
I was at my desk talking with my son, sister and nieces when suddenly we started brainstorming creative ideas. The truth is that we were all excited about some of the supplies we saw on the web. Wishing to have them all, but it's a long way off. In the meantime we came up with many models relying only on the material we have.

You know that I love knitting, I am also learning new techniques of jewelry. I love to do the combination of both, so among so many ideas that came up I let myself be splashed by the ones that included threads and beads. So today I am going to present you one of the ideas that I have already realized. I hope you like it and find it useful, I also want you to spend some fun time thinking about all that can be achieved if we share with others our tastes and interests.

As you can see below this is a very nice, simple and elegant project in which we will use various materials. It is ideal this project to take advantage of scraps of chains, threads and some stones. Now I present to you the list of all the materials:

🌠 Crochet thread.
🌠 1,60 mm crochet needle.
🌠 Scissors.
🌠 Chains.
🌠 Beads.
🌠 Wire hoops.
🌠 Wire pins or sticks for costume jewelry.
🌠 Parrot's beak insurance.
🌠 Jewelry pliers: flat, mandrel and cutting pliers.

To make this beautiful bracelet we will first make the woven flowers. You decide how many you want to place on the bracelet. The trend is maximalism, however in this model I preferred to make small flowers of five petals, in various colors. The model of the flower is also to your liking. I suggest you to check the size of your pearls and from there choose the size and pattern of the flower.
This is a very simple model that starts with an am (magic ring), goes up with three chains, we raise three high stitches and then three chains again, we make a pd (slipped stitch) we repeat this four more times. At the end we close with pd, cut the yarn and hide the strand. Do not forget to close the magic ring.

Once the flowers are woven we proceed to decorate them with the pearls. We will do something like the crimping of the pearl through the flower. The idea is to turn it into a pendant for our bracelet.

Then we crimp each of the beads we choose to combine. They can be drops or also more pearls. It consists of passing the bead through the pin making a ring on both sides. We need them to hang on the bracelet.

Now it's time to assemble the bracelet. We take the chain, measure and cut 18 cm more or less, depending on how long your wrist is. Then we distribute the flowers and the beads on the links, trying that both are not so far apart. We will form separate groups, each group will have a flower and a bead.


Finally, we make the clasps. On one end of the chain we place a ring (optional) and on the other the parrot's beak clasp. This way we will have finished the bracelet.

Thank you very much for visiting my blog. All photos are my property. Edited with Polish. I used the translator of DeepL. I'll see you next time. Blessings.

I invite you to read this post it's important to have our witnesses on the blockchain 🥳🐝🤗