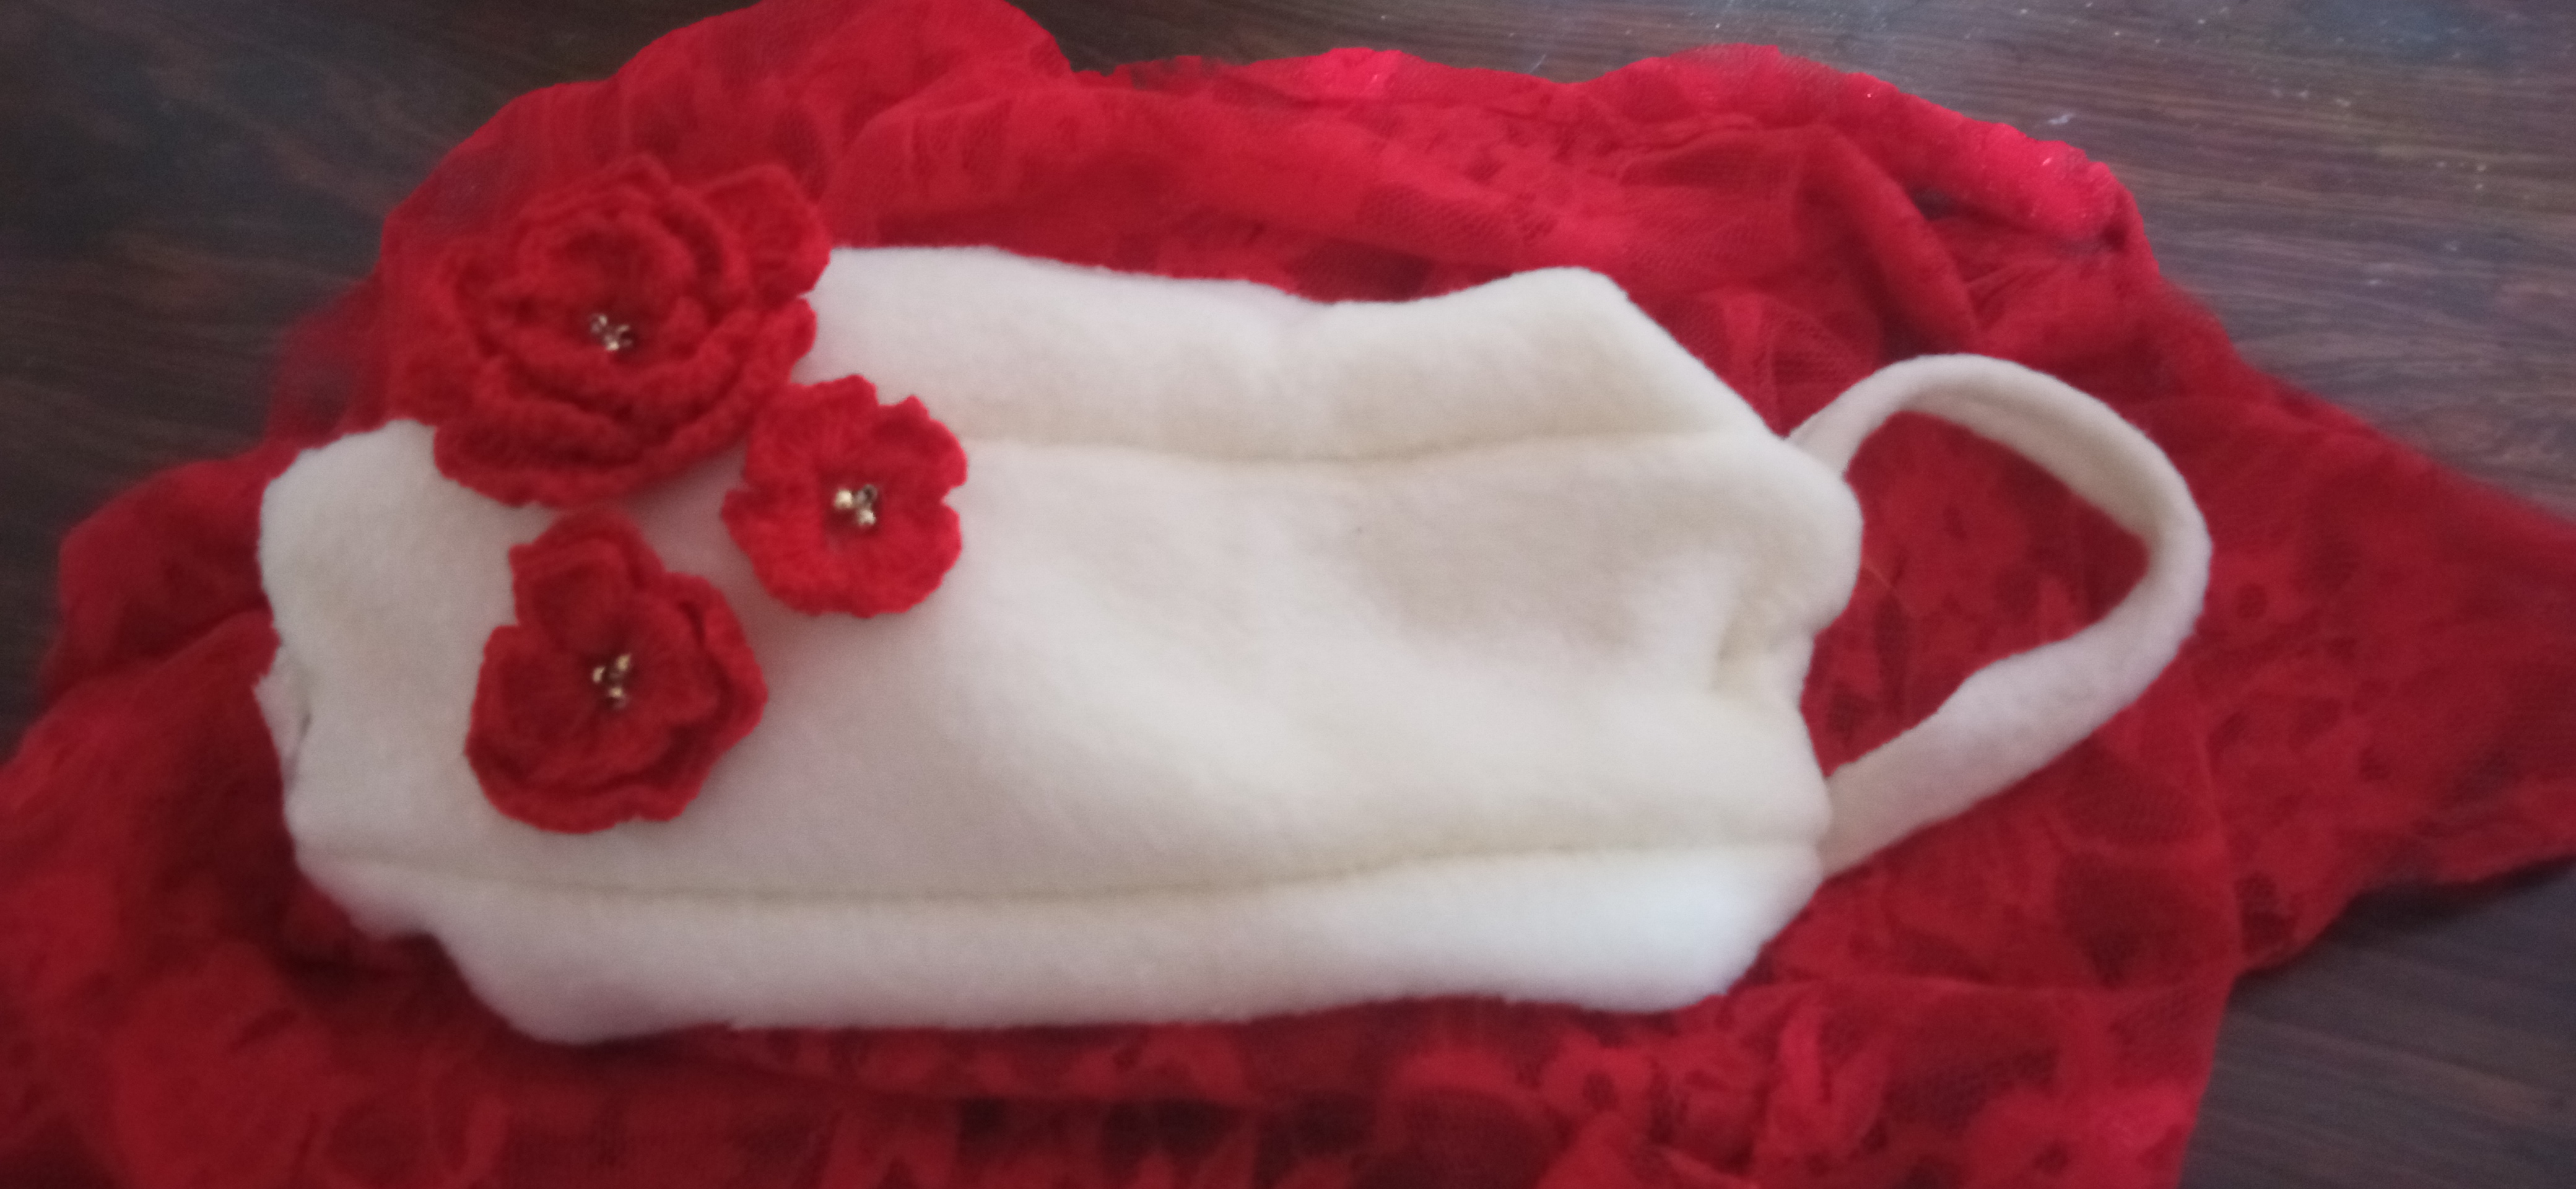
Happy, creative and successful day have all the NeedleworkMonday community.in this opportunity I want to share with you a mouthpiece that I sewed by hand.the truth is that sewing has never been my forte hahaha!!! But I love crafts and the art of sewing either by hand or machine is a basic skill that every craftsman should master very well. To decorate it I made some roses crochet I hope you like it I did it in polar blanket because it is a soft fabric is not ideal for making tapabocas but my skin is delicate and to avoid skin rashes that have caused me other tapabocas I decided to do it in this fabric and the truth is that it has worked for me.
Los materiales que utice son simples:
- Un retazo de Manta
Polar color crema. - Patrones.
- Hilo de coser blanco.
- Agua para coser.
- Aguja para crochet 1.
- Hilo de crochet Rojo.
- perlitas doradas.
- Tijera.
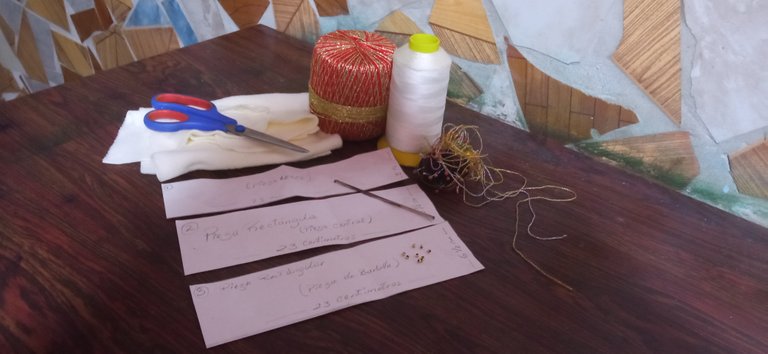
The materials I used are simple:
- A piece of cream-colored Polar Fleece Blanket.
- Patterns.
- White sewing thread.
- Water for sewing.
- Crochet needle 1.
- Red crochet thread.
- Golden beads.
- Scissors.
Paso 1:
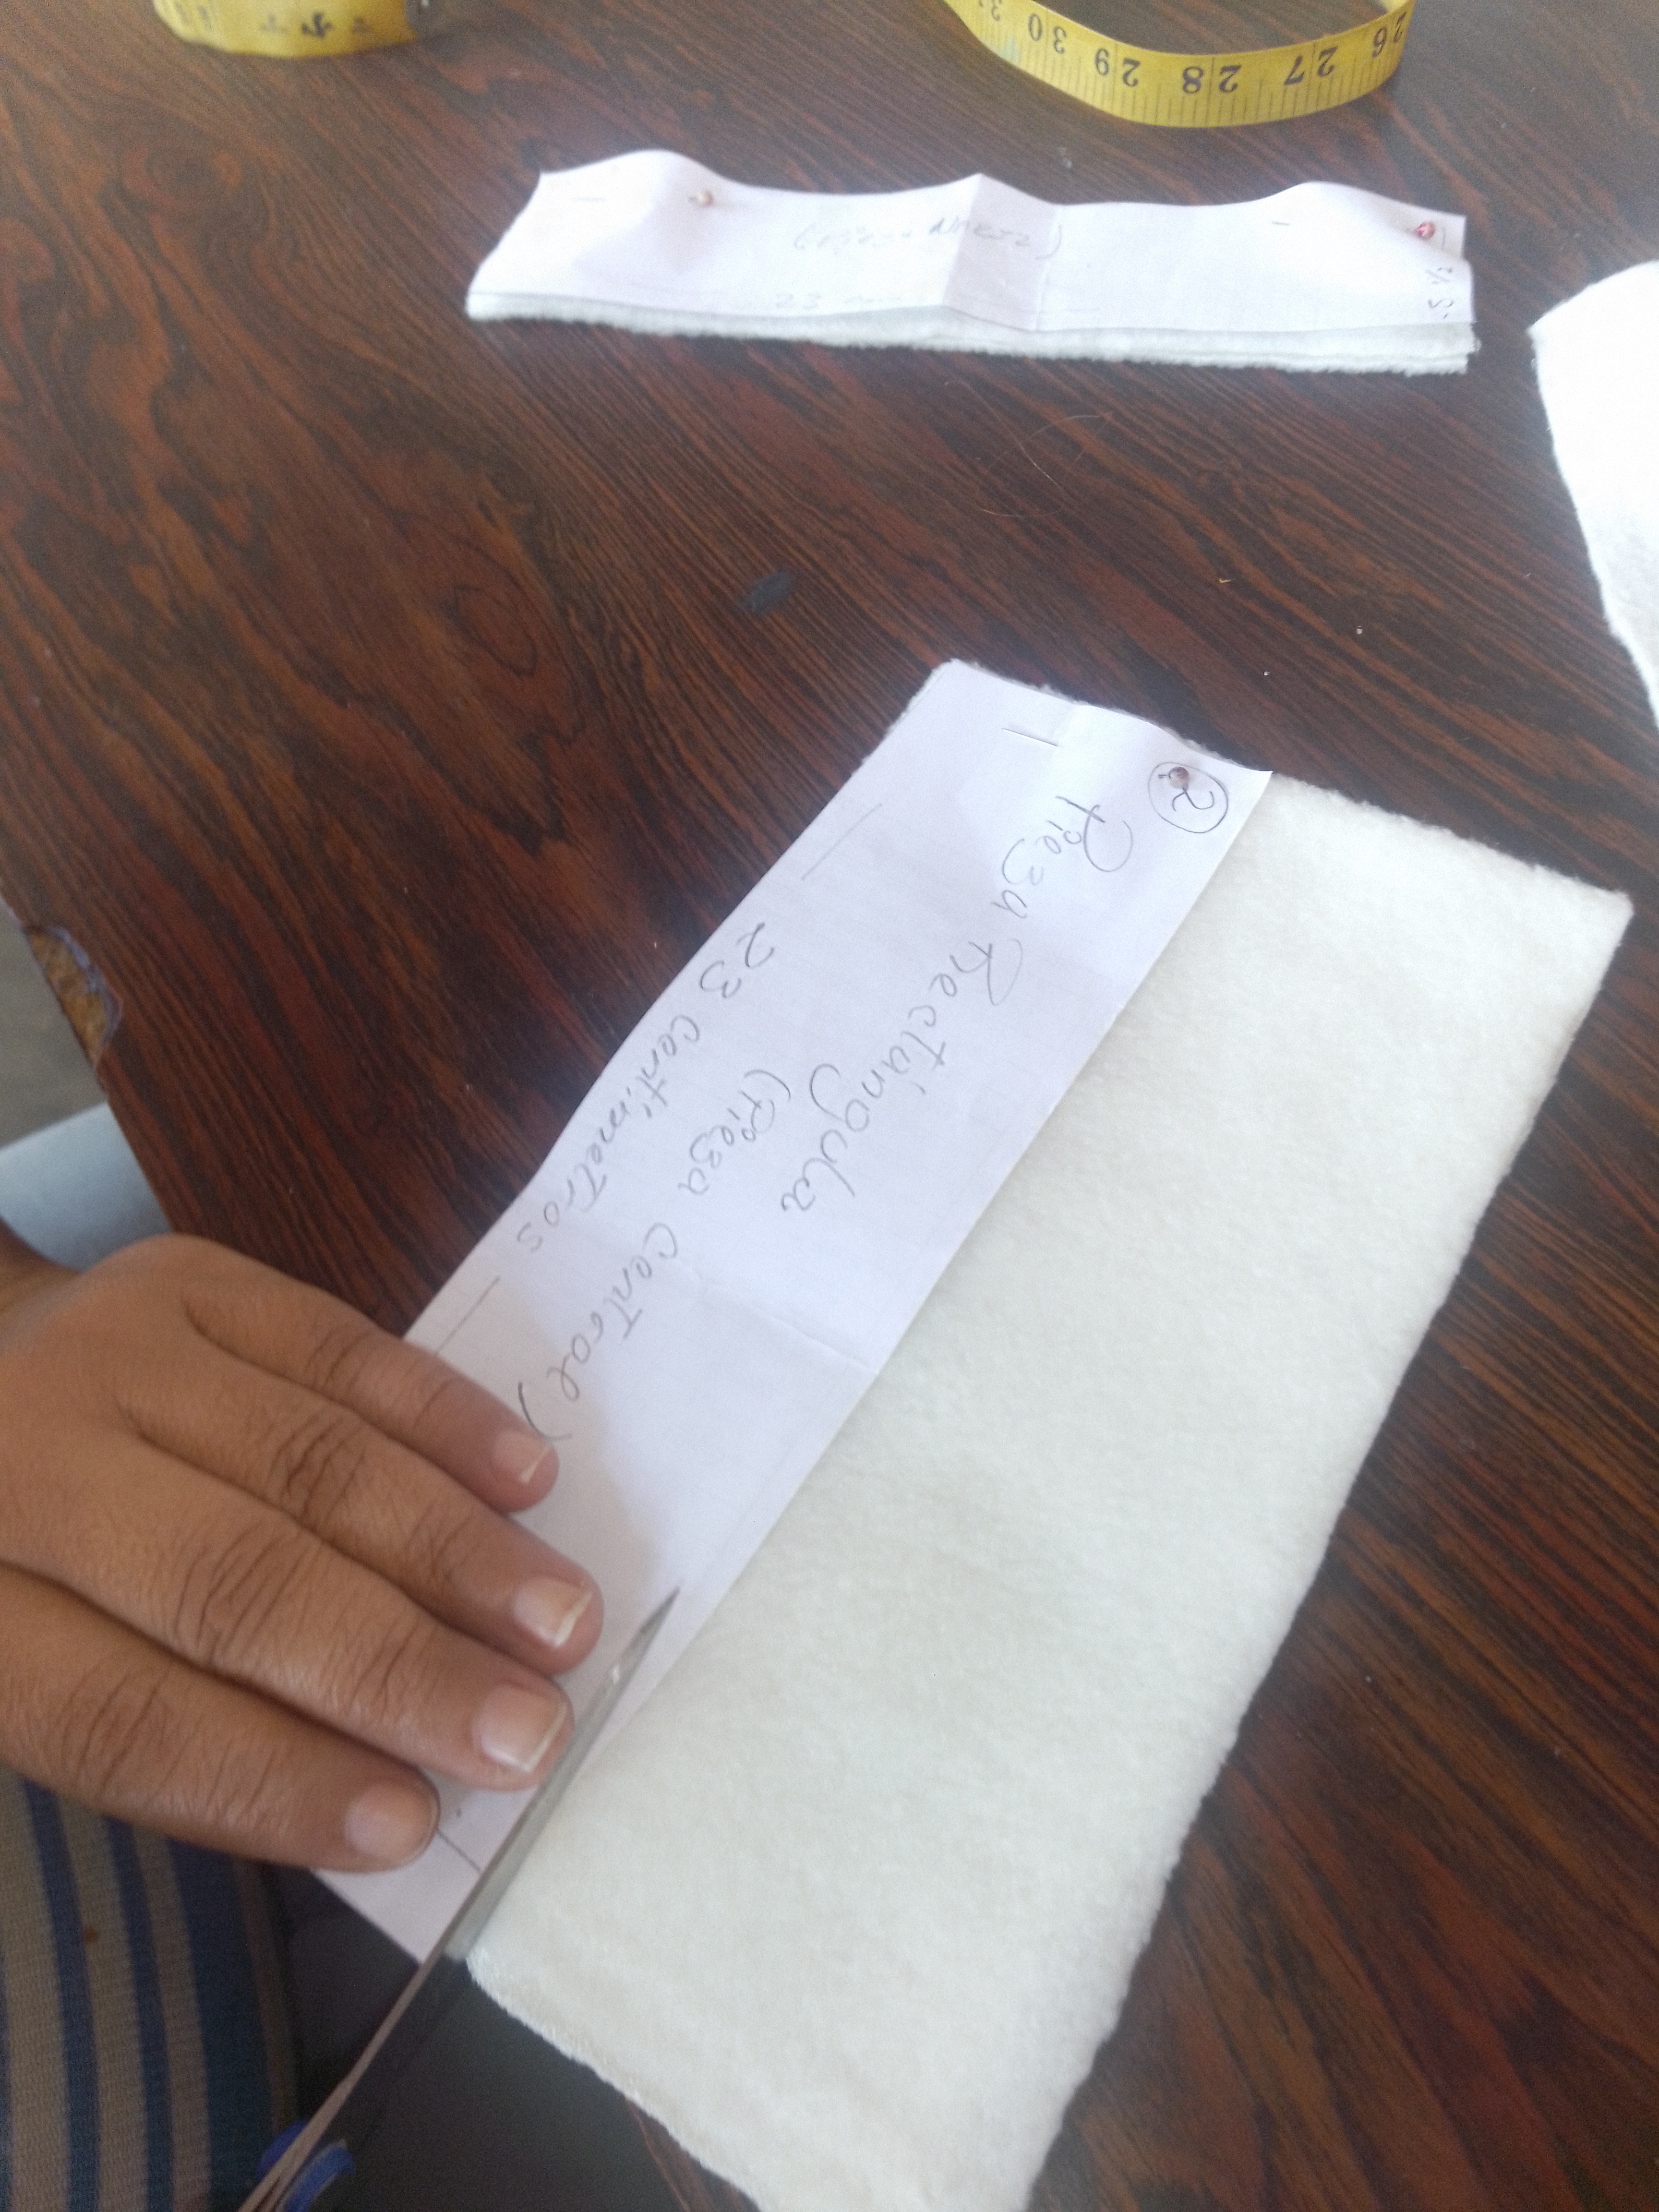
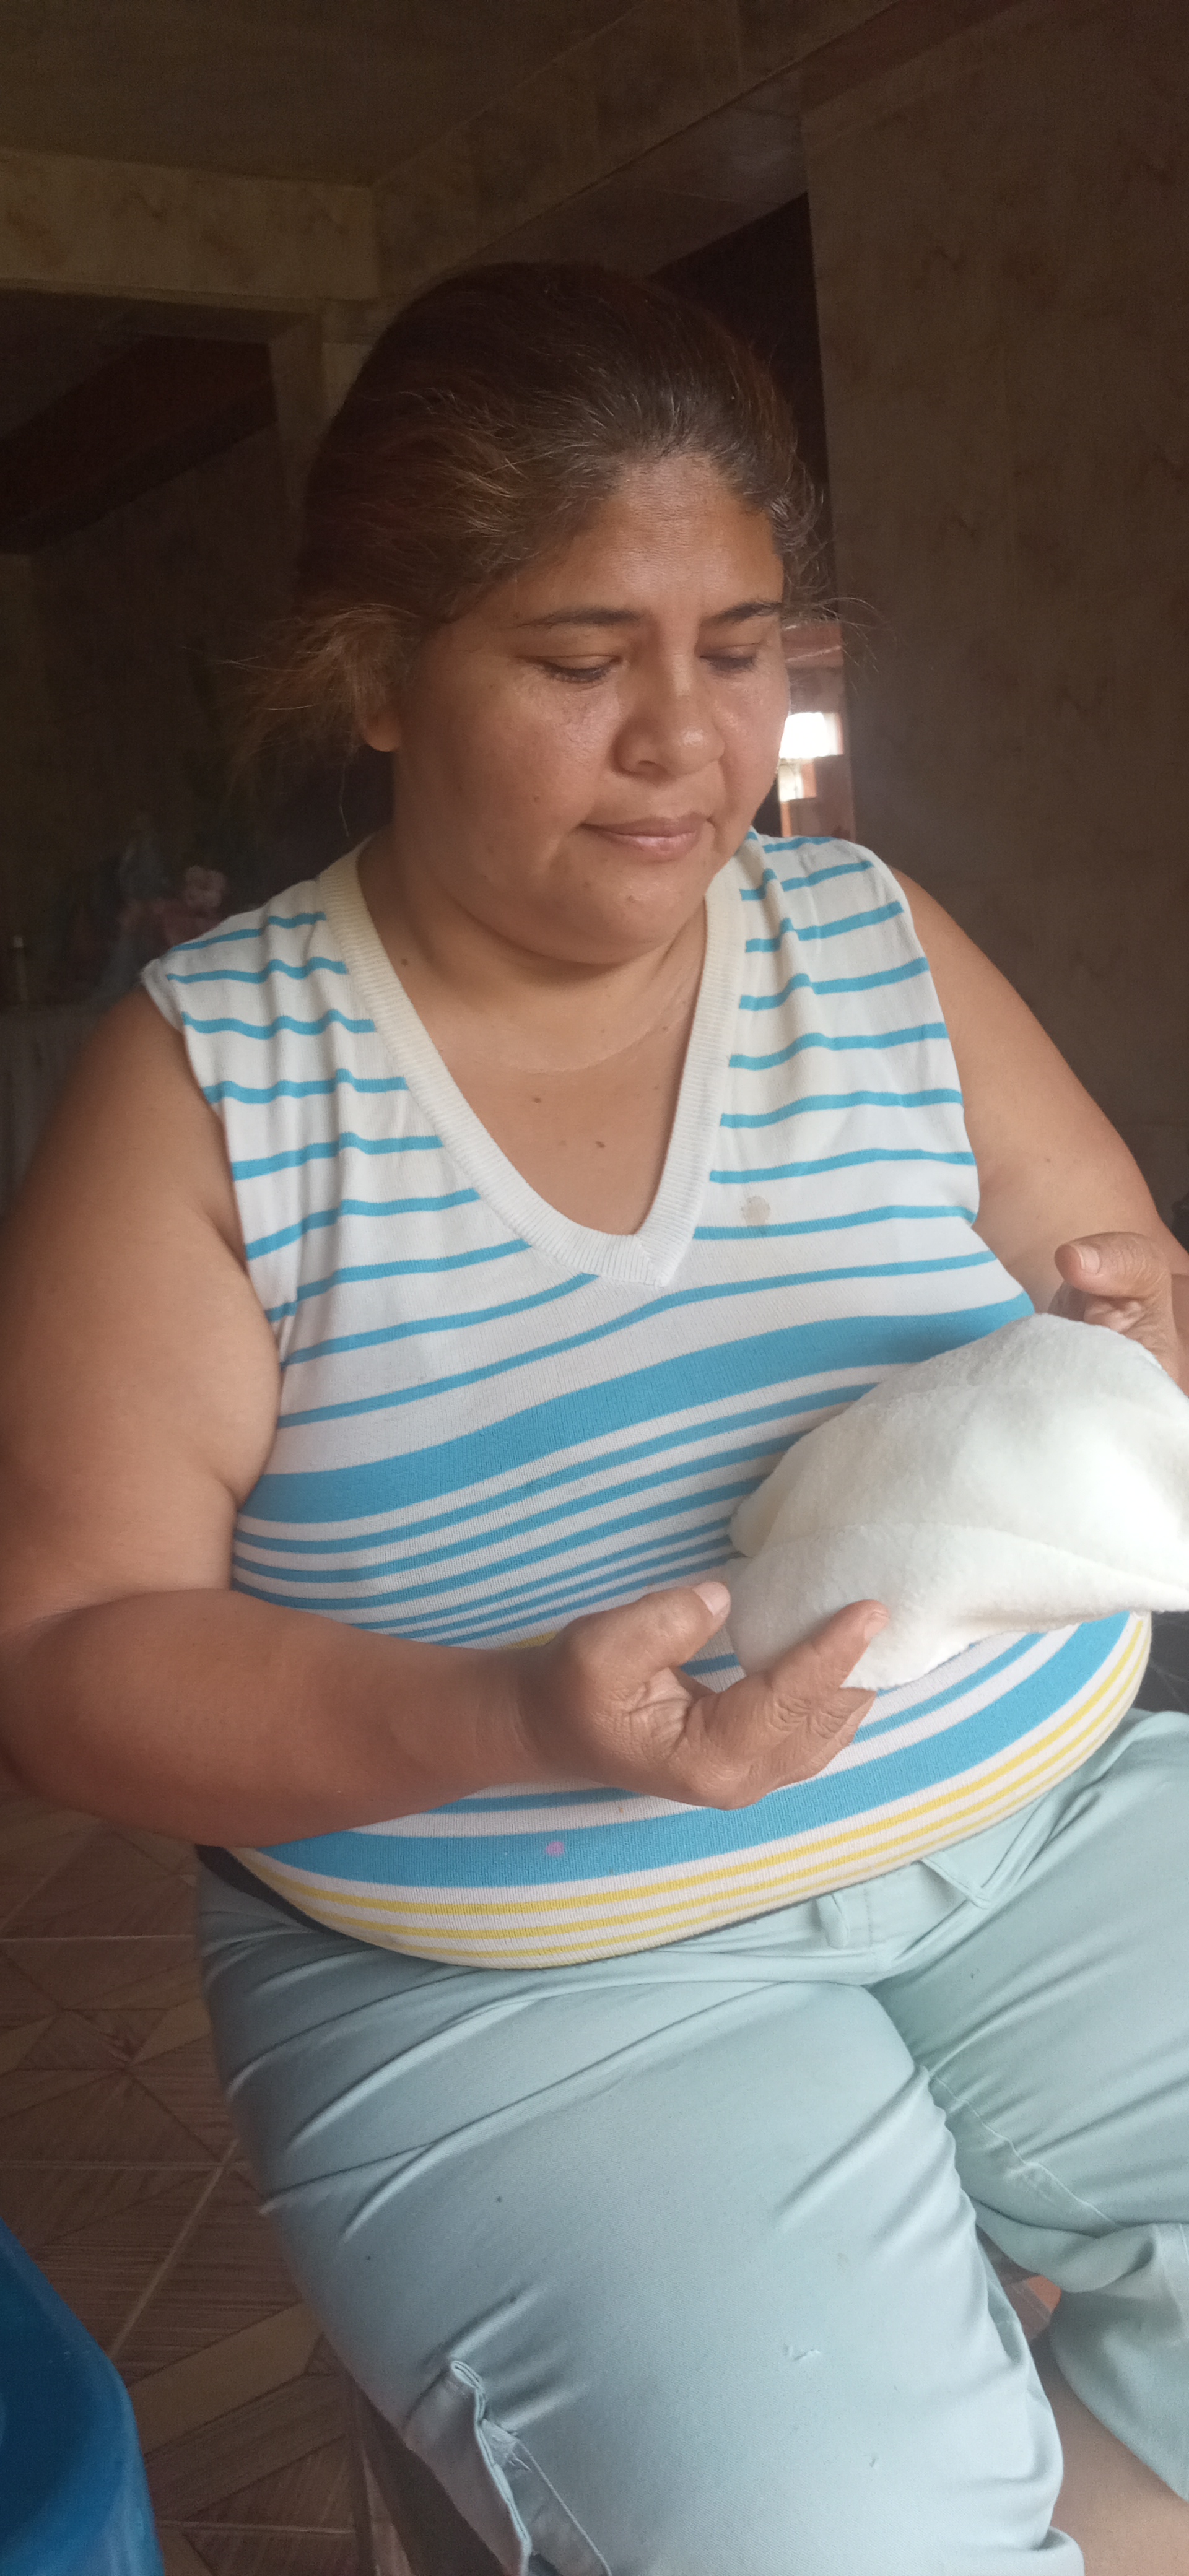
Corte 3 piezas rectángulares las cuales enumere.La pieza rectángular 1 (Nariz) midió 23 centímetro de largo por 6 centímetros y medio de alto.La pieza rectángular 2 (centro) midió 23 centímetro de largo por 6 centímetros y medio de alto y la pieza rectángular 3 (barbilla) midió 23 centímetro de largo por 5 centímetros y medio de alto.
Step 1:
Cut 3 rectangular pieces which you number.rectangular piece 1 (nose) measured 23 centimeters long by 6 and a half centimeters high.rectangular piece 2 (center) measured 23 centimeters long by 6 and a half centimeters high and rectangular piece 3 (chin) measured 23 centimeters long by 5 and a half centimeters high.
Paso 2:
Cosí para unir las 3 piezas por el reverso de la tela. Luego hice un doble hacía el centro tanto con la pieza de la nariz (1) y la barbilla (2) por ambos lados de la pieza para darle forma romboide.Luego corte 2 tiras las cuales estiré par que me qudaran en forma de liga y las coloque a los lados.
Step 2:
I sewed the 3 pieces together on the back of the fabric. I then folded the center of both the nose piece (1) and the chin piece (2) on both sides of the piece to give it a rhomboid shape, then cut 2 strips which I stretched into a garter shape and placed them on the sides.
Paso 3:
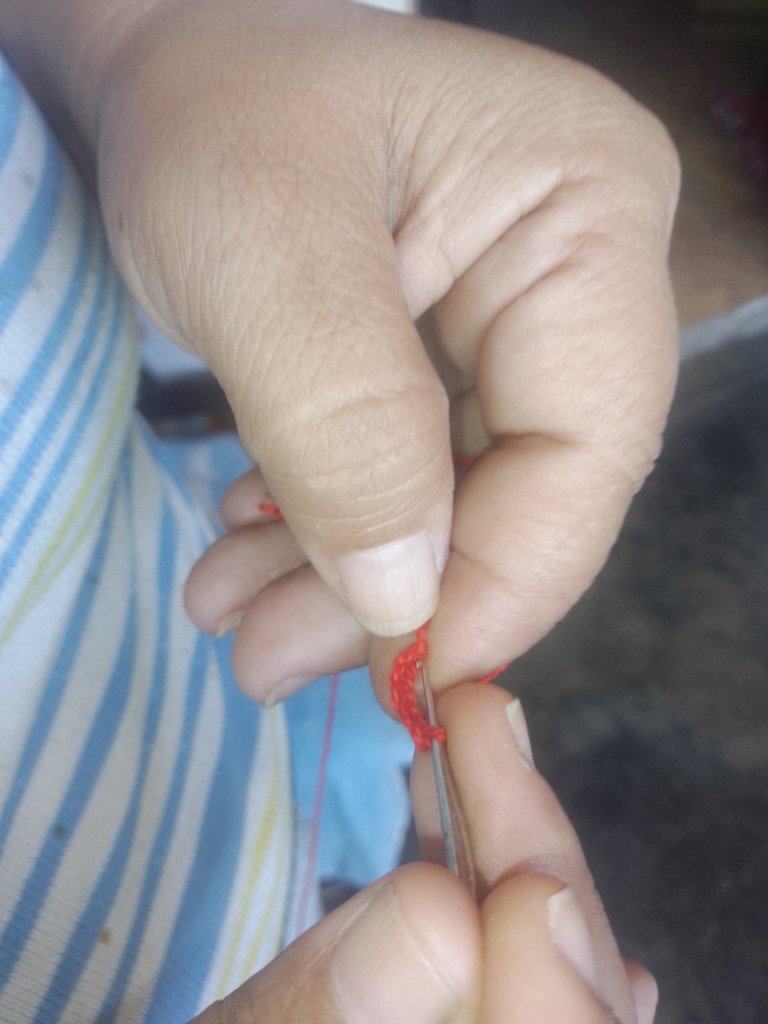
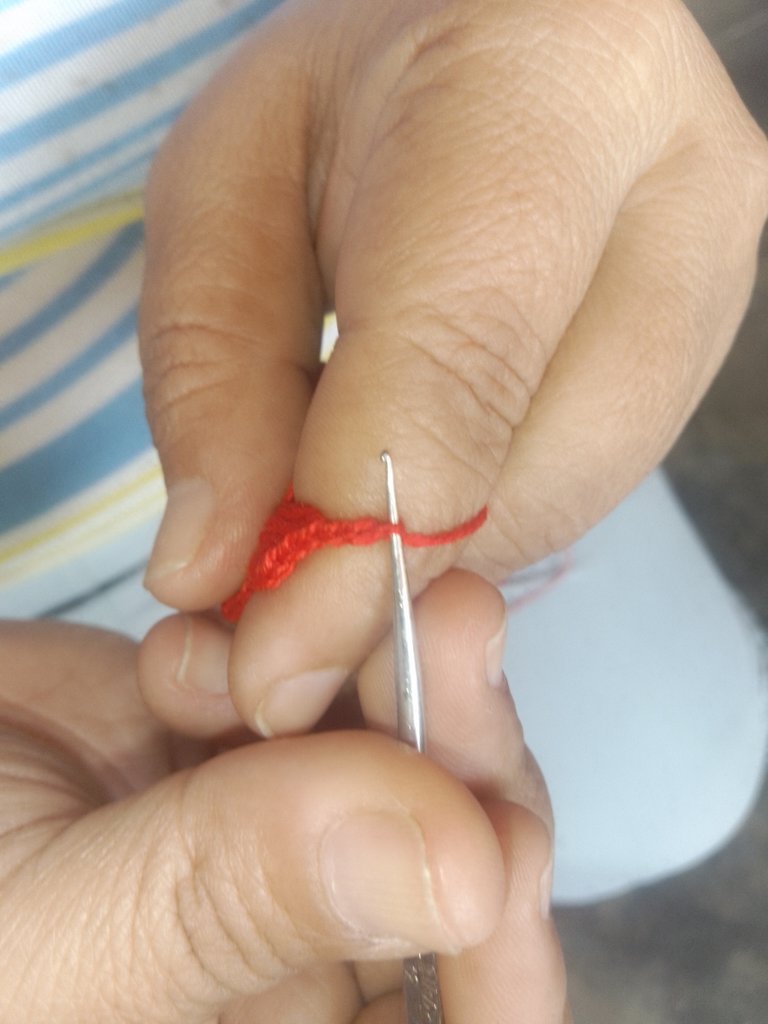
Con hilo de crochet rojo y la aguja de tejer 1 tejí unas rositas.Para ello, comenzé con una cadeneta de 5 y la cerre con un punto corto.En su primera vuelta para formar los pétalos de la rosa grande hice 4 cadenetas y las uní a la prinera cadeneta con un punto bajo y así sucesivamente hasta completar las 5 cadenetas de la base de la flor.
Step 3:
With red crochet thread and knitting needle 1 I knitted some roses, I started with a chain of 5 and closed it with a short stitch, in the first row to form the petals of the big rose I made 4 chains and joined them to the first chain with a single crochet stitch and so on until I completed the 5 chains of the base of the flower.
Paso 4:
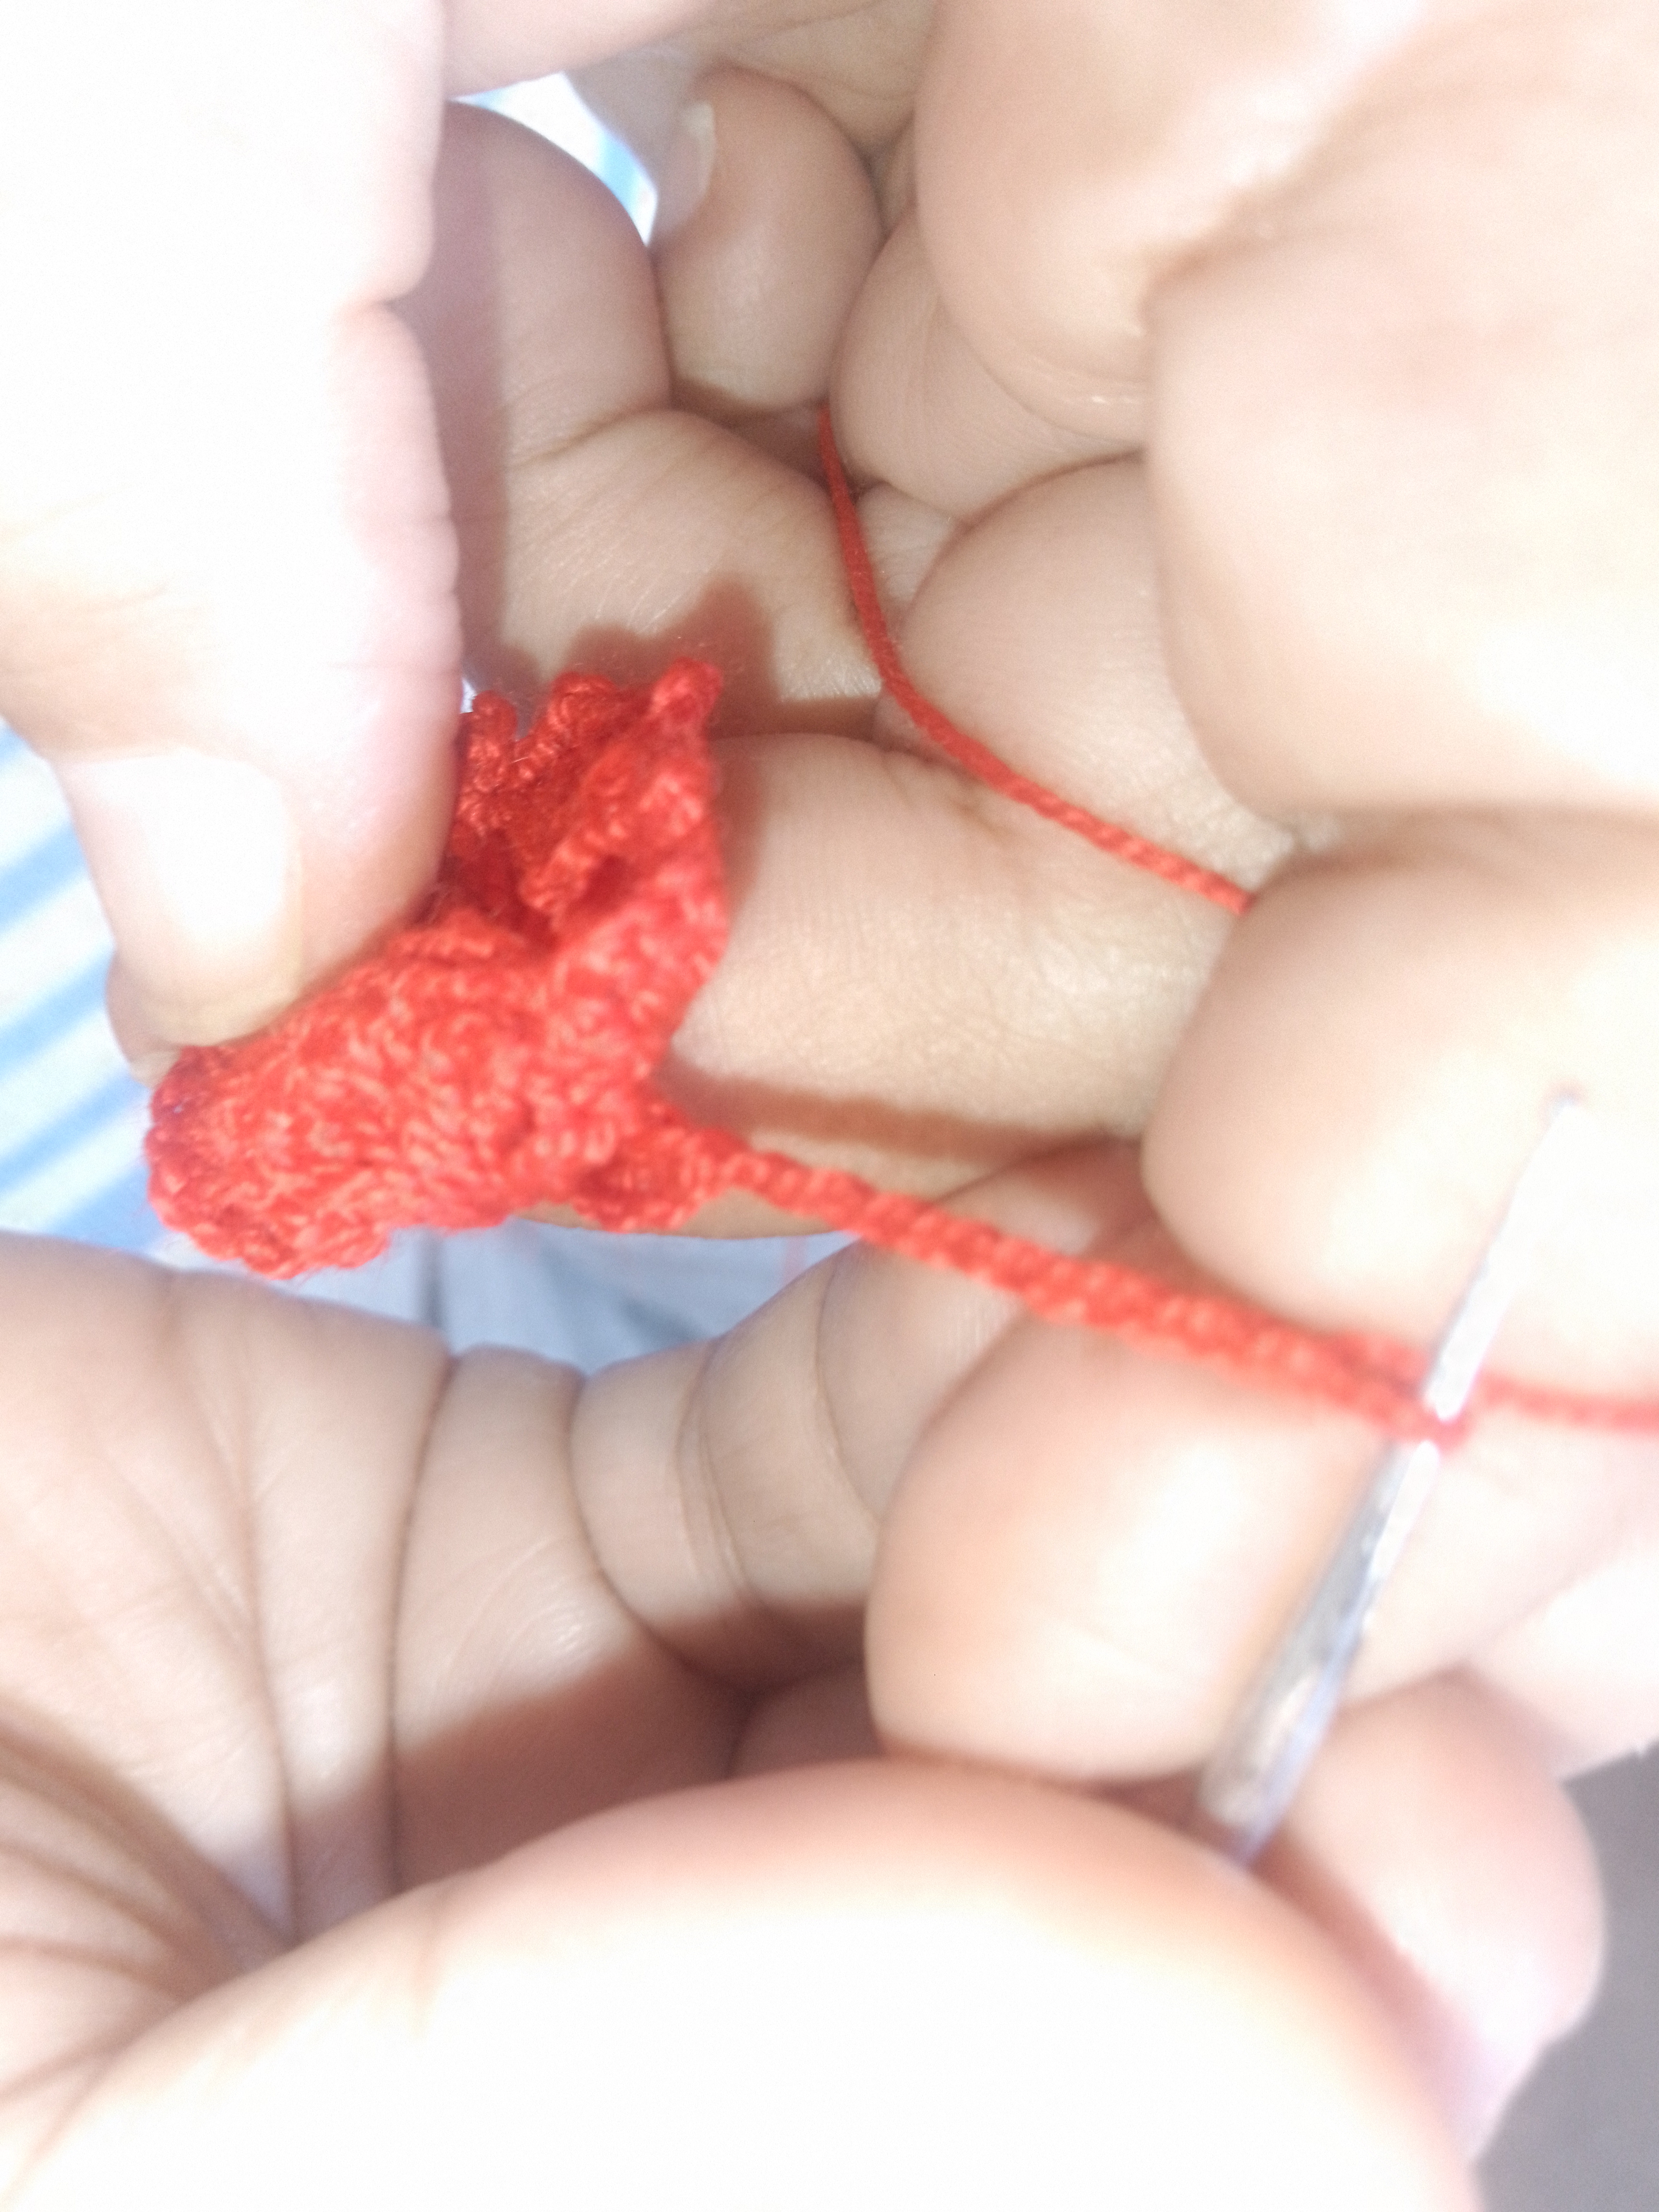
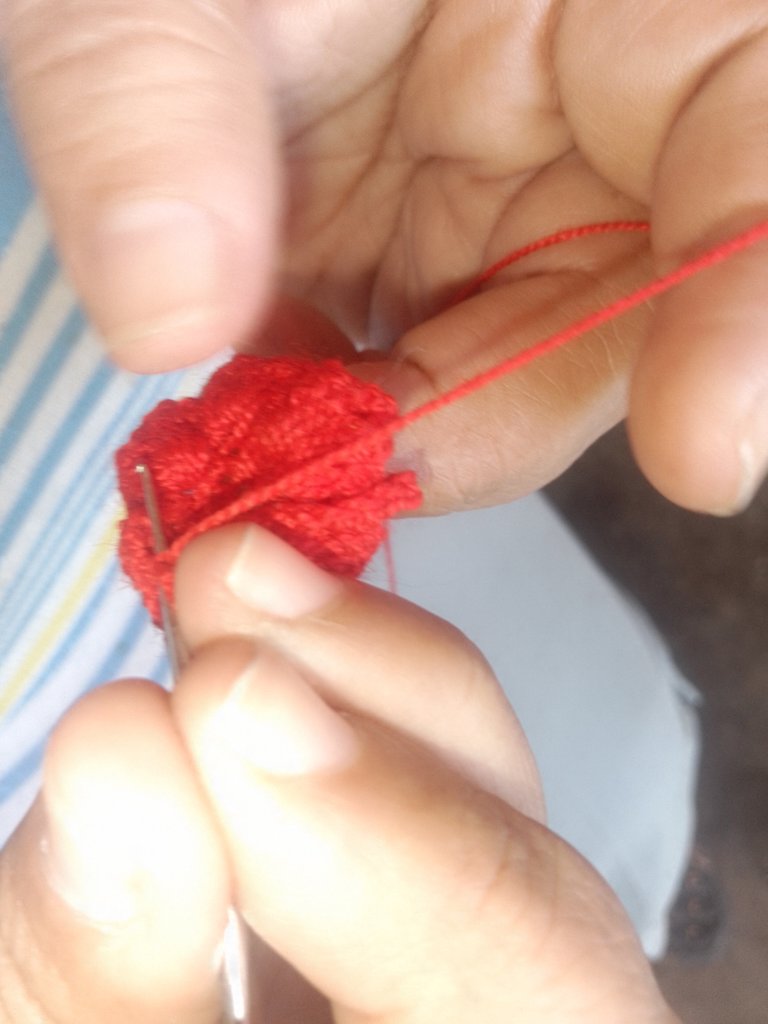
Comienzo a rellenar los 5 pétalos de la flor.Para ello, tejì 4 cadenetas con 4 puntos altos con 2 cadenetas en el medio y 4 puntos altos otra vez y cerré con 2 puntos bajos.Realice el mismo precedimiento hasta llegar a la última cadeneta de 4.
Step 4:
I begin to fill in the 5 petals of the flower by knitting 4 chains with 4 double crochets with 2 chains in the middle and 4 double crochets again and close with 2 single crochets, and do the same procedure until I reach the last chain of 4.
Paso 5:
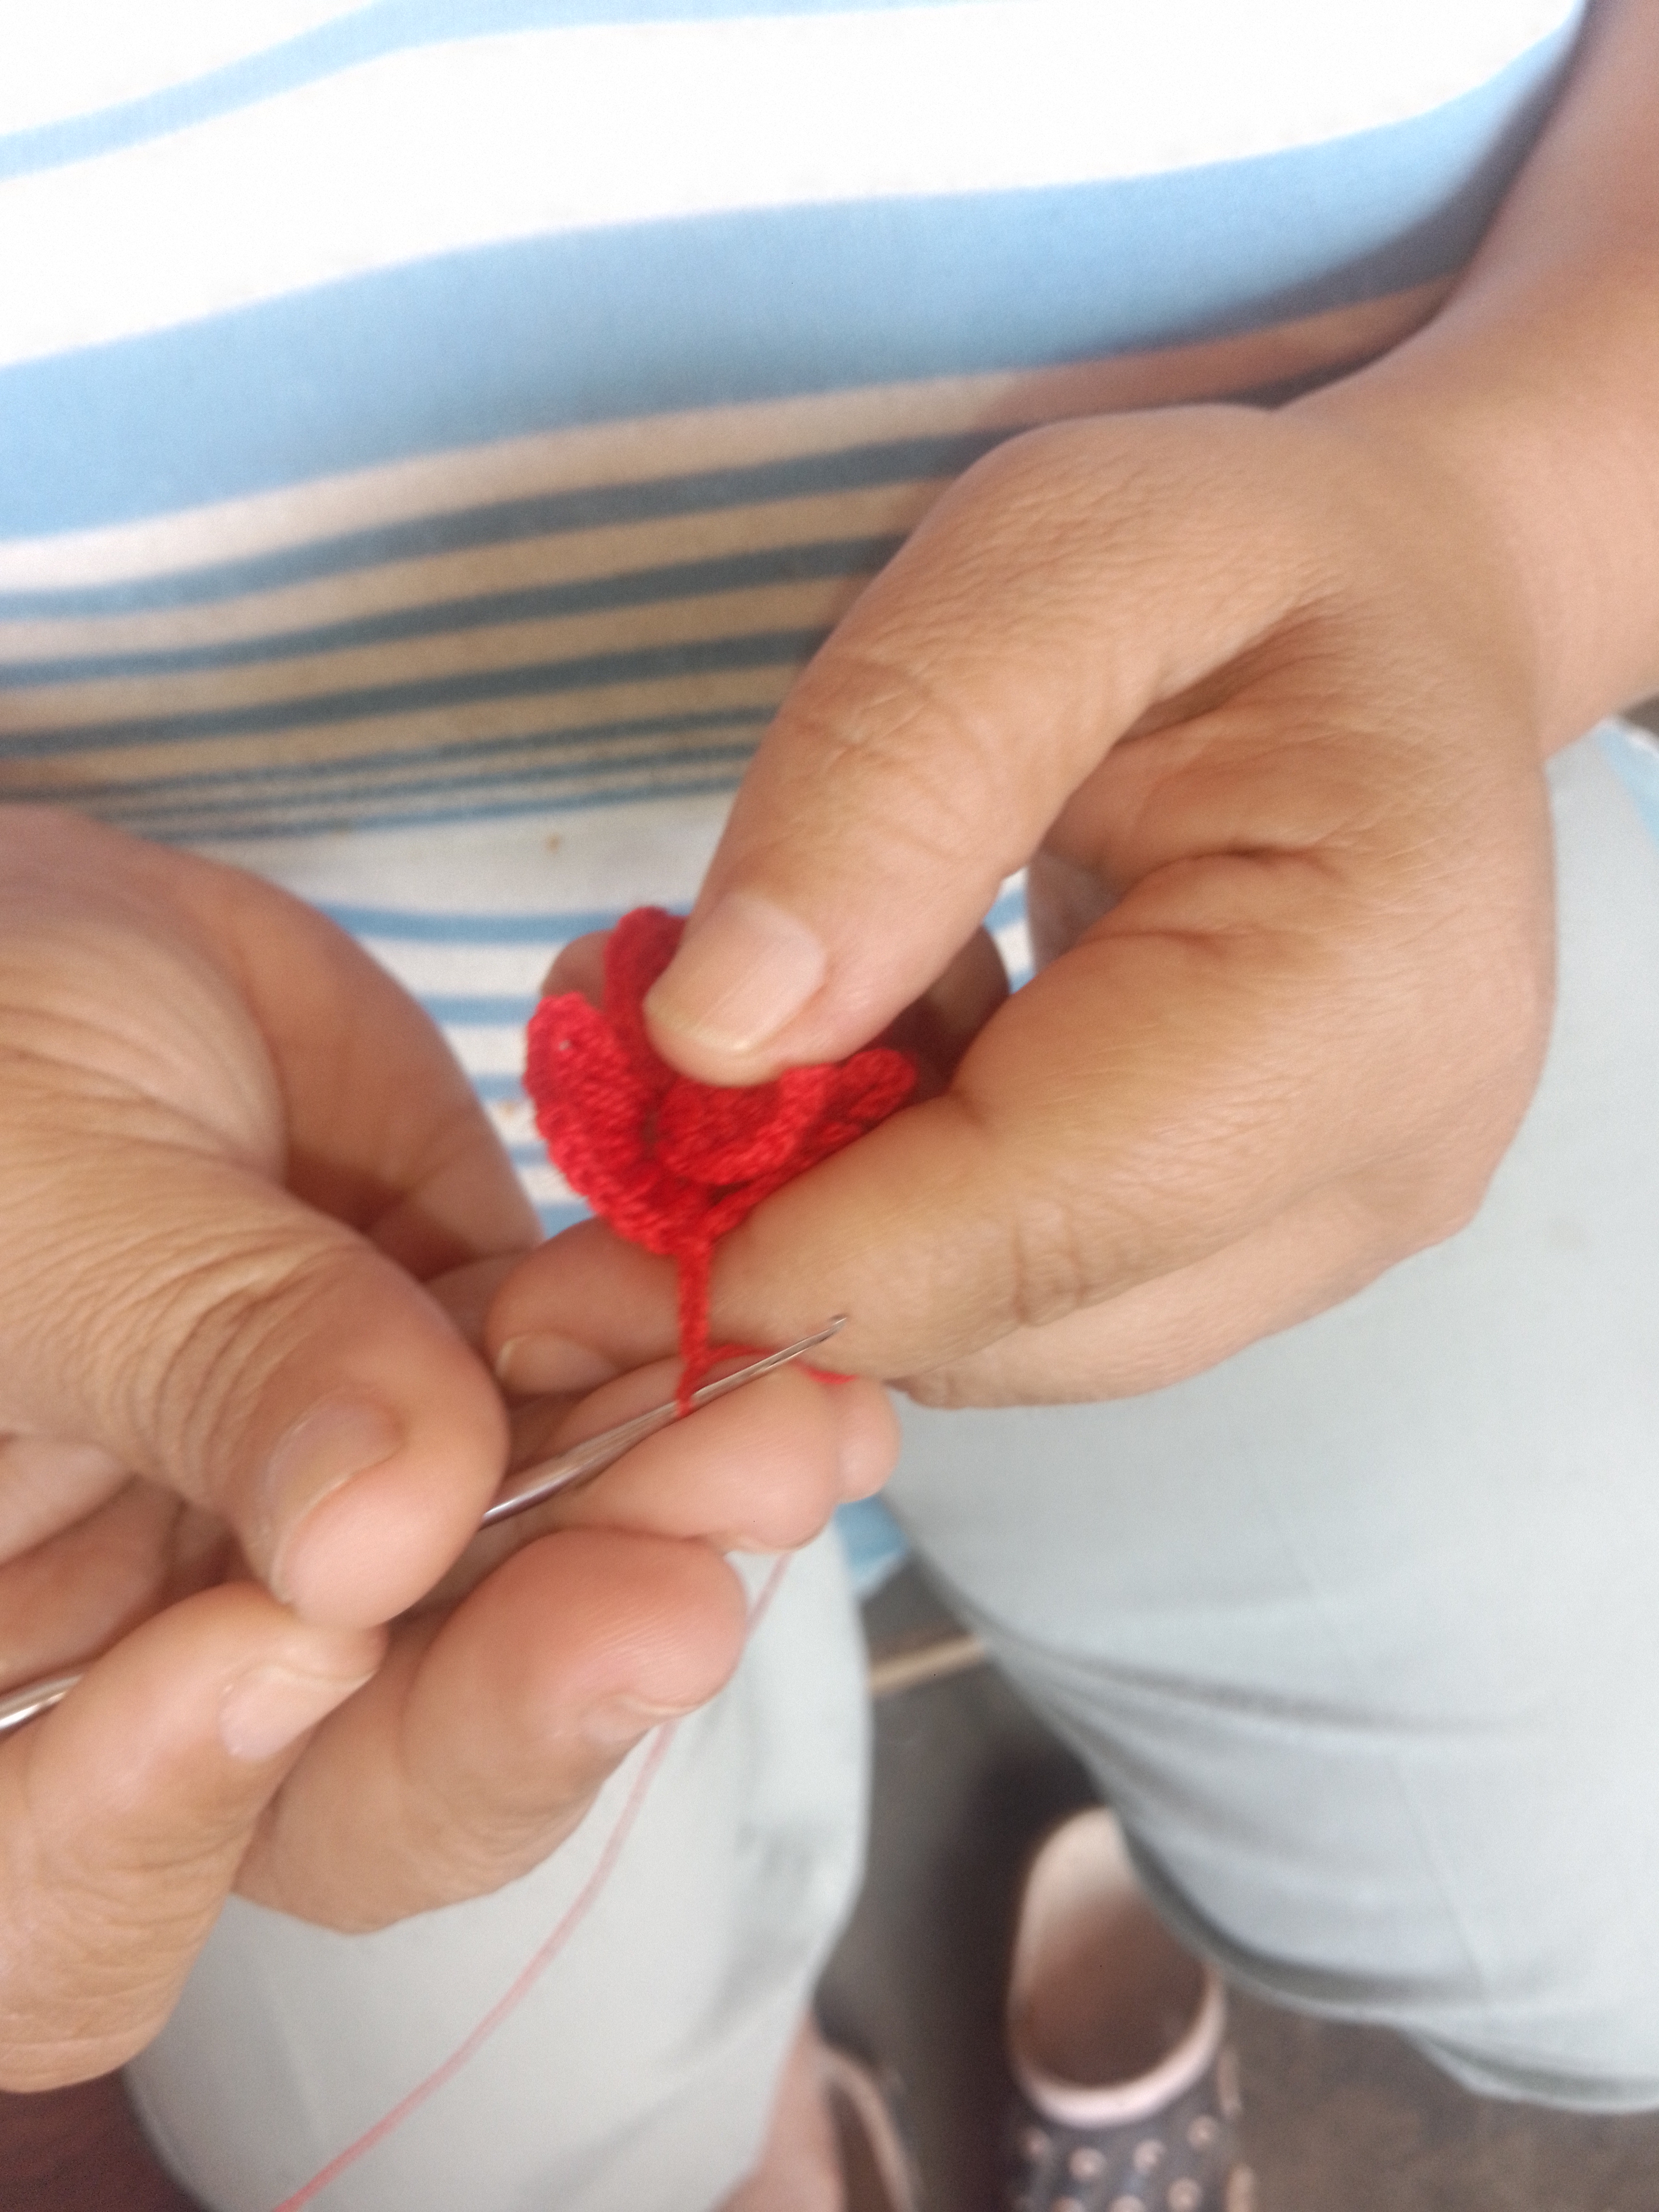
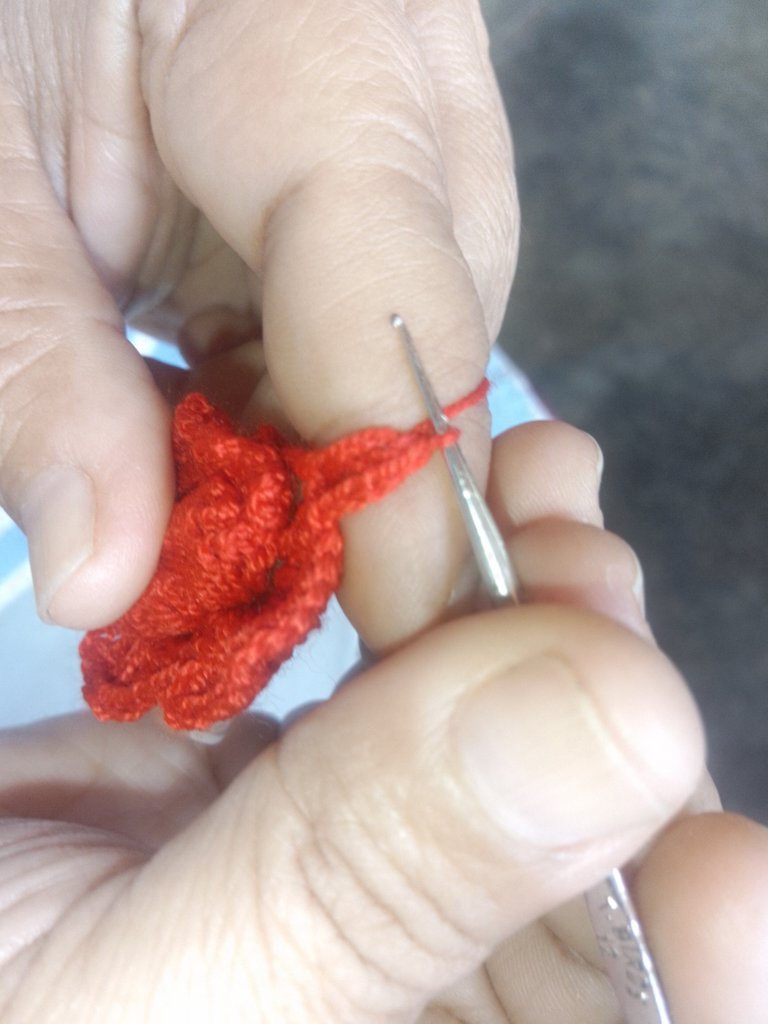
Nuevamente comienzo a tejer las cadenetas que formarán los segundos pétalos de la flor en este paso tejí 8 cadenetas y las uní con un punto bajo por el reverso de los pétalos que había tejido anteriormente hasta completar la vuelta.
Step 5:
Again I start knitting the chains that will form the second petals of the flower, in this step I knit 8 chains and join them with a single crochet on the back of the petals I had knitted previously until completing the row.
Paso 6:
Para rellenar los segundos pétalos de la rosa tejí 4 cadenetas con 8 puntos altos con 2 cadenetas en el medio es decir 4 puntos altos 2 cadentas y 4 puntos altos hasta concluir la vuelta.
Step 6:
To fill the second petals of the rose, I knit 4 chains with 8 double crochets with 2 chains in the middle, i.e. 4 double crochets, 2 chains and 4 double crochets until the end of the row.
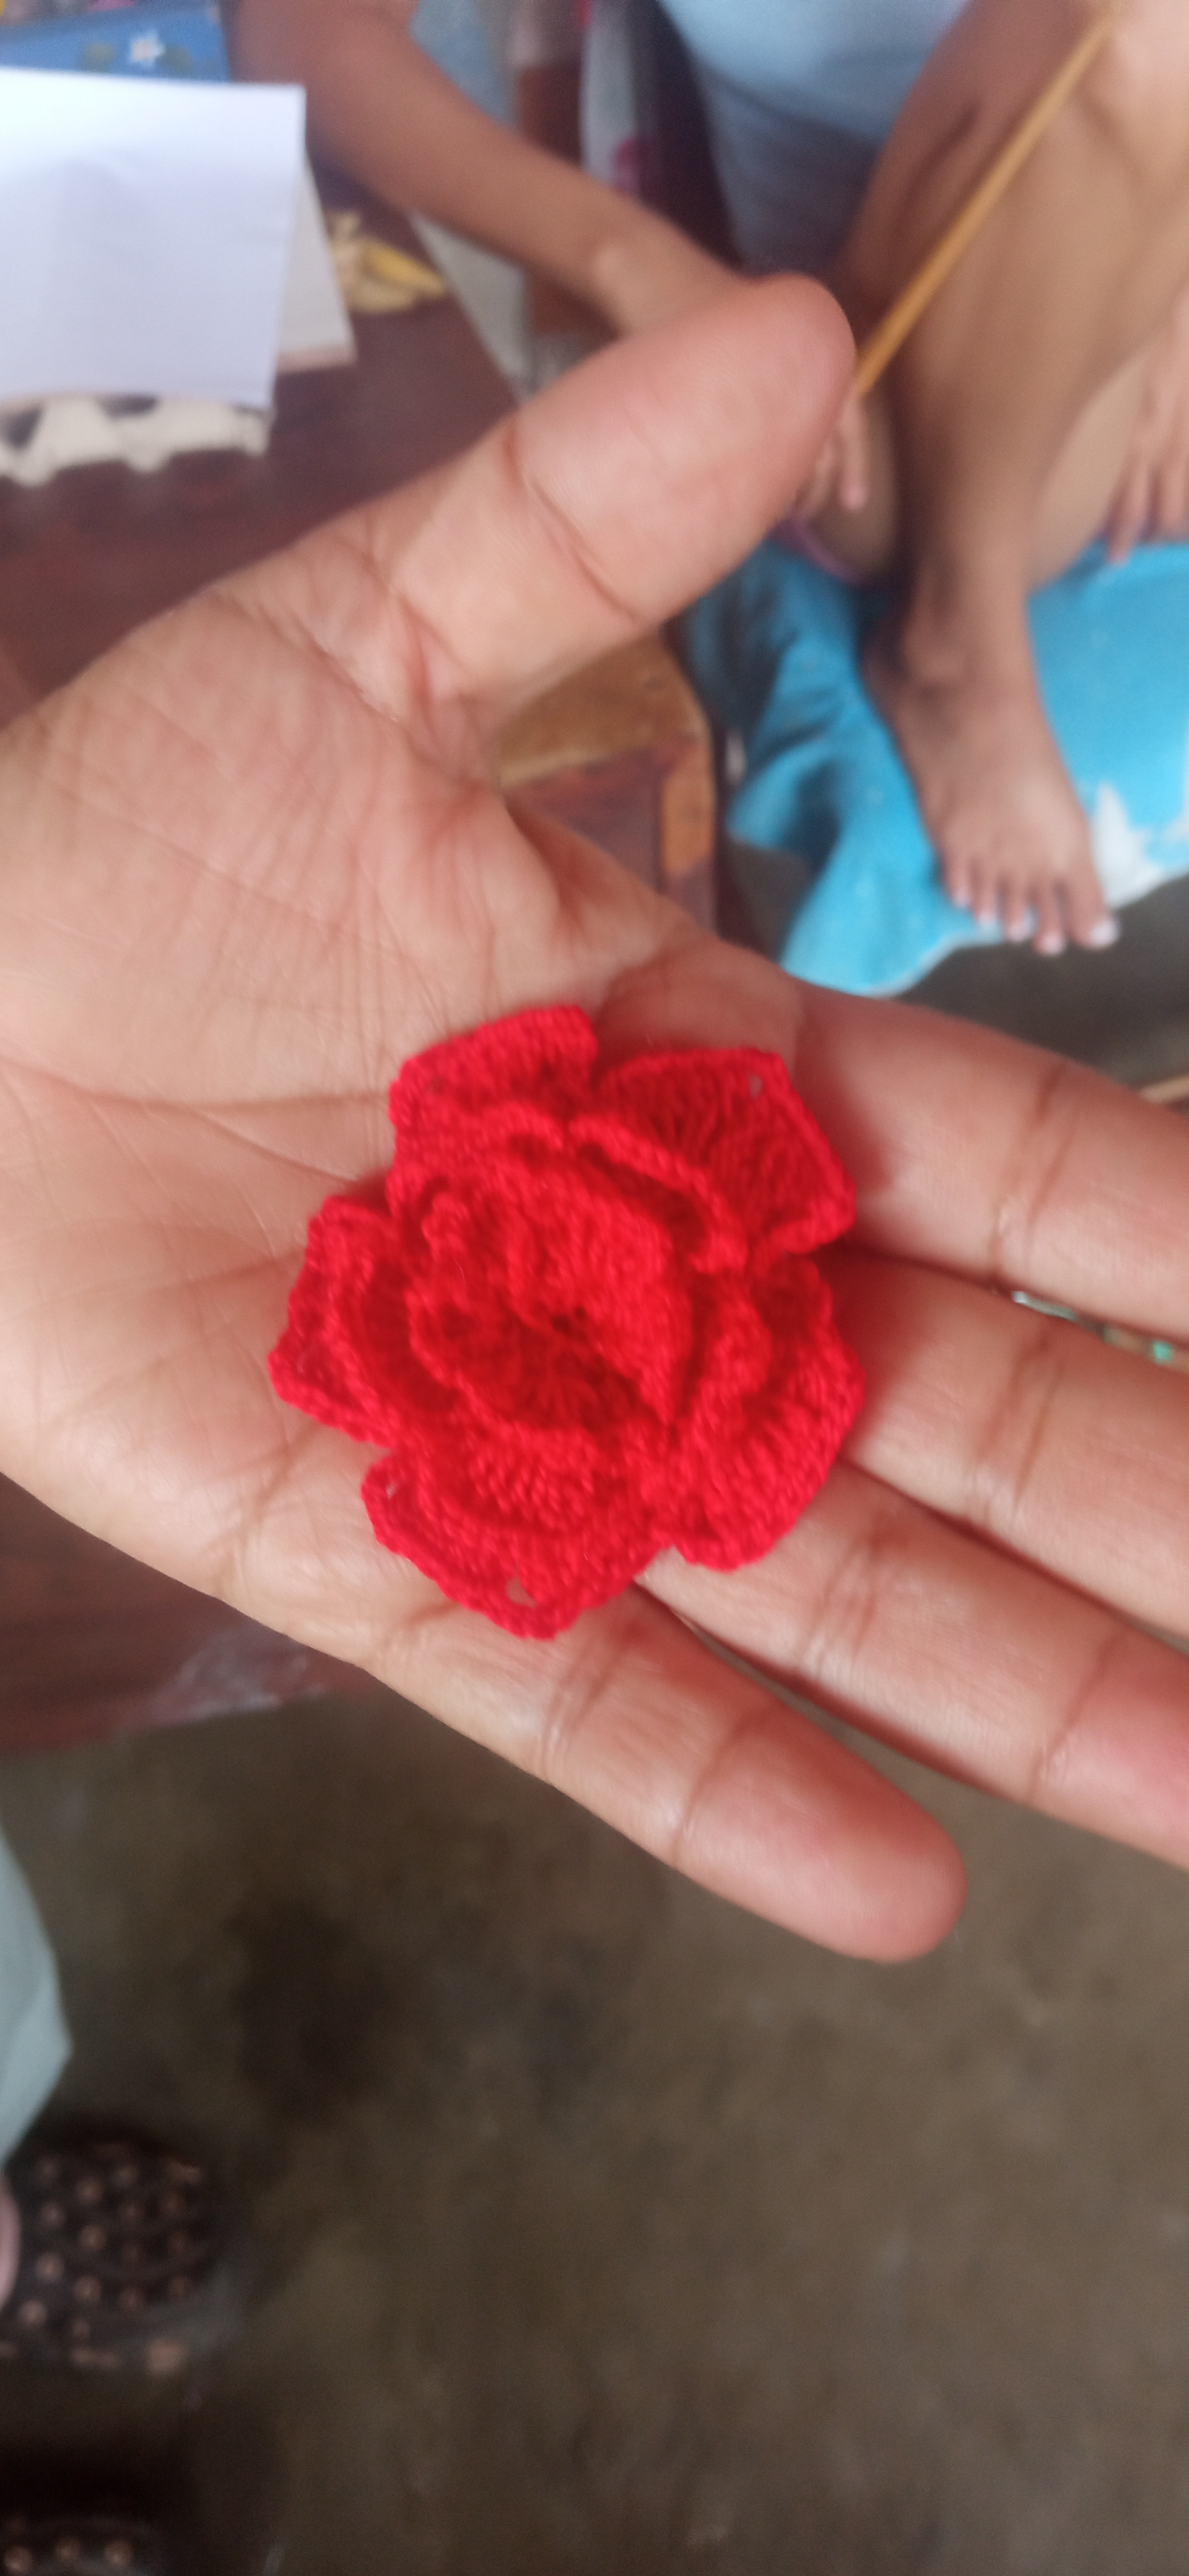
Paso 7:
En este paso tejí 10 cadenetas los cuales cerré con un punto bajo por el reverso de los pétalos anteriores. Por último rellene con una cadeneta de 5 puntos con 5 puntos altos y 3 cadenetas en el medio y nuevamente 5 puntos altos como ven el proceso es repetitivo si deseamos hacer una flor mas grande vamos aumentando las cadenetas y los puntos altos.El mismo precedimiento lo realice con las 2 flores más pequeñas solo que en vez de aumentar reducí las cadenetas.
Step 7:
In this step I knit 10 chain stitches which I closed with a single crochet on the back of the previous petals. Finally I filled with a 5 stitch chain stitch with 5 high stitches and 3 chain stitches in the middle and again 5 high stitches as you can see the process is repetitive if we want to make a bigger flower we increase the chain stitches and the high stitches, I did the same procedure with the 2 smaller flowers but instead of increasing the chain stitches I reduced the chain stitches.
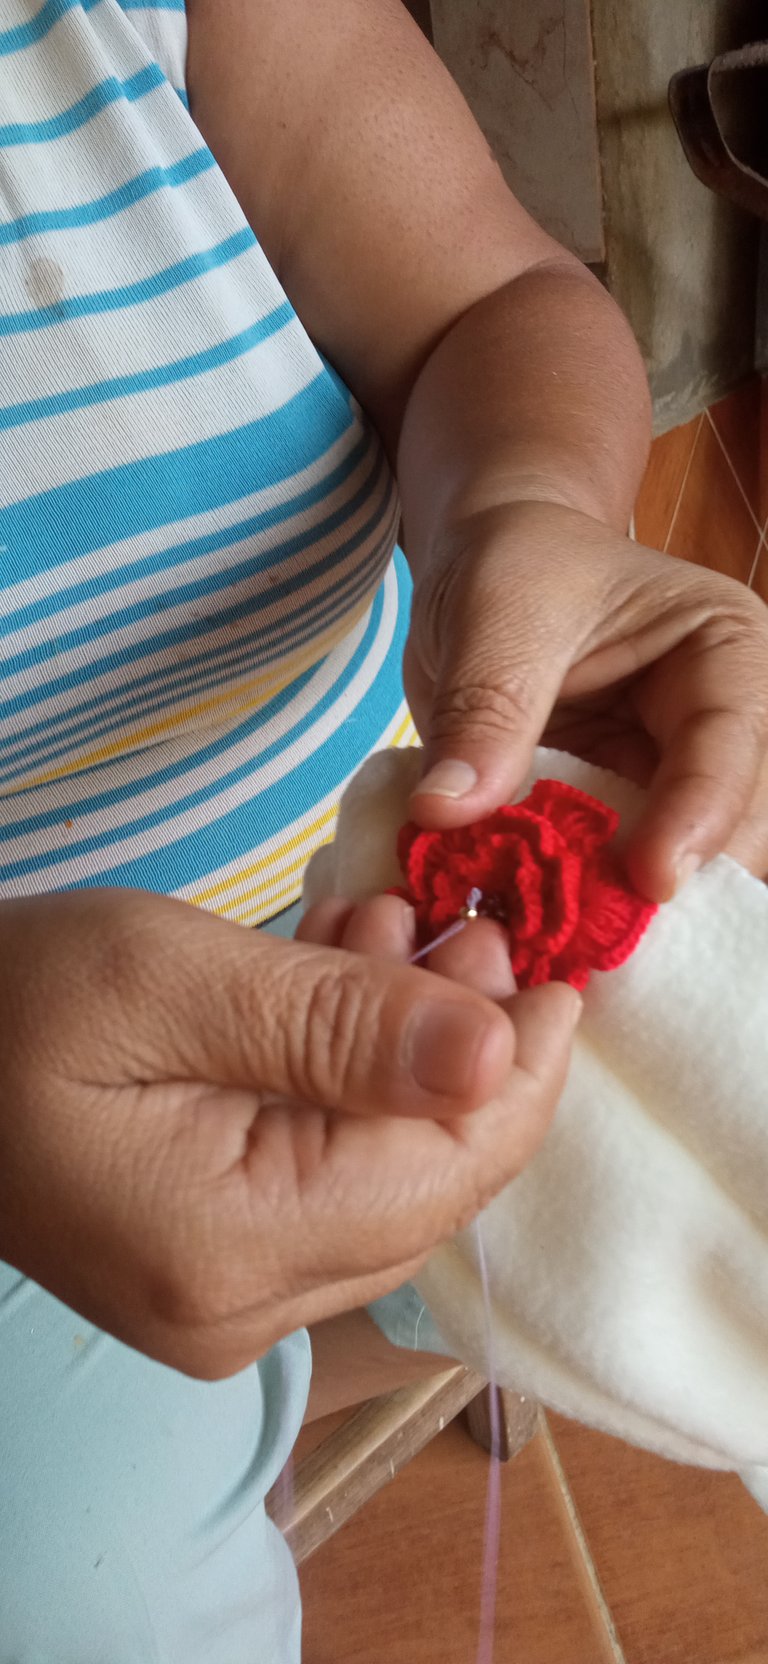
Paso 8:
Para concluir cosi las flores al tapaboca y les coloque en el centro las perlitas doradas.
Step 8:
To conclude, I sewed the flowers to the mouthpiece and placed the golden pearls in the center.
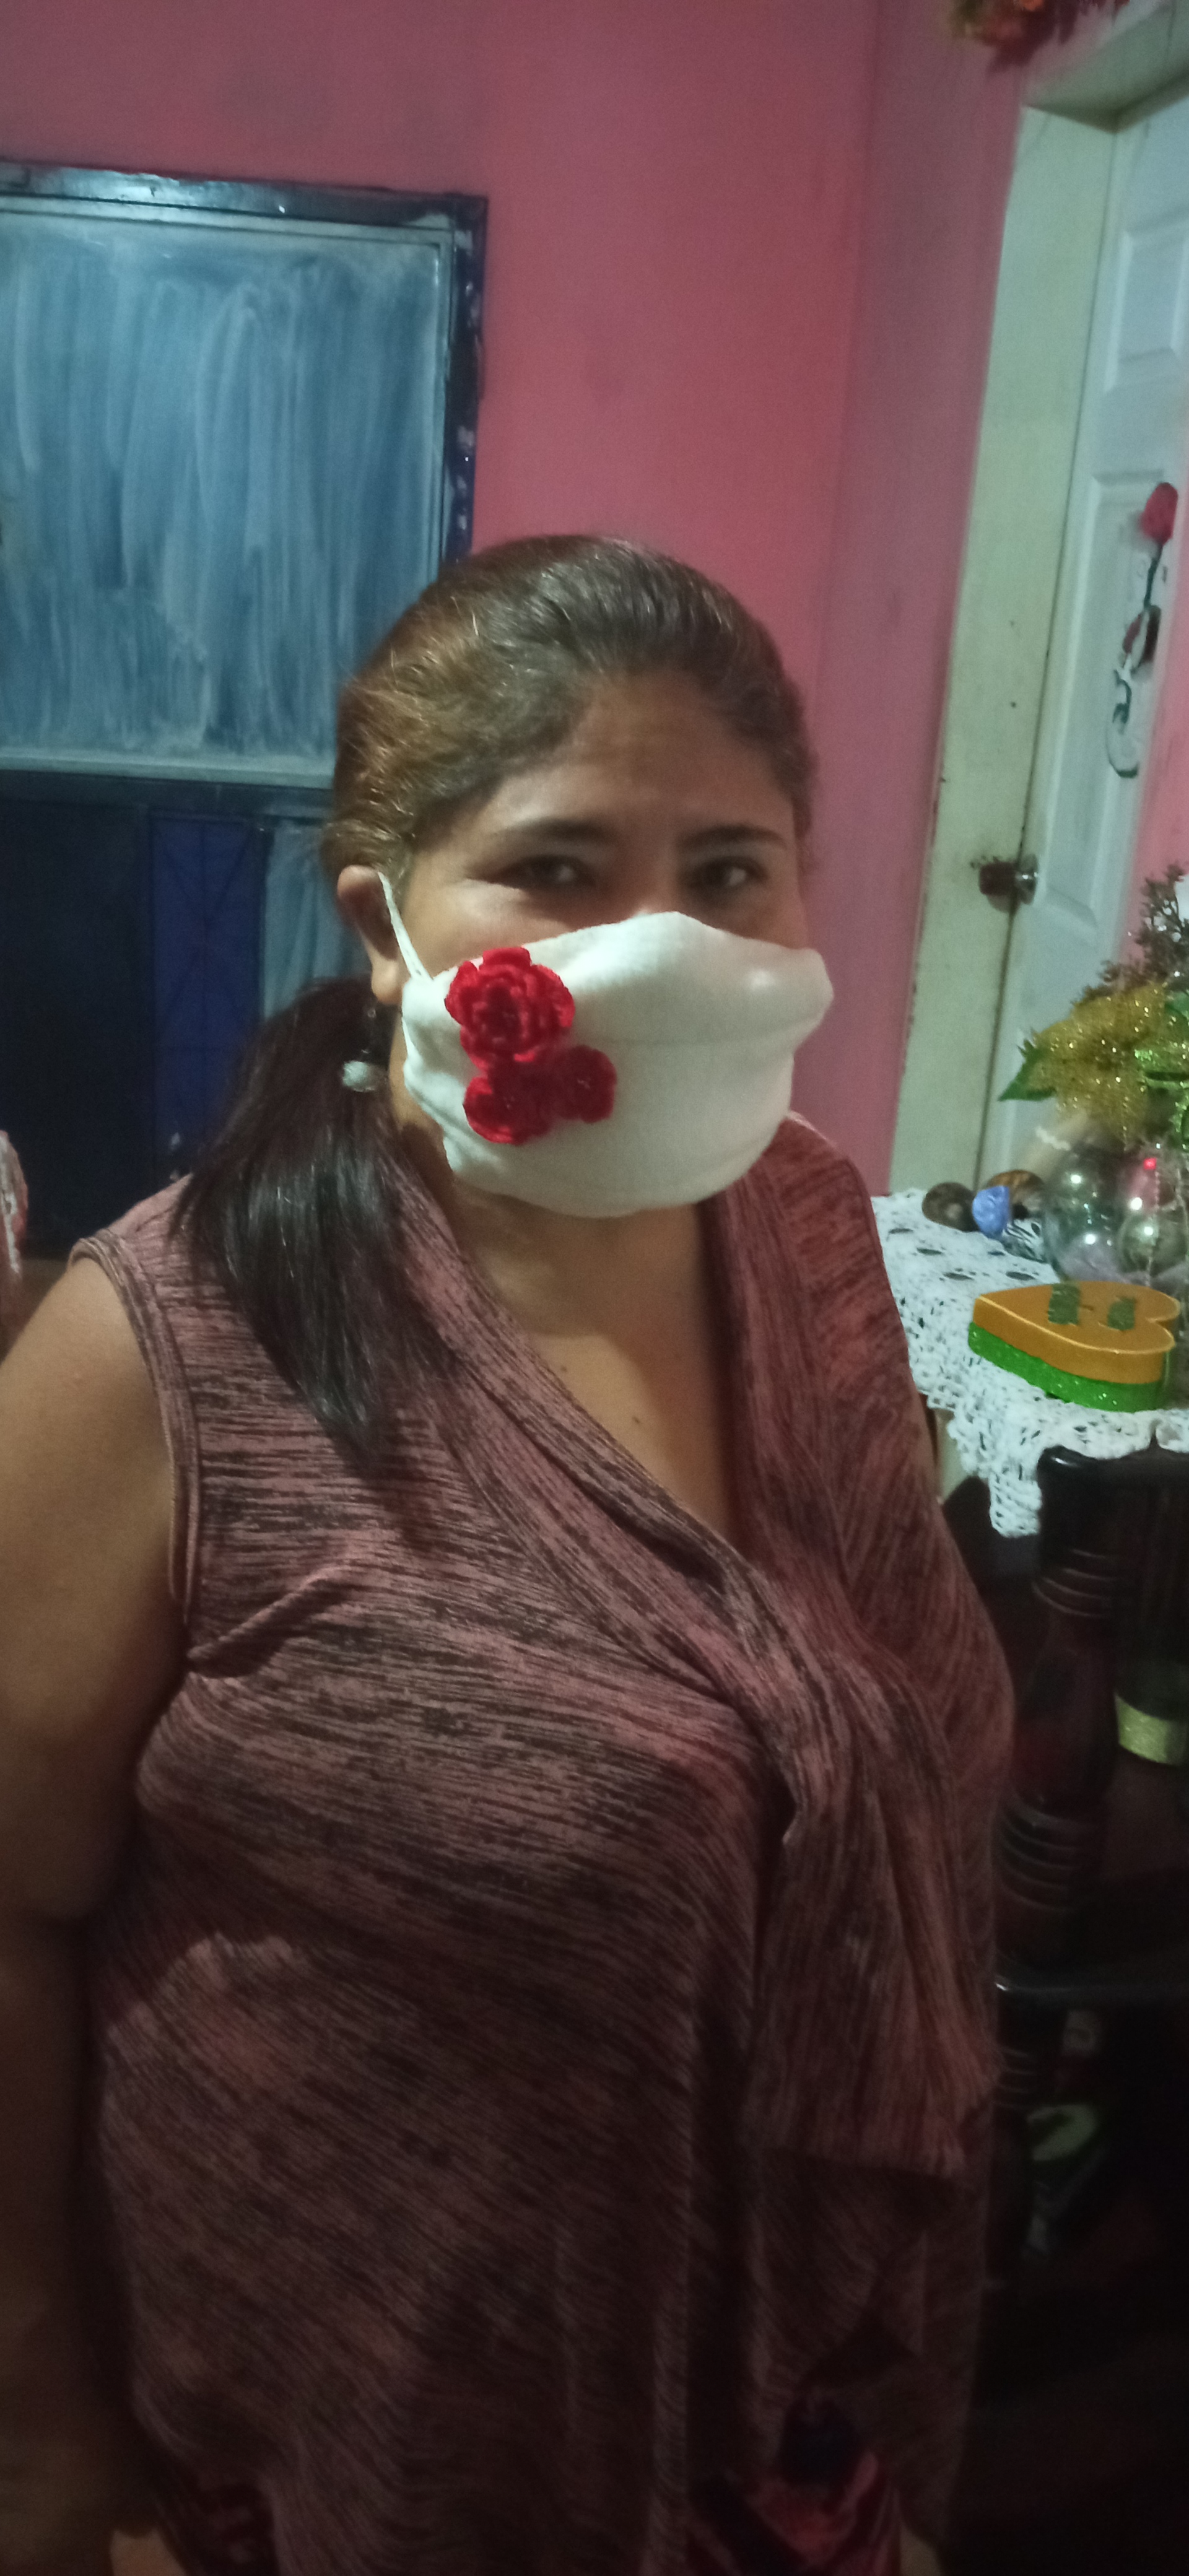
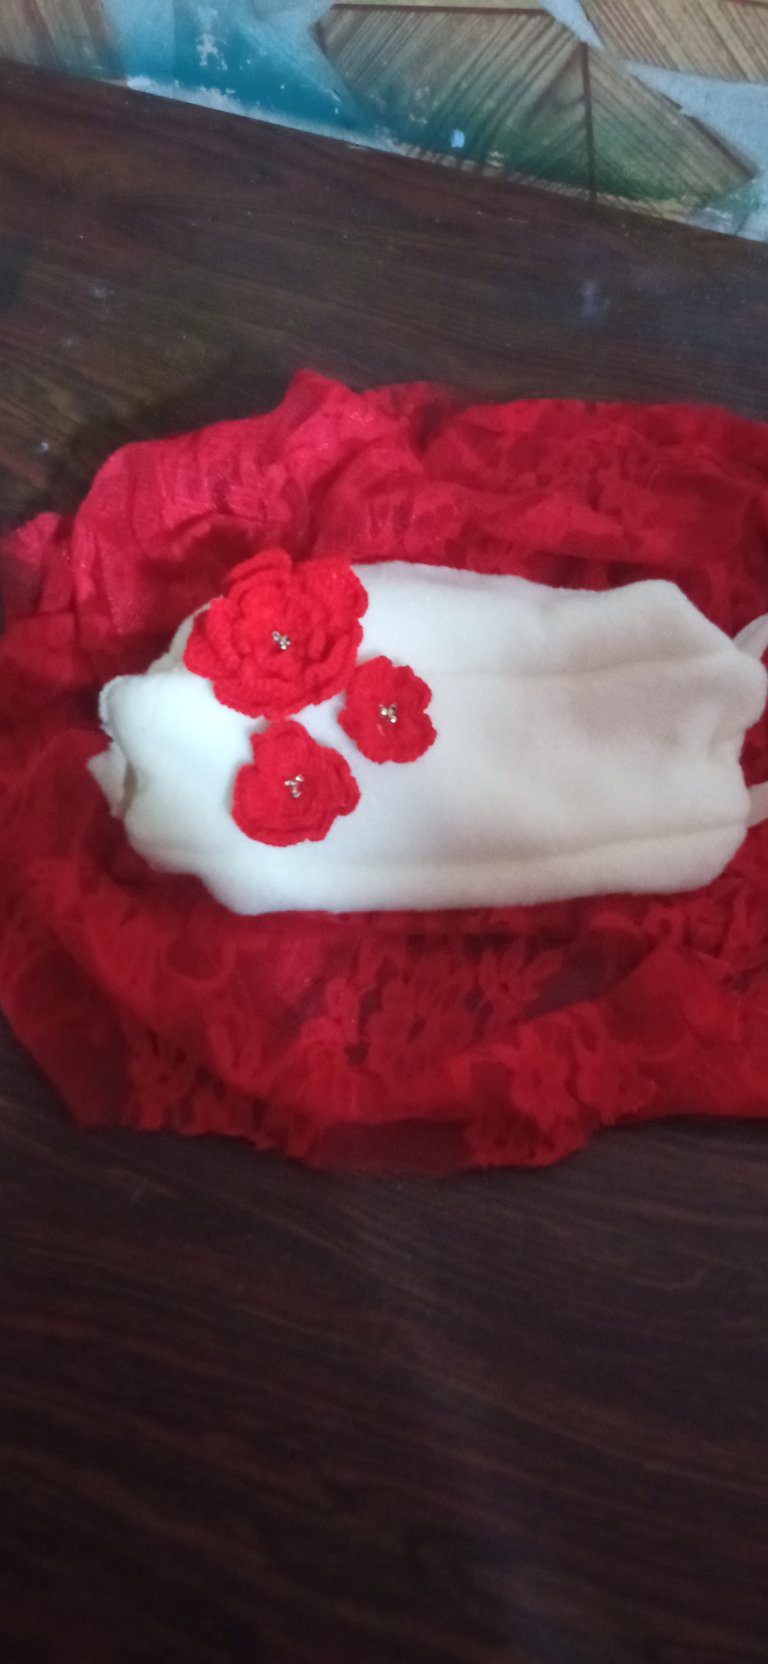
And this is the result friends, I hope you like it I accept all kinds of recommendations, suggestions hahaha!!!! because as I said before the sewing is not my forte the inteción is what counts. Thank you for reading my publication. The translation was made by the translator Deepl. Until another opportunity a hug you are loved!!!!.