Wonderful Tuesday have all my beautiful loves, I hope you are all well and I have a week full of blessings and very productive, I welcome you once again I speak and this time I want to present for all of you a beautiful and creative piñata inspired by the cartoon baby shark, this creation is ideal to pamper the little ones of the house at children's parties, I want to present to you this delicate and beautiful craft work, in view that one of my nephews will soon be birthday and is a fan of this cartoon I set out to make this lovely piñata, the same will provide that the same will serve to dispense the different sweets and when it comes time to throw the piñata all the children will be eager to give stick to the piñata and take pictures with it, the most important thing is that my nephew and the little ones at the party enjoy themselves and feel happy, that is why I invite you to join me during the development of this publication in addition to that you can follow step by step each of the instructions to finish and enjoy this work.
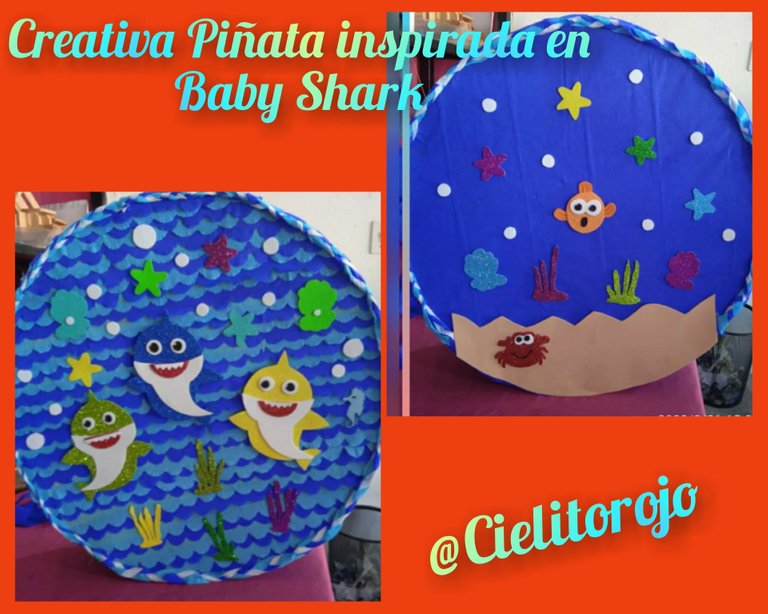
Maravilloso martes tengan todos mis amores bonitos, espero que todos se encuentren bien y tengo una semana llena de bendiciones y muy productivas, les doy la bienvenida una vez más hablo y en esta ocasión quiero presentar para todos ustedes una bonita y creativa piñata inspirada en la comiquita baby shark, esta creación es ideal para consentir a los pequeños de la casa en las fiestas infantiles, quiero presentar para usted esté delicado y bonito trabajo de manualidades, en vista de que uno de mis sobrinos próximamente va a estar de cumpleaños y es fanático a esta comiquita me dispuse a realizar esta encantadora piñata, la misma va a proporcionar que la misma sirva para dispensar las diferentes chucherías y cuando llegue la hora de tirar la piñata todos los niños van a estar con ganas de darle palo a la piñata y tomarse fotos con la misma, lo más importante es que mi sobrino y los pequeños en la fiesta se disfruten y se sientan contentos, es por eso que les invito a que me acompañen durante el desarrollo de esta publicación además de que pueda seguir paso a paso cada una de las instrucciones para finalizar y disfrutar de este trabajo.
Materials:
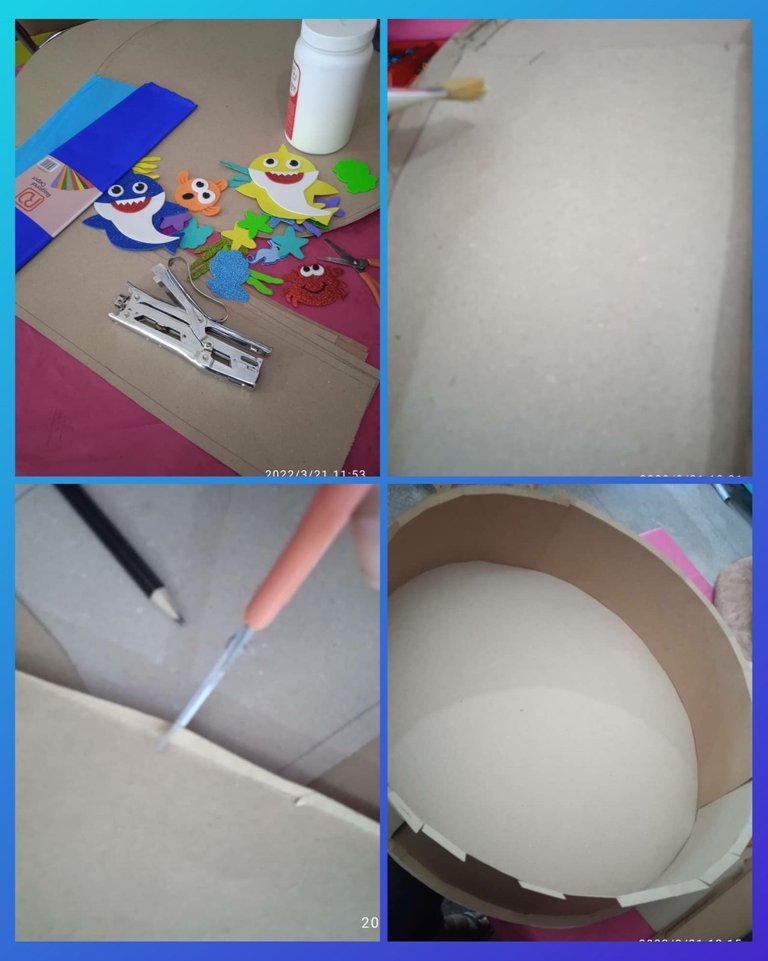
Cardboard 3 in kilo, light blue and king blue crepe paper, glue, scissors, pencil, silicone, paintbrush, stapler, blue/red/ white/ black/ green/ green/ flesh/ yellow/ orange/ purple foami.
Materiales:
Cartón 3 en kilo, papel crepé azul claro y azul rey, pega, tijera, lápiz, silicón, pincel, grapadora, foami de color azul /rojo/ blanco/ negro /verde/ carne/ amarillo/ anaranjado/ morado.
Step by step:
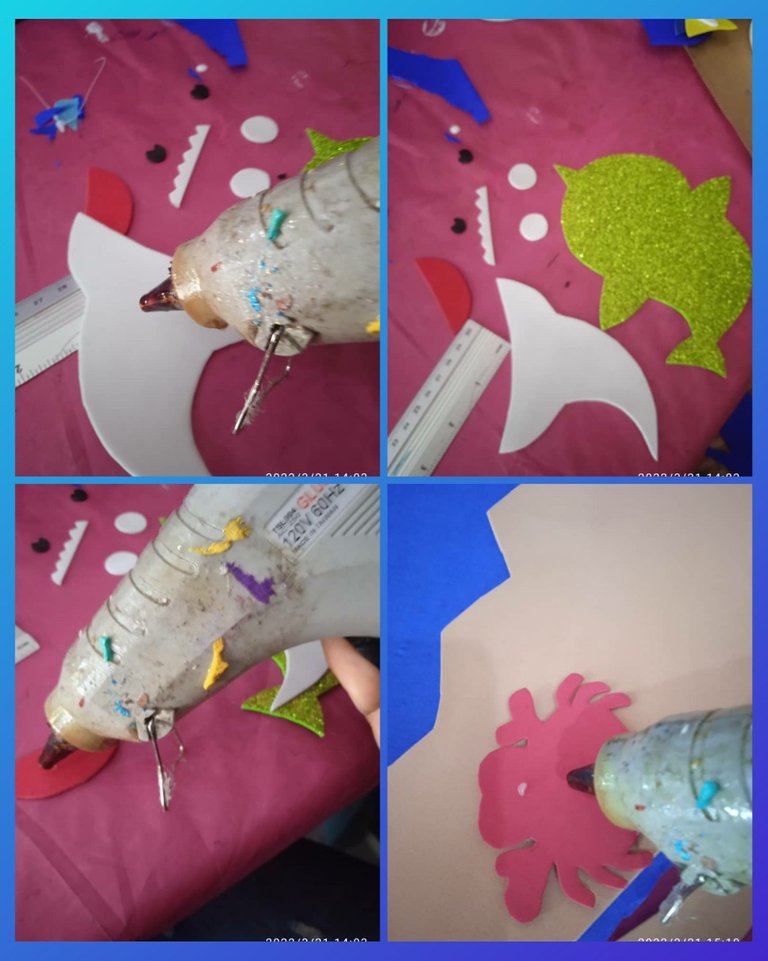
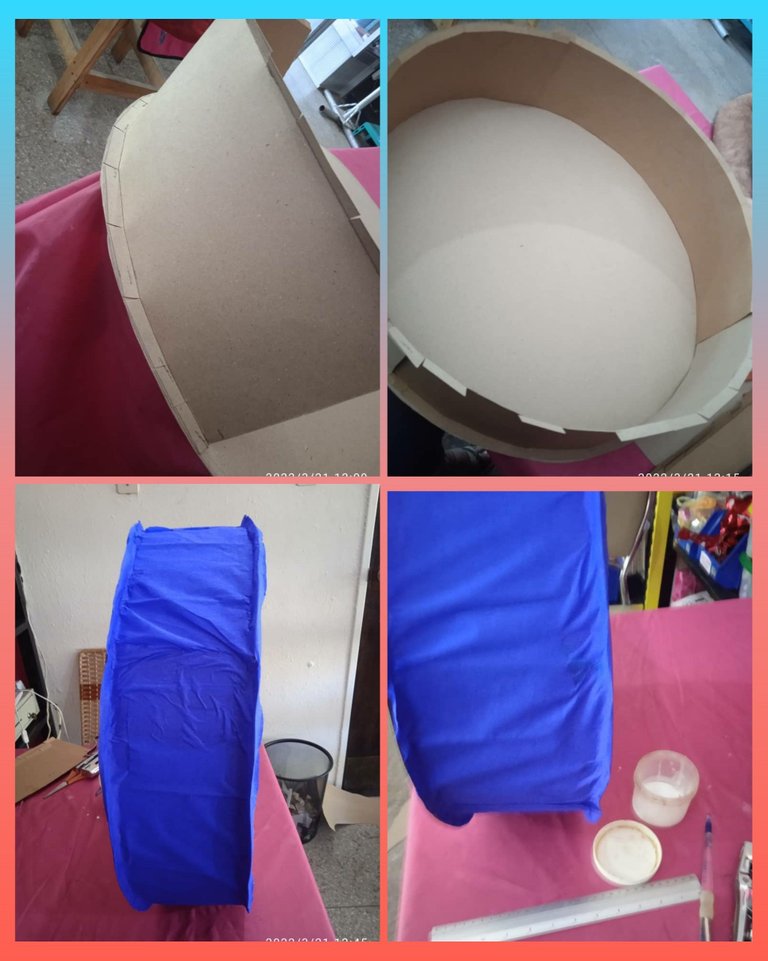
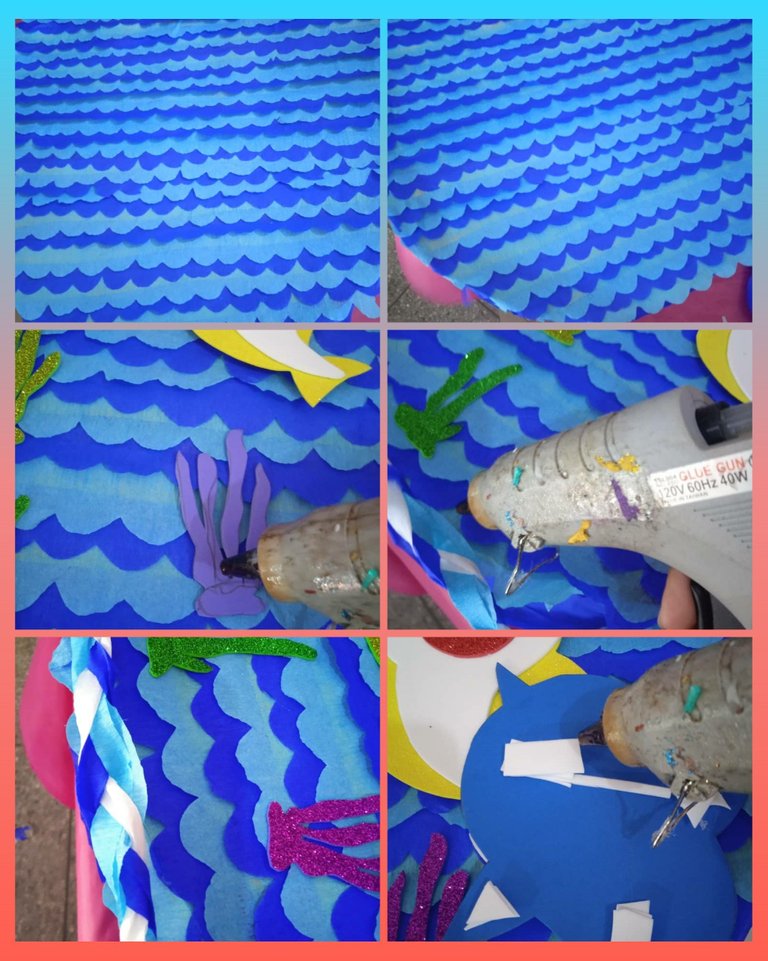
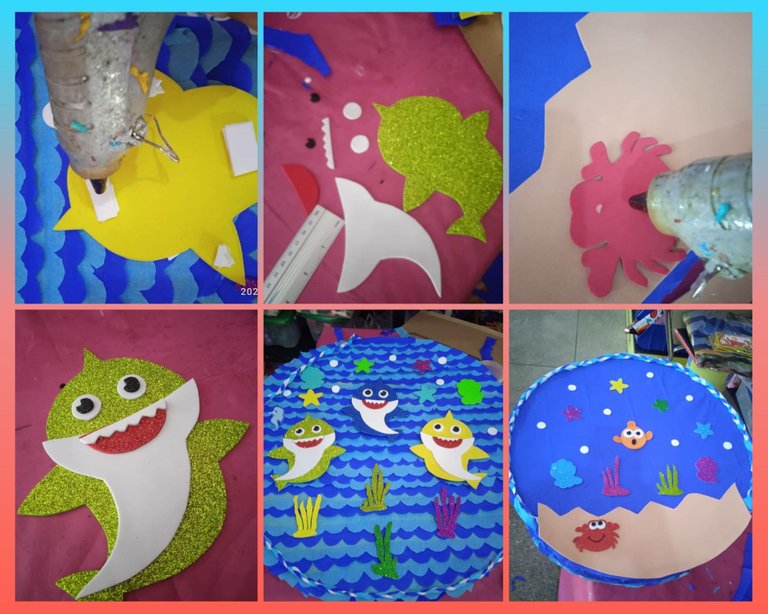
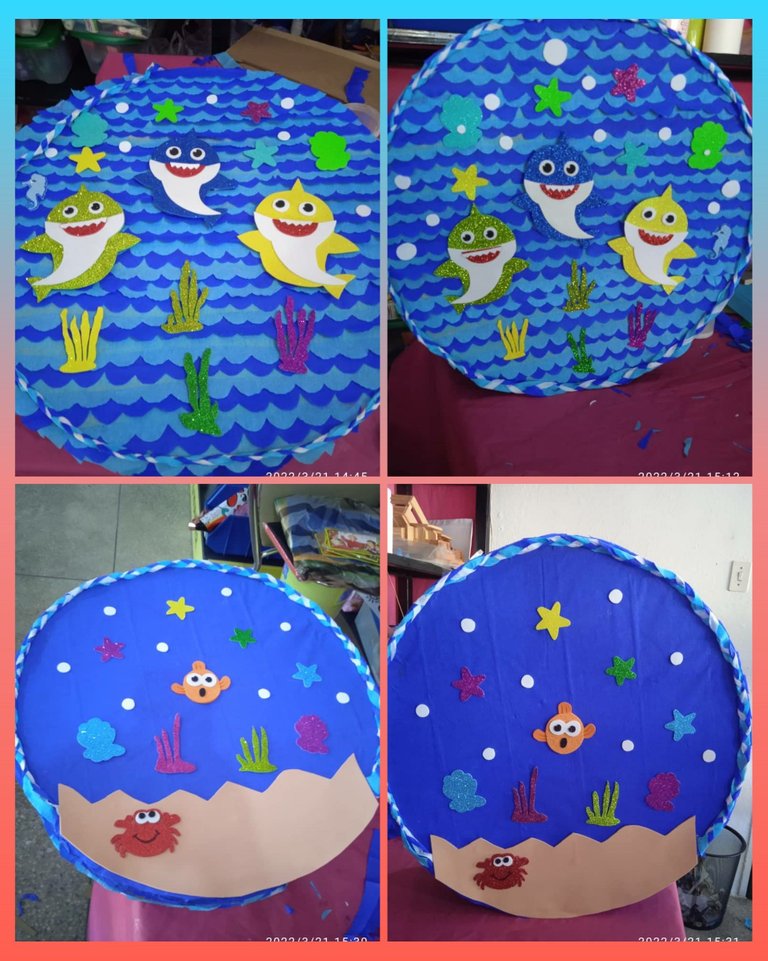
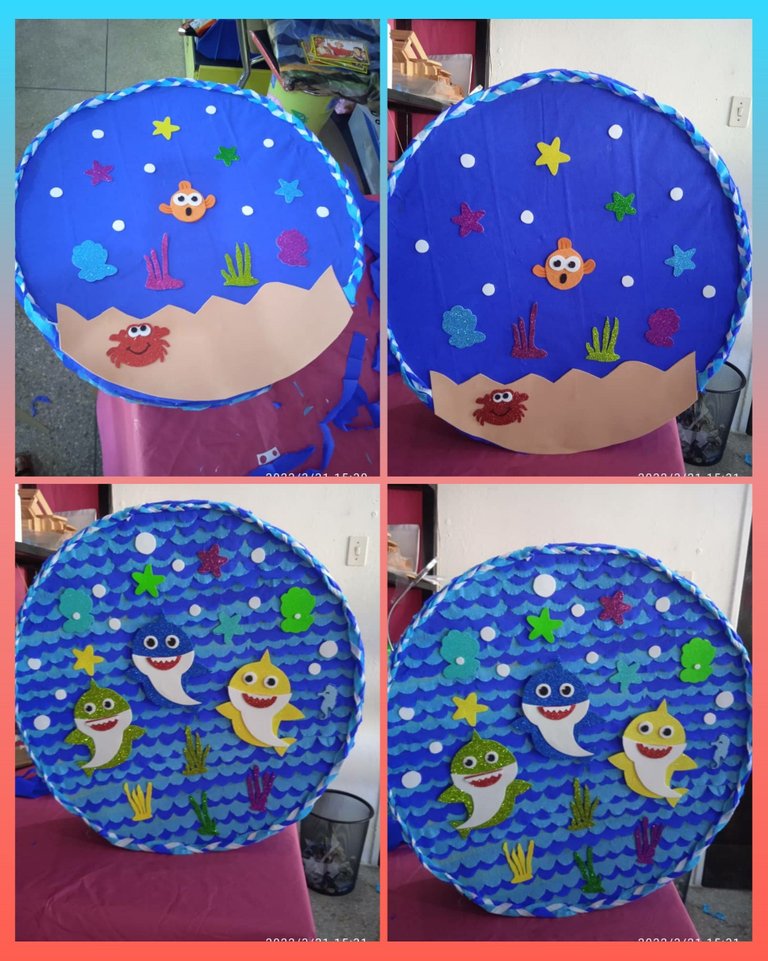
To start this work we must mark on the cardboard 3 in kilo two circumferences with the following measures 66 cm and several strips or rectangles of approximately 70 cm * 25 cm then proceed to cut out all the pieces of our cardboard then we begin to glue to go joining the pieces, we are going to place glue all around the edge of the circumference and to the ribbons we are going to make different cuts specifically on the edges in the form of tabs to fix and mold giving shape to the piñata and with the help of a stapler we are going to engrave to reinforce the union of the same also we are going to line both sides of the piñata and everything that would be our ribbons we are going to glue the lining with the king blue crepe paper also with different crepe paper we are going to cut different rectangles of approximately 8 cm at one of the ends. We will give it the shape of waves to cover the front face of our piñata we will glue intercalating the shades of the colors of the crepe paper in the same way we will cut ribbons from the crepe paper and we will start weaving making the shape of a line and we will glue it all around the edge of the circumference to cover the circumference to cover the piñata. We are going to glue it all around the edge of the circumference to cover the imperfections on the other side with the different foami with the help of molds drawn on sheets of paper, we are going to mark them on each one of the foamis and then cut and glue each one of the pieces and assemble the different sharks, algae, fish, crab, stars, circles that will simulate the water drops, having each of these pieces or characters of the comics we proceed to paste on each of the faces of our beautiful and fantastic piñata, being in such a way as I show you in the different photographic images.
Paso a paso:
Para iniciar este trabajo debemos marcar en el cartón 3 en kilo dos circunferencias con las siguientes medidas 66 cm y varios listones o rectángulos de aproximadamente 70 cm * 25 cm seguidamente procedemos a recortar todas las piezas de nuestro cartón seguidamente comenzamos a pegar para ir uniendo las piezas, vamos a colocar pega por toda la orilla de la circunferencia y a los listones le vamos a hacer diferentes cortes específicamente por las orillas en forma de pestañas para ir fijando y moldeando dándole forma a la piñata y con ayuda de una grapadora vamos en grabando para reforzar la unión de las mismas también forrar emos las dos caras de la piñata y todo lo que sería nuestro listones vamos a pegar la forrando con el papel crepé azul rey además con los diferentes papel crepé vamos a recortar diferentes rectángulo de aproximadamente 8 cm en uno de los extremos le daremos forma de ondas para cubrir la cara frontal de nuestra piñata pegaremos intercalando las tonalidades de los colores de papel crepé de igual manera recortaremos listones de los papeles crepé y vamos a comenzar a tejer haciendo forma de clineja y lo vamos a pegar por todo al borde de la circunferencia para cubrir las imperfecciones por otro lado con los diferentes foami con ayuda de moldes dibujados en hojas de papel los mismos vamos a marcar en cada uno de los foamis para luego recortar e ir pegando cada una de las piezas e ir armando los diferentes tiburones, algas, pescados, cangrejo, estrellas, círculos que van a simular las gotas de agua, al tener cada una de estas piezas o personajes de las comiquitas procedemos a pegar en cada una de las caras de nuestra bonita y fantástica piñata, quedando de tal manera así como les muestro en las diferentes imágenes fotográficas.
Thank you for reading me and your valuable support.
The photos are from me @cielitorojo
Gracias por leerme y su valioso apoyo.
Las fotos son de mí @cielitorojo
Traducido con traductor de Deepl.
 . Keep up the fantastic work
