Saludos a todas las bellas personas de la comunidad de #hivediy, un espacio para dar a conocer nuestra creatividad y habilidades para las manualidades. Es un placer estar nuevamente compartiendo con todos ustedes, espero se encuentren bien.
Greetings to all the beautiful people in the #hivediy community, a space to showcase our creativity and crafting skills. It is a pleasure to be again sharing with all of you, I hope you are well.
A mi hija pequeña le asignaron la elaboración de un portaretrato con ayuda de su representante, ya que apenas tiene 5 años y cursa tercer nivel de preescolar. Por lo que puse a trabajar mi imaginación y creatividad para realizar de forma práctica y rápida un lindo portaretrato. Aquí comparto con ustedes el paso a paso y materiales a utilizar.
My youngest daughter was assigned to make a picture frame with the help of her representative, since she is only 5 years old and is in the third grade of preschool. So I put my imagination and creativity to work to make a nice picture frame in a practical and quick way. Here I share with you the step by step and materials to use.
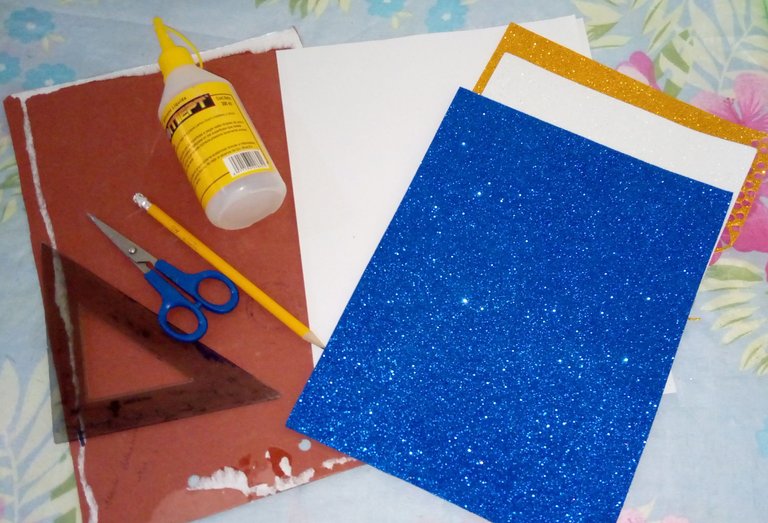
MATERIALES:
- Cartulina reciclada
- Hojas blancas
- Foami azul escarchado
- Foami dorado escarchado
- Lápiz
- Regla
- Tijera
- Silicón Liquido
- Saca bocado o abre hueco
MATERIALS:
- Recycled cardboard
- White sheets
- Blue frosted Foami
- Gold frosted foami
- Pencil
- Ruler
- Scissors
- Liquid Silicone
- Punch or hole opener
PASO A PASO
Paso 1:
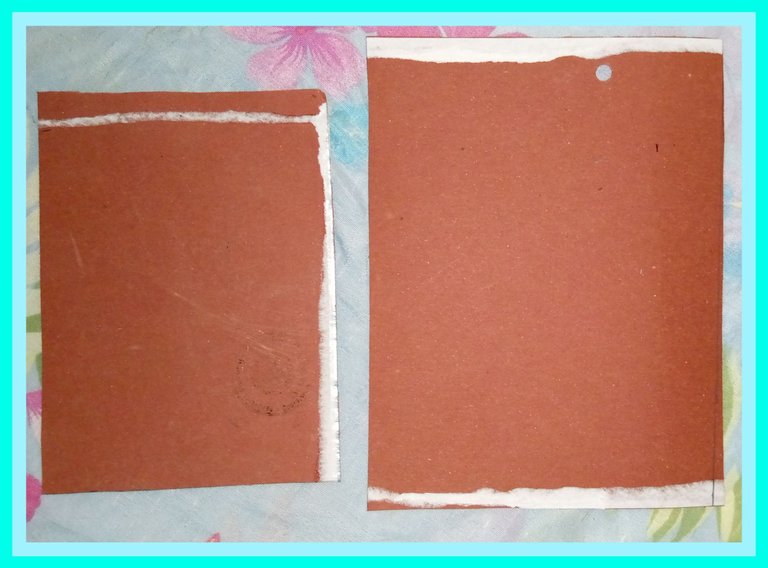
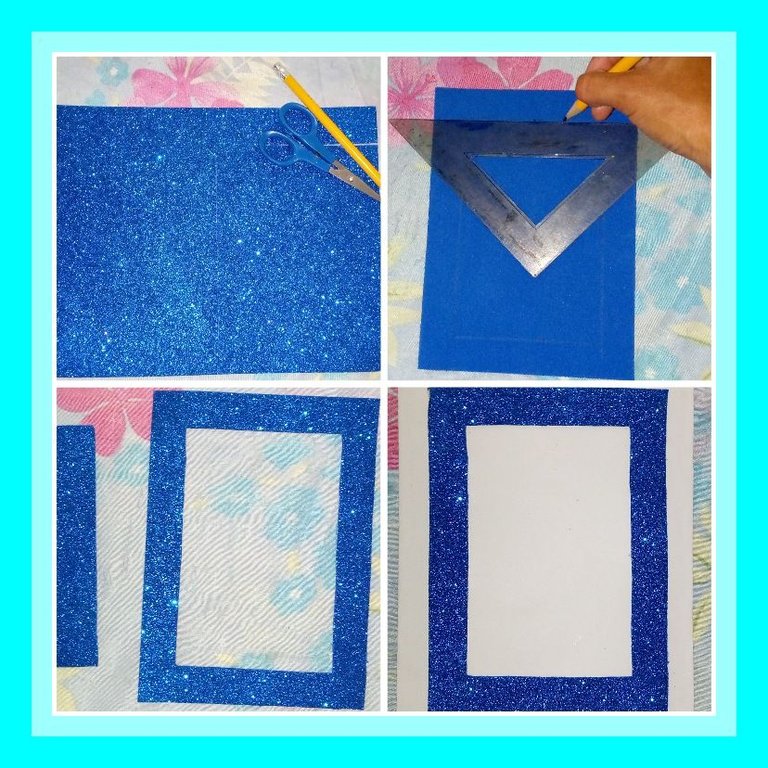
Recortamos dos Marcos, el primero de 18 centimetros de ancho y 22 centímetros de largo. El segundo de 13 centimetros de ancho y 18 centimetros de largo.
Paso 2:
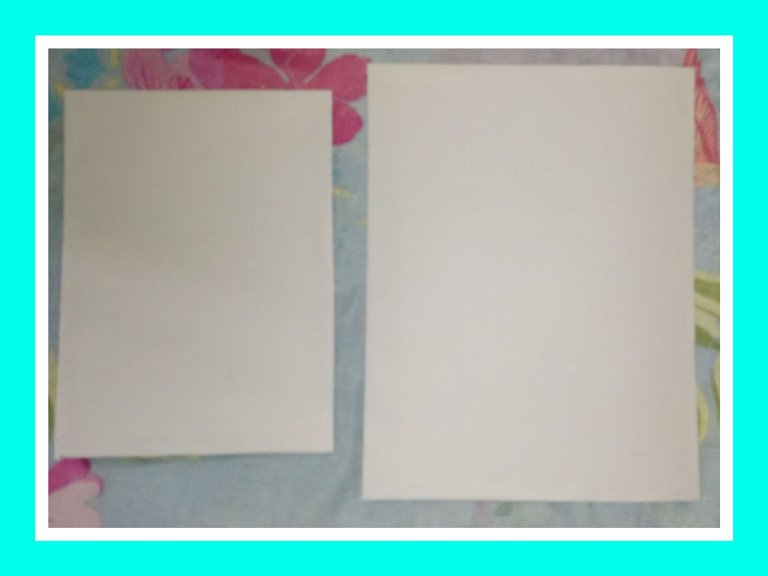
Forramos ambos marcos con hojas de reciclaje.
Paso 3:
Marcamos en el foami azul un rectángulo de 13 centimetros de ancho y 18 centimetros de largo, recortamos. Luego marcamos un pequeño rectángulo en el foami antes medido y recortado de 9 centímetros de ancho por 14 centímetros de largo y pegamos en nuestro marco de 13cm x 18cm.
Paso 4:
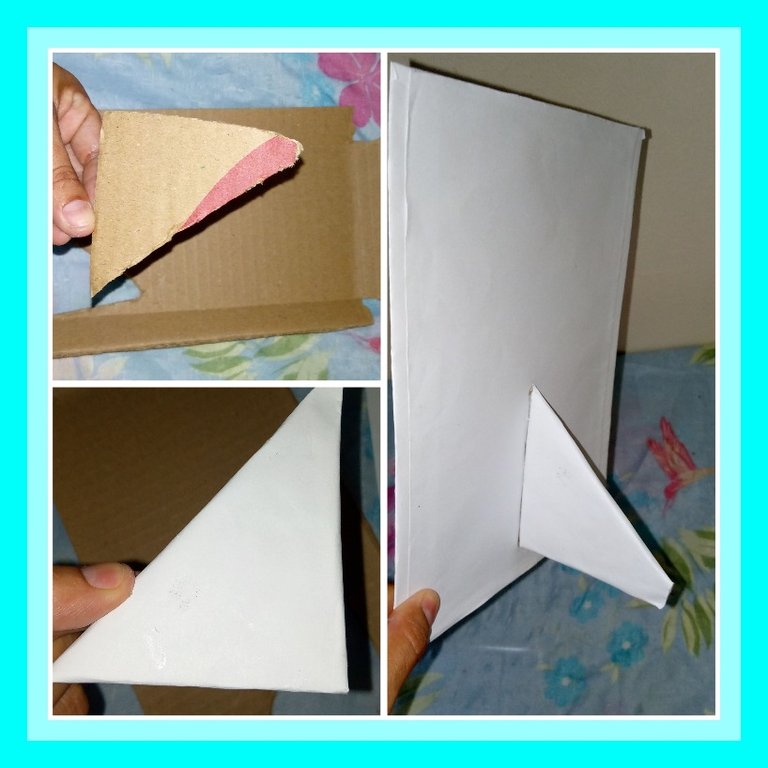
Marcamos en el cartón reciclado restante marcamos un pequeño rectángulo, forramos con hojas blancas y pegamos a nuestro porta retrato para darle firmeza y estabilidad.
Paso 5:
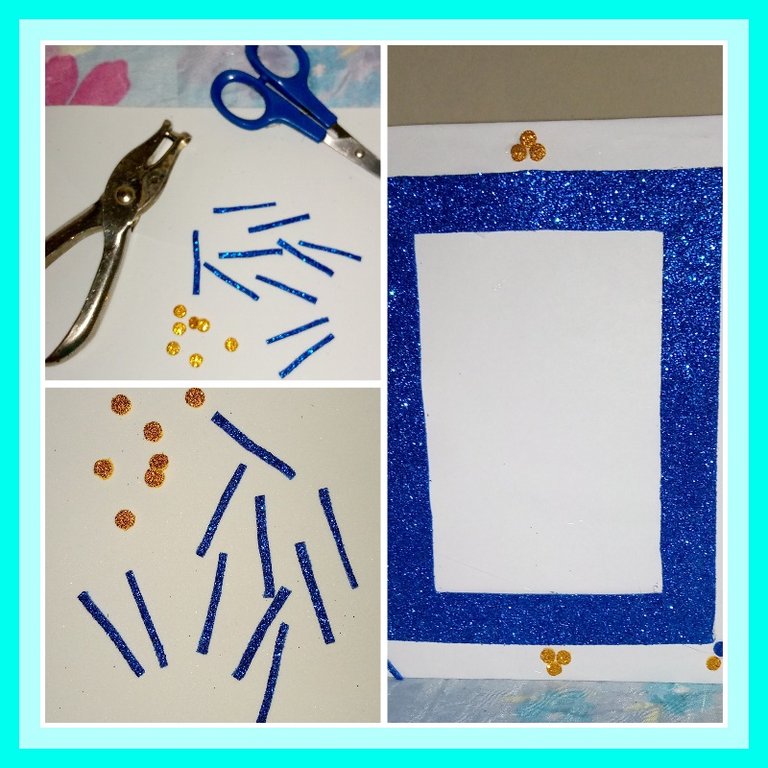
Con el saca bocado o abre hueco sacamos pequeños círculos al foami dorado y azul; comenzamos para decorar nuestro porta retrato, también recortamos pequeñas tiras de foami azul y pegamos en los bordes.
Paso 6:
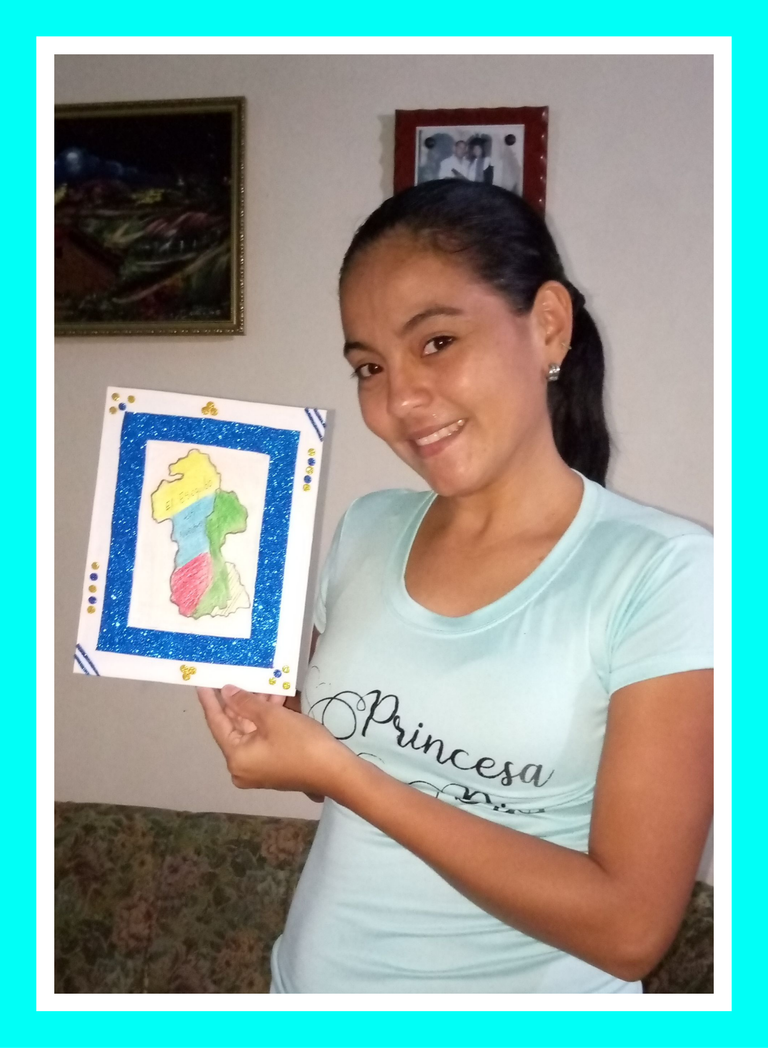
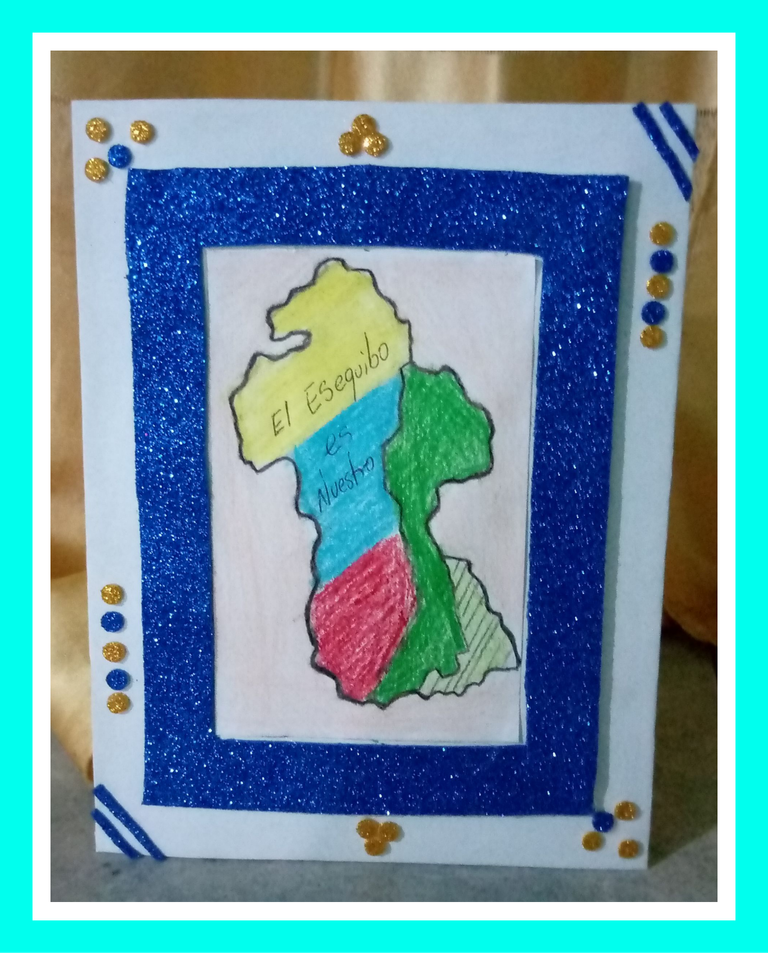
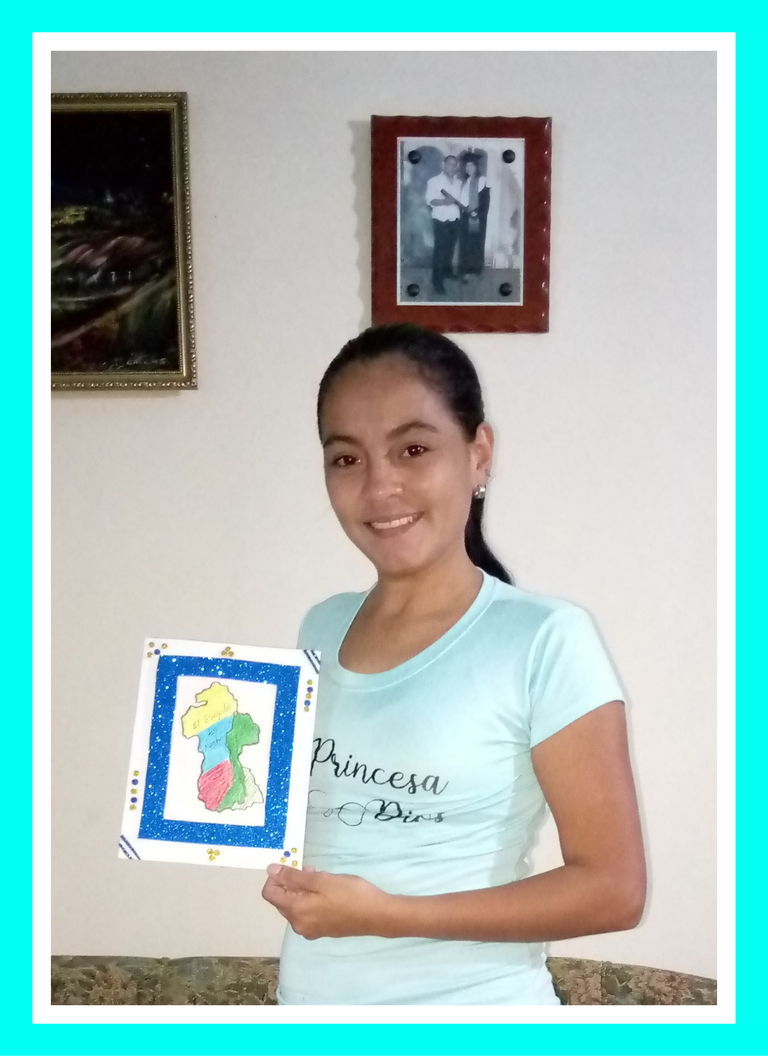
Al cumplir con los pasos anteriores obtendremos un hermoso portaretrato en el cual podremos colocar alguna foto o imagen de nuestra preferencia, en este caso coloqué el dibujo alusivo al mapa del territorio Esequibo, ya que es para una actividad escolar.
STEP BY STEP.
Step 1:.
Cut out two frames, the first one of 18 centimeters wide and 22 centimeters long. The second one is 13 centimeters wide and 18 centimeters long.
Step 2:.
We cover both frames with recycled leaves.
Step 3: Step 4.
We mark on the blue foami a rectangle of 13 centimeters wide and 18 centimeters long, cut it out. Then we mark a small rectangle on the previously measured and cut out foami of 9 centimeters wide by 14 centimeters long and glue on our frame of 13cm x 18cm.
Step 4:.
We mark a small rectangle on the remaining recycled cardboard, line it with white sheets and glue it to our portrait frame to give it firmness and stability.
Step 5:
With the punch or hole opener, we cut small circles out of the gold and blue foami; we begin to decorate our portrait holder, we also cut small strips of blue foami and glue them on the edges.
Step 6:.
When we complete the previous steps we will obtain a beautiful portrait holder in which we can place a photo or image of our preference, in this case I placed the drawing alluding to the map of the Esequibo territory, since it is for a school activity.
Gracias por visitar y leer mi publicación, espero sea de su total agrado. Bendiciones a todos.
-Las fotos son de mi autoría y exclusivas para esta publicación.
-Cámara usada: teléfono Tecno Spark 8c
-Editor de fotos Picsart app
-Traductor Deepl.com
Thank you for visiting and reading my publication, I hope you enjoy it. Blessings to all.
-The photos are of my authorship and exclusive for this publication.
-Camera used: Tecno Spark 8c phone.
-Photo editor Picsart app
-Deepl.com translator


