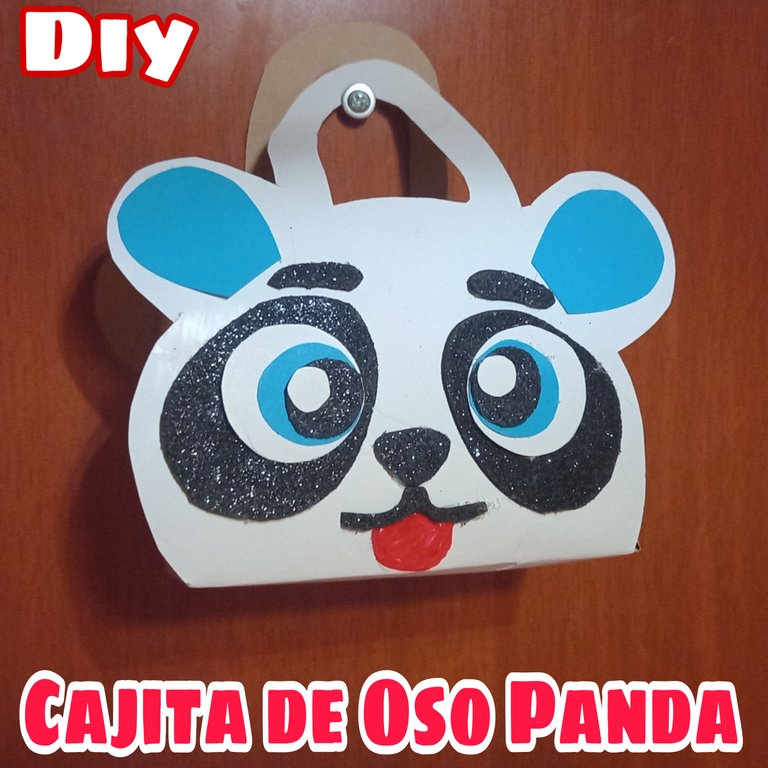
Hola qué tal mi linda familia de #Hive deseo que estén pasando un lindo día con mucha salud, para mí es un gusto compartir con todos ustedes mi participación en el creativo concurso de "Diseña tu plantilla y decora a tu gusto" moderado por nuestro amigo hiver @gaboamc2393, la cajita qué les quiero enseñar a realizar, es una cajita en forma de oso panda con asas y seguro, ideal para fiestas temáticas, sirven como cotillones o golocinero. ¡Acompáñame en éste tutorial!.
Hello my beautiful #Hive family, I hope you are having a nice day with lots of health, for me it is a pleasure to share with you all my participation in the creative contest of "Design your template and decorate to your liking " moderated by our friend hiver @gaboa, the box I want to teach you how to make, is a panda bear shaped box with handles and insurance, ideal for theme parties, serve as cotillions or golocinero. Join me in this tutorial!.
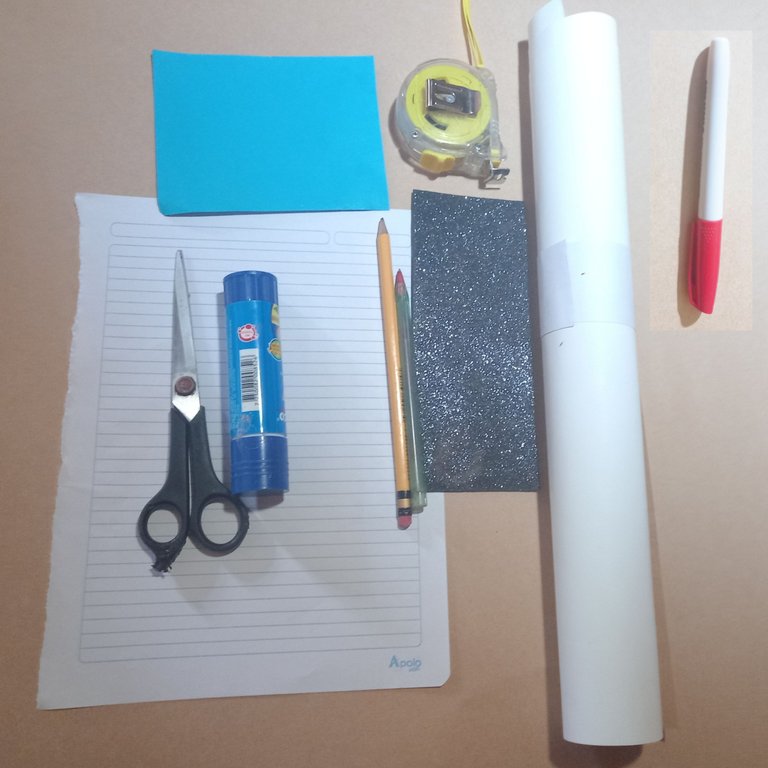
- Cartulina de cartón blanca.
- Cartulina azul.
- foami negro escarchado.
- Lápiz.
- Marcador rojo.
- Metro.
- Pega en barra.
- White cardboard cardboard.
- Blue cardboard.
- Black frosted foami.
- Pencil.
- Red marker.
- Tape measure.
- Glue stick.
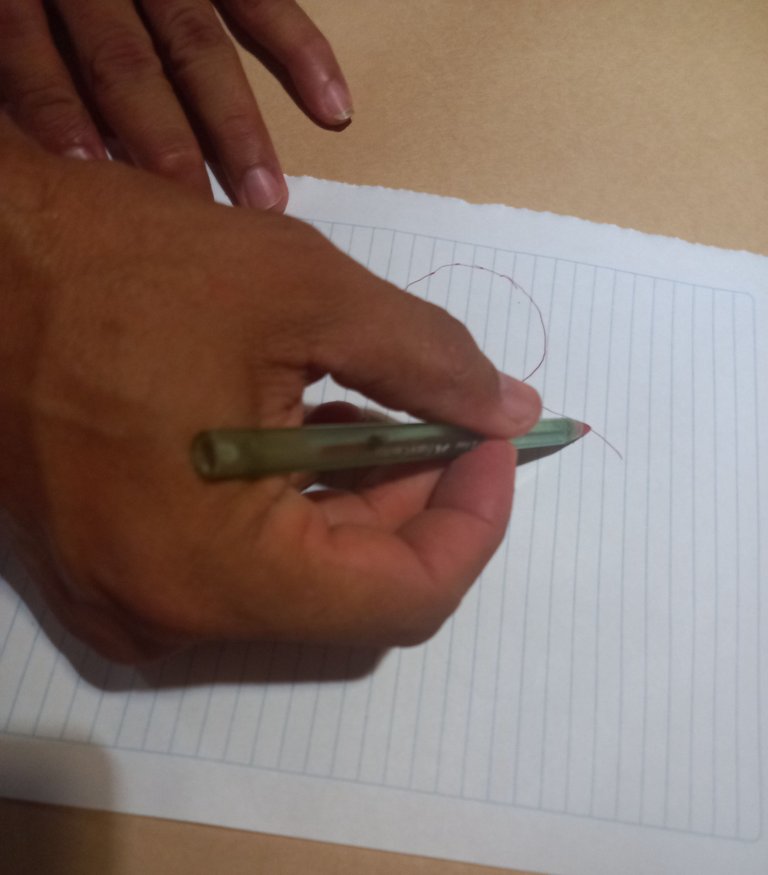
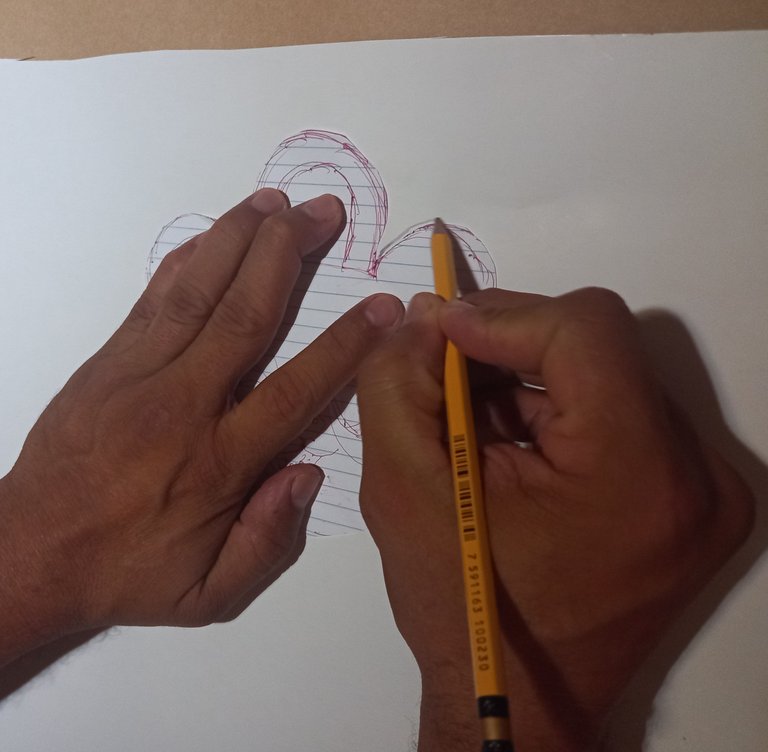
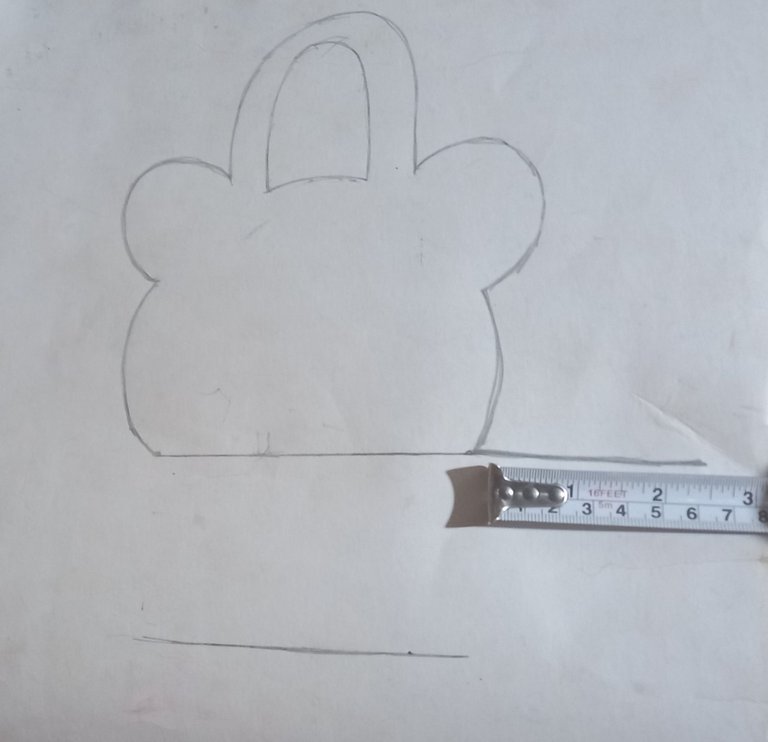
Primero comenzaremos dibujando la carita de un oso panda en la hoja de cuaderno y la recortamos.
First we will start by drawing the face of a panda bear on the notebook sheet and cut it out.
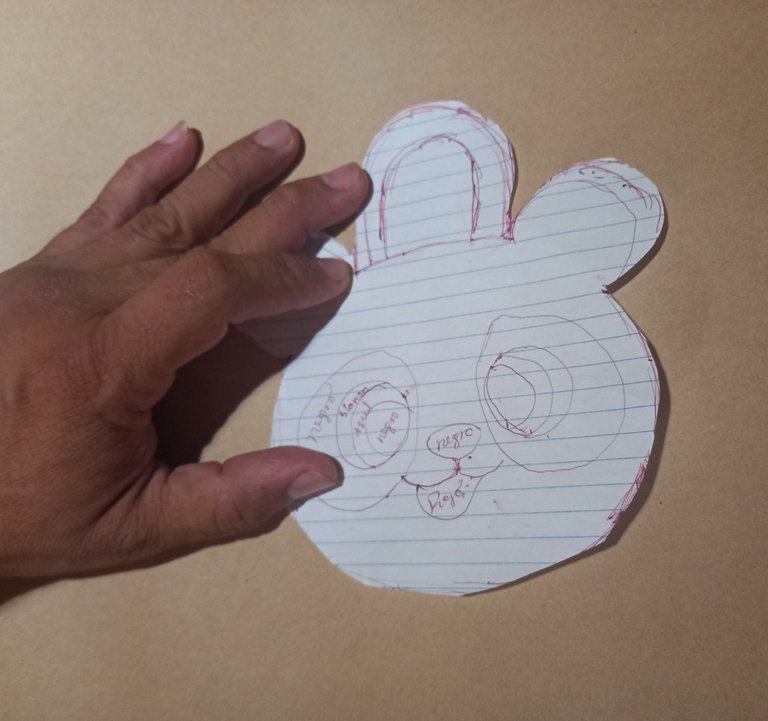
Marcamos la carita del oso panda En la cartulina de cartón blanca.
We mark the face of the panda bear on the white cardboard.
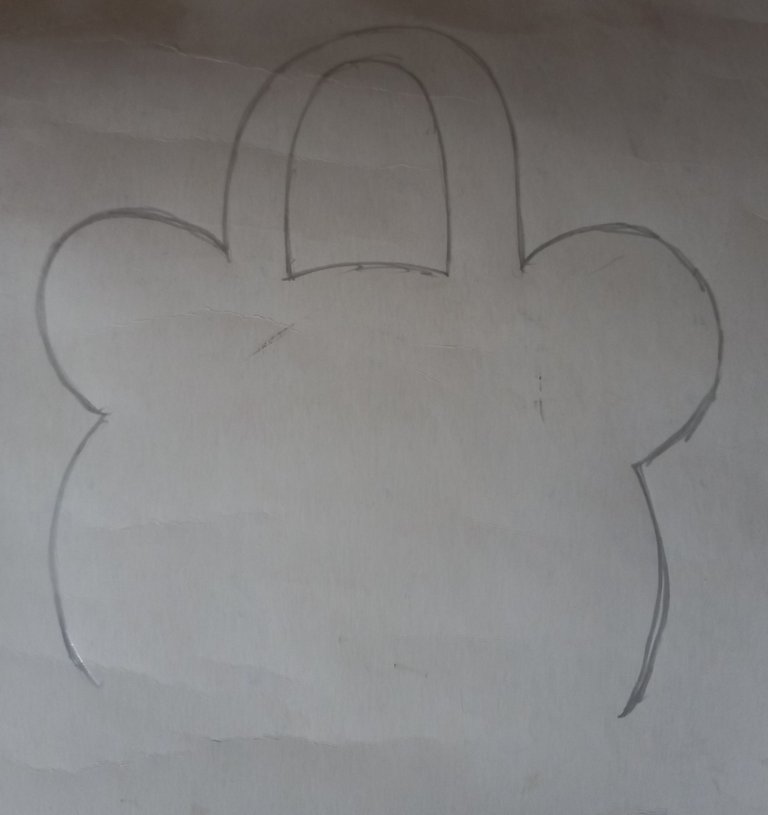
Trazamos una primera línea horizontal debajo de la cara del oso de 11 cm de largo y otra igual debajo de la primera, a una distancia de 6cm para hacer la base de la caja.
We draw a first horizontal line under the face of the bear 11 cm long and another one the same under the first one, at a distance of 6 cm to make the base of the box.
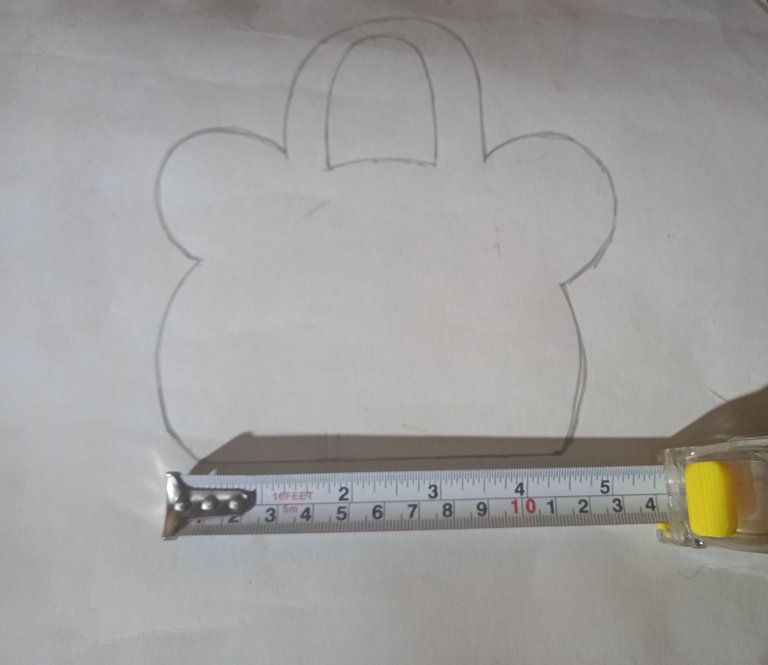
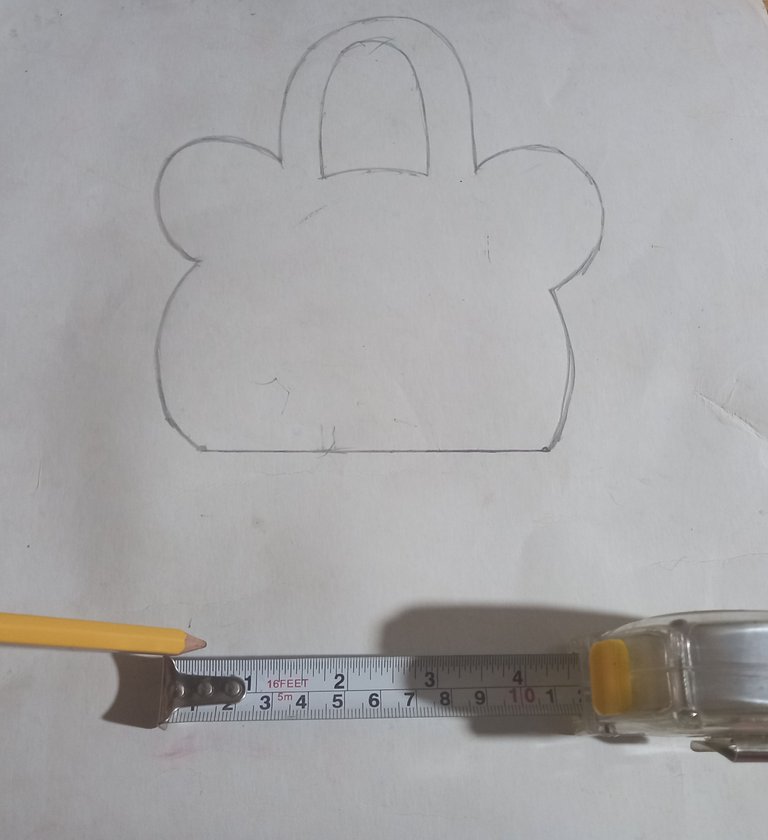
Después haremos otra línea horizontal de 7cm de largo, la cuál uniremos con la línea de 11 cm esto lo haremos en cada lado más en la parte de abajo para hacer los laterales de la caja.
Then we will make another horizontal line of 7 cm long, which we will join with the 11 cm line. We will do this on each side plus at the bottom to make the sides of the box.
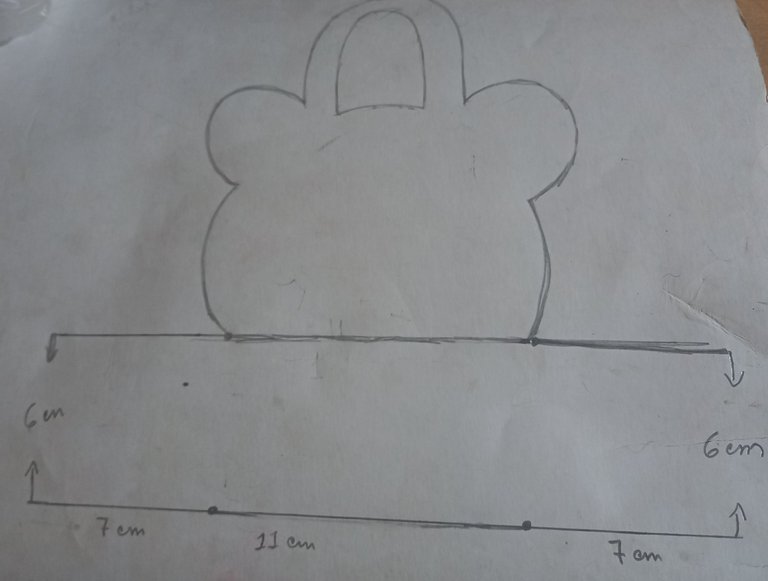
Posteriormente hacemos la otra carita para obtener las dos piezas o las dos caras de la caja.
Then we make the other side to obtain the two pieces or the two sides of the box.
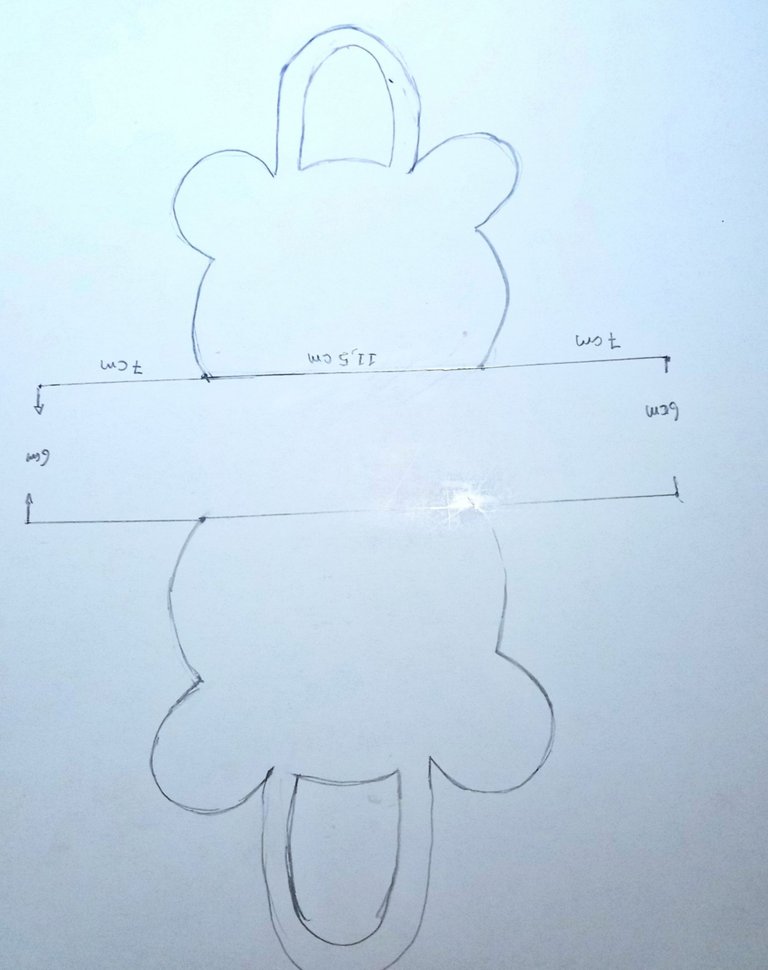
Cuándo hayamos terminado de dibujar o hacer el diseño de la plantilla, la remarcamos con marcador rojo, hacemos las pestañas en las lineas de 7cm de largo y recortamos.
When we have finished drawing or making the design of the template, we mark it with red marker, make the tabs on the 7cm long lines and cut them out.
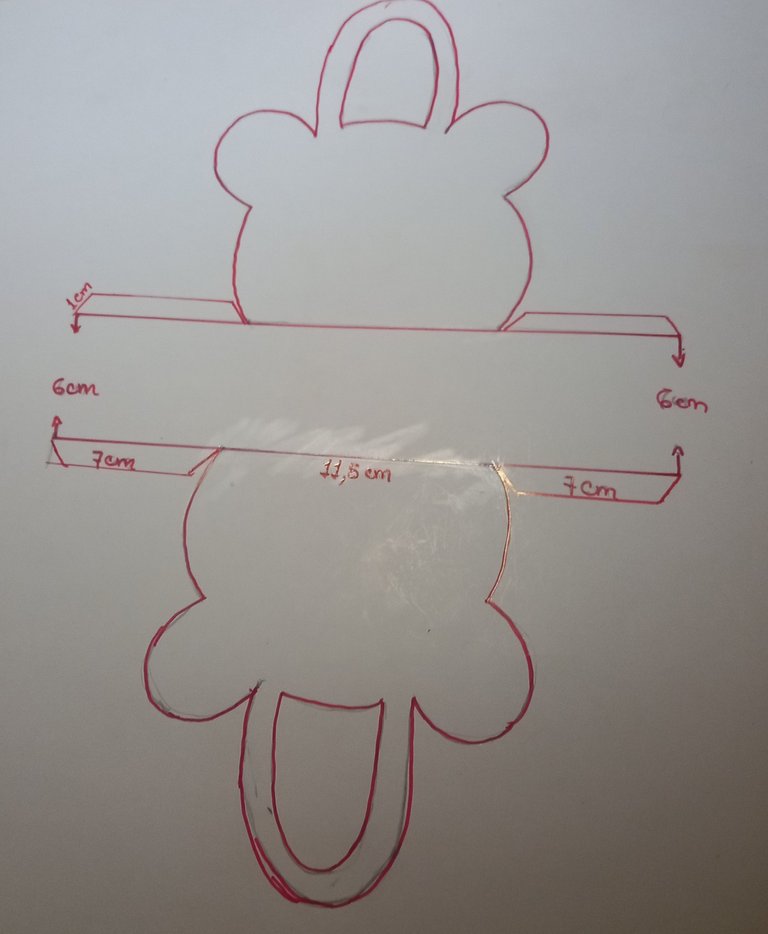
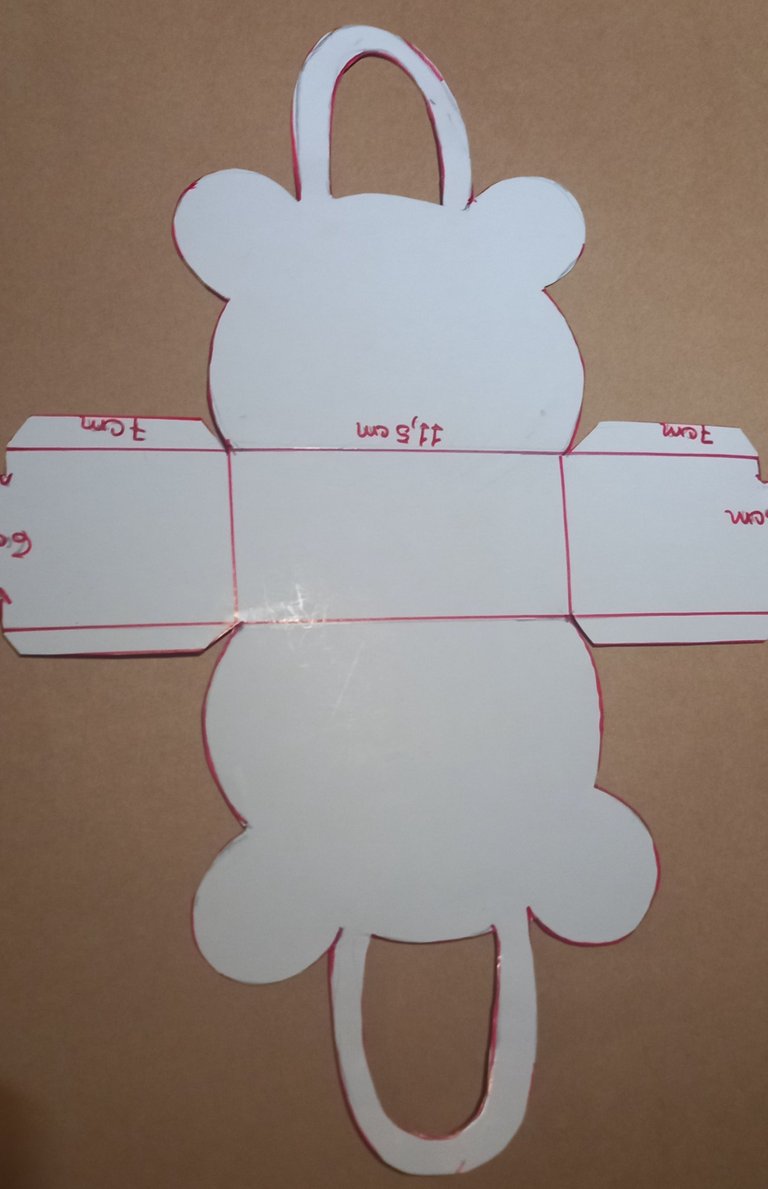
Una vez que tengamos nuestra plantilla procedemos a marcarla sobre el revés de la cartulina de cartón , agregamos 7 cm más a los laterales para hacer el seguro de la cajita en forma de gancho y recortamos.
Once we have our template we proceed to mark it on the back of the cardboard cardboard, add 7 cm more to the sides to make the lock of the box in the shape of a hook and cut it out.
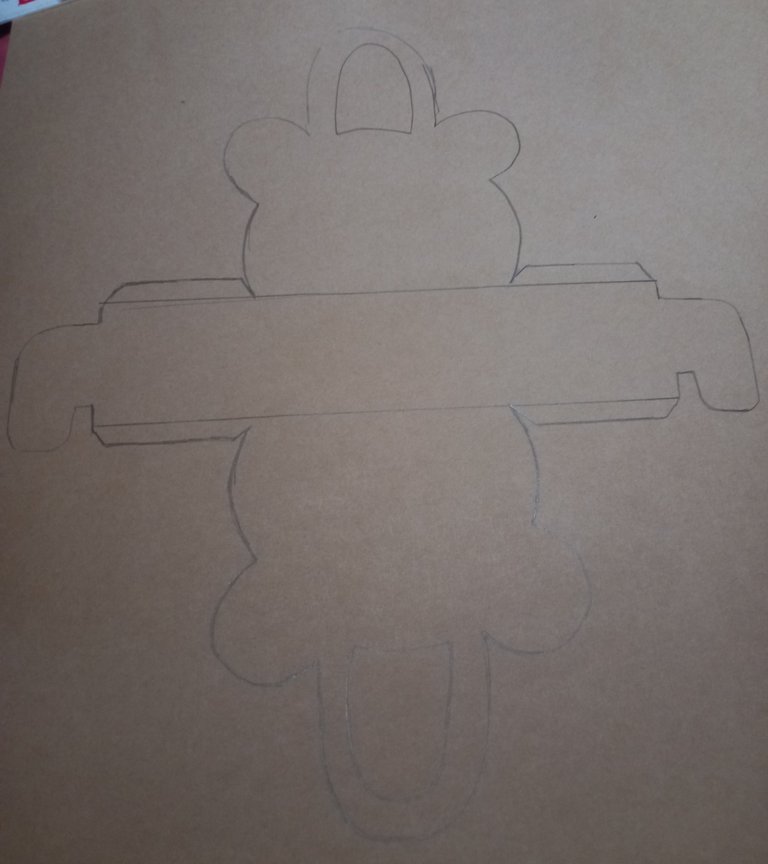
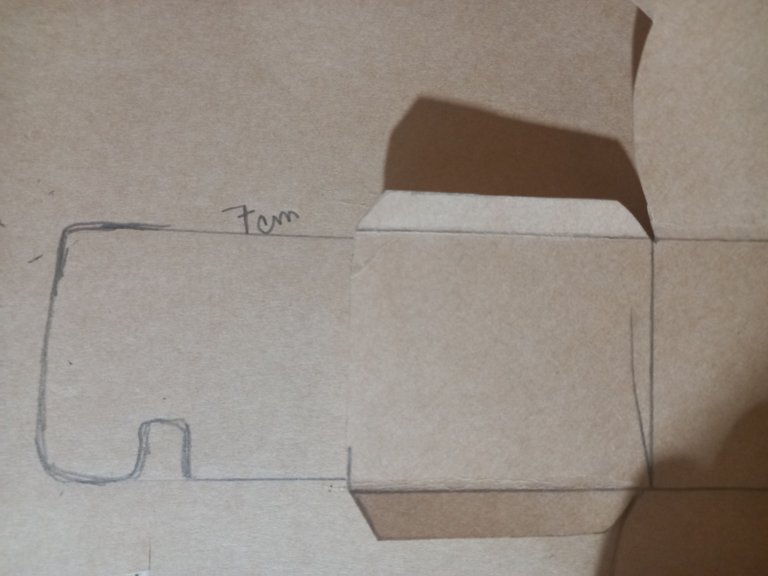
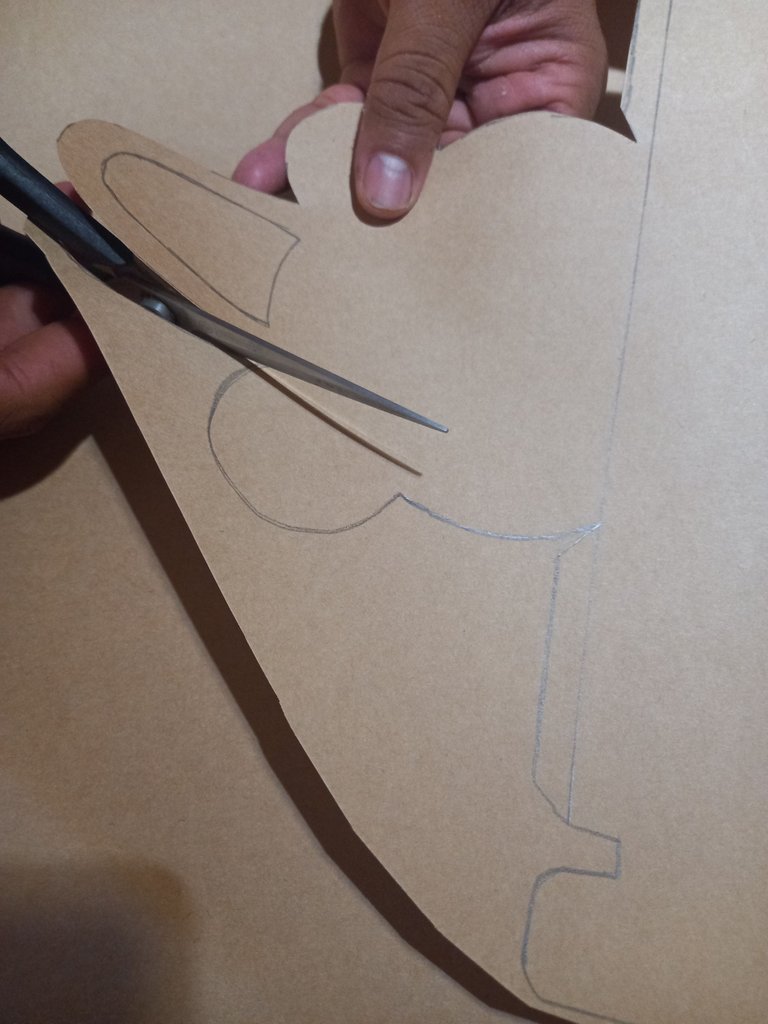
Hacemos por los ganchos una ranura para asegurar o cerrar la cajita.
We make a groove through the hooks to secure the box closed.
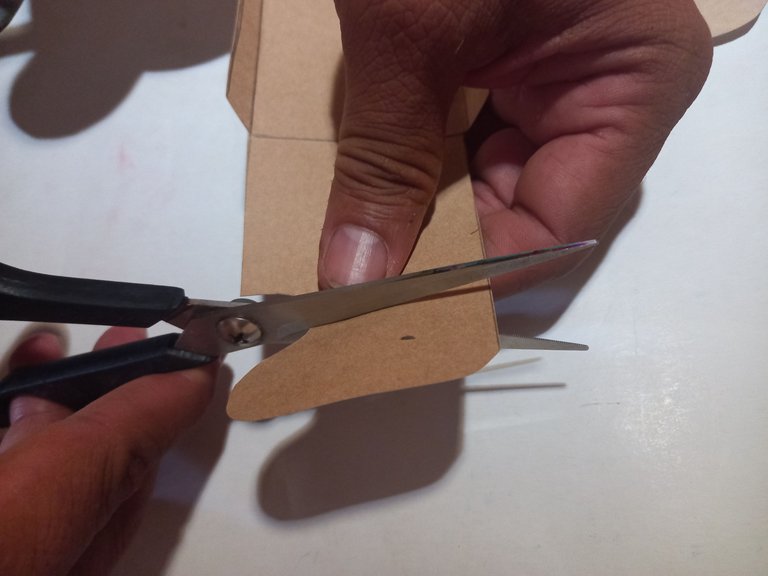
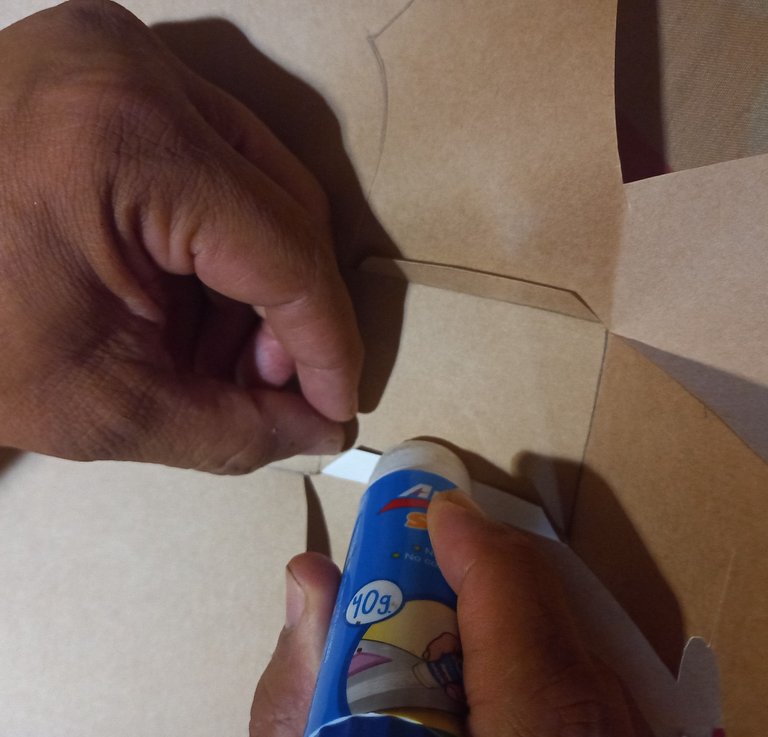
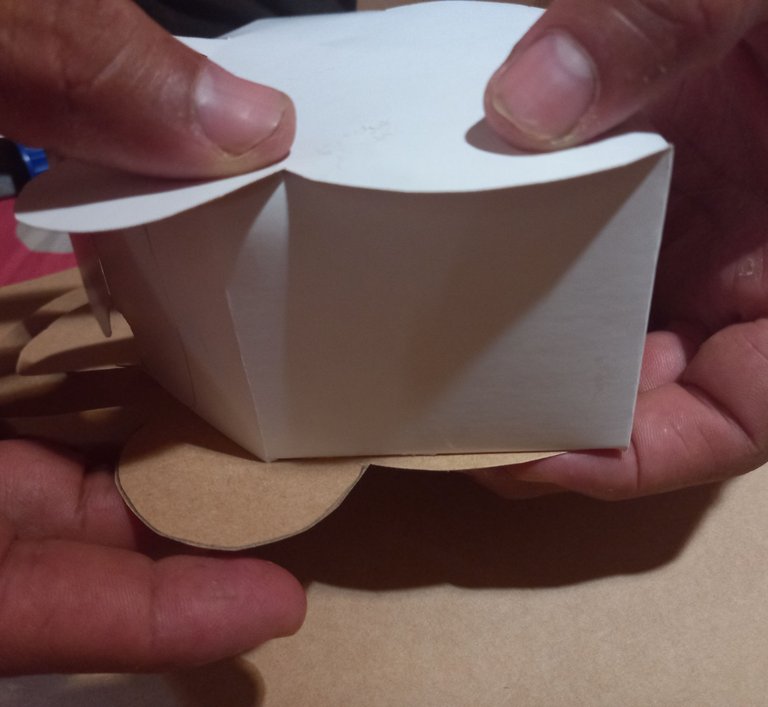
Ahora con la pega en barra uniremos las pestañas con las caras del oso panda 🐼, las pestañas deben ir por dentro.
Now with the glue stick we will join the tabs with the faces of the panda bear 🐼, the tabs should go on the inside.
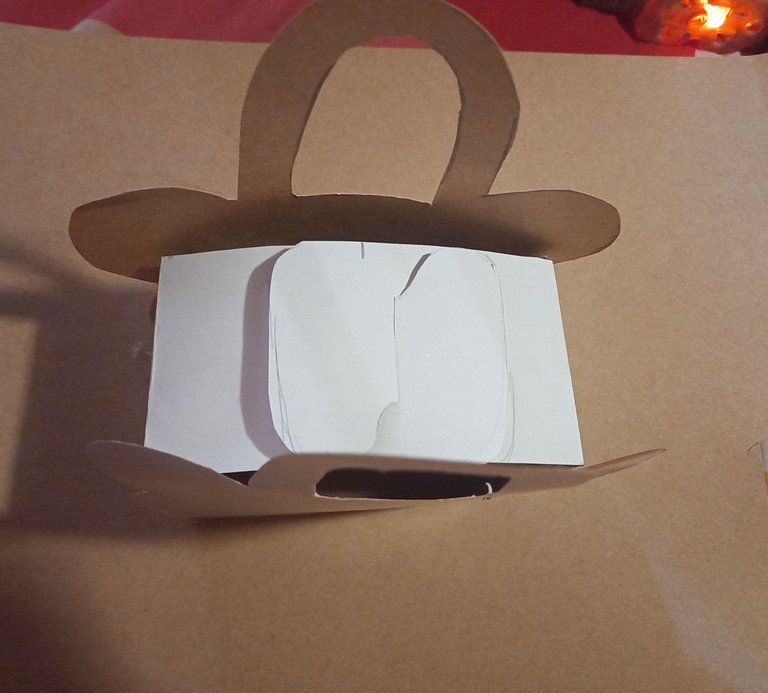
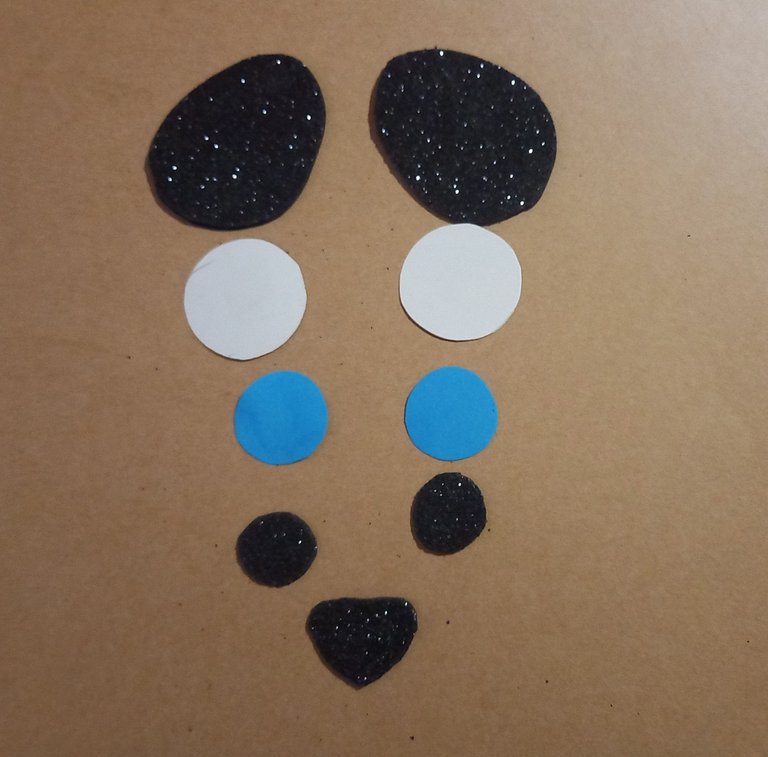
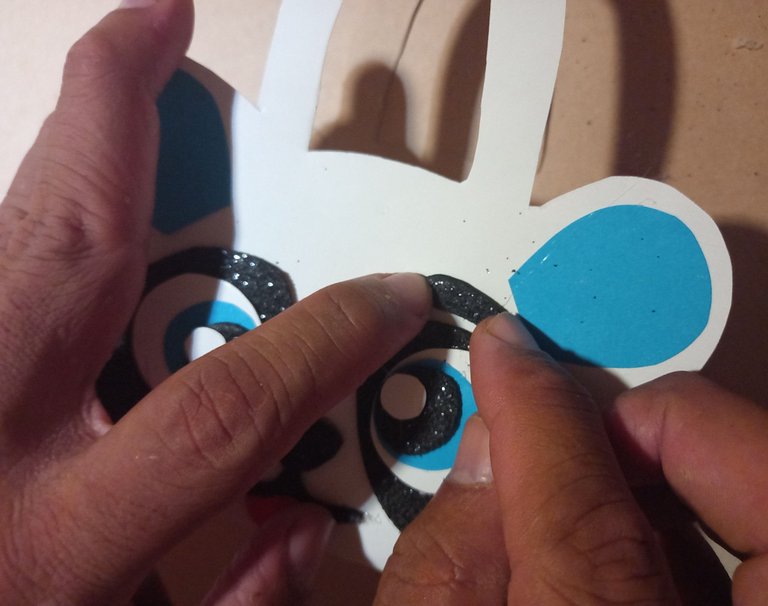
Cortamos dos óvalos o figuras de huevo de foami negro para la mancha negra de los ojos, las nariz, más 6 círculos, dos blabcos, dos azules y dos negros, para hacer los ojos.
We cut two ovals or egg shapes out of black foami for the black spot for the eyes, the nose, plus 6 circles, two white, two blue and two black, to make the eyes.
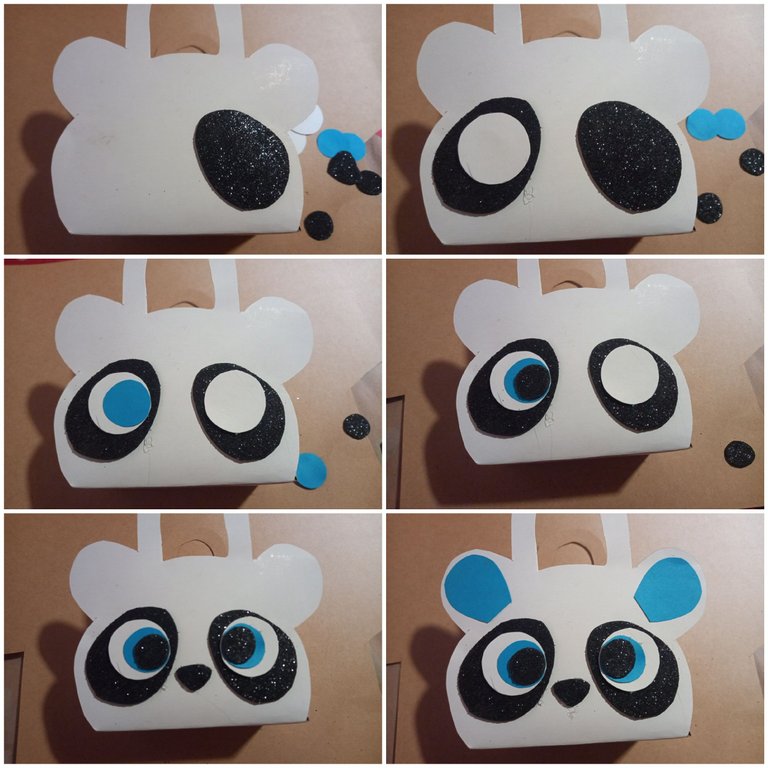
Haremos los brillos de los ojos con cartulina blanca.
We will make the sparkles of the eyes with white cardboard.
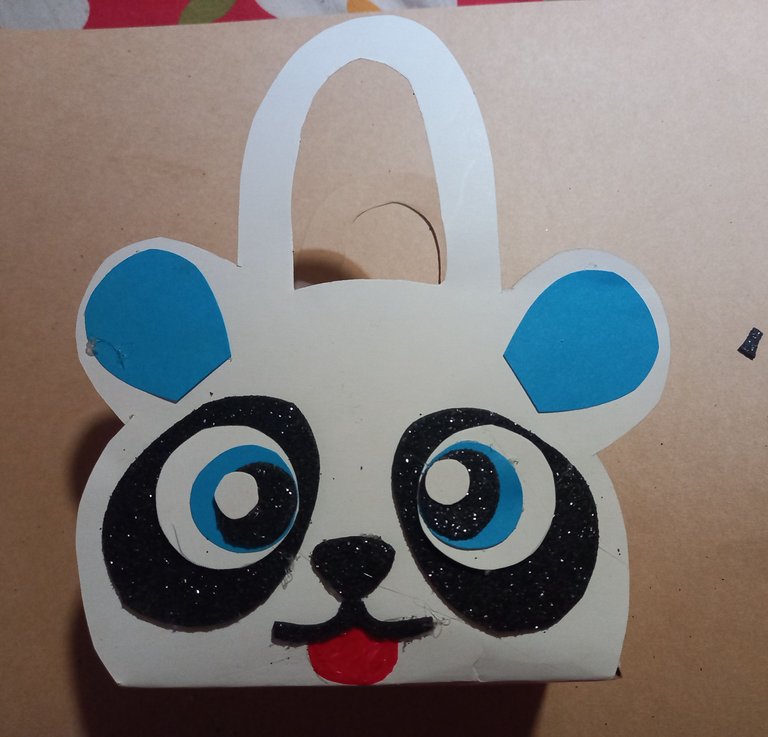
Pegamos la línea de expresión debajo de la nariz y pintamos la boca con marcador rojo.
We glue the expression line under the nose and paint the mouth with red marker.
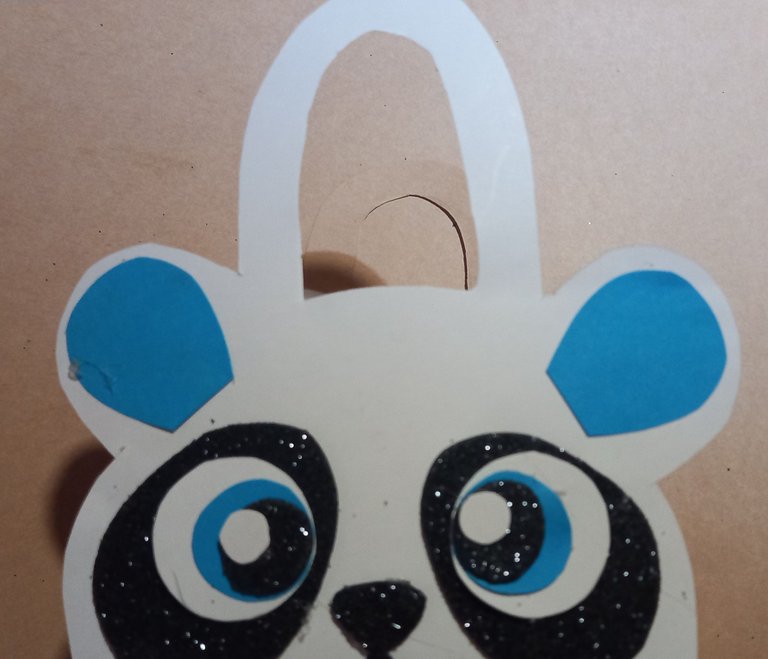
Por último pegamos las pestaña, las cuales hice con foami negro.
Finally we glue the tabs, which I made with black foami.
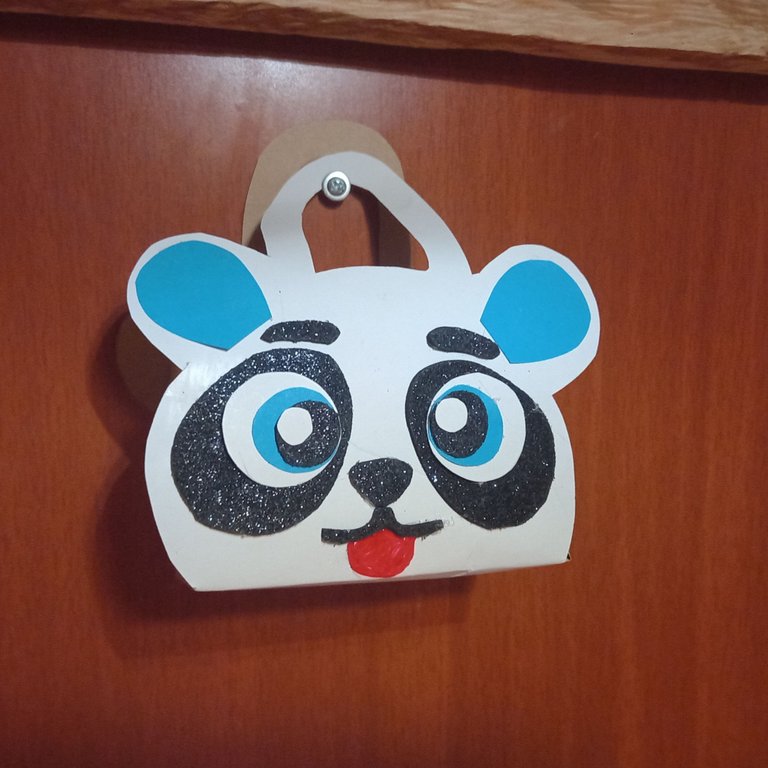
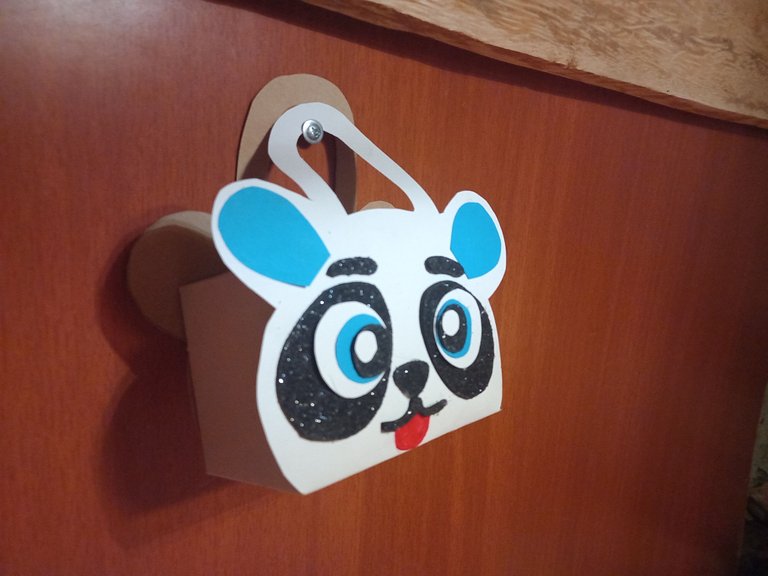
Listo, ésta ha sido mi participación en éste creativo concurso, gracias amigos por quedarse hasta el final de éste tutorial. Agradezco a mi amiga @kathelopez77 por hacerme la invitación, yo aprovecho de extender la invitación a mi amiga @gemahernandez a participar. Muchas bendiciones estimados.
That's it, this has been my participation in this creative contest, thanks friends for staying until the end of this tutorial. I thank my friend @kathelopez77 for inviting me, I take the opportunity to extend the invitation to my friend @gemahernandez to participate. Many blessings dear.
Traducción: Www.DeepL.com.
Ediciónde imagen: Picsar.
Todas las fotos son de mi autoría.