(Esp/Eng) Mesa móvil para electronica/ Mobile table for electronics

in #hive-1305603 years ago

PhotoCollage_1642981618287.jpg

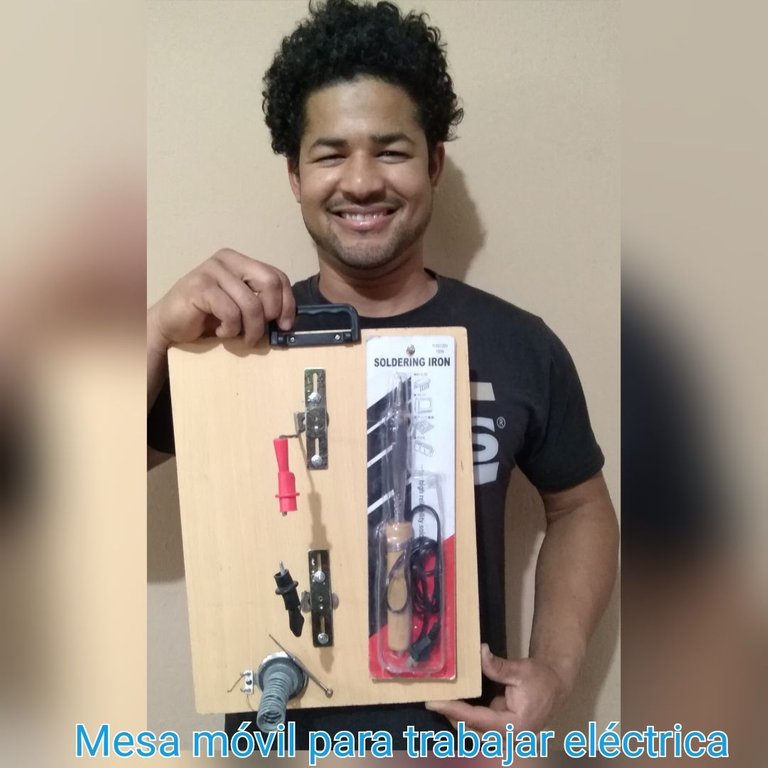
Saludos cordiales a todos los lectores de esta maravillosa camunidad deseándoles un feliz domingo y que dios me los bendiga, en esta oportunidad les quiero compartir un nuevo proyecto que consiste en la elaboración de una mesa móvil para trabajar eléctrica

Warm greetings to all readers of this wonderful community wishing you a happy Sunday and may God bless you, this time I want to share with you a new project that involves the development of a mobile table to work electric.
PhotoCollage_1642982130179.jpg

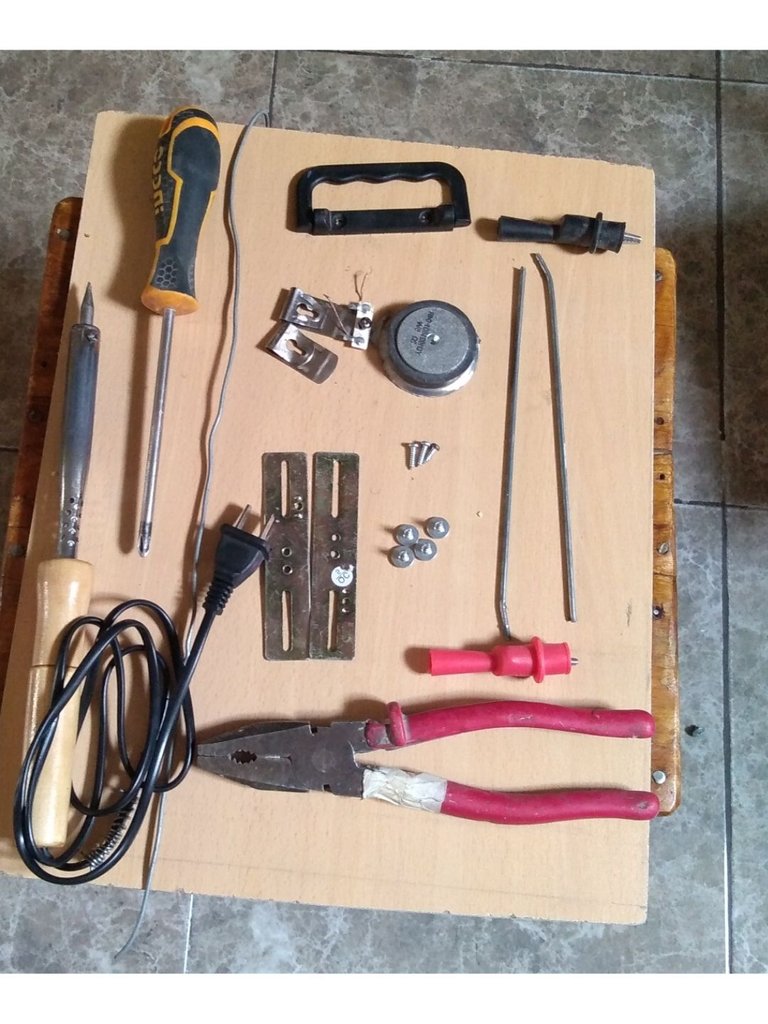
Materiales

  • Tabla de 40x30 centímetros
  • Alambre grueso
  • Tornillos
  • Destornillador
  • Alicate
  • Gancho de flexometro
  • Pletina de 10cm
  • Pinzas de cocodrilo
  • imán de altavoz
  • Asa de plastico de 9cm

Materials

  • 40x30 centimeter board
  • Thick wire
  • Screws
  • Screwdriver
  • Pliers
  • Flexometer hook
  • 10cm tape
  • Alligator clips
  • Speaker magnet
  • 9cm plastic handle

PhotoCollage_1642977510545.jpg

Procedimiento

Procedure

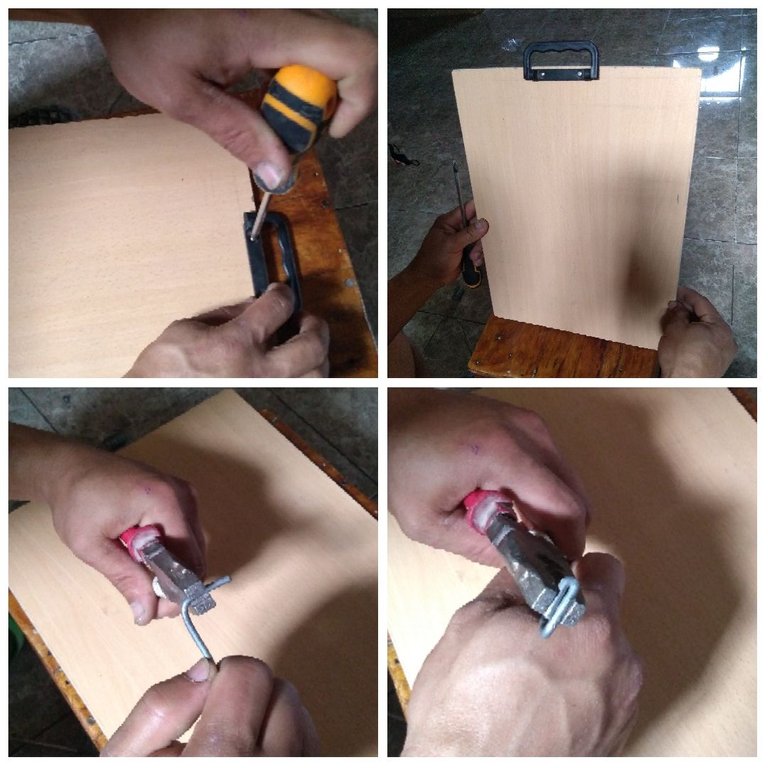
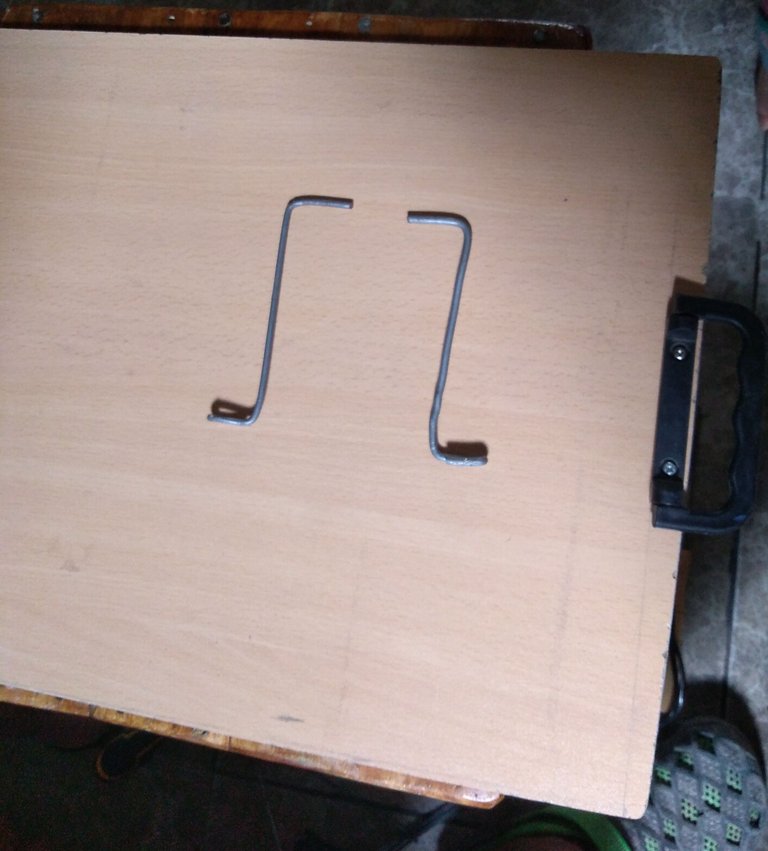
Comenzamos sujetando con un tornillo el asa de plastico a nuestra tabla, luego cortamos el alambre a 20 cm y doblamos las puntas con el alicate.

We start by fastening the plastic handle to our board with a screw, then we cut the wire to 20 cm and bend the ends with the pliers.
PhotoCollage_1642977302286.jpg

IMG_20220123_180138.jpg

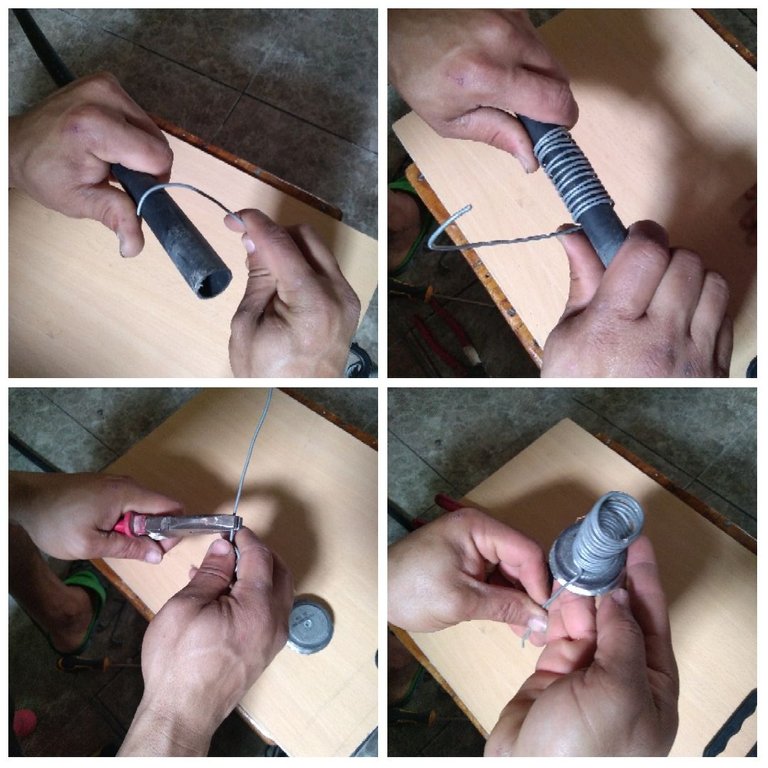
Seguidamente tomamos el alambre de 1. 50 metros y lo enrollamos en un tubo circular hasta tener la medida déceada, dejando aproximadamente 15 cm para colocarlo al rededor del altavoz

Then we take the wire of 1.50 meters and wrap it in a circular tube until we have the desired size, leaving approximately 15 cm to place it around the loudspeaker.
PhotoCollage_1642977654663.jpg

IMG_20220123_180228.jpg

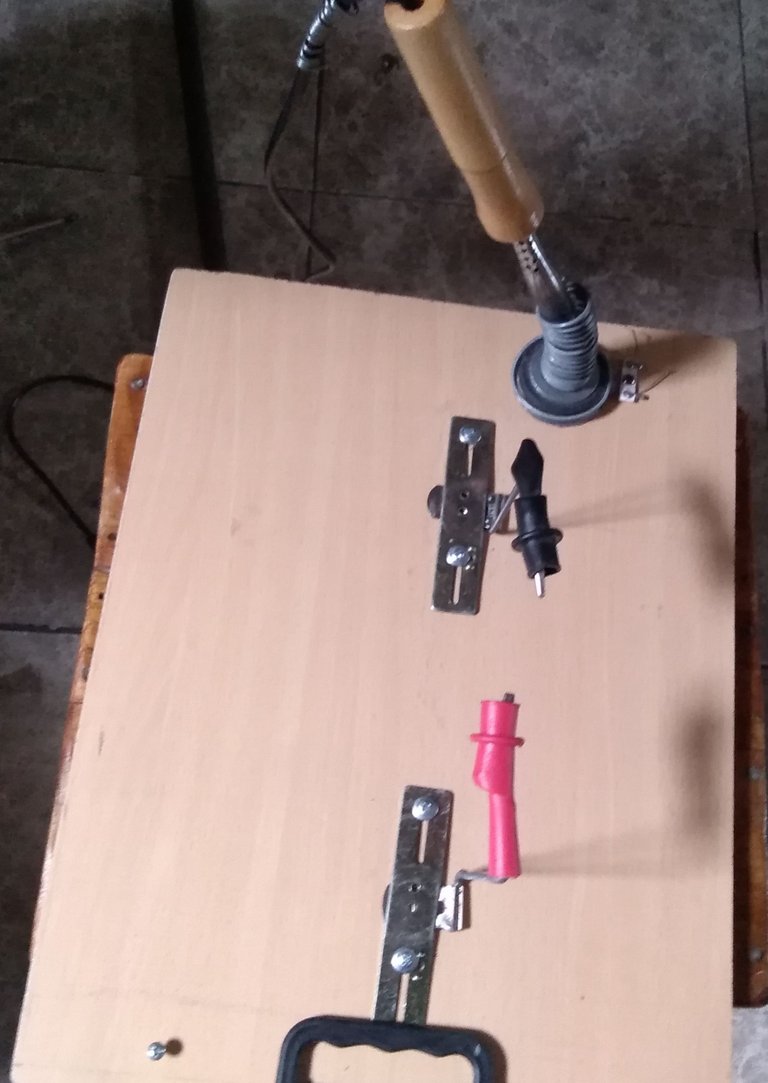
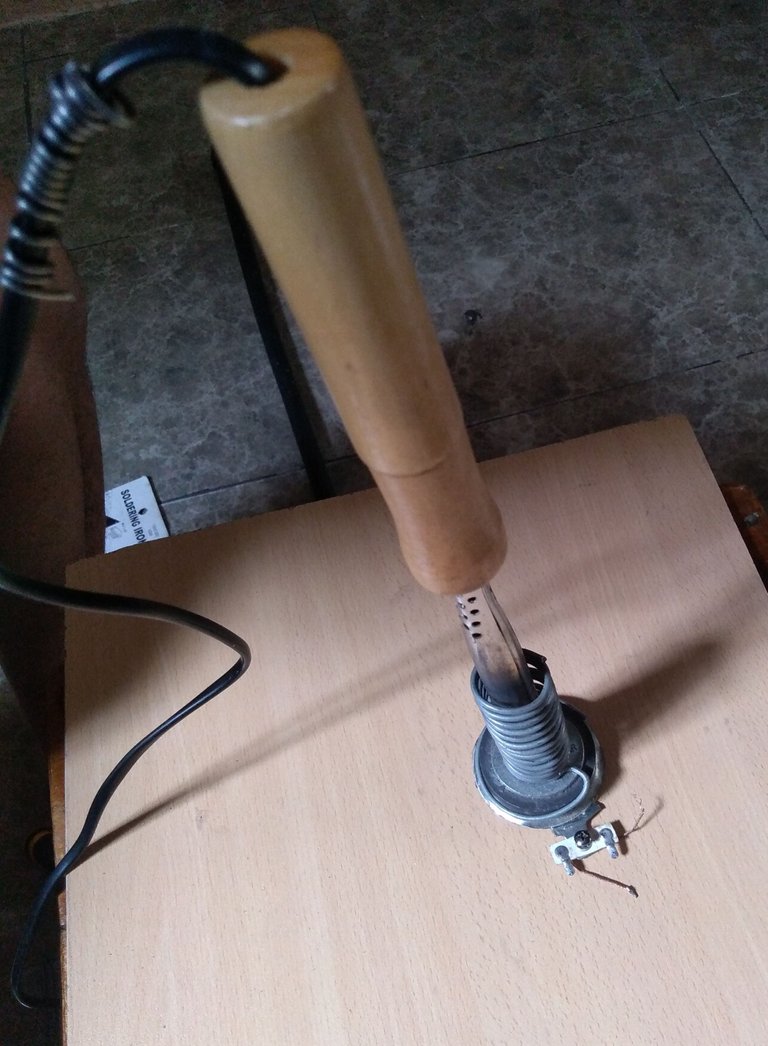
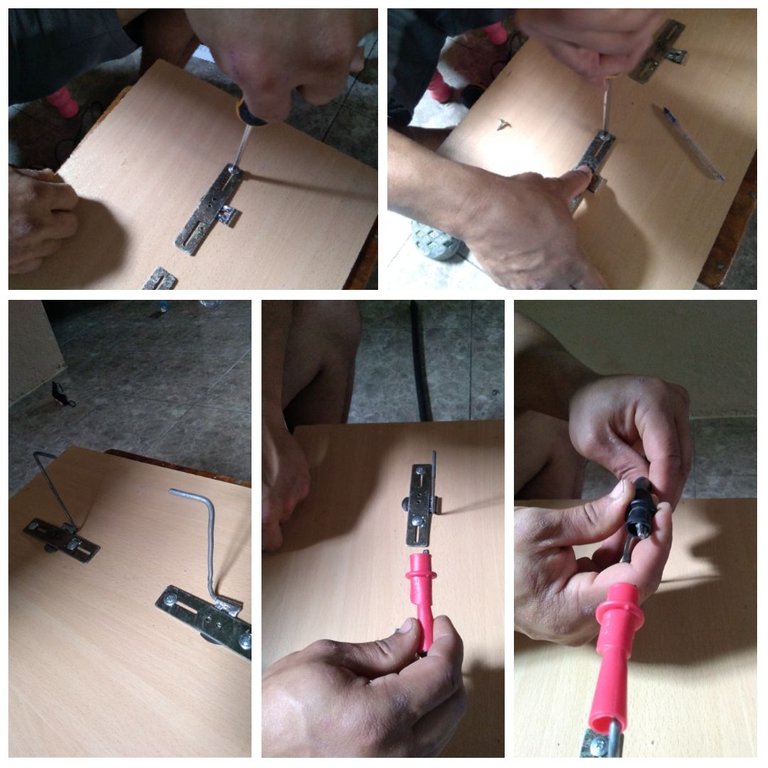
Luego antornillamos el imanan a la tabla, también antornillamos las pletinas para juetar los ganchos de flexometro, le colocamos el alambre y las pinzas de cocodrilo.

Por último colocamos un tornillo para colgar el Cautín

Then we screw the magnet to the board, we also screw the plates to attach the flexometer hooks, we place the wire and the crocodile clips.

Lastly, we place a screw to hang the Cautín
PhotoCollage_1642980424225.jpg

IMG_20220123_182906.jpg

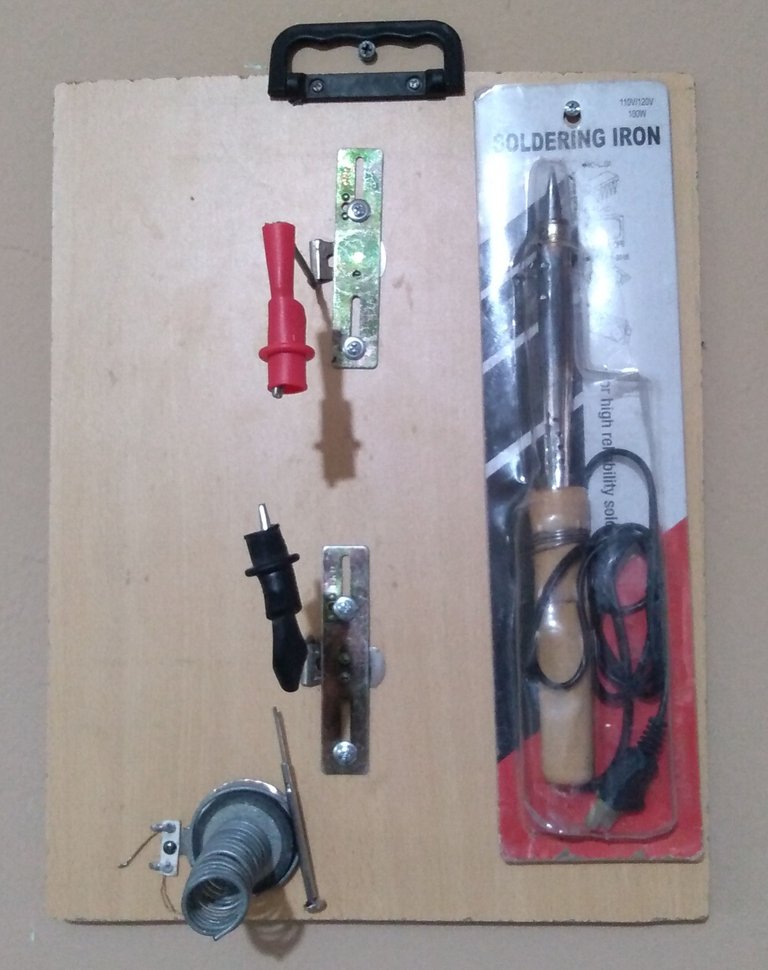
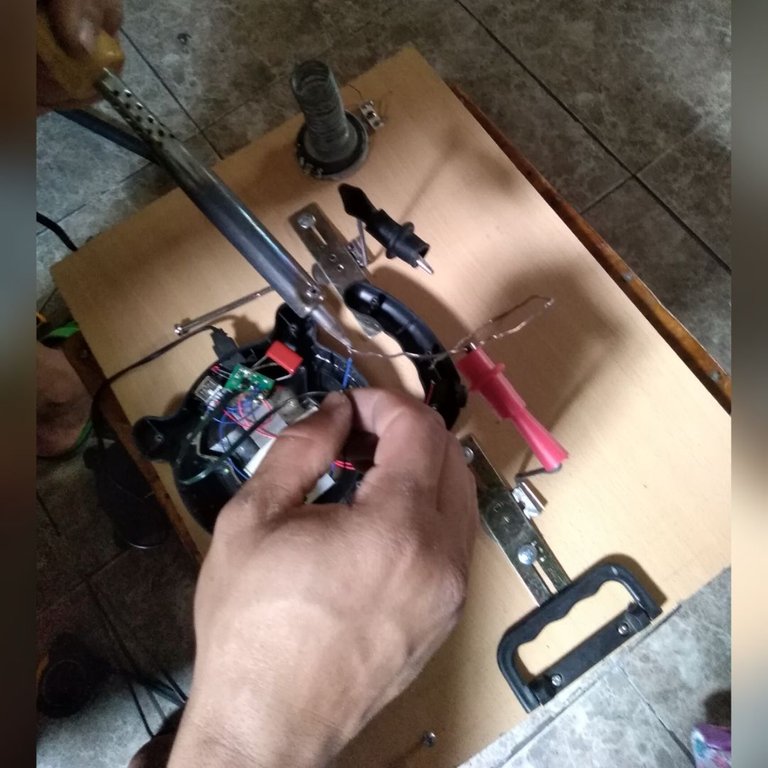
Resultado Final

Final Result

IMG_20220123_172416.jpg

Gracias por leer mi publicación, me despido hasta otra oportunidad espero les halla gustado.

Thank you for reading my publication, I say goodbye until another opportunity, I hope you liked it.

Las fotos fueron tomadas con mi celular Huawei Y6, editadas en la aplicación Incollage y traducidas en 
https://www.deepl.com/es/translator

The photos were taken with my Huawei Y6 cell phone, edited in the Incollage application and translated at 
https://www.deepl.com/es/translator

Sort:  

Muy funcional, es una buena manera de mantener el orden y tener aislante de corriente. Te cuidado con el corrector, en ocasiones dice eléctrica cuando te refieres a electrónica.

Gracias @equipodelta si me fije cuando ya estaba publicó.
Saludos

Esta genial ojalá pudiera utilizar una mesa funcional para todas las herramientas de papá porque siempre se le pierden xD

Gracias @pardostories eso es una estupenda idea pero todo va a depender del orden que tengan XD jeje

Greetings, @cesar32!

Your article was featured on our Daily Newsletter! You've been rewarded with 500 liquid $BUIDL tokens - the native token for Build-it!

Build-it is a DIY (do it yourself) crafty social sharing platform that leverages Hive Network for scalability, decentralization and lighting speed. DIY'ers earn $BUIDL tokens when publishing their DIY and How-to tutorial/craft on our website or simply by using one of our tags: #build-it #buidl and #diy respectively. Keep up the creative spirit and keep adding value to the blockchain!.

Want to invest in 'BUIDL' tokens?

Deposit Hive to your TribalDex account and purchase the token. The ticker is $BUIDL, or click the quick link below

==> TribalDex

Connect with us on our friendly socials:

Let's build together at Build-it!

Build-it line divider 2.gif

Aprecio su apoyo @build-it.daily muchas gracias, quisiera saber como hago para recibir esa recompensa o donde me sale reflejada

No entiendo mucho de este Tema.
Espero su respuesta saludos mi estimado

Congratulations @cesar32! You have completed the following achievement on the Hive blockchain and have been rewarded with new badge(s):

You received more than 300 upvotes.
Your next target is to reach 400 upvotes.

You can view your badges on your board and compare yourself to others in the Ranking
If you no longer want to receive notifications, reply to this comment with the word STOP

Check out the last post from @hivebuzz:

Hive Power Up Month - Feedback from day 22
Support the HiveBuzz project. Vote for our proposal!

ests genial 👍