Hola mis queridas amig@s de la comunidad de las agujas. Hoy es viernes y el cuerpo lo sabe, así que desde esta mañana se relajó y no quiso ocuparse en otra cosa que divertirse con las agujas y los hilos.
Desde hace días ando en la búsqueda de ideas fáciles, económicas pero a la vez hermosas para obsequiar a las madres en su día. Como ustedes saben ya dentro de poco estaremos celebrando ese día tan especial.
Muchas clientes siempre me preguntan que estoy tejiendo, que les puedo ofrecer para regalar a sus seres queridos. Es por eso que unos días antes me apresuro a tejer cosas bonitas, que no sean tan costosas. En otros años he tejido llaveros de corazón, juego de alfileteros y porta tijeras, gorros y cintillos.
A mí me gusta tener detalles así con mis amigas, vecinas, maestras o familia. Entonces si tú también eres como yo, te dejo esta pequeña pero significativa idea que estoy segura que a todas las madres les va a encantar.


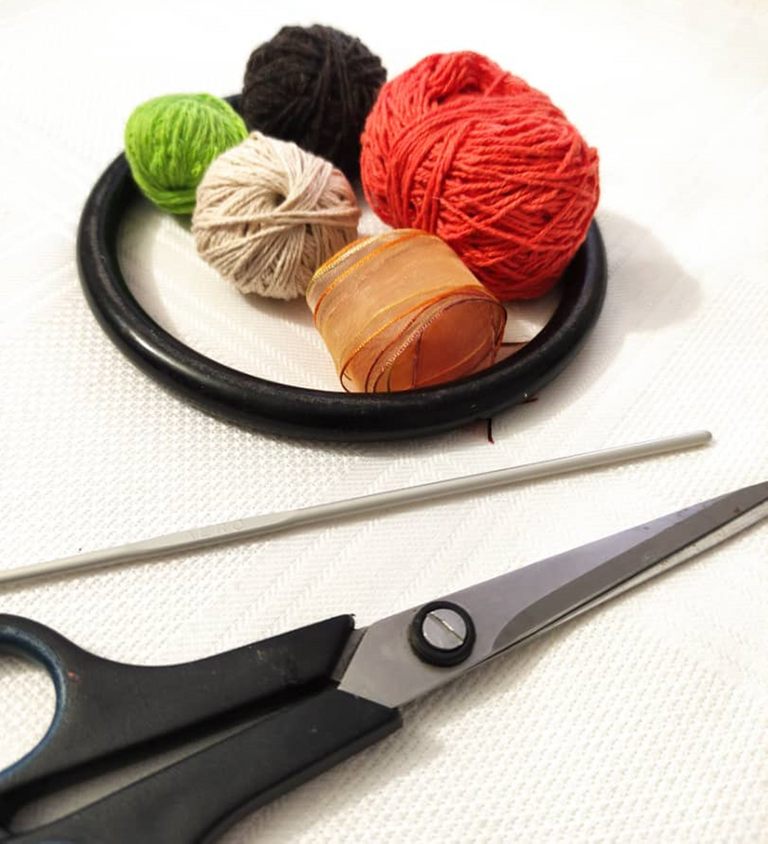
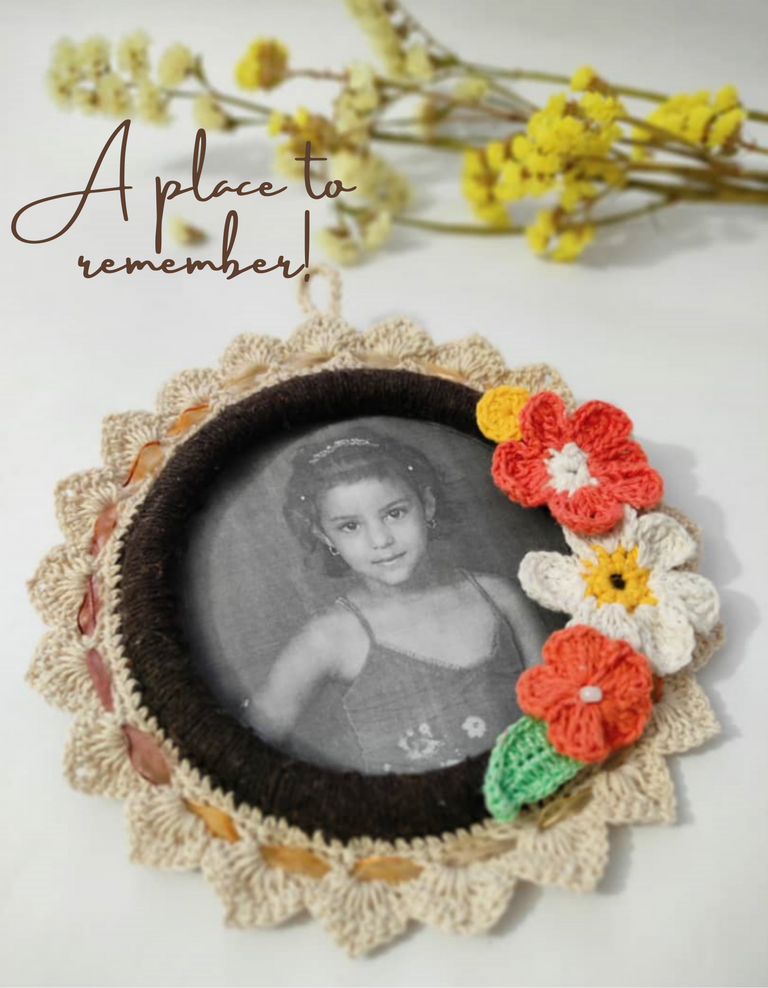
Como ven con pocos materiales se puede realizar algo como esto, este aro tiene una diámetro de 13 centímetros, es grueso, pero ustedes lo pueden hacer con cualquier cosa redonda que tengan en casa. Lo que importa es que la fotografía se vea.
En mi caso utilicé pabilos de colores, tijeras y aguja de tejer #2 milímetros
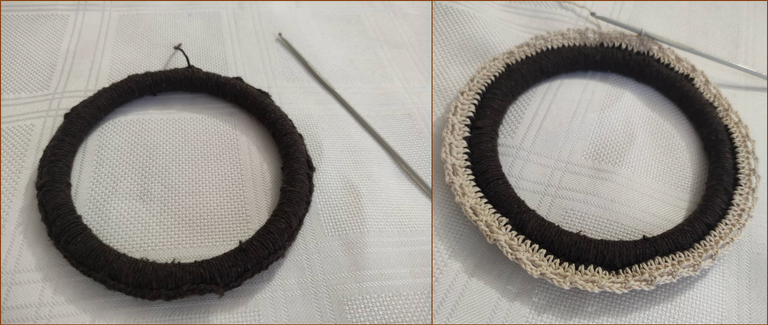
Comencé tejiendo puntos bajos por todo el contorno del aro hasta que quede bien oculto o forrado, luego cerramos con un punto raso y tejemos 1 cadeneta, continuamos con una vuelta de medios puntos por todo el contorno. En la siguiente vuelta tejemos 3 cadenetas y ensarte la aguja con un punto bajo en el tercer punto de la base, volvemos a tejer 3 cadenetas y metemos la aguja en el tercer punto de la base y así continuamos tejiendo hasta obtener aros por todo el contorno.
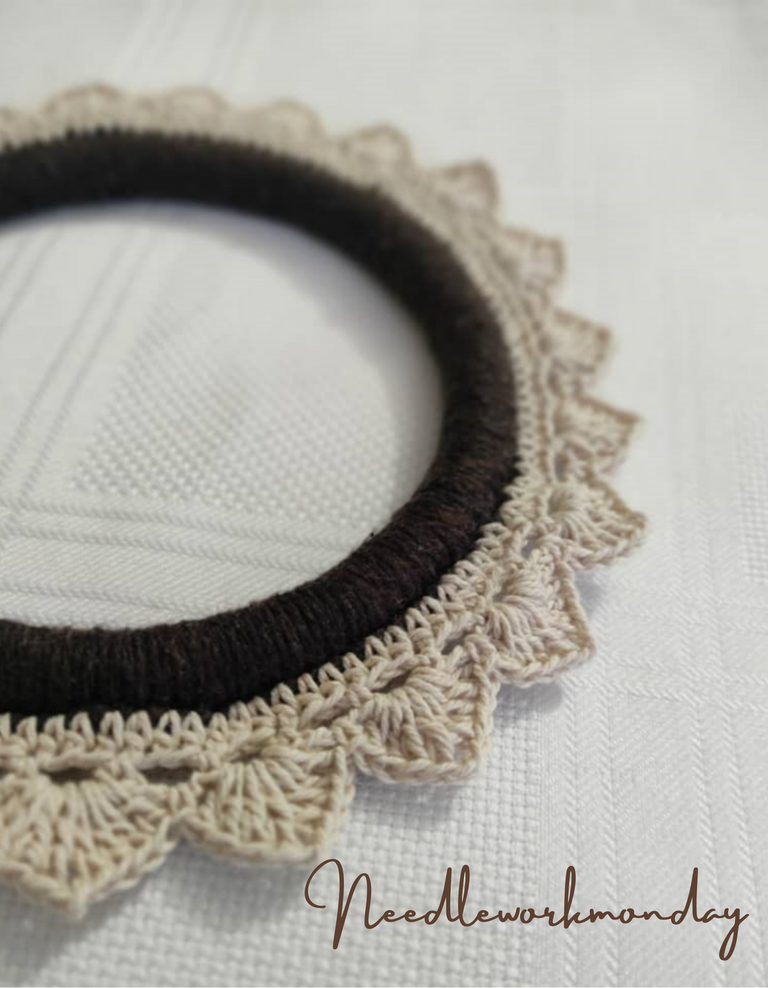
Ya vamos terminando y esta parte que sigue es una vuelta de punto abanico. Aquí en este punto me gustaría decirte que existen distintas elecciones más fáciles o más elaboradas, pero con todas tu porta retrato se verá realmente hermoso.
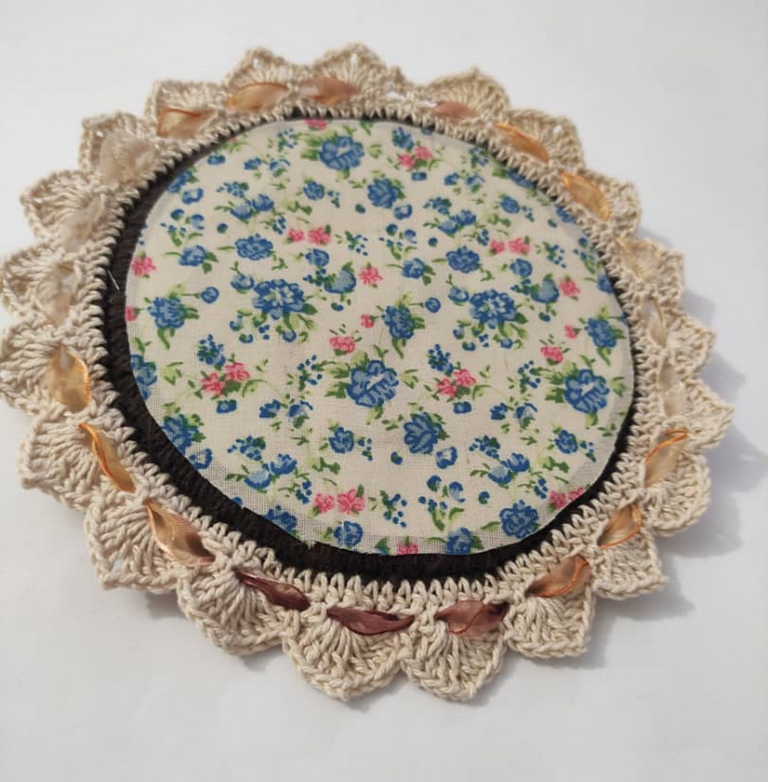
Buscamos la foto, la recortamos y pegamos a una tela, la cual también irá pegada con silicón en la parte posterior. No olvides colocarle papel de acetato para proteger la imagen.
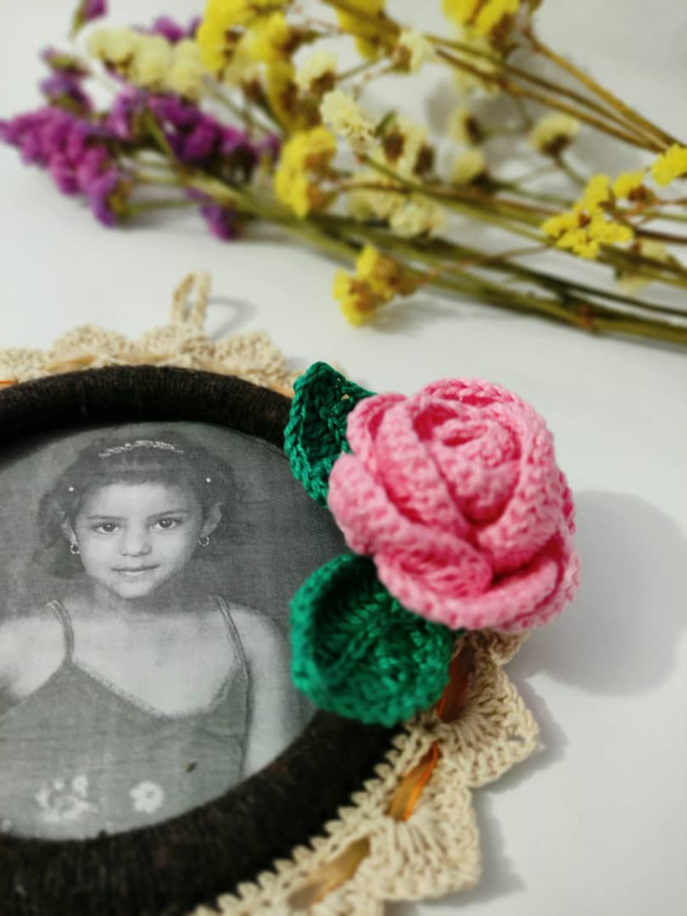

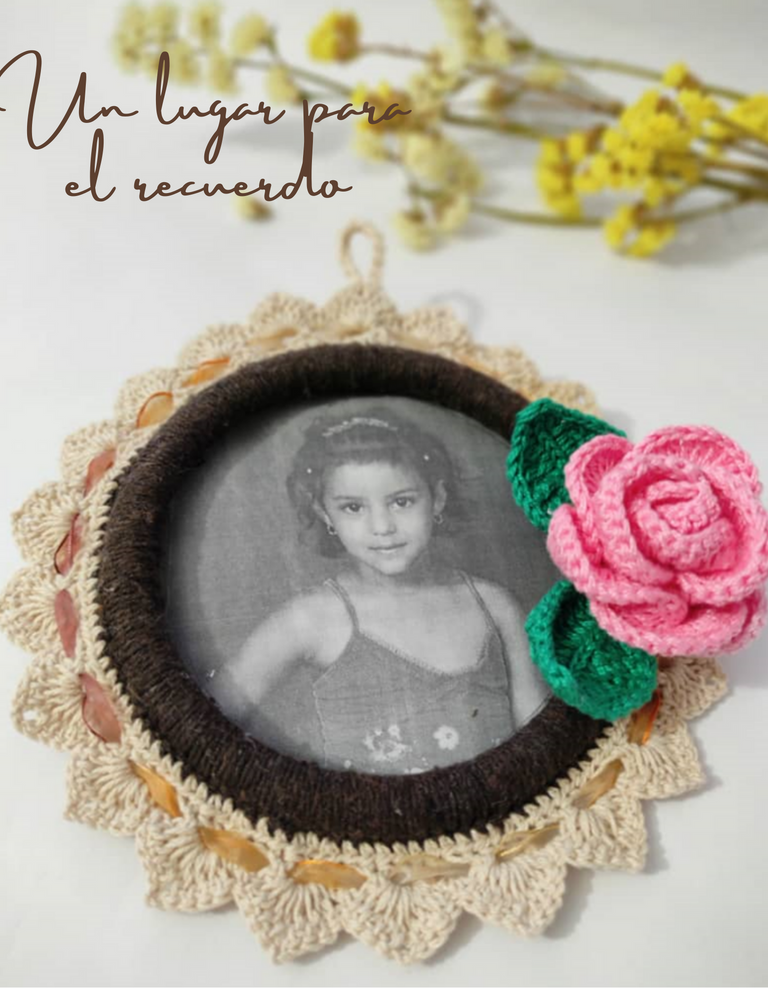
Con este post yo solo quise darte una pequeña gran idea de lo que podemos hacer con poco presupuesto. La decoración queda a tu elección, como ven en las imágenes cualquier modelo de flor o color le queda muy bien.
Espero que les haya gustado y si no saben tejer pueden hacer también cosas con tela. No se queden con las ganas de regalar algo hecho con el corazón porque


Hello my dear friends of the needle community. Today is Friday and the body knows it, so since this morning it relaxed and did not want to occupy itself with anything else but having fun with needles and threads.
For days I have been looking for easy, inexpensive but beautiful ideas to give to mothers on their day. As you know we will soon be celebrating that special day.
Many clients always ask me what I am knitting, what can I offer them to give to their loved ones. That's why a few days before I rush to knit nice things that are not so expensive. In other years I have knitted heart key chains, a set of pincushions and scissors holders, hats and headbands.
I like to have details like that with my friends, neighbors, teachers or family. So if you are also like me, I leave you this small but meaningful idea that I am sure all mothers will love.


As you can see with few materials you can make something like this, this hoop has a diameter of 13 centimeters, it is thick, but you can make it with anything round that you have at home. What is important is that the picture looks good.
In my case I used colored wicks, scissors and a #2 millimeter knitting needle.

I started by knitting single crochet all around the hoop until it is well hidden or lined, then we close with a satin stitch and knit 1 chain, we continue with a round of half stitches all around the hoop. In the next row we knit 3 chains and thread the needle with a single crochet in the third stitch of the base, we knit again 3 chains and put the needle in the third stitch of the base and so we continue knitting until we get hoops all around the contour.

Now we are finishing and this part that follows is a round of fan stitch. Here at this point I would like to tell you that there are different choices, easier or more elaborate, but with all of them your picture frame will look really beautiful.

We find the photo, cut it out and glue it to a fabric, which will also be glued with silicone on the back. Don't forget to put acetate paper to protect the image.


With this post I just wanted to give you a great idea of what we can do with a small budget. The decoration is up to you to choose, as you can see in the images, any flower or color model looks great.
I hope you liked it and if you don't know how to knit you can also make things with fabric. Do not be left with the desire to give something made with your heart because

𝕋𝕠𝕕𝕠 𝕧𝕒𝕝𝕖 𝕝𝕒 𝕡𝕖𝕟𝕒 𝕤𝕚 𝕝𝕝𝕖𝕧𝕒, 𝕙𝕚𝕝𝕠𝕤, 𝕥𝕖𝕝𝕒𝕤 𝕪 𝕞𝕦𝕔𝕙𝕒𝕤 𝕡𝕦𝕟𝕥𝕒𝕕𝕒𝕤 𝕕𝕖 𝔸𝕄𝕆ℝ.
