Buenos días a todos los amigos de Hive.Blog! Es un gusto saludarles en este bello sábado, esperando que tengan un feliz fin de semana en compañía de sus seres queridos y como siempre deseándoles que sea Dios guiando cada uno de sus proyectos para que este día sea de bendiciones!!
Good morning to all the friends of Hive.Blog! It is a pleasure to greet you on this beautiful Saturday, hoping you have a happy weekend in the company of your loved ones and as always wishing you God guiding each of your projects so that this day is blessed!
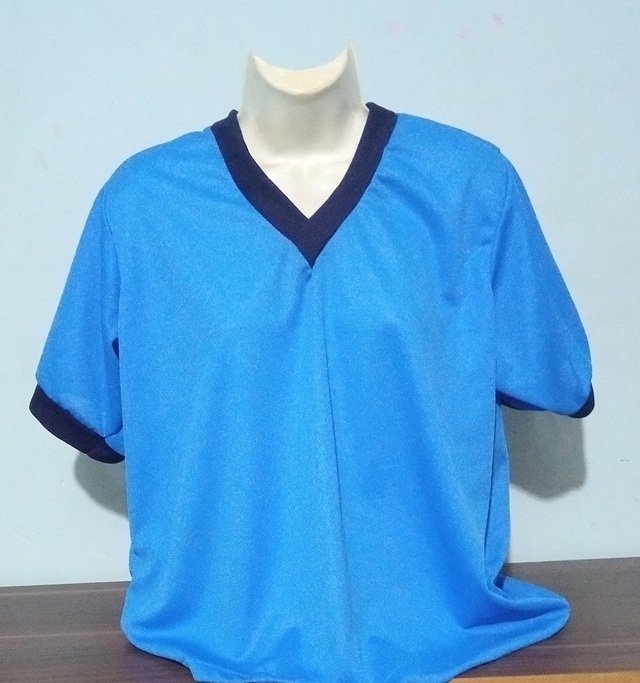
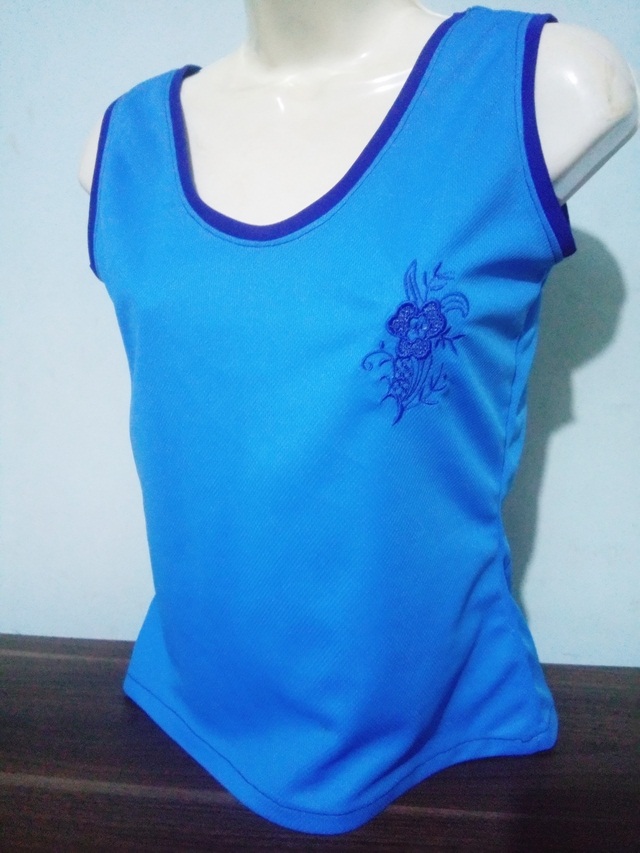
Por mi parte, yo sigo activada en el modo costura y en esta oportunidad quiero mostrarles el trabajo que realicé esta semana al transformar una franela con mangas en una franelilla más fresca y cómoda para esta época de mucho calor. Hace unos días me trajeron esta pieza para renovarla y atendiendo al encargo de mi cliente, se me ocurrió hacer esta transformación más juvenil y oportuna para el verano. A continuación les explico el paso a paso que seguí para realizar este trabajo:
For my part, I am still activated in sewing mode and this time I want to show you the work I did this week by transforming a flannel with sleeves into a cooler and more comfortable flannel for this very hot season. A few days ago they brought me this piece to renew it and, following my client's request, it occurred to me to make this transformation more youthful and timely for the summer. Here I explain the step by step I followed to do this job:
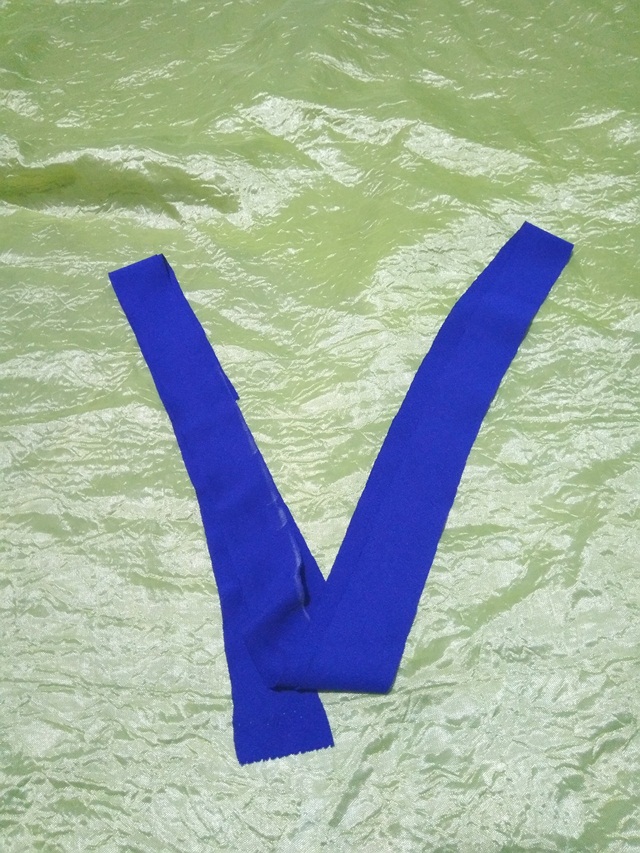
1. Como materiales necesarios para esta labor, es imprescindible tener a mano la franela que se va a transformar; una tira cortada al sesgo para el cuello y mangas; hilo de coser a tono; agujas; tijeras y alfileres.
As necessary materials for this work, it is essential to have on hand the flannel that is going to be transformed; a strip cut on the bias for the neck and sleeves; matching sewing thread; needles; scissors and pins.
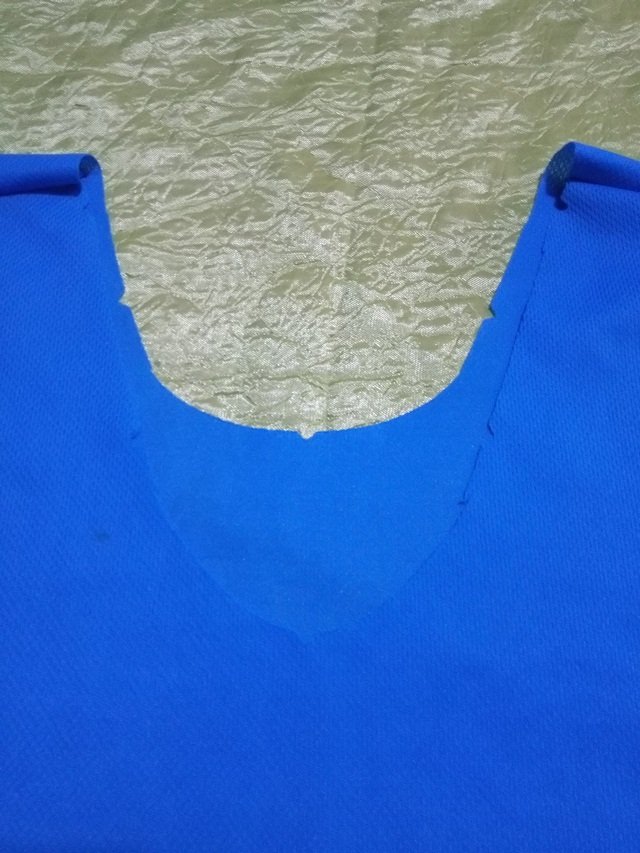
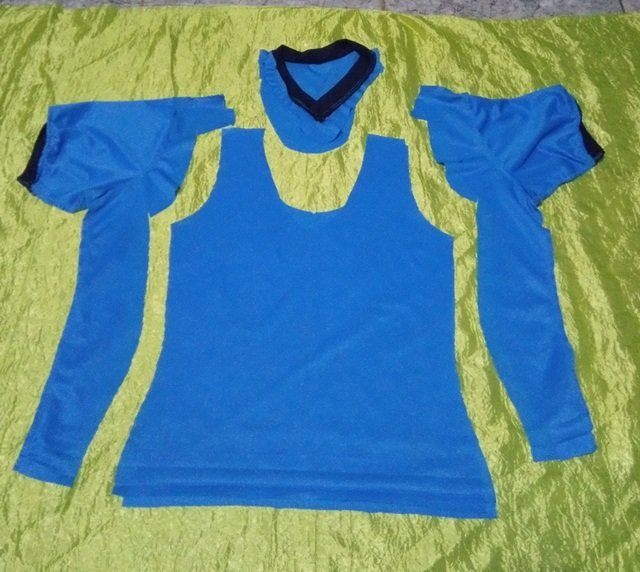
2. Lo primero que hice fue extender la franela sobre la mesa y luego la corté dándole la nueva forma que quería lograr. Yo realicé este corte guiándome con el patrón de una franelilla.
2. The first thing I did was spread the flannel on the table and then I cut it into the new shape I wanted to achieve. I made this cut guiding myself with the pattern of a flannel.
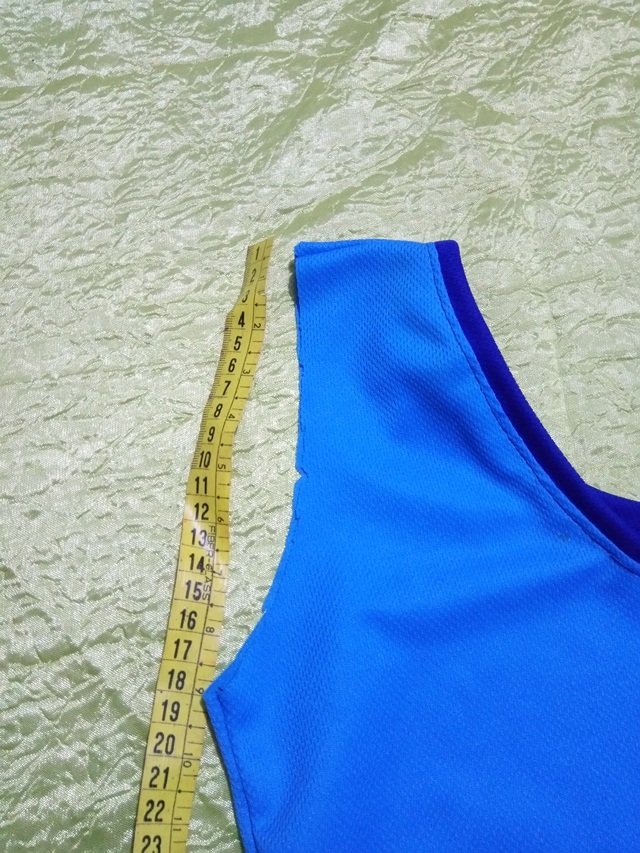
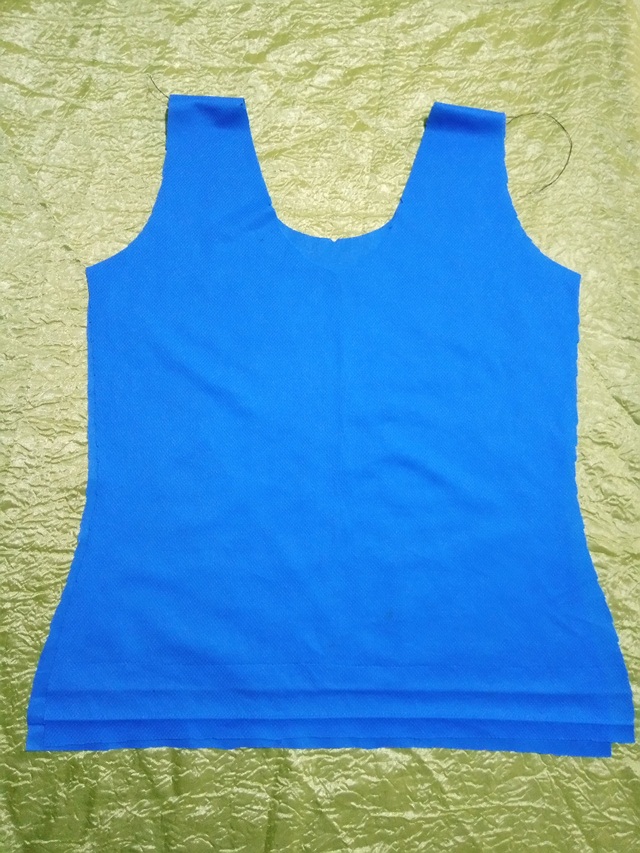
3. Una vez obtenido el nuevo modelo, cosí por los hombros la pieza delantera y espalda a través de una costura recta. Recordemos que después de cada costura recta, es recomendable rematar con un zigzag por todo su borde para obtener un mejor acabado.
3. Once the new model was obtained, I sewed the front and back pieces through the shoulders using a straight seam. Remember that after each straight seam, it is advisable to finish off with a zigzag along its entire edge to obtain a better finish.
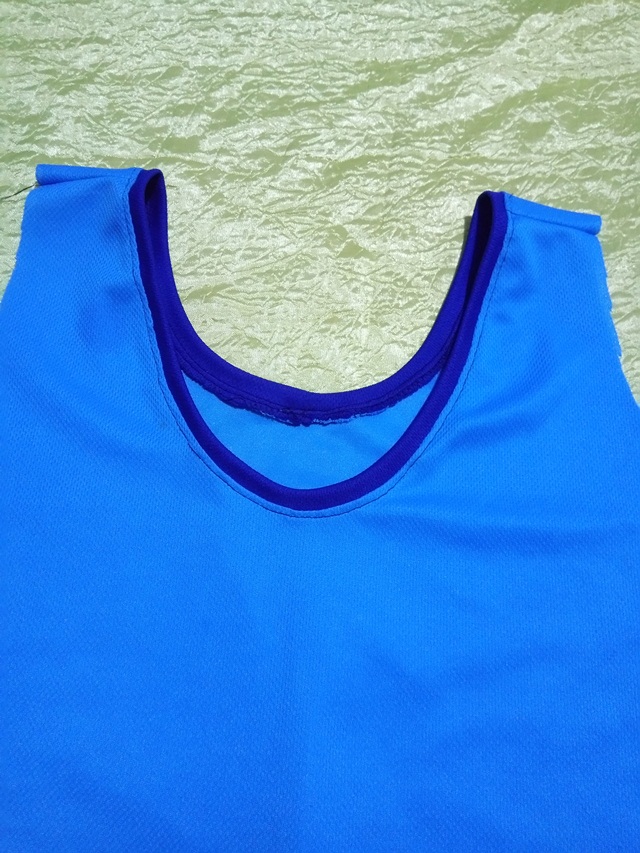
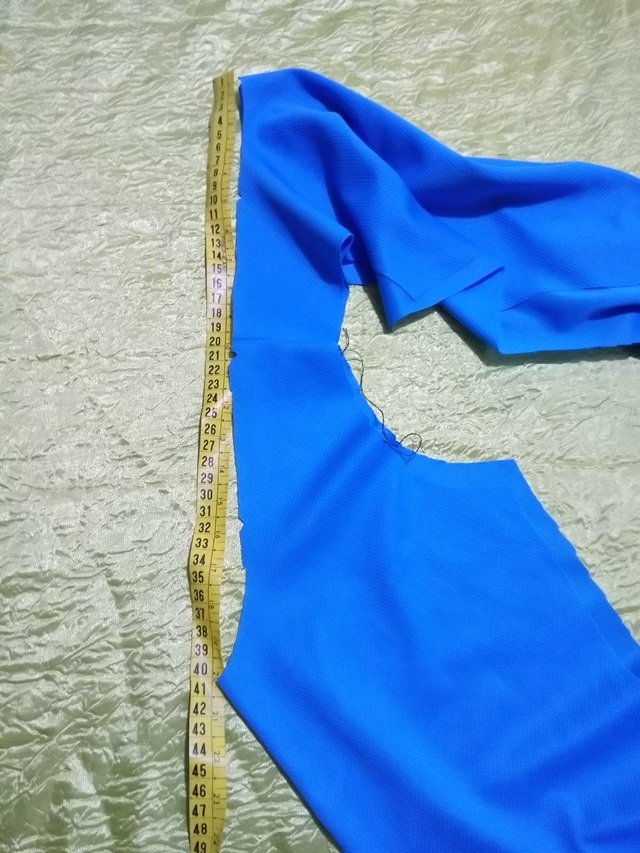
4.- Para hacer el cuello, medí la distancia total de su escote y al resultado le resté 5 cms., con esta medida corté una tira al sesgo. Uní los dos extremos de la tira y cosí con costura recta. Luego señalé, tanto en el escote de cuello como en la tira, los puntos de coincidencia para que al estirar quedaran de forma pareja. Cosí con costura recta, luego zigzag y por último realicé un repise por todo su contorno.
4.- To make the neck, I measured the total distance of its neckline and subtracted 5 cm from the result. With this measurement I cut a strip at an angle. I joined the two ends of the strip and sewed with a straight seam. Then I pointed out, both in the neckline and in the strip, the coincidence points so that when stretching they would be even. I sewed with a straight seam, then zigzag and finally I made a ledge all around.
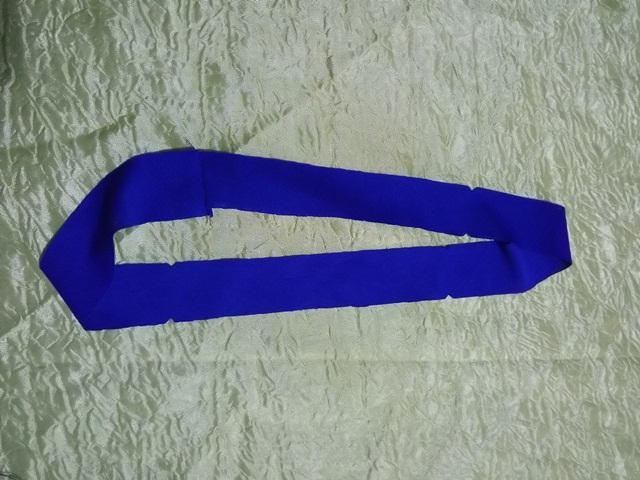
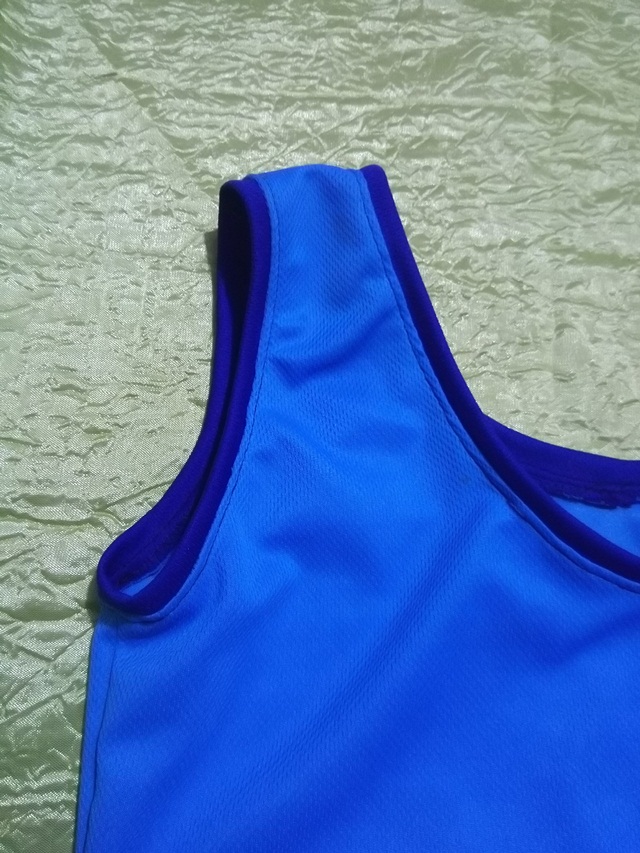
5. Una vez realizado el cuello, cerré los costados de la franela y procedí a montar las tiras de las sisas, para ello realicé el mismo proceso del escote de cuello: medir la abertura completa de la sisa, al resultado le resté 5 cms. y de este tamaño corté dos tiras, una para cada sisa. Para el ruedo realicé un dobladillo de 1 cm.
5. Once the neck was made, I closed the sides of the flannel and proceeded to assemble the armhole straps, for this I carried out the same process as the neckline: measure the full opening of the armhole, I subtracted 5 cm from the result. and of this size I cut two strips, one for each armhole. For the hem I made a 1 cm hem.
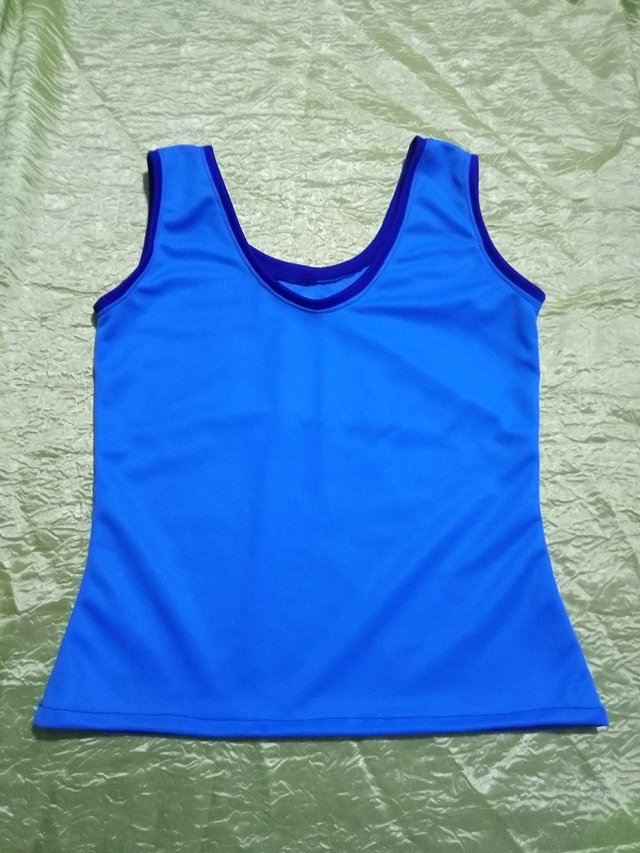
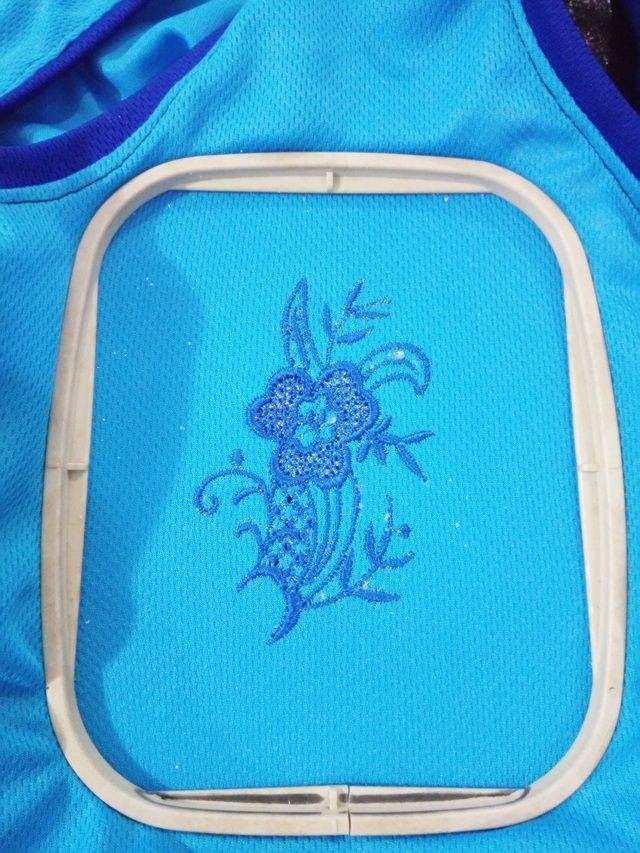
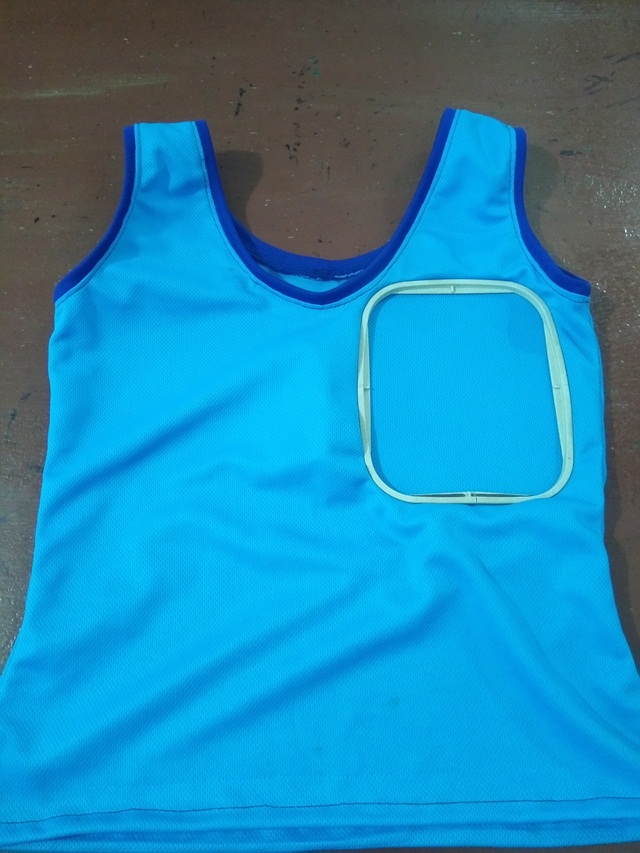
6. Para decorar la franelilla, le realicé un bordado de una flor utilizando un hilo que combinara con el tono del cuello y sisa. Siempre al bordar una pieza, debemos cuadrarla en el bastidor y halarla al máximo, de manera que quede bien templada, esto le da tensión a la tela y el bordado queda correcto. Una vez cuadrado el bastidor, seleccioné el diseño a bordar y la maquina hizo su trabajo…
6. To decorate the flannel, I embroidered a flower using a thread that matched the tone of the neck and armholes. Always when embroidering a piece, we must square it in the frame and pull it to the maximum, so that it is well tempered, this gives tension to the fabric and the embroidery is correct. Once the frame was square, I selected the design to be embroidered and the machine did its job...
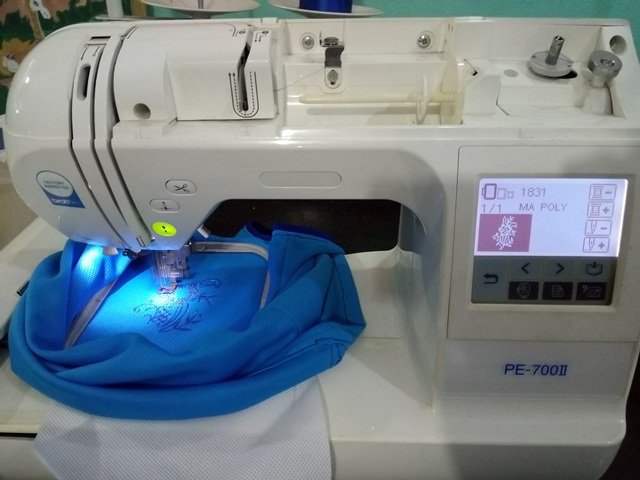
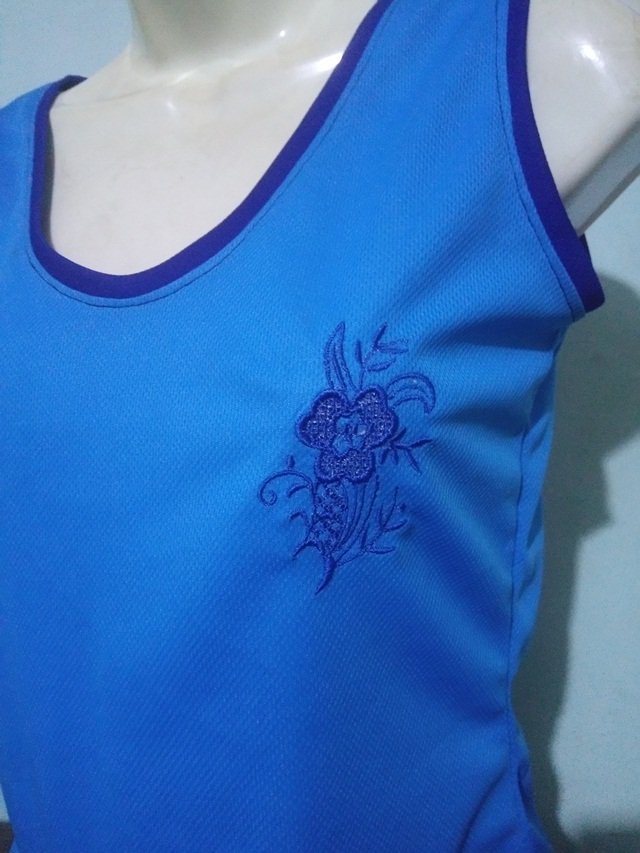
7. Así quedo el bordado en la franela…
7. This is how the embroidery looks on the flannel…
Y de esta manera quedó el nuevo modelo!!!
And this way was the new model!!!

Gracias a ustedes también por apoyar mi publicación, Dios me los bendiga cada día más y más!!
Todas las fotos publicadas en esta presentación son de mí pertenencia. Para la traducción utilice el Traductor de Google
Thanks to you also for supporting my publication, God bless you every day more and more!! All the photos published in this presentation belong to me. For translation use Google Translate

