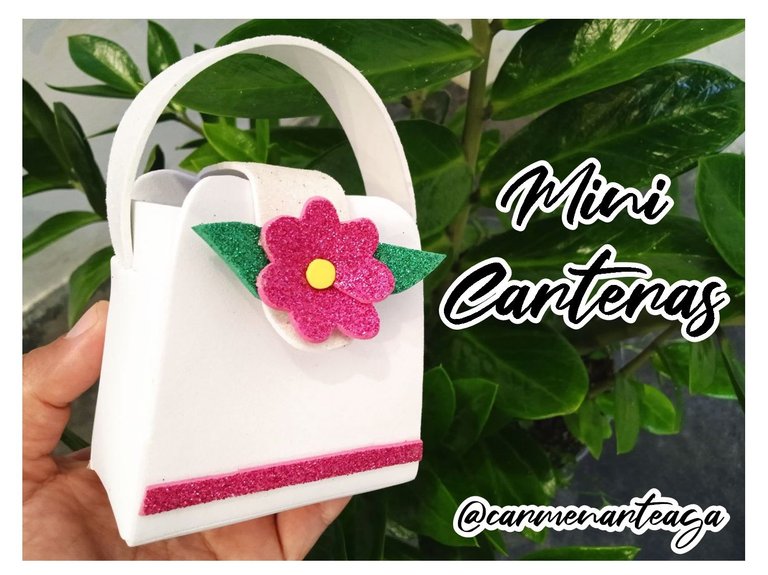
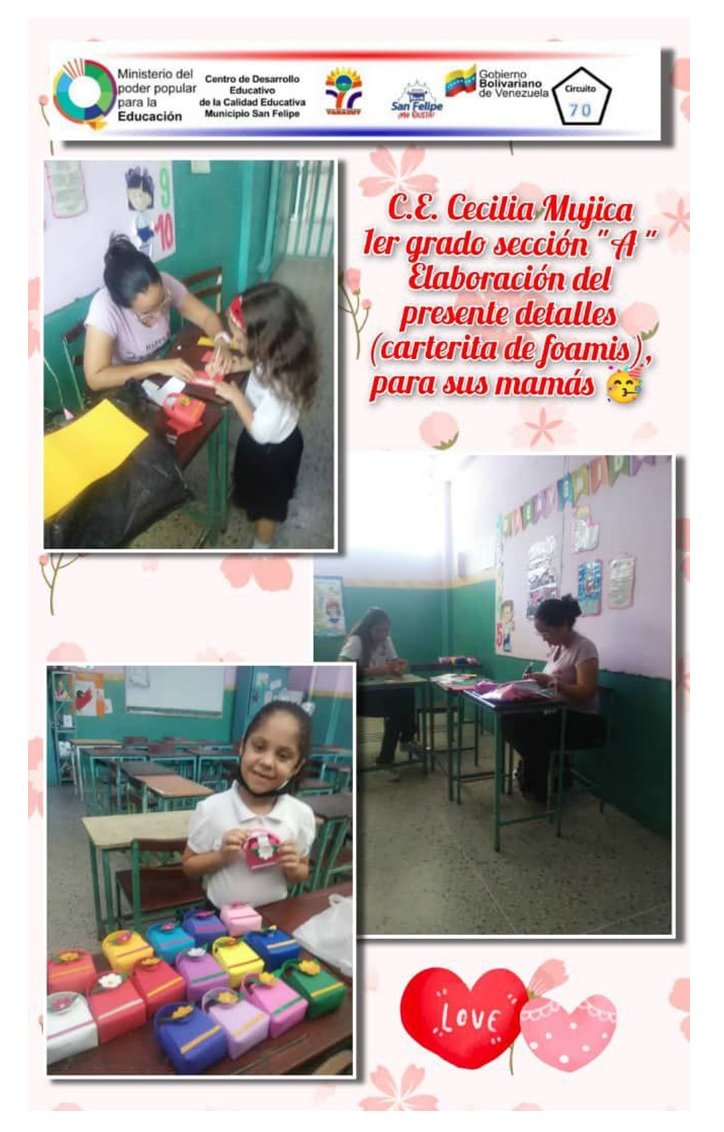
Hola amigos, como han estado, hoy les muestro como elabore unas lindas carteritas hechas con foami, colaboración que hice a la maestra de mi niña, esto con motivo de que los niños y niñas del aula de clases le hicieran un pequeño obsequio a sus madres en su día.
Estas son muy fáciles y sencillas, ideales para cualquier obsequio que queramos realizar a todas esas bellas chicas...
Les muestro como lo hice.
Hello friends, how have you been, today I show you how I made some cute little cards made with foami, collaboration that I did to my girl's teacher, this on the occasion that the children in the classroom made a small gift to their mothers on their day.These are very easy and simple, ideal for any gift we want to make to all those beautiful girls ....
I show you how I did it.

- 👜 Foamis de colores.
- 👜 Silicon de barra.
- 👜 Cierre Magico.
- 👜 Tijera.
- 👜 Regla.
- 👜 Exacto.
- 👜 Colored foams.
- 👜 Silicon bar.
- 👜 Magic Closure.
- 👜 Scissors.
- 👜 Rule.
- 👜 Exactly.
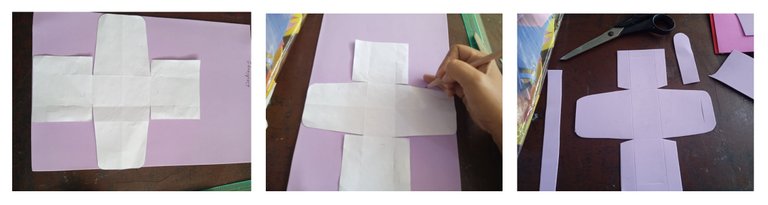
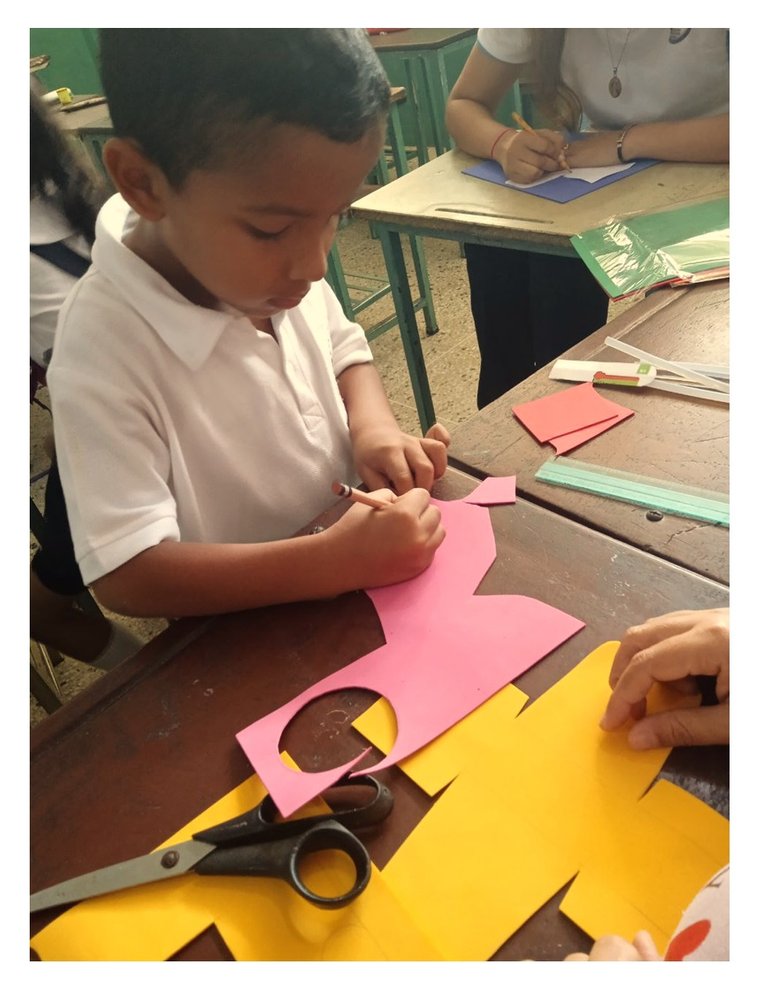
👜 PASO 1: Con el foami de color y con la ayuda de mi patrón dibuje y corte cada pieza, a su vez con el exacto trace las líneas de la cartera con mucho cuidado sin afincar mucho el exacto esto para cuando arme la cartera quede bien formada, solo afinque el exacto para las dos aberturas donde pegaría las correas.
👜 STEP 1: With the colored foami and with the help of my pattern draw and cut each piece, at the same time with the exacto trace the lines of the wallet very carefully without sharpening the exacto this for when I assemble the wallet it will be well formed, only sharpen the exacto for the two openings where the straps would be glued.
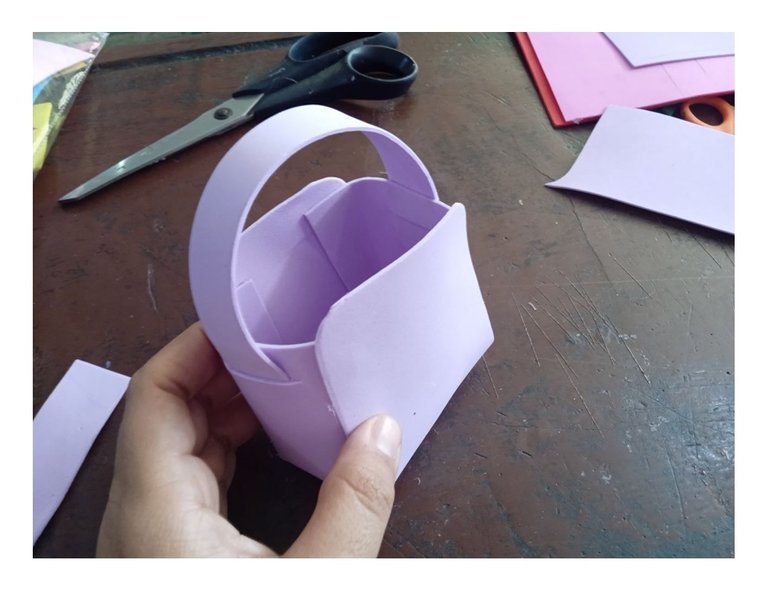
👜 PASO 2: Tome l pieza de mi cartera y pegue las pestañas de los lados.
👜 STEP 2: Take l piece of my wallet and glue the tabs on the sides.
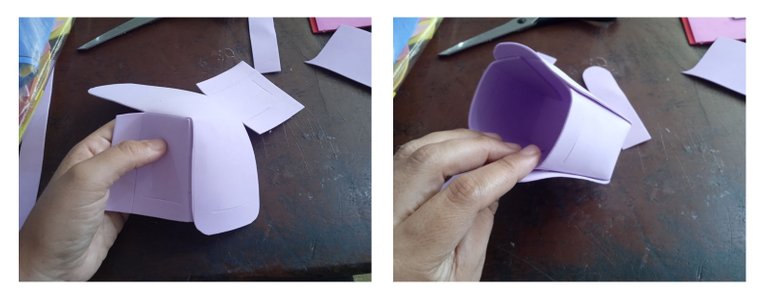
👜 PASO 3: Pegue la tira ó lo que seria la correa de la cartera.
👜 STEP 3: Glue the strip or what would be the strap of the wallet.
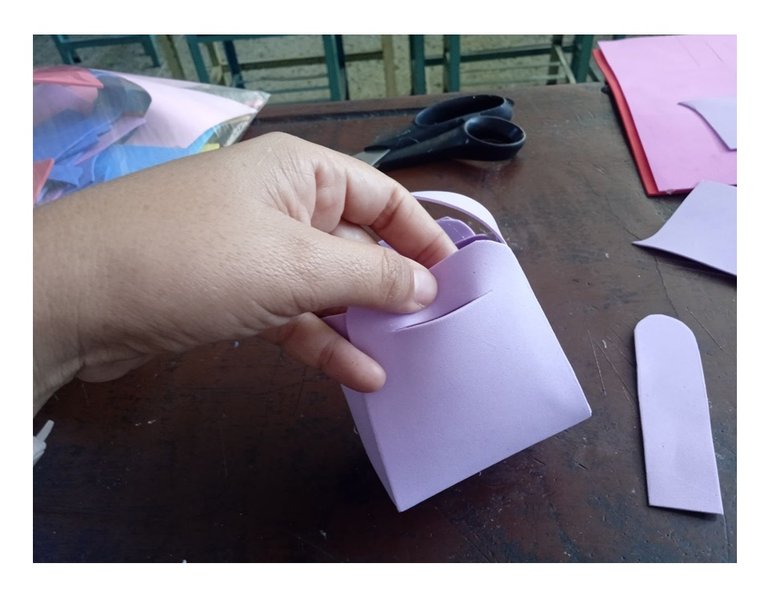
👜 PASO 4: Tome la otra pieza lo que seria la correa que cerraría la carterita, la pegue y le pegue a su vez un pequeño pedacito del cierre mágico.
👜 STEP 4: Take the other piece, which would be the strap that would close the wallet, glue it and glue a small piece of the magic clasp to it.
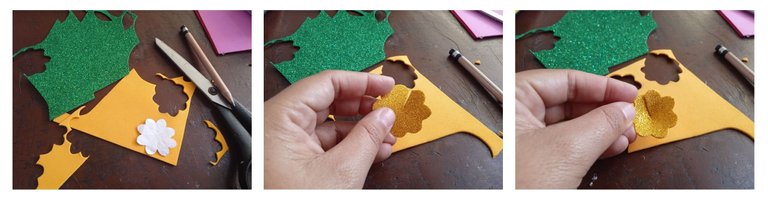
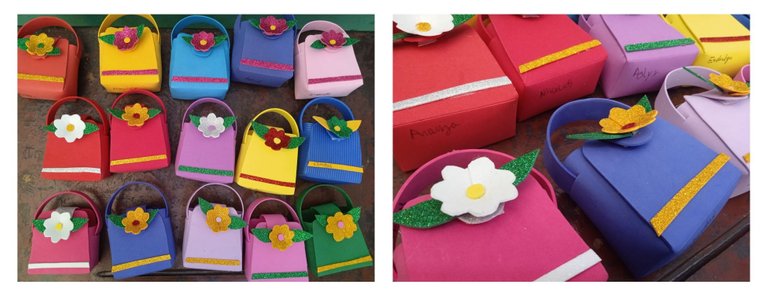
👜 PASO 5: A parte corte una pequeña flor para decorar la carterita.
👜 STEP 5: Cut a small flower to decorate the cardcase.
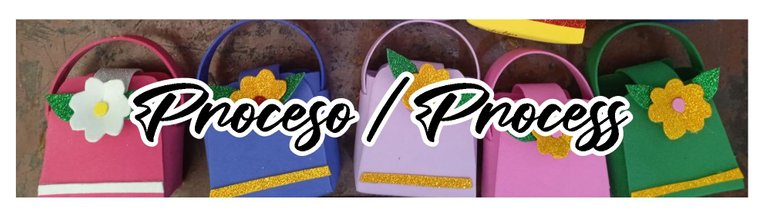
👜 PASO 6: Pegue la flor a la cartera y así quedo, con ayuda de la maestra logramos hacer 35 carteritas.
👜 STEP 6: Glue the flower to the wallet and this is how it turned out, with the help of the teacher we were able to make 35 little wallets.
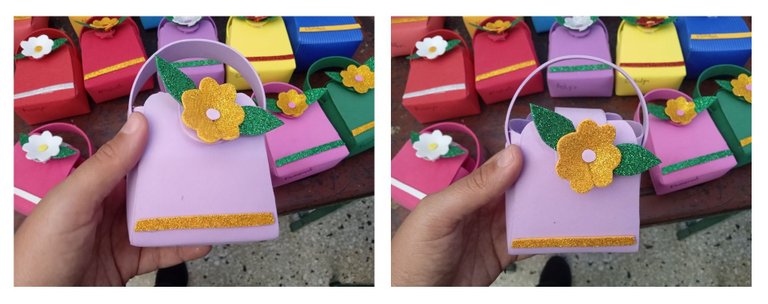
Los niños también ayudaron a marcar las carteritas y flores con ayuda de los patrones en cada foami.
The children also helped to mark the cards and flowers with the help of the patterns on each foami.
Gracias por Leerme...
Espero les guste.
Las fotos son de mi Autoria.
Un gran Abrazo...😊
Thanks for reading me...
I hope you like it.
The photos are of my Autoria.
A big hug...😊


