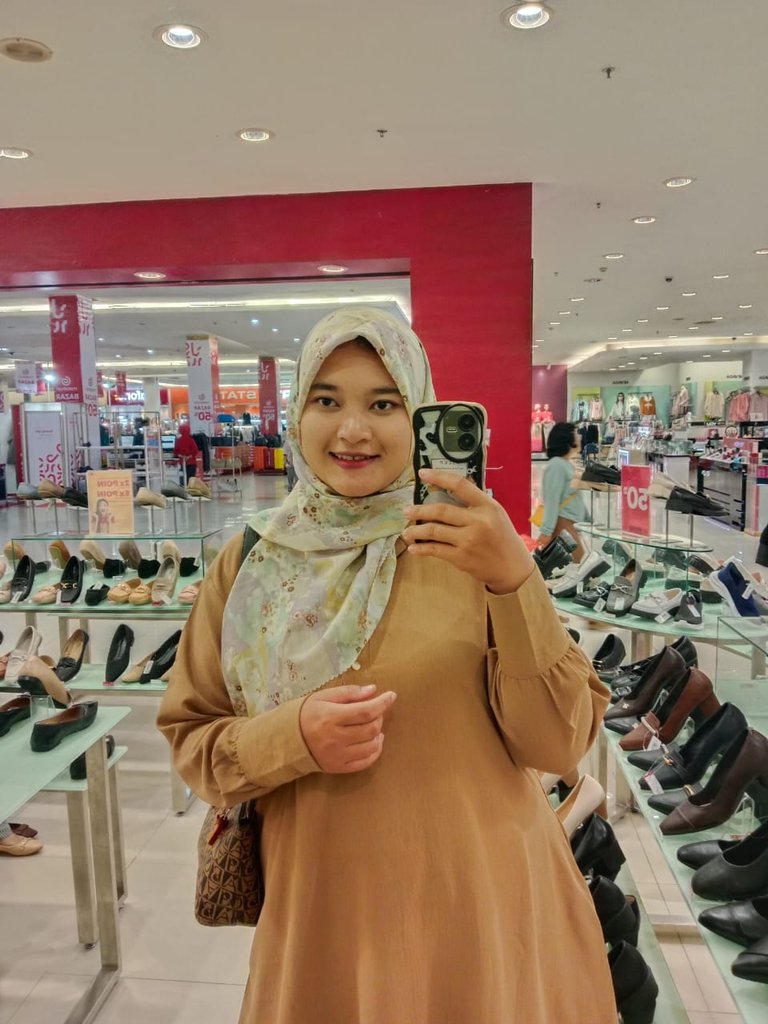
Happy greetings to creative friends. It always feels good to be able to share creative things with all friends, with the hope that friends always like every creative result that I make and share.
And this time I will share the creative results that I made a few days ago. Actually, the initial idea came because I saw a lot of my baby photos that I had printed but none of them I had framed. Actually, there are a lot of frames sold in the market or supermarket. But it's a shame if the idea in my head is not realized immediately. hahaha
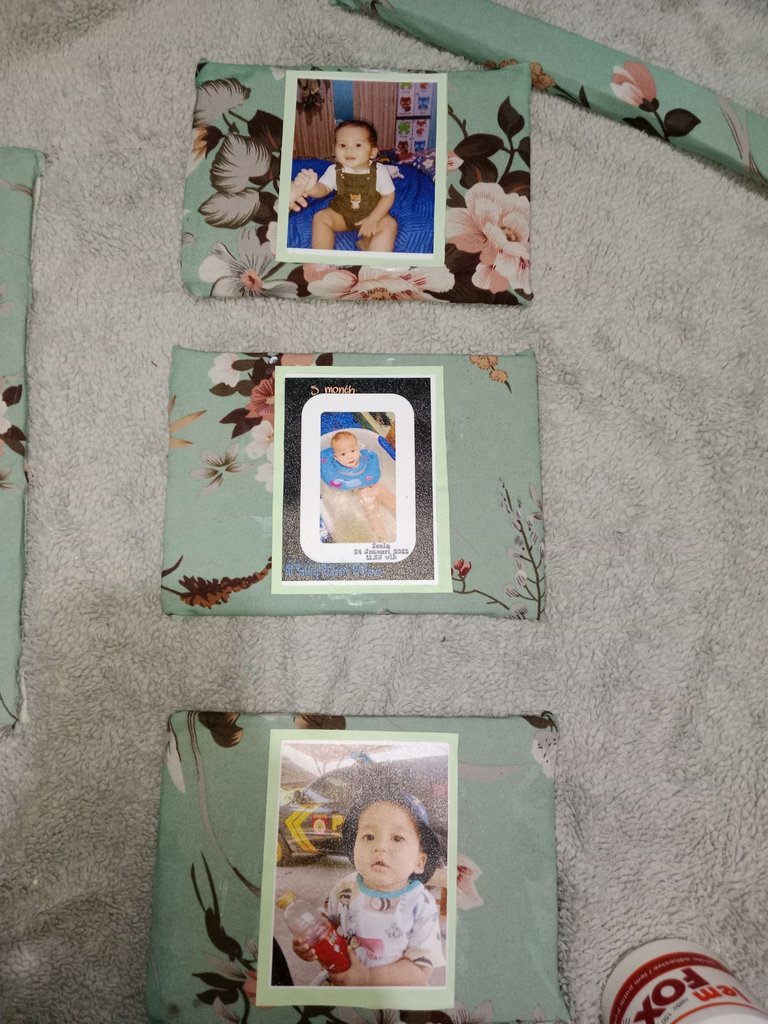
So let's just collect the materials that will be needed.
Materials:
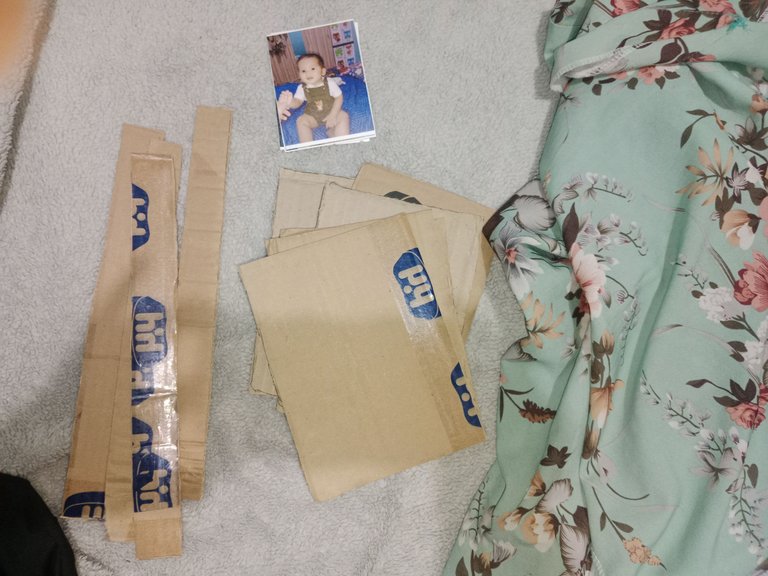
- Used cardboard (cut into 11 cm x 16 cm) 6 Pcs
- Cardboard Size 2.5 cm x 27 cm 4 PCs
- Unused clothes with flower motifs
- Photo 3 Pcs
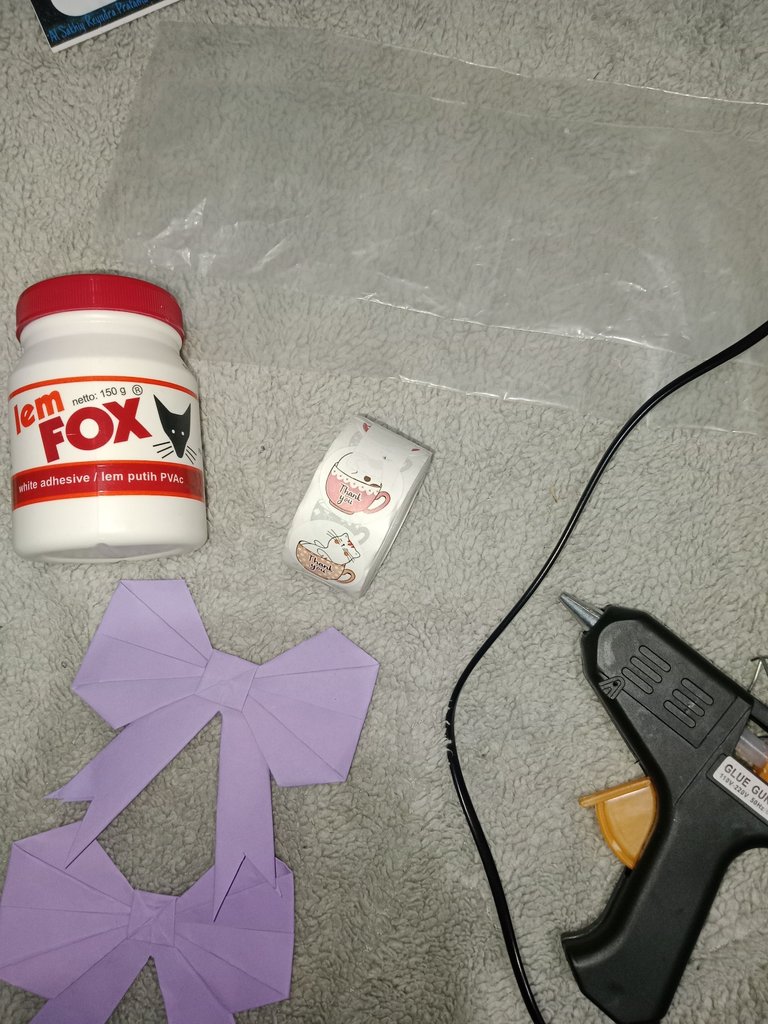
- Origami Paper Ribbon
- Glue gun
- Glue Paper
- clear plastic
- Cute Stickers
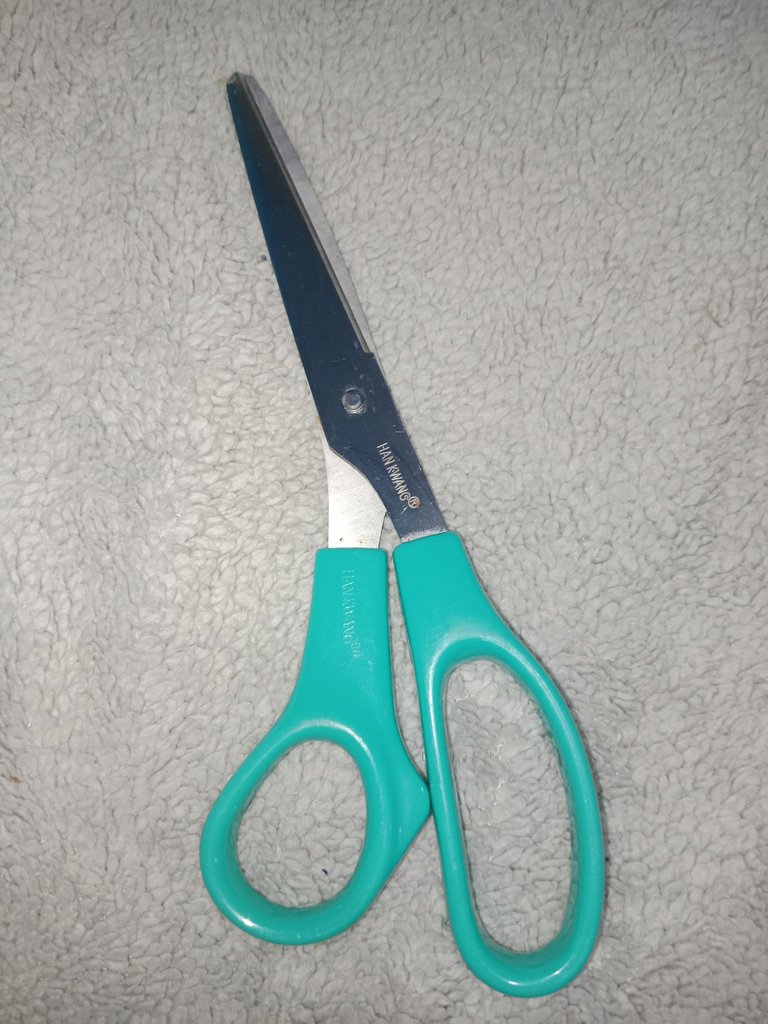
- Scissors
- such branches
Instructions for Making:
- Put paper glue on the 11x16 cardboard then cover it again with the 11 x 16 cardboard. And the cardboard becomes 3 pcs
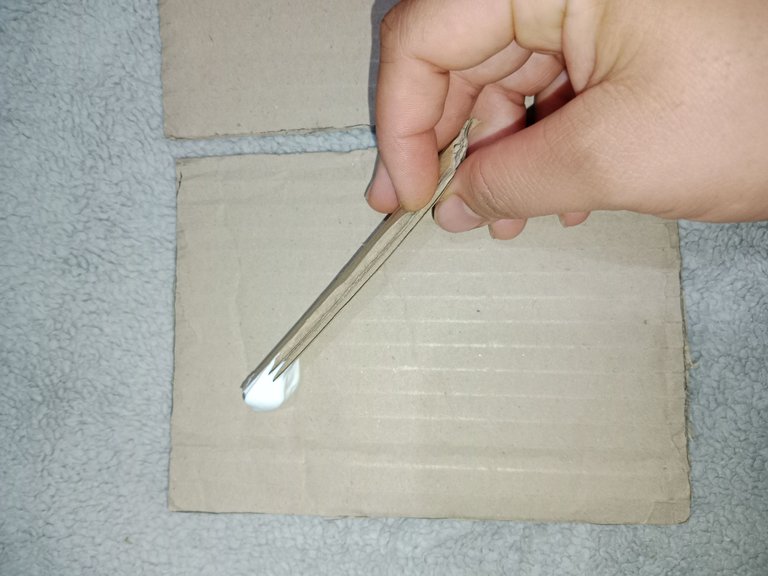
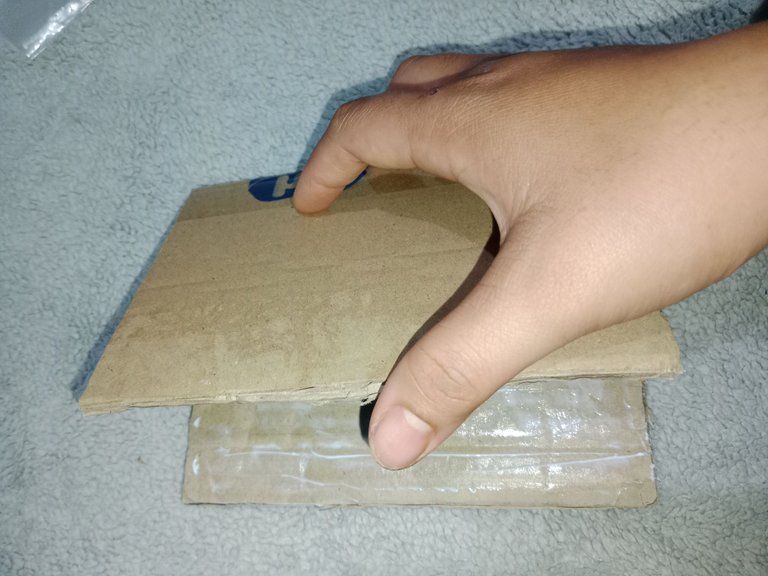
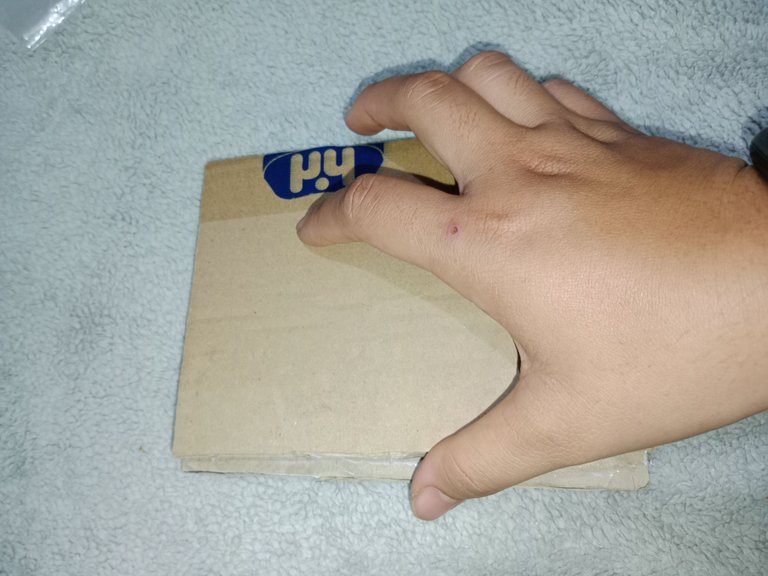
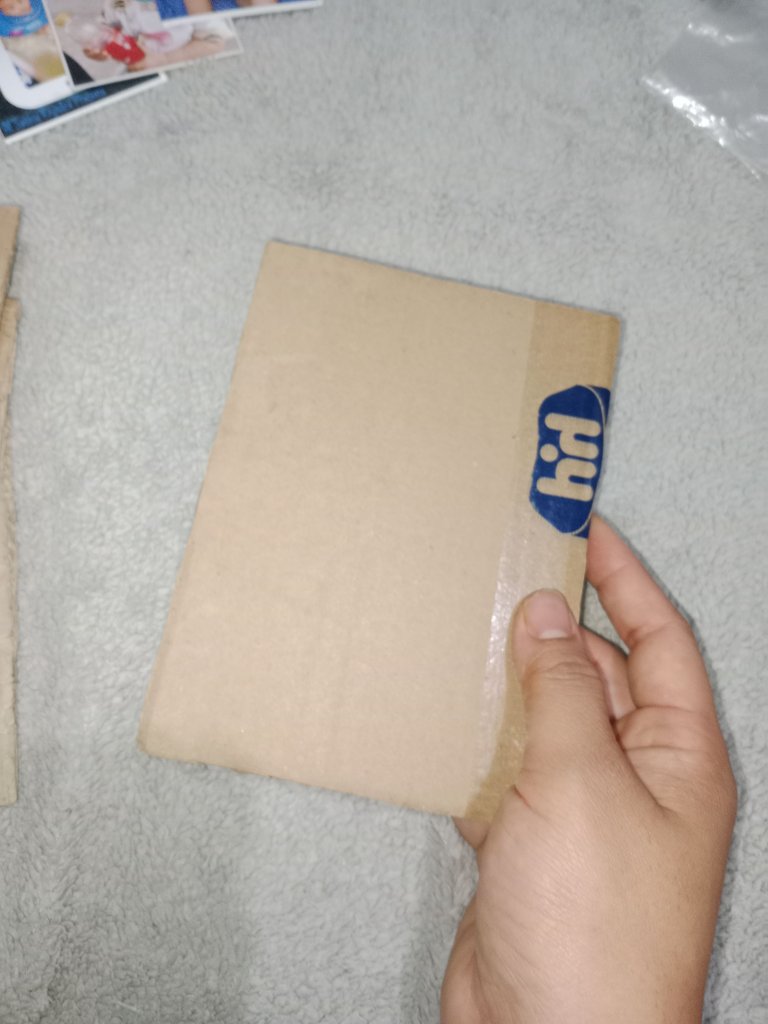
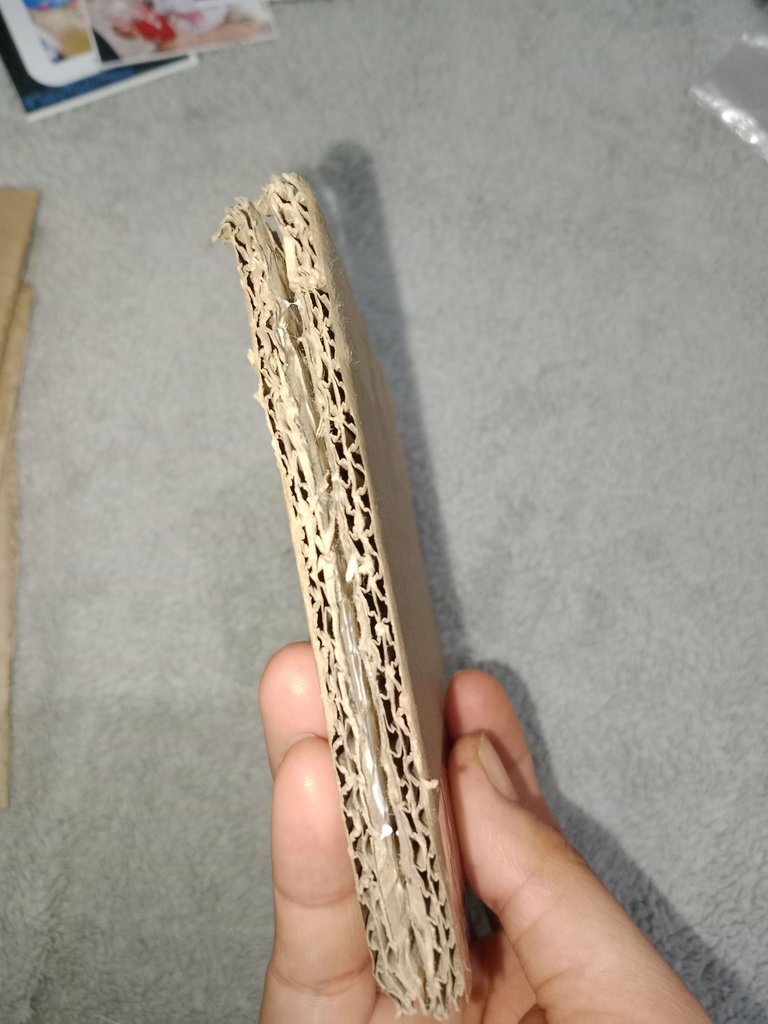
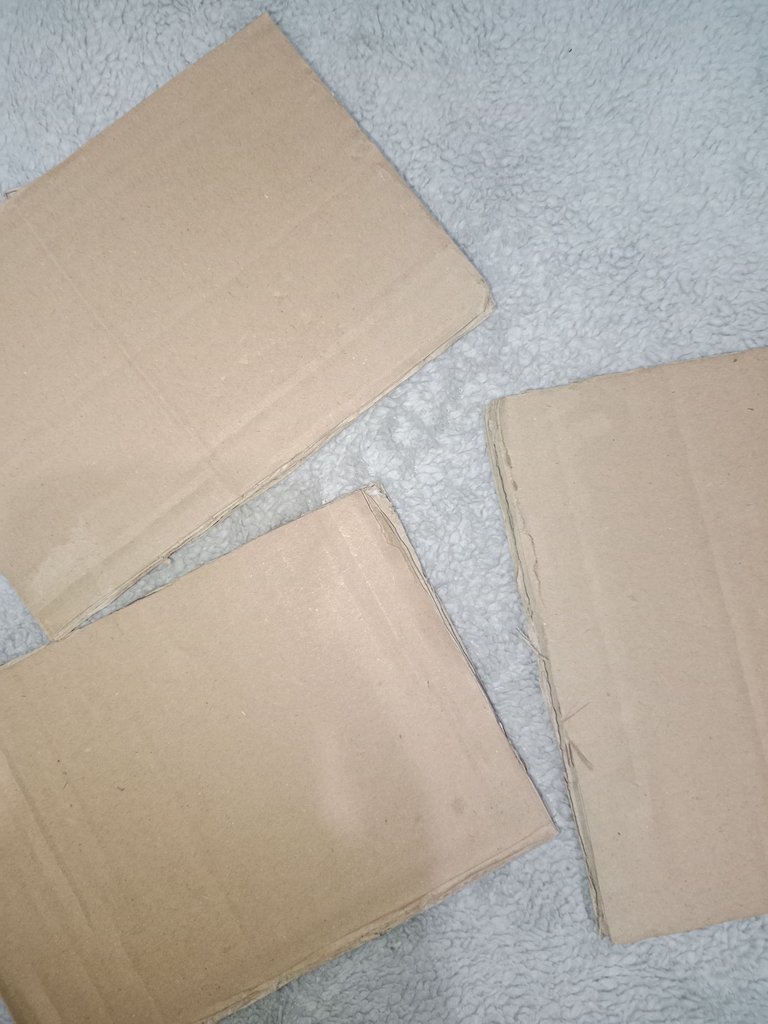
And do it on the other cardboard, as well as the 2.5 x 27 cardboard and the cardboard becomes 2 pcs
- Then take a used patterned shirt, then measure it according to the 11 x16 cardboard and cut it. Then put glue on it. And do it on the other cardboard
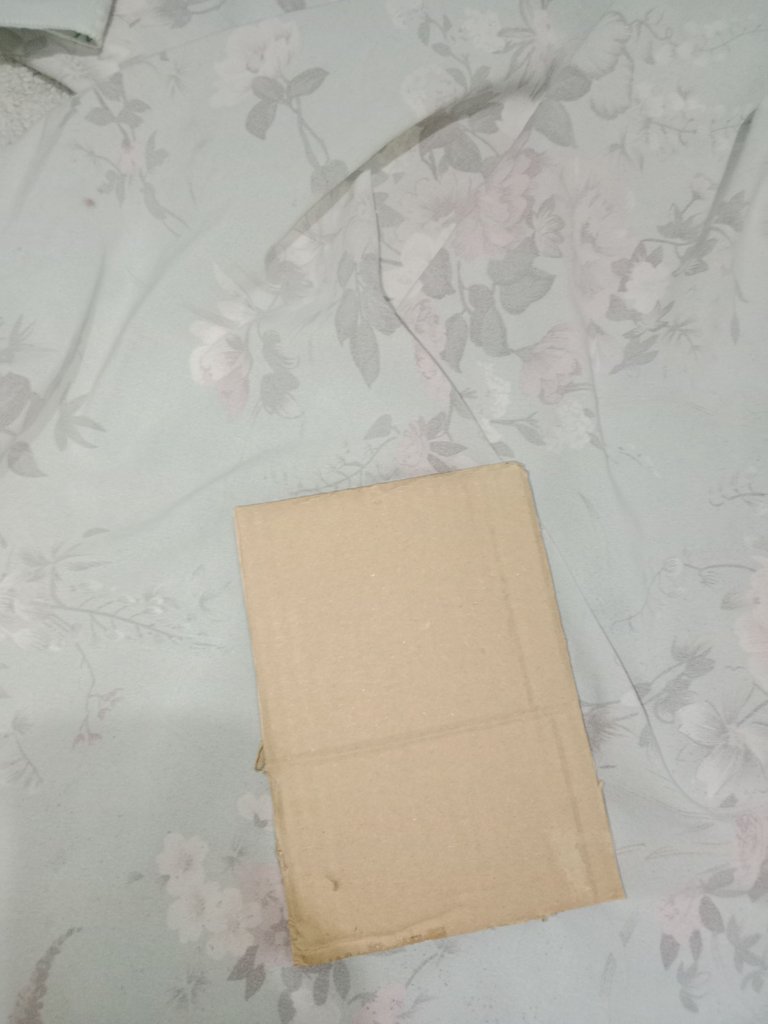
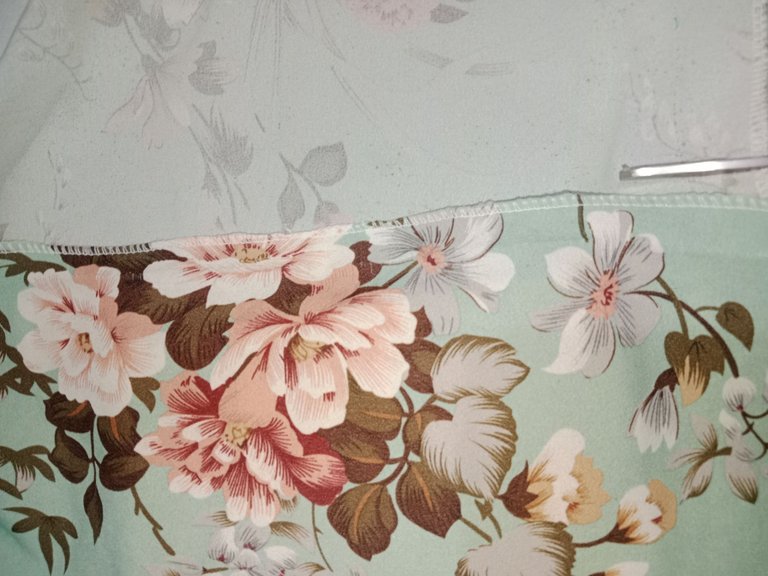
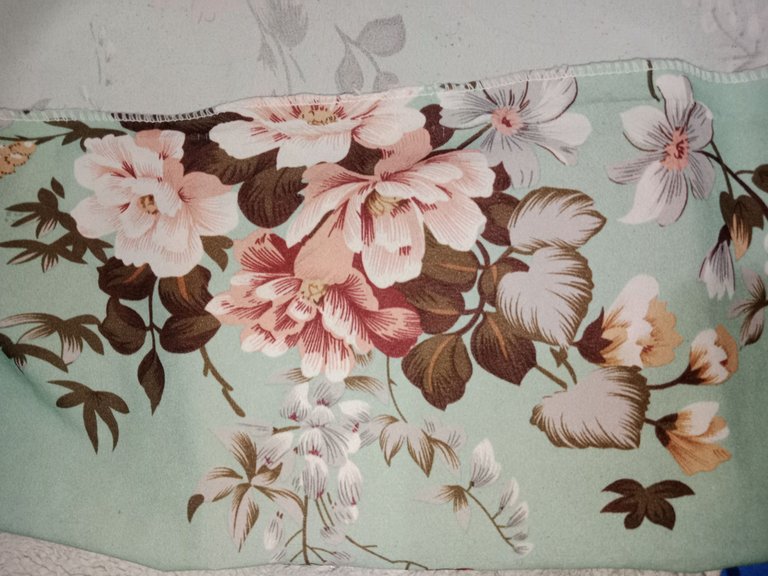
- Put glue on the cardboard then wrap it with a patterned cloth that has been cut according to the size of the cardboard.
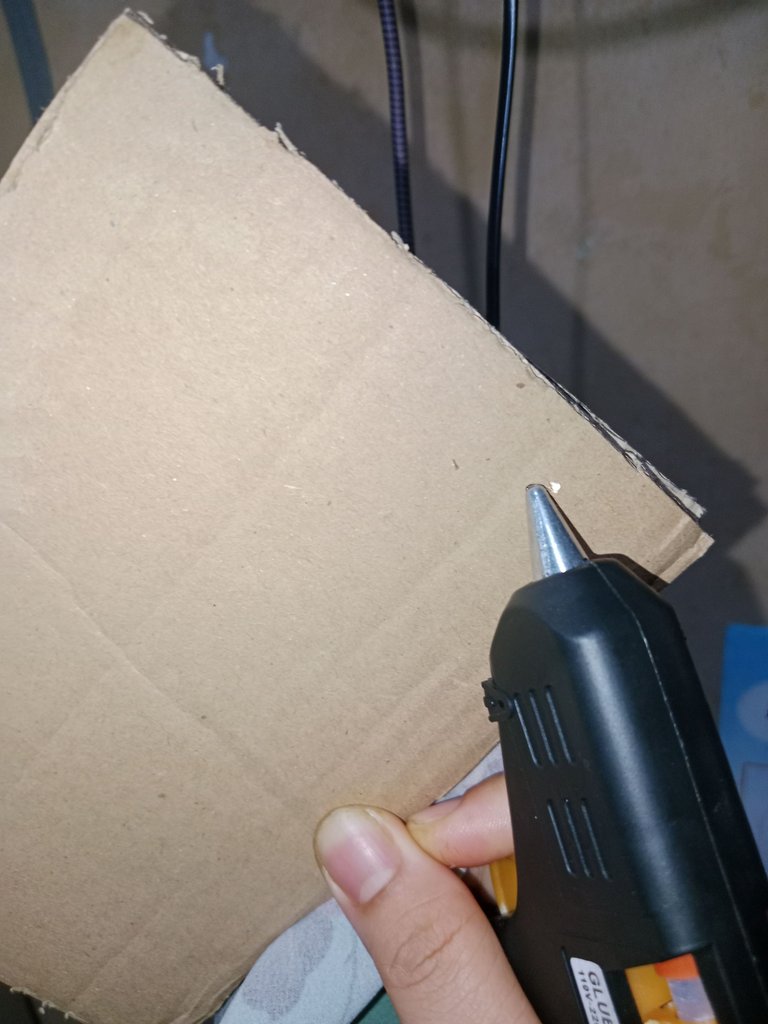
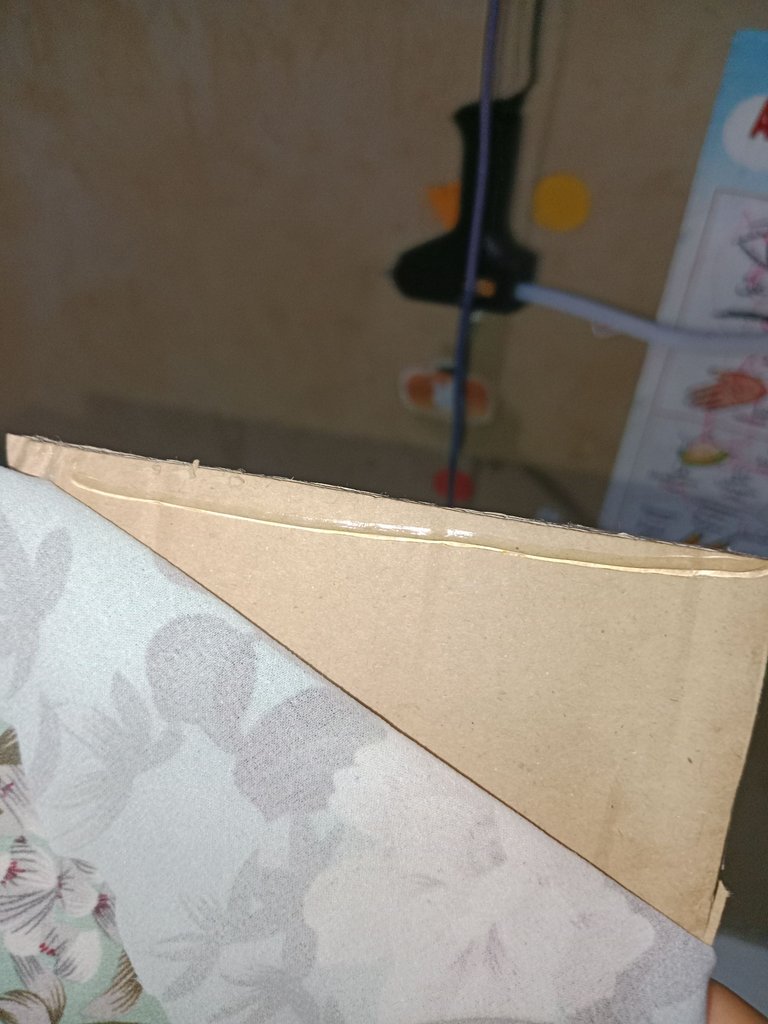
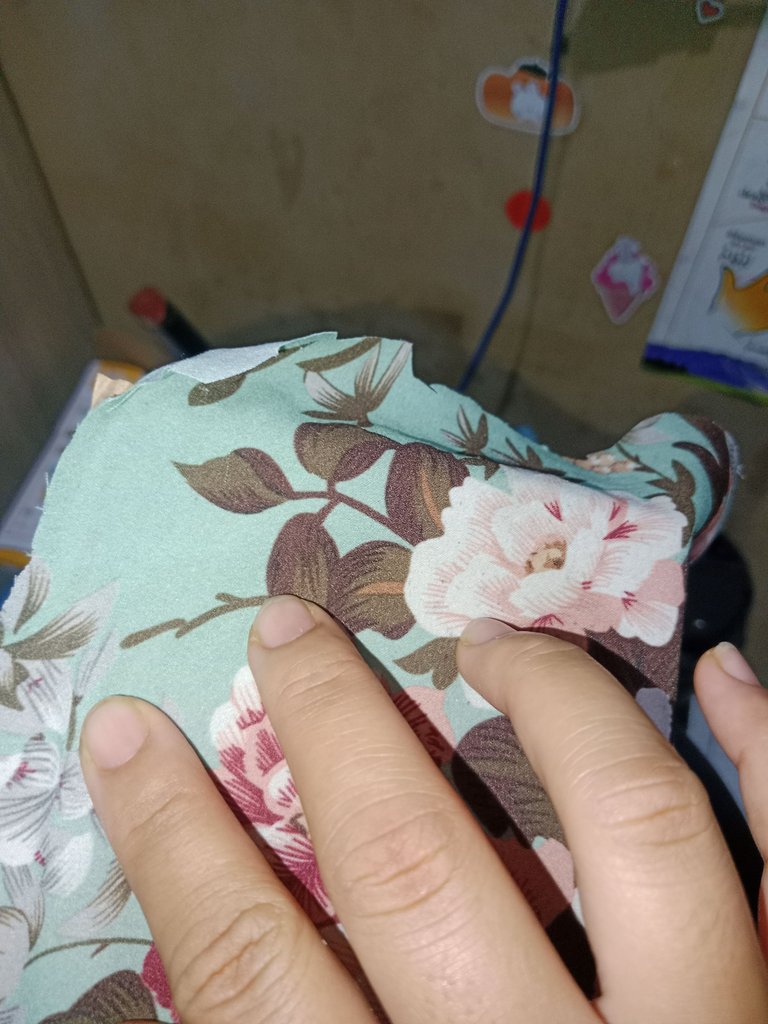
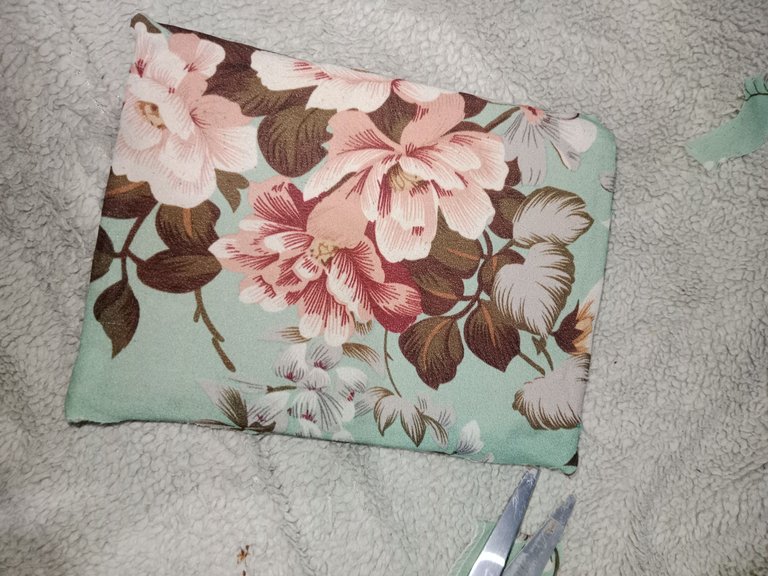
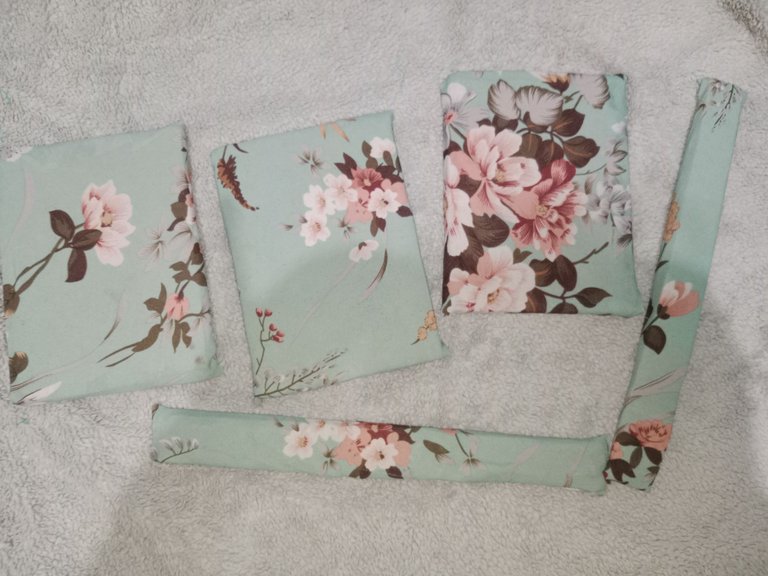
- To add a natural impression, I added origami in the same color as the fabric base, and cut it a little bigger than the photo to be used.
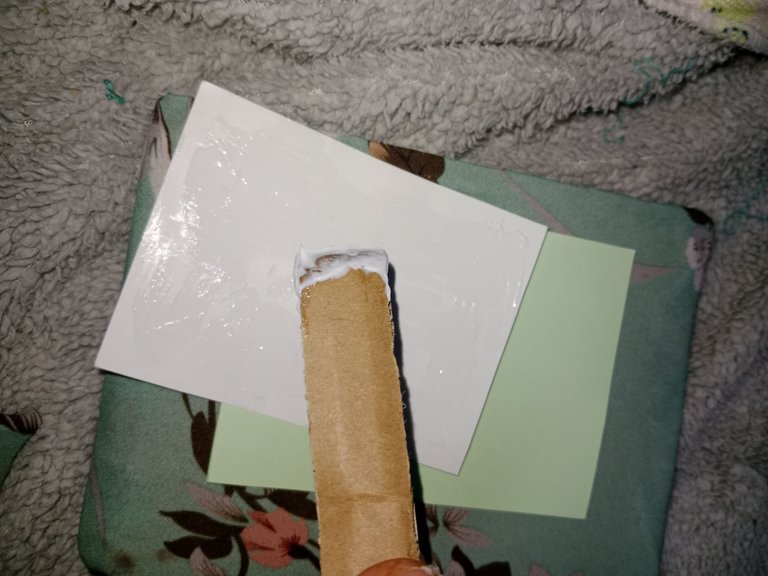
then put paper glue on the origami paper and the photo, and stick one to another and stick it on the frame
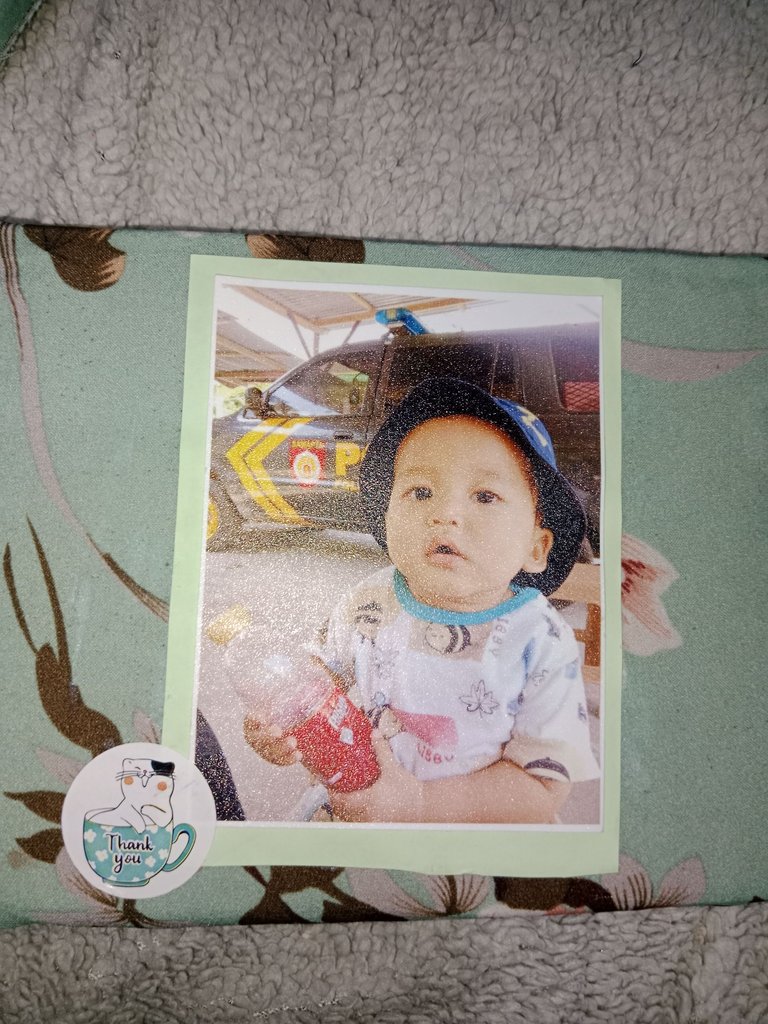
then put a cat sticker in the corner of the photo
- To make the photo more durable, I added clear plastic to make it look like glass.
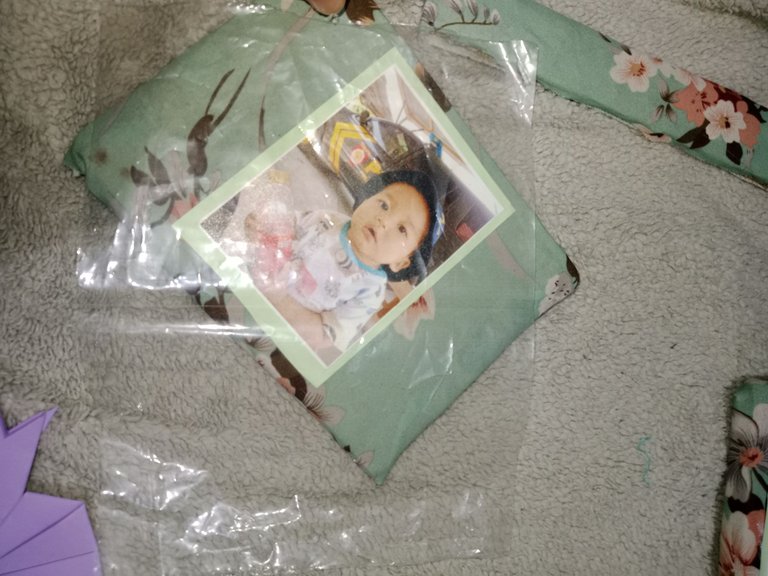
- The final step is to combine all the parts with hot glue.
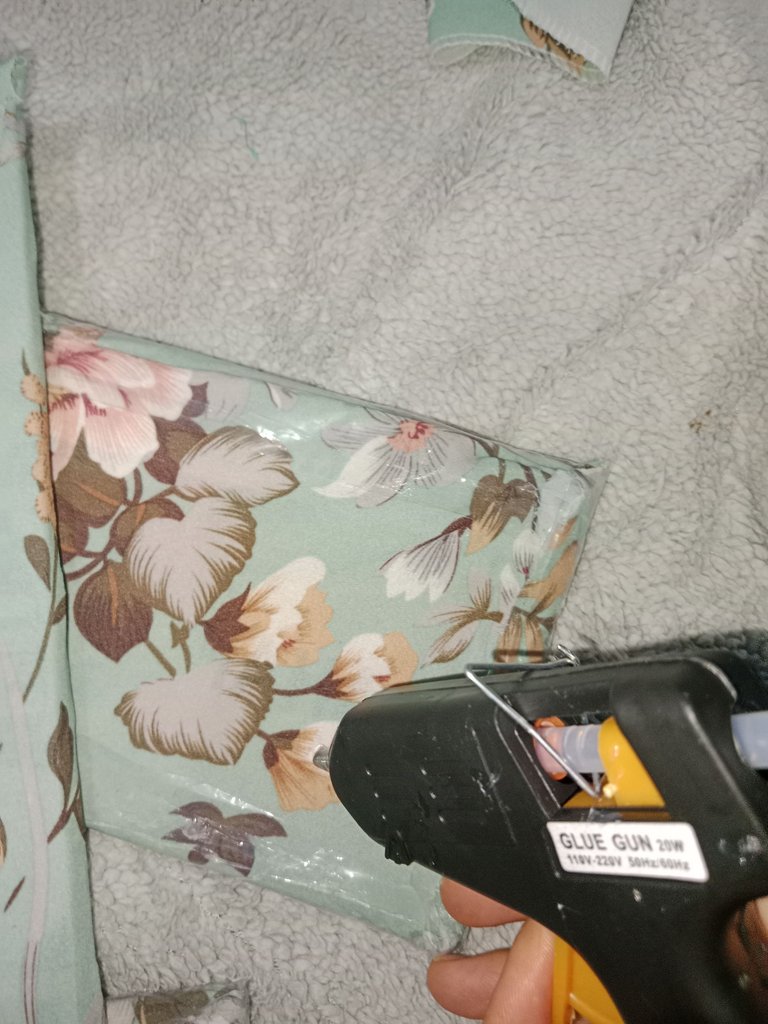
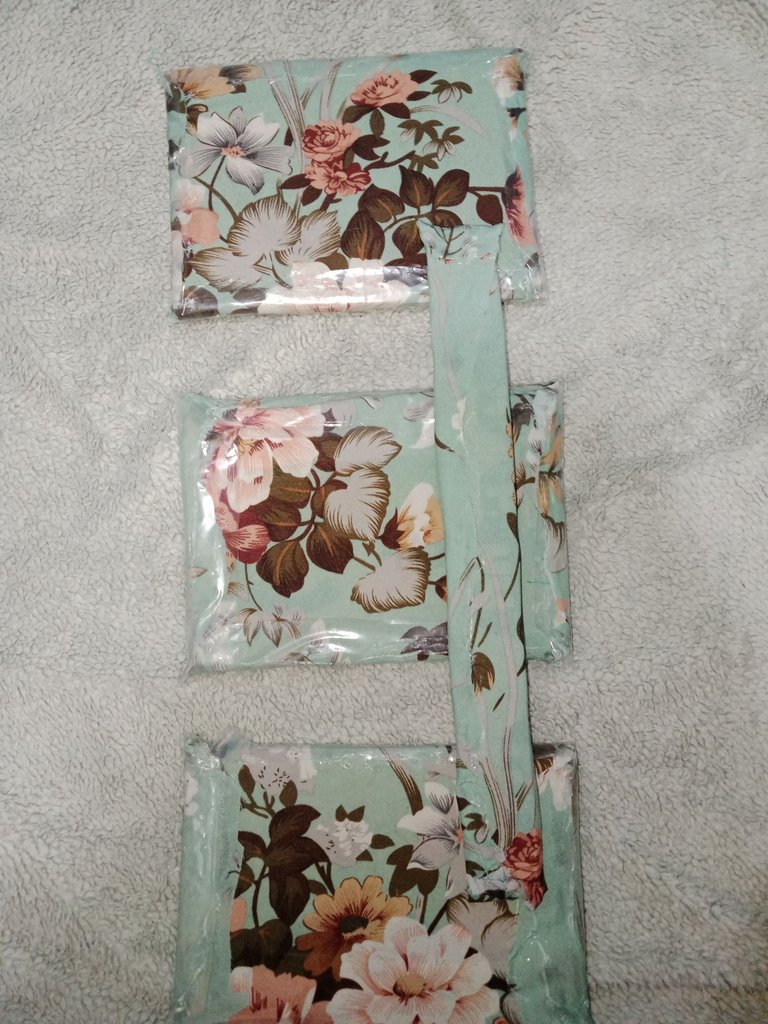
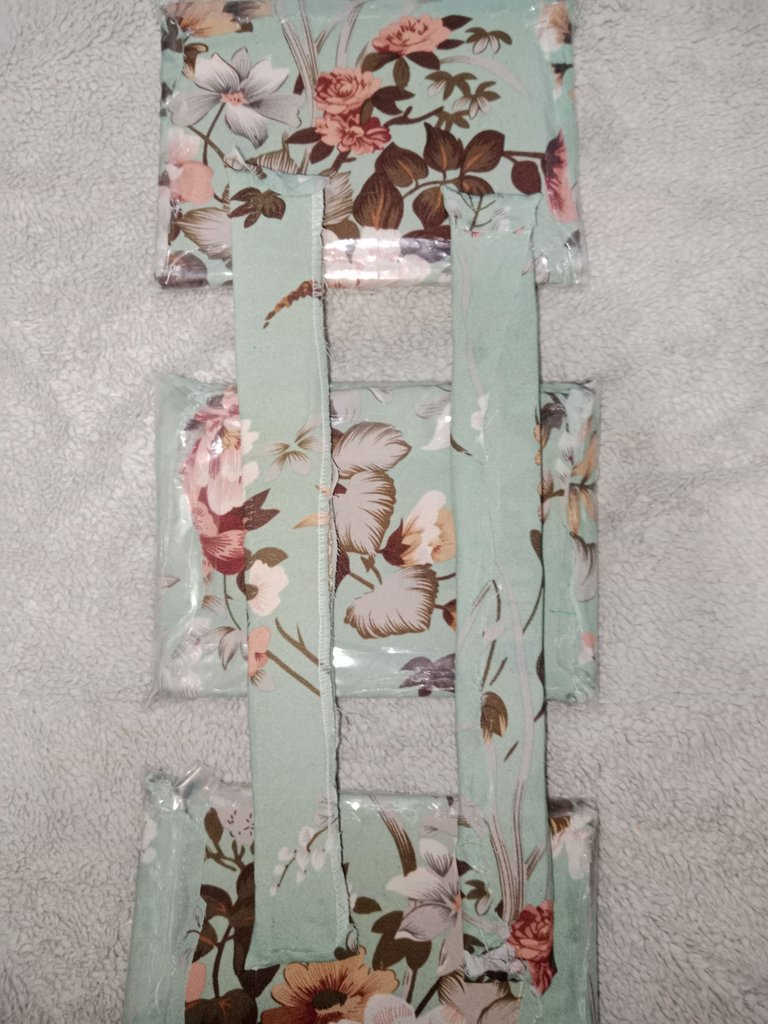
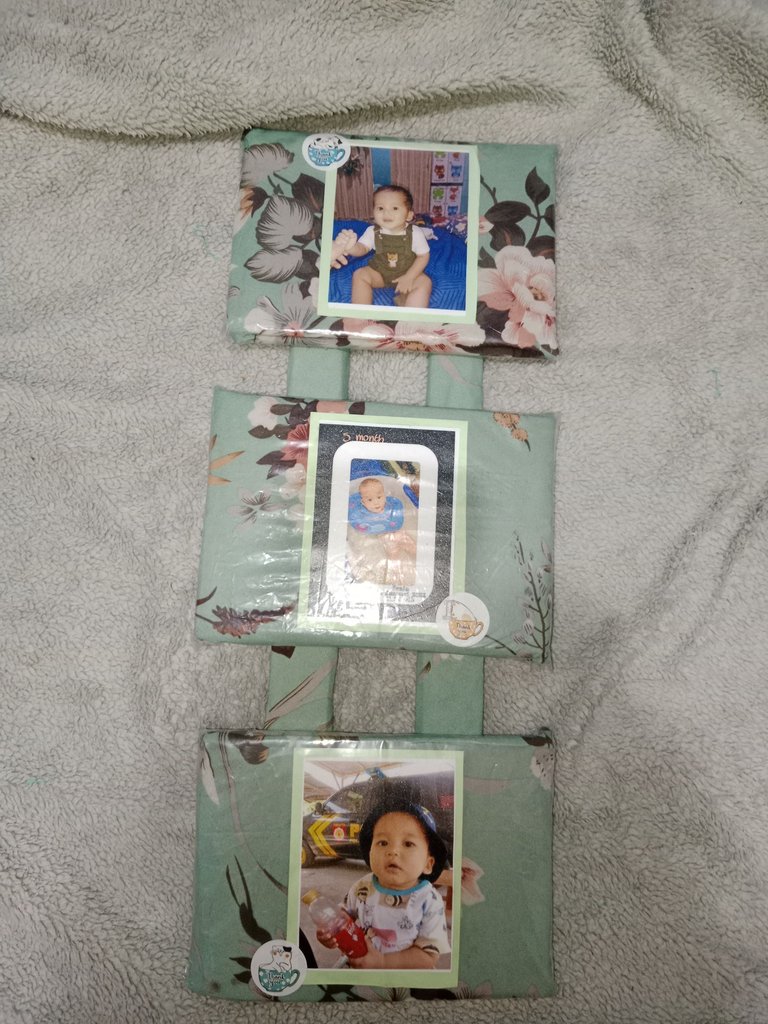
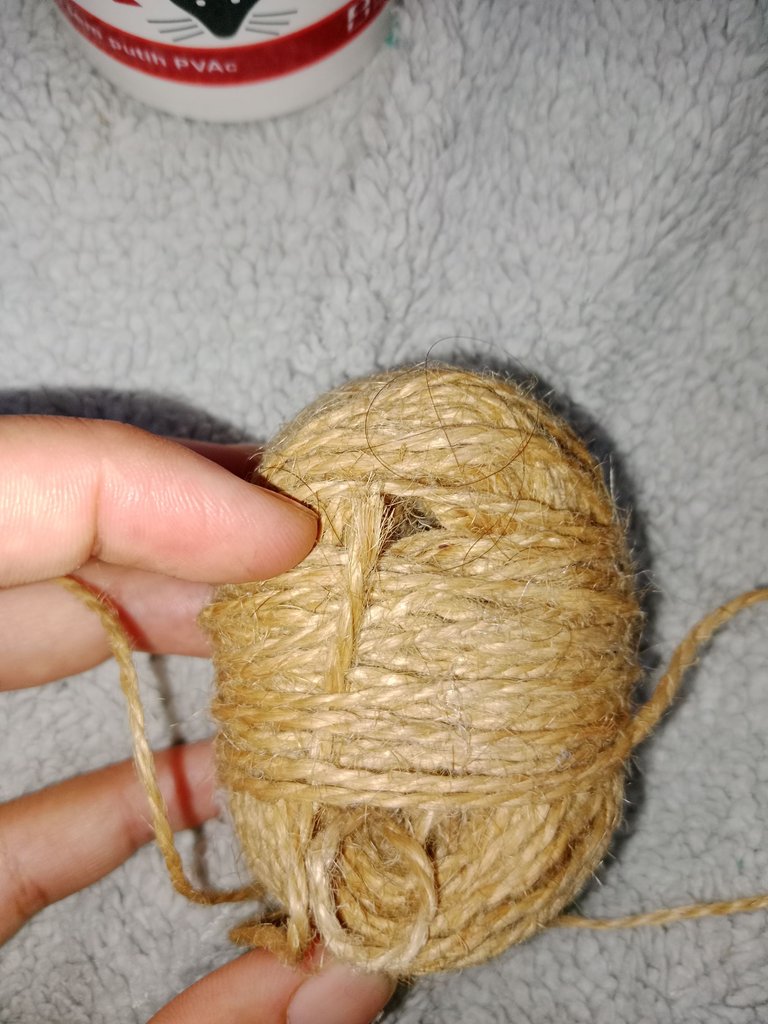
- So that the frame can be hung on the wall. I added a hemp rope about 30 folded into about 5 cm, then I gave it paper glue.
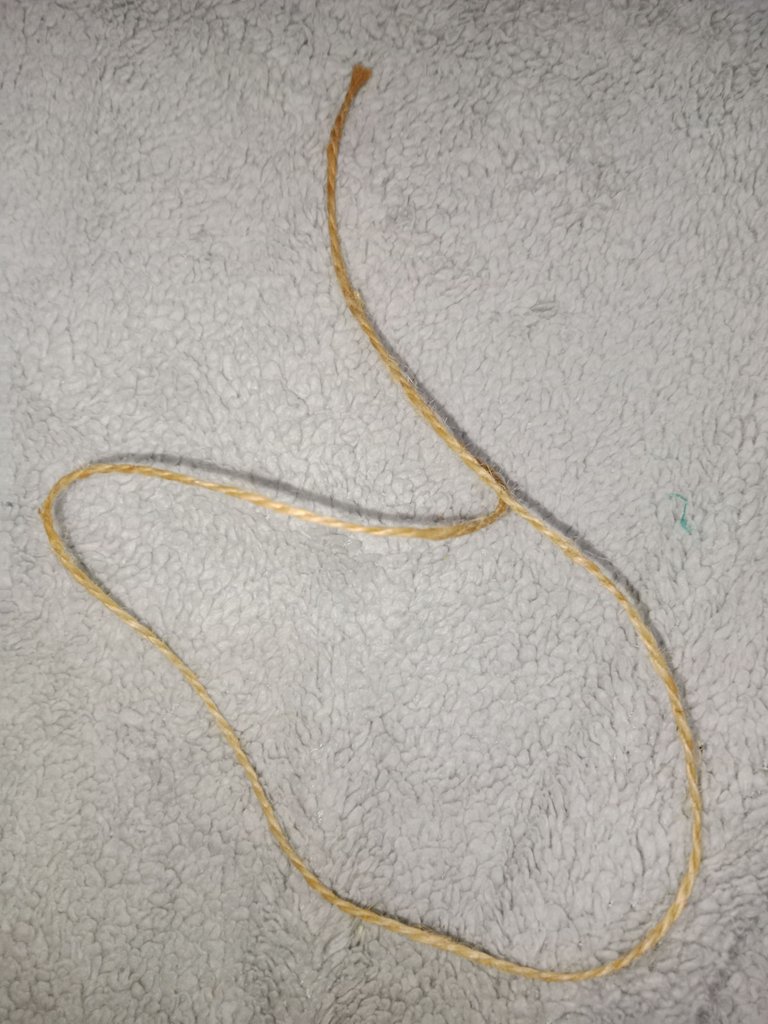
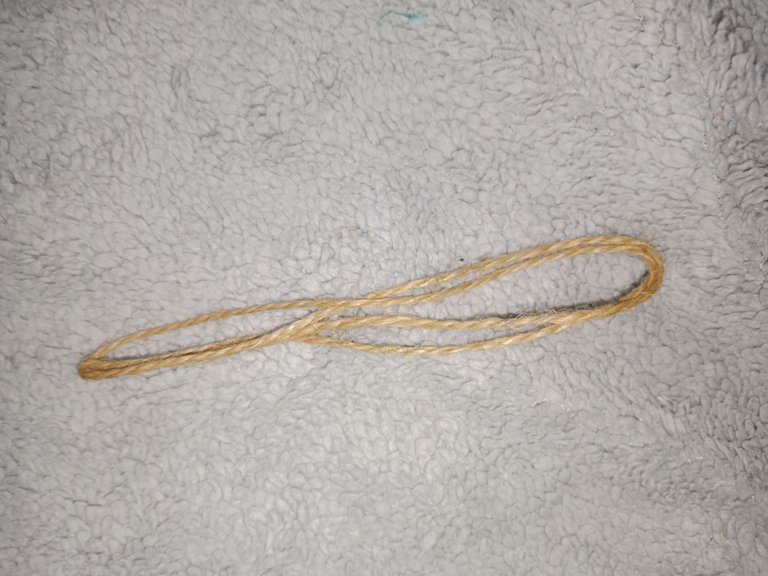
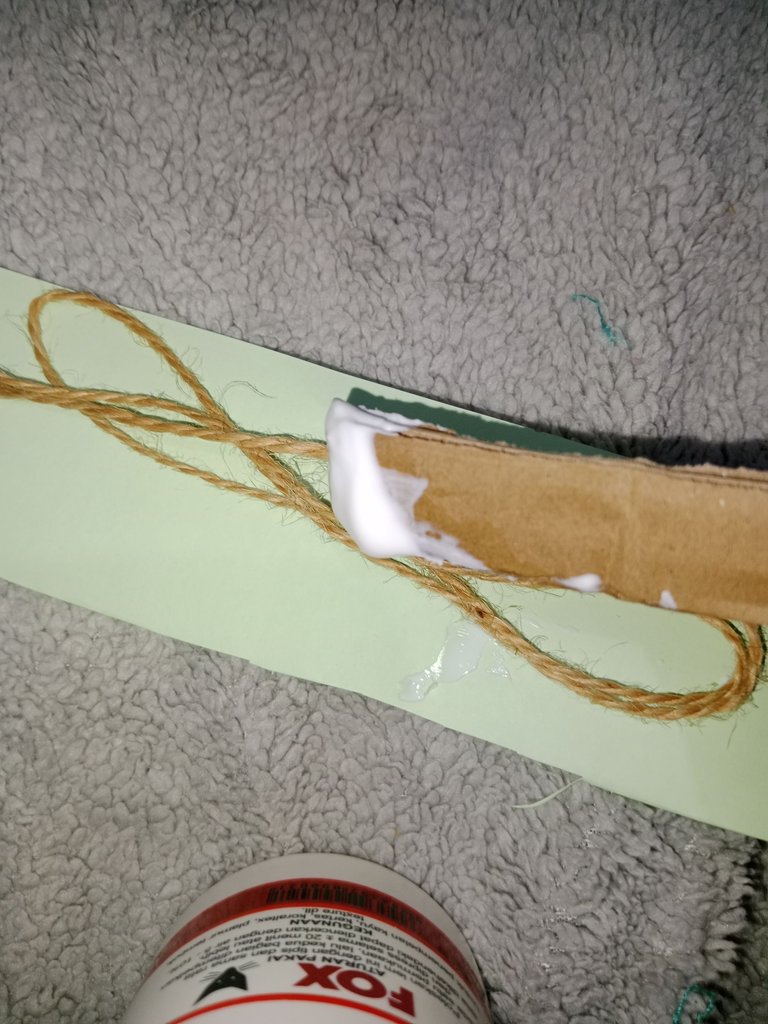
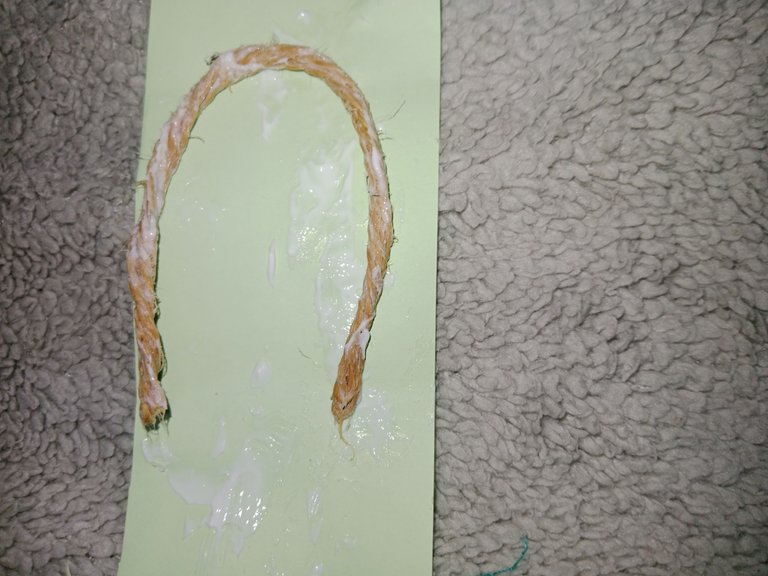
and to glue it to the frame, I gave it a glue gun and added origami paper so that the adhesive would last a long time.
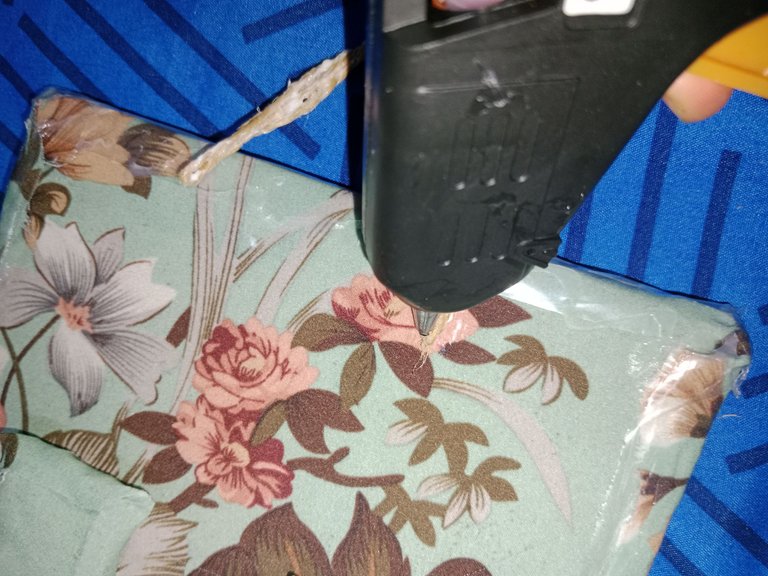
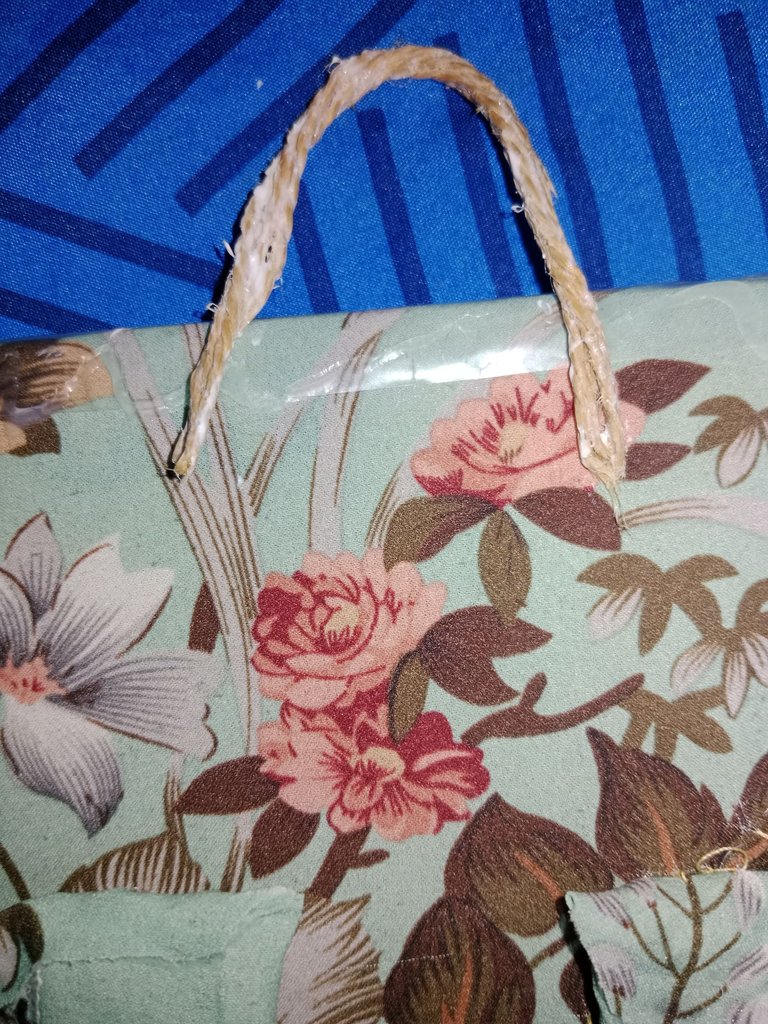
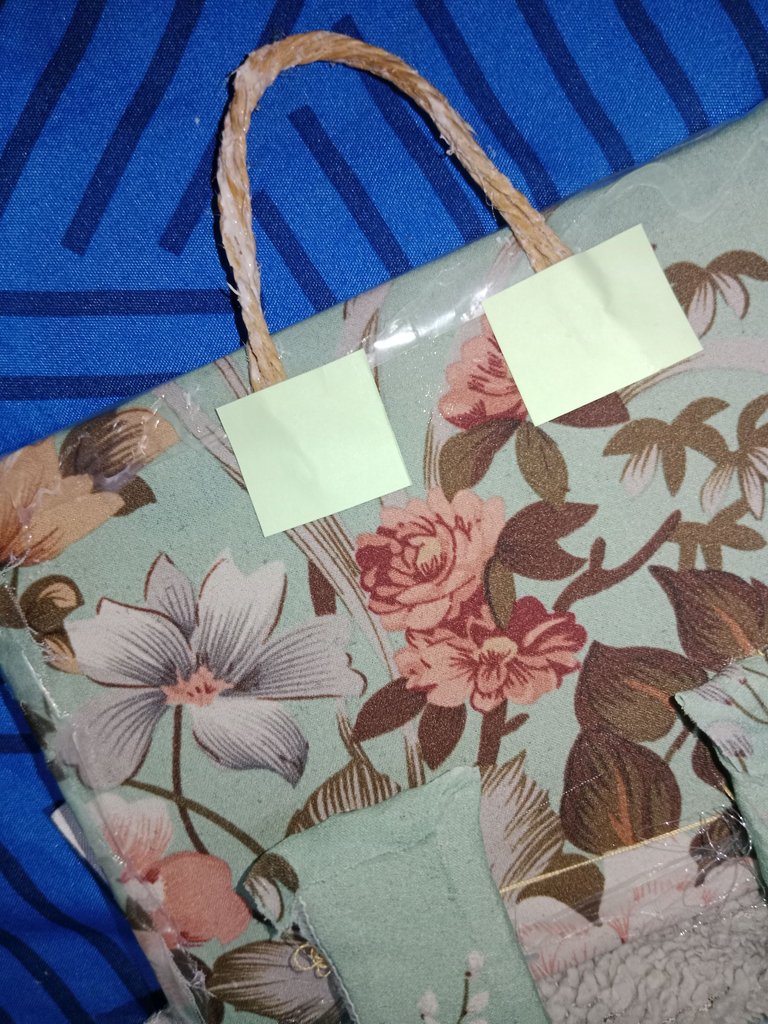
and finally the frame is finished. and in the future it will become a memorial item for my child's future, that's my hope.
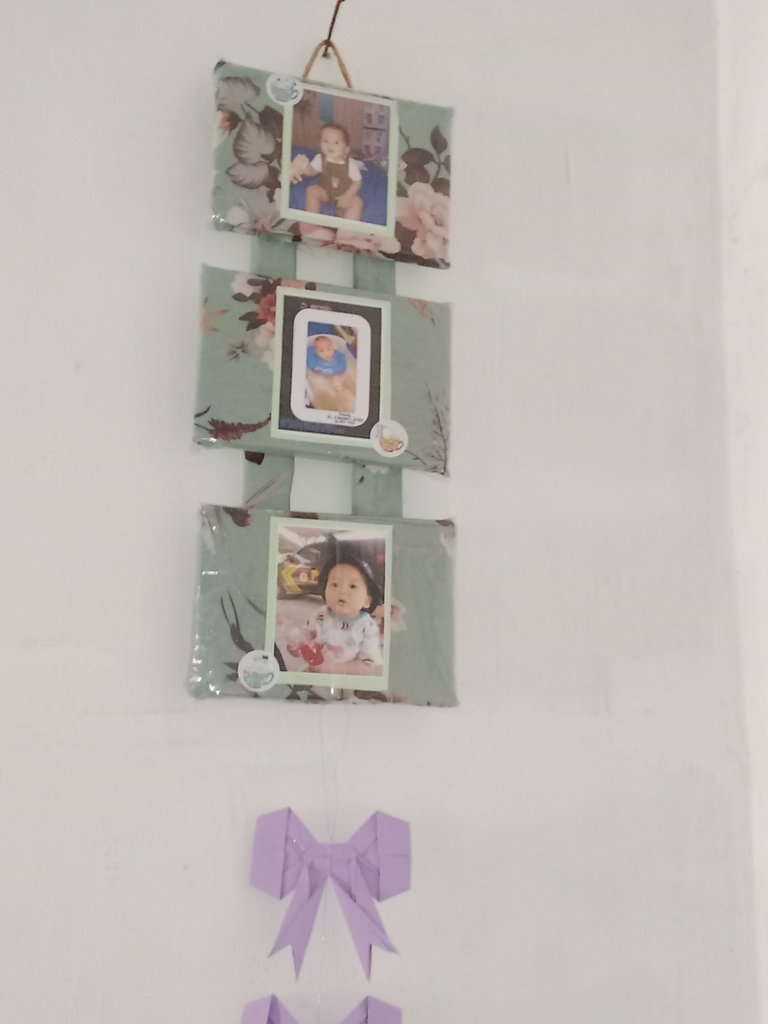
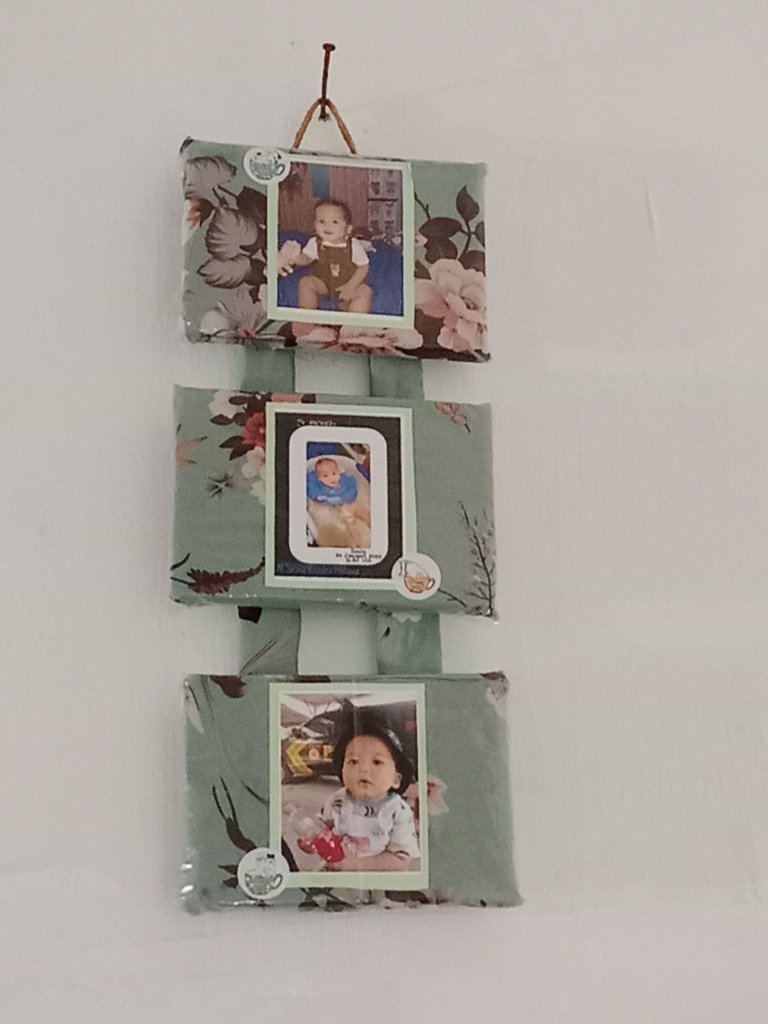
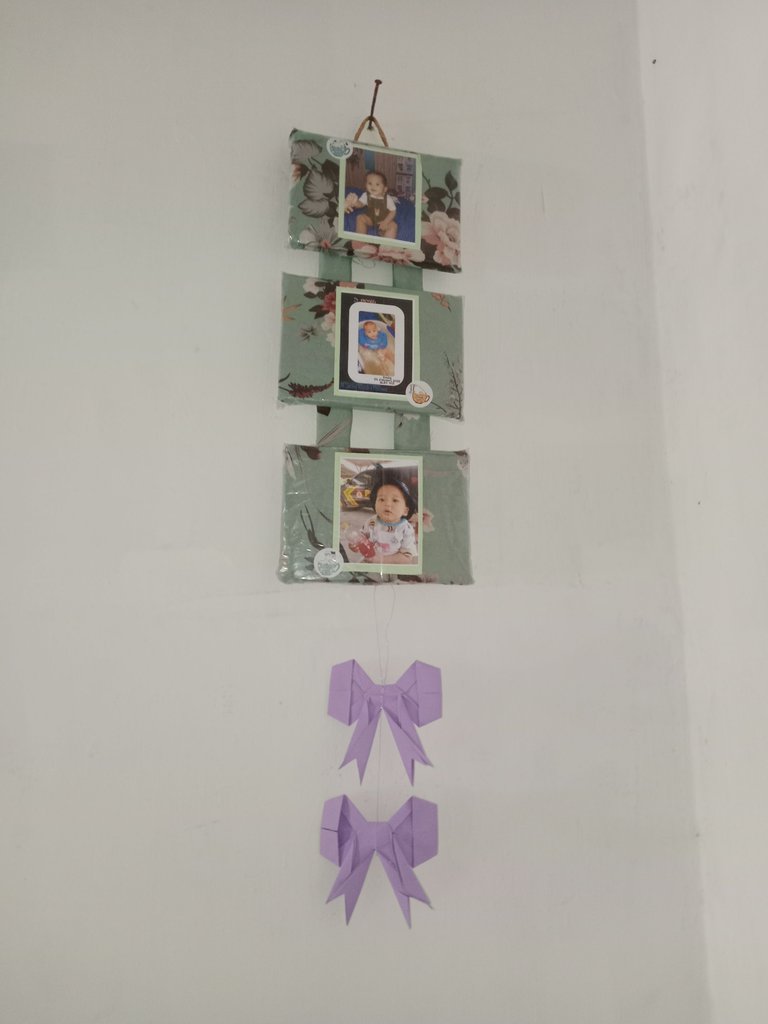
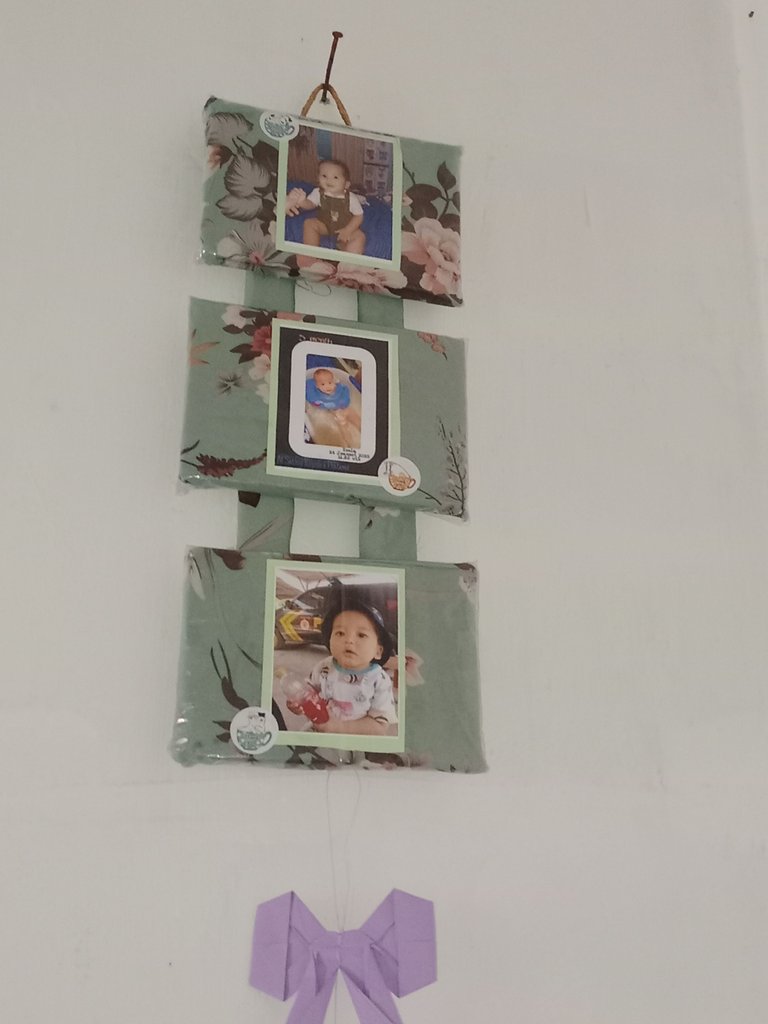
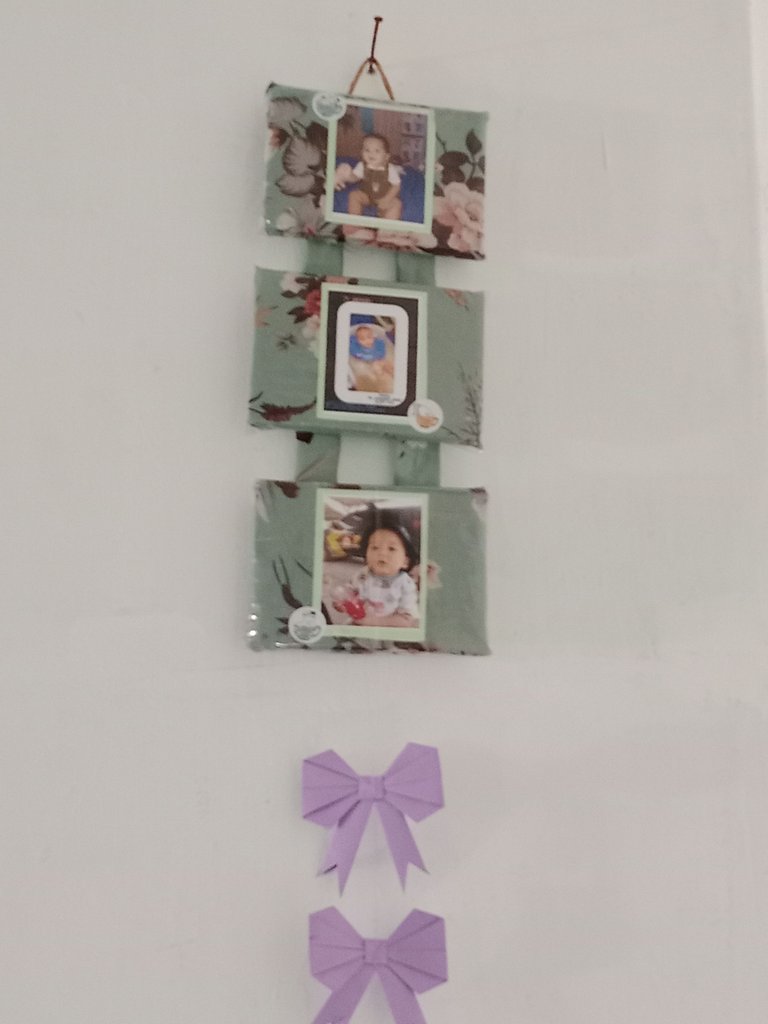
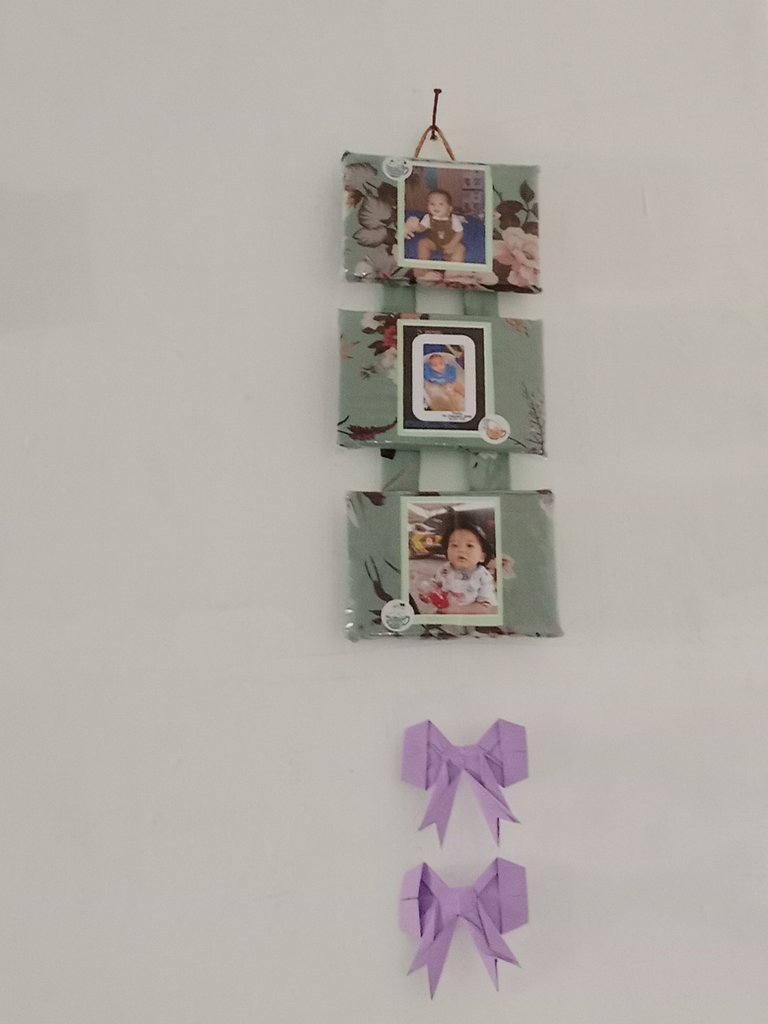
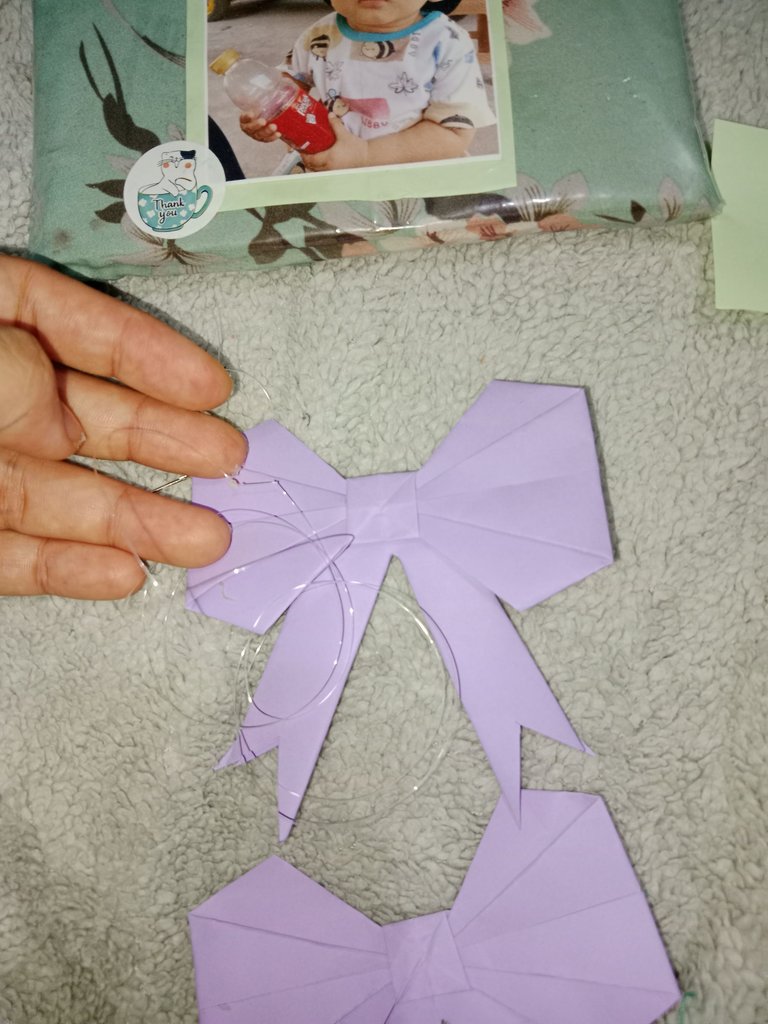
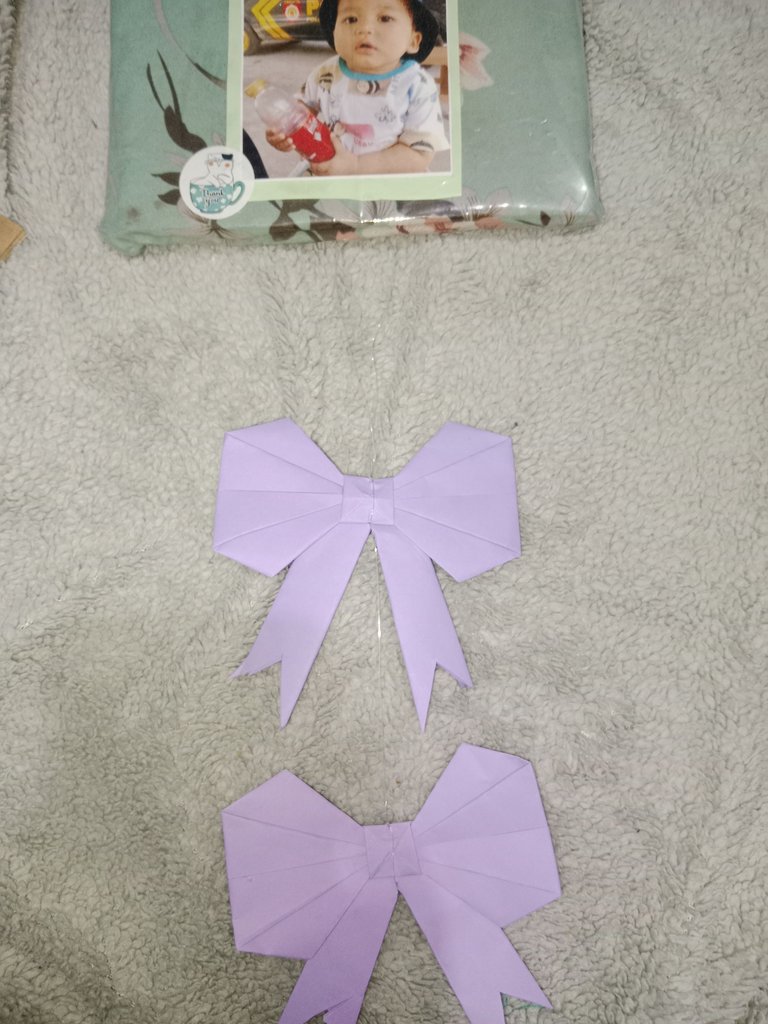
For the ribbon, I connected it with a clear elastic rope as usual. As an additional decoration, but maybe you guys have some suggestions? Is it better to have a ribbon or not..
Hello This is Nisa, an amateur writer (I apologize if there are any errors in writing or in the wrong translation of words in writing, and I am very grateful that you have visited my blog. See you in other posts)
