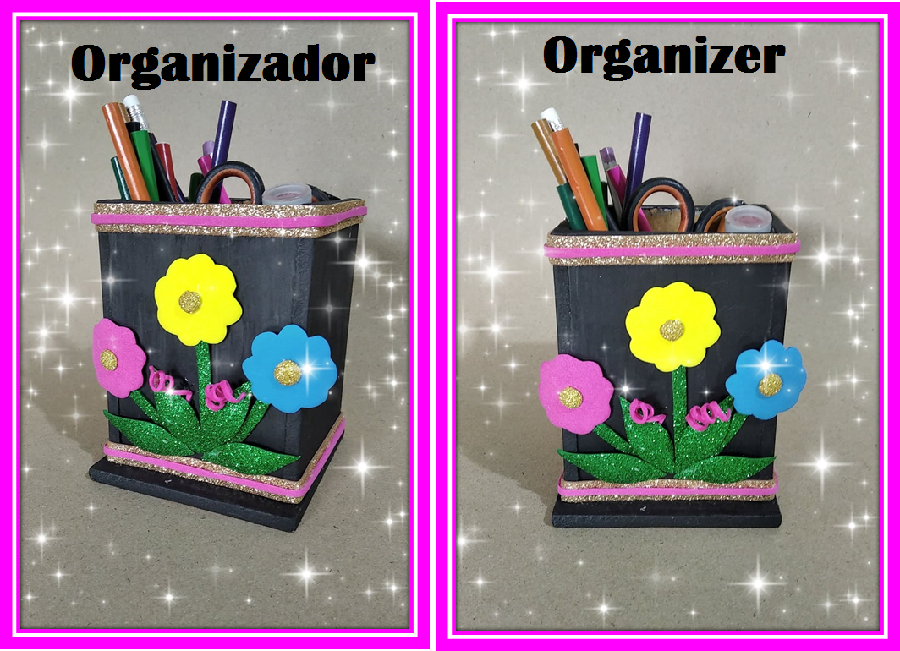

Un saludo cordial mis amigos, bienvenidos nuevamente a mi Blog espero que este sea un día maravilloso para ustedes. Ayer 19 de marzo se celebró el Día Internacional del Artesano, mis felicitaciones a estas personas maravillosas que con su ardua labor enaltecen los trabajos realizados a mano bendiciones para ellos. En mi proyecto de hoy estaré restaurando un viejo organizador de madera que tiene muchos años conmigo, como ya les he dicho antes me cuesta deshacerme de mis cosas y por ello prefiero restáuralas y alargar su vida útil. El color original del viejo organizador era azul, decidí darle un cambio pintarlo de color negro y decorarlo con flores de colores a continuación, les muestro como lo hice
A cordial greeting my friends, welcome back to my Blog, I hope this will be a wonderful day for you. Yesterday March 19 was celebrated the International Day of the Craftsman, my congratulations to these wonderful people who with their hard work exalt the work done by hand blessings to them. In my project today I will be restoring an old wooden organizer that has been with me for many years, as I have told you before I find it hard to get rid of my things and therefore I prefer to restore them and extend their useful life. The original color of the old organizer was blue, I decided to give it a change by painting it black and decorating it with colorful flowers, here is how I did it.

PASO A PASO/STEP BY STEP
MATERIALES/MATERIALS
VIEJO ORGANIZADOR,FOAMI DE COLORES,FOAMI ESCARCHADO DORADO,SILICON LIQUIDO,TIJERA,PINCEL, PINURA DE COLOR NEGRO,EXACTO,LIJA
OLD ORGANIZER,COLORED FOAMI,GOLD FROSTED FOAMI,LIQUID SILICONE,SCISSORS,PAINTBRUSH,BLACK PAINT,EXACT,SANDPAPER
PASO 1/STEP 1
Lo primero que hice fue despegar la calcomanía que tenía el viejo organizador esto lo hice con la ayuda de un exacto. Luego lo lije para quitar las irregularidades que pudiera tener para que al pintarlo la superficie se encuentre totalmente lisa
The first thing I did was to peel off the decal that had the old organizer this I did with the help of an exacto. Then I sanded it to remove any irregularities it might have so that when I painted it the surface would be completely smooth.

PASO 2/STEP 2
El siguiente paso es pintar de color negro el viejo organizador una vez que este seco pintarlo nuevamente para que quede bien cubierto
The next step is to paint the old organizer black, once it is dry, paint it again so that it is well covered.

PASO 3/STEP 3
Se recortan dos tiras largas de foami escarchado dorado de 1cm de ancho
Cut two long strips of gold frosted foami, 1 cm wide.

PASO 4/STEP 4
Se pegan las dos tiras con silicón una arriba y la otra en la parte de abajo, me gusta mucho el foami escarchado en los proyectos ya que les da un toque de elegancia
The two strips are glued with silicone, one on the top and the other on the bottom, I really like the frosted foami in the projects as it gives them a touch of elegance.

PASO 5/STEP 5
La decoración decidí hacerla con flores así que recorte tres círculos uno de color amarillo, otro azul y el ultimo de color rosado y recorte tres círculos de color dorado. También recorte en foami verde escarchado varias hojas y una tira larga para el tallo
I decided to make the decoration with flowers so I cut out three circles, one in yellow, one in blue and the last one in pink and cut out three circles in gold. I also cut in frosted green foami several leaves and a long strip for the stem.

PASO 6/STEP 6
Pase los círculos y las flores por el calor de la plancha a temperatura media para darle volumen y después pegue los círculos en las flores
Pass the circles and flowers through the heat of the iron at medium temperature to give volume and then glue the circles on the flowers.

PASO 7/STEP 7
Pegue las hojas y los tallos en el centro del organizador
Glue the leaves and stems in the center of the organizer.

PASO 8/ STEP 8
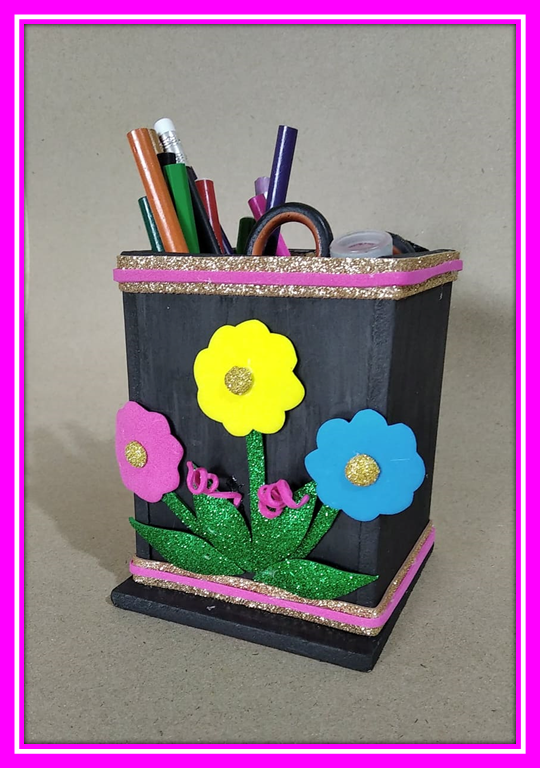
Luego coloque las flores sobre cada tallo y por ultimo pegue una tira rosada sobre la tira dorada y debajo de la flor amarilla pegue dos tiras rosadas ensortijadas. Me agrada la nueva apariencia de mi viejo organizador así va a durar muchos años a mi lado.
Gracias por la visita y hasta otra oportunidad. Se le quiere
I then placed the flowers on each stem and finally glued a pink strip over the gold strip and under the yellow flower I glued two pink twisted strips. I like the new look of my old organizer so it will last for years to come.
Thanks for visiting and see you again. You are loved


RESULTADO FINAL/FINAL RESULT


Las fotos son de mi autoría y fueron tomadas con mi celular Xiaomi Redmi 7A
Traducido con www.DeepL.com/Translator (versión gratuita)
Edite las fotos con PowerPoint
The photos are my own and were taken with my Xiaomi Redmi 7A cell phone
Translated with www.DeepL.com/Translator (free version)
Edit the photos with PowerPoint
