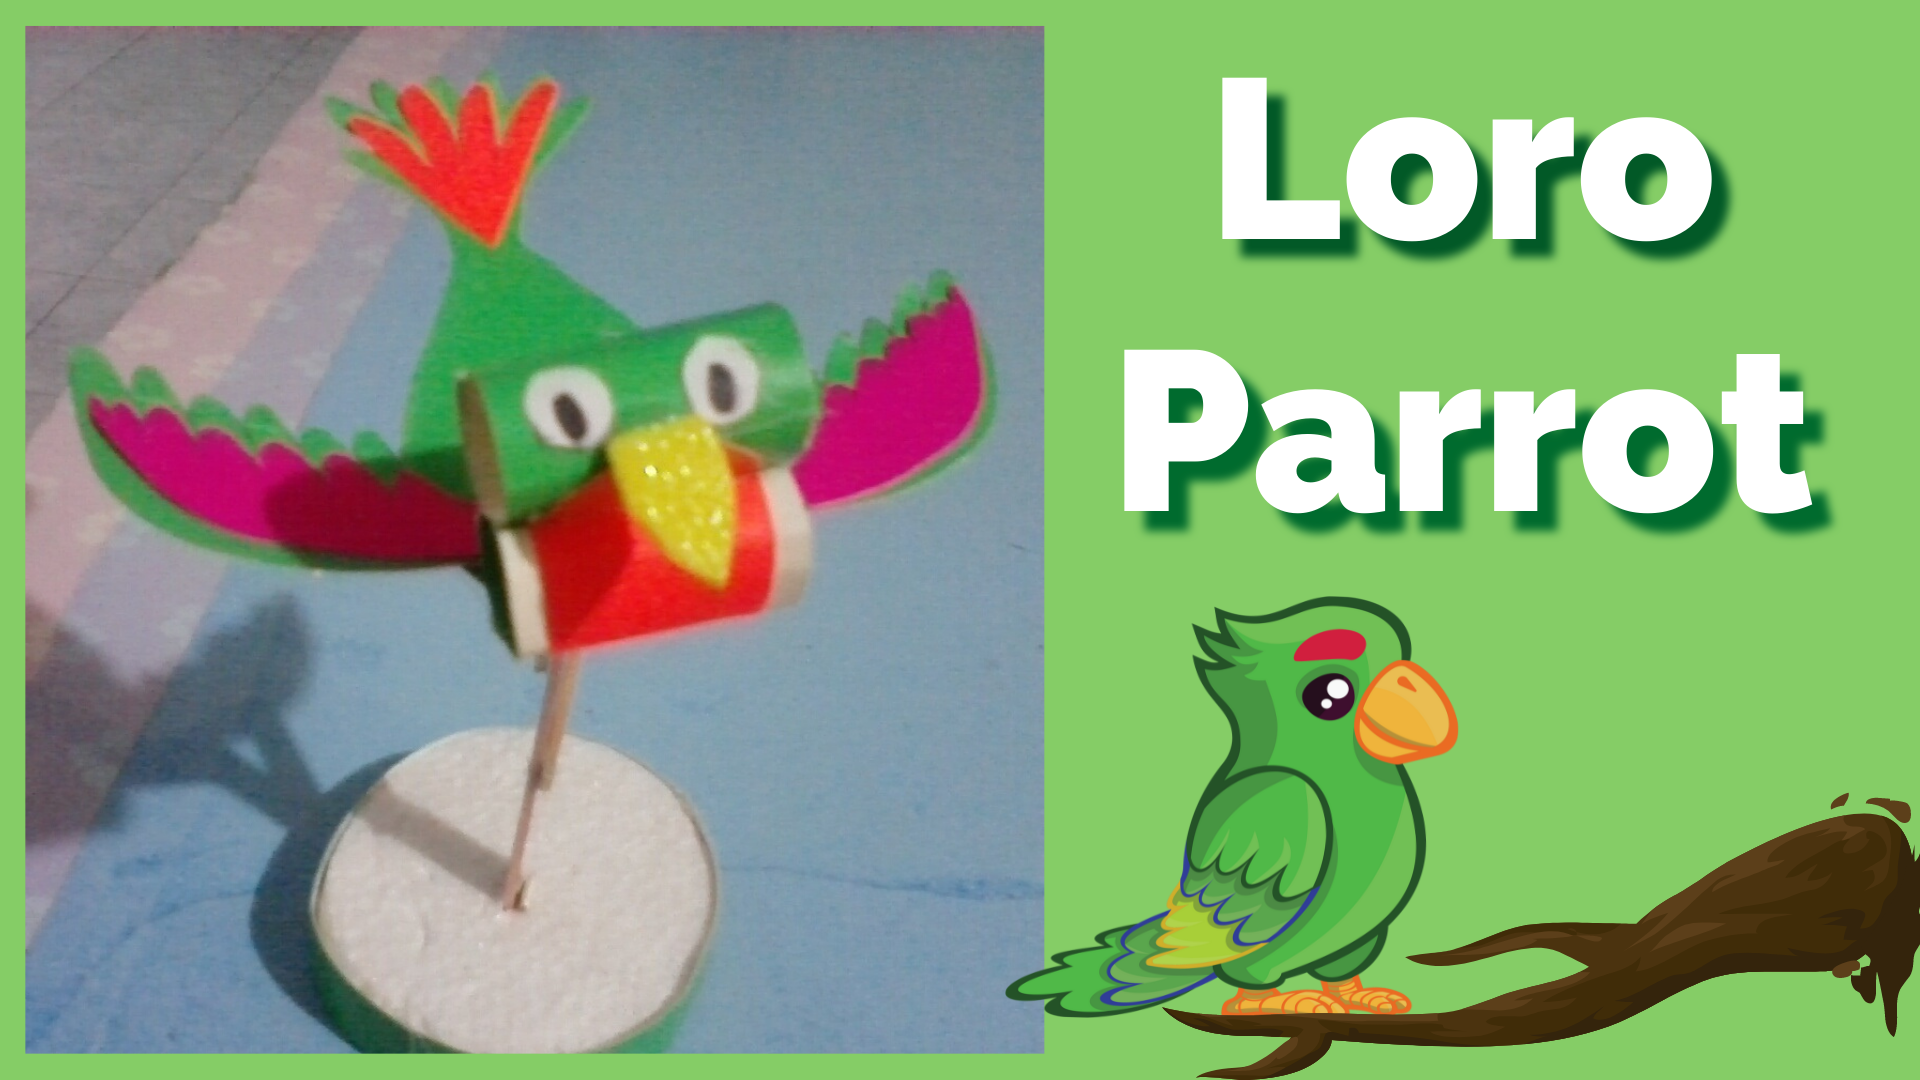
Greetings, my dear family, I hope you have a happy weekend with lots of energy. Today I want to show you how to make a very colorful bird, as is the parrot, made with cardboard, and it is very simple to make. Let's see the step by step.
Español:
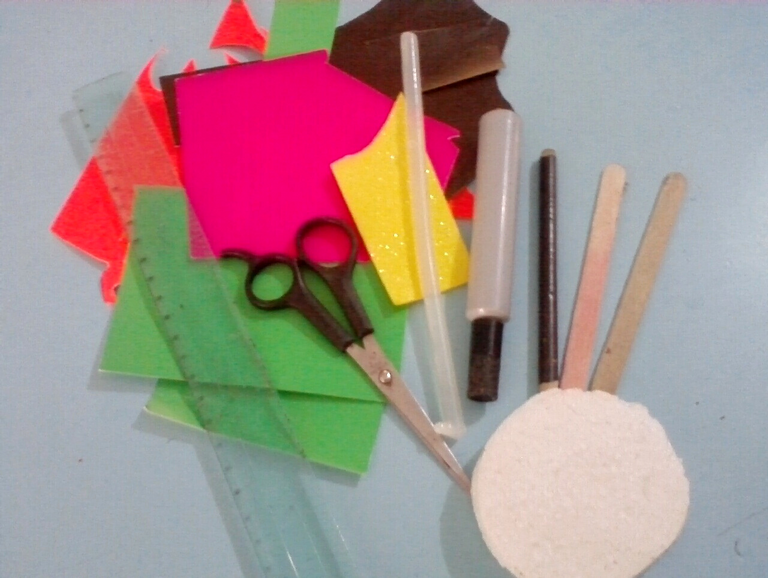
Materiales:
- Cartulina verde, naranjada, fucsia, amarillo.
- Silicon en barra.
- Un círculo de anime.
- 2 paletas de madera.
- Marcador.
- Lápiz.
- Tijera.
- Regla.
English:
Materials:
- Green, orange, fuchsia, yellow cardboard.
- Silicon stick.
- An anime circle.
- 2 wooden pallets.
- marker
- Pencil.
- Scissors.
- Ruler.


Español:
Paso 1:
Comenzamos dibujando en la cartulina verde, un rectángulo de 7 cm de largo por 3 cm de ancho, seguido del del rectángulo se continua dibujando el cuerpo del ave, y la cola, luego dibujamos y recortamos otro rectángulo verde con la misma medida anterior, y en la cartulina naranjada 2 óvalos uno grande y uno pequeño, así como aparece en la foto, después pegamos el óvalo grande por la parte de abajo de la cartulina verde, y el otro mas pequeño se pega comenzando la punta del rectángulo verde.
Luego enrollamos la cartulina verde la pegamos con silicon, para formar parte del cuerpo del loro, volvemos a enrollar el otro rectángulo y lo pegamos encima del otro, formando la cabeza del loro.
English:
Step 1:
- We start drawing on the green cardboard, a rectangle of 7 cm long by 3 cm wide, following the rectangle we continue drawing the body of the bird, and the tail, then we draw and cut another green rectangle with the same previous measure, and on the orange cardboard 2 ovals, one large and one small, as shown in the photo, then we glue the large oval on the bottom of the green cardboard, and the other smaller one is glued starting at the tip of the green rectangle.
- Then we roll up the green cardboard and glue it with silicone, to form part of the parrot's body, we roll up the other rectangle and glue it on top of the other one, forming the parrot's head.


Español:
Paso 2:
- Teniendo el cuerpo del loro ya listo, dibujamos las alas, la cola y el pico, para luego comenzar a pegarlas, después le dibujamos los ojos con 2 círculos de papel blanco, y el marcador negro.
English:
Step 2:
- Having the parrot's body ready, we draw the wings, the tail and the beak, and then we start gluing them, then we draw the eyes with 2 circles of white paper, and the black marker.


Español:
Paso 3:
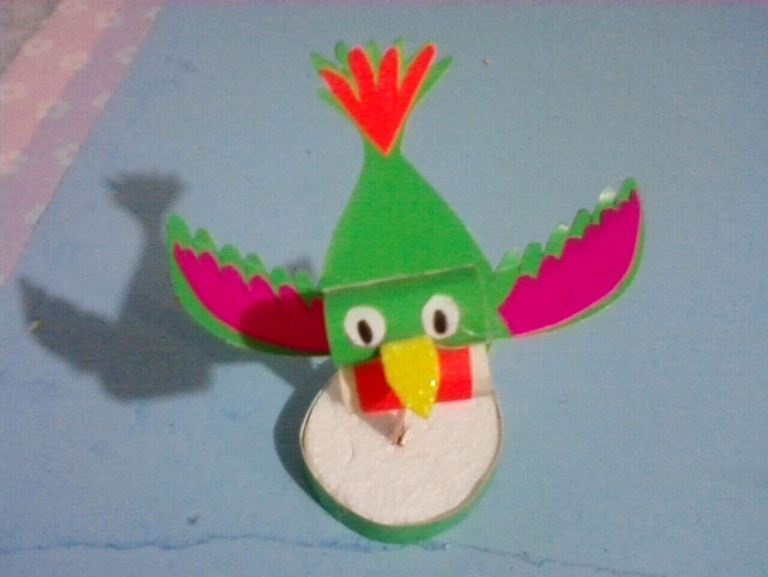
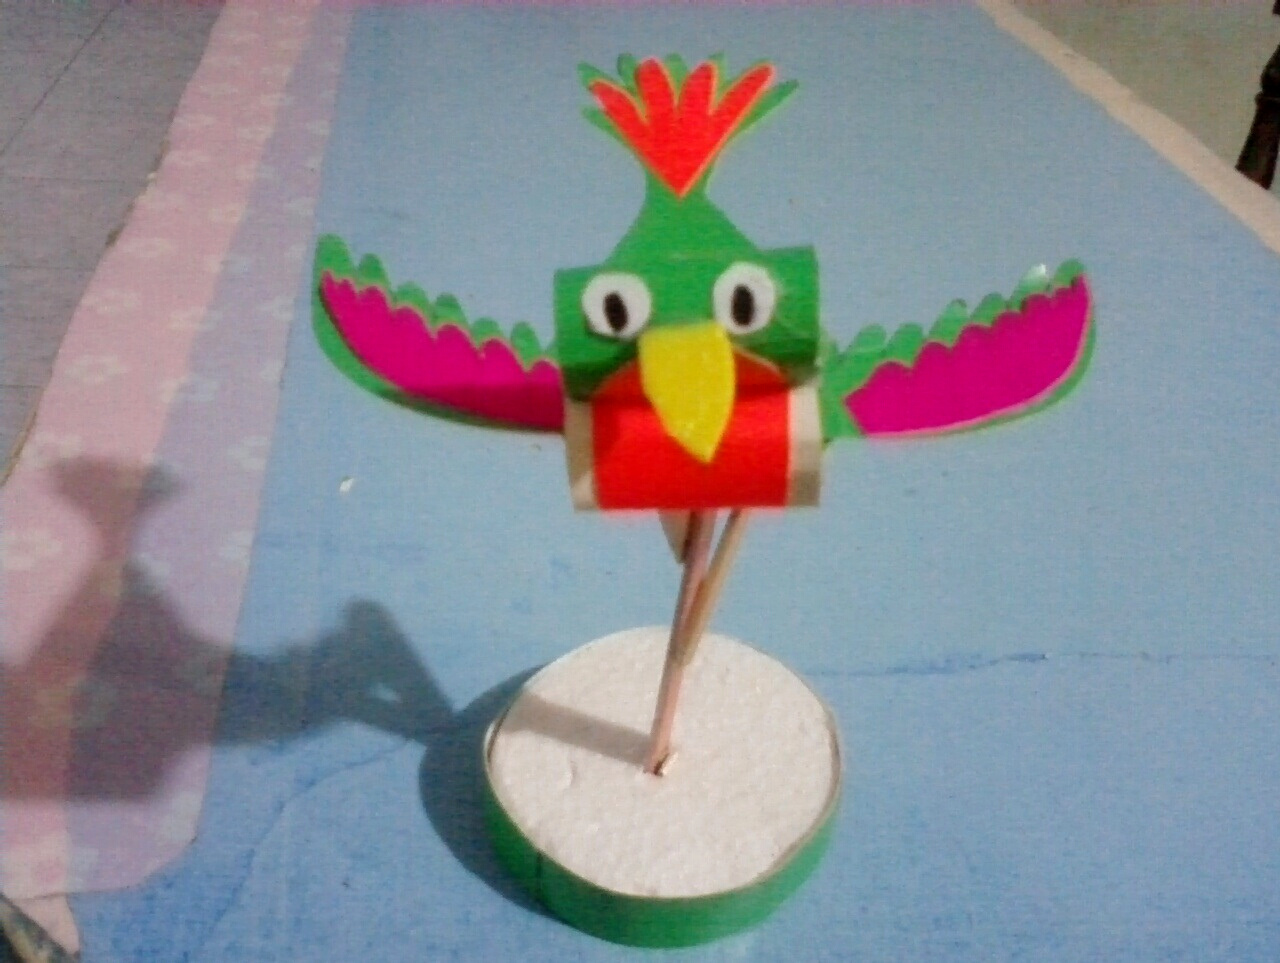
- Tomamos como base el círculo de anime, le pegamos una tira de cartulina verde por todo el borde, luego introducimos y pegamos una paleta de madera en el centro del anime, la otra paleta la cortamos en 2 y la pegamos a la otra paleta, para después pegar el loro en la parte superior.
English:
Step 3:
- We take the anime circle as a base, we glue a strip of green cardboard around the edge, then we insert and glue a wooden palette in the center of the anime, the other palette we cut into 2 and glue it to the other palette, and then glue the parrot on top.

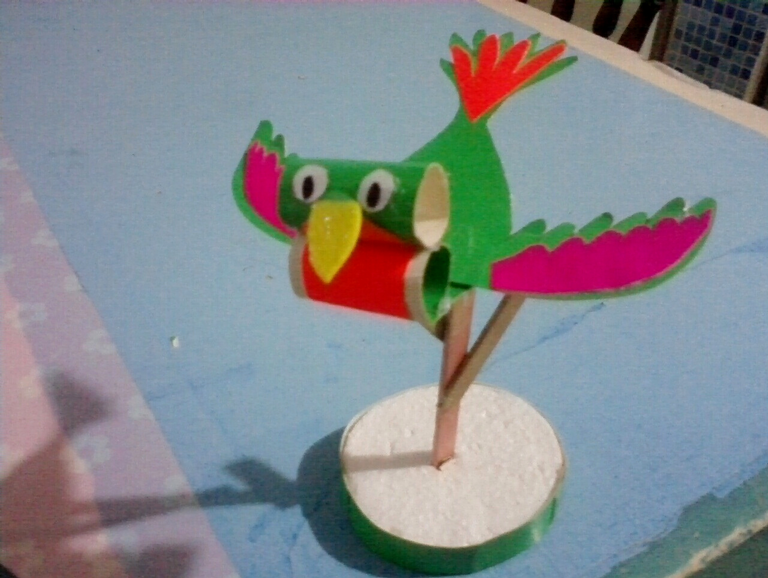
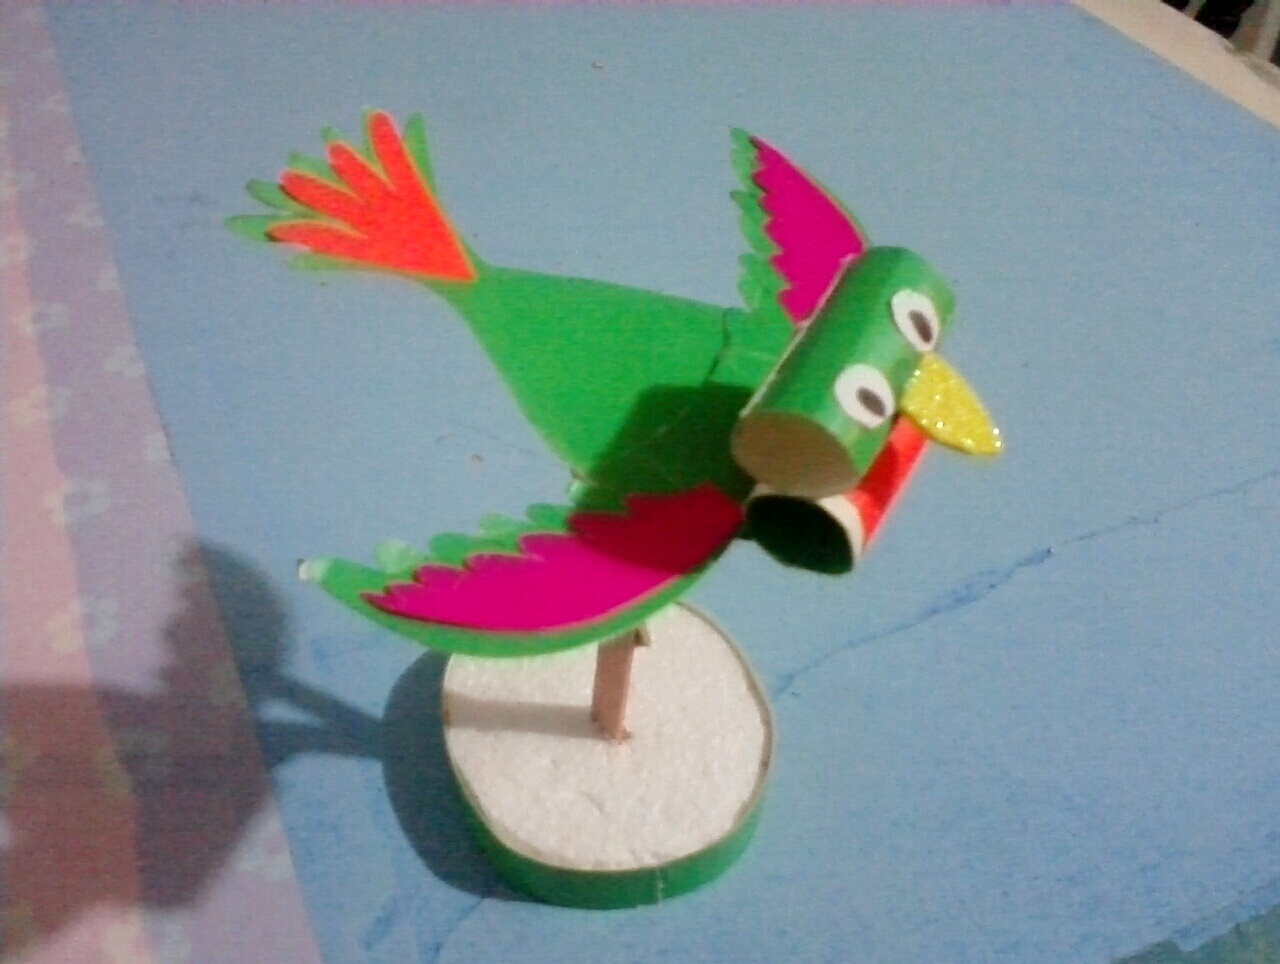
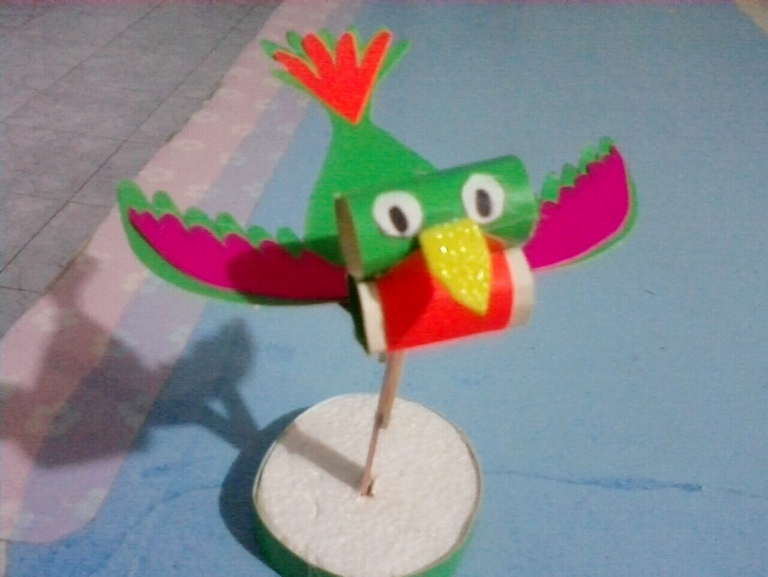
Así quedo mi bello loro decorativo. Hasta el próximo Post.
This is how my beautiful decorative parrot turned out. Until the next post.

Todas las fotos son de mi autoria y editadas con Canva.
Traductor: DeepL Traslate.
All photos are my own and edited with Canva. Translator: DeepL Traslate.


Traductor: DeepL Traslate.
All photos are my own and edited with Canva. Translator: DeepL Traslate.


