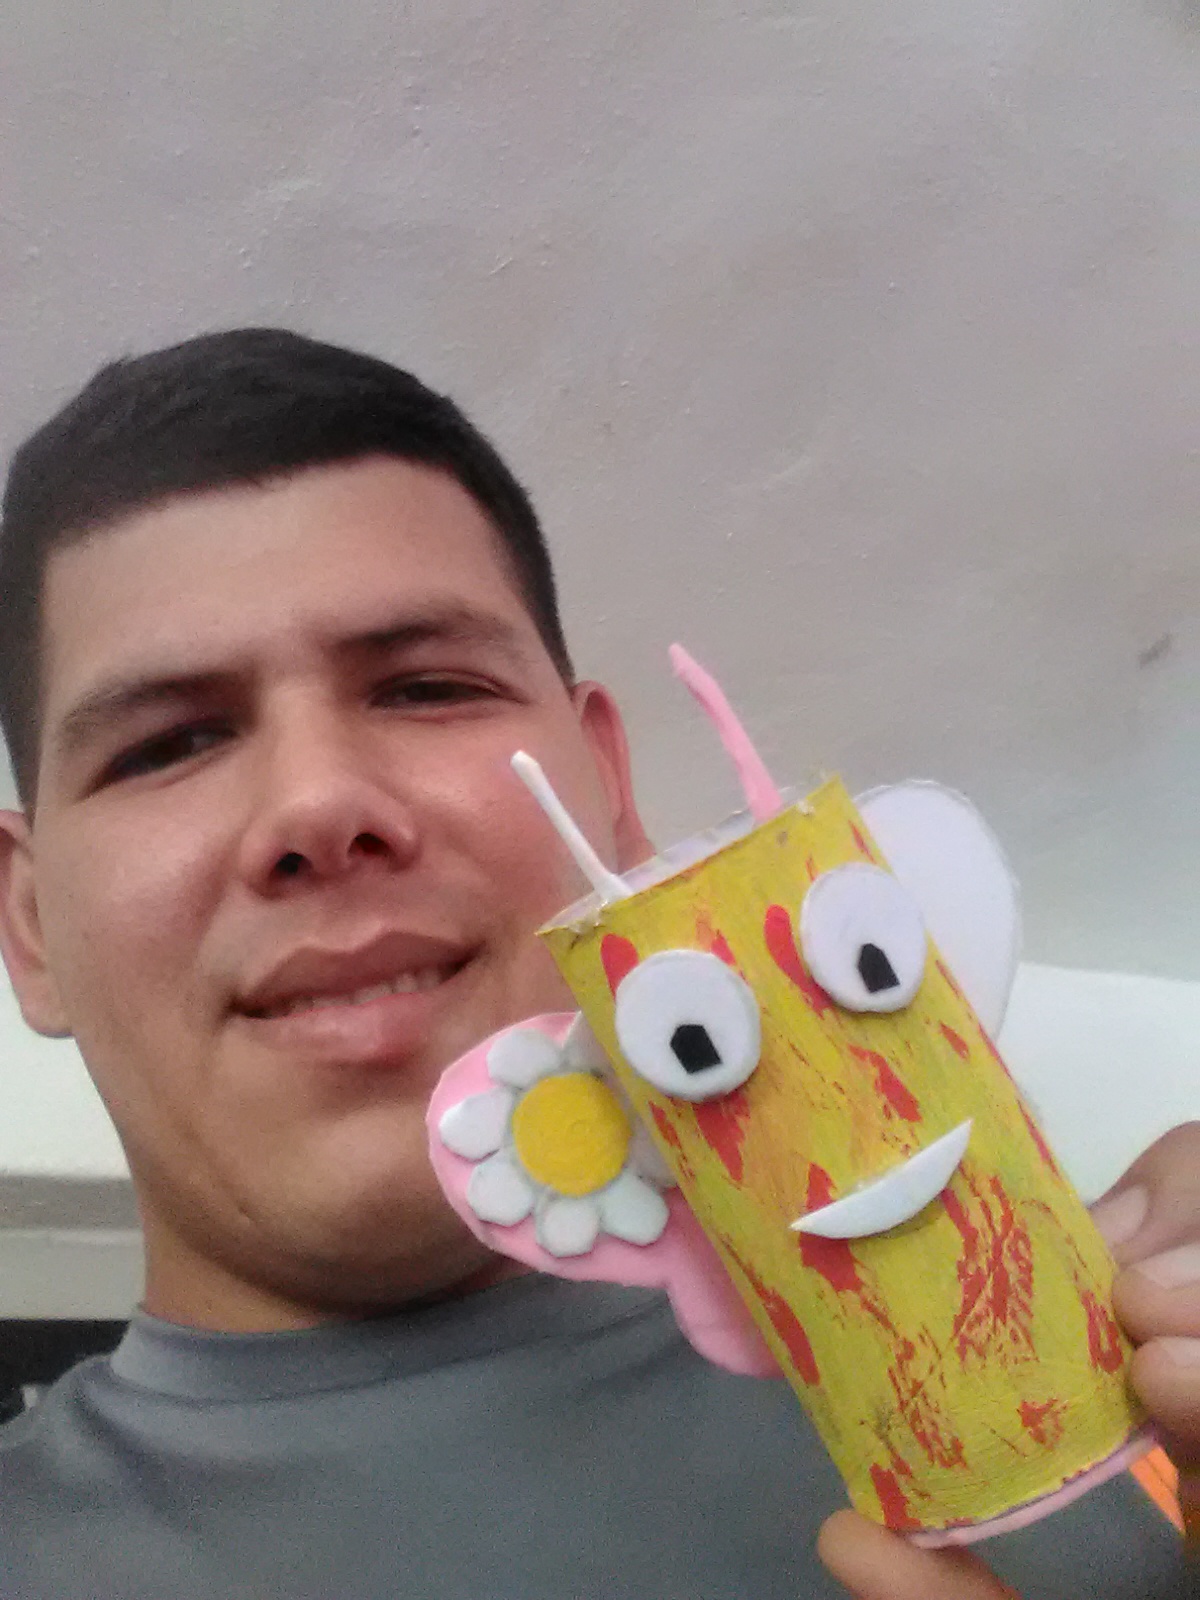
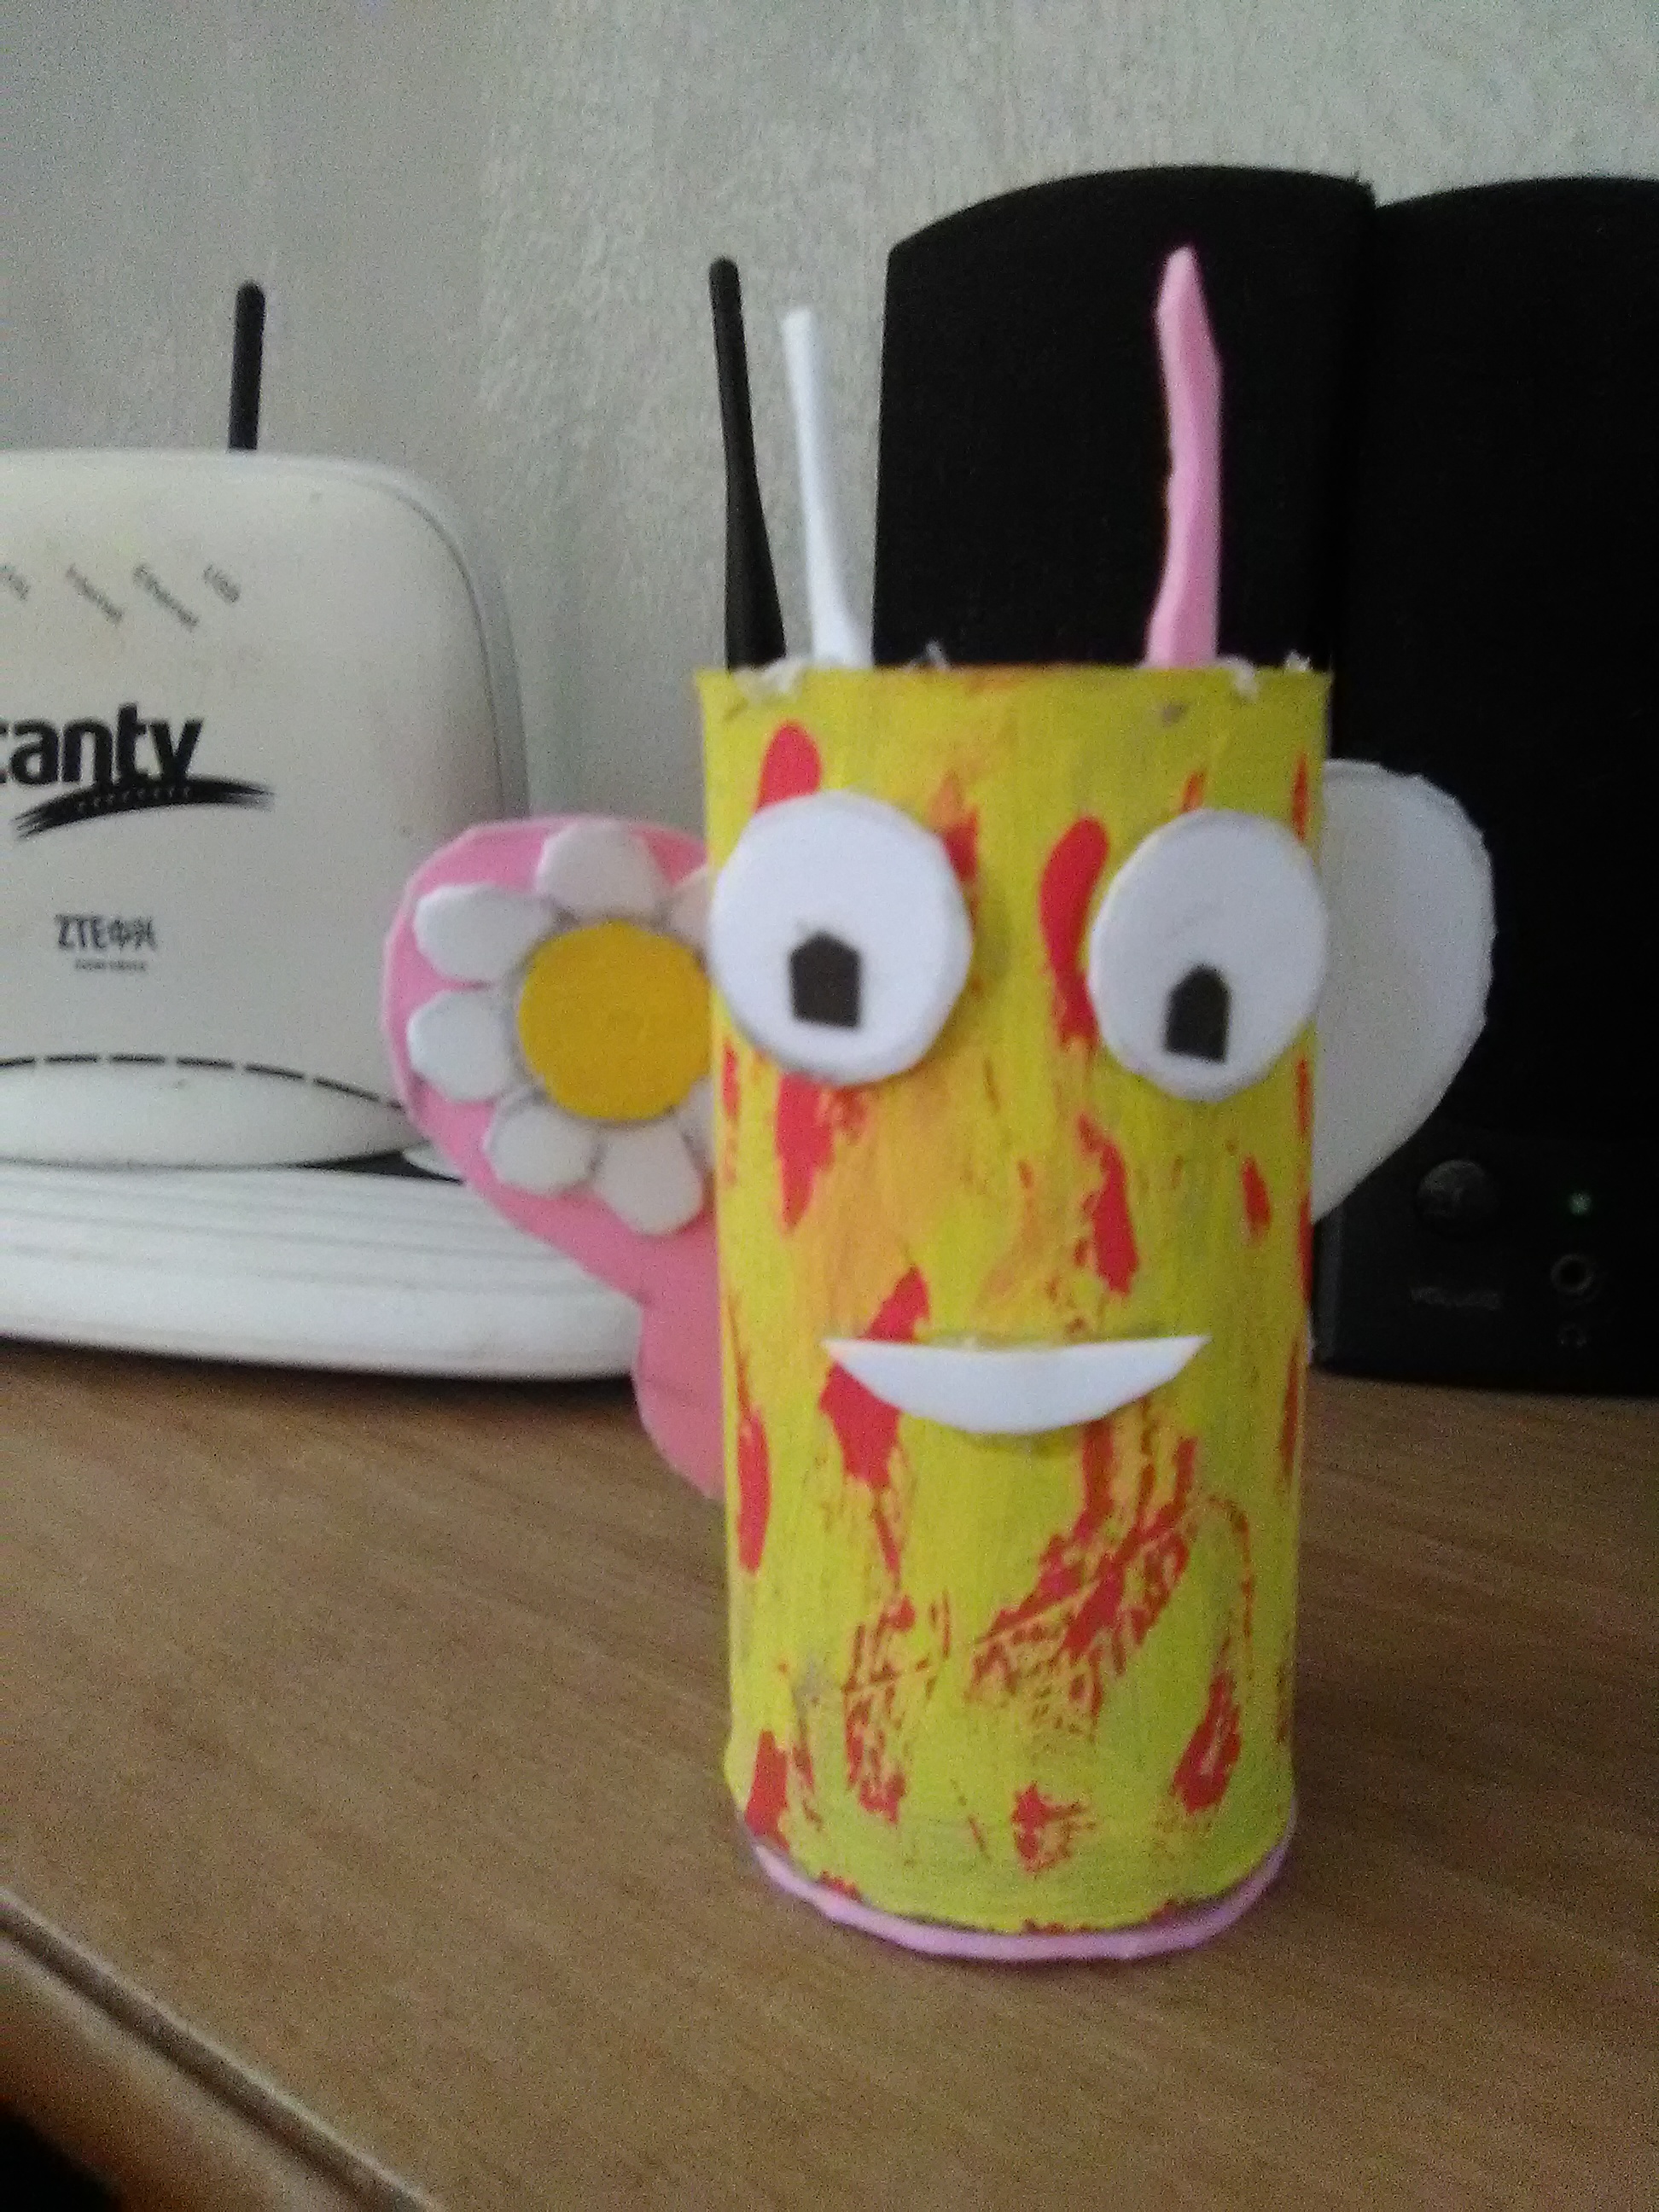
Hola mis amigos de #hive como están hoy estoy por aquí una vez más gracias a Dios para mostrarles un poco sobre mis humildes trabajos espero lo disfruten
Hello, my #hive friends how are you today I'm here once again thank God to show you a little bit about my humble works I hope you enjoy it.
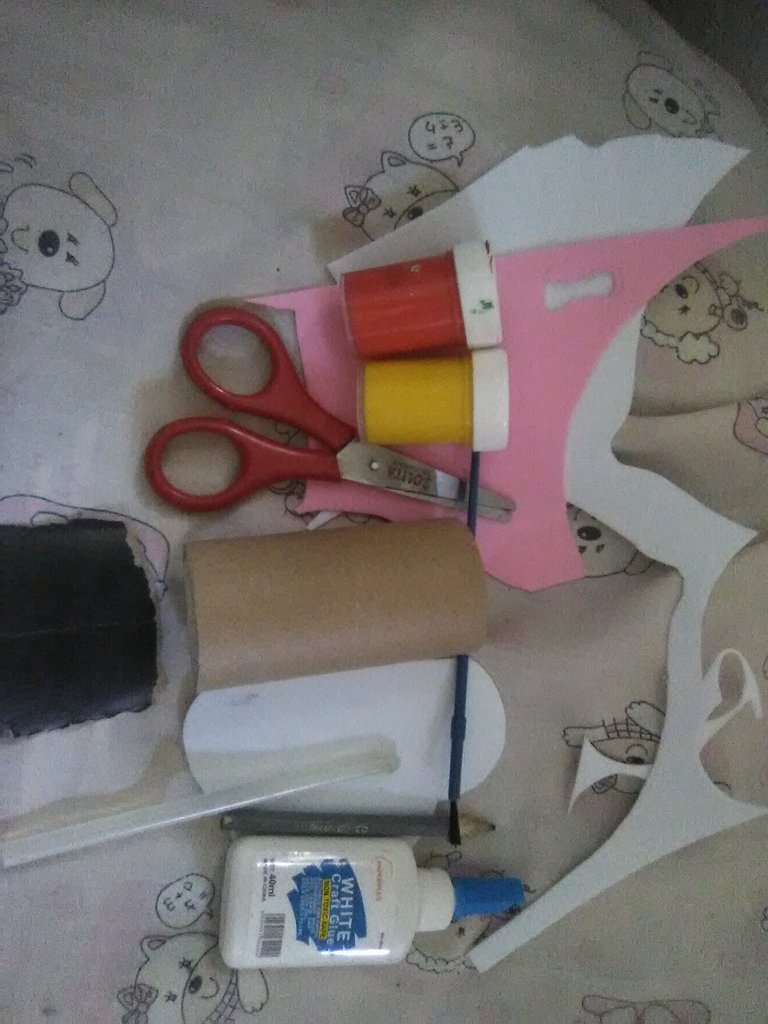
Lista de materiales empleados:
- Cilindro de cartón
- Tijera
- Foami rosado,blanco
- Silicón en barra
- Pega blanca
- Tempera roja, amarilla
- Lápiz de grafito
- Pincel
- Cartón negro
List of materials used:
- Cardboard cylinder
- Scissors
- Pink, white Foami
- Silicone stick
- White glue
- Red, yellow tempera
- Graphite pencil
- Paintbrush
- Black cardboard
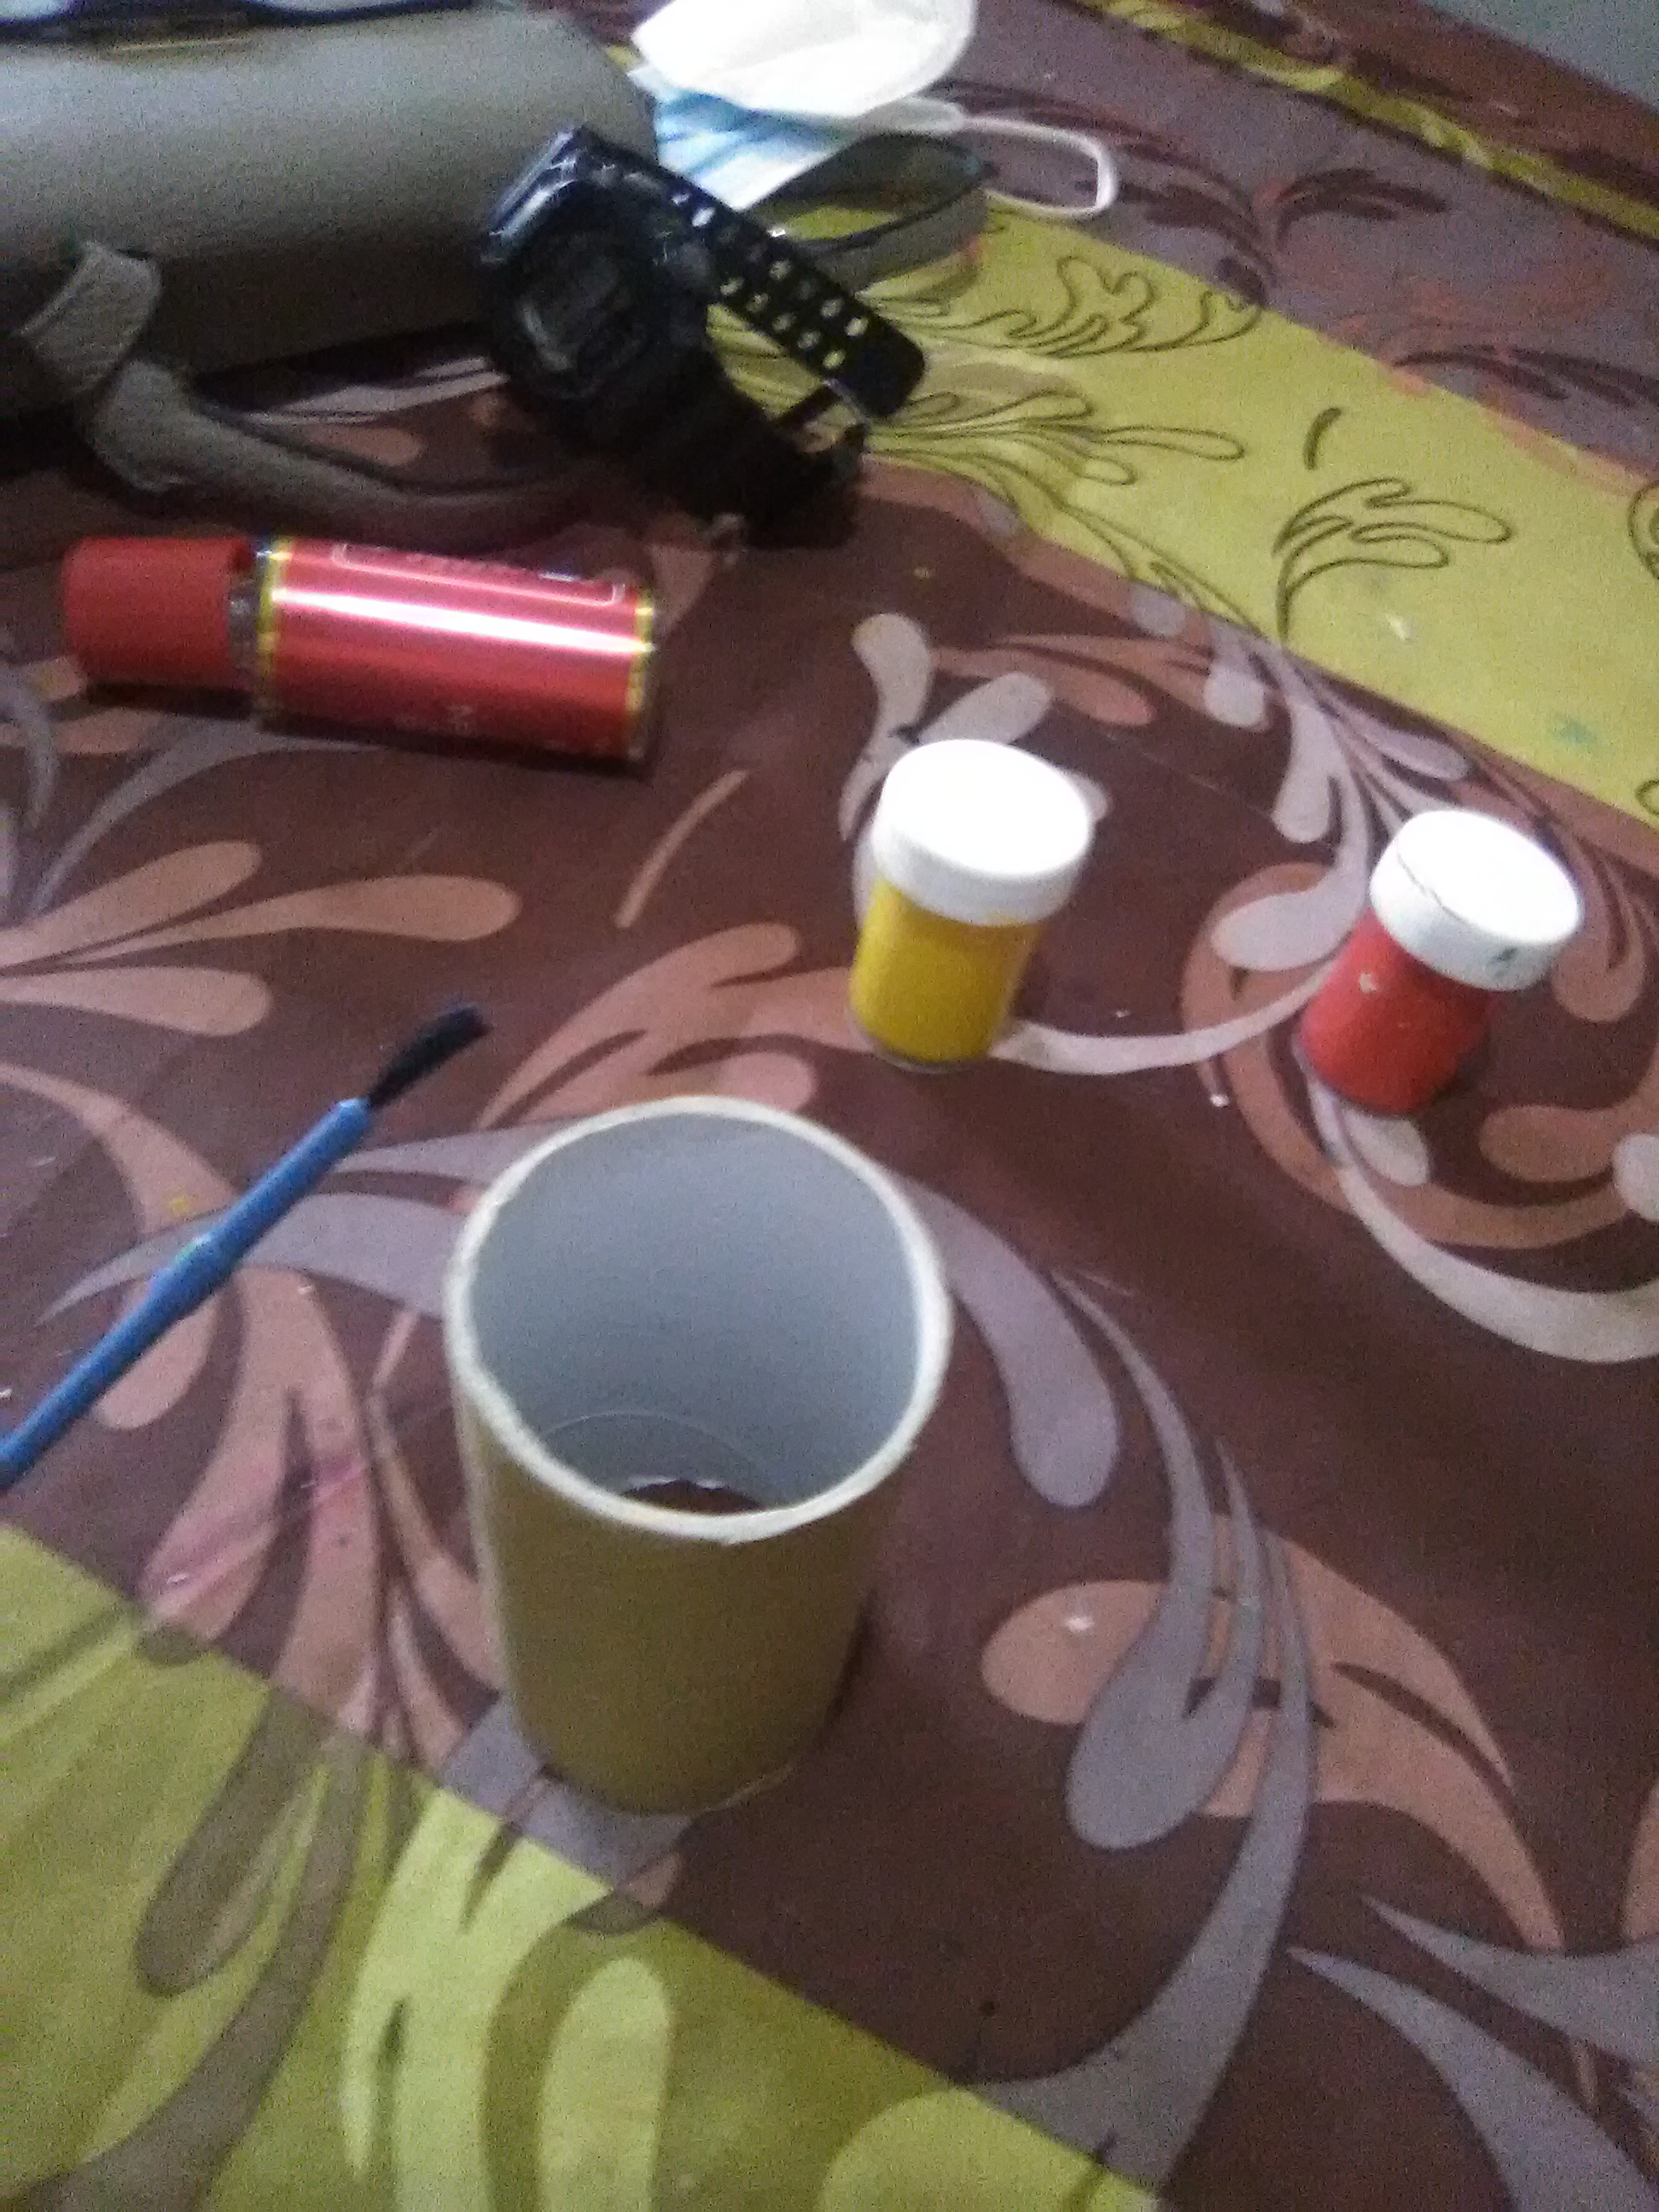
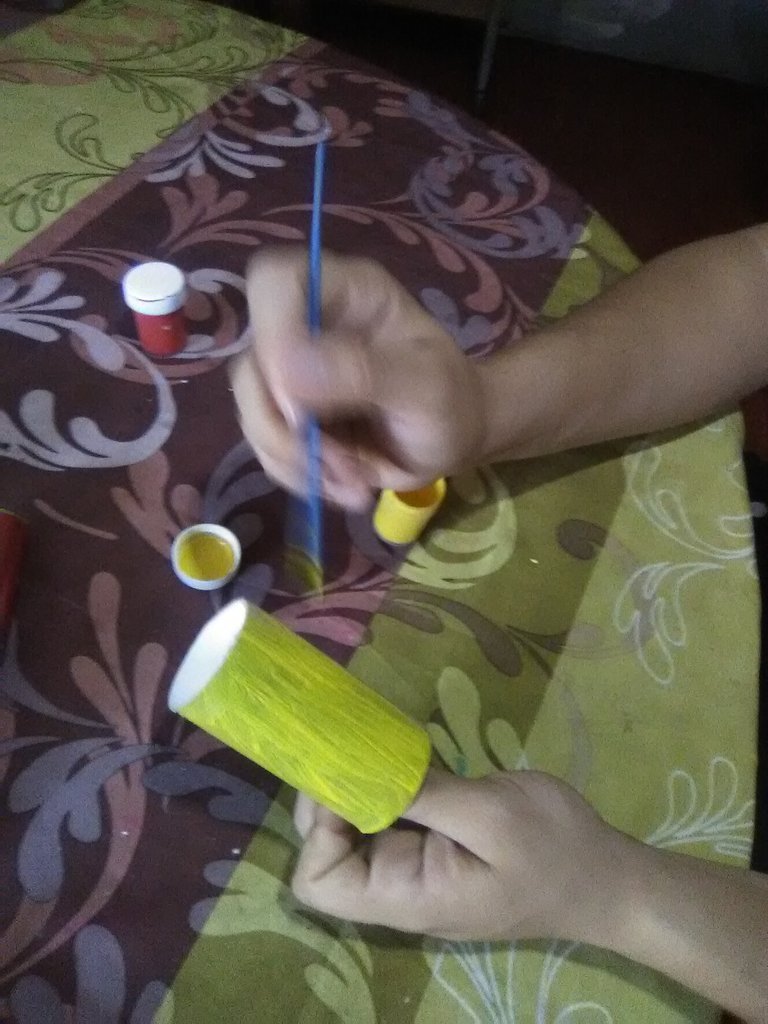
paso 1:
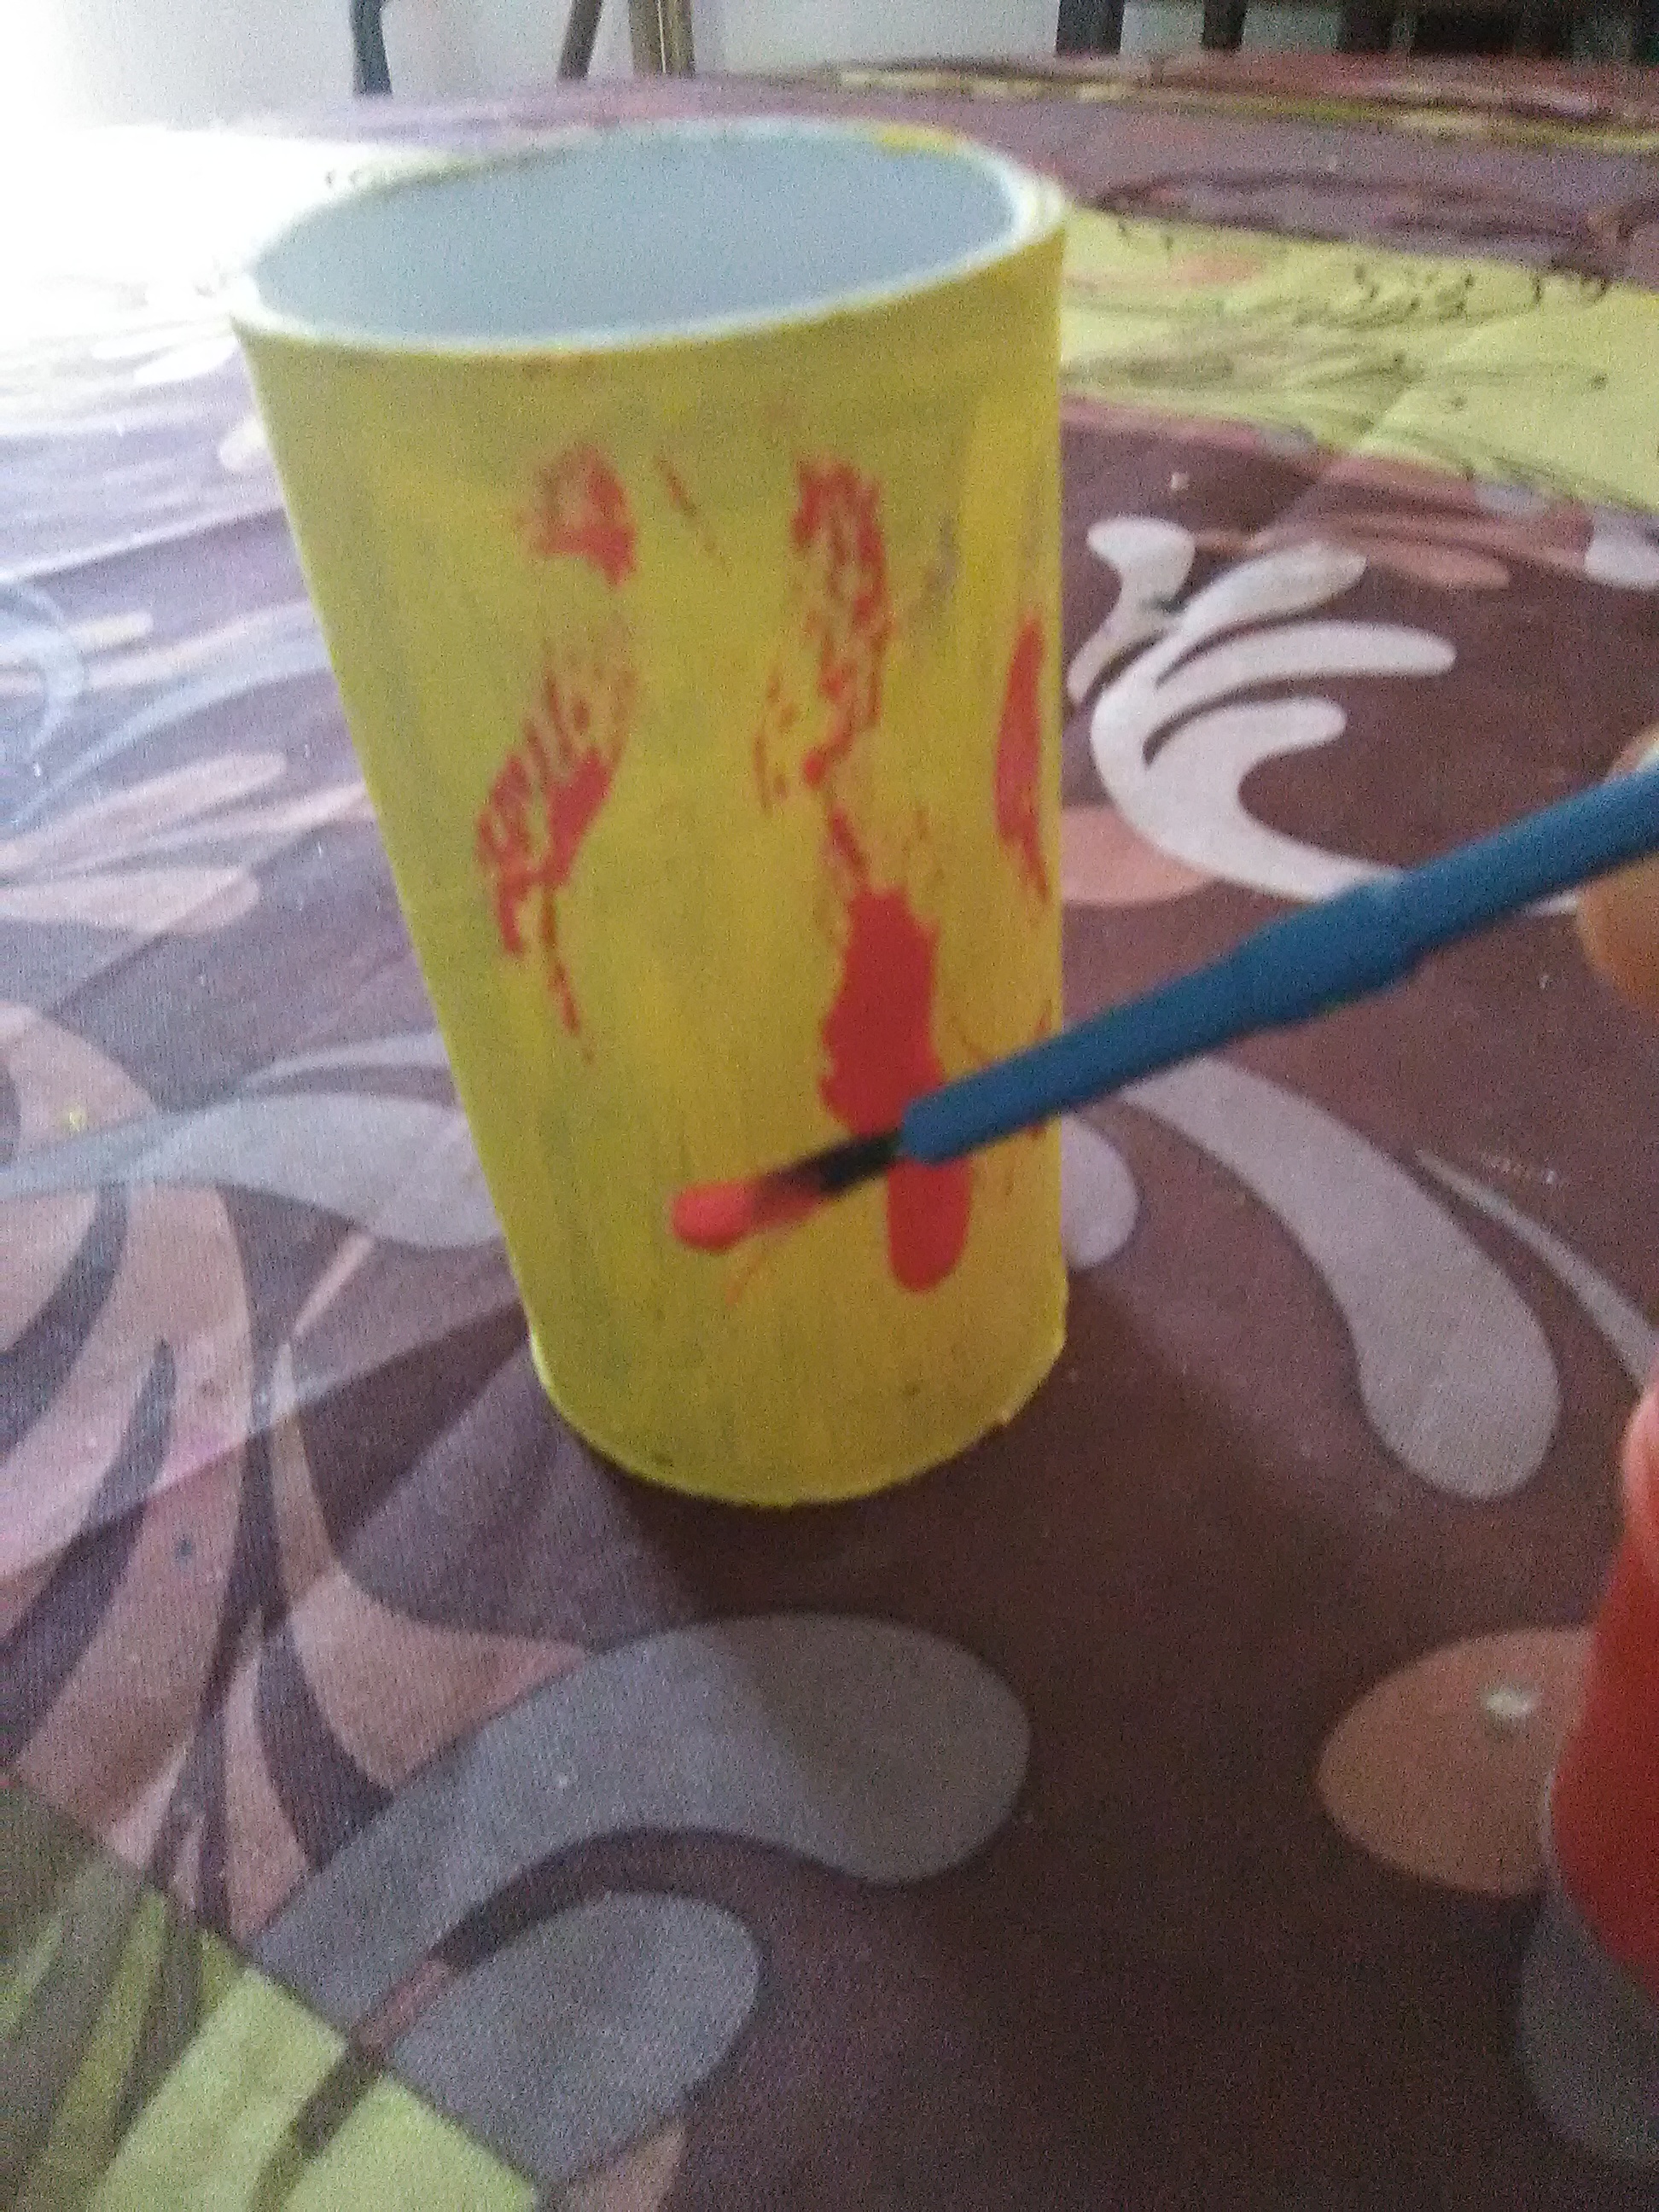
- Tomamos el cilindro de cartón y pintamos
step 1:
- We take the cardboard cylinder and paint.
Paso 2:
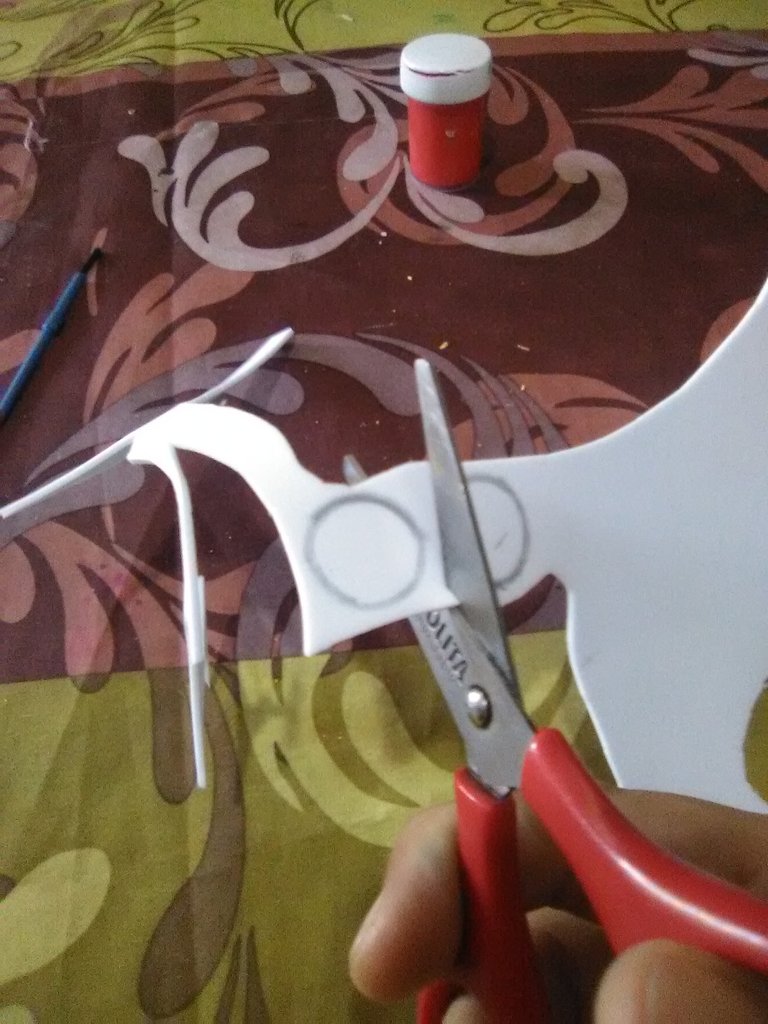
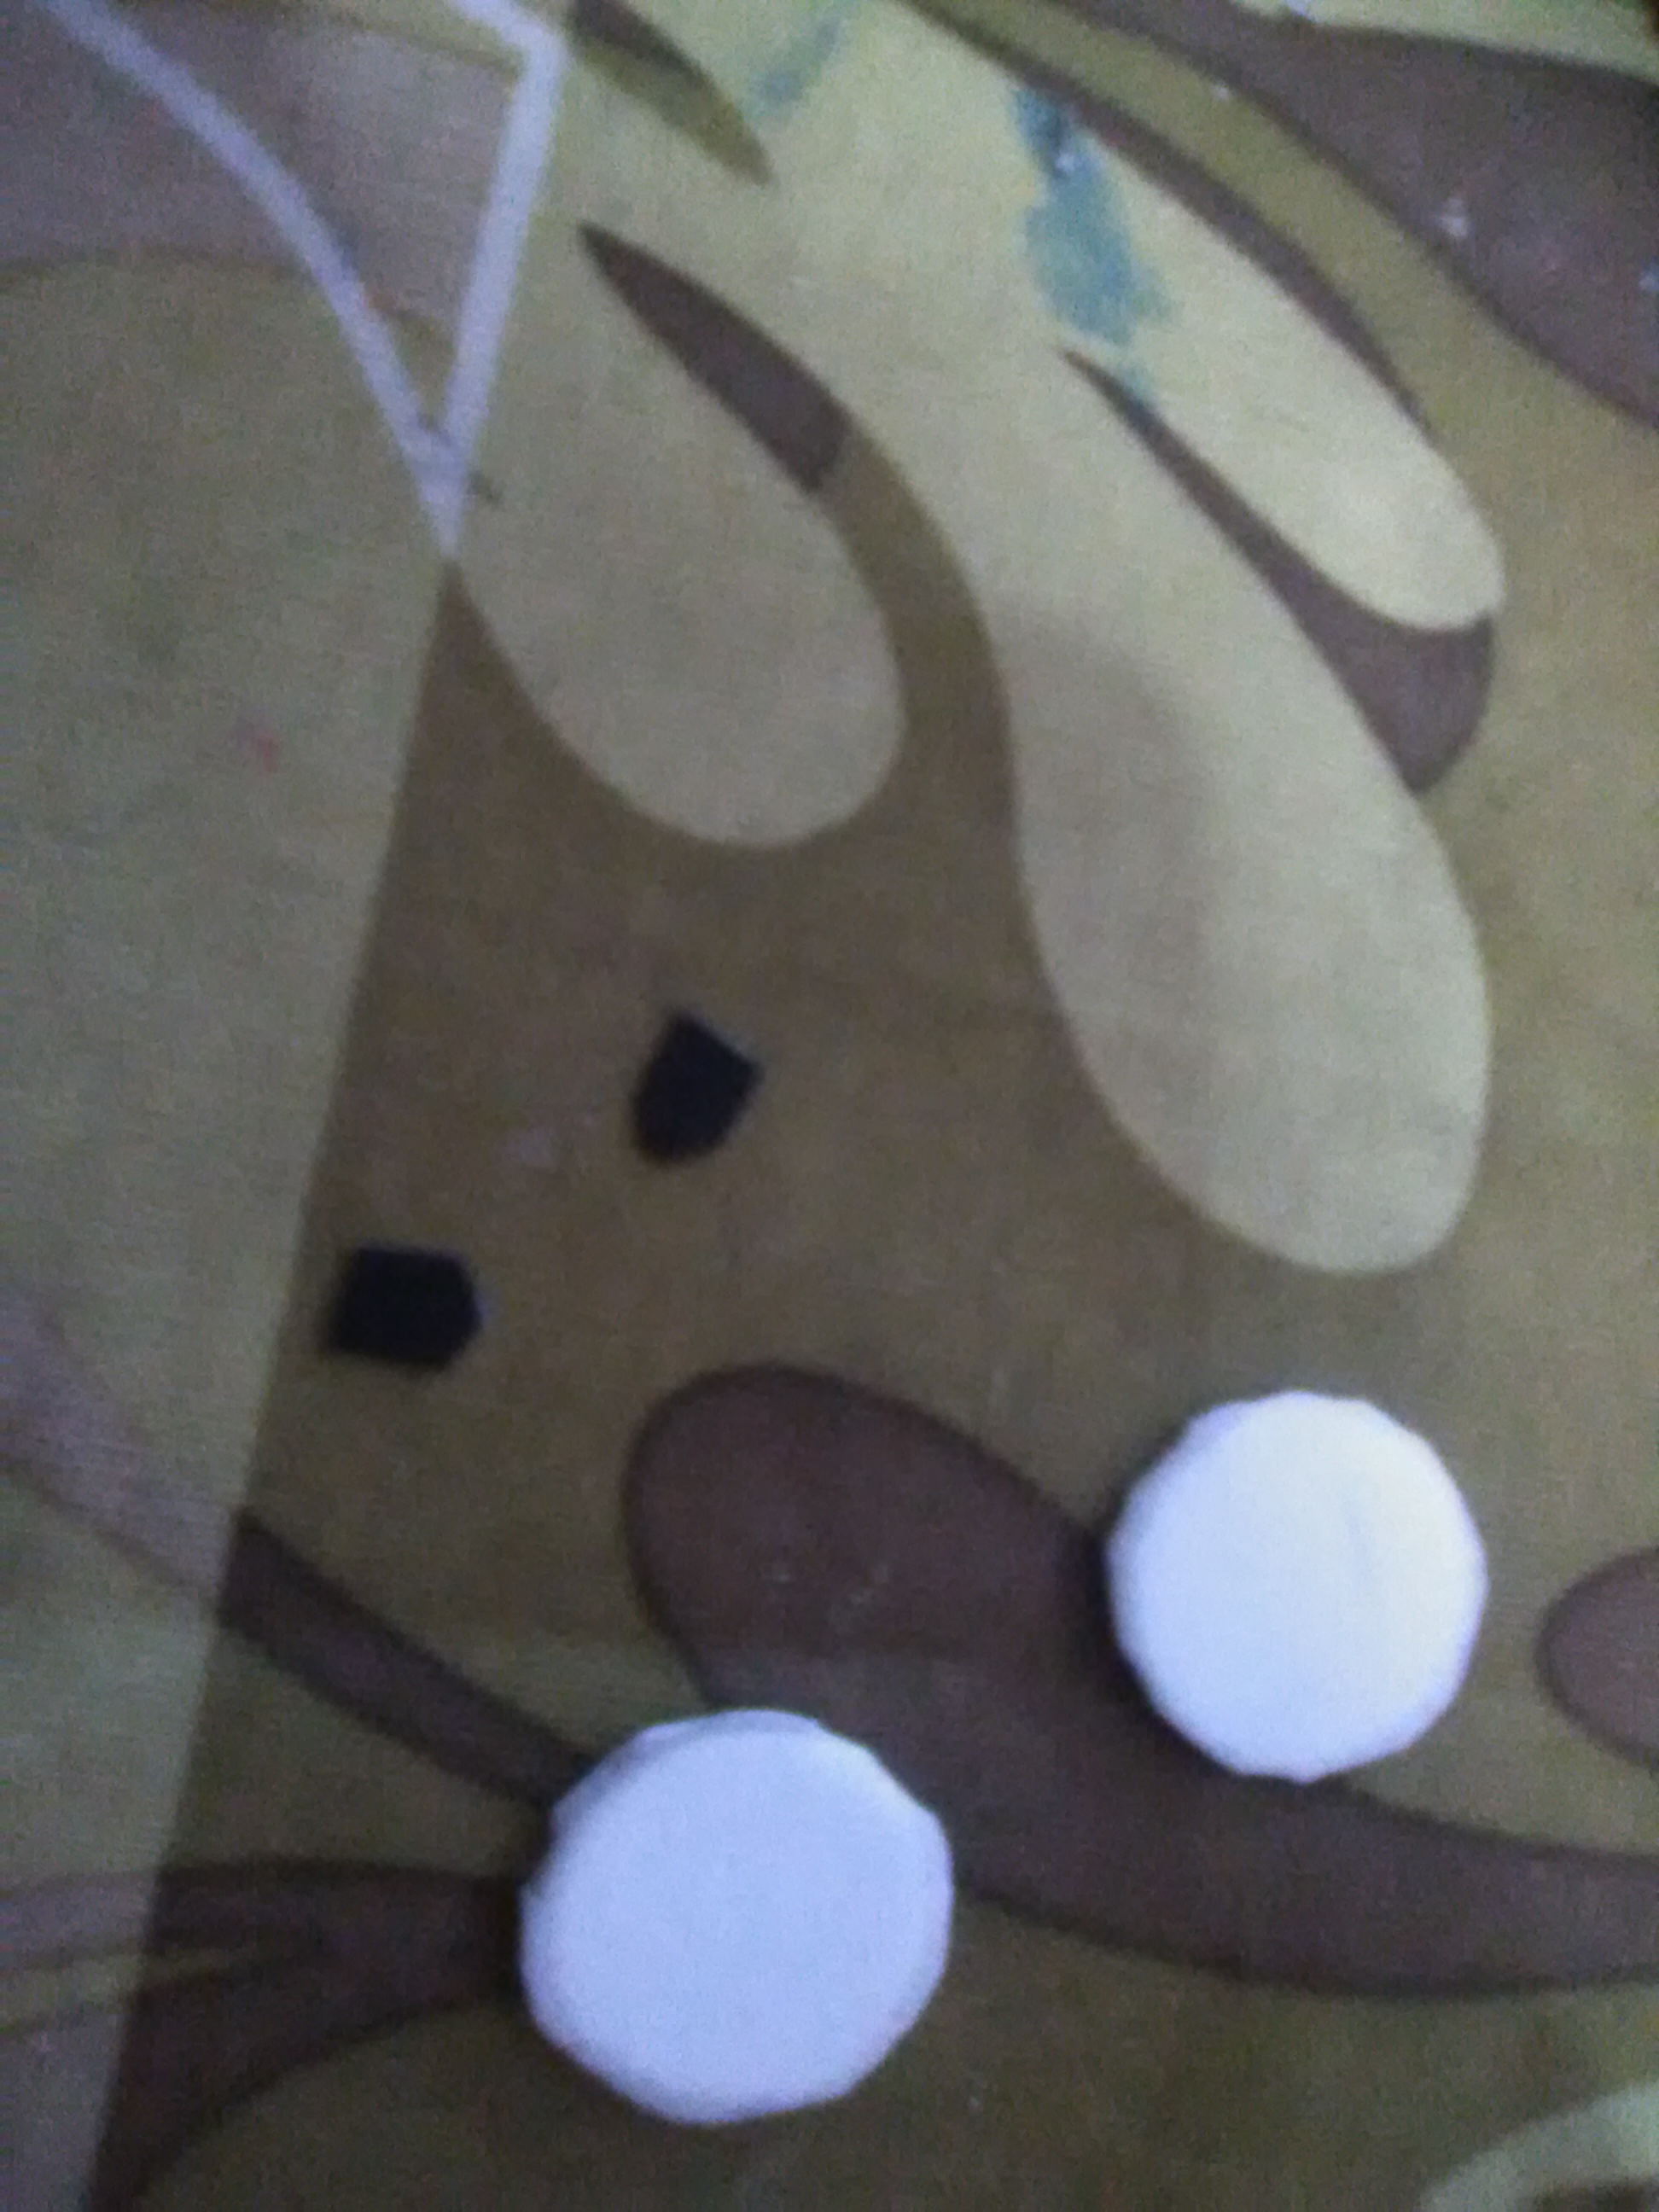
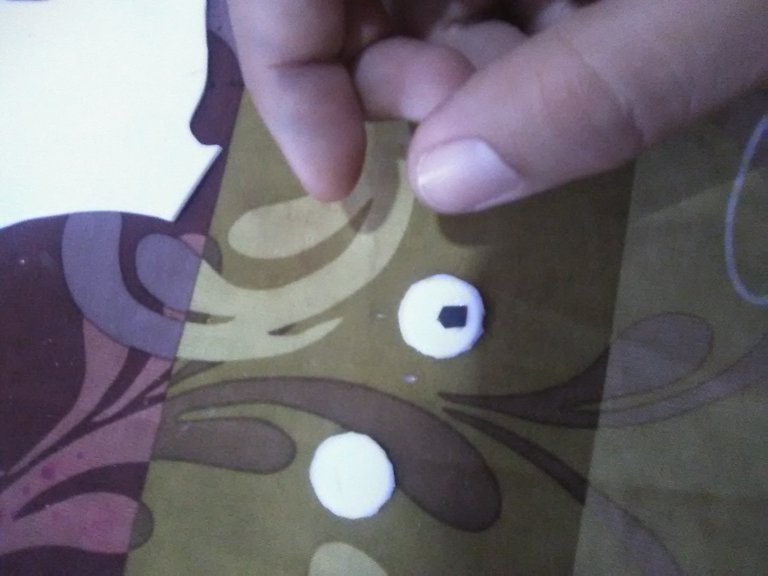
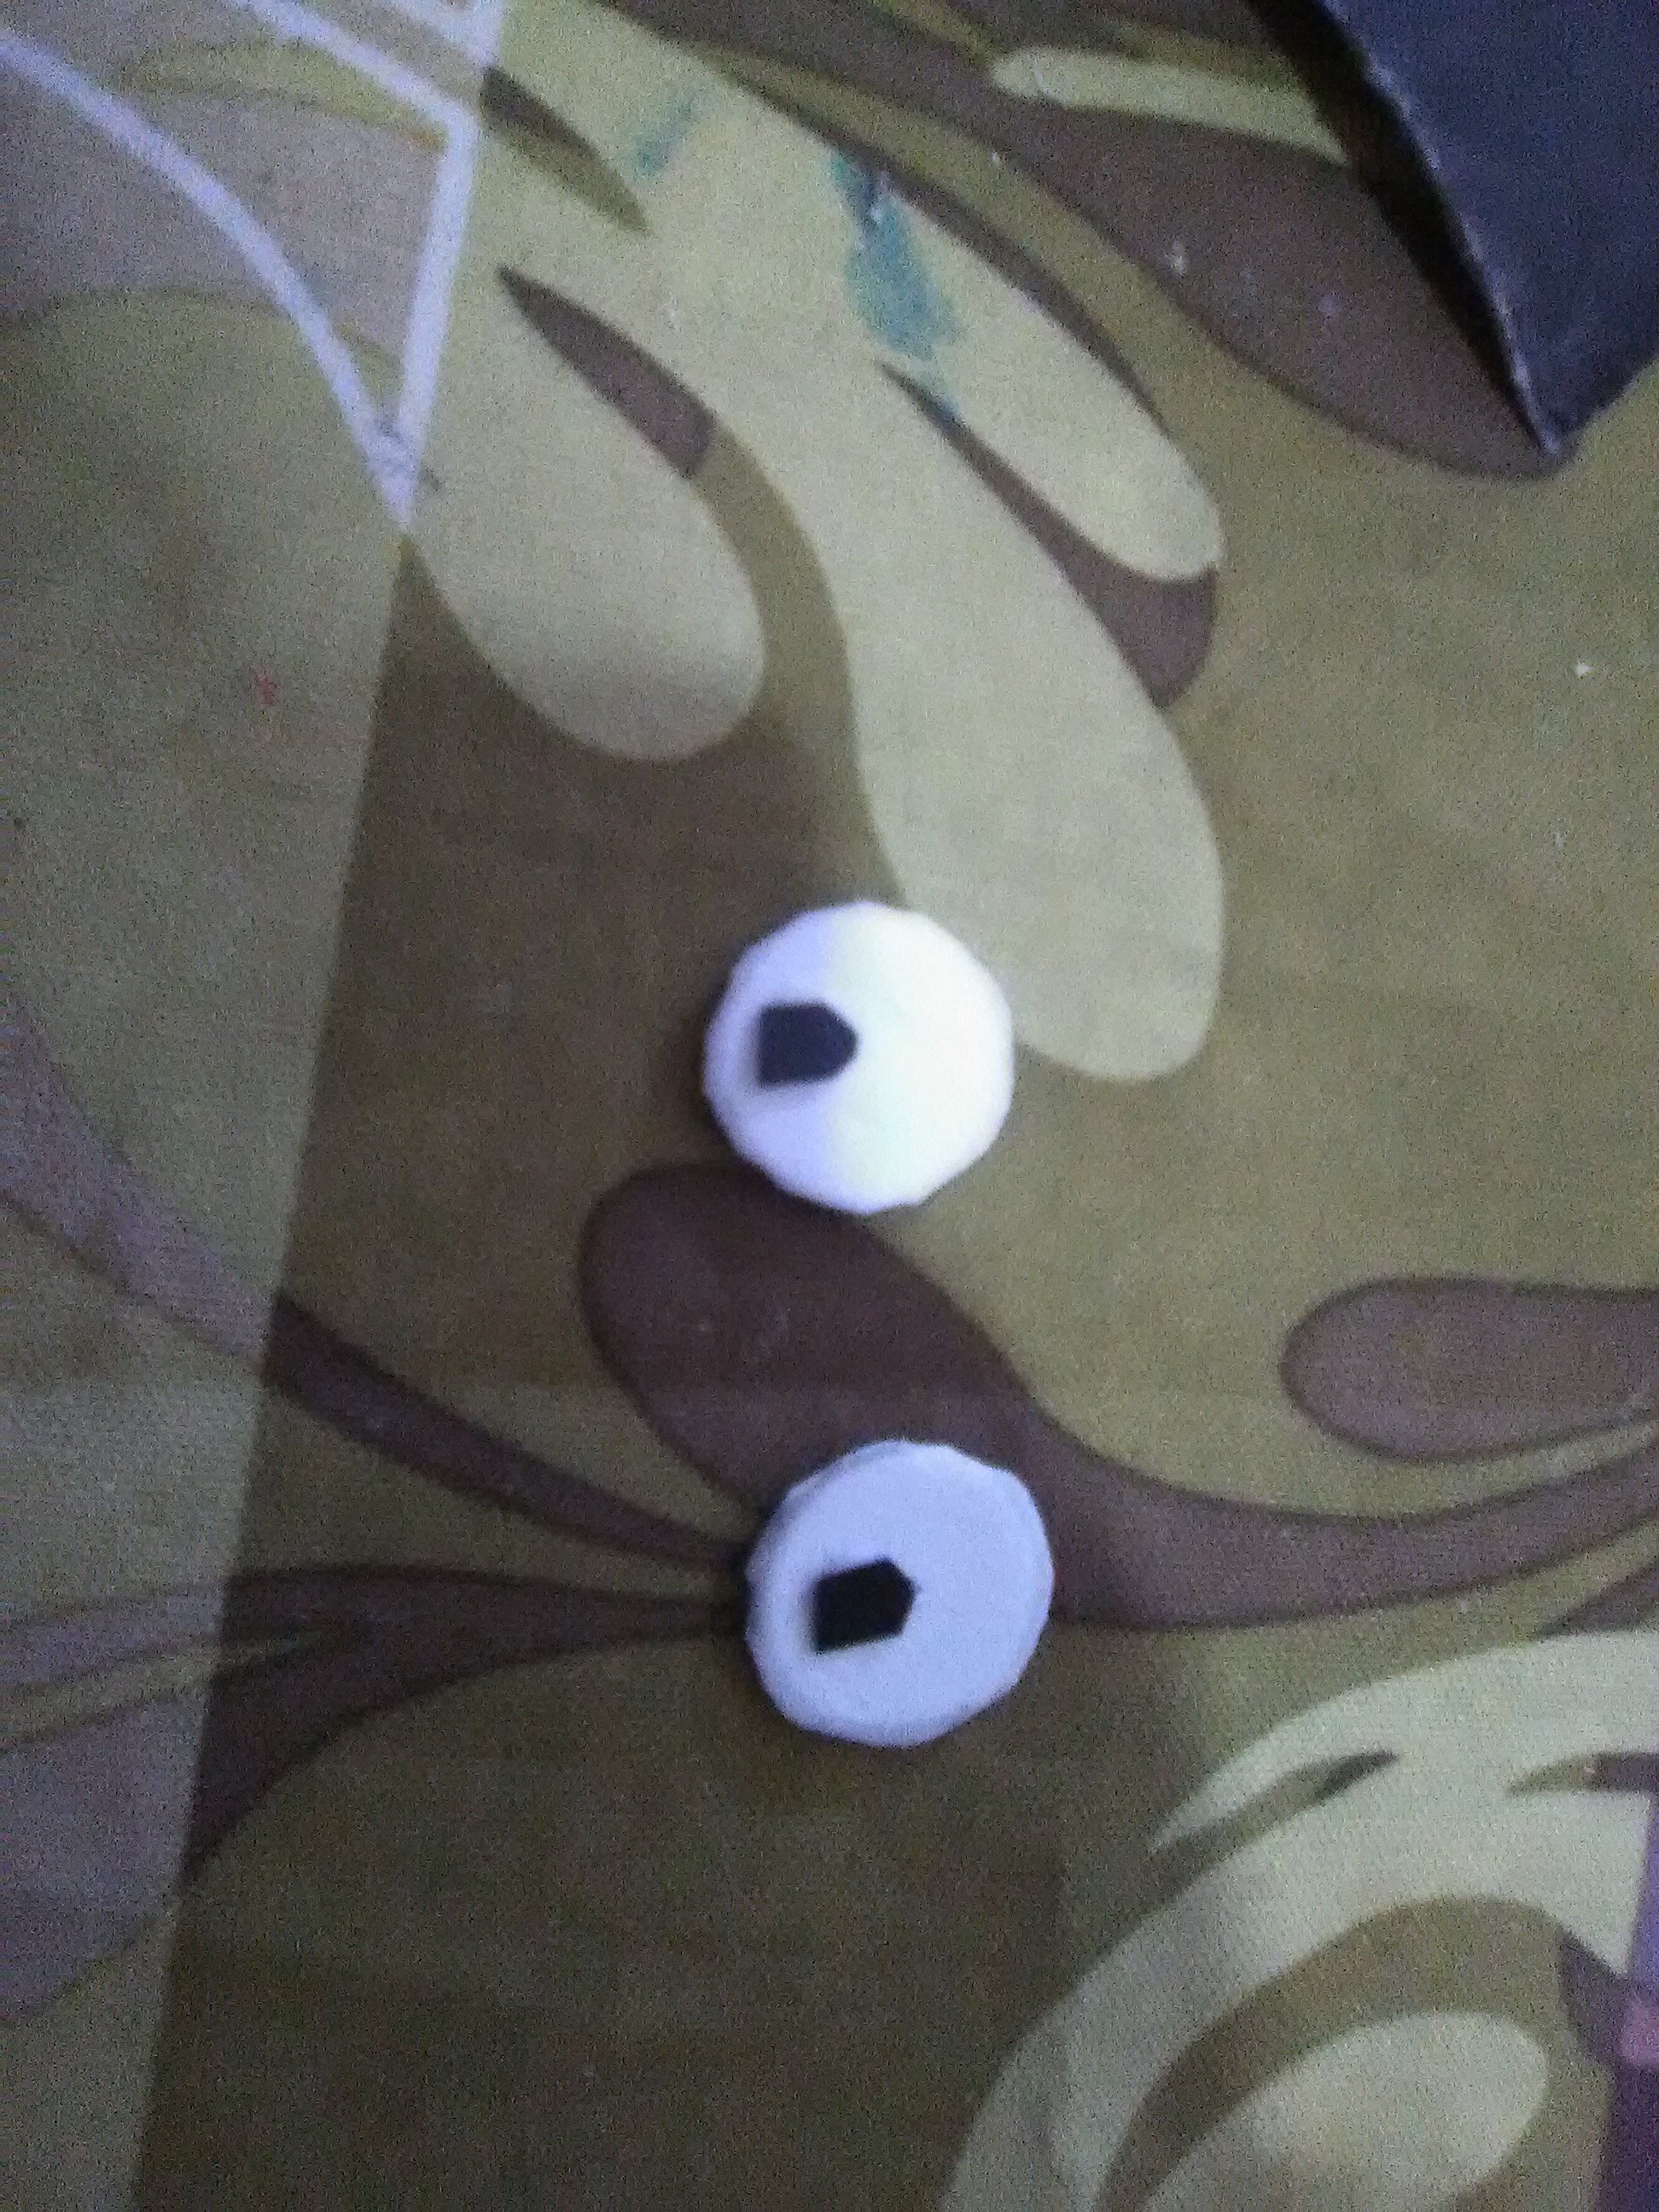
- Tomamos 2 pedazos de foami blanco para hacer los ojos con ayuda de un centavo
Step 2:
- We take 2 pieces of white foami to make the eyes with the help of a penny.
Paso 3:
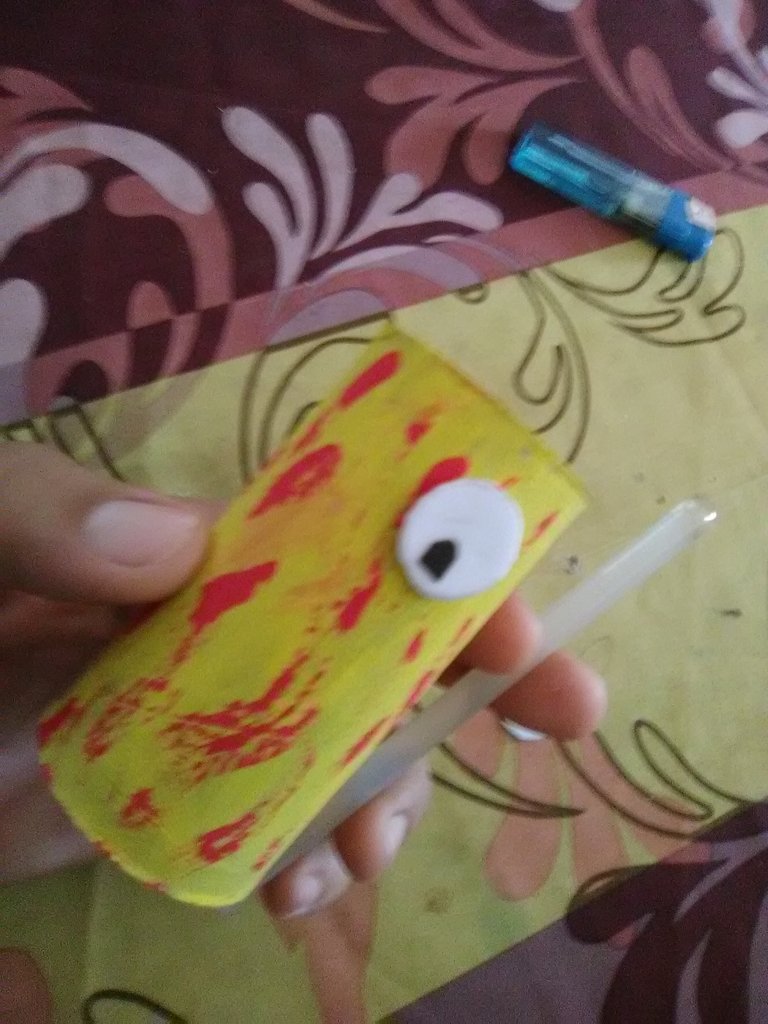
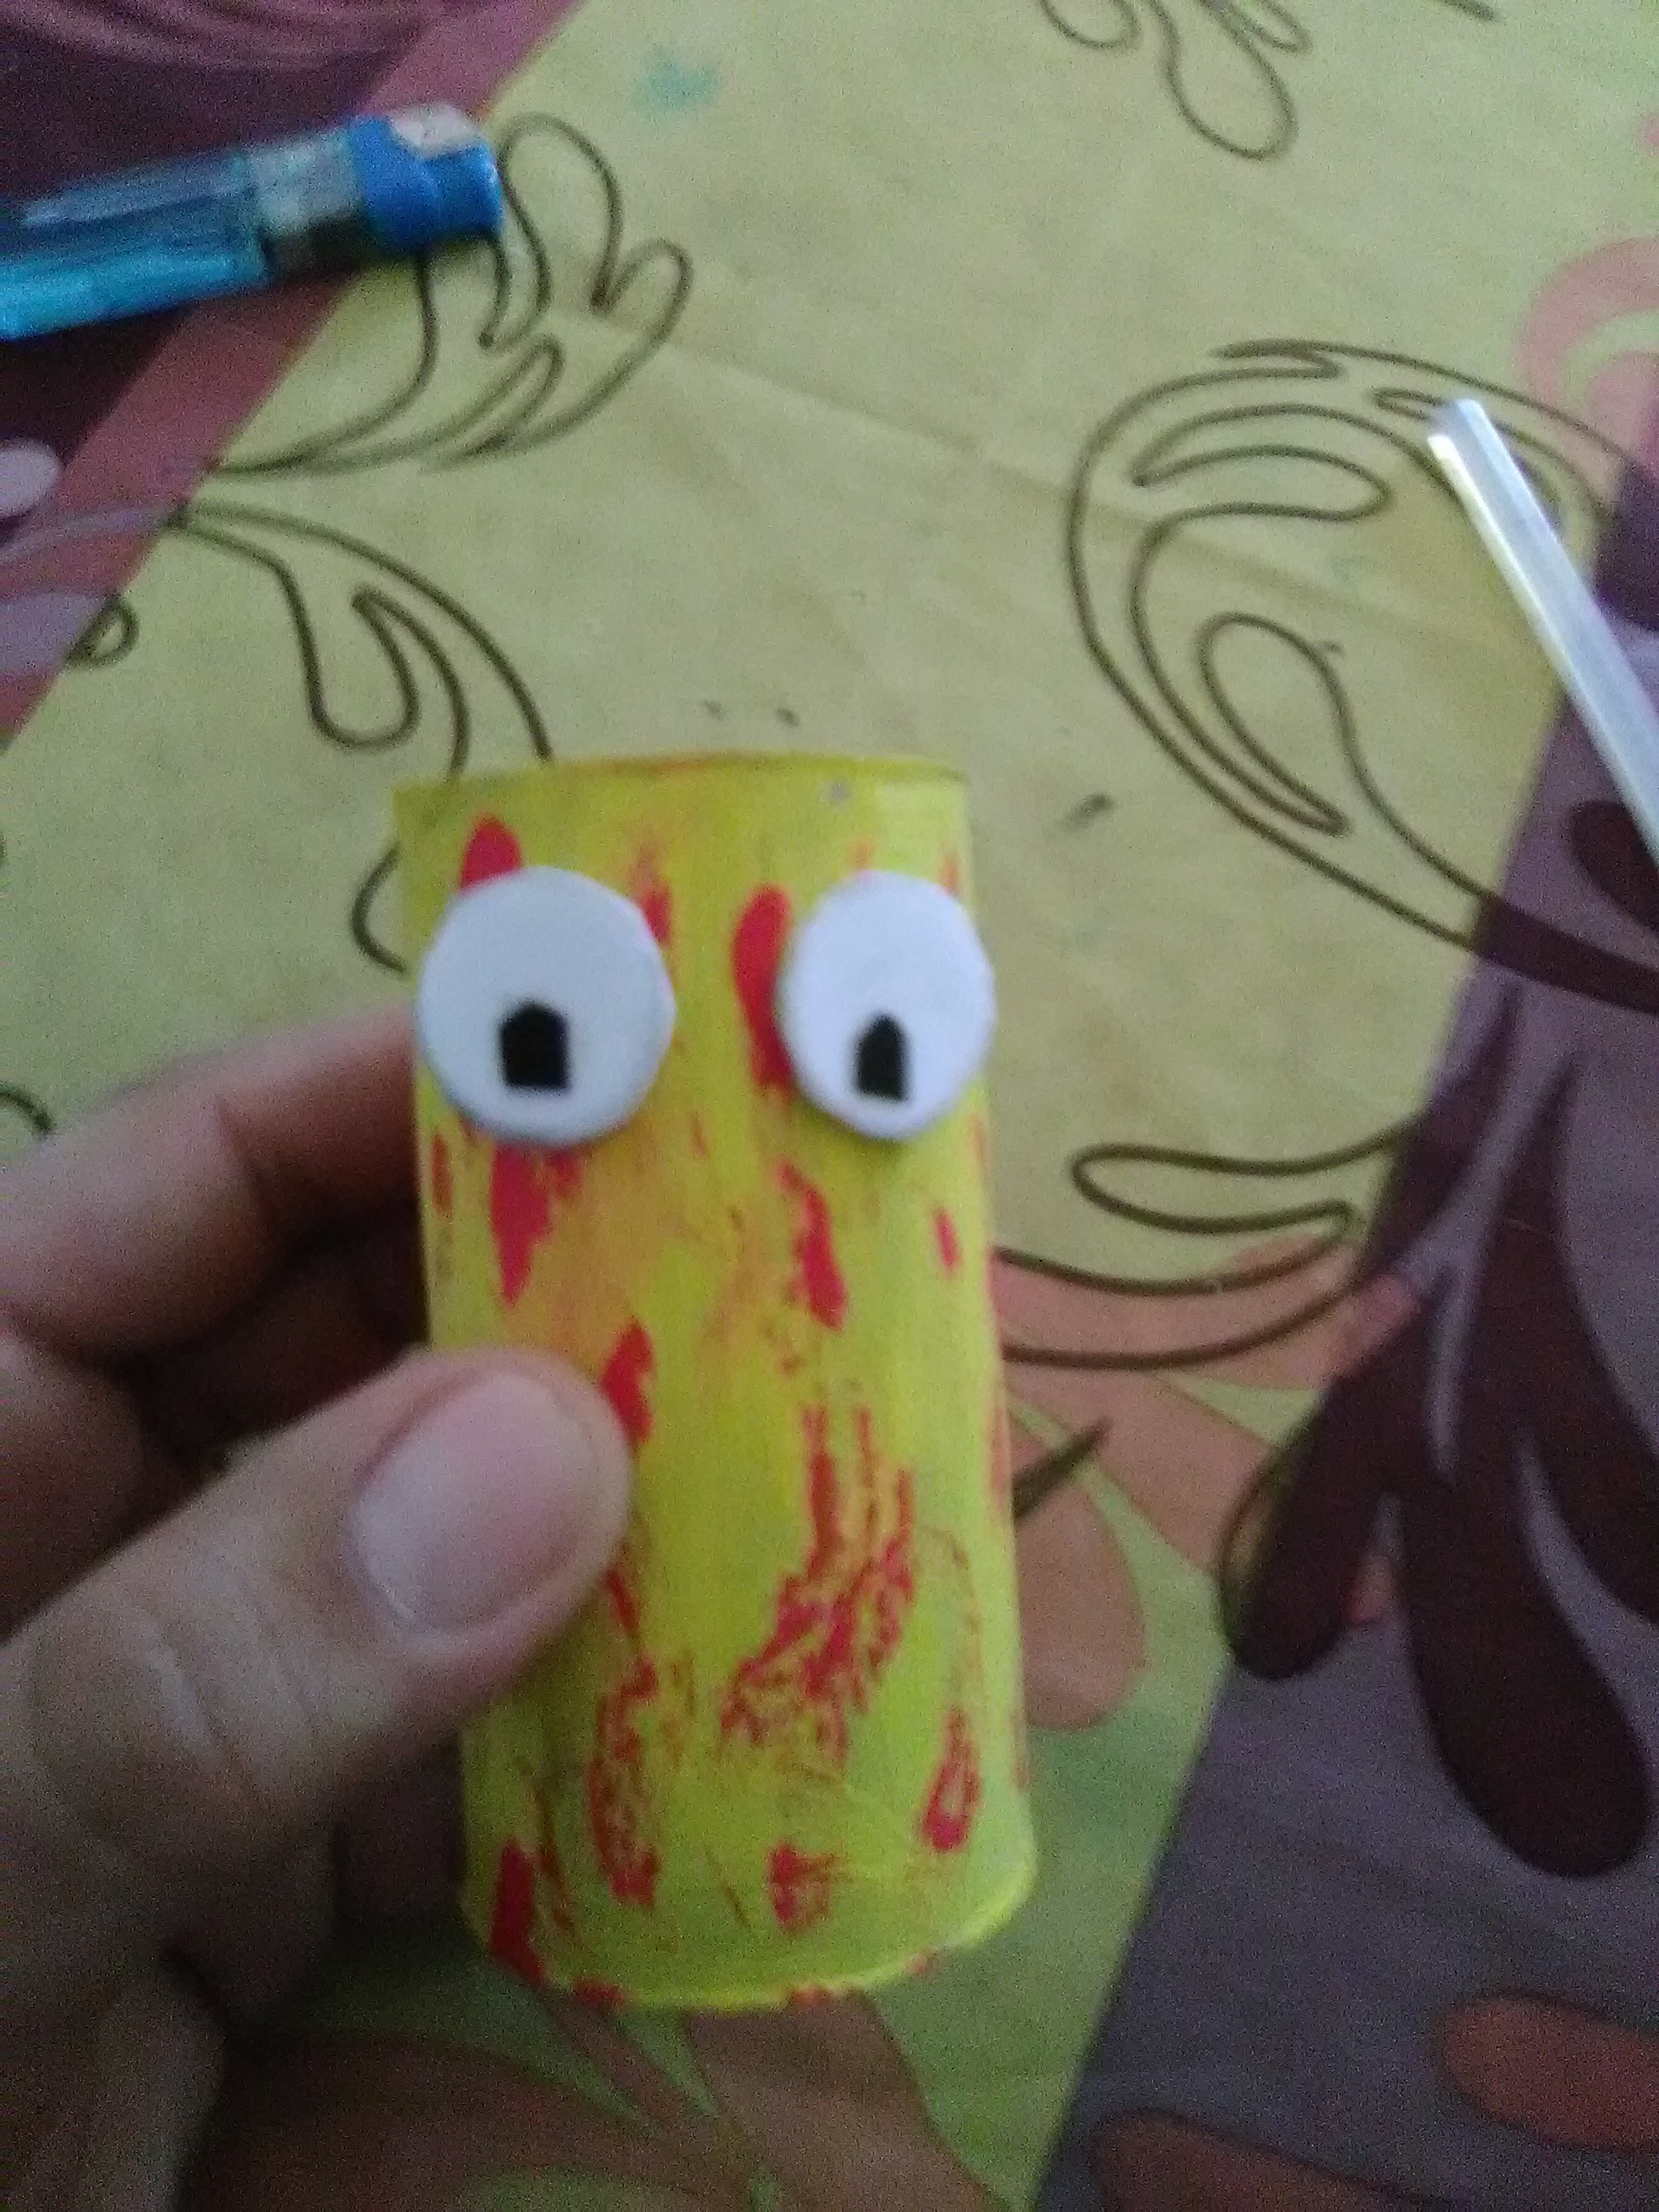
- Con silicona pegamos los ojos al cilindro de cartón
Step 3:
- With silicone we glue the eyes to the cardboard cylinder.
Paso 4:
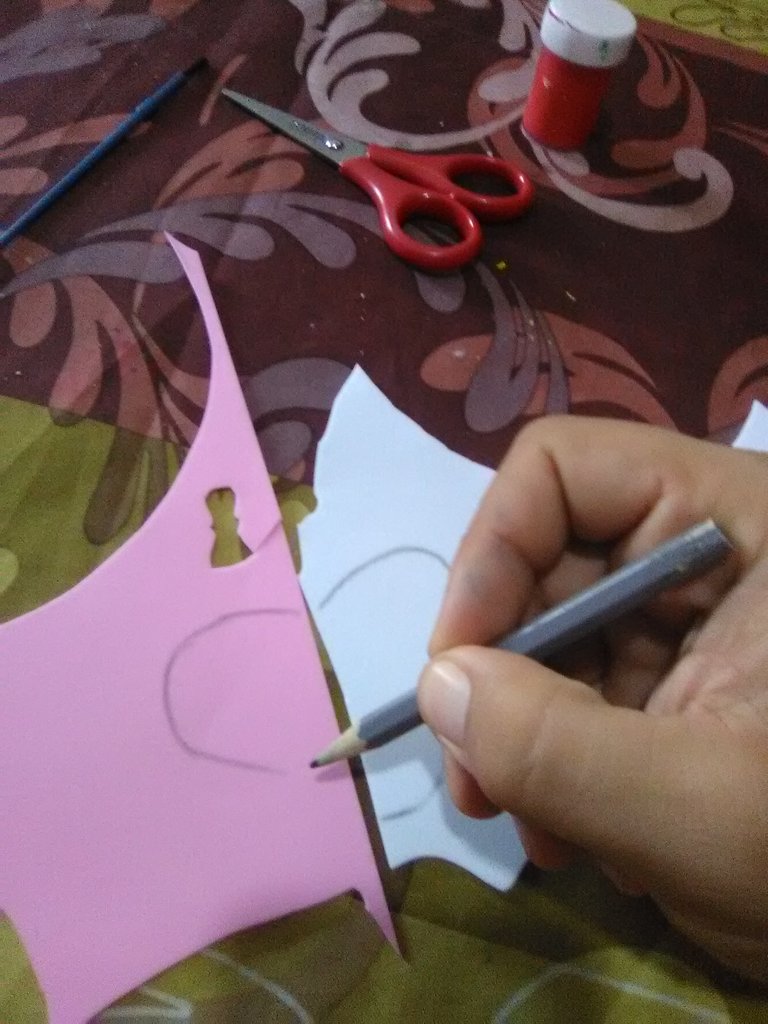
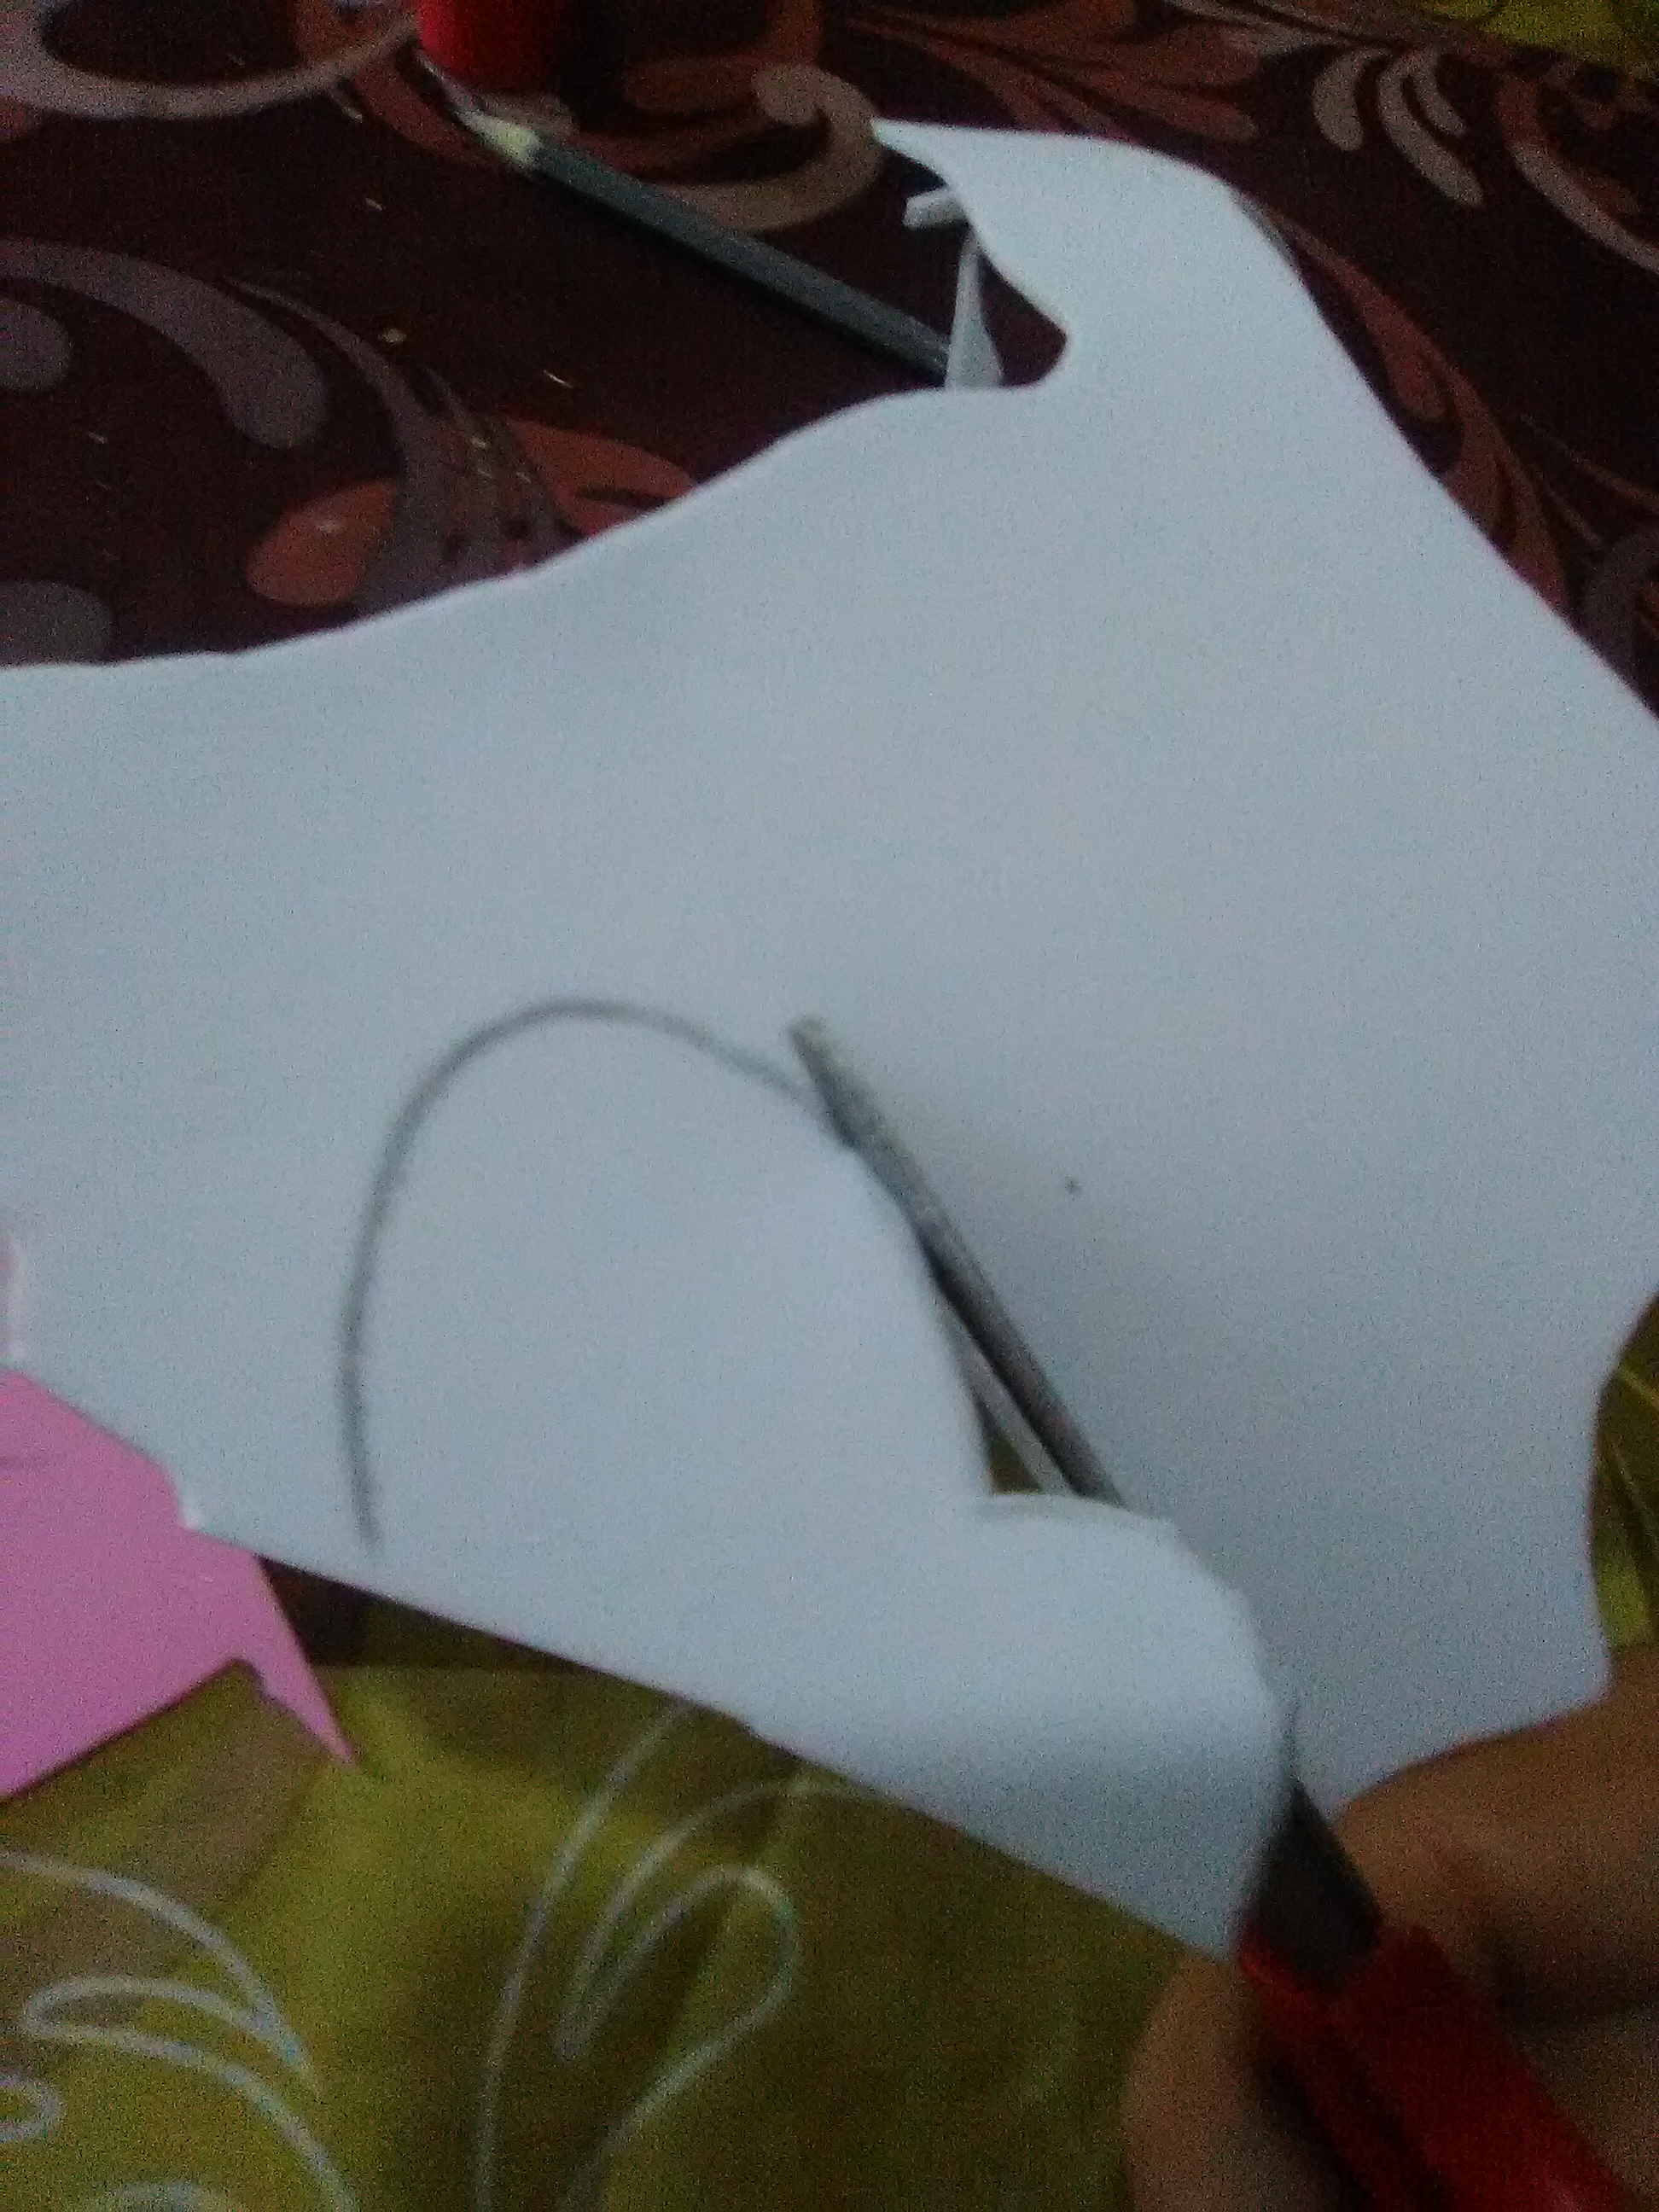
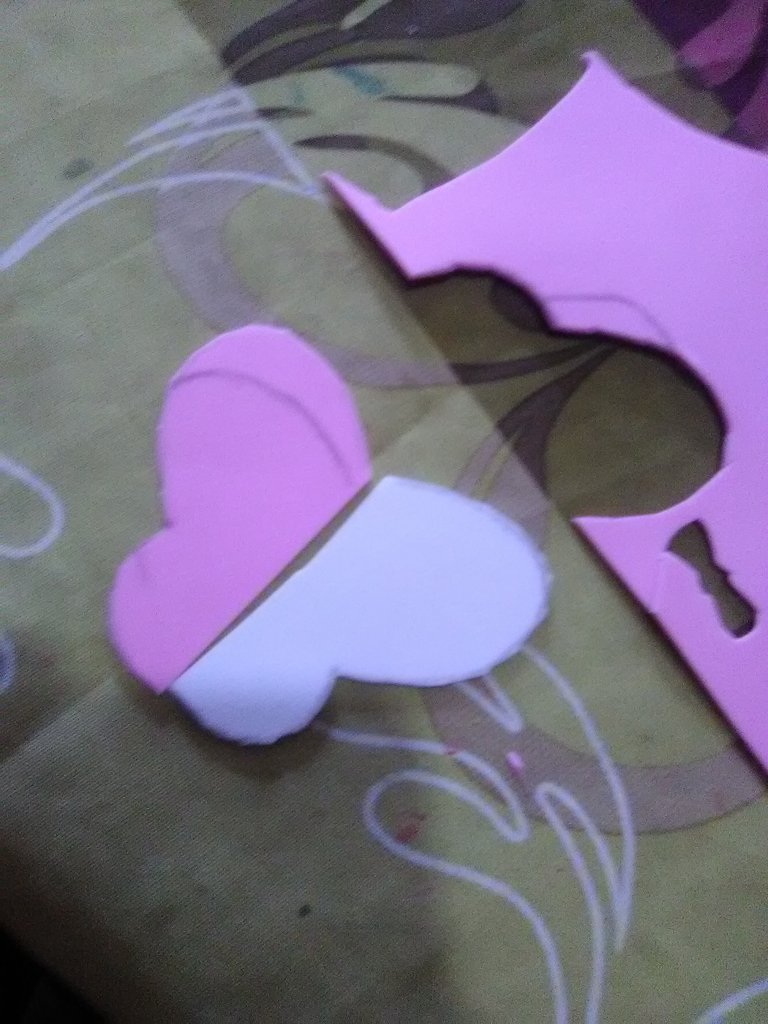
- Tomamos el foami y marcamos con un lápiz de grafito las alas de una mariposa
Step 4:
- We take the foami and mark with a graphite pencil the wings of a butterfly.
Paso 5:
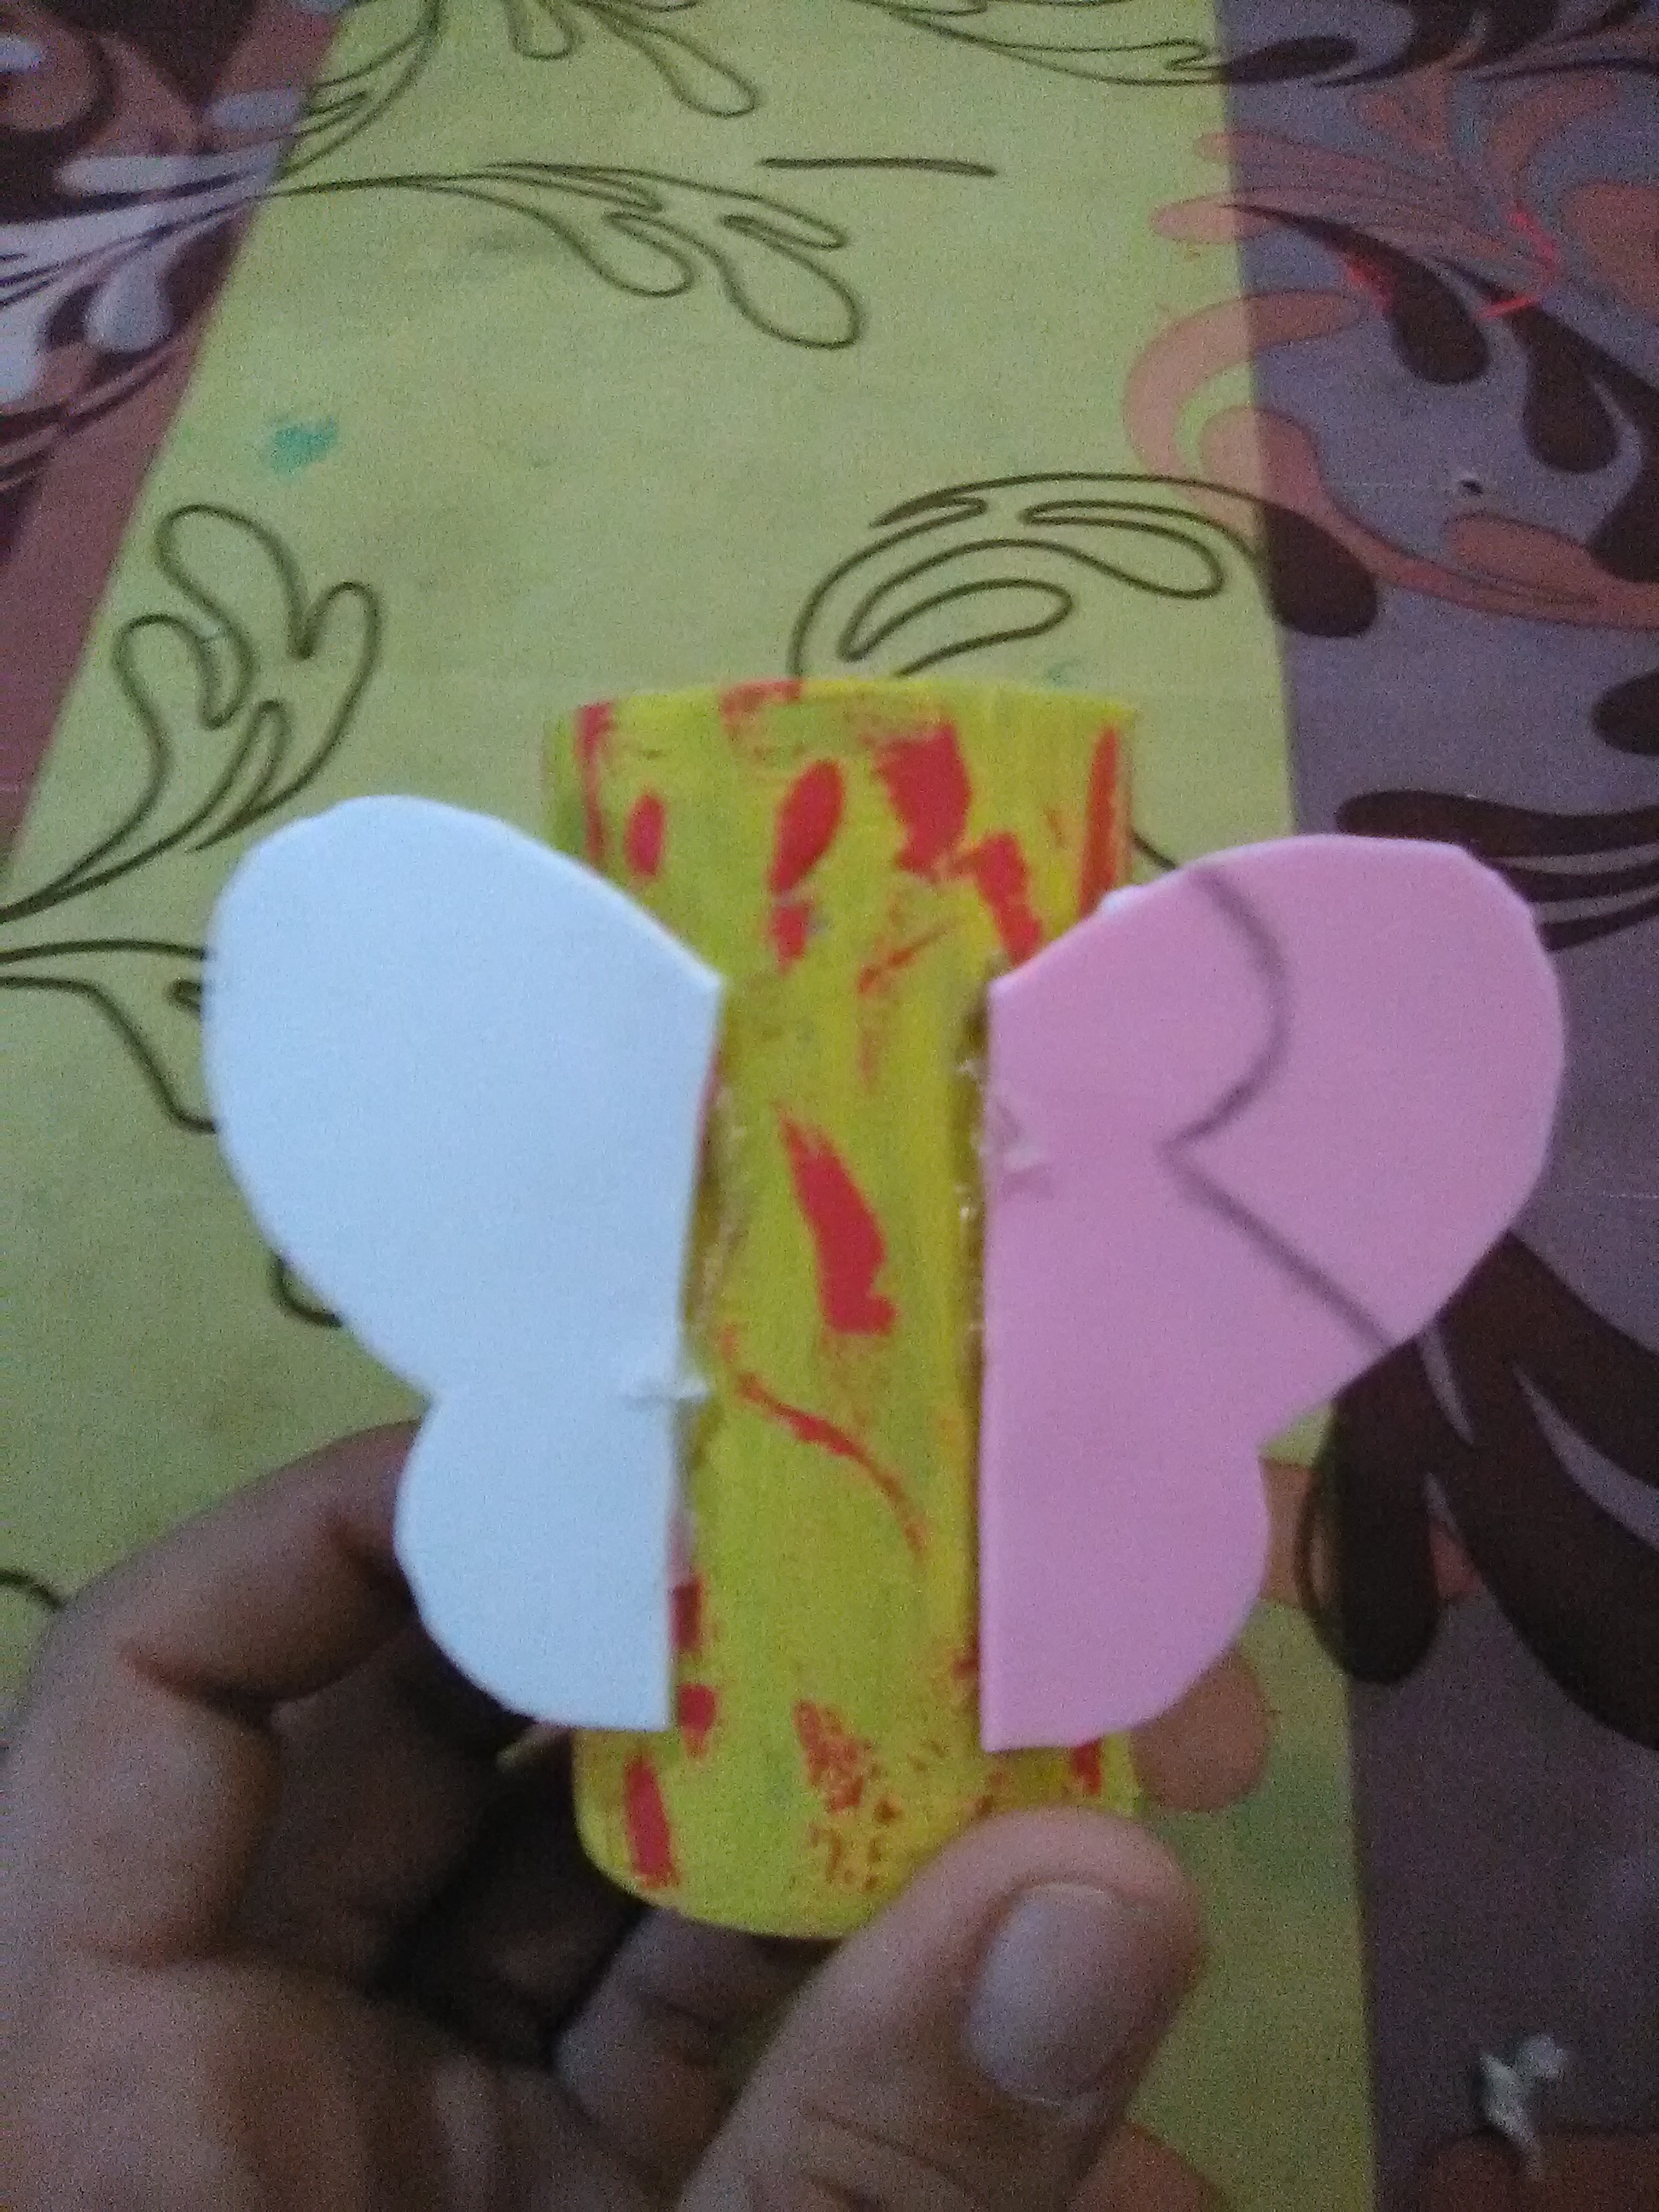
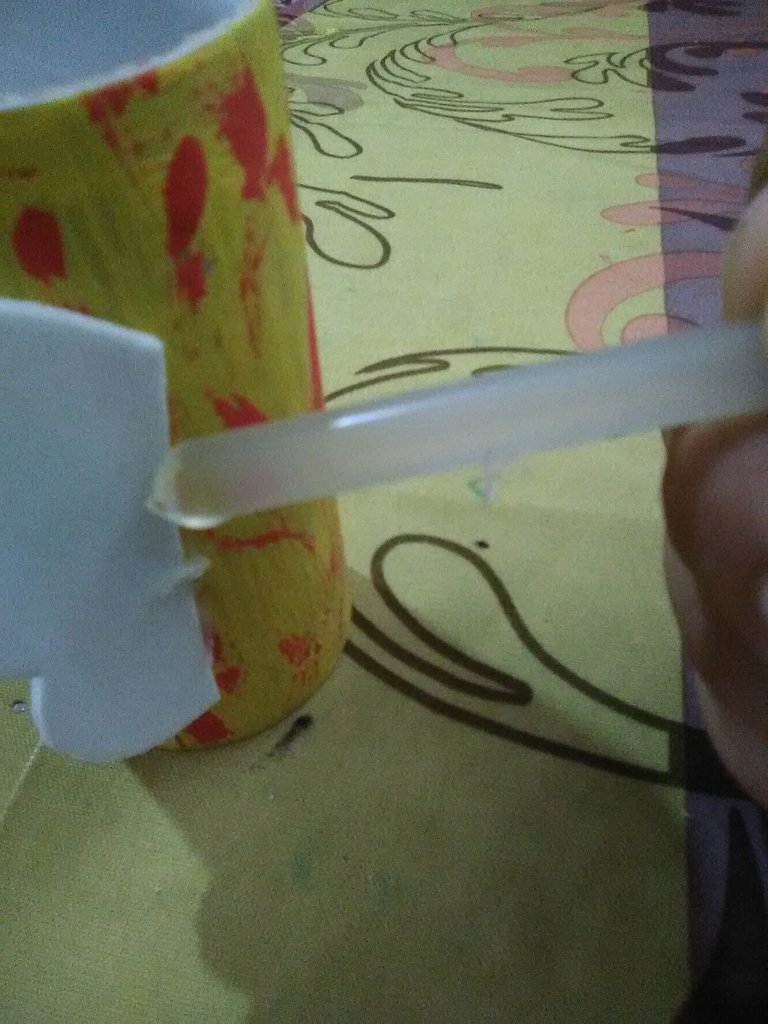
- Con silicona en barra pegamos las alas de mariposa al cilindro de cartón
Step 5:
- With silicone stick we glue the butterfly wings to the cardboard cylinder.
Paso 6:
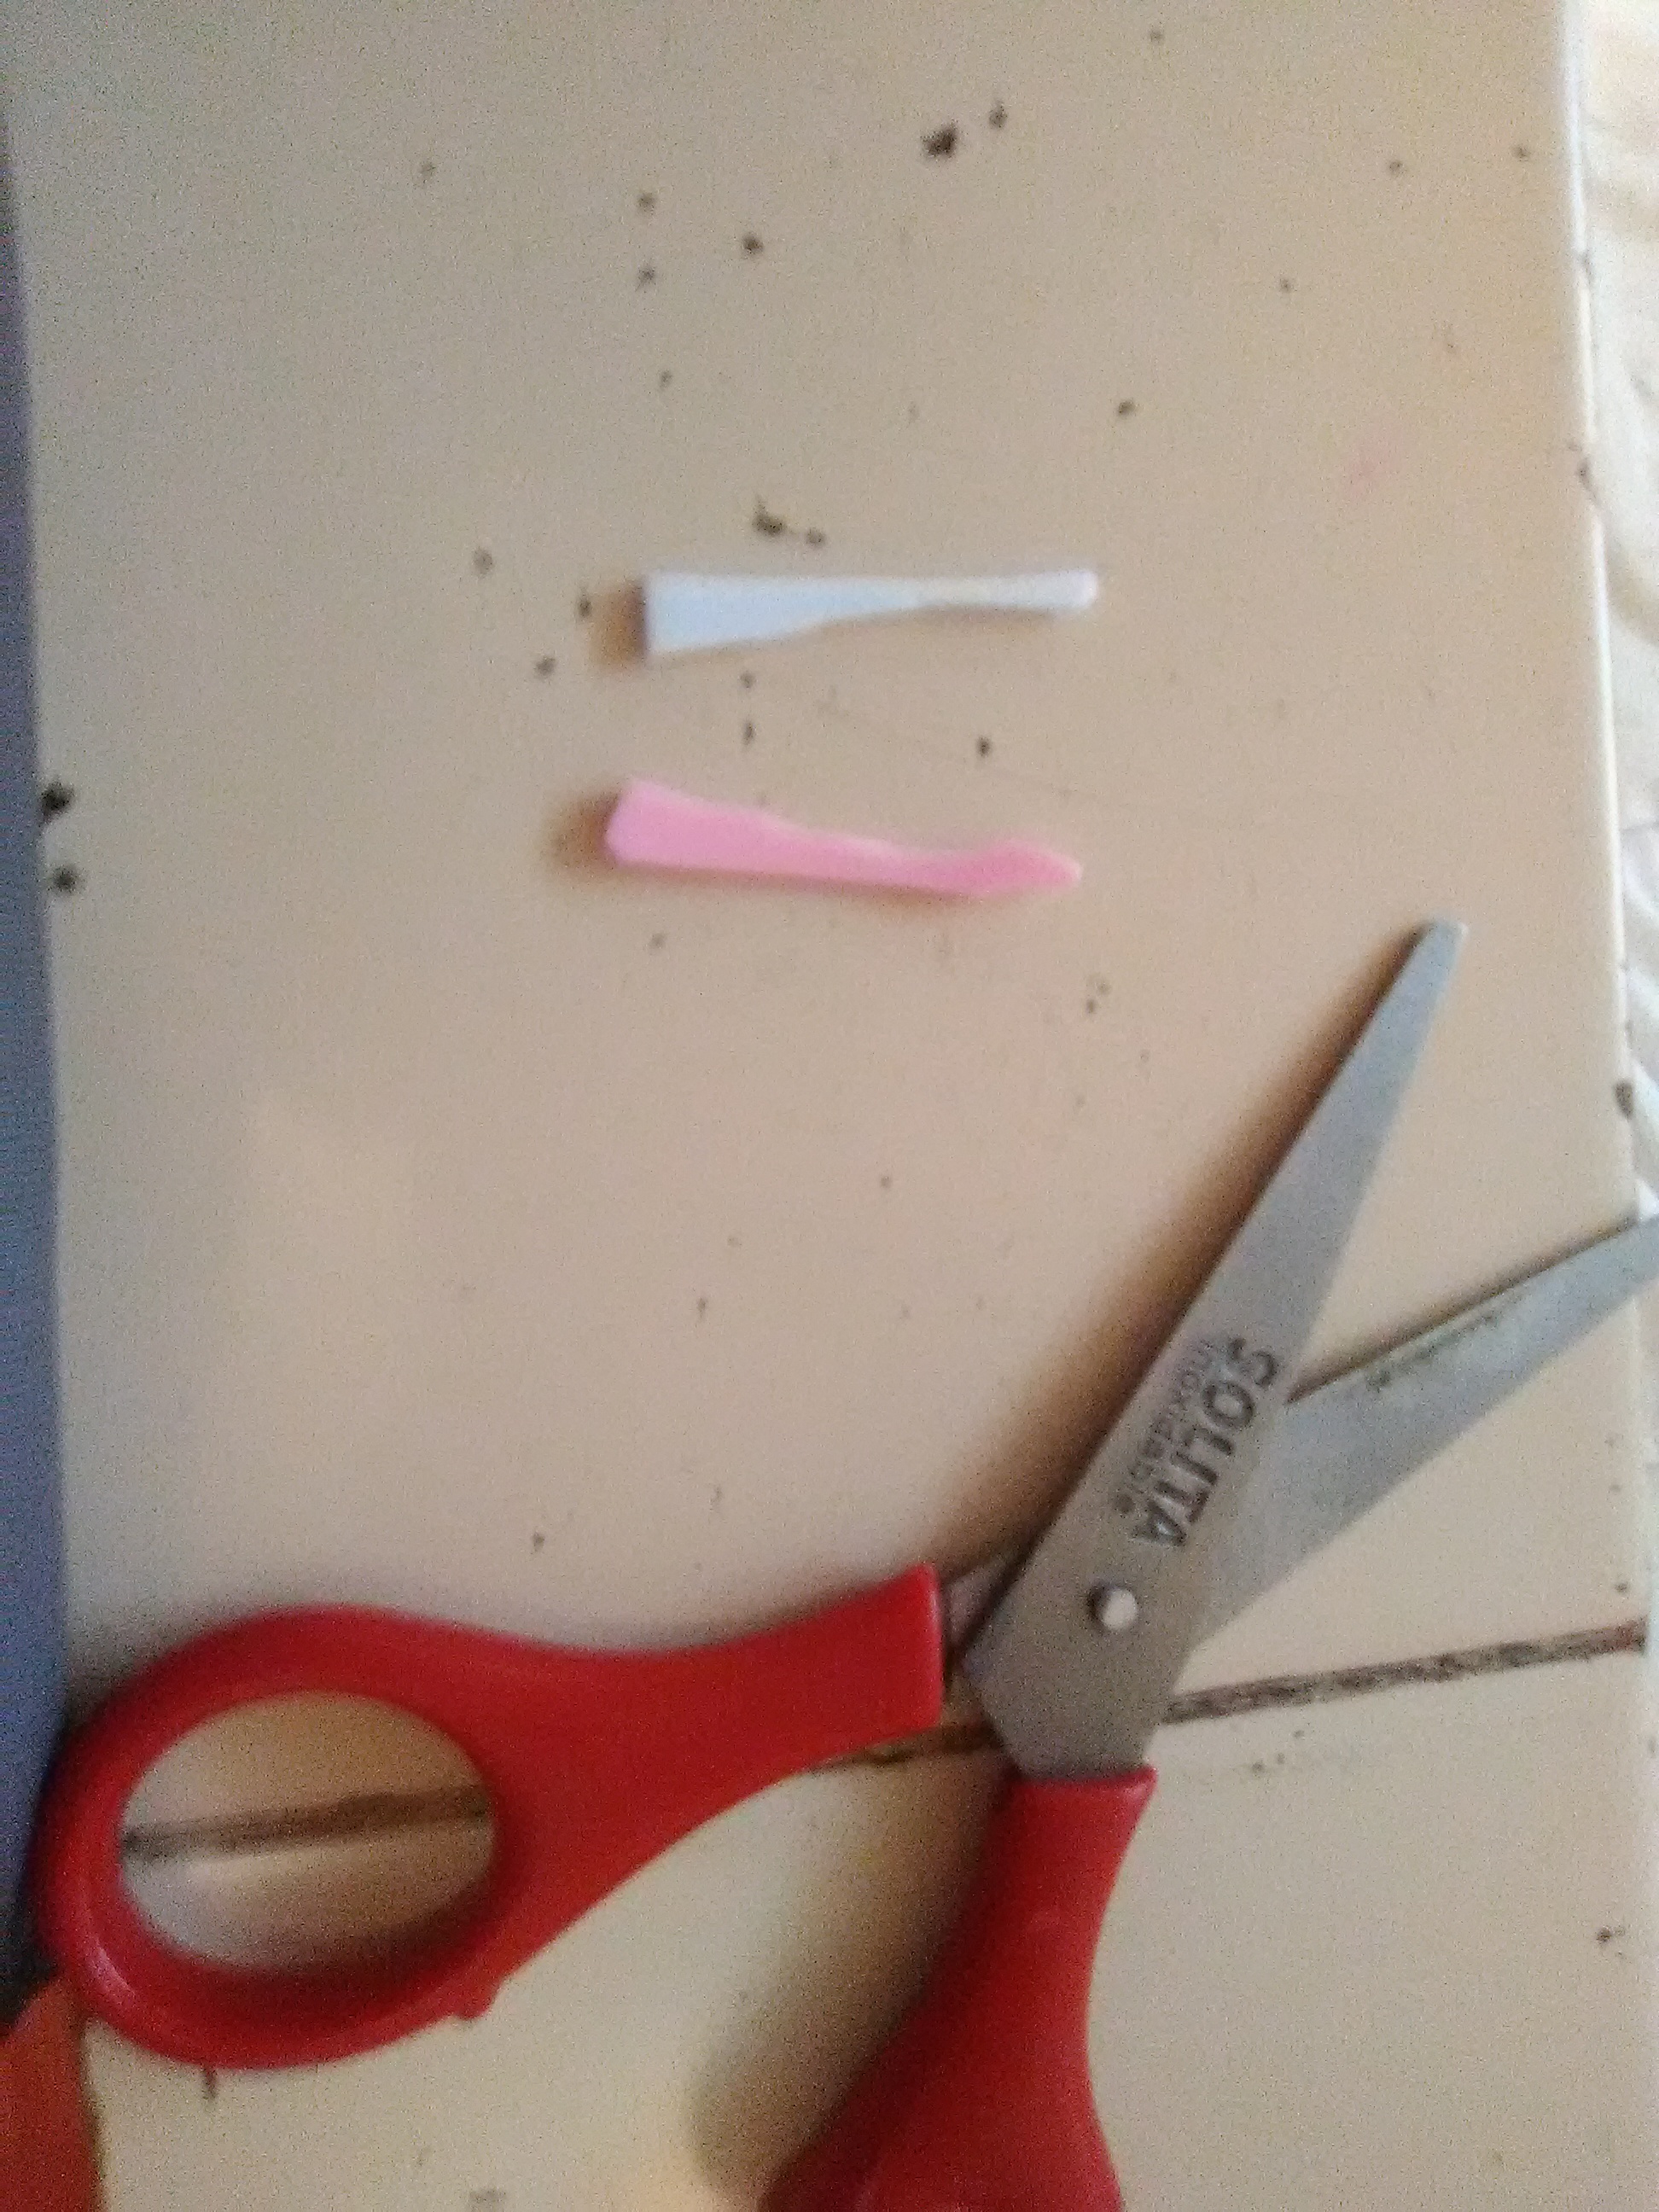
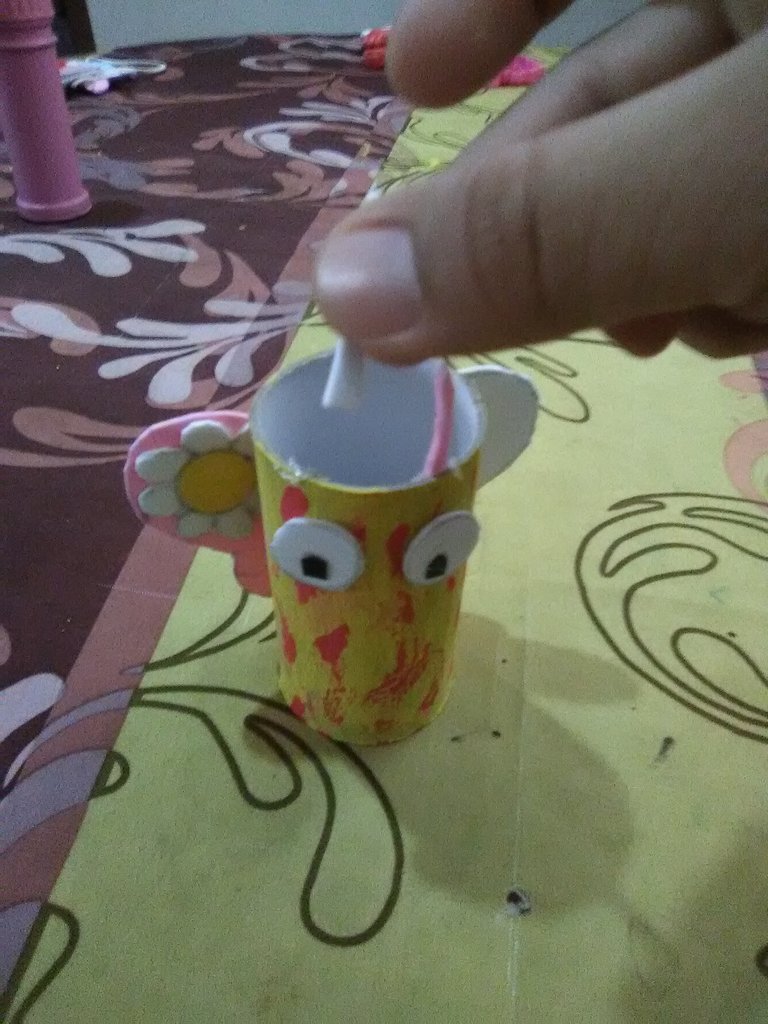
- Tomamos dos tiritas de foami y hacemos unas antenistas
Step 6:
- We take two strips of foami and make antennae.
Paso 7:
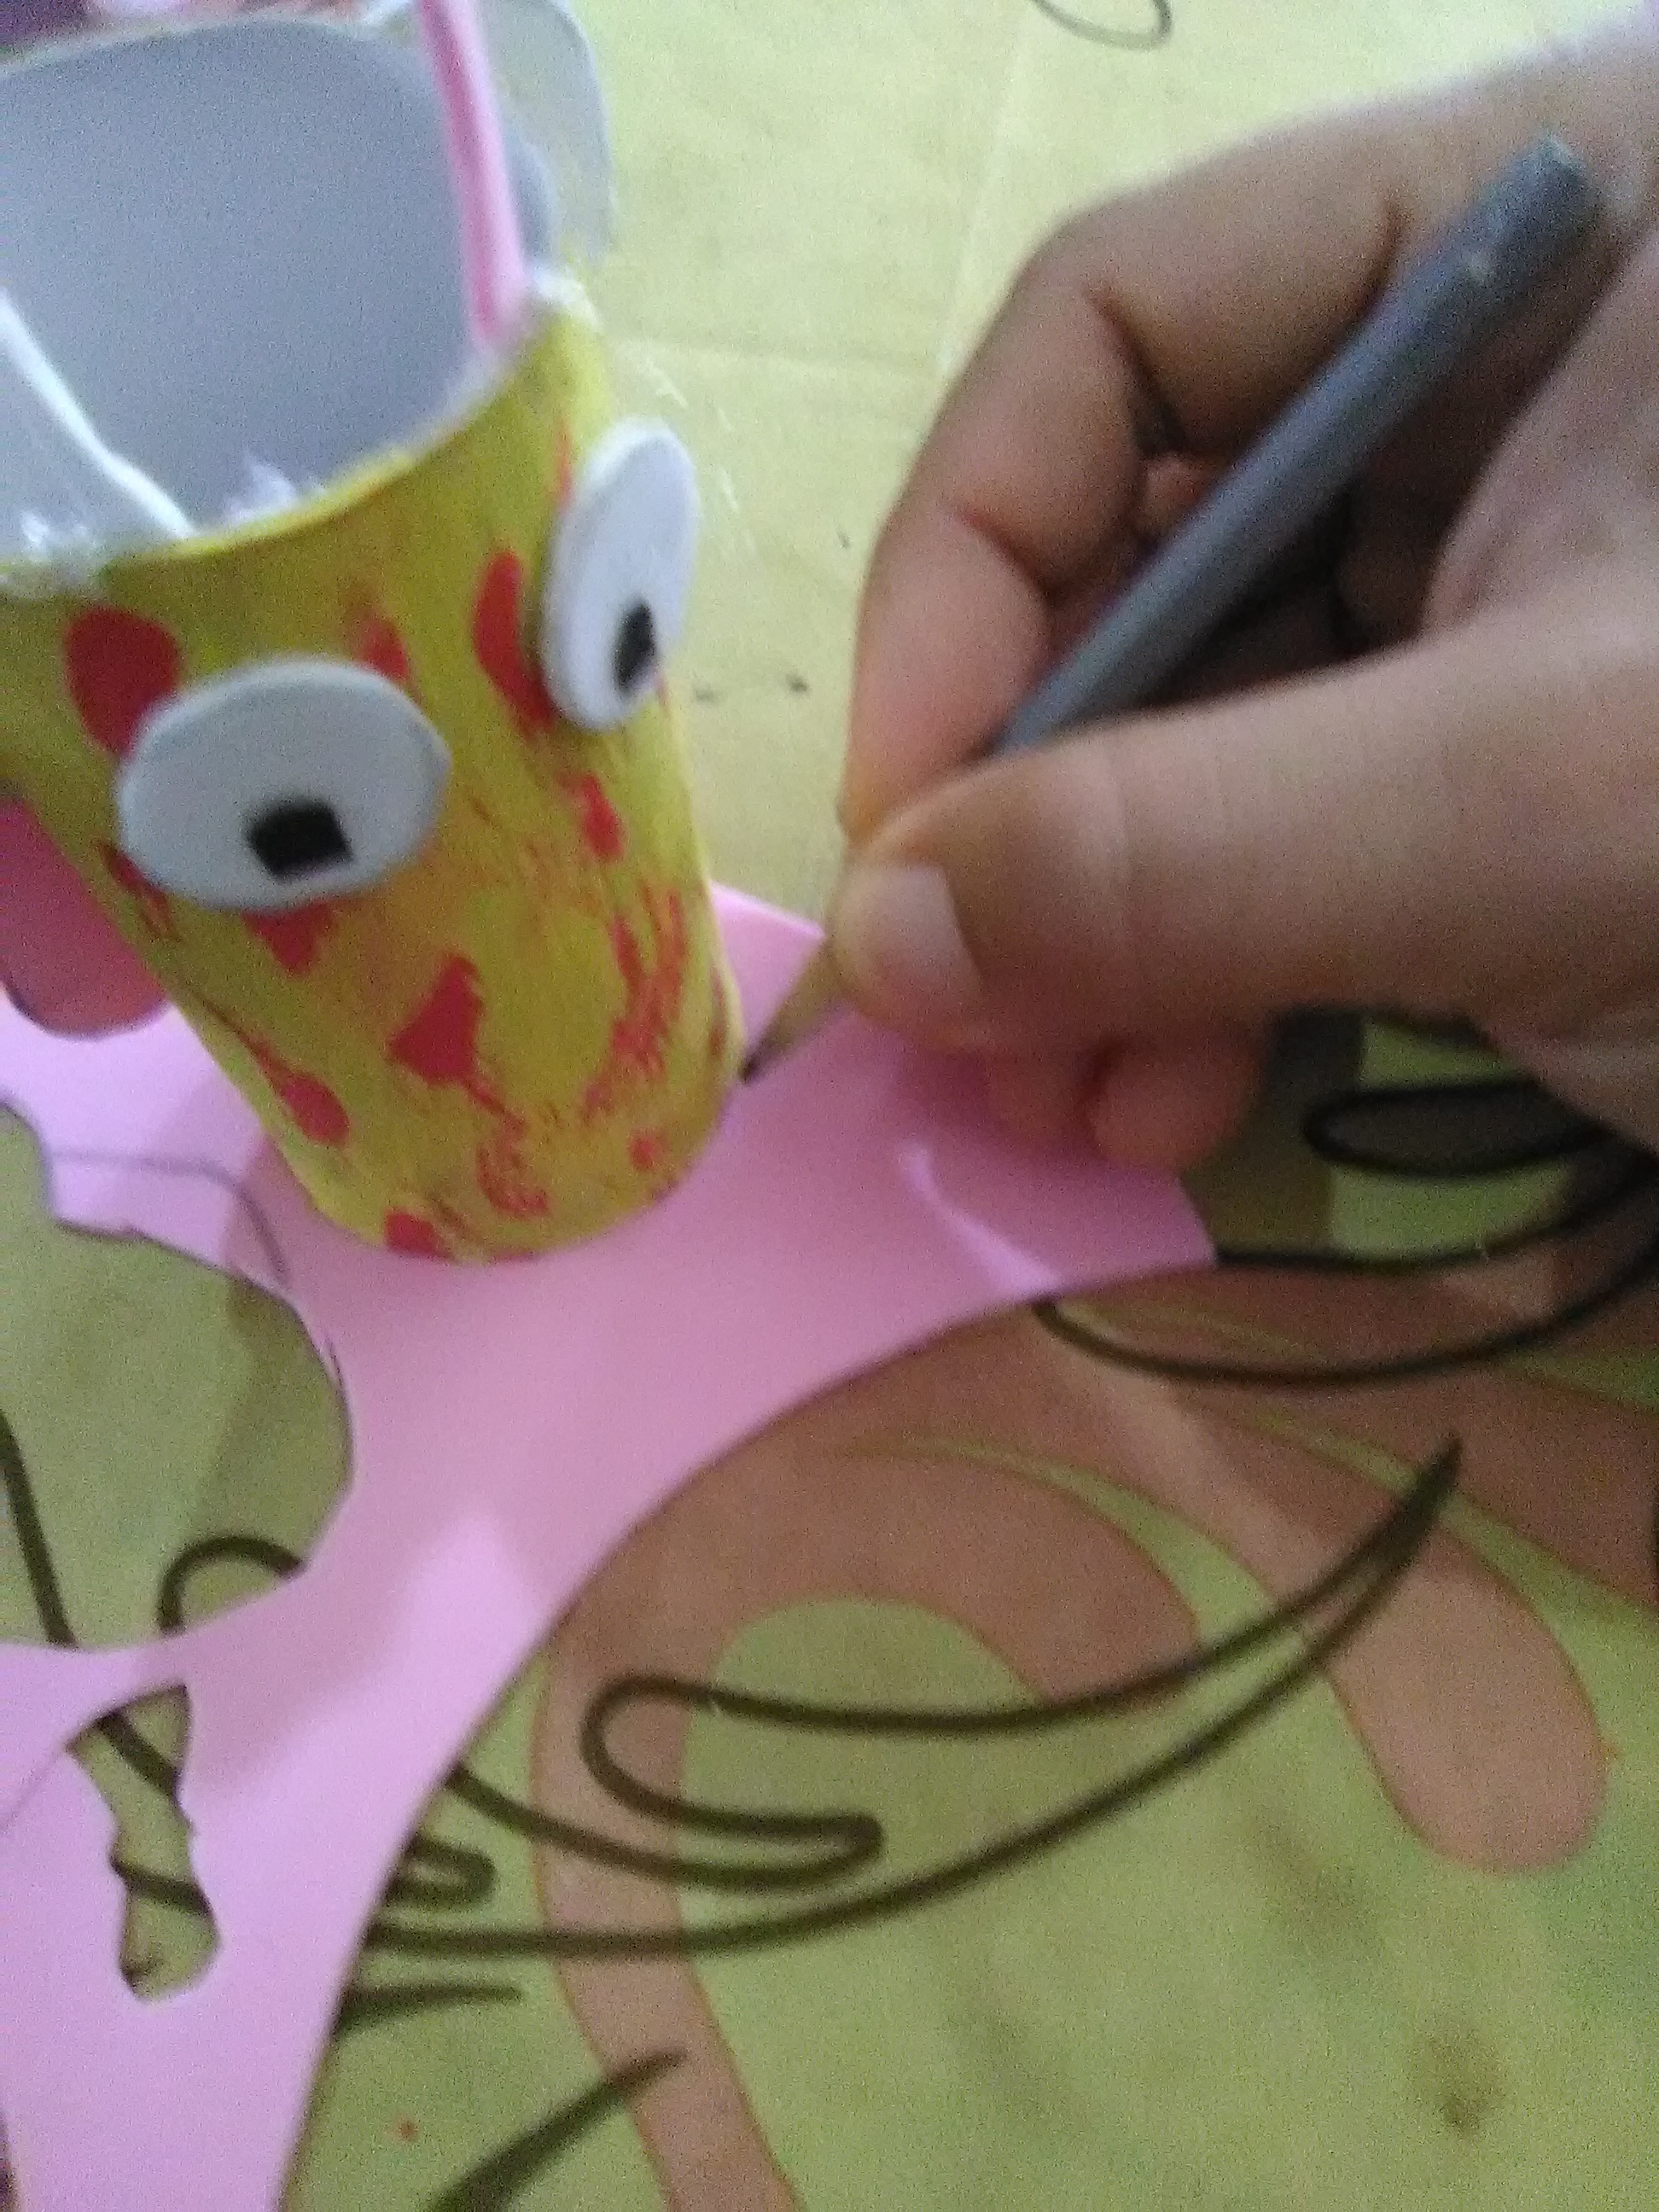
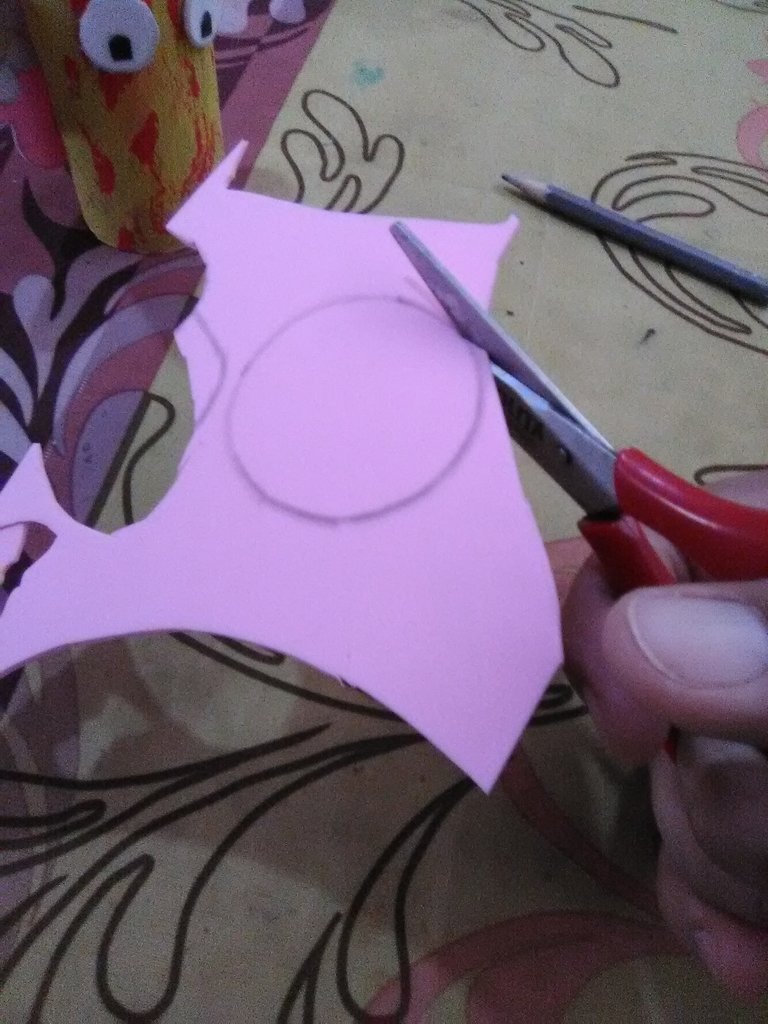
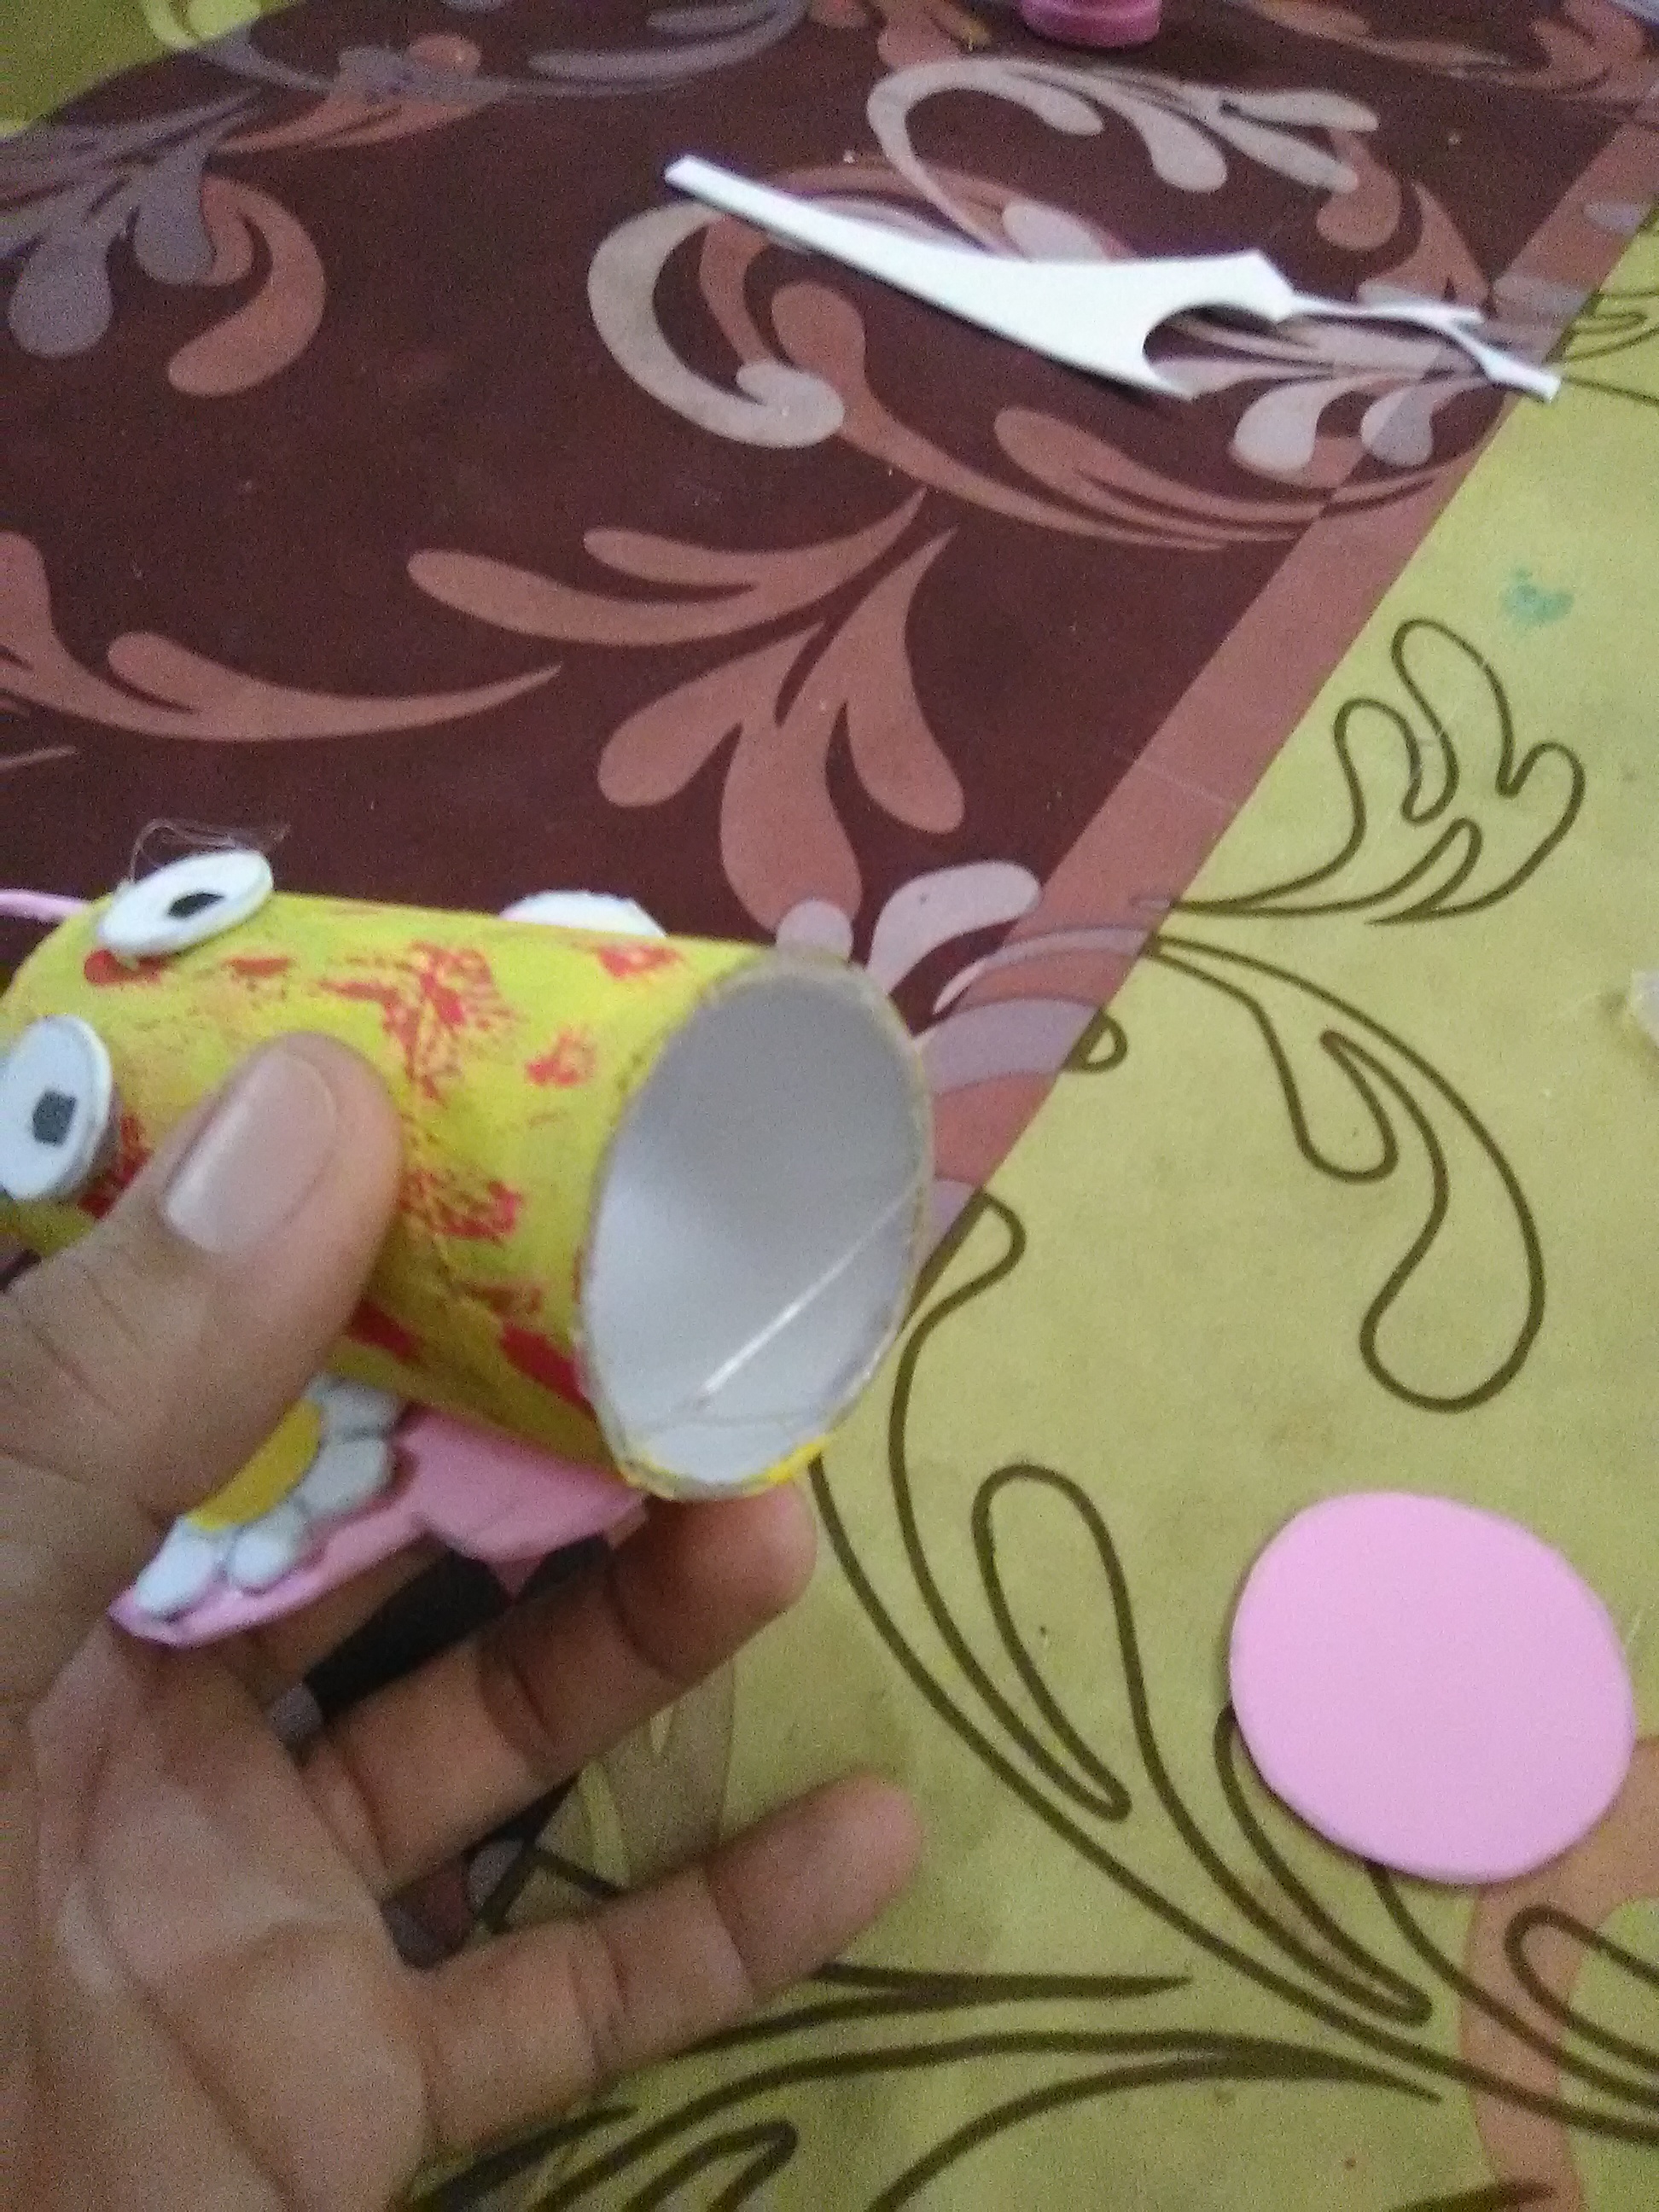
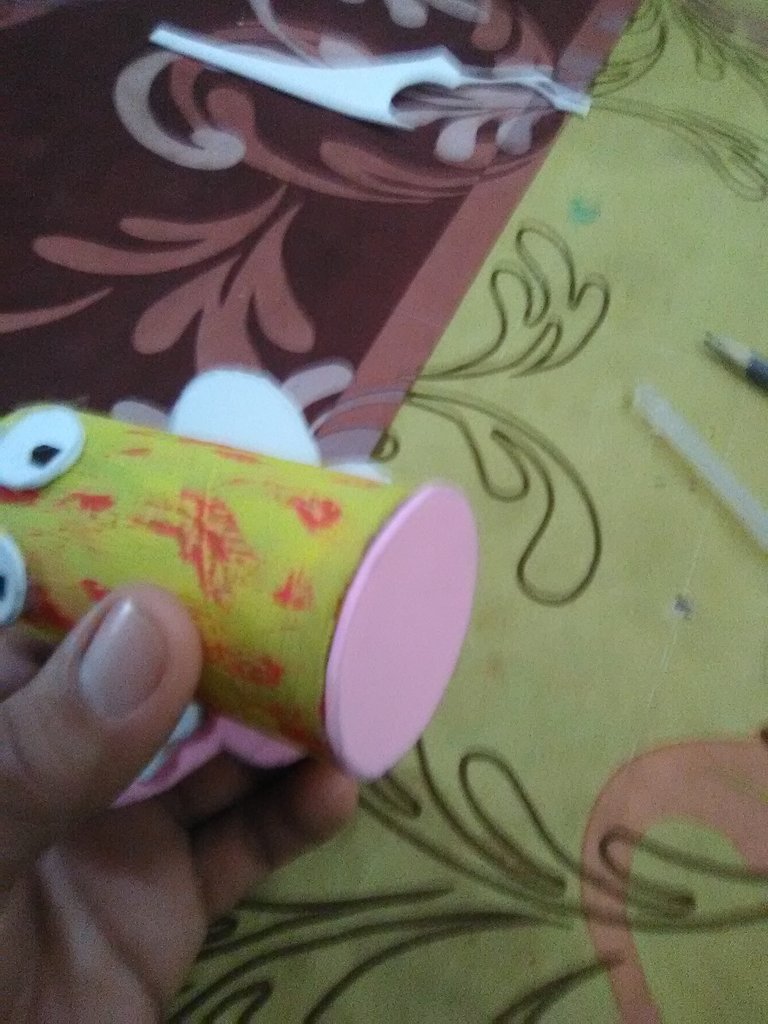
- Recortamos un círculo de foami rosado para hacer una tapa a la parte de abajo
Step 7:
- We cut out a circle of pink foami to make a lid to the bottom.
Paso 8:
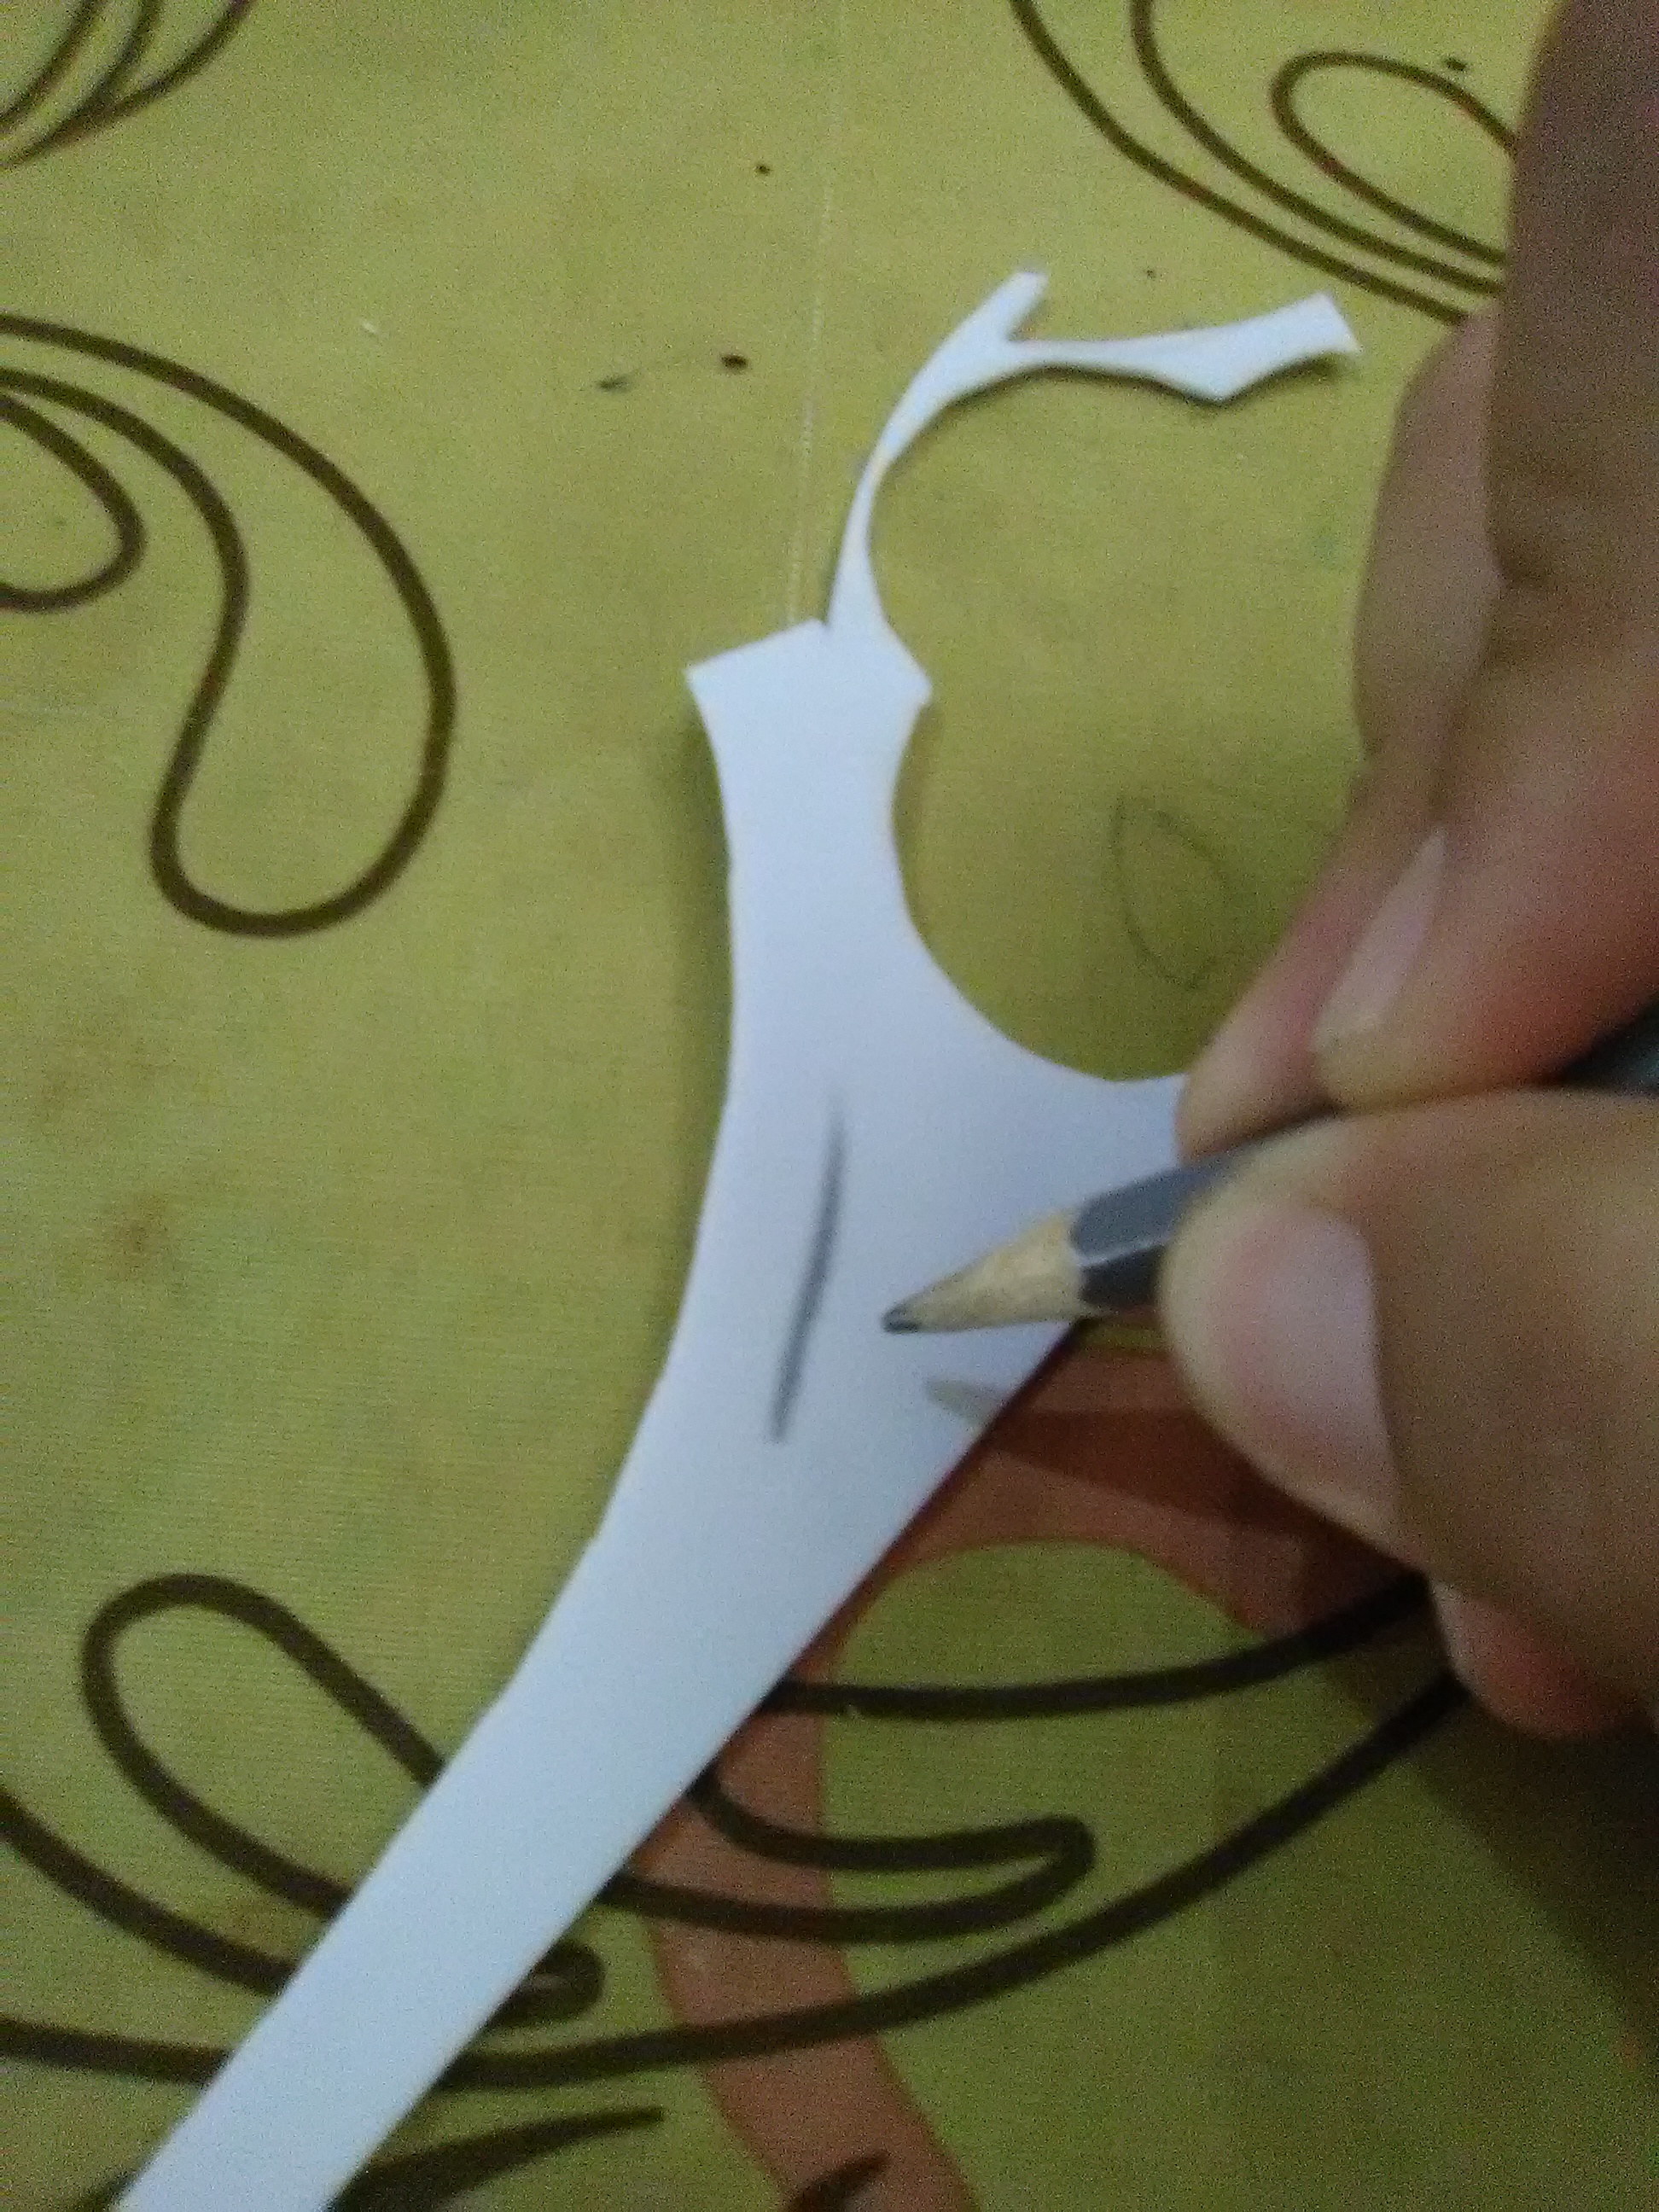
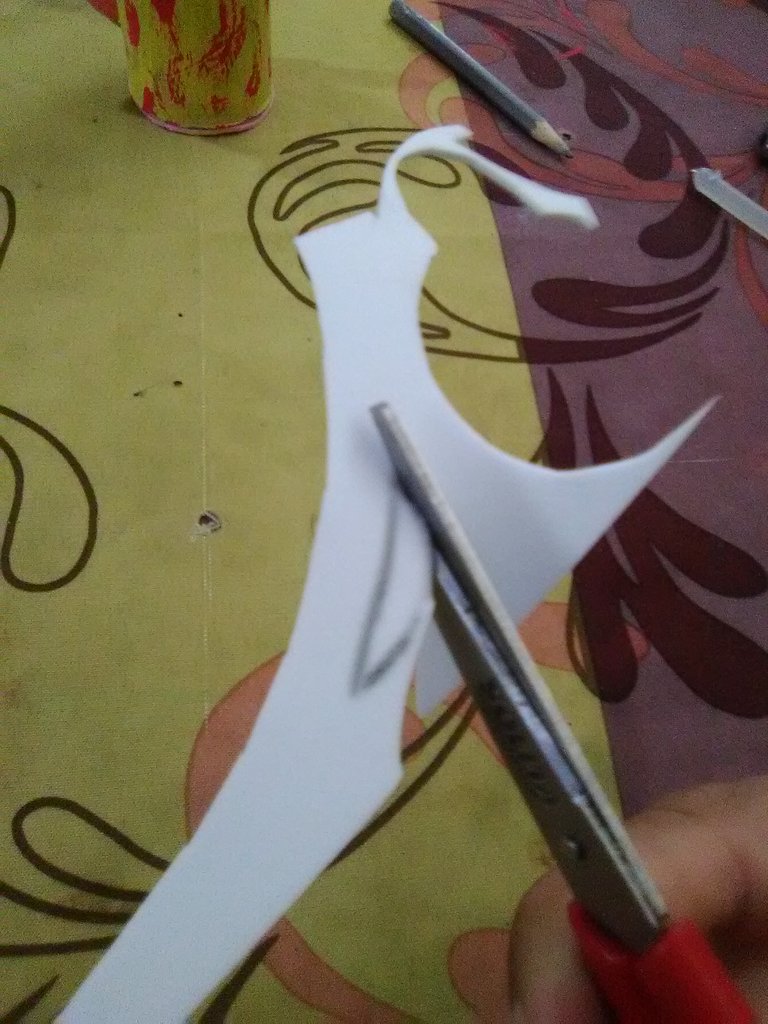
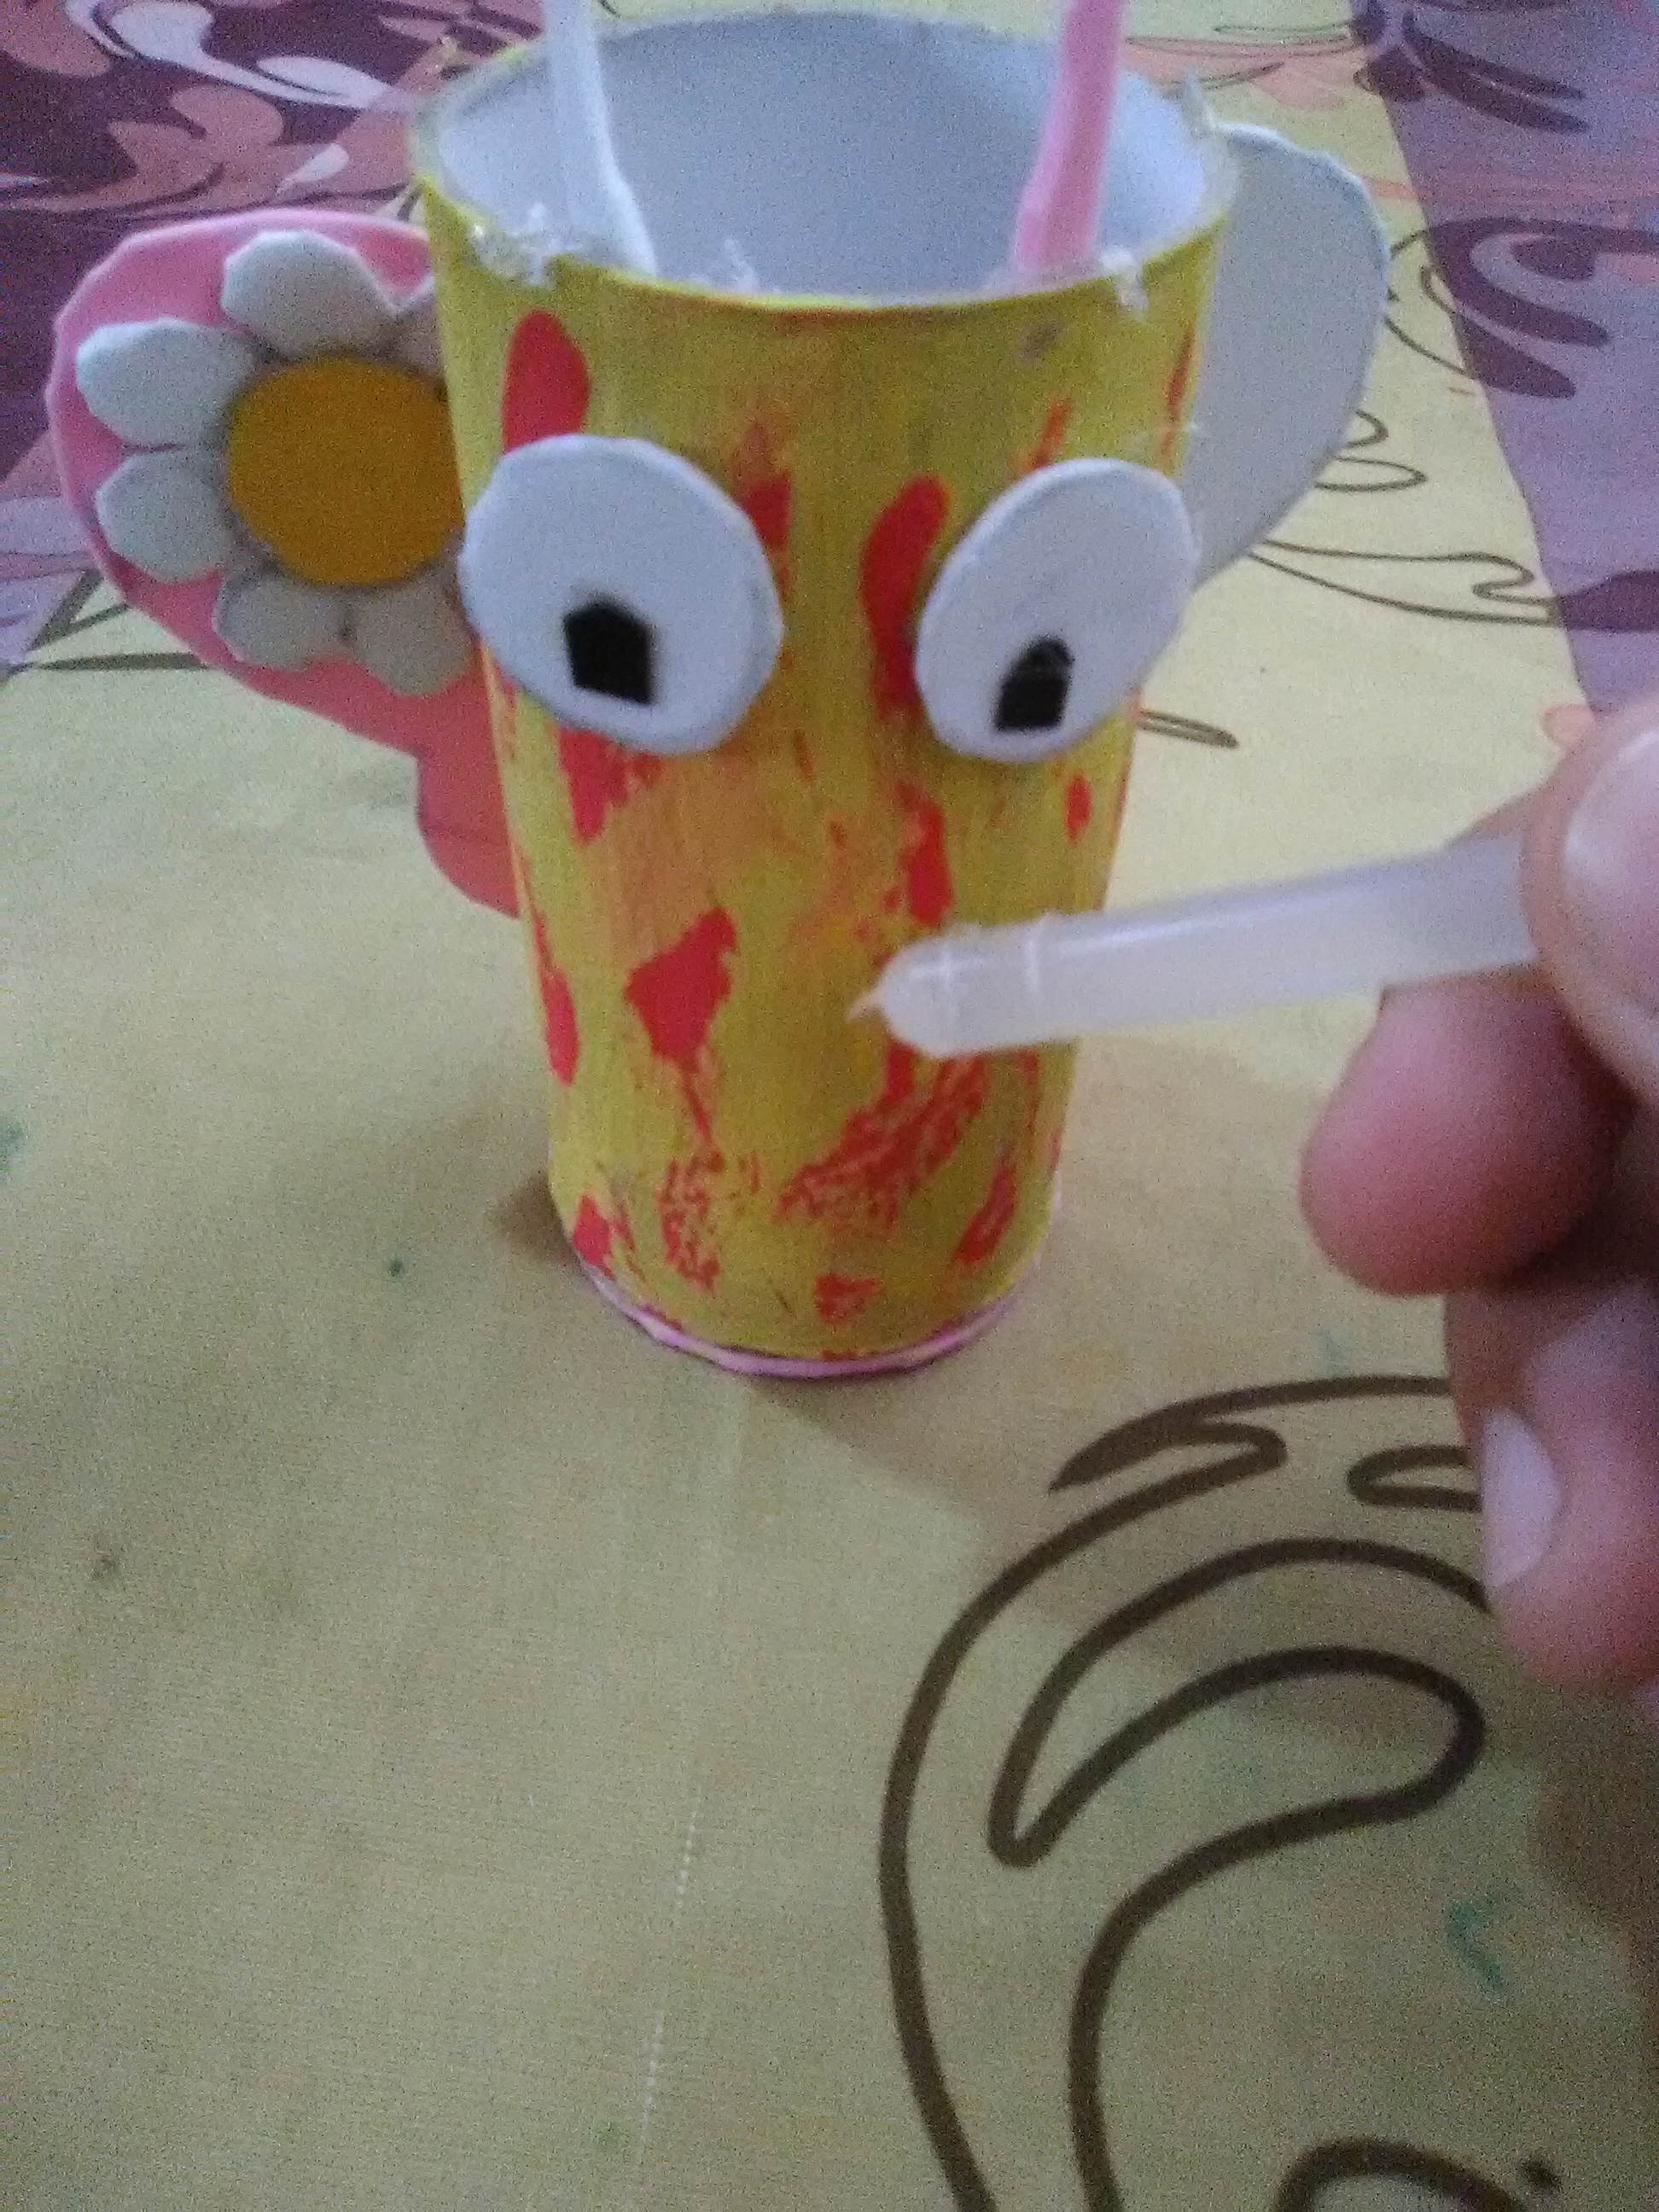
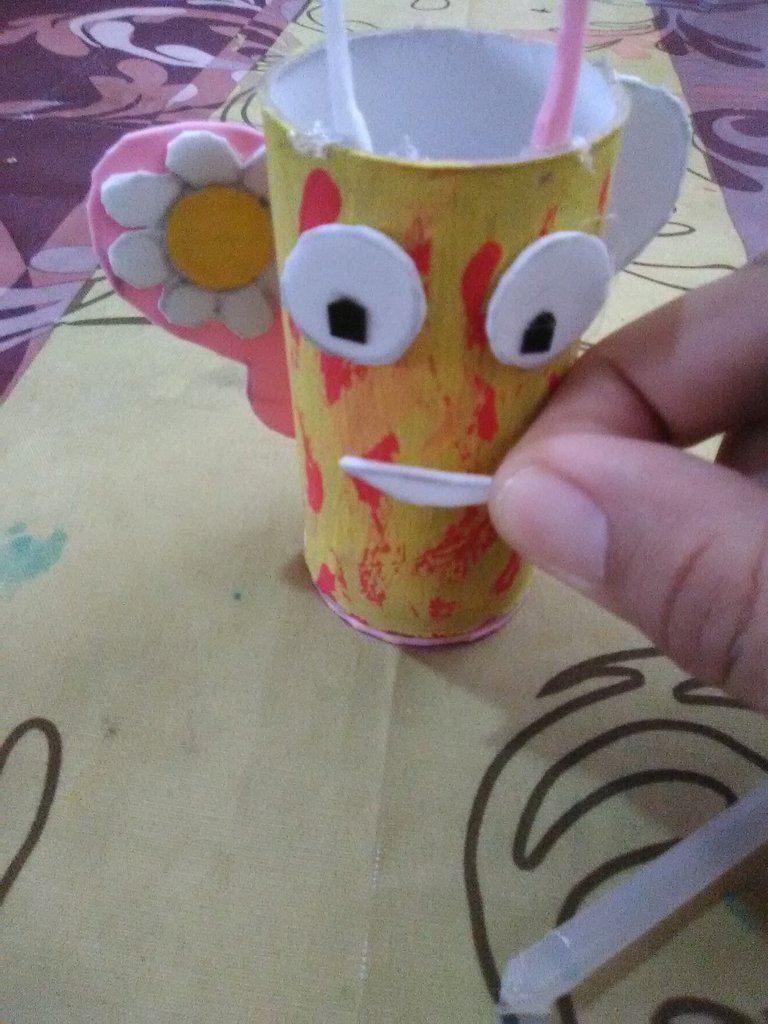
- Recortamos un pedazo de foami blanco para hacer la boca
Step 8:
- Cut out a piece of white foami to make the mouth.
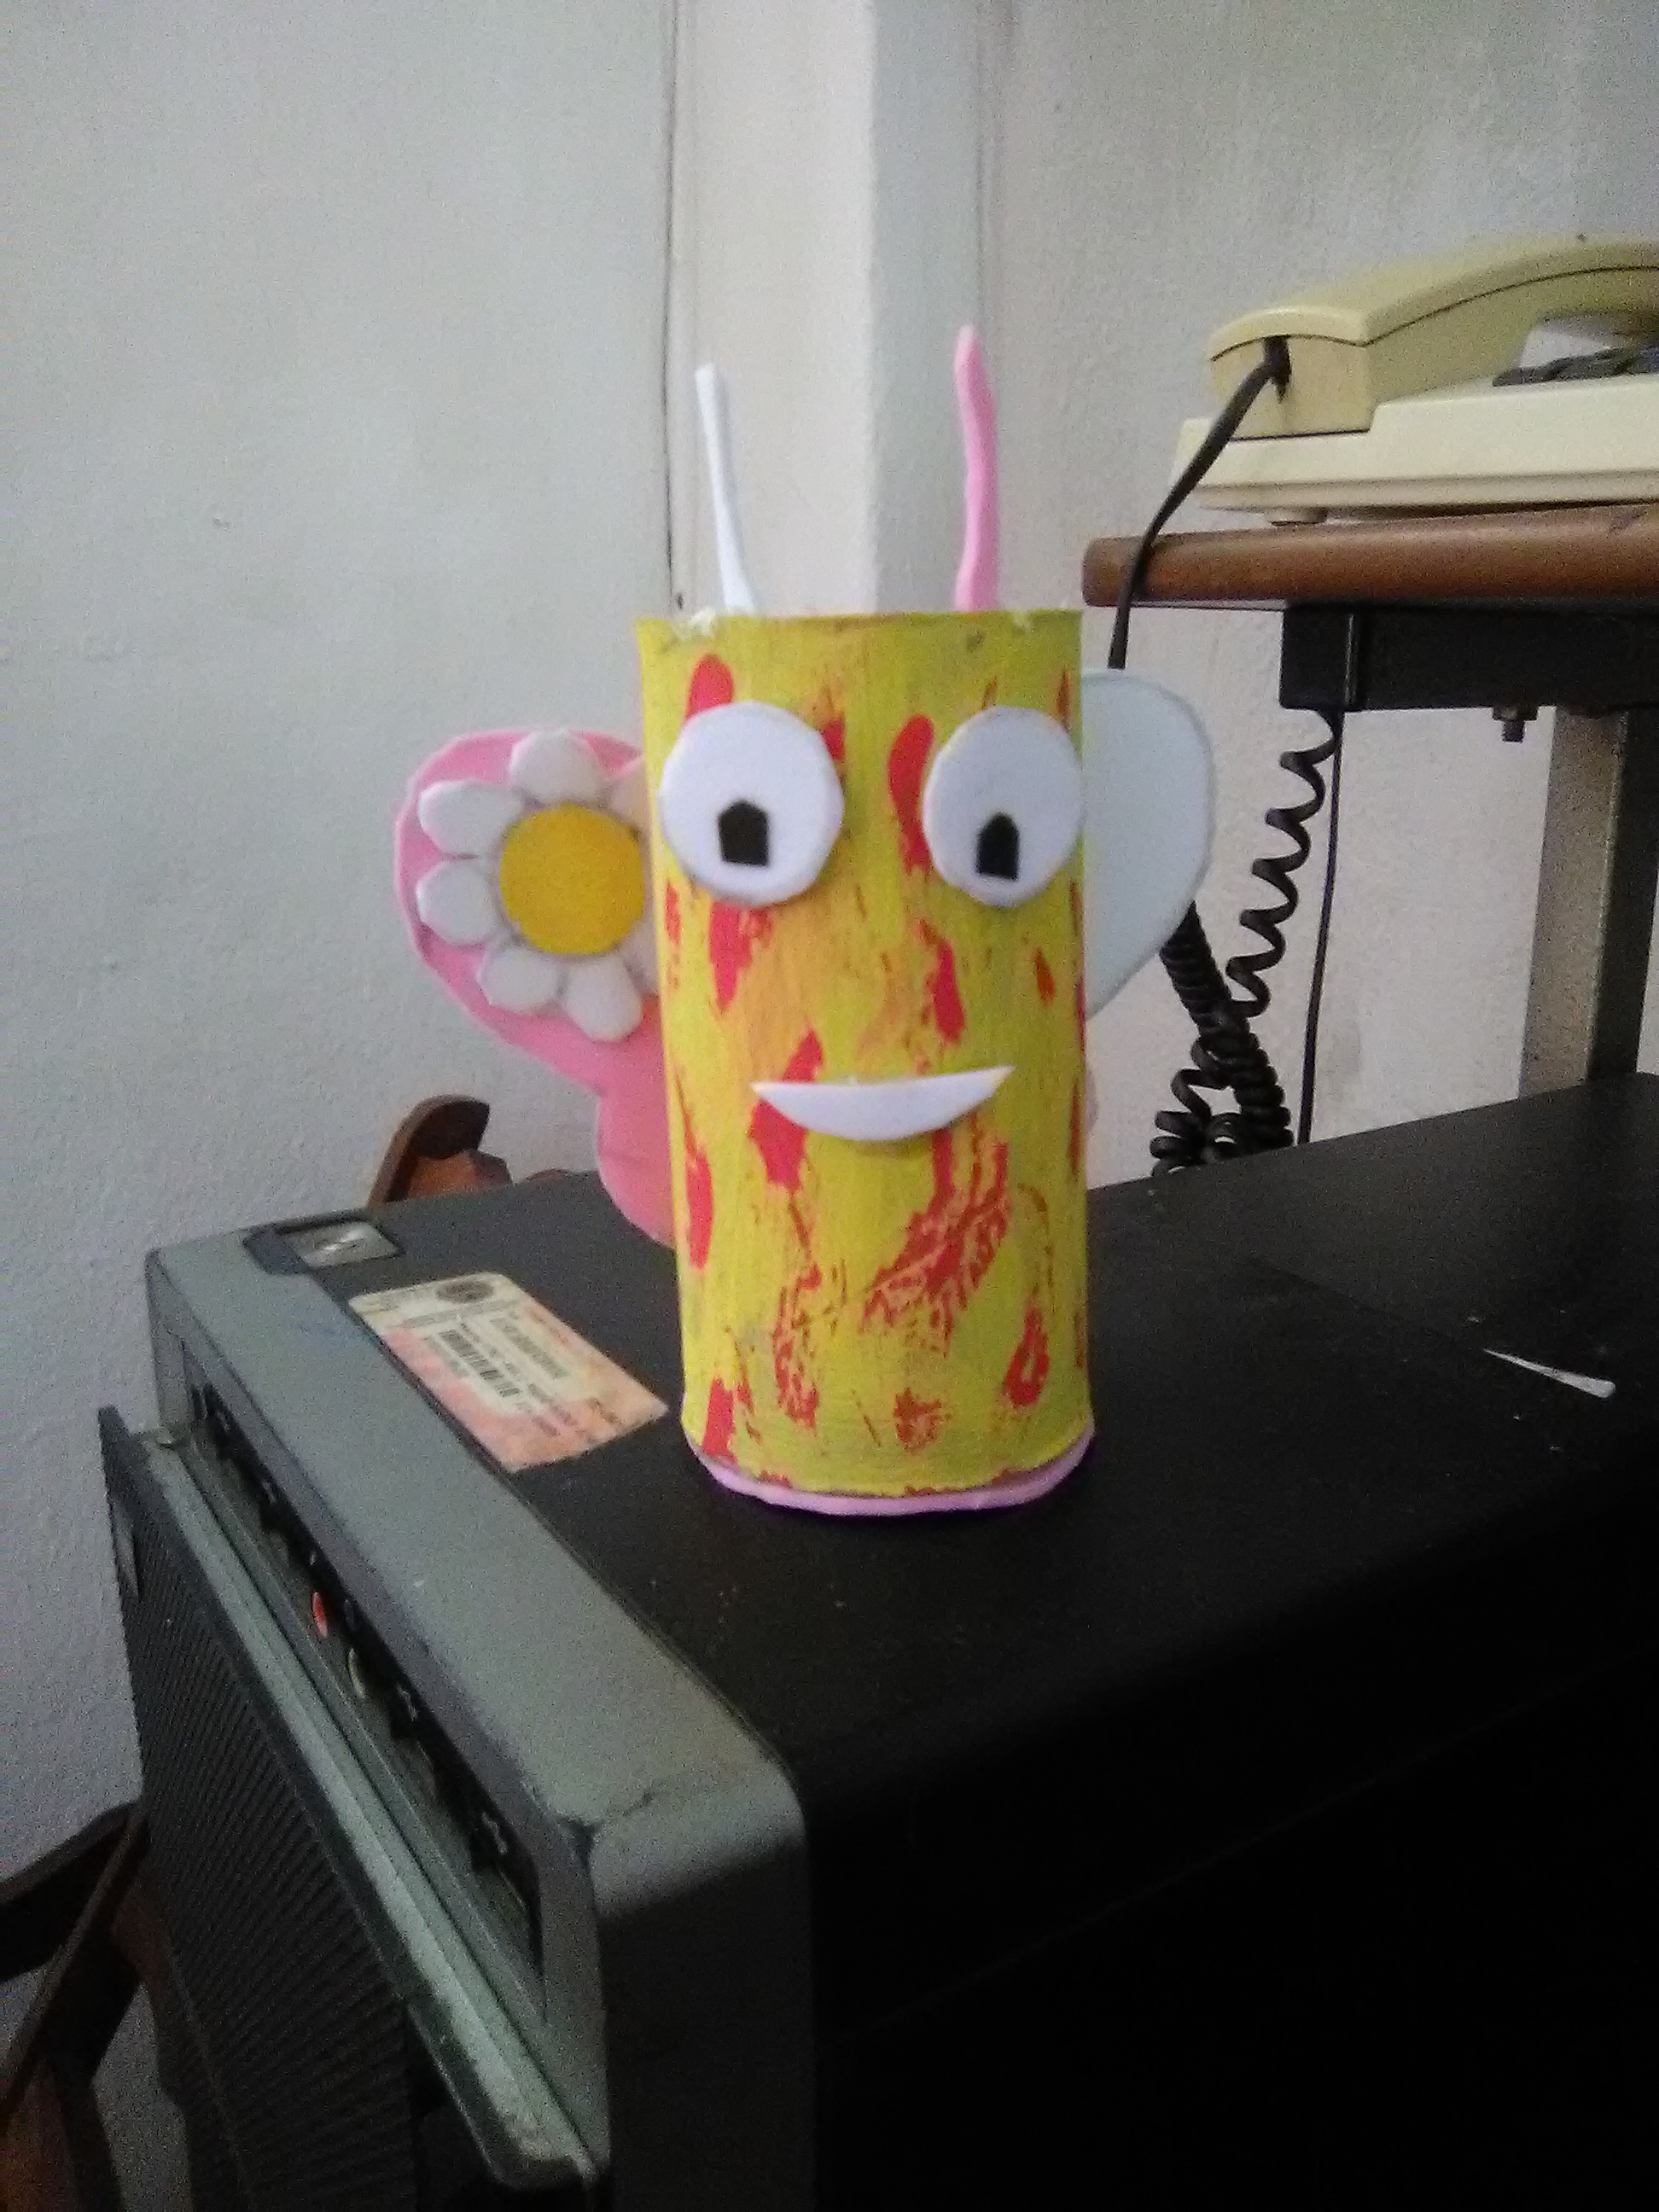
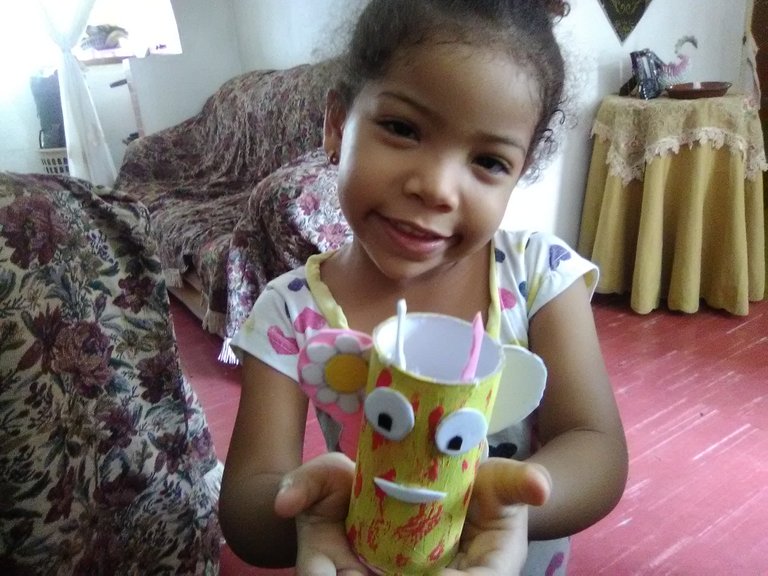
Amigos espero les haya gustado mi humilde trabajo siempre pensando en los pequeños de la casa que tengan una feliz noche
Friends, I hope you liked my humble work, always thinking of the little ones at home, have a happy evening.
💎Gracias por su visita 💎
Herramientas usadas:
Fotos tomadas desde mi teléfono Alcatel A55 44
www.corrector-castellano.com
www.deepl.com/es/


