

We are back in the workshop and right now it's time to show some of the works on repairs. This Venezuelan Cuatro was made by me over a year ago and it came back in need of some fixing.
Let's jump right to it!
Assessing the situation
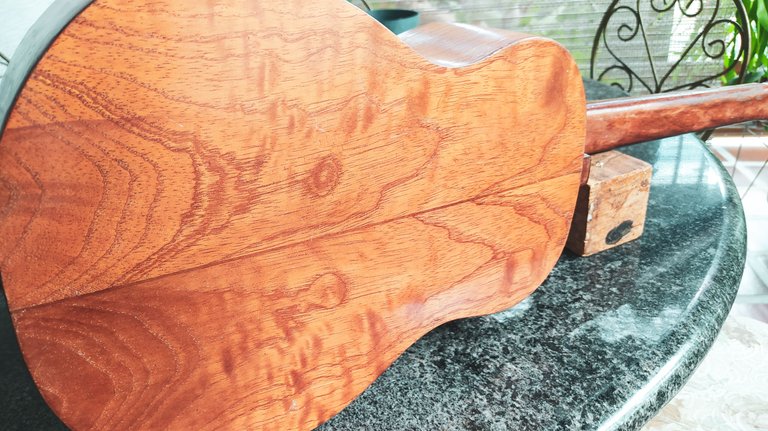
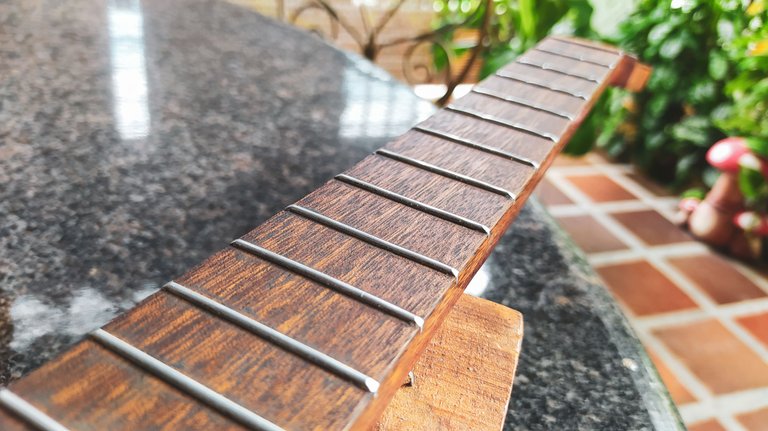
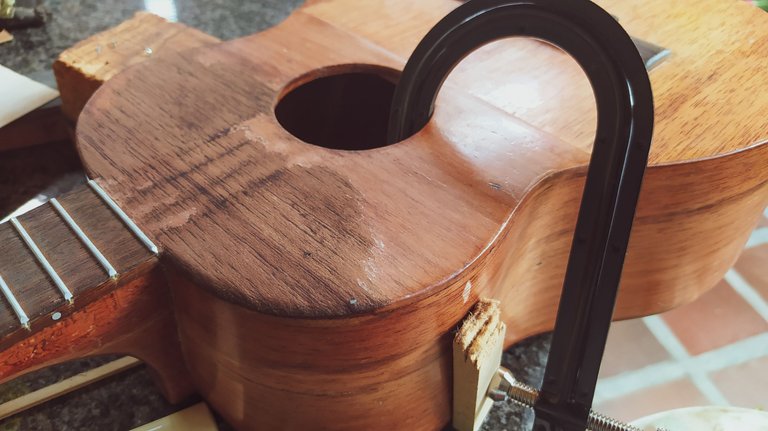
Cracks on one side, a hole in the sound board, weathered varnish and gunk in the fretboard. I wish players of this kind of instruments were more careful with their tools. I don't know how this got into such a bad shape taking into consideration mine is 4-years old and it still has most of it's varnish coat.
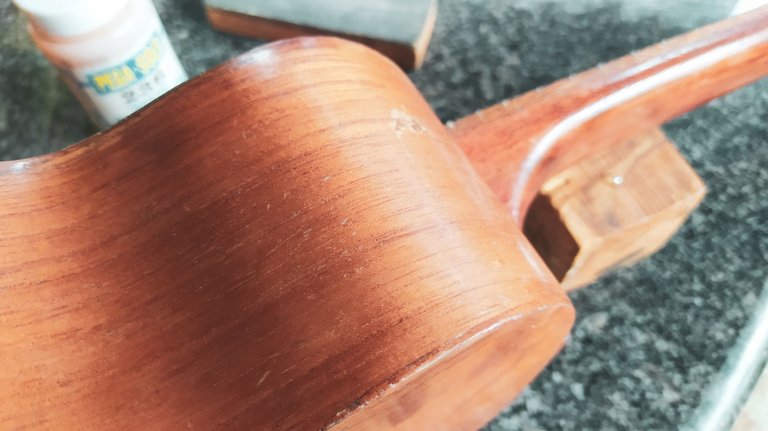
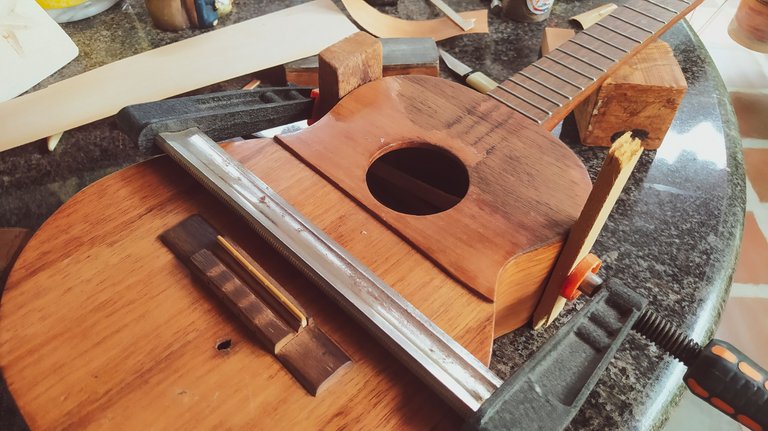
Anyways, after deciding where to start, I put my hands to work. Since the whole finish will be replaced, I started to fix the cracks and holes. I love to have this U clamp to get some reinforcements behind the cracks. It's not enough to the get some glue in them. If we patch it from the inside the repair will hold for longer.
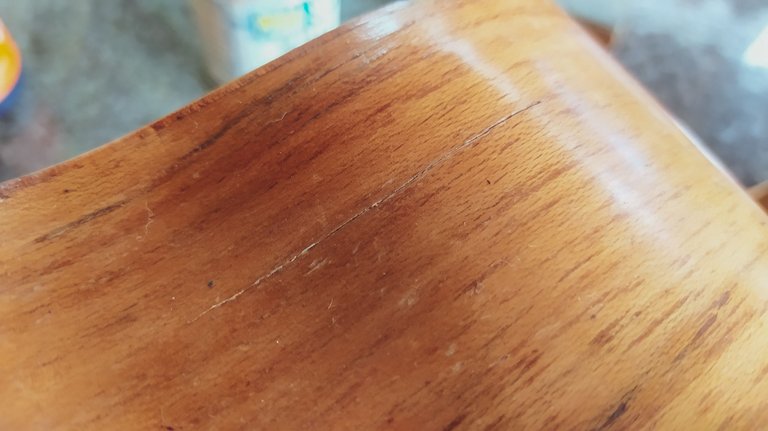
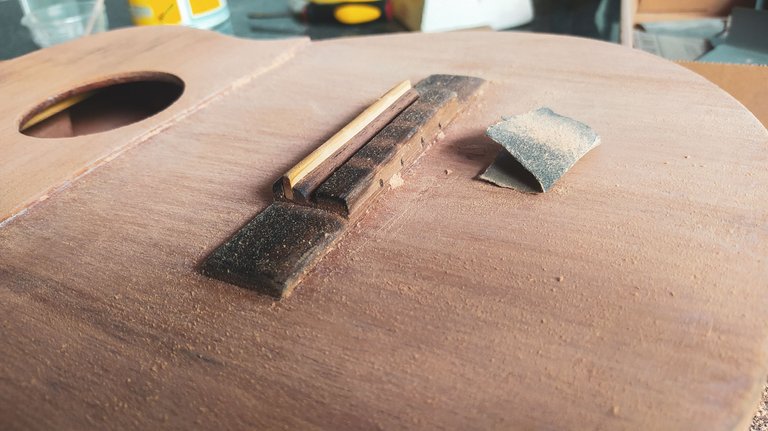
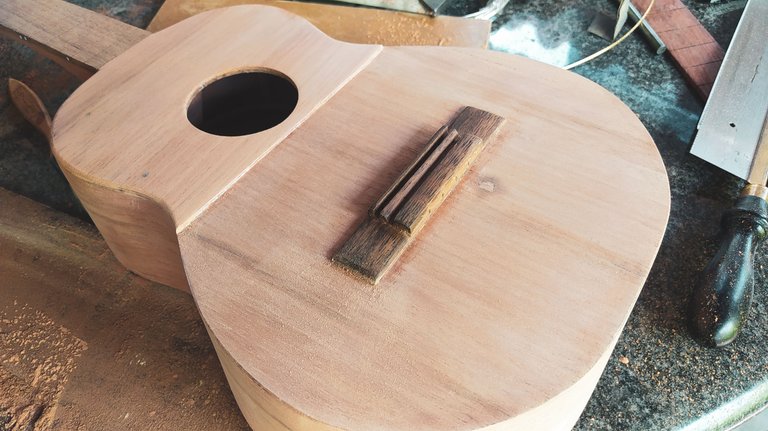
The hole on the sound board proved tricky. Especially the part about getting a reinforcement below the hole. Once I could do it, filling it up was not difficult. However, since it had a very weird shape, there was no way I could fix it without leaving a mark.
But that gave me an idea for the finish.
More heavy work
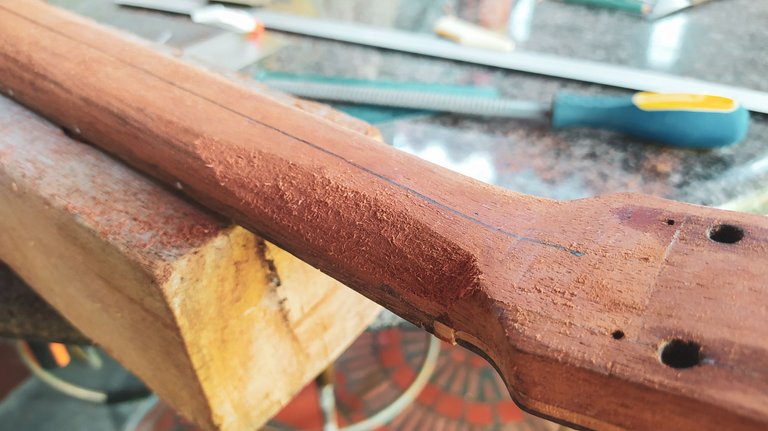
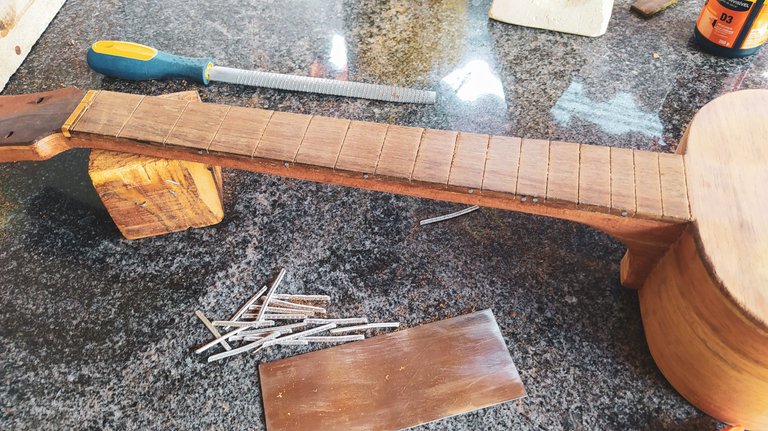
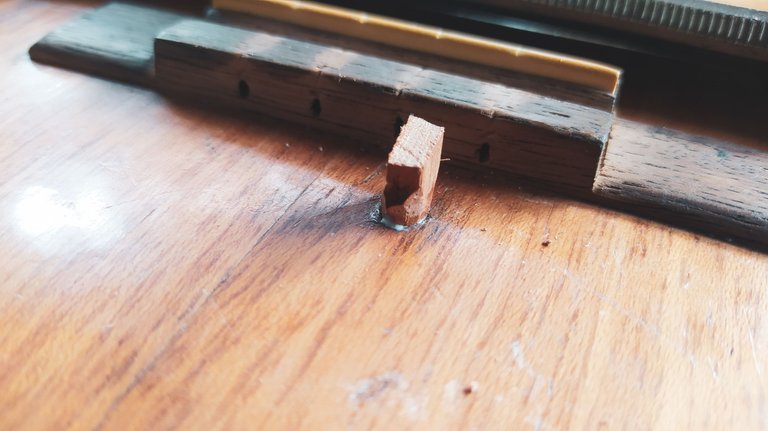
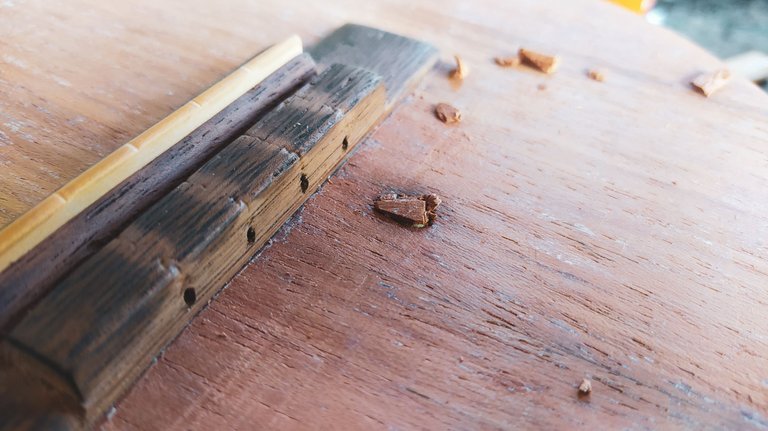
To deal with the gunky fretboard there's no other way around than removing the frets and sanding the whole piece. It's a very heavy sanding since I needed to remove material until I had unstained wood. I also took this opportunity to fix some other things. For example, this one had a very thick neck, so I reduced it and made it more ergonomic by rounding it more.
As you can see, this implied a whole lot of sanding. So I kept sanding the whole instrument to make my job easier in the next stages.
New Frets
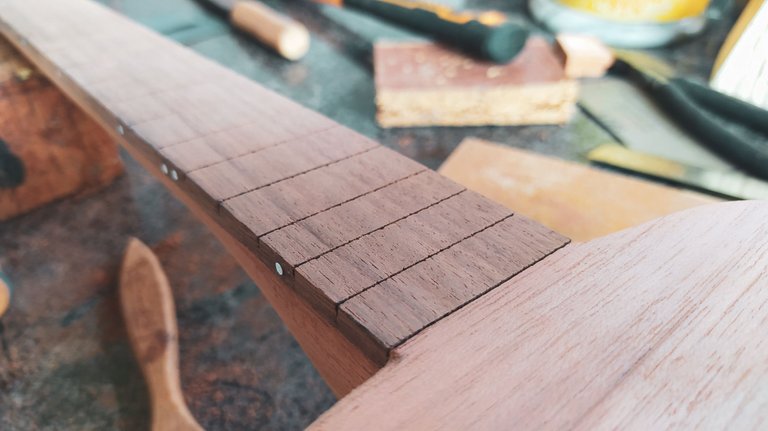
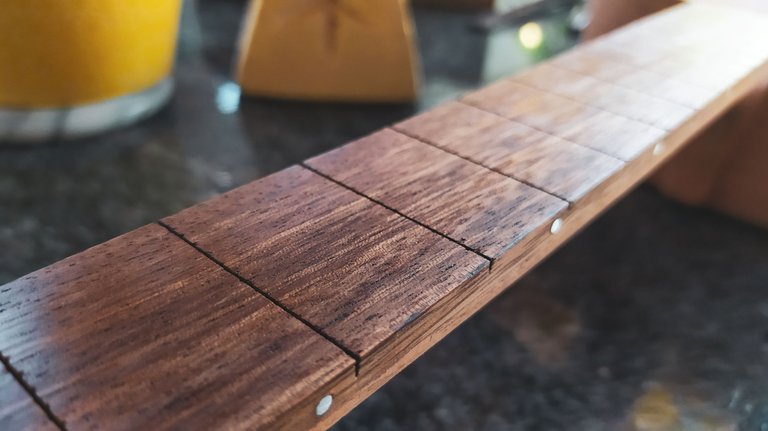
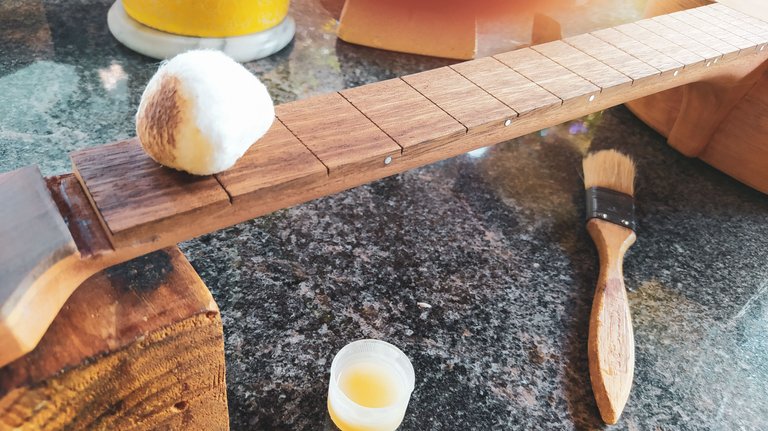
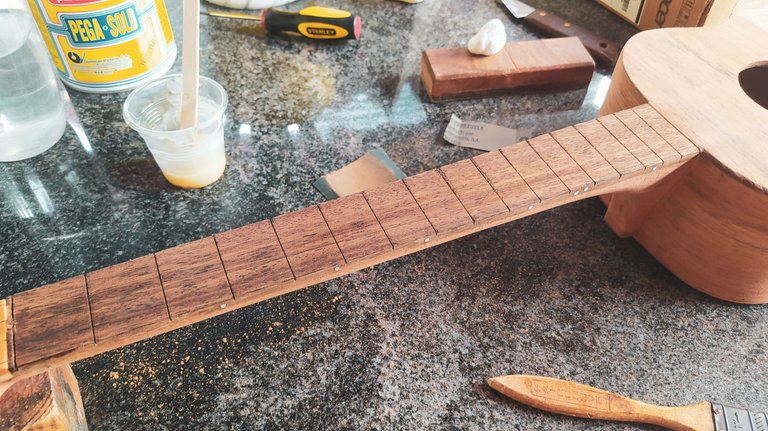
Since I don't want to deal with gunk on this level again. Consider if this one ever gets back to me for another fix, I'm sealing the grain of the fretboard. It's just a matter of making some thin sealant and apply several coats on the fretboard and sand between coats until the wood retains some of it natural colour but has an extra layer of protection to humidity and dirty fingers.
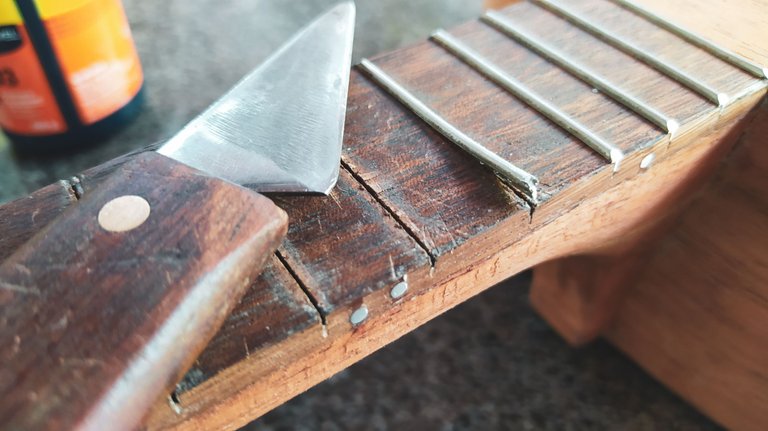
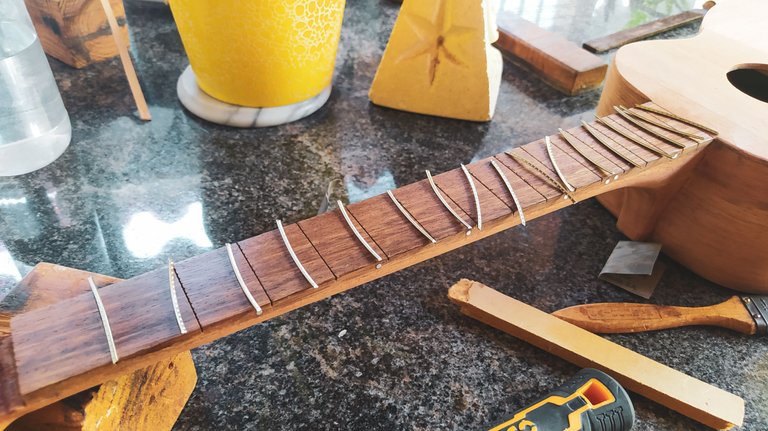
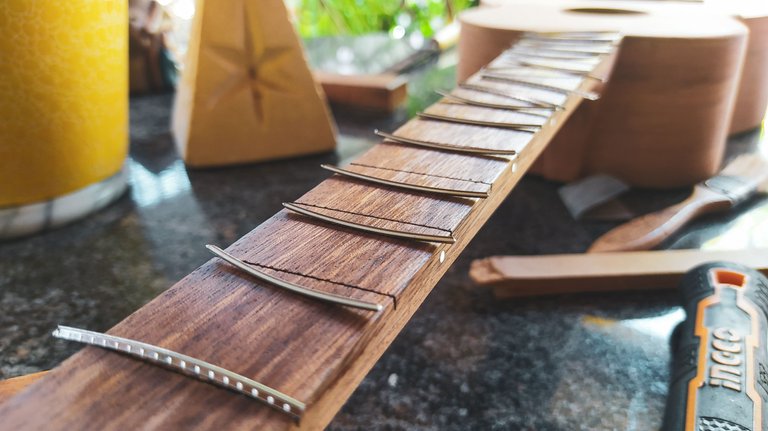
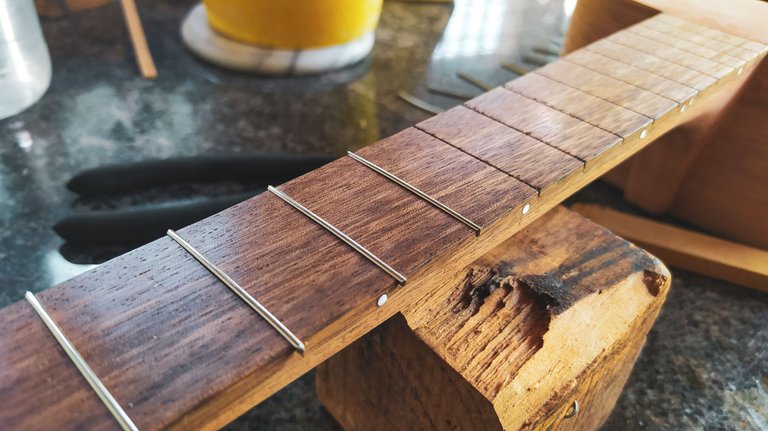
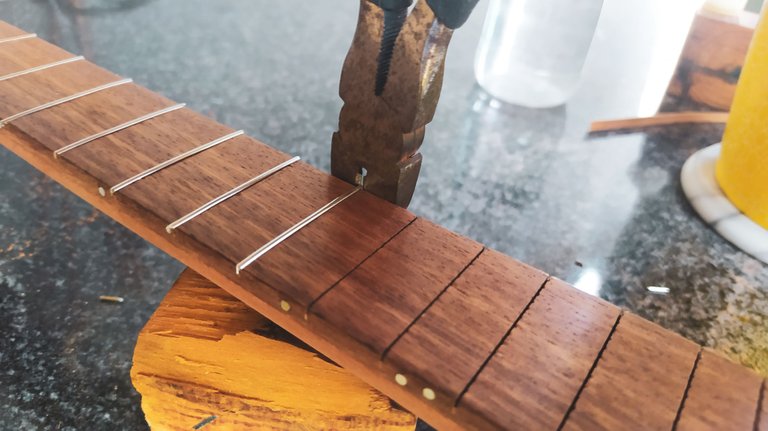
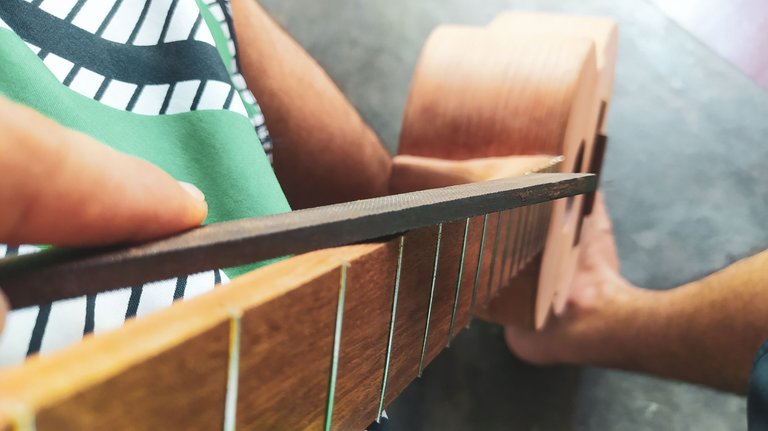
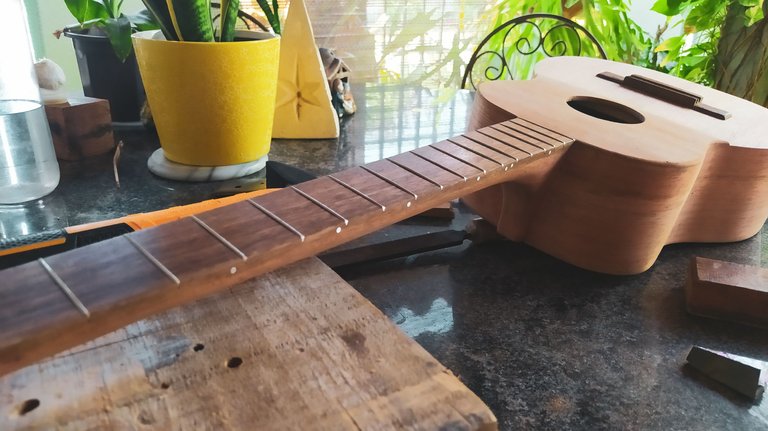
For the frets, we actually needed to do some extra work. This one had a 0th fret. I removed that and it implied a different kind of work for the nut. It actually needs a new one, but that will come on the next entry. For now, I focused on getting the frets in place. Cut the ends. Filled and sanded the edges to make them smooth.
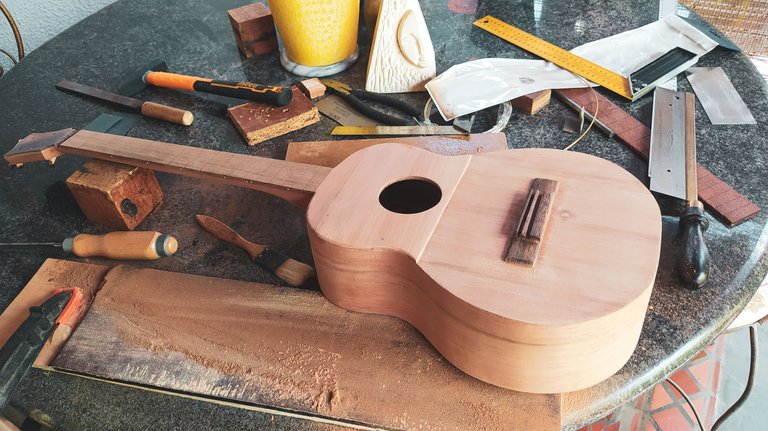
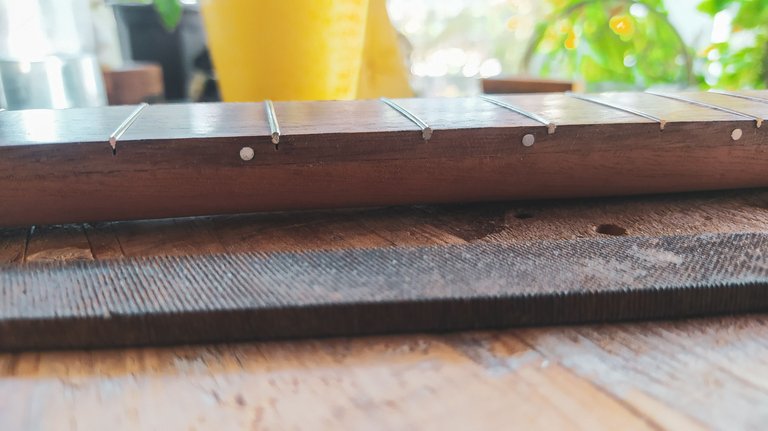
And this is how it's looking so far. Nothing compared to it's original condition.
But work on this has just begun, join me on the next entry to see how this repair project develops. See you next time!
Cuatro Desgastado
Estamos de regreso en el taller y en esta ocasión les vengo a mostrar algo que no he hecho hasta ahora: trabajos de reparación. Este es uno de los cuatros que hice hace más de un año y ahora regresó al taller para más reparaciones.
¡Vamos allá!
Analizando el trabajo
Rajas en un aro, un hoyo en la tapa armónica, barniz desgastado y un diapasón sucio. Me gustaría que los músicos que tocan estos instrumentos fueran un poco más limpios con sus herramientas. No sé cómo puede estar en estas condiciones tomando en cuenta que el mío tiene ya casi 4 años con el mismo barniz que le coloqué cuando lo construí.
De cualquier manera, después de decidir por dónde comenzar, puse manos a la obra. Considerando que tengo que hacer de nuevo todo el acabdo, empecé por reparar las partes rotas. Esta prensa tipo U es una maravilla para colocar refuerzos internos. Aquí no basta con aplicar pegamento en las rajas. Si no les coloco un refuerzo interno, es muy probable que se vuelvan a abrir.
El hoyo en la tapa fue un poco más complicado. Especialmente, la parte de colocar un refuerzo interno justo debajo del hoyo. Después de hacerlo, rellenar el espacio no presentó ninguna complicación. Eso sí, debido a la forma irregular, no había manera de repararlo y que no dejara una marca.
Pero eso me da una idea para el acabado.
Trabajo Pesado
Para remover la suciedad del diapasón no queda otra opción que quitar los trastes y lijar toda la pieza. Debe ser un lijado muy agresivo porque hay que remover todas las capas de la madera que están manchadas. Aproveché esta oportunidad para arreglar algunos detalles. Por ejemplo, redondear el mástil. Quitándole espesor y haciéndolo más ergonómico.
Como pueden ver, es mucho lijado. Así que aproveché de lijar el resto del instrumento también y ahorrarme el trabajo en las etapas siguientes.
Trastes nuevos
No se notaba en las primeras fotos, pero los trastes estaban desgastados y necesitaban un cambio.
Como quiero evitar tener que tratar con tanta suciedad si este instrumento vuelve al taller en un futuro, me aseguré de sellar la madera. Para eso solo hay que preparar un poco de sellador bien diluído y aplicarlo por capas lijando entre cada una de ellas. Así el diapasón retiene un aspecto natural y también está mejor protegido contra la humedad y los dedos sucios.
Para los trastes, fue necesario hacer un trabajo extra. Aquí había un traste 0. Lo removí y por esta razón tengo que hacer una cejuela nueva. Aunque eso será para la próxima entrega. Por ahora, lo importante es colocar los trastes nuevos en su lugar. Hay que cortar los extremos. Limar y lijar cada uno para remover cualquier filo.
Y así se ve después de algo de trabajo. Nada en comparación con su estado inicial.
Pero esto solo es el comienzo del trabajo. No se pierdan la próxima publicación donde verán los avances de este proyecto. ¡Nos vemos!
Fotos/Photos and Video 📹 📷: taken by me (Redmi Note 8)
Portada/Thumbnail 🖼️: by me, created with Canva.
Edición/Editing 🎬: by me, made with Capcut.

Follow me on Instagram for enquires and commission.
If you'd like to help the workshop grow, you can make a donation here. You can find me at discord as bertrayo#1763