

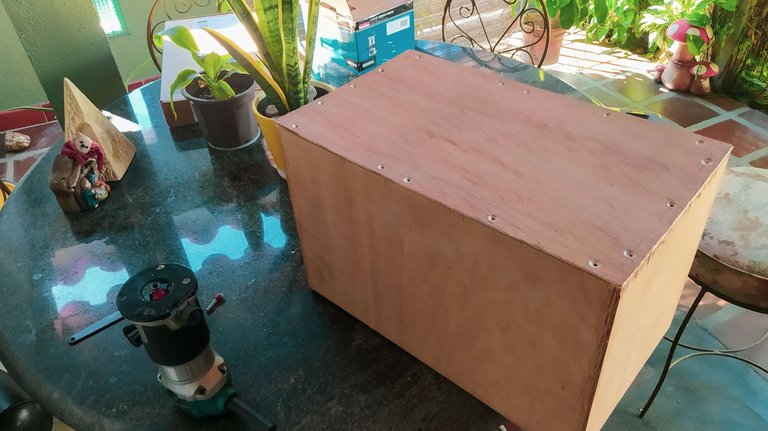
We are back to keep showing the process of this awesome instrument. If you haven't checked out the previous entry, just click here. Last time we looked at this Box Drum, we had just finished the work on the sound board screws. Now, we need to take it off to start working on the tuning system.
Let's jump right to it!
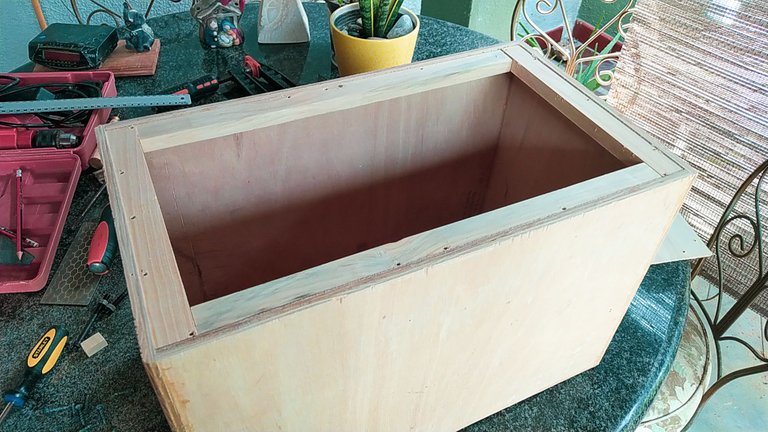
Off it goes!
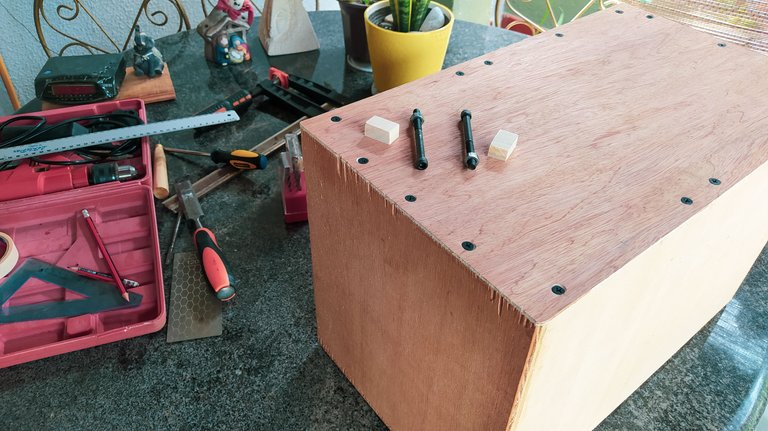
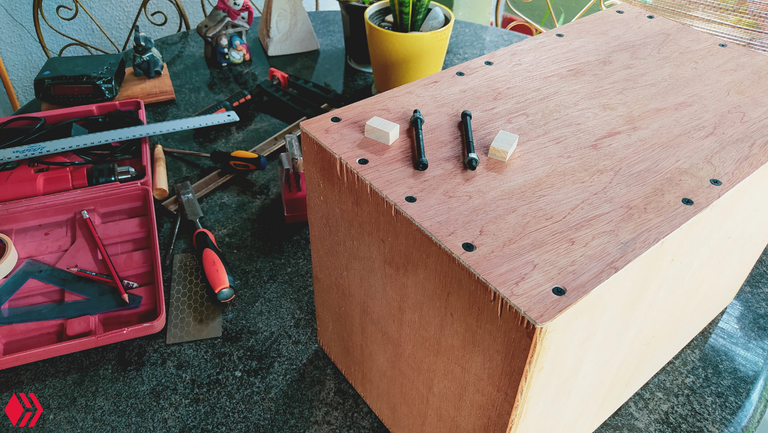
It seems counterintuitive to take off the sound board, but we need to install a tuning system to allow this instrument get the snare effect while we play. This system is very simple. It works like tuning machines. We need two socket (allen) screws, nuts and pieces of wood. The idea behind this type of system is having a way to tweak the snare effect. So, if we want a lot of it we can adjust the strings; or, remove it completely.
First, we need to remove the sound board to open the wholes for the screws. These will be displayed on the bottom side of the Drum and we can turn them with hexagonal wrenches. For now, time to remove the 16 screws with just elbow grease.
Time to drill!
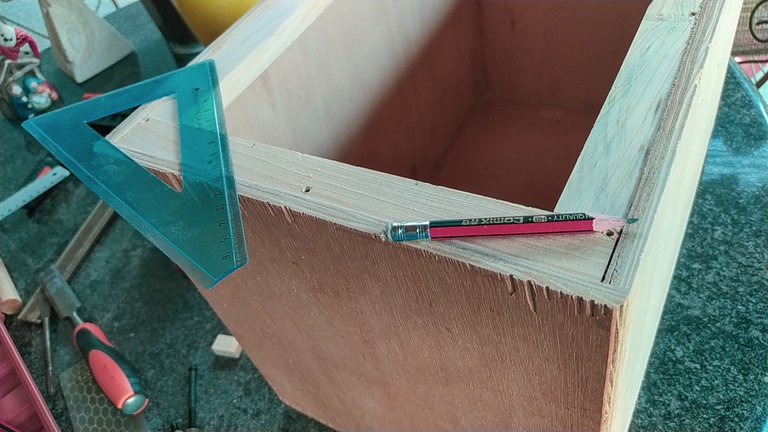


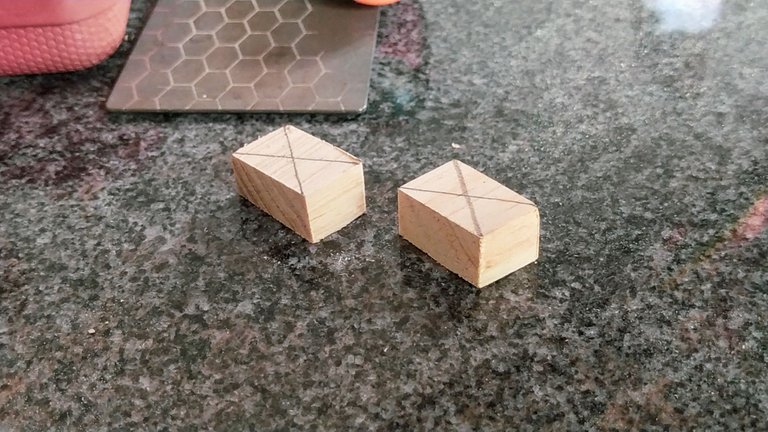

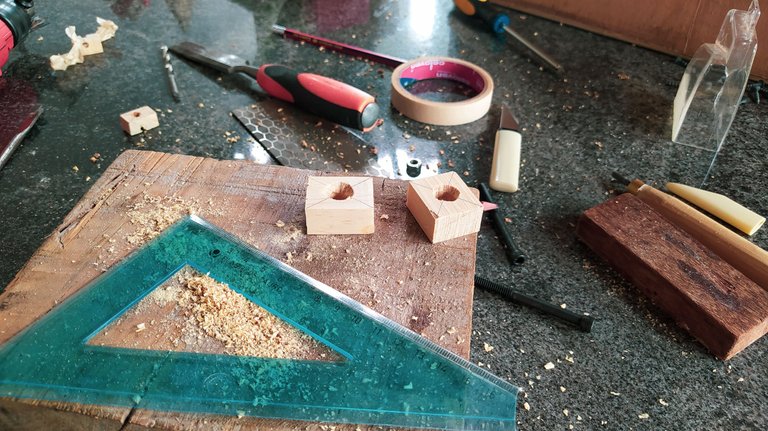
There's always something fun to do when we use the drill. We need to make some holes. The first set goes on the bottom of the Drum. These will be for the screws. We also need to make some in some wood blocks. Let's address the former first.
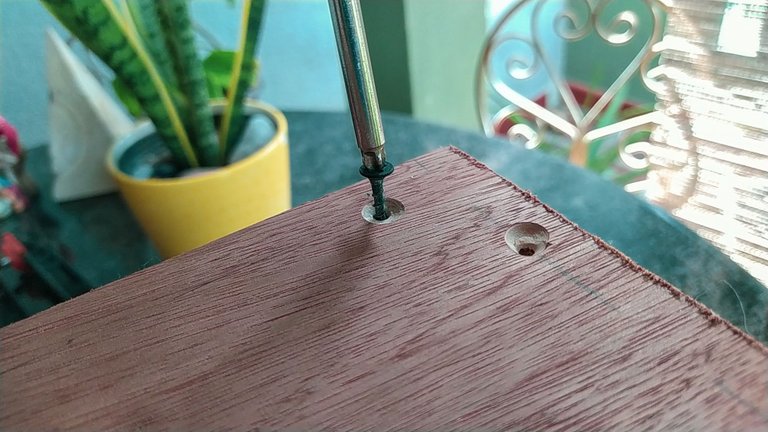
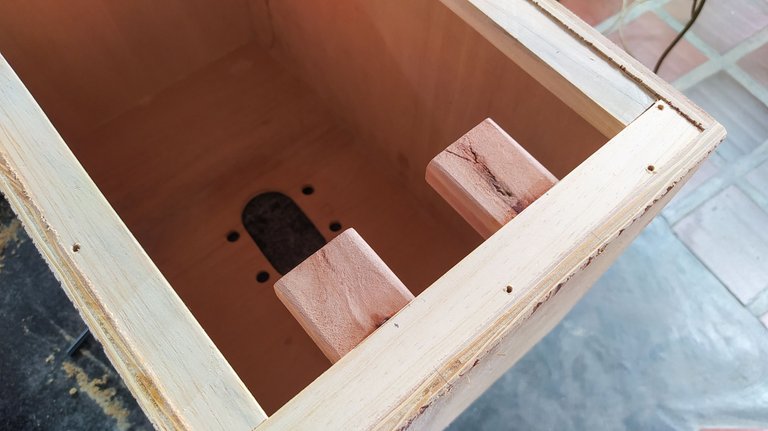
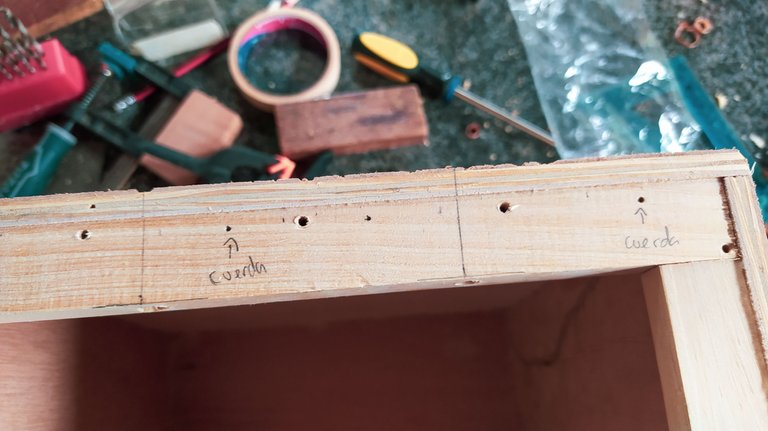
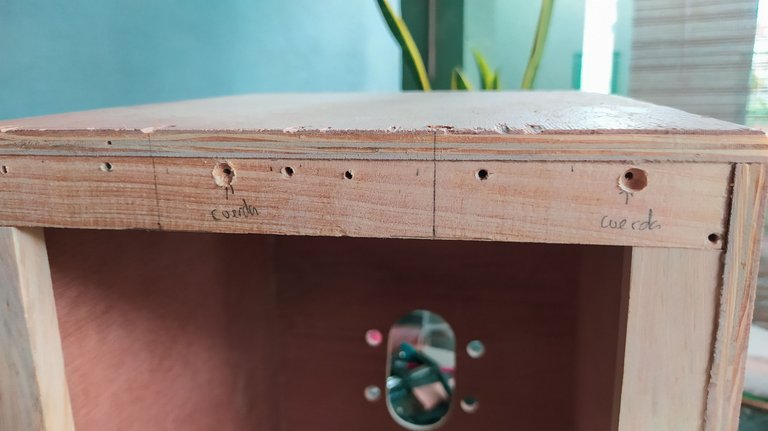
The screws we are using for this system are 1/4' with 3 1/2' of length. This is to compensate the height of the frame. To measure their position, we need to mark 9cm from the border of the drum to the middle. We repeat this on the other side and we can proceed. However, we also need to make the blocks and both holes need to match as the screw will go through them as well. So we need to get the measurements right for this. But we can always make other blocks if we fail with the first ones.
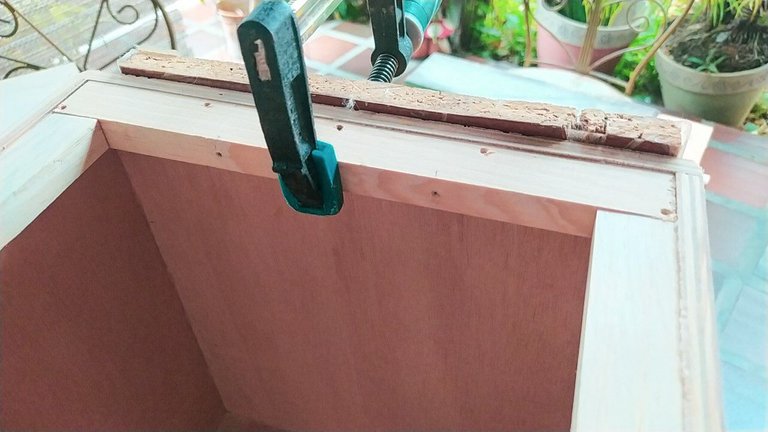
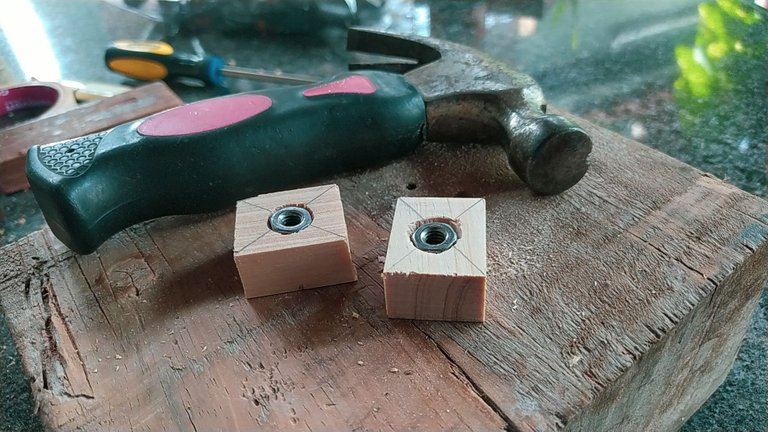
We also need to make sure to clamp a piece of wood to open the holes on the Drum since we don't want to splinter the wood on any side. When we have done this, we can mark the place for the holes and start drilling. When we do the first holes on the blocks, we'll need to make them wider to fit the nuts for the screws. We use a flat bit for wood for 1/4' nuts. The last step is to use a hammer and get the nuts in place and make them flush. To have a even tighter fit, we can apply some cyanoacrylate on the border of each nut.
Tuning System Online!
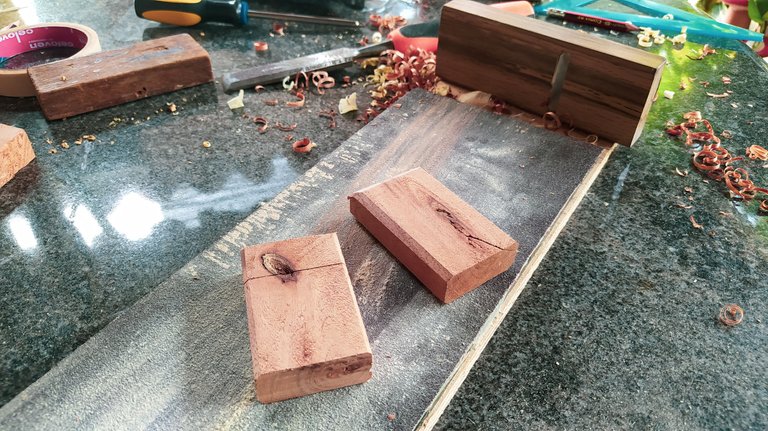
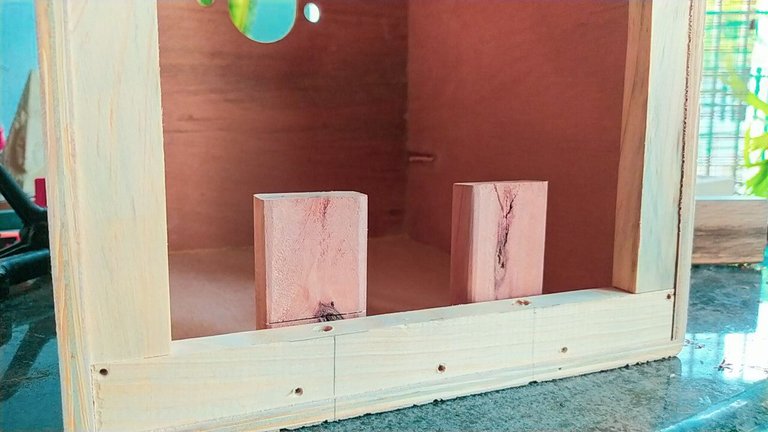
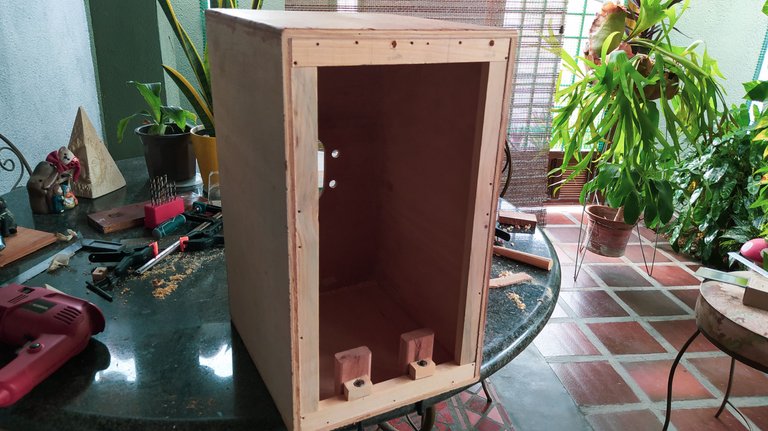
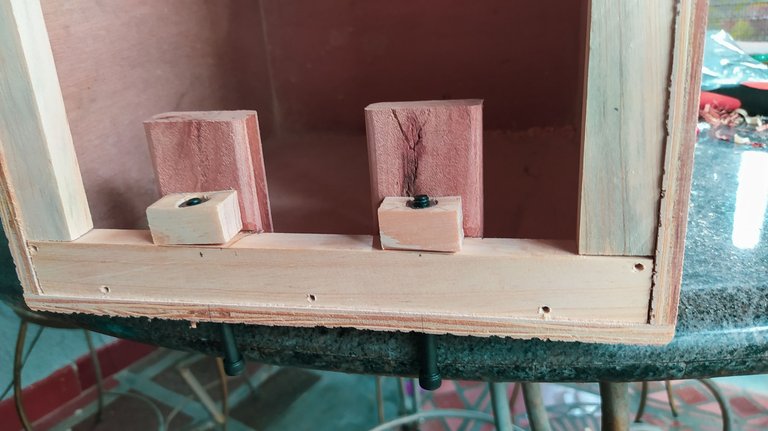
With the holes for the screws done, we can move ahead and make the last adjustments for the tuning system. We prepare these blocks of wood to hold the blocks in place. If we were to put the strings without these blocks to hold these, the screw would certainly move backwards thanks to the tension of the strings. That would make it impossible for the sound board to remain in contact with them. Thus, no snare effect. Or worse, too much snare effect and no way to mute it.
By placing these stops, we can keep the screws upright anytime regardless of the tension. When these are glued in place, we can place the screws and the blocks and have the tuning system ready.
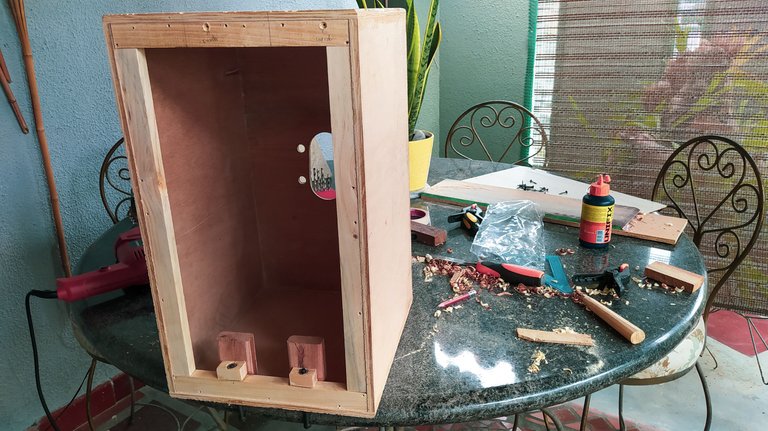
The last step is to make the holes for the strings. These go on the top bar of the frame. To place them correctly, we need to measure 4 cm to each side of the of the right and left screw hole. We need to make a complete hole and a shallow one. This is to pass the string so it ball pin and hold it in place; the other, for the screw to hold the other side. If it's has to image, just picture the strings go on V shape. They need two holders on the top while the screws and blocks hold the angle on the bottom.
And with this we are ready to install the strings and finish this build. But that will wait until last entry. Stay tuned for it.
I hope you have enjoyed the work so far. Thanks for reading. See you in comments!
Sistema de Afinación para el Cajón
¡Volvemos al proceso de construcción de este instrumento! Si todavía no han visto la parte anterior, solo tienen que hacer click aquí. La última vez que vimos este Cajón, ya habíamos colocado la tapa en su lugar. Ahora tenemos que retirarla para preparar el sistema de afinación.
¡Vamos allá!
Destapado
Parece muy extraño tener que quitar la tapa, pero es necesario para seguir trabajando. Ahora es momento de preparar el sistema de afinación. Esto es lo que le dará el efecto de redoblante al instrumento. Esto es muy simple. Consta de unos tornillos de cabeza hexagonal tipo allen y unos bloques con tuercas. Este sistema cumple la misma función que una clavija en una guitarra. La idea es tener una forma de ajustar la tensión de las cuerdas desde afuera del instrumento o tendríamos que quitar la tapa cada vez que querramos ajustar el sonido. Con esto podemos aumentar o disminuir el efecto de redoblante a nuestro gusto.
Primero, tenemos que quitar la tapa y abrir los agujeros para los tornillos. Estos estarán ubicados en la parte inferior del Cajón para que podamos ajustarlos con una llave hexagonal. Por ahora, a divertise quitando 16 tornillos a mano.
¡Tiempo de Taladrar!
Los días que hay que usar el taladro siempre son divertidos. Necesitamos hacer unos agujeros. Los primeros van en la parte de abajo de Cajón. Estos son para los tornillos. También necesitamos unos tacos y hacerle unos hoyos. Vamos con los primeros.
Los tornillos que utilizaremos son de 1/4 de pulgada con un largo de alrededor de 3 pulgadas y media. Esto es para compensar la altura altura del marco inferior. Para marcar su posición, medimos 9cm hacia adentro desde los bordes laterales del Cajón. Sin embargo, estos hoyos tienen que estar alineados con los que vamos a hacer en los bloques. Los tornillos van a pasar por todos estos hoyos. Así que primero tomamos todas las medidas necesarias para que todo quede en su lugar. De cualquier manera, los bloques pueden volver a hacerse en caso de que haya algún problema.
También necesitamos sujetar un trozo de madera a la parte de abajo del para evitar astillar la madera al abrir los agujeros para los tornillos. Después de hacer los primeros agujeros en los tacos, tenemos que hacerlos más anchos para colocar una tuerca de 1/4 de pulgada dentro de cada uno. Para esto utilizamos una mecha tipo paleta para los hoyos. El último paso es utilizar un martillo para fijar las tuercas en los agujeros. Podemos fijarlas con más fuerza si aplicamos un poco de cianoacrilato en los bordes de las tuercas.
¡Sistema Listo!
Al terminar de hacer todos los hoyos y fijar tuercas, podemos terminar con el sistema de afinación. Para esto, prepararemos unos tacos que nos sirvan de tope para los bloques de los tornillos. Si pusiéramos las cuerdas sin estos topes, es muy probable que los tornillos se irían hacia atrás por las tensión de las cuerdas. Esto causaría una de dos cosas. Podría ser que las cuerdas no entren en contacto con la tapa y no tengamos el efecto de redoblante. En caso contrario, podría ser que las cuerdas si vibraran, pero no tuvieran el contacto requerido para parar. Esto produciría sonidos poco agradables al tocar.
Al colocar estos tops, podemos mantener los tornillos derechos en todo momento sin importar la tensión de las cuerdas. Una vez que los hayamos pegado, podemos colocar los tornillos y los bloques. Así tenemos listo el sistema de afinación.
Lo último que haremos por esta ocasión será preparar los agujeros para las cuerdas. Estos van en el marcos superior. Para colocarlos en el lugar correcto, medimos 4cm desde los agujeros que están a los lados del lugar del tornillos central en esta parte. Sí, en donde van los tornillos de la derecha y la izquierda en el marco. Hacemos un agujero completo para pasar la cuerda y que se detenga con su tope redondo en la base; el otro, será un agujero para colocar un tornillo. Este último sujetará la cuerda del otro lado. Si ya se lo imaginan, las cuerdas van en foma de V en cada lado. Los tornillos sujetan el vértice en cada V.
Y ahora estamos listos para completar este proyecto colocado las cuerdas; pero eso será en la próxima oportunidad. ¡Manténgase atentos!
Espero que hayan disfrutado de este proceso. Gracias por leer. Nos leemos en los comentarios.
Fotos/Photos 📷: taken by me (Redmi Note 8)
Portada/Thumbnail 🖼️: by me, created with Canva.
Edición/Editing 🎬: by me, made with Adobe Photoshop Lightroom.

Follow me on Instagram for enquires and commission.
If you'd like to help the workshop grow, you can make a donation here. You can find me at discord as bertrayo#1763