

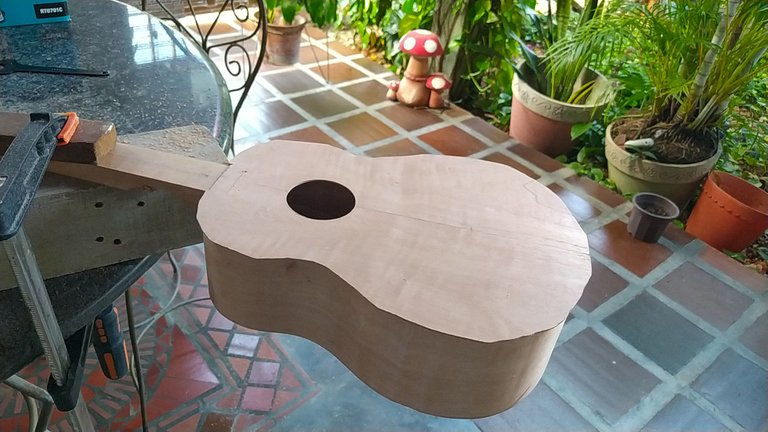
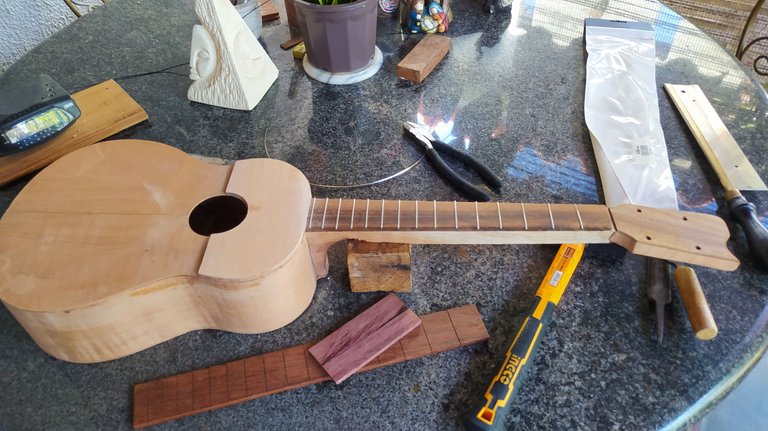
Buen día colegas artesanos y amantes de la manualidades. Hoy volvemos con otro miércoles de carpintería para seguir con el proceso de este proyecto. Ahora que tiene toda su forma es tiempo de rebajar excesos y colocar las piezas externas faltantes.
Hi there, my fellow artisans and handcraft lovers. Today, we are back with another Woodworking Wednesdays to continue with the process of this project. Now, that it's up to shape, we can start adding the missing pieces on the outside.
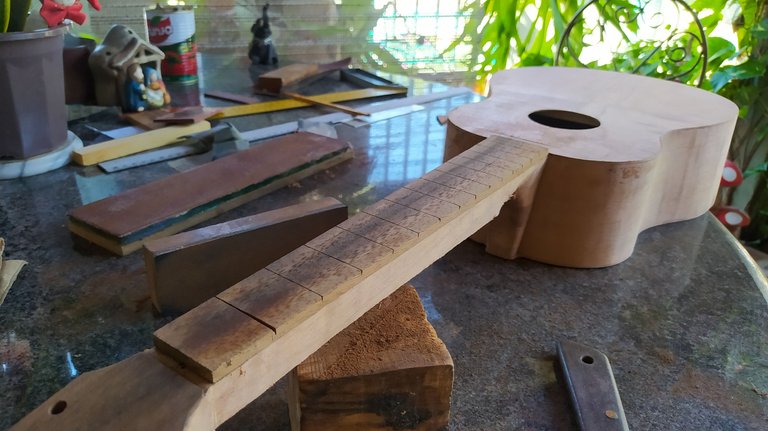
Diapasón
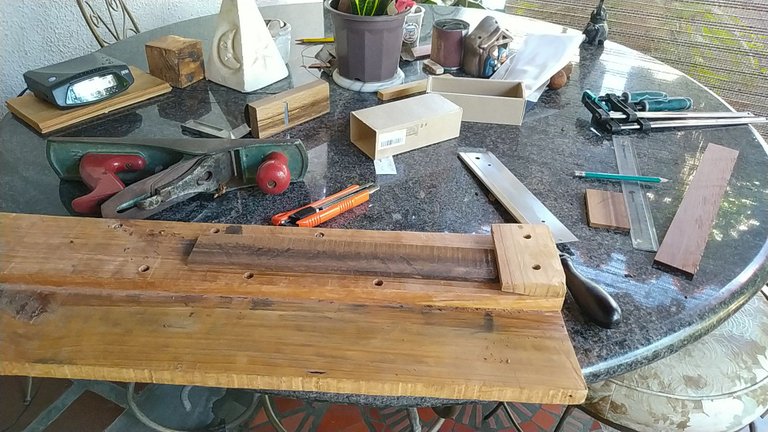
La primera de estas piezas externas es el diapasón. Aquí descansan los trastes y es necesario hacer ranuras rectas para que la afinación del instrumento no tenga problemas una vez esté completo.
Por lo tanto, la primera parte del proceso y desjar los lados "a escuadra". Esto significa que siempre que coloquemos la escuadra en un lado, tengamos un ángulo de 90° hacía cualquier cara de la pieza.
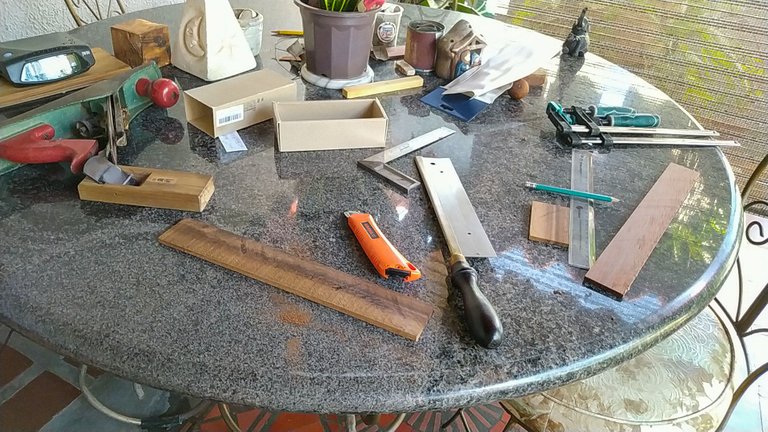
Después de hacer esto, es tiempo de utilizar la escala para medir la distancia entre los trates. En mi caso, tengo una pieza de madera donde están marcadas y la utilizo para ahorrarme tiempo de tener que medir las distancias una a una.
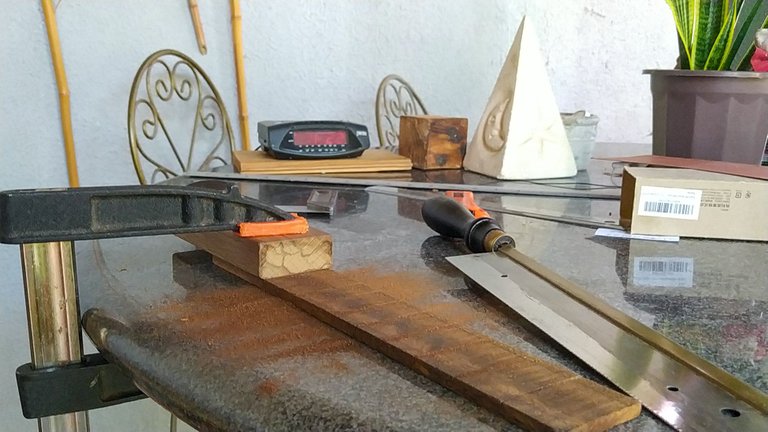
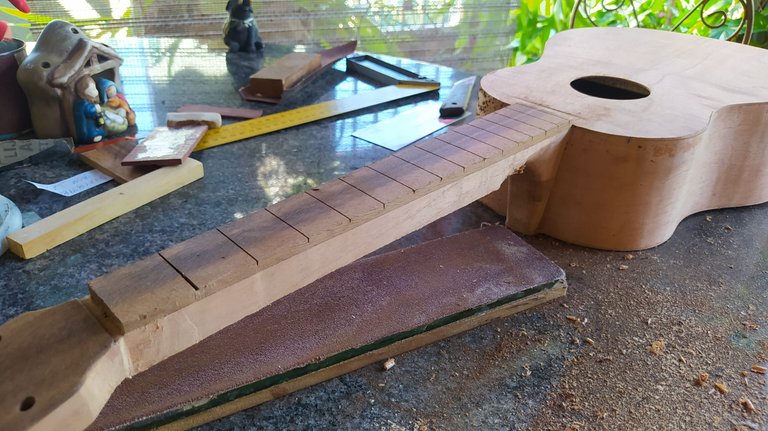
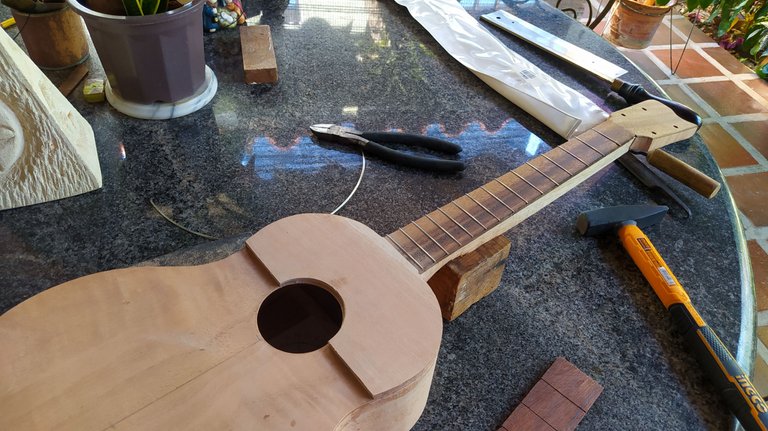
Con las medidas en su lugar, procedemos a hacer las ranuras. Para esto, nos apoyamos en alguna superficie plana para que el serrucho con se mueva demasiado. Repetimos este proceso hasta que tenemos todas las ranuras. Luego, medimos el diapasón sobre el instrumento para remover el exceso y tener una pieza de la longitud justa.
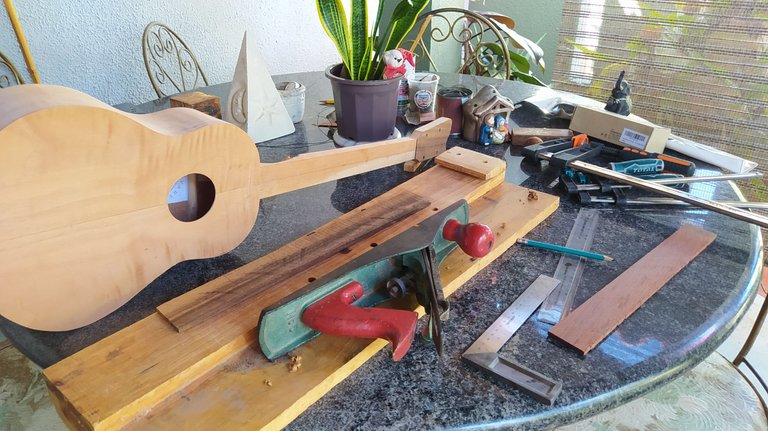
El último paso es darle una forma cónica. Utilizamos el cepillo y removemos material de ambos lados hasta llegar a la medida adecuada. El diapasón es más ancho entre mas se acerca a la caja del instrumento.
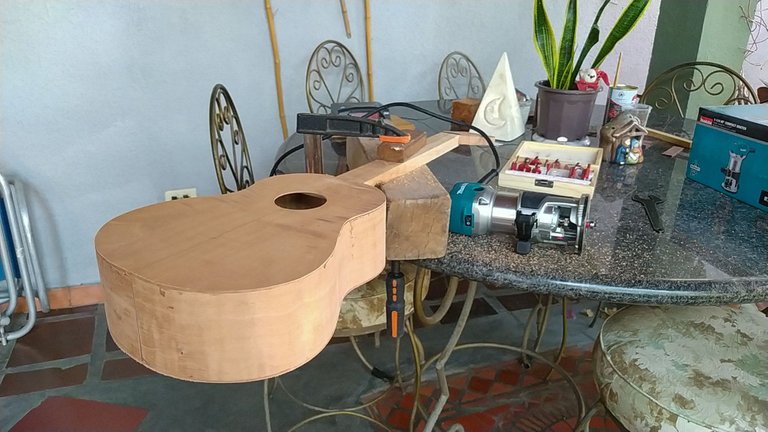
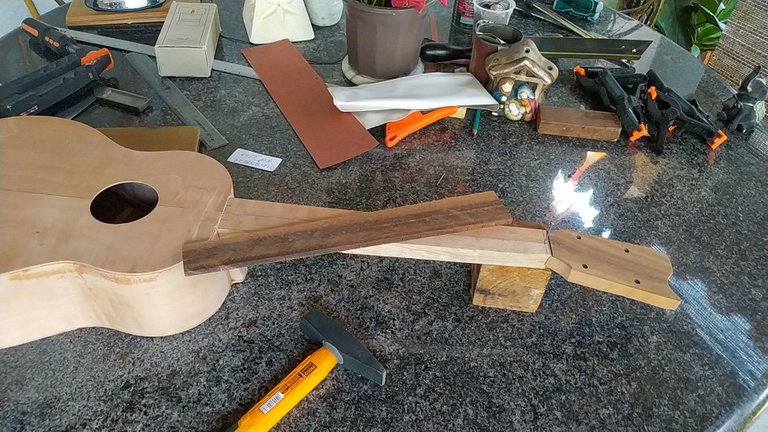
Cuando ya completamos todas estos pasos, procedemos a pegarlo en su lugar.
Fretboard
This is the first external piece we need to address. It's where the frets go. We need to make slots for them, so everything needs to be perfect or the tuning of the instrument might suffer.
For this, the first task is to make everything even. That means that each face should be perpendicular to the others. That way they slot will be perfectly straight no matter how we look at it.
Once that's out of the way, we can get into the scale length. This varies from luthier to luthier. I have mine in a piece of wood where every fret is marked with a hole. That way I can transfer the measurements instead of making them one by one. It saves a lot of time!
With the marks in place, we can open the slots with a saw. We need to use something to help us keep it straight. We could use a block of wood or anything that's easy to clamp down. Once we are done, we measure the fretboard on the neck to cut the excess material and make sure it is a right fit. Remember measurements twice since you can only cut once!
The last step is to give it a conical shape. For this, we use our planer and remove material from both sides. The fretboard is wider the closer it gets to the body of the instrument.
When we are done with all these tasks, we can proceed to glue the fretboard.
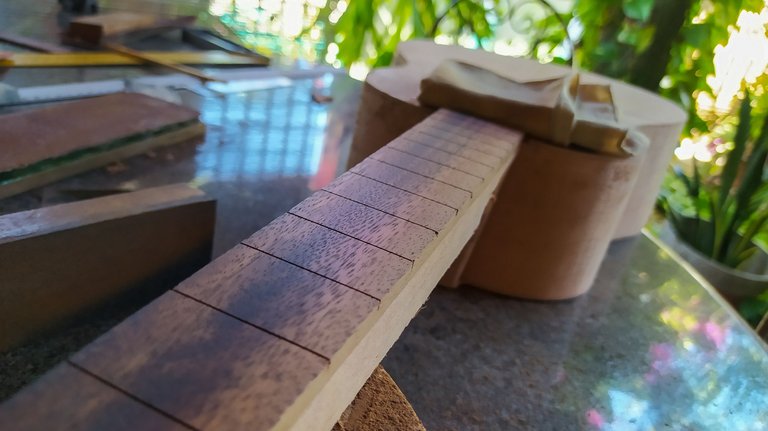
Acabado del diapasón
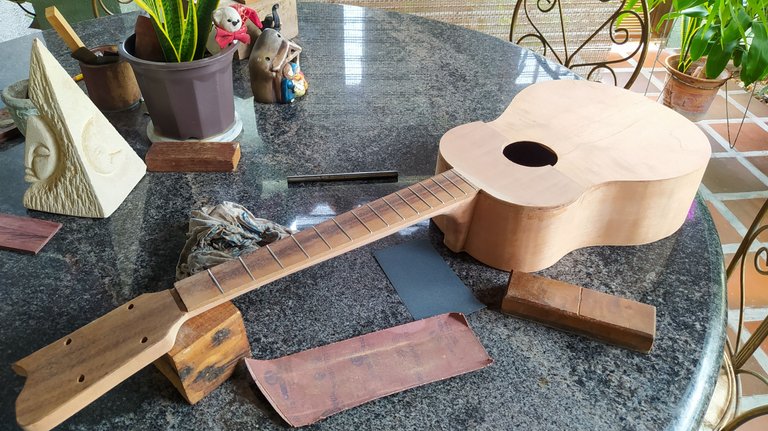
El diapasón es la primera pieza en tener su acabado. Así que es la primera es pasar por el proceso de lijado. La diferencia con el resto del instrumento es que le aplicaremos aceite para tener un acabado natural.
Después de lijar cualquier irregularidad en esta pieza, procedemos a aplicar aceite. En este caso, es aceite de teca. Esto realza la belleza de la madera y también la protege contra la humedad.
Fretboard finish
The fretboard is the first piece to receive a coat of finish. Contrary to the rest of the instrument, it will receive a natural finish. First, we go through a whole process of sanding to eliminate any uneven surfaces.
Then, we go ahead and apply some coats of oil. In this case, it's teak oil. This will protect the fretboard from humidity and show the beautiful grain of this wood.
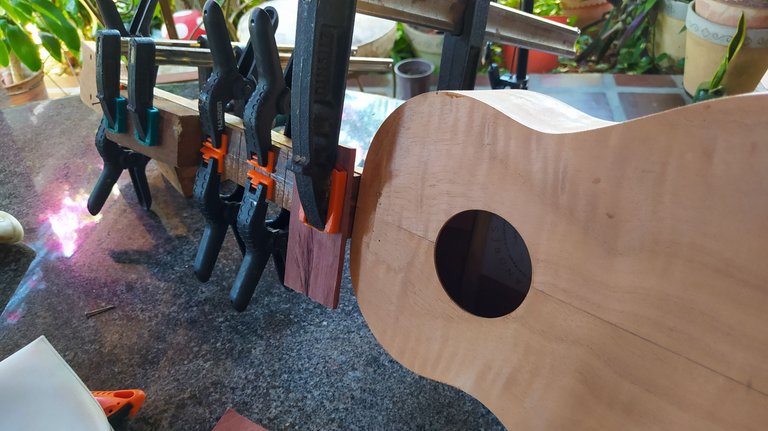
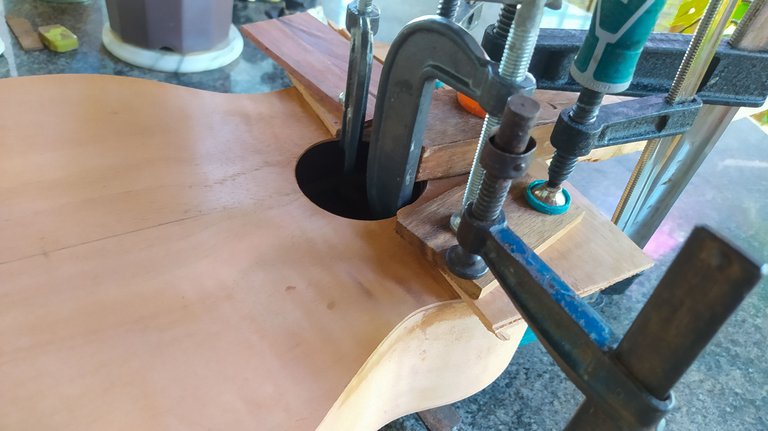
Golpeador
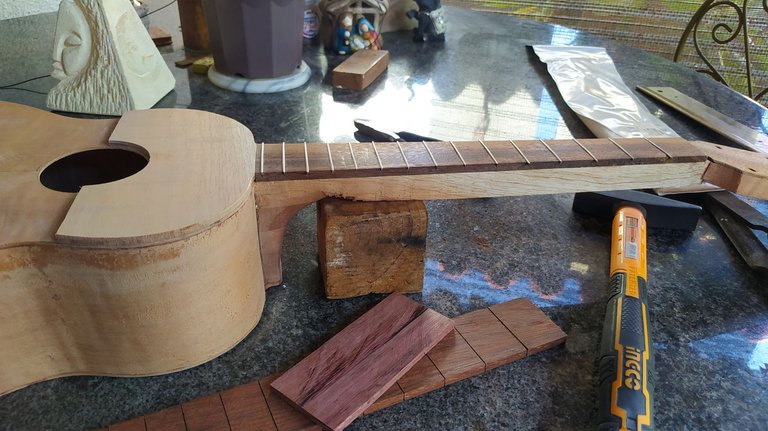
Antes de colocar los trastes, tenemos que trabajar en la pieza distintiva de l cuatro venezolano: el golpeador. Está pieza va encima de la tapa armónica y sirve de límite al diapasón.
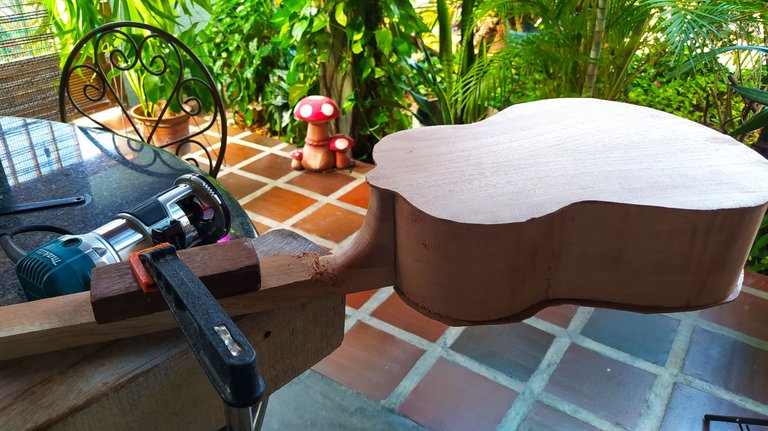
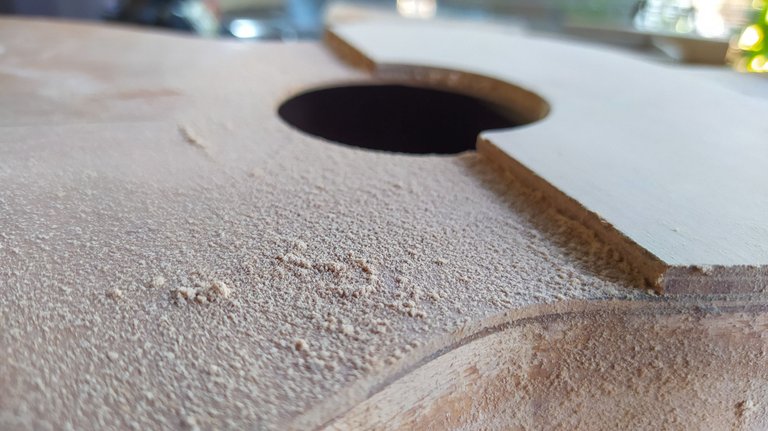
Además de eso, es una pieza con funciones de percusión en el instrumento. Lo más difícil de hacer está pieza es imitar la circunferencia de la boca del instrumento. Pero una vez que conseguimos esto, es solo cuestión de pegarla en su lugar, rebajar los excesos y continuar.
Strum Guard
Before the frets, it's time to address the distinctive feature of a Venezuelan Cuatro, the strum guard. This piece serves as a frontier between the fretboard and sound board. It goes on top of the latter and besides protecting the area, it also has some percussive functions in the playing of the instrument.
The toughest part of crafting it is repeating the sound hole. Once this is done, it's only a matter of gluing it in place, removing the excess from the borders and continue with the work.

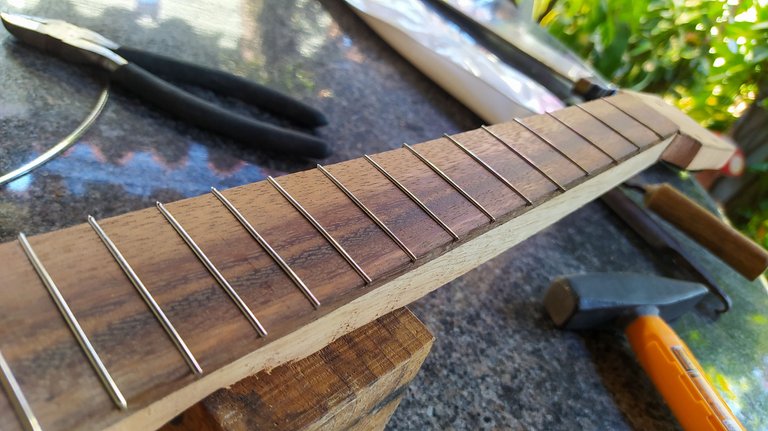
Trastes
Ahora colocamos los trates. Estos vienen en un rollo y son básicamente varas metálicas que nos permiten acortar las cuerdas cuando pisamos y así obtener notas más agudas. Cuentan con un pie con peines que se enganchan en la madera para sujetarlo en su lugar. Cuando el pie no es suficiente, se utiliza un poco de cianoacrilato para fijarlos.
Colocarlos es simple. Algunos fabricantes cortan cada uno y tienen un útil especial numerado para saber cuál es cuál. En mi caso, utilizo el rollo entero y voy cortando a medida que los voy colocando. Para fijar el traste, se utiliza un martillo y alguna pieza de madera para evitar deformar el mismo con el martillo. Utilizamos golpes firmes para fijar el traste y luego cortamos. Repetimos esta operación hasta tener todos en su lugar.
Una vez hayamos hecho esto, procedemos a limar los bordes de los trates. Con esto, removemos los excesos y eliminamos cualquier filo que pudiera ser un problema para el músico.
Frets
It's time to place the frets. This are metal pieces that helps shorten the strings when we press of it and get higher notes. It is a wire consisting of two parts, a crown and a foot. The foot has teeth to fasten itself into the fretboard wood. If it's loose, we only need to apply some cyanoacrylate to help it stick in place.
Placing them is simple. Some crafters have a special jig. They cut the frets and place them in the jig where there are numbers to differentiate each one. I use to complete fretwire and cut the frets once I have placed them. For that, I use a piece of wood and a hammer. Thus is to prevent deforming thr crown. We use firm blows if the hammer to get the fret in the slot. Then, we cut. This process is repeated until we are done.
Afterwards, we need to file the ends of the frets to remove the excesses and take care of any sharp ends left. This is to prevent any cuts on the fingers of the musician.
Con esto, terminamos con las piezas por colocar hasta el momento. Quedan algunas cosas que hacer para completar el instrumento, pero serán para la próxima ocasión. Hasta en entonces.
¡Manténgase creativos!
With this, we are done with a big part of the pieces missing. There's a bit more to do to get this instrument ready, but that will come on the entry entry. Be seeing you!
Stay creative!

Fotos/Photos 📷: by me (Redmi Note 8).
Edición/Editing 🎬: by me, made with Adobe Photoshop Lightroom.
Portada/Thumbnail 🖼️: by me, made with Canva.
Follow me on Instagram for enquires and commission.
If you'd like to help the workshop grow, you can make a donation here. You can find me at discord as bertrayo#1763

