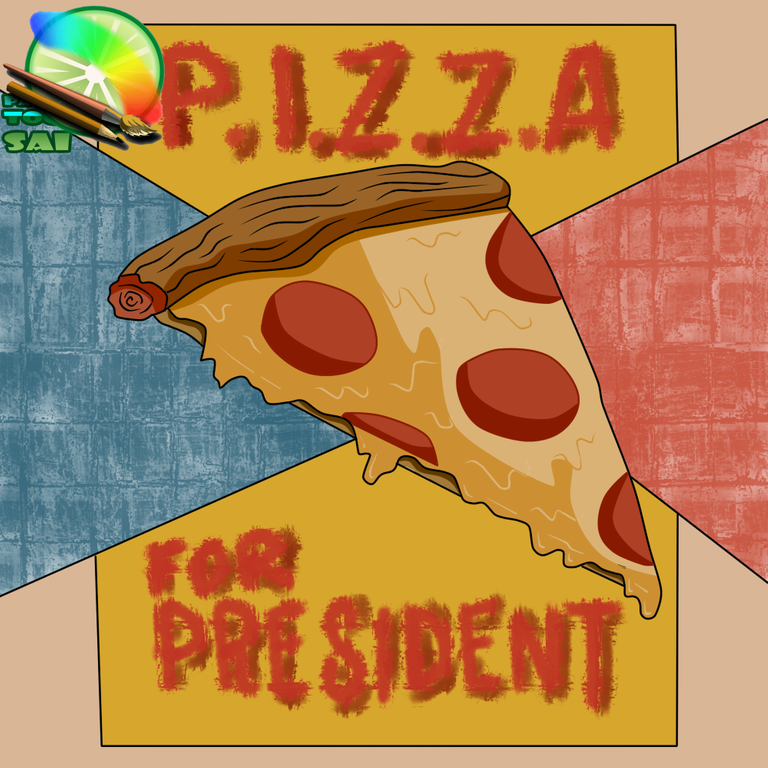

Hola amigos de hive diy espero se encuentren genial , en esta ocasión vengo a compartir con ustedes un diseño de una pizza en un programa que me gusta mucho y es el que utilizo siempre ya que no pesa ni se ralentiza a la hora de realizar dibujos aunque no es un programa para vectorizar ya que se pixelea podemos tener un buen resultado en las imágenes al aumentar la calidad de la imagen jugando con el tamaño de los pixeles, a continuación les compartiré los pasos que realice y como utilizo el programa.
Hello friends of hive diy I hope you are great, this time I come to share with you a design of a pizza in a program that I really like and is the one I always use because it does not weigh or slow down when making drawings although it is not a program to vectorize as it pixelates we can have a good result in the images by increasing the quality of the image playing with the size of the pixels, then I will share the steps to perform and how I use the program.
A continuación los pasos :
Here are the steps :
- Paso 1: lineart
Lo que me gusta de este programa Paint tool sai es que posee muchas herramientas y muchos pinceles, también el crear nuevas capas es muy fácil y fácil de entender, para elaborar el lineart hacemos una capa nueva para poder realizarlo.
- Step 1: lineart
What I like about this program Paint tool sai is that it has many tools and many brushes, also the creation of new layers is very easy and easy to understand, to make the lineart we make a new layer to be able to do it.
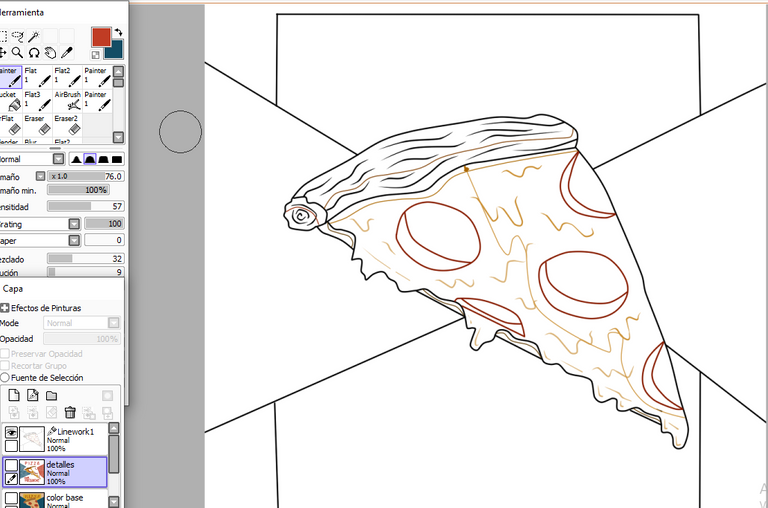
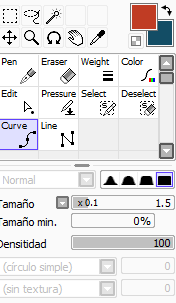
Al hacer el dibujo con el mouse el programa tiene un estilo pluma como en photoshop pero un poco mas fácil y como dije no ralentiza la pc lo cual me gusta ya que al usar photoshop y la pluma se me lagea un poco la pc, la herramienta se llama curve y esta en la capa lineart que es una capa especial para este tipo de trabajo y que posee herramientas diferentes a la capa normal.
When making the drawing with the mouse the program has a pen style as in photoshop but a little easier and as I said it does not slow down the pc which I like because when using photoshop and the pen it slows down the pc a little, the tool is called curve and it is in the lineart layer which is a special layer for this type of work and it has different tools than the normal layer.

- Paso 2: colores bases.
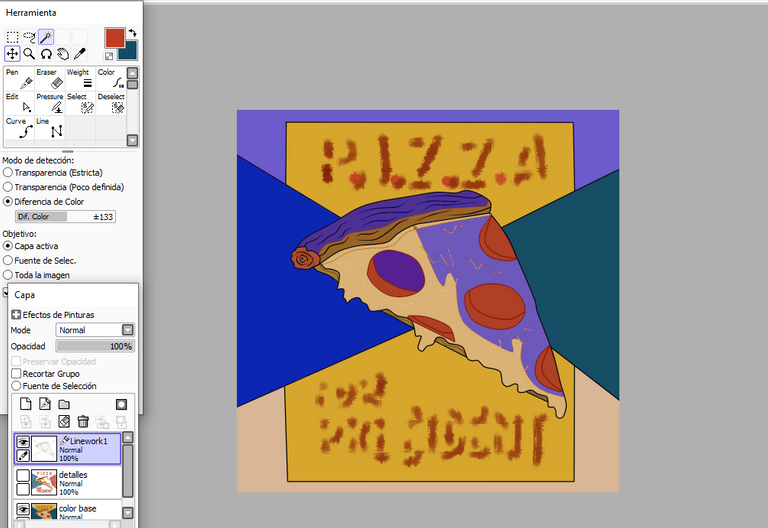
Me gusta hacer capas para cada cosa y el programa lo hace muy cómodo sin pesar nada ya que mi pc no tiene buen procesador, como podemos ver el programa nos permite seleccionar secciones del lineart para poder luego en la capa de color con el cubo darle el color que queremos sin afectar todo el dibujo y todo esto con el mouse.
- Step 2: base colors.
I like to make layers for each thing and the program makes it very comfortable without weighing anything since my pc does not have a good processor, as we can see the program allows us to select sections of the lineart to be able to then in the color layer with the cube give it the color that we want without affecting the whole drawing and all this with the mouse.
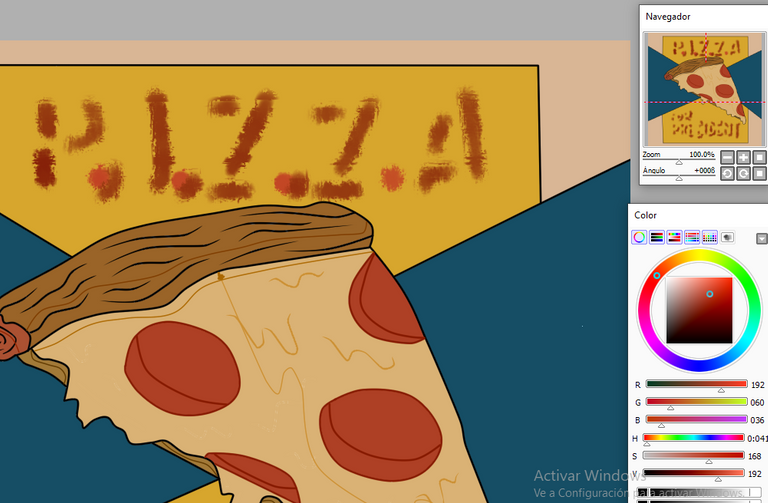
Para aplicar los colores tenemos al lado derecho del programa en la pantalla 5 modos de selección de colores a mi me gusta ese modo ya que puedo mover los puntos y seleccionar el tono que quiero mezclando y jugando con los colores un punto que me gusta mucho.
To apply the colors we have on the right side of the program on the screen 5 modes of color selection. I like this mode because I can move the points and select the tone I want mixing and playing with the colors, a point that I like very much.

- Paso 3 : detalles.
En otra capa llamada detalles aplico las sombras en el dibujo ya que los colores bases fueron claro y es mas fácil aplicar las sombras lo bueno de este programa es que permite darle color a las líneas para hacer el limites de la figura que queremos hacer y luego seleccionar en la capa lineart y con el cubo darle el color de la sombra.
- Step 3 : details.
In another layer called details I apply the shadows in the drawing since the base colors were clear and it is easier to apply the shadows. The good thing about this program is that it allows to give color to the lines to make the limits of the figure that we want to make and then select in the lineart layer and with the cube give the color of the shadow.
- Letras:
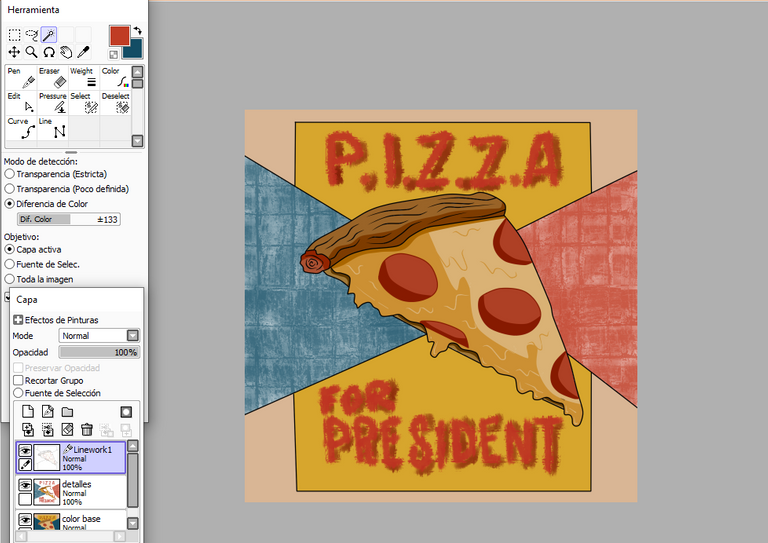
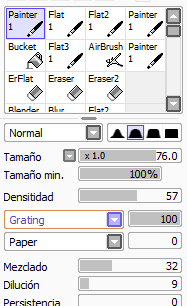
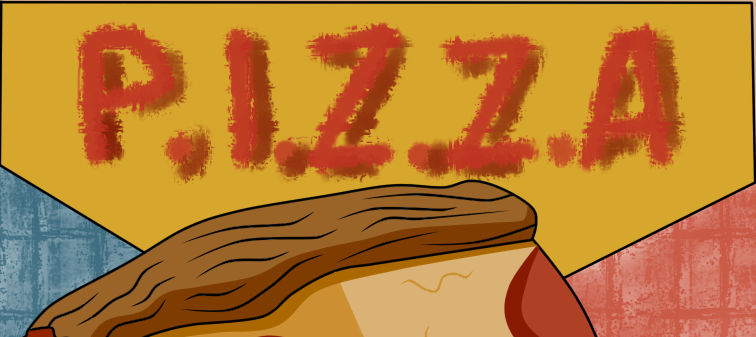
El programa no tiene para agregar texto es un lado negativo ya que como tal no es para editar imágenes si no para hacer dibujos, lo que hice fue en la capa detalles con el pincel y seleccionando el pincel llamado Painter en el modo Grating que es el efecto que se general al hacer el trazo para dibujar las letras.
- Letters:
The program does not have to add text is a negative side since as such is not for editing images if not to make drawings, what I did was in the layer details with the brush and selecting the brush called Painter in Grating mode which is the effect that is general to make the stroke to draw the letters.

Luego guardamos en formato png y listo tenemos nuestro diseño echo muy genial, espero les haya gustado el dibujo y la presentación de este programa para los siguientes post de diseños involucrare mas la visualización del programa para mostrar como realizo el lineart y como dar un buen acabado a las líneas con las diferentes opciones en las capas, este diseño fue realizado con mouse en el programa paint tool sai.
Then we save in png format and ready we have our design echo very cool, I hope you liked the drawing and presentation of this program for the following post designs will involve more visualization of the program to show how to perform the lineart and how to give a good finish to the lines with the different options in the layers, this design was made with mouse in the paint tool sai program.

