Hola amigos de la comunidad hive diy, es mi primer post aquí , así que espero les guste, siempre me gusto dibujar así que encontrar una comunidad para mostrar lo que dibujo y el proceso que este lleva me pareció muy informativo y didáctico. En esta ocasión dibuje un camaleón ya que me parecen animales muy hermosos debido a la habilidad que tienen para cambiar de colores además de ser muy llamativos cuando están cazando sus alimentos porque cazan con sus lenguas y estas son largas y salen disparadas de sus bocas logrando atrapar insectos que pertenecen a su dieta diaria.
Hello friends of the hive diy community, this is my first post here, so I hope you like it, I always like to draw so finding a community to show what I draw and the process it takes was very informative and didactic. This time I drew a chameleon because they seem to me very beautiful animals due to the ability they have to change colors as well as being very striking when they are hunting for food because they hunt with their tongues and these are long and shoot out of their mouths managing to catch insects that belong to their daily diet.
.
Espero les guste el dibujo, a continuación muestro los pasos:
I hope you like the drawing, here are the steps:
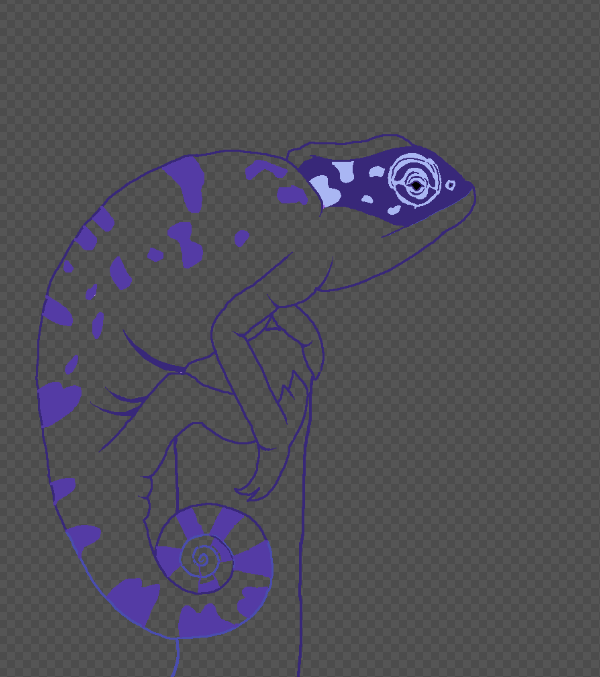
- Paso 1:
Siempre que realizo un dibujo lo hago por capas, la función de las capas es muy importante porque nos deja trabajar de forma individual cada parte a realizar de nuestro dibujo porque a diferencia de dibujar en una sola capa e incluir colores bases y detalles en esta podemos cometer un error que luego nos haga eliminar gran parte del dibujo, así que trabajar por capas nos permite afocarnos en partes del dibujo sin afectar por ejemplo los colores bases y los detalles. En esta capa me enfoque en realizar lo que se llama lineart o líneas básicas.
- Step 1:
Whenever I make a drawing I do it by layers, the function of the layers is very important because it allows us to work individually each part of our drawing because unlike drawing in a single layer and including base colors and details in this one we can make a mistake that then makes us eliminate much of the drawing, so working in layers allows us to focus on parts of the drawing without affecting for example the base colors and details. In this layer I focus on making what is called lineart or basic lines.
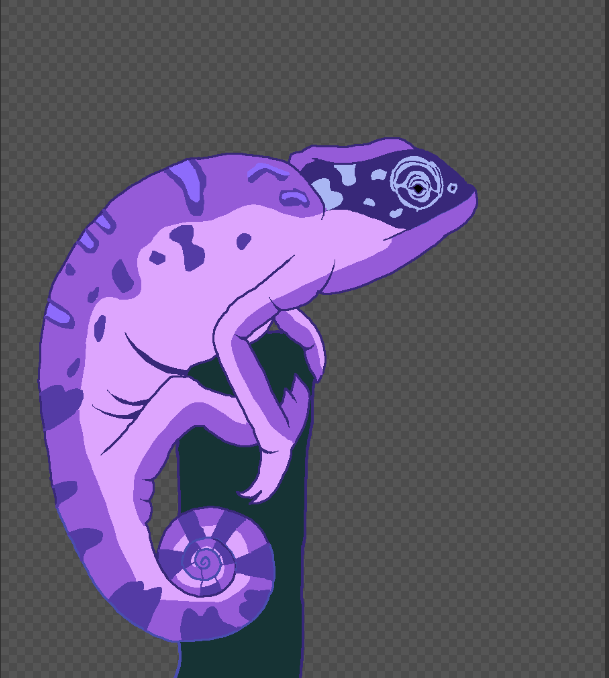
Paso 2:
Esta capa la utilice para agregar los colores bases con los que me guiaría a la hora de desarrollar el dibujo, es muy importante usar colores bases para ir dándole forma al dibujo o para decidir que tipo de paleta de colores se va usar.
- Step 2:
I used this layer to add the base colors that I would use to guide me when developing the drawing, it is very important to use base colors to give shape to the drawing or to decide what kind of color palette to use.
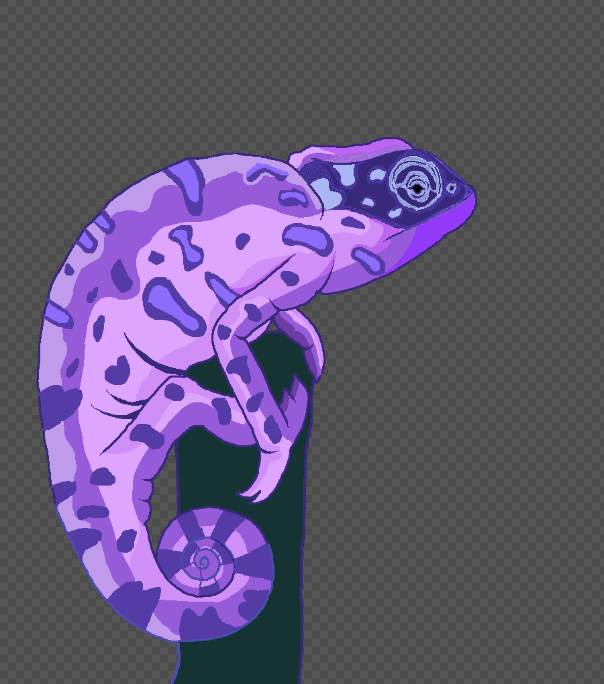
- Paso 3:
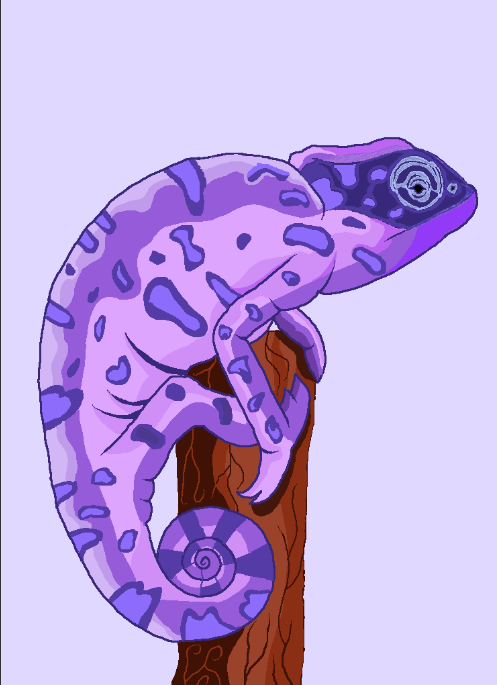
Luego agregue otros tonos para que fueran luz y sombras , mencionando que el programa donde dibujo esta enfocado en pixel art asi que no tiene ciertas funciones de difuminado o bajar la transparencia para darle mejor volumen al dibujo aun así se pueden lograr muchas cosas con el estilo pixell art, en este dibujo utilice un tamaño de lienzo de 900x1020 y un tamaño de pixel grande aunque no se nota mucho el estilo pixel art.
- Step 3:
Then I added other tones to be light and shadows , mentioning that the program where I draw is focused on pixel art so it does not have certain functions of blurring or lower the transparency to give better volume to the drawing even so you can achieve many things with the pixel art style, in this drawing I used a canvas size of 900x1020 and a large pixel size although the pixel art style is not very noticeable.
- Paso 4:
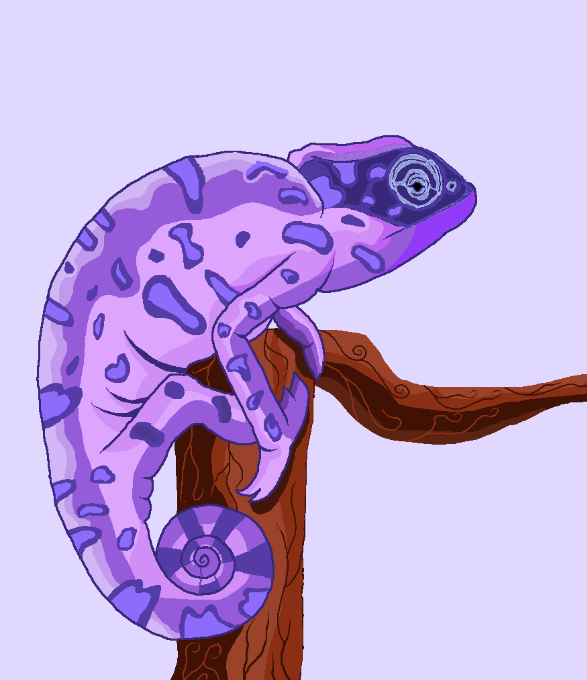
Aquí me enfoque en el tronco para darle un poco de detalle, no soy muy experto en dibujar troncos pero la idea es mejorar en el proceso. Luego me pareció interesante agregarle mas cosas al tronco ya que no se notaba mucho y le agregue una rama que sale de el.
- Step 4:
Here I focused on the trunk to give it some detail, I'm not very expert in drawing trunks but the idea is to improve in the process. Then I thought it would be interesting to add more things to the trunk since it wasn't very noticeable and I added a branch coming out of it.
- Paso 5:
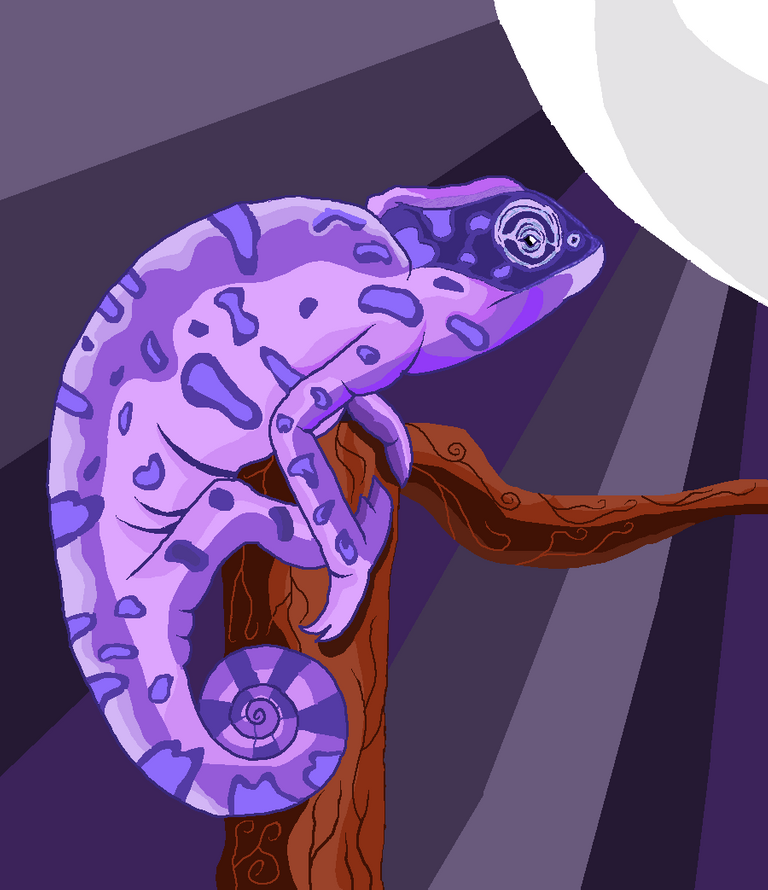
Agregue un fondo de una luna y la paleta de colores que se utilizo para el dibujo, aquí solo use líneas y un medio circulo colocado en la esquina del lienzo.
- Step 5:
Add a background of a moon and the color palette that was used for the drawing, here just use lines and a half circle placed in the corner of the canvas.
- Paso 6:
Unimos todas las capas para ver el resultado final , algo bueno de dibujar en capas es que si lo deseas puedes mover las capas de forma individual como por ejemplo para posicionar mejor a las partes en el dibujo, otro caso seria para modificar alguna proporción del dibujo y esto no afectaría ni al fondo ni a los detalles ósea que harías menos modificaciones si trabajas por capas.
- Step 6:
We join all the layers to see the final result, a good thing about drawing in layers is that if you want you can move the layers individually as for example to better position the parts in the drawing, another case would be to modify some proportion of the drawing and this would not affect either the background or the details so you would make fewer modifications if you work in layers.

Programa utilizado:PISKEL
Traducido con:DeepL
GRACIAS NOS LEEMOS EN UN NUEVO POST✌️
