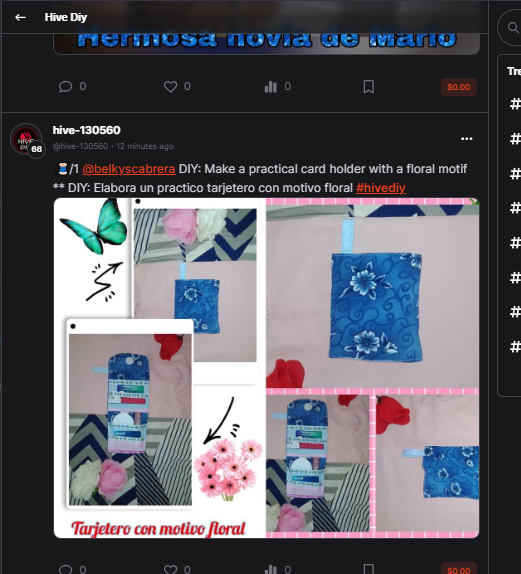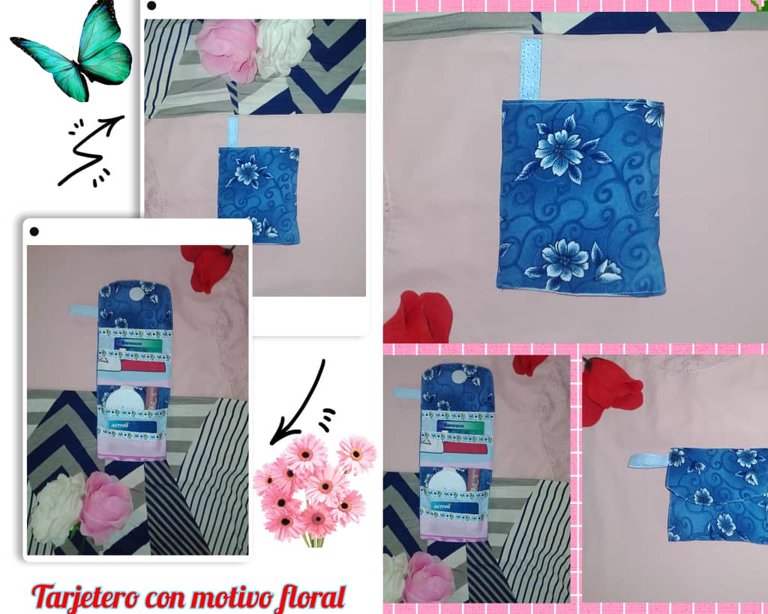
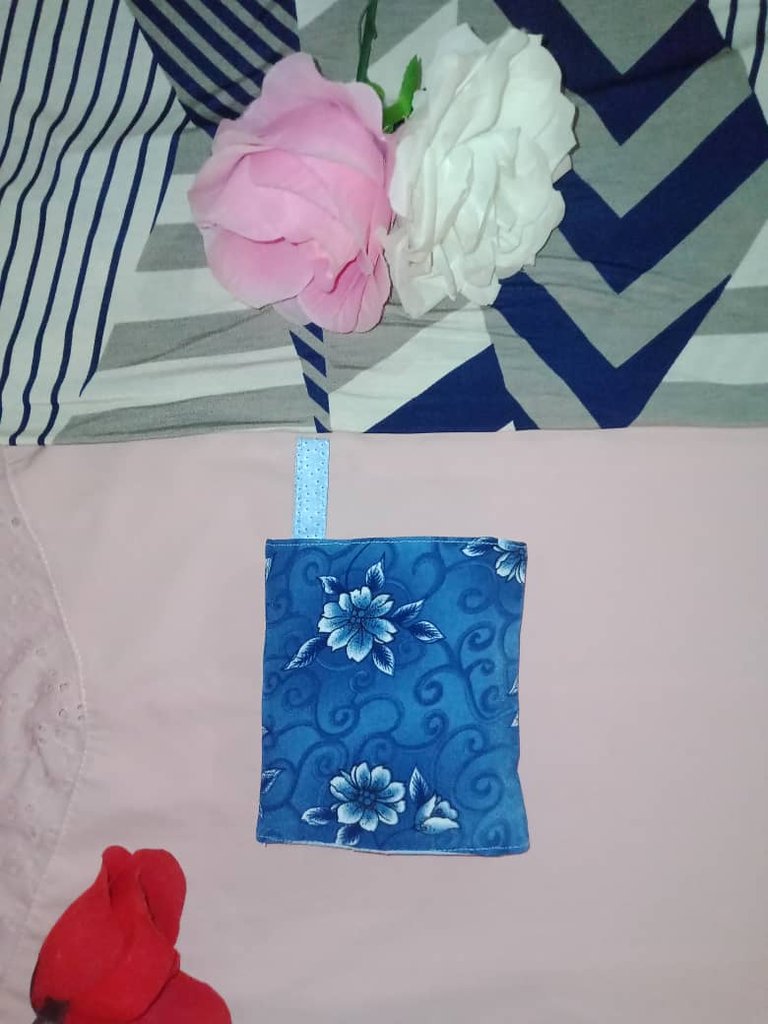
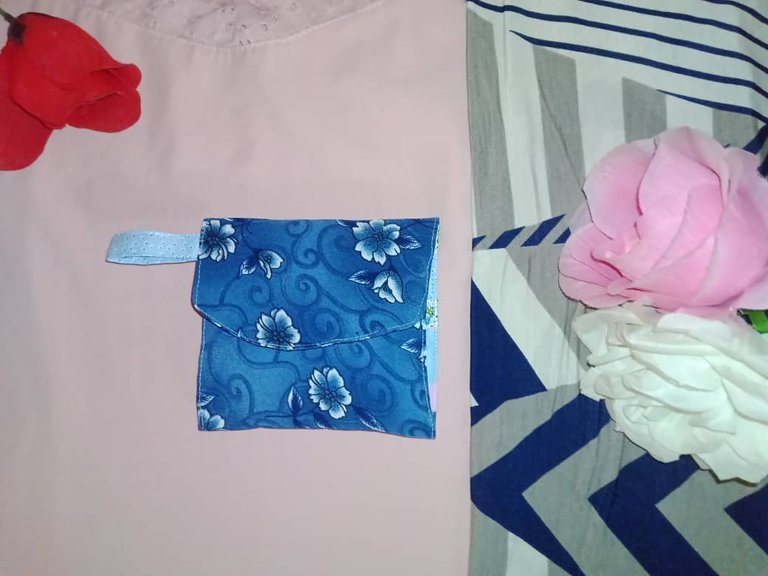
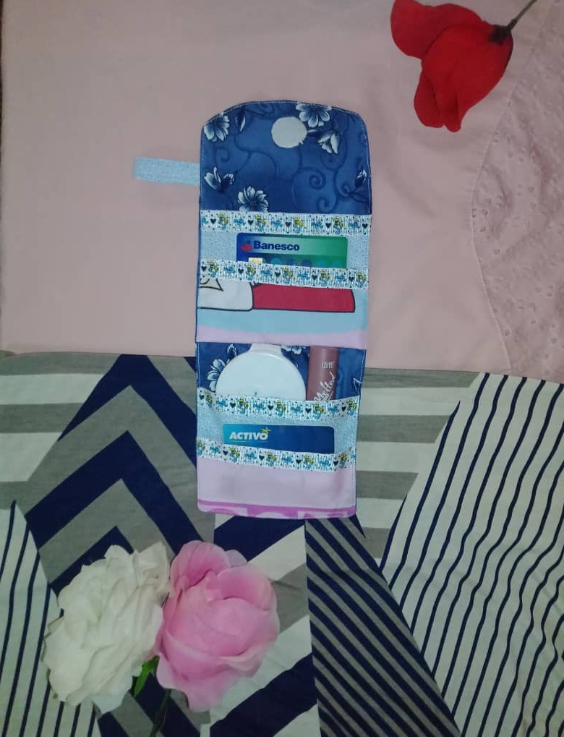
Hello creative friends of #hive, I wish you a happy Tuesday, I hope you are enjoying good health, today I share with you the elaboration of a card holder in fabric with floral motif, on previous occasions I have commented that I am doing a sewing course that has been very productive, we are currently in the fourth module and for the Christmas season, the theme is precisely to elaborate ornaments to embellish the home and useful projects for everyday life, yesterday we worked making a card holder, ideal for outings and shopping, the size is suitable for adding extra items such as lipstick and mirror, indispensable elements in a girl's purse.
For its elaboration I used three fabric models, combining the main fabric of blue flowers with one of small flowers and the last one is pink, I really liked this contrast of scents, it looks great and has a fresh and simple style.
Hola amigos creativos de #hive, les deseo un feliz martes, deseo se encuentren disfrutando de buena salud, hoy comparto con ustedes la elaboración de un tarjetero en tela con motivo de floral, en ocasiones anteriores he comentado que estoy haciendo un curso de costura que ha sido muy productivo, actualmente estamos en el cuarto módulo y por la temporada navideña, la temática es precisamente elaborar adornos para embellece el hogar y proyectos de utilidad para la vida cotidiana, el día de ayer trabajamos elaborando un tarjetero, ideal para las salidas y compras, el tamaño es adecuado para agregar objetos extra como el labial y espejo, elementos indispensables en la cartera de una chica.
Para su elaboración usé tres modelos de tela, combinando la tela principal de flores azules con una de flores pequeñas y la última es de color rosa, me gustó mucho este contraste de olores queda muy bien y tiene un estilo fresco y sencillo.

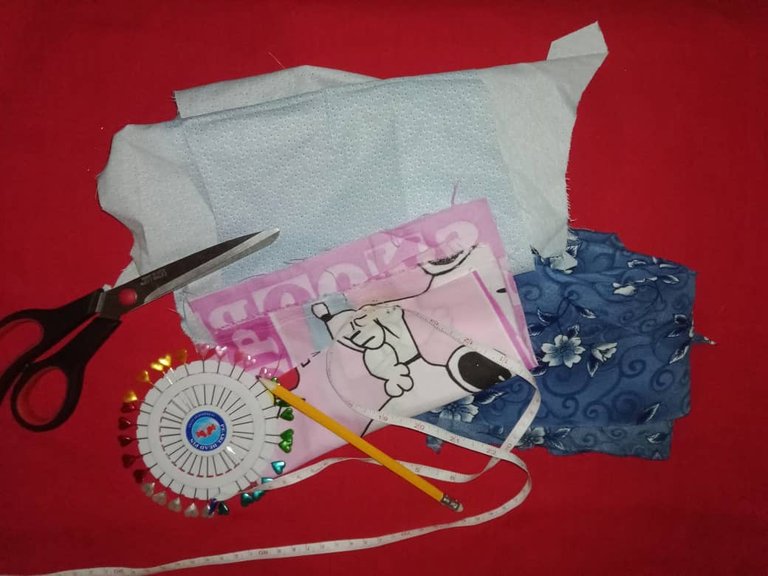
The materials used were:
Dacron fabric with floral motifs.
Pins
Scissors
Decorative ribbon
Glued peel-and-stick
Magic clasp
Sewing machine
Thread to match the fabrics
Los materiales usados fueron:
Tela dacrón con motivos florales
Alfileres
Tijera
Cinta decorativa
Pelón con pega
Cierre mágico
Maquina de coser
Hilo a tono con las telas
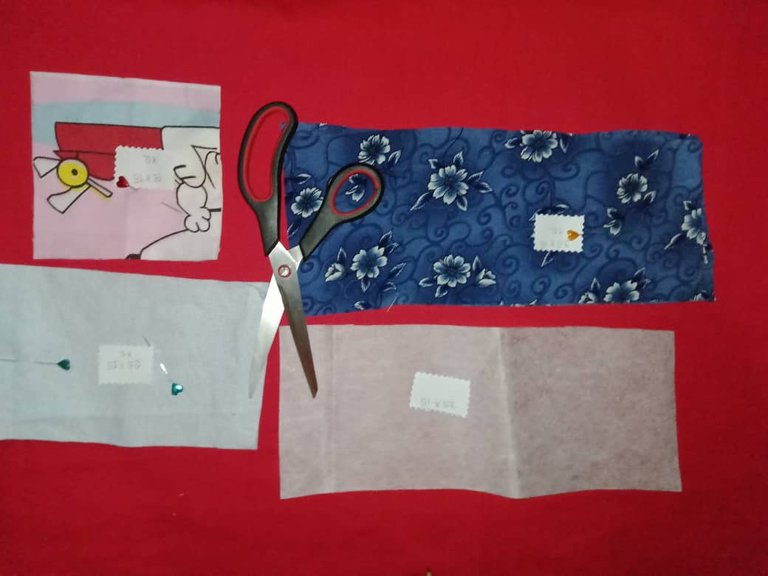
The first step is to cut six pieces of fabric of different sizes (35* 15 cm, 25 * 15 cm and 15* 15 cm), two for each size, also a piece in pile that will go on the main fabric to give support and firmness to the card holder; then I rounded the upper ends of the main pieces.
El primer paso es cortar seis piezas de tela de diferentes medidas (35* 15 cm, 25 15 cm y 15 15 cm) dos por cada medida, también una pieza en pelón que irá en la tela principal para dar soporte y firmeza a tarjetero; luego redondeé las puntas superiores de las piezas principales.
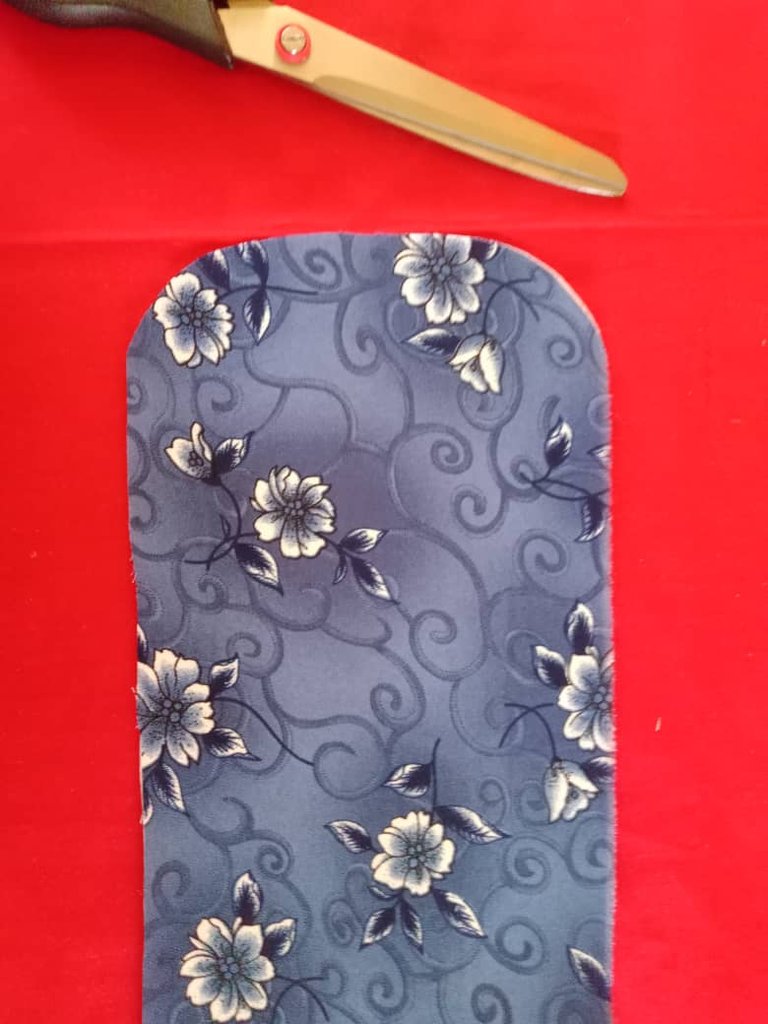
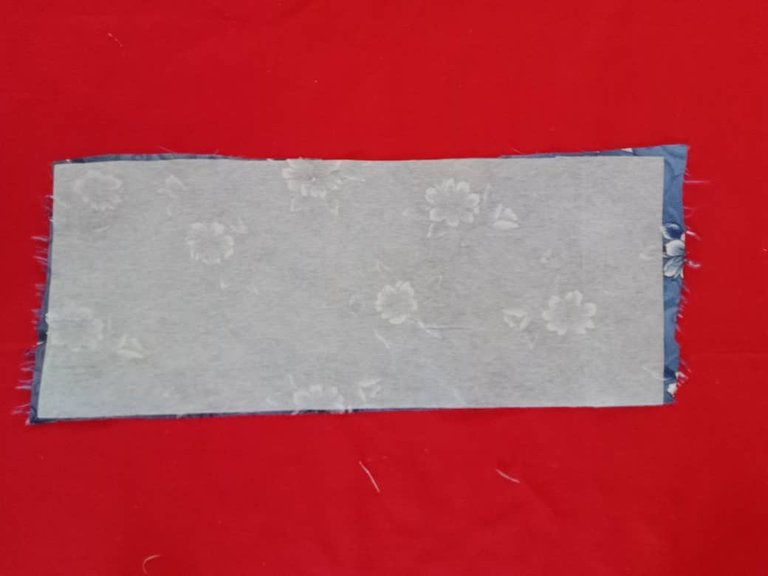
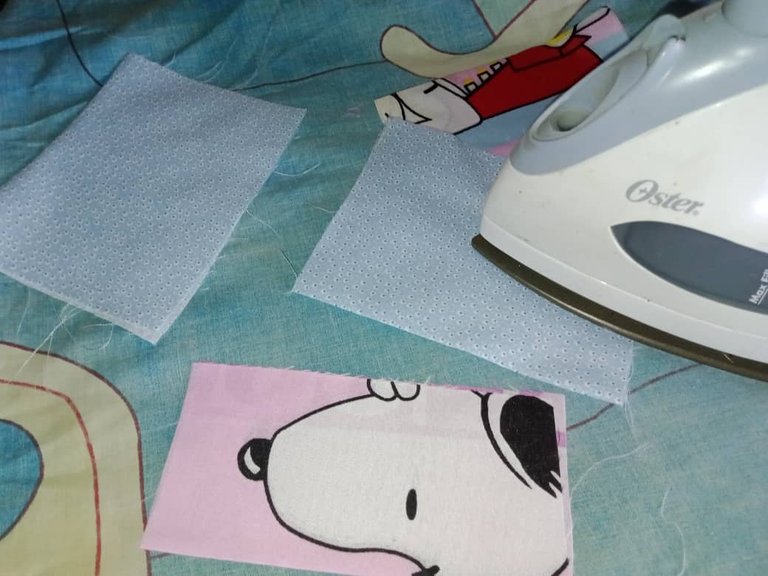
The second step is to glue the lint to the main fabric with the help of the iron, then fold in half the remaining fabrics and iron, with them the pockets of the card holder will be made, for greater resistance double fabric is used.
El segundo paso es pegar el pelón a la tela principal con ayuda de la plancha, seguidamente doblar por la mitad la telas restantes y planchar, con ellas se harán los bolsillos del tarjetero, para mayor resistencia se pone tela doble.

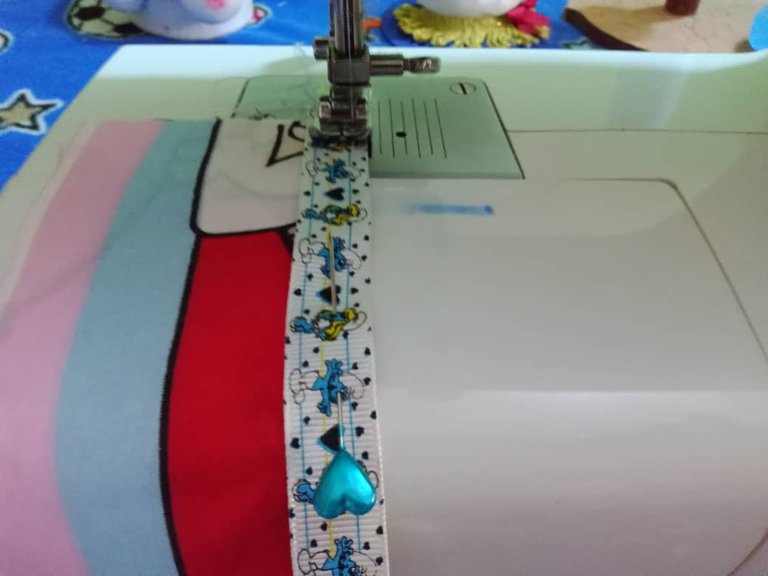
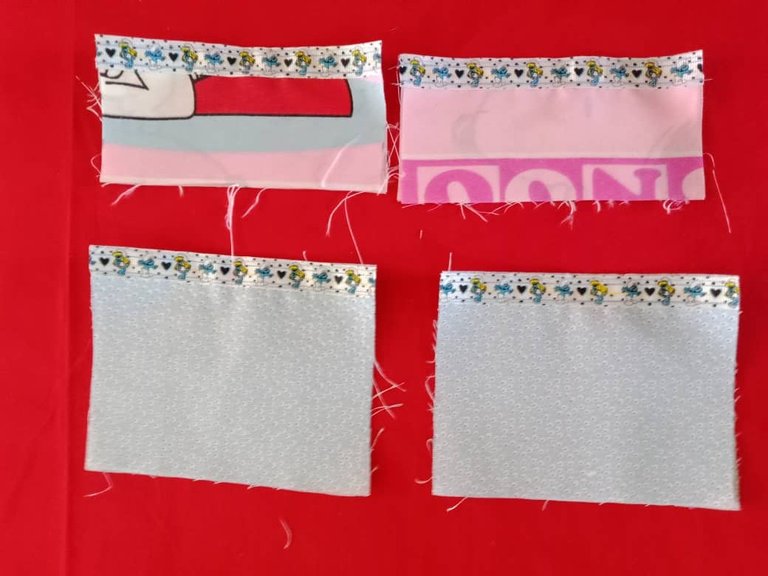
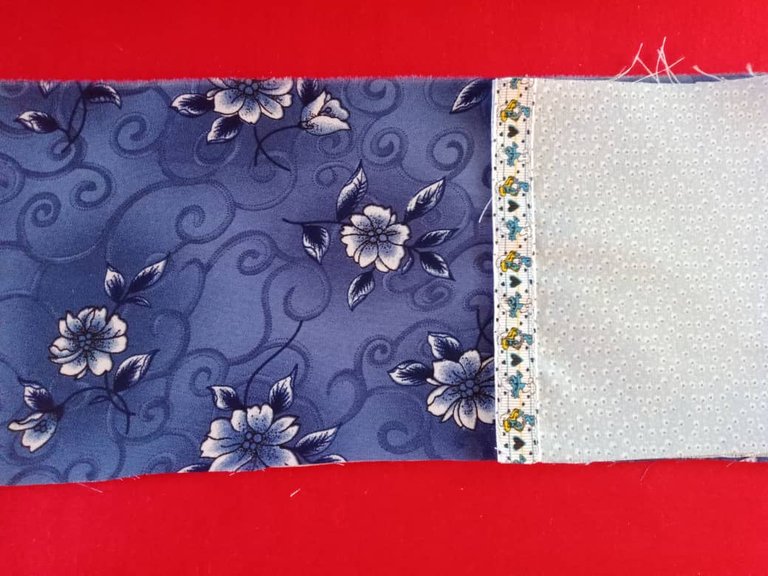
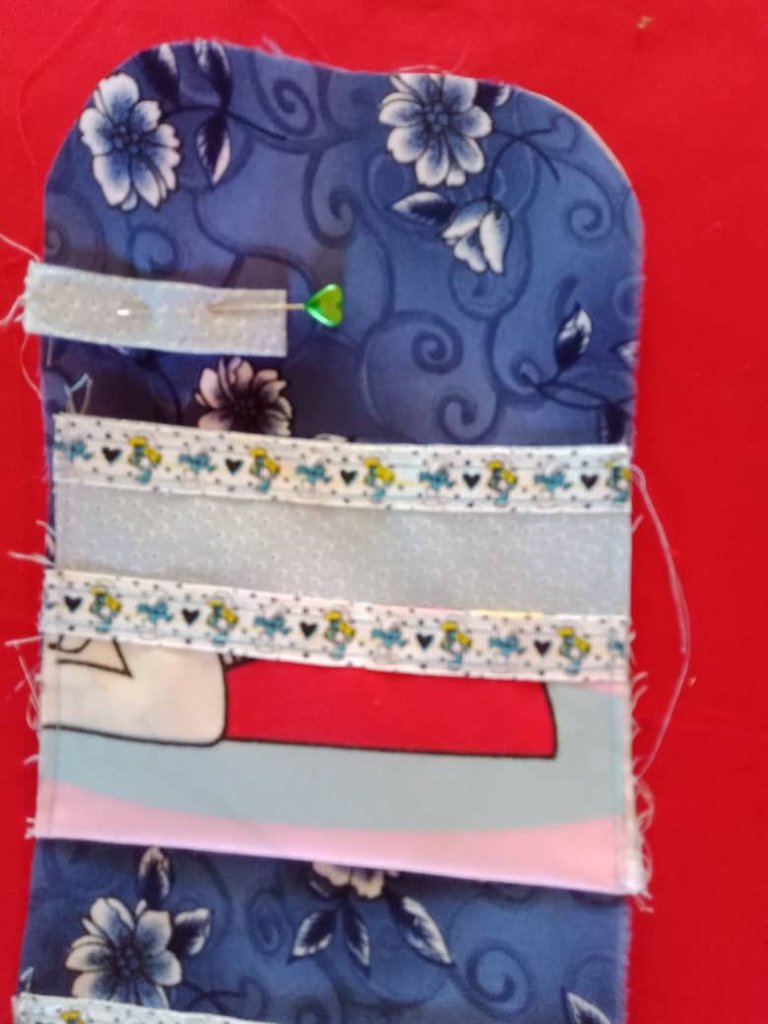
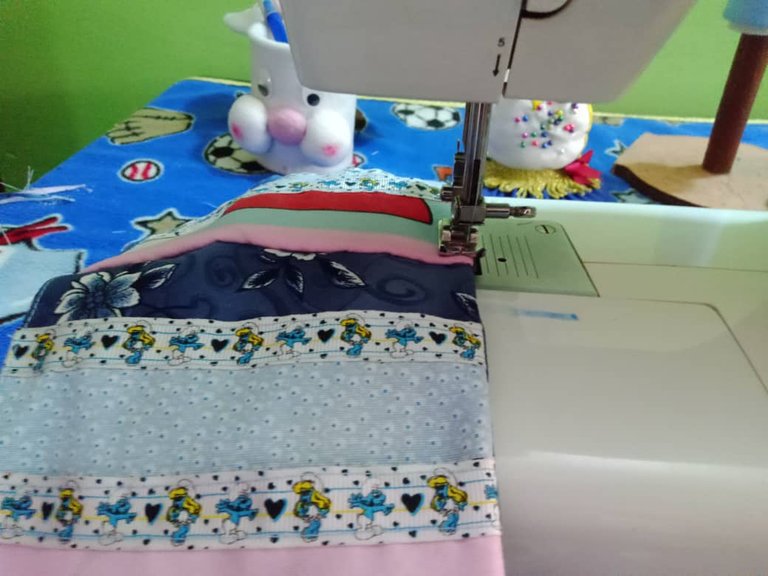
Then, with decorative tape, in this case I used one I have at home with a Smurfs design, I decorated the edges of the pockets, put the larger fabric on the bottom of the main fabric and on top of it the pink fabric, pinned and sewed with a straight stitch on the sides.
Seguidamente, con cinta decorativa, en este caso usé una que tengo en casa con diseño de los pitufos, adorné los bordes de los bolsillos, puse la tela más grande en la parte inferior de la tela principal y encima de ella la tela color rosa, sujeté con alfileres y cosí con puntada recta por los lados.
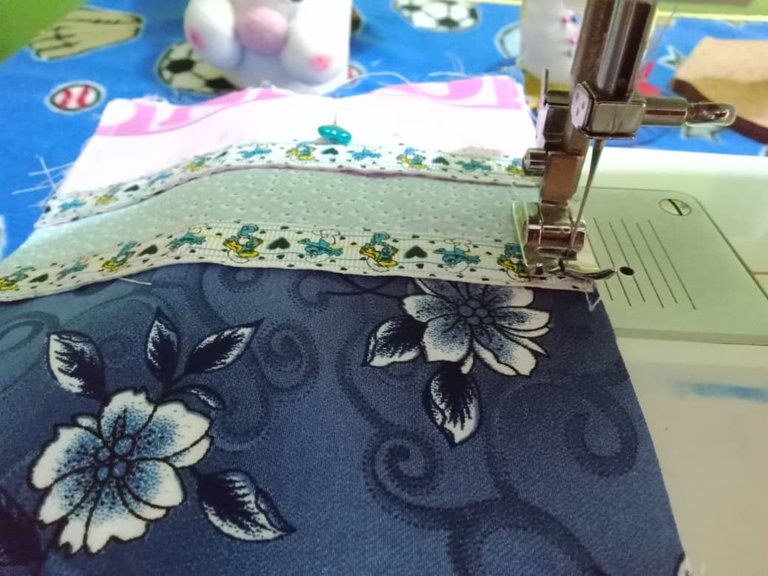
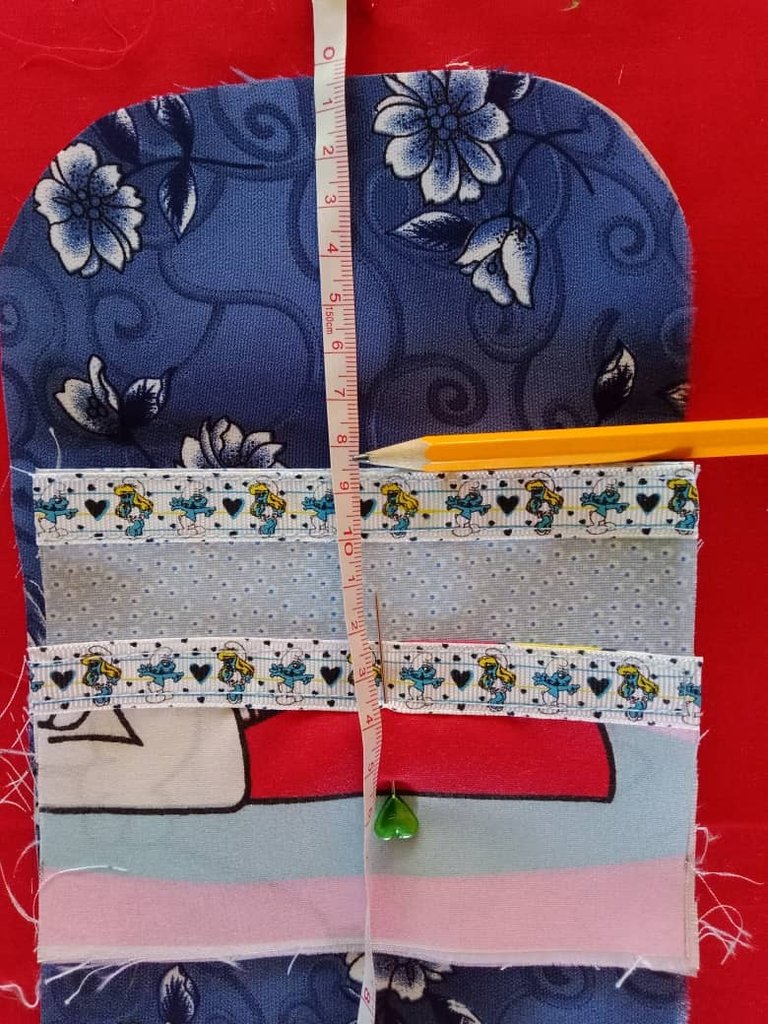
From the top I measured 8.5 cm to place the other pockets, fixed with pins and sewed leaving a margin of 4 cm between the two pockets, just like in the first pocket I also sewed the sides to secure the pieces and sew more comfortably; I also placed a ribbon or hanger on top.
Desde la parte superior medí 8.5 cm para colocar los demás bolsillos, fijé con alfileres y cosí dejando un margen de 4 cm entre los dos bolsillos, al igual que en el primer bolsillo también cosí los lados para asegurar las piezas y coser más cómodamente; También coloqué una cinta o percha en la parte superior.
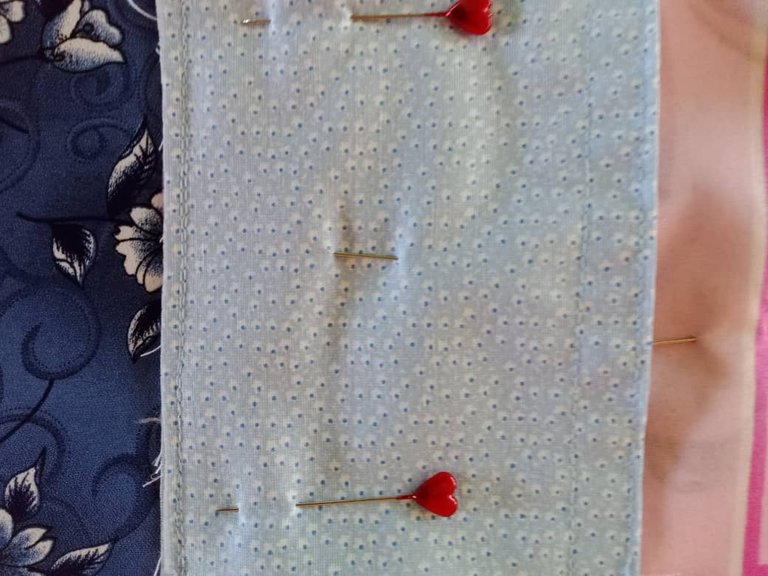
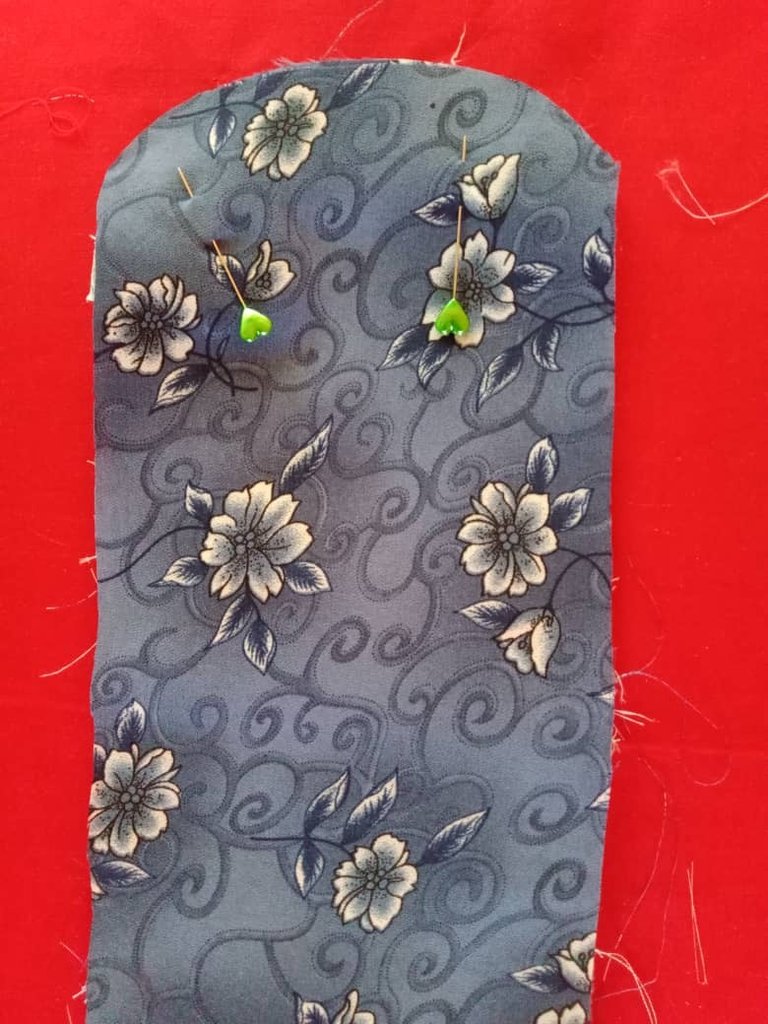
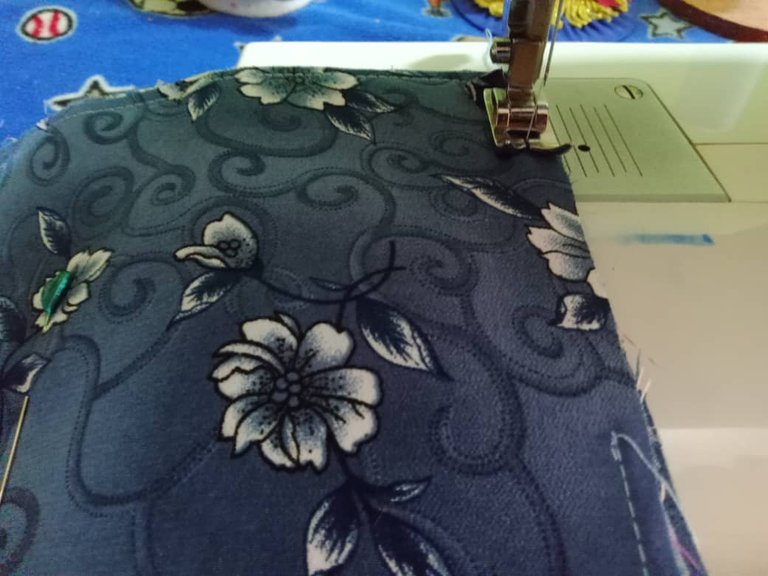
The fifth step is to face the main fabrics on the right side and sew along the contour, leaving a 7 centimeter opening at the bottom to turn the piece. After turning, I stitched all the way around and closed the opening. To finish, I glued magic closure at the top and bottom and in this way and in simple steps a practical card holder is finished that we can use for daily outings and keep the cards organized and safe.
El quinto paso es encarar las telas principales por el lado derecho y coser por el contorno dejando una abertura de 7 centímetros en la parte inferior para voltear la pieza, luego de voltear pasé un pespunte por todo el contorno y cerré la abertura, para finalizar pegué cierre mágico en la parte superior e inferior y de esta forma y en sencillos pasos está terminado un práctico tarjetero que podemos usar para las salidas diarias y mantener la tarjetas organizadas y a salvo.
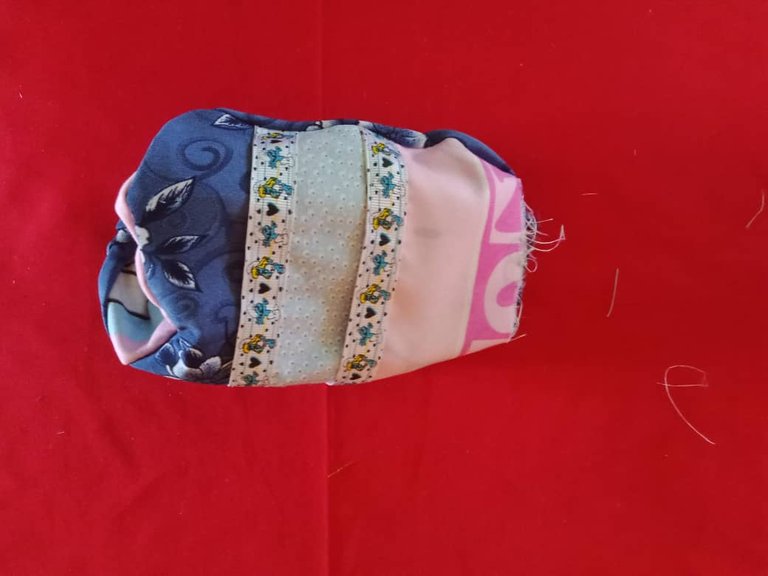
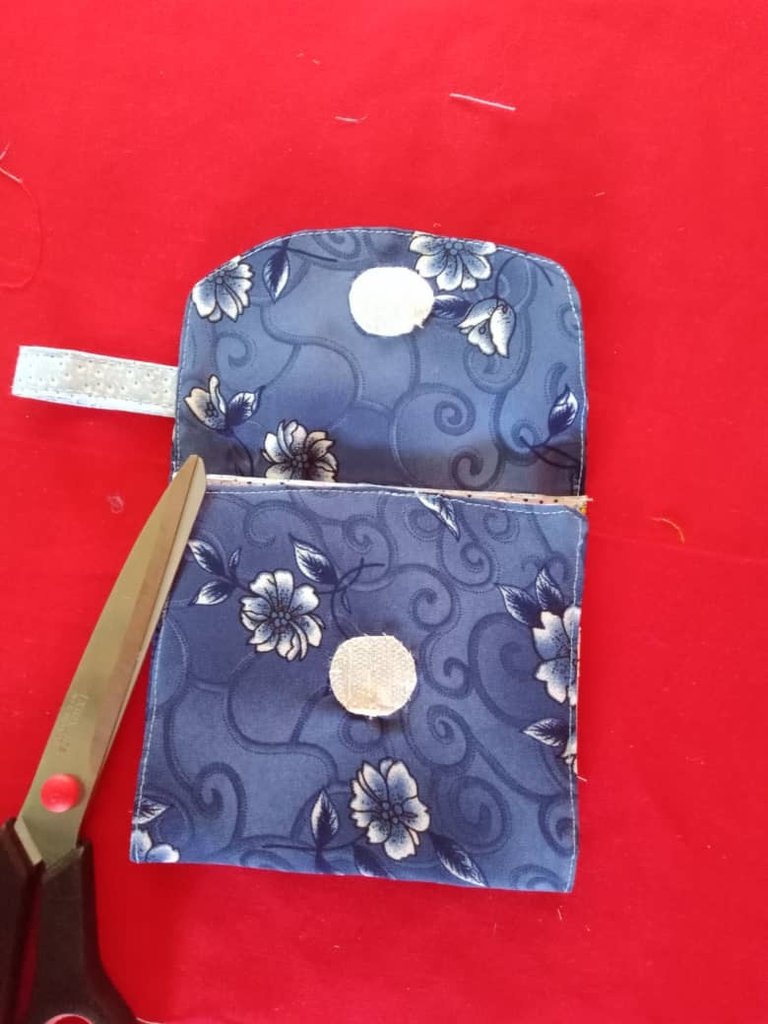

I liked the result of this project, it is practical and useful, also an idea to take advantage of the scraps of fabric that remain, also an option to give as a gift on a special occasion.
Me gustó el resultado de este proyecto, es práctico y útil, además una idea ´para aprovechar los retazos de tela que van quedando, también una opción para obsequiar en una ocasión especial.


¡Bendiciones!
Blessings!

Translated with https://www.deepl.com/translator
          All images are my own, captured by a Síragon LC-3000 camera.

   Todas las imágenes son de mi autoría, capturadas por una cámara Síragon LC-3000.
